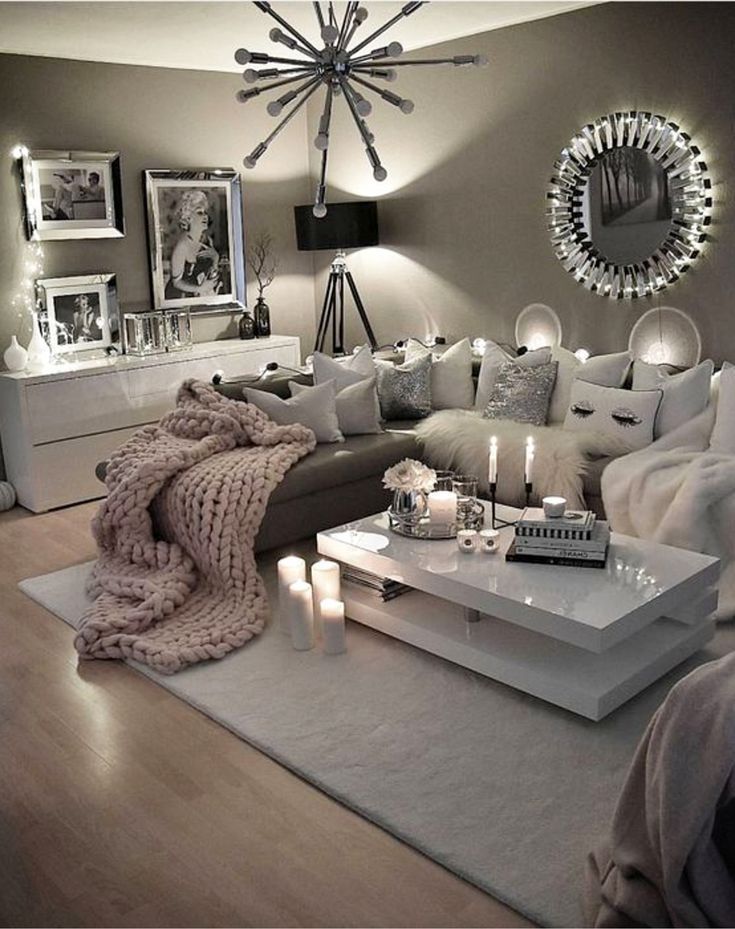
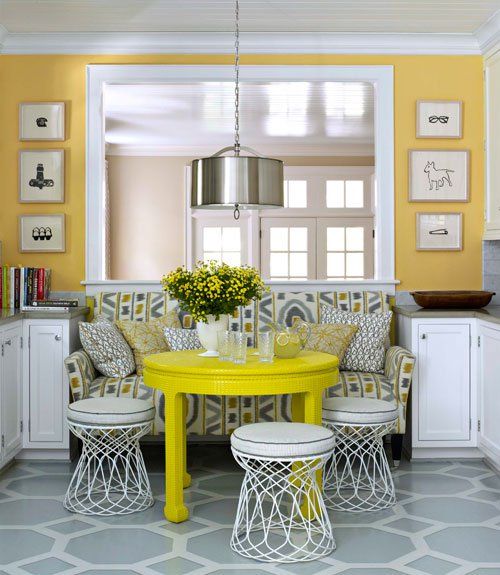
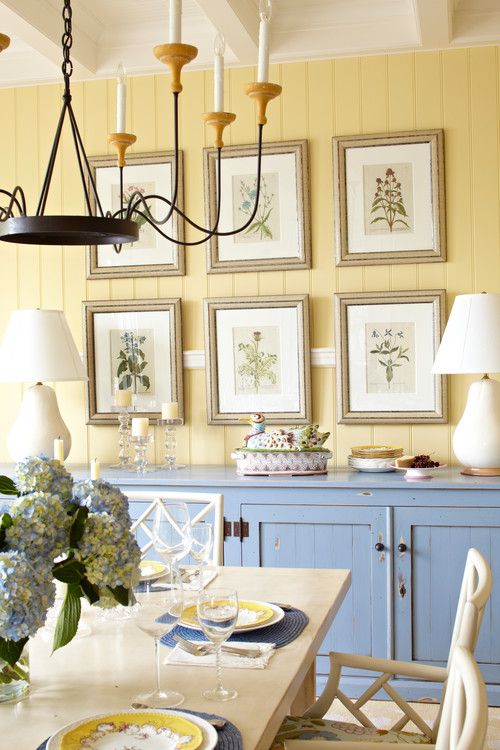
Yellow paint colors for dining room
The 15 Best Yellow Paint Colors
A guide to help you pick the perfect shade of yellow paint
By
Ashley Knierim
Ashley Knierim
Ashley Knierim is a home decor expert and product reviewer of home products for The Spruce. Her design education began at a young age. She has over 10 years of writing and editing experience, formerly holding editorial positions at Time and AOL.
Learn more about The Spruce's Editorial Process
and
Melissa Epifano
Melissa Epifano
Melissa is a news writer for The Spruce. She covers a wide range of topics including trends, decor ideas, and design tips.
Learn more about The Spruce's Editorial Process
Updated on 09/07/22
The Spruce / Almar Creative
Yellow is believed to be notoriously difficult when it comes to painting a room. However, once you understand how to choose this delightful color, its beauty can transform a space.
Yellow is more versatile than you might think. The right shade of yellow paint can be daring and sophisticated or soft and calming. It's also a classic color that pairs well with other traditional tones. Whether in kitchens or guest rooms, yellow can be a vibrant, beautiful choice that brightens up a space.
Overview
- Color Family: Neutral, pastel, or saturated
- Complementary Colors: Purple
- Pairs Well With: Whites, pinks, browns, grays, and shades of red
- Mood: Cheerful and uplifting
- Where to Use: Gives any room in the house a glow, good for front doors and exteriors
Here's a guide to the 15 top yellow paint colors and how to make them work in any room in your home.
-
01 of 15
The Spruce
If you want to experiment with yellow, but you're not quite ready to go full-on fiery, you may love the softness of Sherwin-Williams Cachet Cream (SW 6365).
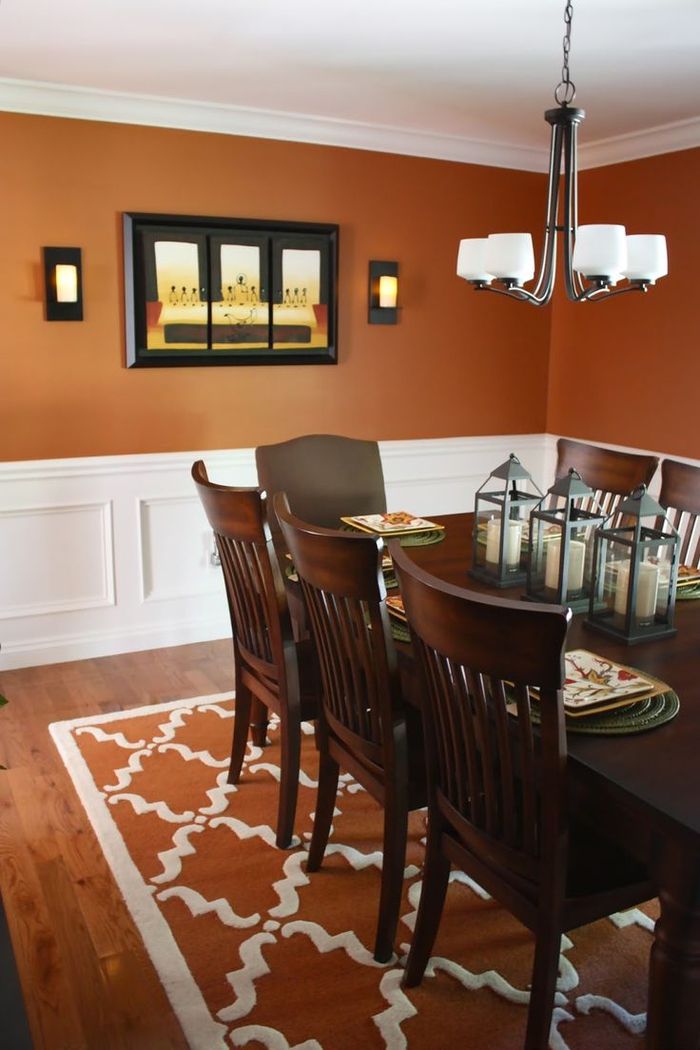
 This peachy neutral yellow paint color is a subtle hue perfect for living rooms, dining rooms, or entryways.
 The underlying peach in Cachet Cream helps it pair well with reddish wood, while its ginger tones will intensify if placed near green accents.
Tip
The secret to finding the perfect yellow paint color is to identify the undertone. Yellow often has a green or orange undertone that can completely change how it looks in your home. Once you've narrowed down your options, sample any color you are considering before committing it to your walls.
-
02 of 15
The Spruce
Behr's Turmeric (M290-7) is not for the faint of heart, but in the right room, it adds endless mood and personality. This dignified deep yellow is perfect for living rooms or dining rooms, and it pairs well with other bold colors such as orange or teal. If you want a yellow that packs a sophisticated punch, this is it.
-
03 of 15
The Spruce
Valspar Saffron Ivory (7003-21) is a soft and elegant neutral yellow paint color that is perfect for just a hint of color in any room.
 Nearly white—but not quite, and always depends on the way the light in the room is reflecting on the walls—Saffron Ivory lends itself to be the main color in a space filled with warm and saturated accents. This soothing color would be an excellent choice for your bedroom or guest room.
 -
04 of 15
The Spruce
Joanna Gaines of Magnolia fame is a pro at selecting colors to accent the perfect modern farmhouse. Magnolia Heirloom Yellow is a rustic and antique color with a little bit of green undertone mixed in to make it almost a muted mustard. It's an earthy tone that feels grounded and mature and works well in nearly any space that needs just a hint of bold sophistication.
-
05 of 15
The Spruce
Bright yellows are happy and mood-boosting. Paint a room with Behr Bicycle Yellow (370A-3), and you won't be able to keep your smile away every time you step in the room. Bicycle Yellow is the color of sunny kitchens (even when there is no sun around) and welcoming guest rooms.
Tip
When used as a room's dominant color, bright yellow may also be fatiguing to the eye due to the high amount of light it reflects. Always pair the brightest yellows with lots of soothing neutrals like creamy whites and black accents.
-
06 of 15
The Spruce
Gold is a sophisticated and traditional color that has never gone out of style. For a deeply elegant look, opt for non-metallic gold paint colors that are considered more neutral and less splashy. Valspar Redstone Dining Room Gold (3006-8A) is a warm and bold gold paint color with earthy undertones. As its name suggests, this color is a gorgeous choice for dining rooms, but also works well in a den or reading room. For a deeply elegant look, opt for non-metallic gold paint colors that are considered more neutral and less splashy.
-
07 of 15
The Spruce
If you love the idea of using a light green in your home but are afraid it could become a Kermit-inspired mess, Sherwin-Williams Moonraker (SW 6701) is the perfect yellow paint color to consider.
 Moonraker is a yellow-green hue that is muted enough to make it surprisingly versatile. Consider this color for laundry rooms, nurseries, or dining rooms.
 -
08 of 15
The Spruce
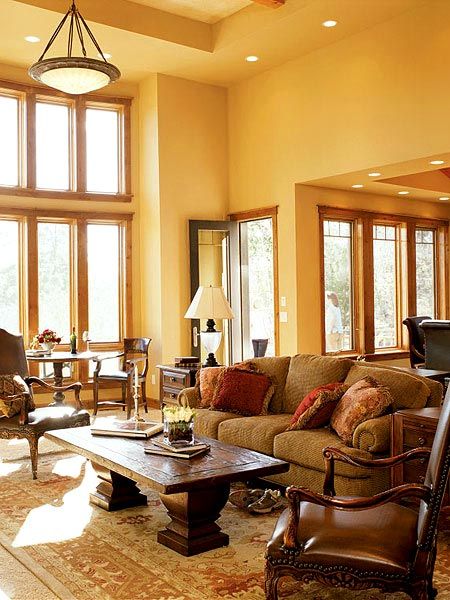
Benjamin Moore Hawthorne Yellow (HC-4) is a traditional medium yellow paint color that is easy to work with. This rich yellow color is extremely popular with designers and colorists because of its presence and depth. Hawthorne Yellow shines as an exterior paint color but is also a favorite choice for front doors. It's just bright enough to add a little pop of color while remaining mature and sophisticated.
-
09 of 15
The Spruce
Annie Sloan is the queen of chalk paint, and her versatile English Yellow hue is the perfect color for creating bright and elegant poppy accents. The color mimics the yellows used in Chinese hand-painted wallpaper but also works well in a vintage-inspired room. Use this chalk paint to DIY a dining room table or dresser, and add the perfect amount of cheer to an otherwise neutral or all-white room.
-
10 of 15
The Spruce
Energizing but not overly bright, this hue is a great addition to a wide range of rooms. Dreary home offices in need of a joyful upgrade would do great with this painted on the walls. Anyone who may be a little bit timid in using bright yellow in their home can also incorporate this as an accent wall.
-
11 of 15
The Spruce
Take it down a notch with this pale yellow that still holds its own in a room. It won't be an overtly bright zing, but Backdrop's Miami Parasol provides the warm, creamy yellow that can instantly warm up a room. Bathrooms, kids' rooms, and guest rooms are all great candidates for this color.
-
12 of 15
The Spruce
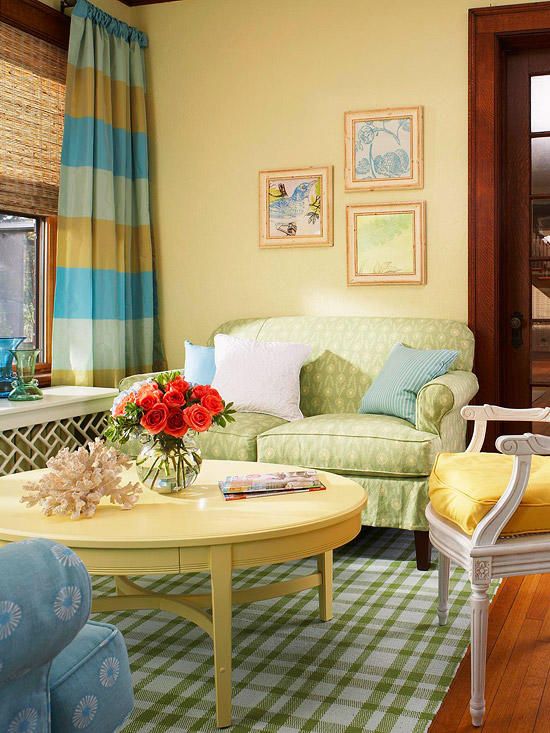
Chartreuse is a polarizing color—some can't stand its electric vivacity while others embrace it wholeheartedly. Farrow & Ball's version of it is much more modern and easier to get behind. It's a slightly more muted tone that would do well in retro and boho homes alike.
 Paint it around a living room or try it in the kitchen for extra zest.
 -
13 of 15
The Spruce
Gold can be so many different things—regal, cozy, modern, and vintage. Depending on how you use it, the sandy Summer Pear from Magnolia can be a great addition to living rooms, sunrooms, and dining areas. Whether it's for a plant-filled bohemian room or a more contemporary one—it's a relaxed starting point for venturing into the world of yellow paint.
-
14 of 15
The Spruce
It's possible to have sunshine year-round without leaving the comfort of your home. Benjamin Moore's aptly named "Sunshine" paint is not for the faint of heart, but even the most conservative color fans can appreciate the happy glow that this hue brings to any room. Even if it's not selected for walls, painting this around door frames or on trim and baseboards is an exciting way to infuse color in a room.
-
15 of 15
The Spruce
Combining the warmth of yellow with the satisfying neutral tone of beige is Backdrop's Mood Lighting.
 At first glance, it hardly even appears to be yellow, but it is—and therefore you can say you do have a yellow room. Living rooms, nurseries, and kitchens are just a few of the viable spaces that could easily accommodate this color.
Determine how much paint you need with The Spruce's Paint Calculator.
16 Yellow Bedroom Ideas to Copy
The 7 Absolute Best Yellow Paint Shades, According to Designers | Architectural Digest
From a daffodil staircase in a moody farmhouse to a taxi yellow–tinged living room, designers seem to be in a frenzy to find—and spec—the best yellow paint. A surge of product collaborations, eye-catching home tours, and appearances in a handful of color-of-the-year schemes all make the case: In 2022, yellow is in. Though the statement shade has become a pièce de résistance in many an interior, swathing a room in a canary hue is arguably less conventional than, say, a soothing blue or of-the-moment pink. Despite its sunny disposition, choosing the wrong shade—or even using too much of the right one—can be cloying, blinding, or just plain too much. The secret? Finding the ideal undertones to match a room’s size and natural light.
Ready to embrace the color yourself? AD PRO asked seven designers about the best yellow paint options—here are the ones they feel deserve the spotlight.
Funky Yellow by Sherwin-Williams.
A kids’ room by Atelier Davis sports the buttery color.
Photo: Pablo Enriquez
Funky Yellow by Sherwin-Williams
“This yellow has so much depth. It seems a little, well, funky at first, but it’s the kind of color that changes in the light. It has a little bit of a green undertone, but it’s still warm and is great for kids’ rooms. Yellow fades easily, so it’s better to start more saturated!” —Jessica Davis, Atelier Davis
Goldfield by Benjamin Moore.
Catherine M. Austin used Goldfield by Benjamin Moore on the ceiling in the Kips Bay Decorator Show House Palm Beach.
Photo: Carmel Brantley
Goldfield by Benjamin Moore
“Our favorite go to yellow is Goldfield from Benjamin Moore. It is the perfect sunshine yellow that is not too strong or too saturated, and has a lovely softness to it. We recently used this color for our entry and kitchen ceiling in the Kips Bay Palm Beach Show House. We had a rainbow of colors in our spaces and this yellow worked beautifully with every shade we put next to it.” —Catherine M. Austin, Catherine M. Austin Interior Design
Beeswax by Domingue Finishes was created by color expert Eve Ashcraft—and naturally, it’s one of her favorite yellow paints.
The shade in an interior designed by Hadley Wiggins.
Photo: David Benthal
Beeswax by Domingue Finishes
“Hadley Wiggins had the most beautiful range of fabrics that steered us to this lovely yellow. It’s a color that I developed for Domingue Finishes. Called Beeswax, it’s a limewash paint and it just glows when the sun hits it. It seemed like the perfect choice for this small, waterfront bedroom.” —Eve Ashcraft
French Quarter Gold by Benjamin Moore.
An interior designed by Noz Nozawa that uses the goldish paint color.
Photo: Noz Nozawa
French Quarter Gold by Benjamin Moore
“I love this shade of yellow. It’s a rich, glowy hue, and its earthy green undertone adds complexity to the color, which changes as the sun moves throughout the day. It’s not a color we typically associate with bedrooms, but waking up into a room this color feels like being greeted with a morning person’s smile each day.” —Noz Nozawa, Noz Design
India Yellow by Farrow & Ball.
India Yellow by Farrow & Ball
“We love this striking, punchy yellow as the deep mustard tones give it an earthiness, making it a fitting color for both town and country homes. To create an immersive experience in a small room, we used India Yellow in full gloss on the ceiling and below the dado rail to let light bounce playfully around the space.” —Katie Glaister, K&H Design
Babouche by Farrow & Ball.
The color in an interior by Katie Rosenfeld and Company.
Photo: Read McKendree / JBSA
Babouche by Farrow & Ball
“I see yellow as a neutral—it literally goes with jewel tones of all shades, browns, blacks, and primaries. I even like yellow with pastels. Yellow is happiness in a color, for sure.” —Katie Rosenfeld, Katie Rosenfeld and Company
Curry by C2 Paint.
One of the best yellow paints, according to designer Zoe Feldman, is Curry by C2.
Photo: Stacy Zarin Goldberg
Curry by C2 Paint
“I love the shade Curry by C2. It has a saffron, henna quality that makes it feel old-world even though its saturation is robust. It adds color, depth, and warmth to a space without it feeling bright or chaotic, and it plays well with a lot of different colors. Although it has a lot of personality, it reads somewhat neutral, making you feel warm and ensconced, which is why we often use it in a jewel box manner.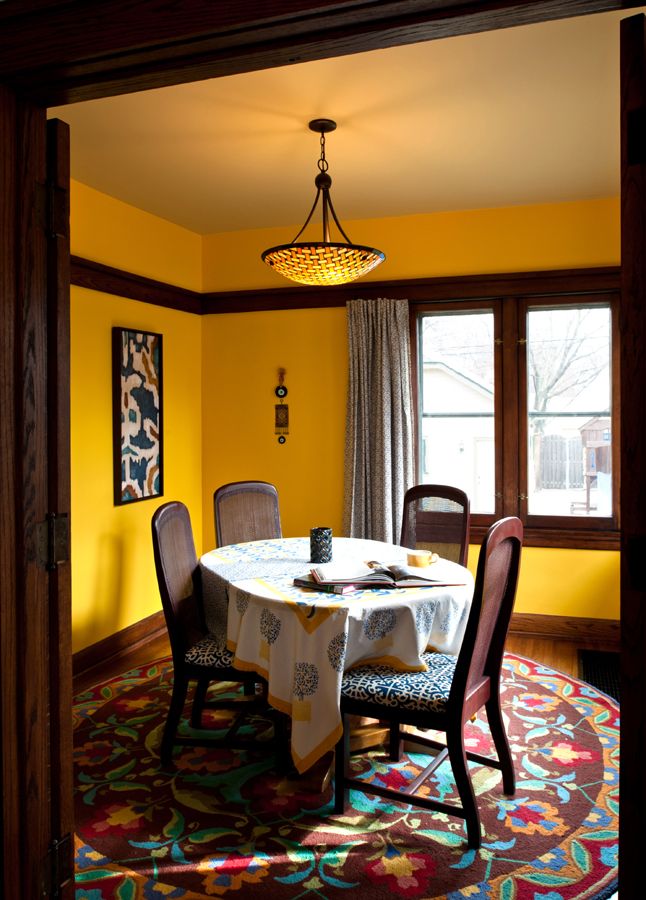 ” —Zoe Feldman, Zoe Feldman Design
The 8 best shades for small kitchens - read on the Manders Blog
Color is the key to creating the perfect small kitchen interior. With the help of wall paint, you can decorate both a light-filled air space and, on the contrary, a bright and cheerful interior. We share eight of the best shades that will inspire you for the perfect renovation.
1. Sunny Yellow
Yellow paint in a small kitchen is a guaranteed way to cheer up, no matter the weather outside. In the interior in the photo below, bright yellow paint was used not only for painting cabinets, but also for walls, doors and wooden architectural details. Please note that even the ceiling is painted yellow - thus, it was possible to compensate for its small height and divert attention from this lack of space.
Giallo #337, Little Greene.
2. Clay Shade
Clay Shades are a trendy alternative to boring beiges and creams. They also add warmth to the interior and are ideal for a small kitchen.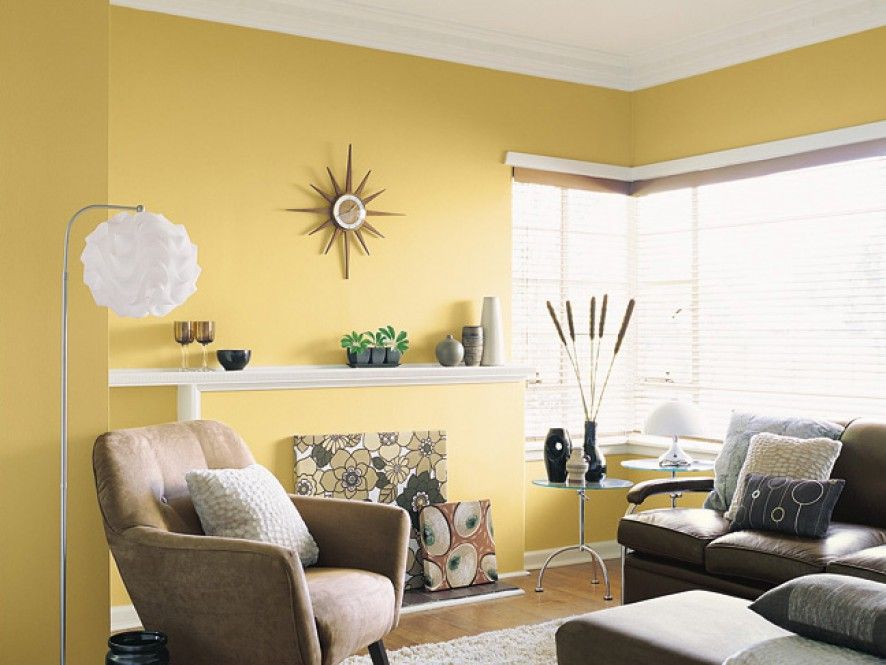
In the interior of the photo, the facade and apron are painted in an elegant shade of Dolphin No. 246, and part of the wall is covered with beautiful wallpaper depicting plants and birds.
Dolphin #246, Little Greene. Great Ormond Street Wallpaper in Signature, Little Greene.
3. Blue
Blue symbolizes the sky and the sea and is associated with open space, making it ideal for a small kitchen. Often blue is avoided because it is considered a cool color, but any cool shade has alternatives: for example, Stone Blue No. 86 from Farrow & Ball looks soft and warm and creates an especially cozy atmosphere in a small room.
Stone Blue #86, Farrow & Ball.
4. Herbal greens
The best way to create a feeling of freshness and summer time in the interior is to rely on green shades. This color will work especially effectively in the interior if you have a park, a garden or a dense crown of trees outside your window: once you match the tone of the exterior, you can slightly go beyond the boundaries of your small area.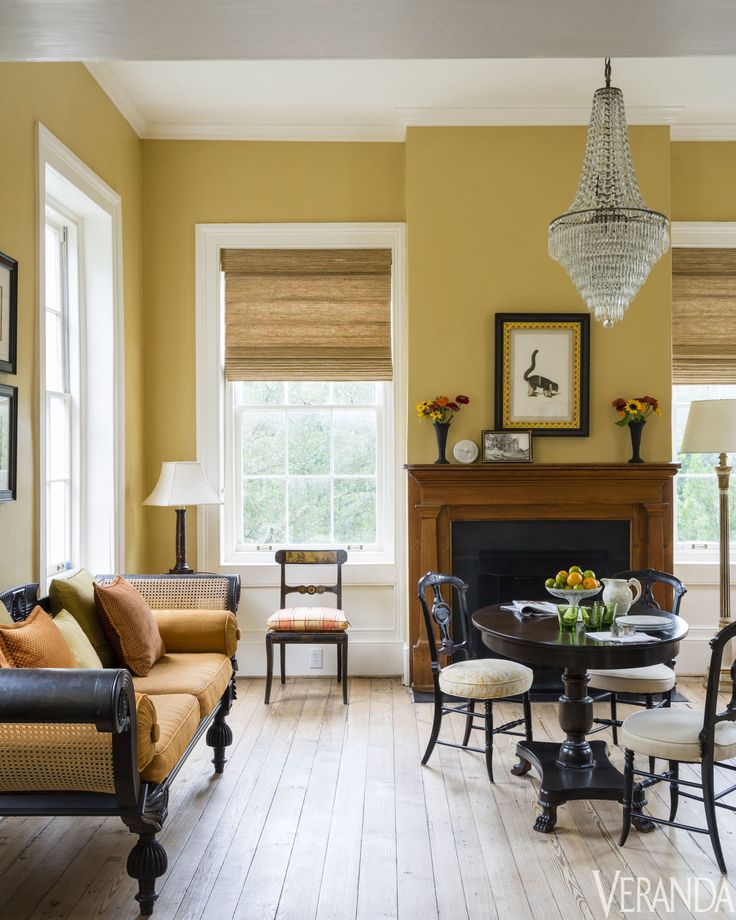
In the interior in the photo, it is no coincidence that the designer chose a denser shade of green for the walls, and a couple of tones lighter for the ceiling: this is another good trick to visually raise a low ceiling.
Garden #86, Pea Green #91, all Little Greene.
5. Chocolate
Brown shades are suitable not only for country kitchens, but also for urban ones. Especially if you combine them with the right colors. For example, this delicious chocolate shade - Chimney Brick No. 247, Little Greene - works especially elegantly paired with white. By the way, do not be afraid to use the first one to the maximum: by painting not only the walls, but even the furniture in brown, you will visually dissolve it in the interior.
Chimney Brick #247, Little Greene.
6. Blue + yellow
One of the most harmonious and pleasing to the eye combinations. Using this combination in the interior, do not forget that it is better to paint the lower part of the wall or headset in a dark shade, and the upper part in a light one.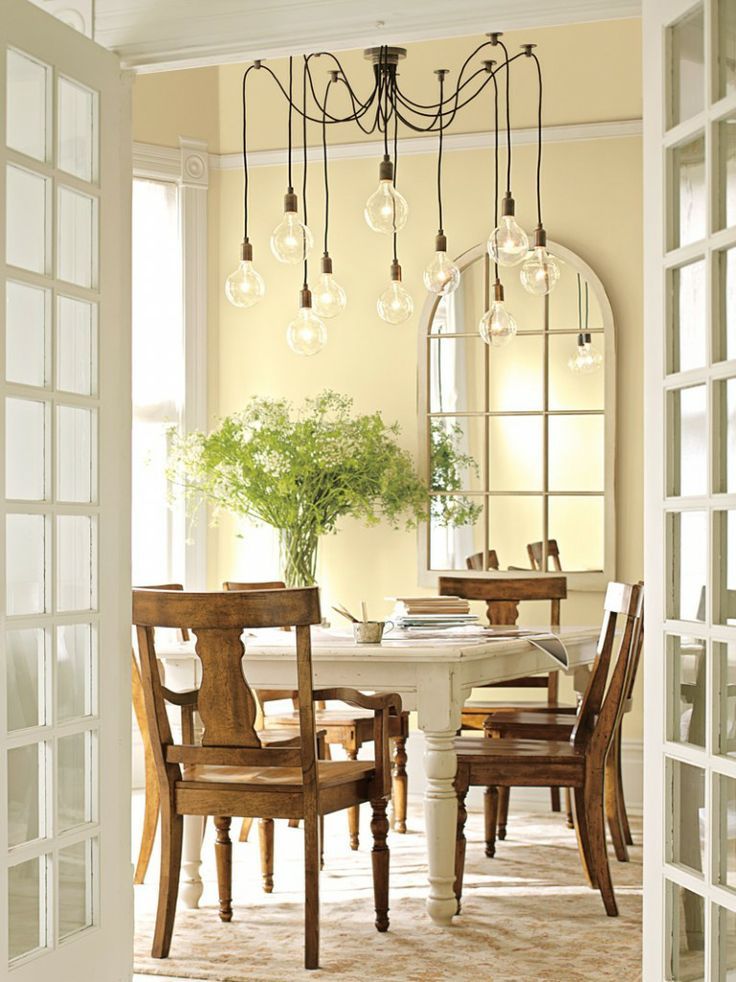 You can weaken the color duet with a neutral cream shade. See how vividly, but unobtrusively, this scheme works in a real interior.
Woad #251, Sunlight #135, Stock #37, Heat #24, all Little Greene.
7. Soft pink
A slight blush will add charm to even the smallest kitchen. This pastel shade of pink looks quite neutral, but at the same time, unlike the banal beige or white, it instantly creates a romantic and delicate atmosphere in the interior. And small kitchens love it.
Setting Plaster #231, Farrow & Ball. Photo: Studio Surface.
8. Noble Gray
For lovers of a discreet and sophisticated aesthetic, Hardwick White No. 5 is the best choice. This elegant shade of gray in certain lighting and the presence of contrasting black elements in the interior seems much lighter than it actually is. At the same time, it looks more interesting than the usual boiled white color. We think this is an amazing find for Scandinavian-style interiors.
Hardwick White #5, Farrow & Ball.
Popular Manders Blog Posts
- 10 Paint Hacks for Small Spaces
- Look Up: 10 Design Ideas for Your Ceiling
- New Hits 2022: 5 Actual Shades for Your Walls
10 Mistakes About which you should know - INMYROOM
If you think that painting takes a maximum of half an hour, and the walls become like new, we have to disappoint you. Surface painting is a job that is not without nuances: the process can be delayed due to the wrong paint, roller or not on time applied layer. Also important is the time of day at which you pick up the instrument. Workout, of course, the best way to achieve success, but we recommend avoiding other people's mistakes - we tell you how.
Error #1: painting unprepared walls
Small defects, dust, grains of sand, bristles from the brush during the previous staining may be under the paint and adversely affect the result. Under a layer of paint, all the shortcomings will be visible - it remains either to accept or clean the wall and repaint. And possible greasy spots will appear, no matter how many layers you cover the surface. Defects will be especially noticeable if you use glossy paint.
What to do: To avoid double work and unpleasant surprises, prepare the wall in advance. Take sandpaper or a special plaster sanding tool and go over the bumps and defects. After - brush off the dust with a brush or broom. Stains can be removed by wiping the wall with a damp cloth and soap.
Error #2: Ignoring primers
Do not use primer before painting walls? Don't be surprised if the result is uneven painted wall or paint overrun. The thing is that the primer provides a lower surface hygroscopicity, which allows you to save money for dyeing. And also the base gives the "adhesion" of the surface to the paint, which improves wall painting.
What to do: select the appropriate primer for walls. Apply vertically with a brush in small stripes, and then horizontally - perpendicular to the first layer. After Once the base has dried, you can cover the surface with the first coat of paint.
Error #3: Wrongly diluted paint
Paint can be too thick consistency or becomes such in the process of work. Then it is necessary dilute is an intuitive action. But what to dilute is already a question that can spoil both the material and the whole work. For example, if dilute water-dispersion paint with white spirit, it will cause adhesion of polymers. If you paint a wall with such a composition, the result will be of poor quality - disappointment is inevitable: the paint will lie unevenly, maybe even lumps. If, on the contrary, oil paint is diluted with water, it simply does not mixed with the bulk.
What to do: read on the bank with paint the composition and select, accordingly, the means that you will dilute the product. Do not pour in too much water or solvent - it is better to add little by little, thoroughly mixing the paint.
Error No. 4: painting without a test
Color selection is quite a complex process, especially if the shade has to be combined with another tone or drawing. The unfortunate masterpiece will have to be repainted, and so the process can be repeated indefinitely. The same goes for the shade that you have to "extract" with your own hands with the help of color.
What to do: add coloring concentrate into the paint little by little, thoroughly mixing the contents. For start pouring a small amount of paint into a small container and add a couple of drops colors - see what color you get. Get the tone you want, and then do the same in a larger bank if you like the result. To make sure the color is compatible with the overall decor of the room, try to paint - apply paint in an inconspicuous corner and wait for it to dry. If the total will suit you - for business.
Error #5: incorrect tool selection
Using the right brush or roller is just as important as choosing the right paint. And the point here is not in a matter of taste. In order to evenly paint over the wall, you need buy a couple of rollers and a brush. First you will "roll up" the surface, and brush - paint corners and hard-to-reach places.
What to do: for For the first coat of paint, it is better to choose a roller with a long pile - 1–1.5 cm. It will pick up more paint, which will make it faster and easier to get a uniform color. For re-painting more suitable roller with a short pile - 6-7 mm: it will help to use the paint more economically, and definitely won't leave streaks. Bet on a brush with natural bristles - it does not will leave lint on the surface.
Error No. 6: applying paint "in different side"
If you apply paint vertically, then horizontally, and then completely, as you have to, in the hope that when it dries, the wall will have a decent look - you you are making a serious mistake. All strokes can show up, especially if you're wielding brush.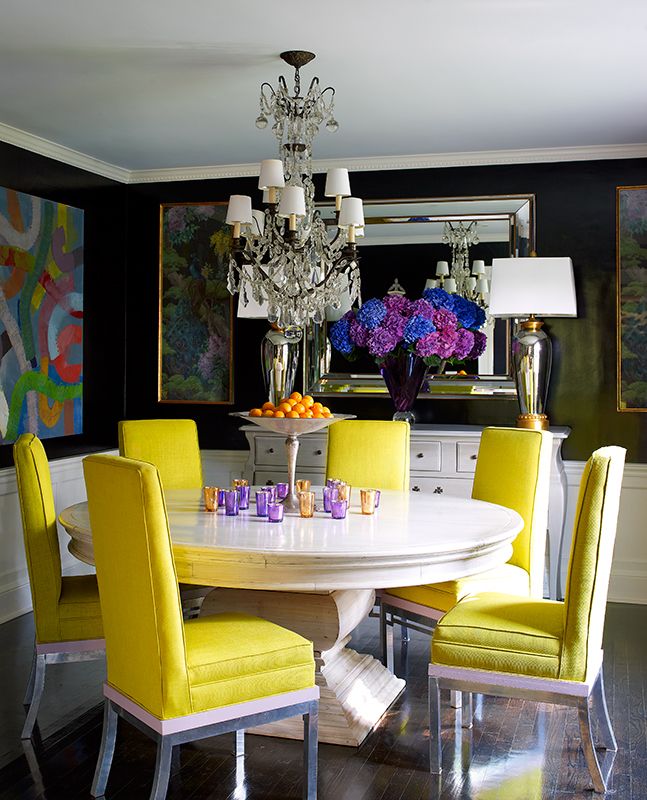
What to do: choose one painting option - vertical or horizontal - the paint will lie evenly, and the coloring will not look ridiculous because of the chaotic strokes. When painting in several layers, you can alternate methods, for example, paint the first layer vertically, the second horizontally.
Error No. 7: applying paint in one layer
When applying paint in one layer of coloring may be uneven, and if you want change the color of the surface drastically - you definitely won’t be able to finish the job quickly. Even if you change from a light shade to a darker one, the first color will show through.
What to do: Apply two or three coats for an intense shade. The first will allow you to distribute the paint over the surface; the second and third - it is better to shade it, even out the color and fill small irregularities.
Error #8: over wet paint
Of course I want to finish painting faster and enjoy the result. Therefore, we often do not think about the consequences of painting on a “raw” wall. AT as a result, the wet layer begins to come off, stick to the brush or roller. Oil paint, in turn, can go bubbles - all work will have to be started again. True, after waiting for the paint to dry, and sanding places with defects.
What to do: be patient. While the paint dries, do something else. Pay attention to the instructions on the can, which indicate how long the paint takes to dry completely. If this emulsion on one base, it will take a little time - and you will be able to get to work again.
Error #9: lack of paint
This can be a serious problem. First, because in time a trip to the store, an already applied layer may dry out (after drying, the joint between fresh and already applied paint will be noticeable). Secondly, it is difficult to find the right shade if you added color to the paint. on one's own.
What to do: the easiest option is to take more.