How to polish stone tiles
How Do You Natural Polish Stone?
There are almost as many ways to utilise stone around the house as there are sorts. To wit: granite kitchen counters, sandstone hearths, and slate floors. Most natural stone lacks shine unless it has been subjected to some sort of grinding and polishing process. Stone floors and countertops require hardly any upkeep to keep sparkling. Use only stones that are safe for eating during cooking.
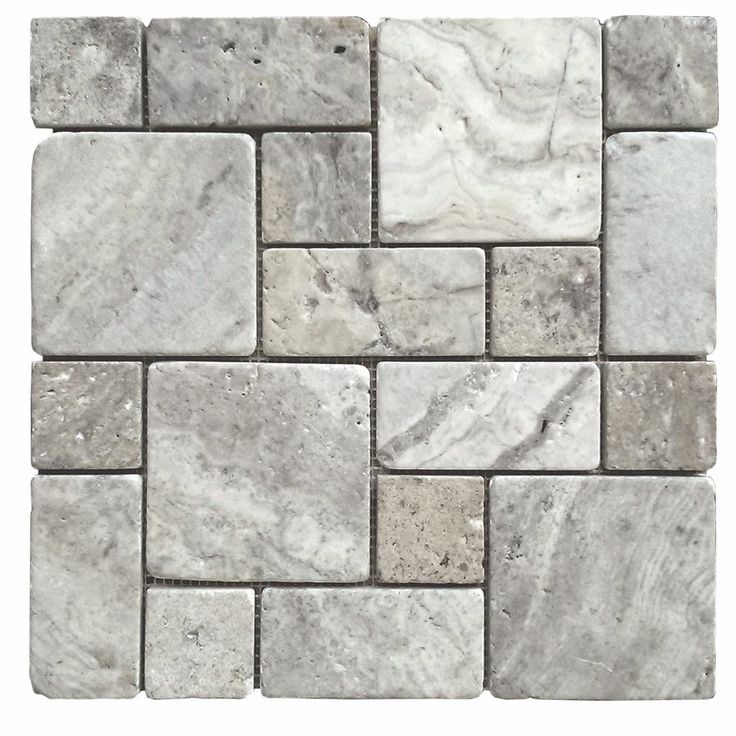
When using natural stone, the blocks must be cut, shaped, and finished prior to installation. Depending on the technique and aesthetic preference of the stonemason, tiles and slabs can be finished in a variety of ways. Tumbled and aged surfaces are preferable for antiques, while flamed and brushed finishes are ideal for outdoor and rustic interiors. Polished natural stone is common because it can be made to look both traditional and contemporary.
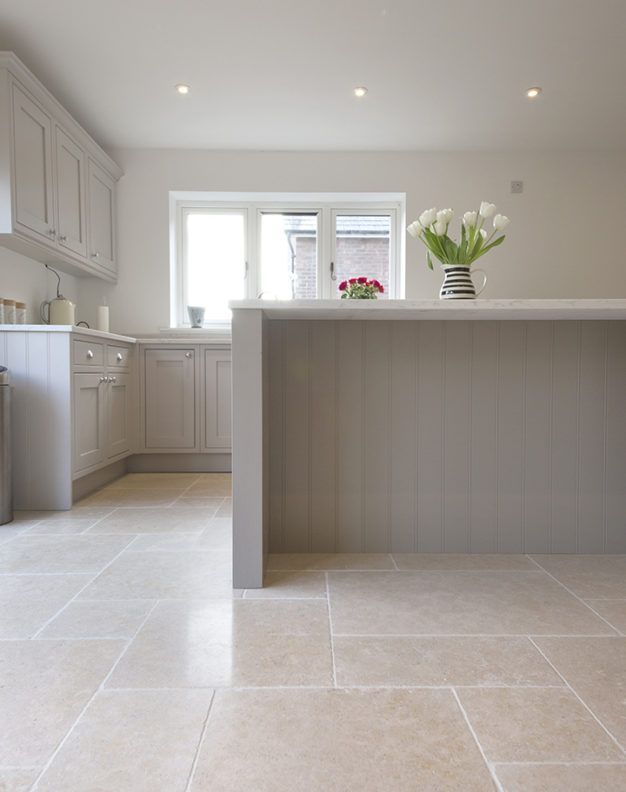
Rather than installing a rough, unfinished natural stone floor, polished tiles are a fantastic option.
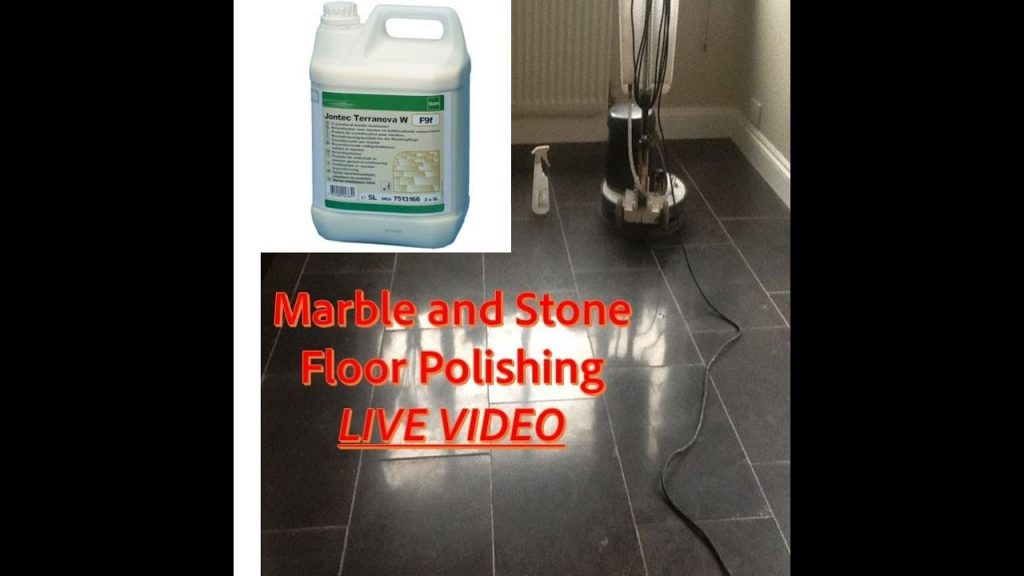
The polish cream by Lithofin will bring out the shine in your floor. If you want shiny tiles, try these methods.
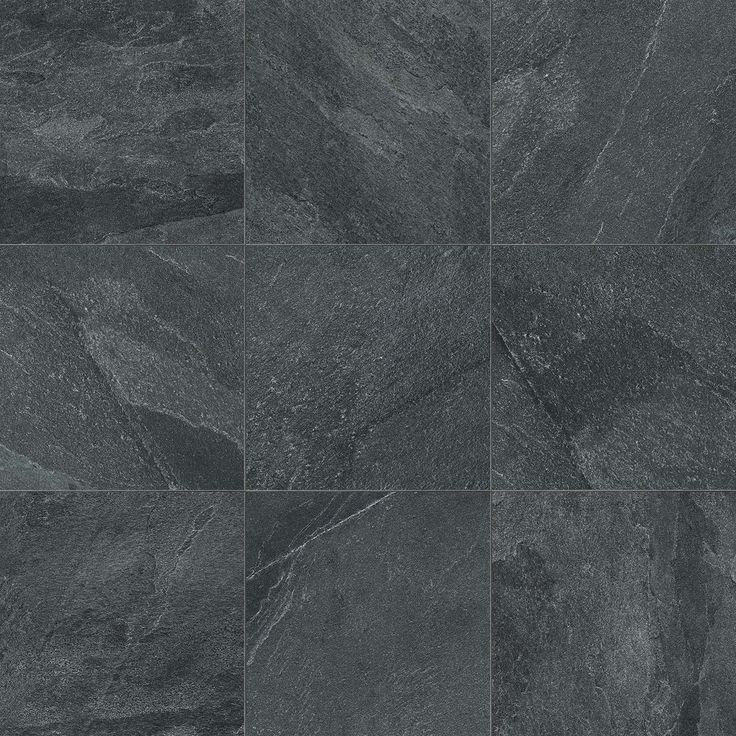
Stones like marble, granite, limestone, slate, and travertine are durable and simple to maintain. They are able to maintain a comfortable temperature and do not become a breeding ground for allergens even when temperatures rise.
They're tough and heavy, but they're not indestructible. They can become dull through use. determine the extent of the damage and repair the stone surfaces at no cost to you. Walls, floors, and worktops all require unique care for stone. Your polish has to be redone by experts.
Stonemason supplies is the place to go if you need high-quality tools and materials.
Get This Straight Before You Jump In
Natural stone tiles should be carefully cleaned before being treated.
Before applying natural stone polish, sweep the area to be polished with a soft-bristled brush to eliminate any dust or debris. Then, use a dust mop to get rid of any leftover dust or dirt. In order to protect your floor from scuffs, you should pick up any trash that may have landed on it as soon as possible.
You can use a natural stone cleaner to give your tiles a thorough cleaning once you've eliminated all visible dirt and grime. It may be necessary to dilute some cleansers with hot water before using them, while others can be applied straight from the container. The instructions for using a stone cleaner can be found on the product's packaging and should be followed exactly.
Allow your tiles a day to dry in the air after mopping, or dry them by hand with a soft microfiber cloth if you're in a rush.
Steps to Take Before Installing a Floor
If the natural stone tiles you're using have already been honed (or smoothed), you may skip this step. To continue in all other circumstances.
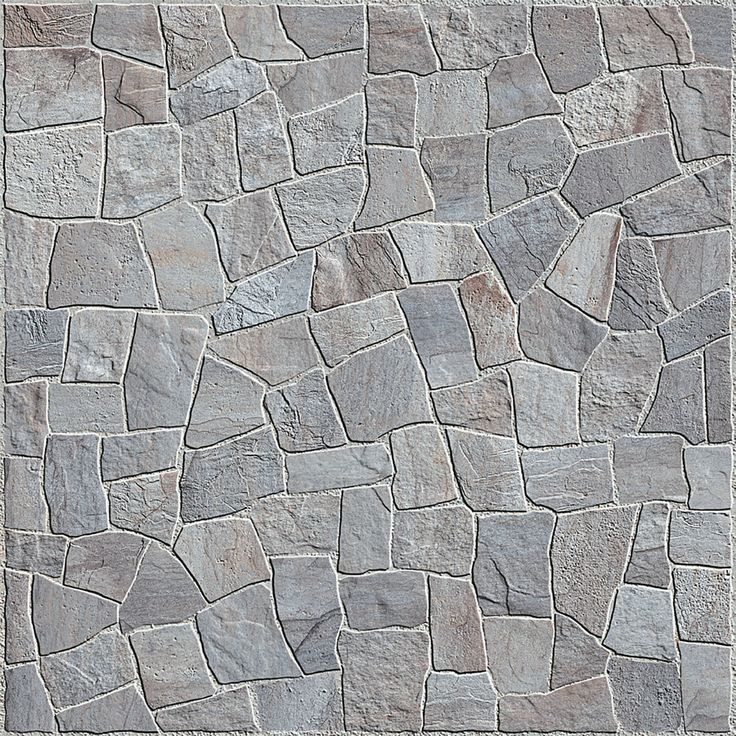
Natural stone tiles often have a rough surface that cannot be polished to a smooth finish. In any case, if you're tired with the current setting, you can always replace the tiles and give the place a sleek new look.
Tiles made from rough stone can be ground down to a smoother surface in preparation for polishing, which has the added benefit of making the floor more uniform. As an alternative to sanding, grinding can be used to effectively get rid of blemishes and deep scratches.
After the tiles have been cut down in height, a diamond pad can be used to smooth off any remaining rough spots.
Polishing is a great technique to restore the lustre of natural stones like marble and granite, and it also helps get rid of scratches. You may avoid having to remove fingerprints, water marks, and soap scum by polishing regularly. For best results when polishing natural stone with granite, follow these easy steps.
Keep The Stone Cleaned Before Polishing It
Cleaning natural stone thoroughly is a prerequisite to polishing it. Start by wiping it down with a lint-free cloth and a stone-safe granite cleanser, like Granite Gold Daily Cleaner®. Doing so will get rid of any grime, crumbs, or soap film that may have accumulated.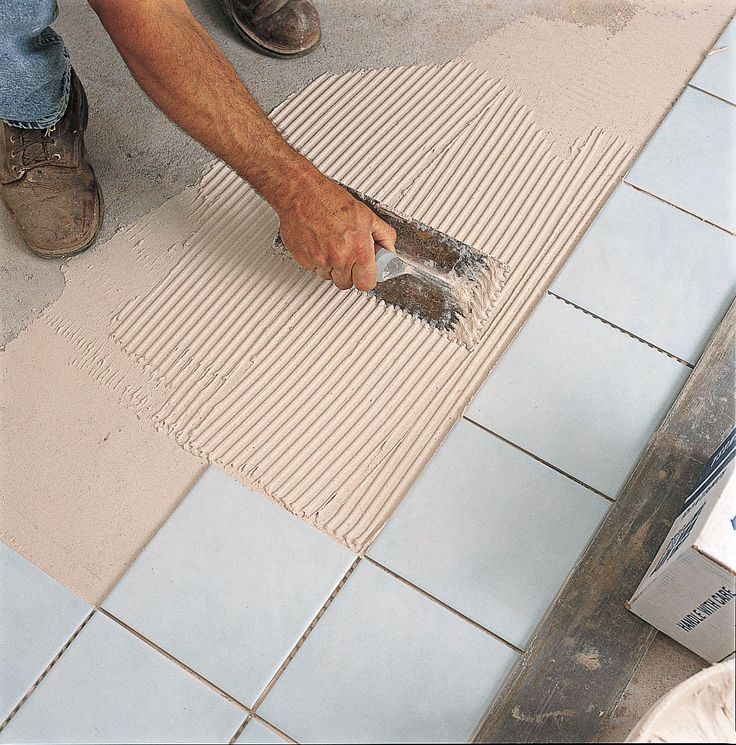 Next, dry your counters completely with a clean, soft cloth.
These stone polishing equipment are an absolute must for any stonemason's future endeavours.
After Washing, The Stone Must be Sealed
While sealing natural stone before polishing is not necessary, it is nevertheless important to safeguard it from spills and stains. Wait 24 hours after sealing the stone before polishing it. Stone that can seal itself is simple to work with. After you've cleaned, spray the area with Granite Gold Sealer®. Buff the stone after rubbing the sealer into it in 3-foot sections.
Remove Soap Scum by Polishing the Shower Walls
Beautiful and high-end as natural stone showers may be, they are just as susceptible to the buildup of soap scum as ceramic tiles. Stone has inherent beauty and shine, but polishing it enhances those traits.
Water stains and soap scum can also be avoided using this strategy. A stone shower wall that has been polished, especially in conjunction with a sealant, creates a surface that is both smoother and more slippery.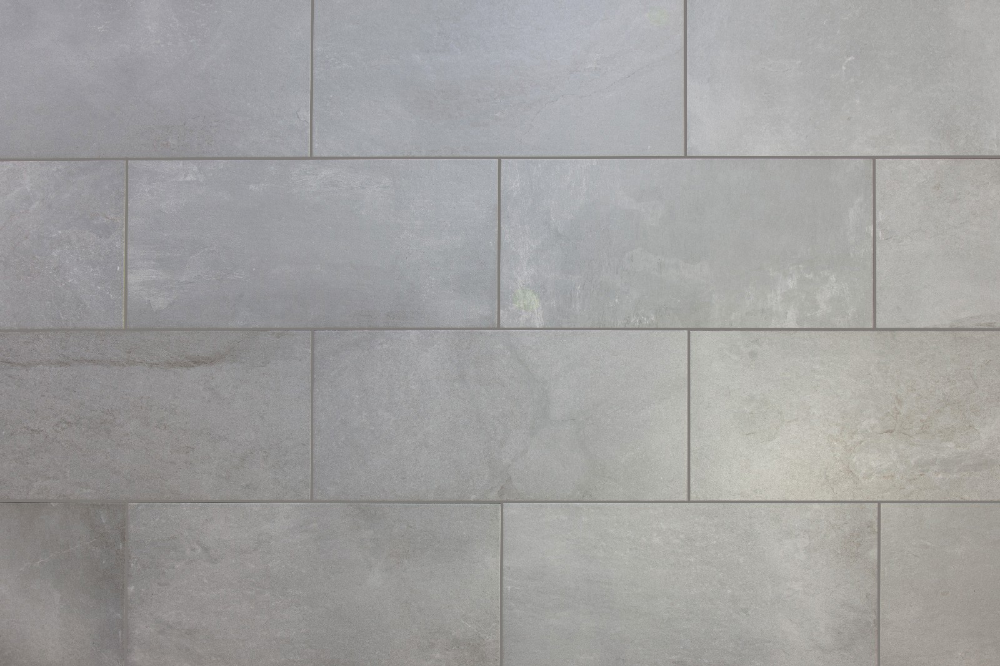 This decreases the likelihood that soap scum will build up on the stone's rough surface.
You Should Never Buff Stone Floors
You can keep your natural-stone floors looking great with just regular sweeping and dust mopping with a dry mop. If you have stone tile flooring, you can make it less susceptible to stains by cleaning it with a stone-safe cleanser and then sealing it.
Still, you need to be sure that this is the limit of the care you give to your stone flooring. Never put polish on the floor, not even in the shower, because it can make the floor exceedingly slippery, increasing the risk of slipping and falling. Backsplashes, tub surrounds, shower walls, and countertops all benefit from being finished with a glossy polish.
Natural Stone Weekly in Poland
One time each week, polish natural stone with a product designed for use on stone. Apply the polish by spraying it straight onto the stone, then buffing it with a lint-free cloth or paper towel once it has dried. Because Granite Gold Polish® is non-toxic, it can be used on counters that will come into contact with food.
Over time, a polished finish may lose its shine, but with proper maintenance, it can regain its original lustre.
It's Crucial That You Make the Correct Purchase
Natural-stone polishes such as Granite Gold Polish® are designed for home use, so homeowners can simply keep their countertops looking shiny on their own.
The most effective granite polish is the spray-on variety that can be cleaned off with a paper towel or lint-free cloth and then polished to a shine by hand. You may locate this polish in the cleaning section of most hardware stores.
Come See us For All Your Stone-Cutting Tool Requirements
In order to get the polish on, you must first clean.
Over time, if a stone isn't polished, a patina can form on its surface and obscure its sheen. Using a granite everyday cleanser, wipe off the surface and then let it dry to eliminate the patina. Polishing a dirty stone increases the likelihood that an unattractive patina may form, which can only be removed by vigourous cleaning.
It's Important to Seal The Surface Before Polishing
Stone maintenance consists of three steps: washing, sealing, and polishing. Polishing untreated stone might result in a dull or uneven finish. Wait 24 hours after applying the sealant before applying the polish to allow the sealant to cure.
Separate The Polishing Process Into Steps
In order to polish countertops and panels more quickly and efficiently, you can divide them into thirds or fourths. It is important to use a lint-free cloth to polish the surface evenly.
Use Appropriate Buffing Methods
Buffing is the last stage in polishing, and it's best to do it using a dry cloth that doesn't leave behind any lint, ideally one made of microfiber. After the polish has been applied uniformly, you can proceed with this step. Using the time-honored circular buffing method, start with larger circles and work your way down to smaller ones as the polish dries and the surface begins to shine. As a result, you can rest assured that the outcomes will be optimal. When you press down on the fabric, it will shine up to its maximum potential.
Stop Falling
Buffing marble or granite to a high sheen is conceivable, but it's not advised for flooring in public areas. Avoid having natural stone polished unless done by an expert who specialises in stone repair, as doing so can make the surface extremely slippery.
Methods for Cleaning Natural Stone
Pre-Inspection
It is important to thoroughly check natural stone before undertaking any cleaning, repair, or sealing processes. At this stage, we'll figure out a maintenance schedule that's tailor-made for your stone's specific needs.
Make Local Arrangements
We will cover the ground around your stones with plastic and tape them off with blue tape because we know how much you value your home. We do this because we appreciate the value you place on your home.
Cleaning
Many elements, including floor composition, maintenance, soiling conditions, foot traffic, and space utilisation, influence how each floor is cleaned. First, we use the most cutting-edge cleaning chemicals on the market before either mechanically or manually scrubbing and brushing the stone to restore its pristine condition. Finally, we'll clean the stone using a hot water extraction system on wheels and a rinsing tool. Doing so will guarantee the best possible results in terms of soil removal and stone cleanliness.
Cutting with a Diamond
Mechanical abrasives placed beneath a rotary machine are the sole option to repair a stone that has been etched, scuffed, or scraped. The only viable strategy is this one. In order to hone the surface of stone and remove a small percentage of the stone, diamond abrasives are utilised (just enough to get below the etch marks and scratches). Water is always utilised in the diamond grinding process to keep dust to a minimum. The final shine of the surface will be determined by the processes that follow.
Honing
Stone is given an evenly polished look through a mechanical resurfacing procedure using diamond abrasives and water.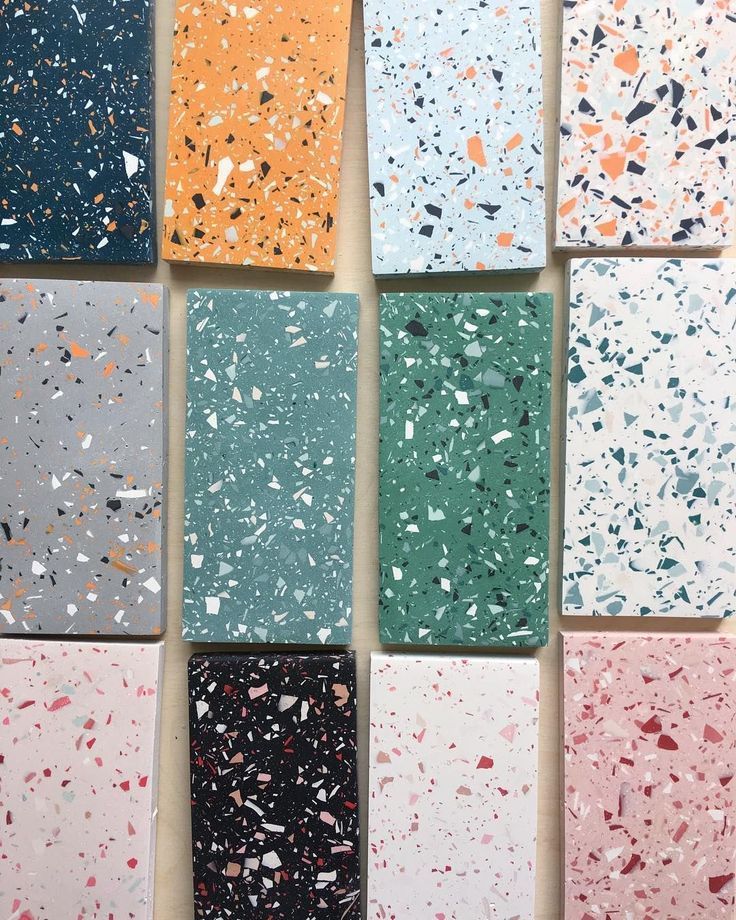 Surface polish on polished marble, granite, travertine, or limestone can be removed through mechanical honing. Some of the time.
Polishing
The procedure of mechanically polishing stone results in a high gloss surface. Light etching, scuffing, and scratching on the stone's surface may be able to be removed through the polishing process; however, if the stone's surface has medium to deep etching, scuffing, or scratching, diamond grinding will be necessary.
Sealing
After this, the stone will be finished being cleaned. To preserve your stones, we'll apply a professional grade sealer, but which one we choose will depend on your preference.
Follow-Up Check
Before we go, we will take a tour around the house to evaluate the areas and provide you advice on how to keep your stones in good condition.
Why Shouldn't You Polish Your Own Natural Stone?
Various do-it-yourself strategies for polishing stones can be found online. There is no one that works. When compared to a professional rotary polishing equipment, the results of using your hands and a few pads just cannot compare. The process of sanding, polishing, and sealing a surface with the appropriate grit, polish, and sealer can be challenging.
Right Before The Polishing
When considering whether or not to polish the natural stone on your floors, countertops, or walls, it can be helpful to understand a few terminology that are often used in the business, as explained by the .
Finishes
Stone can be given a variety of different finishes. In terms of radiance, they are evaluated (how much they shine). A polished stone will reflect more light than a dull one.
- The lustre of a flamed or matte finish is very close to zero.
- A finish that is rough and stony, like a stone. (it's still possible to "polish" and "seal" it)
- There is around a 33 percent shine to a polished finish.
- Floors and high-traffic areas like walkways and stairways benefit from this refined, nearly matte surface.
- About 66% sheen defines a satin finish.
semi-polished finishes look great on floors, countertops, and even shower walls. - With a highly polished surface, the reflectiveness is almost identical to that of a mirror. Having a reflective sheen, polished surfaces highlight the inherent beauty of the material they coat.
Refinishing
Refinishing is a method used to restore the shine and look of natural stone surfaces. It's like starting with a brand new piece of stone now. It could mean making the surface smoother and nicer looking through some sort of abrasive procedure. This could also include fixing small issues like cracks, scrapes, and dents.
Restoration
Building types ranging from residential to commercial to historic can benefit from this. A basic refinishing may not work on surfaces that have been ignored for years.
The process of polishing stone takes careful consideration of every angle. Before beginning any work, we shall seal and tape all neighbouring surfaces. It could take several days to complete, depending on how extensive the task actually is. Minor scratches and other flaws will be buffed out using shining powders and a lot of water, so stay away unless you're adequately protected.
Is It Necessary to Polish Stone Floors?
Only by polishing can the crystals that give natural stone its lustre be restored after they have been destroyed. Wear and tear from foot traffic eventually dulls, crushes, and breaks these crystals into smaller and smaller pieces of dirt and debris. Homeowners can increase their property value and revive the look of their rooms by polishing their stone floors.
How often your stone floor will need to be polished is something of a moving target. How quickly a stone floor wears down depends on factors like the room's traffic, the home's orientation, and the owners' daily routines and interests. Stone floors in a foyer or other high-traffic area should be polished more frequently than those in a bathroom. Households with a "no shoes" policy and regular cleaning are less likely to have debris on the floor than those where people wear their shoes indoors at all times. It's all relative, after all.
Polishing Stone Floors
If you want to avoid the kind of damage that requires a comprehensive polishing of your stone floors, cleaning them once a week is a must. In contrast, polishing is a time-consuming activity that should be undertaken only when absolutely necessary. Depending on the area's traffic and the frequency of your cleaning, you may need to sweep, mop, and vacuum your floors once every two weeks or every day.
To clean a stone floor, use a mop made of soft cotton and warm water. If the surface is especially dirty, you can use a cleaning solution with a neutral pH, such as mild dish soap or a cleaner made for natural stone.
Cleaning and Caring for Stone Floors
Homeowners can extend the time that passes between professional floor polishing treatments by taking a few extra precautions with their natural stone floors beyond the standard routine washing.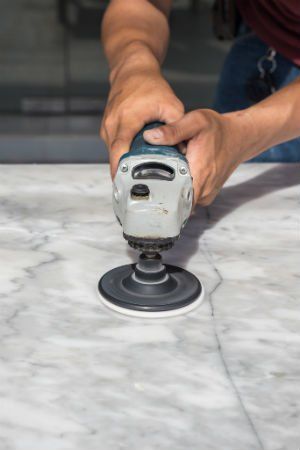 Some examples are:
- Regular dust mopping; once a day if necessary.
- Cleaning products having a high abrasiveness or an acidic pH (such lemon juice or vinegar) should be avoided.
- Immediately blotting up liquids and cleaning up messes
- Protecting the floor with nonslip mats and rugs
- The floor must be resealed at regular intervals to maintain its durability.
When properly cared for and maintained, natural stone floors can add value to a property for decades. Many homeowners understand that they need the help of a knowledgeable flooring contractor when it comes time to polish and repair their floors. If you need help on this level, you should contact a specialist in your area.
Conclusion
Unless it has been subjected to some sort of grinding and polishing process, natural stone typically lacks shine. The polished surface of natural stone can be finished to evoke either a classic or modern aesthetic. Antiques benefit most from smooth, unblemished surfaces, while flamed and brushed finishes work best in outdoor spaces.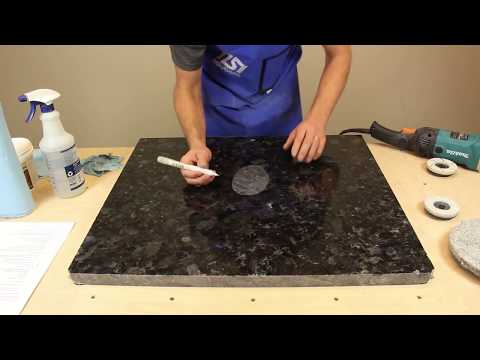 Most tiles made from natural stone have a rough surface that cannot be polished to a smooth sheen. Clean your tiles thoroughly by using a natural stone cleaner.
If you're bored with the decor, you can always change the tiles for something more modern. If you polish your natural stone, it will be less likely to become stained. A polished surface can lose its lustre over time, but it can be restored with regular care. Polish should never be used anywhere, including the shower, due to the extreme slipperiness it can cause on the floor. We recommend using a spray-on granite polish that can be removed with a paper towel or lint-free cloth.
If you polish a dirty stone, it will likely develop an unsightly patina that can only be removed by washing it thoroughly. We start by applying the most cutting-edge cleaning chemicals available, then we scrub and brush the stone either mechanically or by hand. The only way to fix a stone that has been etched, scuffed, or scraped is to place diamond abrasives underneath a rotary machine and spin them.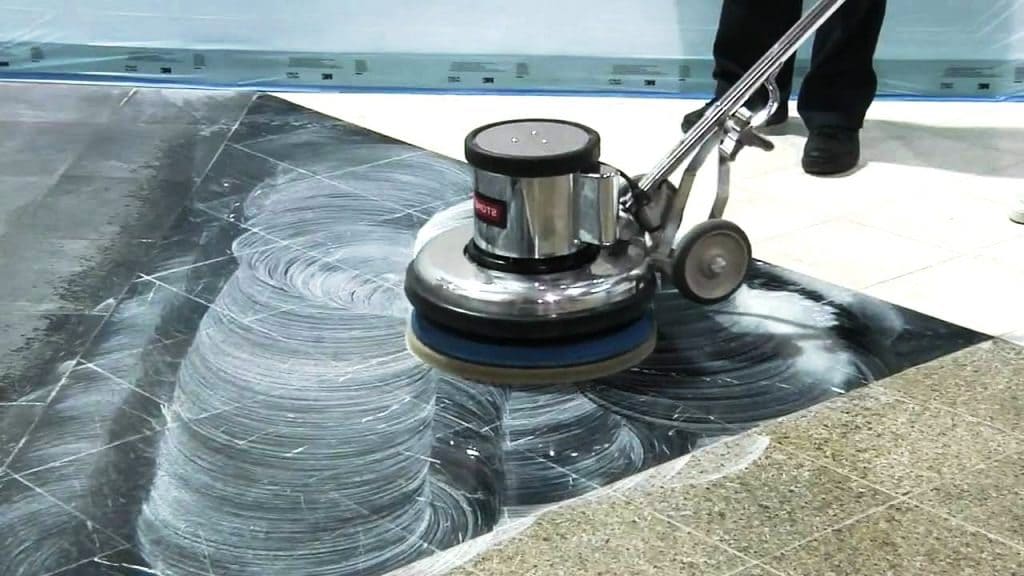 The subsequent steps will determine the final gloss of the surface. When polishing stone, it's important to think about it from all possible perspectives.
There are a lot of DIY guides online for enhancing the shine of your stones. Light is better reflected from a smooth stone than one that is not. The lustre and beauty of natural stone can be restored through a process called refinishing. Natural stone loses its lustre over time, but it can be brought back to life with a good polishing. Over time, these crystals become dull, crushed, and broken as they are trampled by passing feet.
More frequent polishing of stone floors is required in high-traffic areas such as lobbies. If you take good care of your natural stone flooring, it can increase the value of your home for decades. The need for a skilled flooring contractor is recognised by many homeowners. Talk to a local expert if you need assistance on this level.
Content Summary
- There are almost as many ways to utilise stone around the house as there are sorts.
- Rather than installing a rough, unfinished natural stone floor, polished tiles are a fantastic option.
- determine the extent of the damage and repair the stone surfaces at no cost to you.
- You can use a natural stone cleaner to give your tiles a thorough cleaning once you've eliminated all visible dirt and grime.
- Allow your tiles a day to dry in the air after mopping, or dry them by hand with a soft microfiber cloth if you're in a rush.
- For best results when polishing natural stone with granite, follow these easy steps.
- Wait 24 hours after sealing the stone before polishing it.
- Beautiful and high-end as natural stone showers may be, they are just as susceptible to the buildup of soap scum as ceramic tiles.
- Still, you need to be sure that this is the limit of the care you give to your stone flooring.
- One time each week, polish natural stone with a product designed for use on stone.
- It is important to use a lint-free cloth to polish the surface evenly.
- Before we go, we will take a tour around the house to evaluate the areas and provide you advice on how to keep your stones in good condition.
- How often your stone floor will need to be polished is something of a moving target.
- If you want to avoid the kind of damage that requires a comprehensive polishing of your stone floors, cleaning them once a week is a must.
- To clean a stone floor, use a mop made of soft cotton and warm water.
- Many homeowners understand that they need the help of a knowledgeable flooring contractor when it comes time to polish and repair their floors.
- Clean your tiles thoroughly by using a natural stone cleaner.
- If you polish your natural stone, it will be less likely to become stained.
- There are a lot of DIY guides online for enhancing the shine of your stones.
- If you take good care of your natural stone flooring, it can increase the value of your home for decades.
- The need for a skilled flooring contractor is recognised by many homeowners.
How to DIY Buff Your Natural Stone Tile
Skip to contentPrevious Next
Over time, the finish on natural stone tiles becomes worn and scratched from chairs, pets and shoes. This leaves the tiles looking dull and unsightly. Buffing removes the scratches and leaves the floor with a renewed shine. Using special polishing pads with a buffing machine is like sanding down all the blemishes and resurfacing the tiles. Because stone tiles are consistently colored all the way through, there is no need to worry about damaging the surface. As your natural stone flooring expert, we enjoy sharing our knowledge with you. If, at any point, the job becomes too difficult, or you need an experienced professional’s help, just give us a call!
- Mop the floor to remove all built-up dirt, oil, and other debris from the pores in the tile.
 Suction up the water with a wet vac.
 - Mix a batch of filler compound according to the manufacturer’s instructions. Use the compound to fill cracks, chips, and holes in the tiles. Pack the compound tightly into the cracks and holes, and apply enough so that it extends above the surface of the tile. Leave the filler to cure as directed.
- Cover the doorways into the room or close the doors. Close the air vents in the room. This prevents any dust from spreading throughout the house. Open windows for ventilation.
- Tape plastic sheeting to any immovable objects in the room. This includes baseboards, cabinets or appliances and is necessary to prevent damages resulting from contact with the buffing machine.
- Check the buffing machine to make sure it is in good working order. Clean any dirt or debris away from the moving parts of the machine as they will interfere with operation.
- Install a 100-grit diamond polishing pad on the floor buffing machine. Uncoil the power cord and make sure it is behind the machine.
 Fill the well on the buffer with water when using a wet diamond polishing pad. Dry polishing pads do not require you to fill the well.
 - Guide the machine over the floor to smooth out any uneven spots, level the patches where you just filled in cracks and remove scratches. Direct the machine in long, even strokes, and do not concentrate on any one spot for too long or you will leave swirl marks. Continue buffing until you finish the entire floor.
- Change the pad on the machine to a 200-grit diamond polishing pad, and make a second pass across the entire floor. Once done, repeat the process with a 400-grit pad, then an 800-grit pad.
- Continue buffing the floor until you reach the desired sheen, increasing the grit of the pad as needed. Replace each grit level of polishing pad as needed. The pads wear out over time and will not buff the floor properly once dulled.
- Mop the tiles with clear water to pick up any dust or debris left from buffing. Then vacuum up the water with the wet vac.
 Leave the floor tiles to dry completely before sealing to protect them from staining.
We hope our step by step guide on how to buff natural stone tile will help you with your next DIY project….and remember, we’re always one call away for any of your natural stone care needs!
Arizona Stone Care
Mesa
2036 N Gilbert Rd #2
Mesa, AZ 85203
Phone: 480-232-6264
Scottsdale
5623 E Aster Dr.
Scottsdale, Arizona 85254
Phone: (480) 493-6695
Email: [email protected]
Website: azstonecare.com
Search Blogs
Search for:
Recent Posts
- 5 Things To Know Before Hiring a Tile & Grout Cleaning Service
- How To Clean & Polish Limestone Floor Tiles
- How To Treat & Eliminate Calcium Deposits On Your Shower Tiles
- How To Polish Marble Without Damaging It & Leave It Looking Like New
- How To Restore The Shine On Travertine Floors
- The Truth Behind Why You Should Seal Limestone
- Restoring Flagstone Tiles: Cleaning & Sealing Tips
- Essential Tips For Natural Stone Countertop Care
- An Expert Guide To Rejuvenate & Deep Clean Mexican Saltillo Tiles
- All The Pros & Cons Of Porcelain Tile Flooring
Categories
- Flagstone
- Granite
- Limestone
- Marble
- Natural Stone
- Porcelain
- Saltillo
- Slate
- Travertine
- Uncategorized
Go to Top
Stone floor grinding and polishing process
Stone floor polishing
After laying natural stone tiles, the floor surface must be sanded and then polished.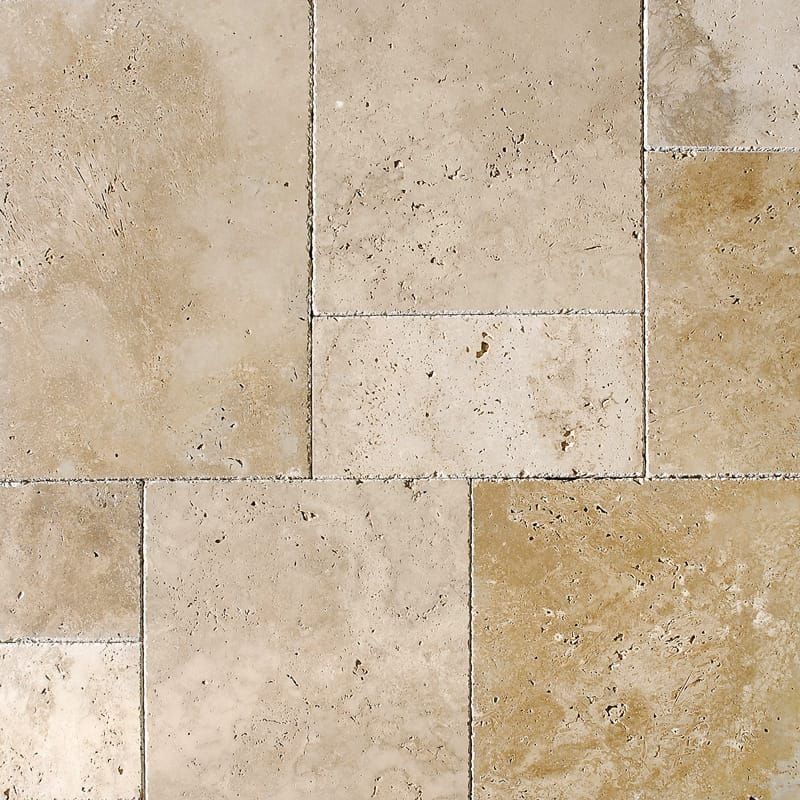 As a result, you will get a perfectly smooth and shiny floor.
The process of grinding and polishing the floor consists of several stages:
1. Filling the joints with a special adhesive.
First fill the tile joints with a special adhesive. The glue is matched to the color of the stone. If the floor slabs were laid without seams, they need to be embroidered. You can do the stitching using an engraving or cutting machine with a thin disk. As a result, the seams are deepened by 3-5 mm, then thoroughly cleaned and filled with adhesive. This is necessary so that during work, moisture does not get into the joints between the stone slabs, and your floor, after polishing, looks like a cast surface. Let the glue dry for about 12 hours.
After you have laid the floor tiles, there are height differences of several millimeters on the floor surface. Such differences can appear for many reasons, one of which is a slight error in the dimensions of the plates themselves. In order to level the floor, we use the rough grinding method. To do this, you need to install a set of diamond grinding cups (AShK) on a rotary machine (polisher) and grind the surface. Along with this process, you will remove excess cured adhesive from the surface of the stone. At the end of the work, rinse the floor.
3. Filling the pores with special impregnation. Grinding with AGSHK discs.
First you need to grind the floor by installing a set of No. 1 of flexible diamond grinding wheels (AGShK) on the rotary machine. The number indicates the coarseness of the grain of the diamond layer. Thus, you will remove significant scratches and bumps left after rough grinding. At the end of the work, rinse the floor with water. Wait until the surface is dry. Inspect the floor for defects, it may be necessary to re-mastic the seams. After that, apply a special liquid impregnation and spread it over the surface with a spatula. Impregnation penetrates into the pores and microcracks of the material, filling voids that are not visible to the eye. Thanks to this process, you will be able to increase the light refractive index of the surface and achieve a perfect gloss at the end of polishing. Leave the impregnation to dry. (About a day)
4. Polishing
Re-install the set of AGSHK No. 1 and re-grind. Thus, you remove excess impregnation from the surface. Rinse the floor and install a set of AGSHK No. 2. After sanding with this number, the floor will be perfectly smooth, but the shine will still be absent. Rinse the floor and install a set of AGSHK No. 3. Sand, then wash the surface again. Install a set of AGSHK No. 4. Polishing. Now your floor has acquired the long-awaited shine and looks like a single monolithic plane.
5. Applying the polishing powder
The gloss of the floor can be increased, thus obtaining a “mirror” effect. To do this, you will need polishing powder and two felt wheels.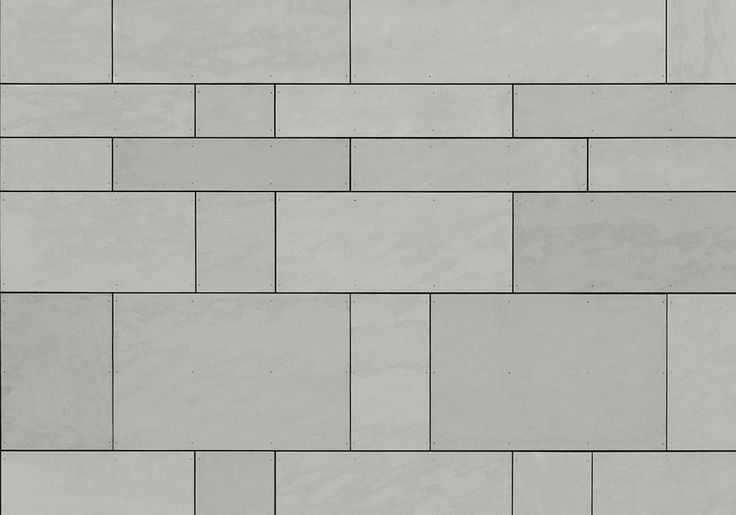
The powder must be diluted with water until a "creamy" mass is obtained. Then polish it over the surface of the stone with a felt wheel mounted on your polishing machine. Take about 2 minutes to process 3 square meters. Then put a second clean felt circle and polish the floor. After that, wash the surface with detergents.
At the end of all stages of polishing, it is recommended to apply a special protective impregnation with an oil and water repellent effect. Such impregnation will give the floor surface an “anti-stain” effect, preventing various contaminants and spilled liquids from penetrating deep into the pores of the stone, leaving dirt there.
6. Crystallization
If the flooring is laid with marble, we recommend additional crystallization of the surface.
Crystallization of marble is a thermochemical process that strengthens the surface of natural stone. The abrasion resistance is more than doubled. The color acquires a more “lively” shade, water absorption decreases at least 10 times. These floors are much easier to care for. Crystallization of the marble floor is carried out at the discretion of the customer.
Our managers will be happy to answer questions about stone processing and select all the necessary tools to solve your problem. We will be glad to see you among our many satisfied customers.
Our contacts:
8 (800) 333 46 14
8 (812) 612 03 60
Our group in VK
Best regards, Stone Union team.
Do-it-yourself granite grinding. Grinding and polishing of granite and marble
Even natural stone in some cases can be damaged and scratched, which violates the decorative effect lining. If you decide restore a shiny surface yourself, find out in 10 minutes of reading how marble and granite are polished and polished by your own hands. All the secrets of our masters are collected in this article.
What you need for work:
- Power tool - grinder, without which grinding marble and granite with your own hands is simply impossible (it is better if it is a reliable Makita brand).

- Special "adapter" - the holder of grinding and polishing discs, the so-called "caliper". It looks like a rubber disc with a special mount. For processing curved surfaces, a convex rubber caliper is purchased, for even surfaces - flat, with sufficient rigidity.
- Grinding diamond discs and polishing wheels ("turtles") of different numbers.
Next, let's look at step by step how marble and granite are polished correctly, as well as their flawless polishing.
Grinding granite and marble without errors
Expensive stone wall cladding or window sills, countertops will lose their appearance if scratches are visible on the surface, especially deep ones. You can eliminate an unpleasant defect yourself, but for this you will need to carefully and correctly perform all operations.
How to grind granite at home and then polish it:
- Take a grinder, attach a support and a diamond grinding wheel to it. Here's how to grind granite and marble: to eliminate deep scratches, be sure to start grinding with large numbers of abrasive wheels (first #30, then 50, 100, 200, and then up to 400 for marble and 800 for granite, until you get a smooth surface without scratches).
 Do not forget to set the desired speed for each circle (indicated in the instructions).
 - After sanding, start polishing: take the polishing pads and continue to work on the surface of the stone, pouring a small amount of polishing powder. It is advisable to start with disc number 1500 and finish with number 3000 to get a flawless factory finish.
Remember: in order not to get a “hole” when locally grinding granite and marble, be sure to process the border of the previous number with the transition to a total area wider by a couple of centimeters.
If you have a grinder without a water supply, do not be upset: you can reduce dust formation and facilitate polishing using a conventional spray gun.
Polishing of granite and marble
Final polishing is carried out using special polishing agents: you can choose from wax-based compounds or liquid polishes.
Advice: to ensure successful grinding and polishing of granite, do not use Goya paste, car enamels and other products not intended for polishing stone. Without experience, you can easily damage the surface or burn it.
Marble can be polished with a crystallizer (sold in specialized stores), but remember: working with an aggressive substance is quite dangerous, you can damage the marble, and if you are not careful, your health. Granite is not at all susceptible to such processing.
Action to be taken:
- Protect plumbing and surrounding surfaces with construction tape secured with adhesive tape.
- Apply the crystallizer to the surface to be treated, wait three minutes for it to act. You can spray several times with water from a spray bottle so that the product does not dry out.
- At low speeds, we polish with a felt wheel fixed on a grinder.
- After the appearance of gloss, wash off the mold and treat the surface, not forgetting to spray it from the spray gun.
Remember the safety rules, and in case of contact with the skin of the crystallizer, immediately wash it off with water and consult a doctor.
Do-it-yourself granite polishing
Does granite polishing have secrets? Of course: harder rock is more difficult to work with. You will need a full set of sanding and polishing discs, the most appropriate is the gradual transition from coarse to finer grit, and in the final stage, felt discs are used.
Let's reveal a few important secrets:
- Don't try to pour more polishing powder, otherwise you will get the opposite effect: instead of a glossy shine, the surface will be covered with traces of abrasive particles. It is better to work longer with less powder.
- Granite at home is often polished without the use of water (since a grinder with hydraulic feed is expensive), so it is better to have a vacuum cleaner on hand that will collect the powder removed from the surface.
- To reduce dust, dampen only lightly polishing powder with polish or liquid wax (preferably with a sprayer).
At the end of the work, the stone is thoroughly washed, and to give depth of color and a beautiful shine, the surface is treated with wax or liquid polish.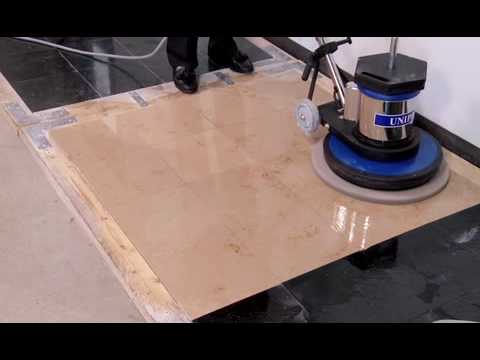
As you can see, granite polishing technology is not complicated, but requires certain skills and expensive tools.
Polishing granite monuments
Professional companies perform polishing of granite monuments in compliance with all stages of technology, using specialized equipment. But many folk craftsmen have polished their skills so much that they completely manage with an ordinary grinder and a set of polishing wheels.
However, manual processing of stone has its drawbacks:
- If an old grinder that “knocks” is used, microcracks can be created in the material, which later like to colonize fungi and mold. It will be very difficult to deal with such consequences.
- If the number of polishing wheels was chosen incorrectly or the technology was not followed, the work was done “hastily”, the restoration sites will differ slightly from the main surface.
To polish an installed monument that is free of scratches and blemishes, choose durable waxes and polishes such as Bellinzoni.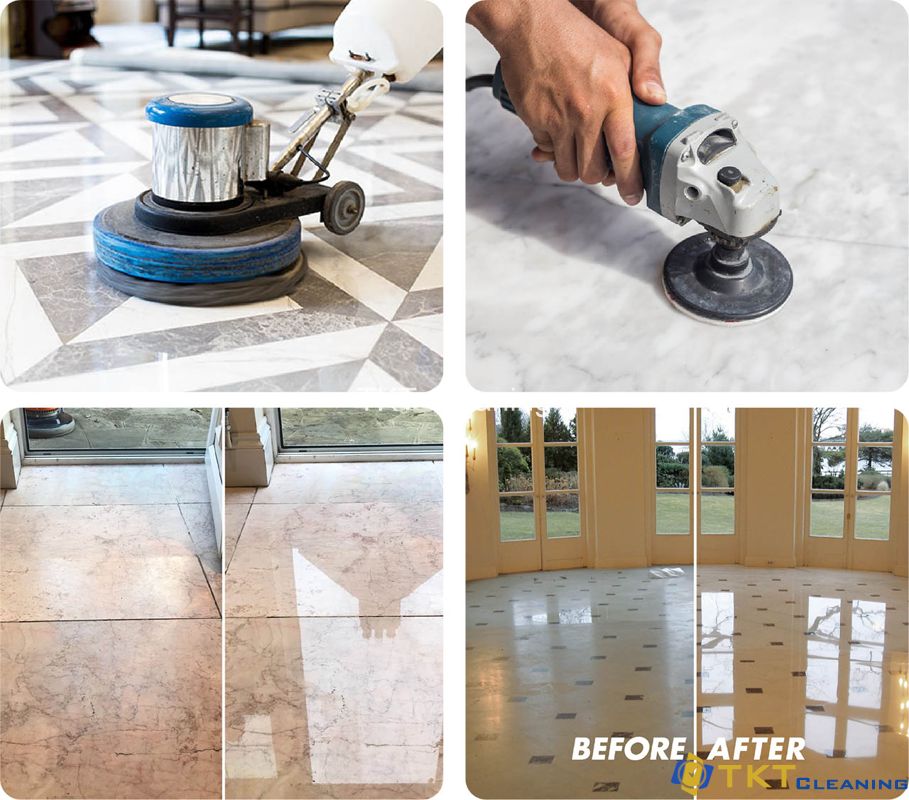 It is advisable to first use a protective impregnation, which will prevent the penetration of moisture. Many of them enhance the color, making it more saturated. And after impregnation, use thick or liquid wax as a finishing agent.
Remember: before processing the monument with special compounds, it must be washed from dust and dirt, and also wiped dry and make sure that the surface is free from foreign substances and contaminants.
Granite grinding at home: is it worth it?
Considering all the risks, the high cost of a power tool and a set of grinding wheels, it will be safer and cheaper to turn to a professional craftsman working in a specialized company. So you will receive guarantees of high-quality work performed and pay an adequate amount.
High-quality grinding of granite and marble, as well as their polishing, is not the first time. And without the skills to work with the tool, you can do harm and end up paying much more for the restoration of the stone.