Repainting living room
How to Paint a Room: 10 Steps to Painting Walls Like a DIY Pro
AD It Yourself
Learn how to paint a room in your home or apartment with these easy DIY steps and brighten up any space in no time
By Lindsey Mather and Elizabeth Stamp
All products featured on Architectural Digest are independently selected by our editors. However, when you buy something through our retail links, we may earn an affiliate commission.
Learning how to paint a room properly is essential for beginning DIY’ers, new homeowners, and veteran home improvement experts alike. After all, it’s pretty painless, relatively inexpensive, and—should something go horribly wrong—easy to fix. But before you grab your roller and get started with your first coat, it’s essential to have a plan of attack. So we asked a handful of experts for their best painting tips and tricks to get you started. Read on to learn how to paint a room and see step-by-step what you’ll need to do to make sure your project is a success.
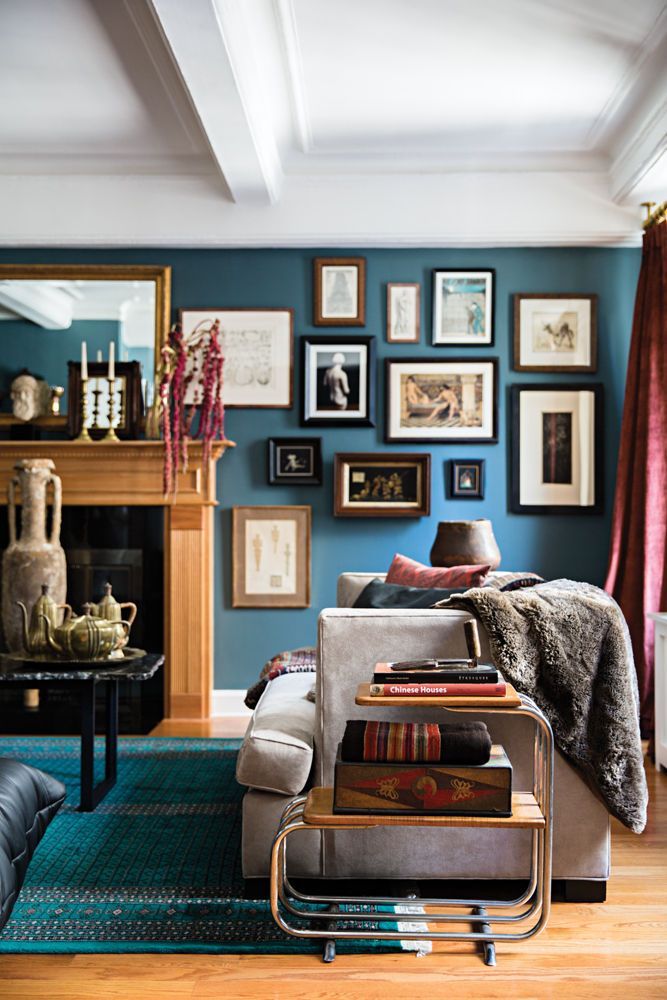
While San Francisco based designer Nicole Hollis may have turned heads for painting the exterior of her home jet black, we're prone to the moody blue she chose from Farrow & Ball for the bar.Douglas Friedman
1. Plan your approach
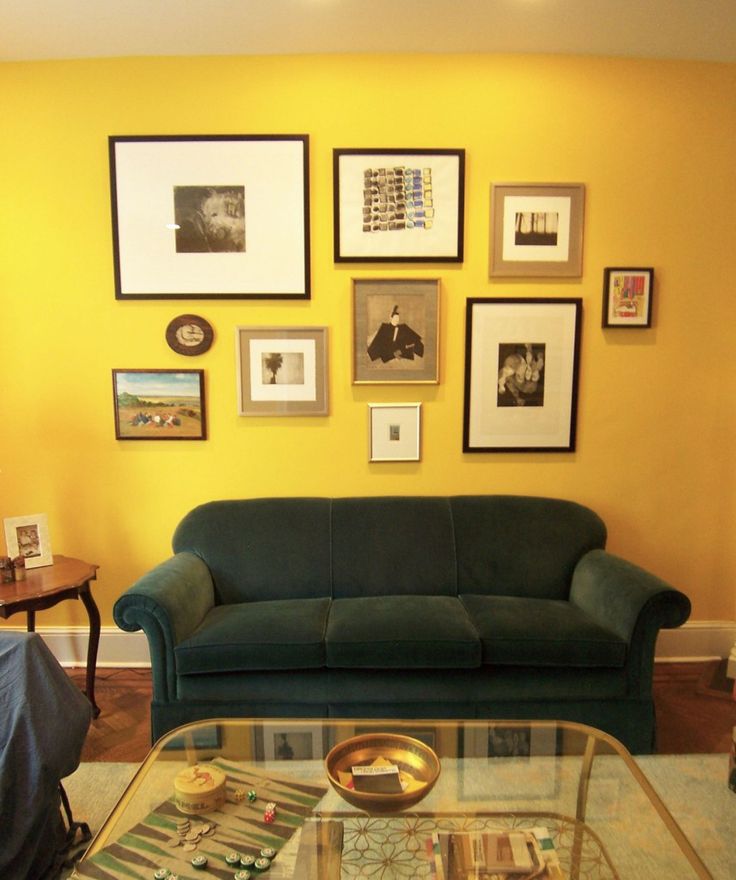
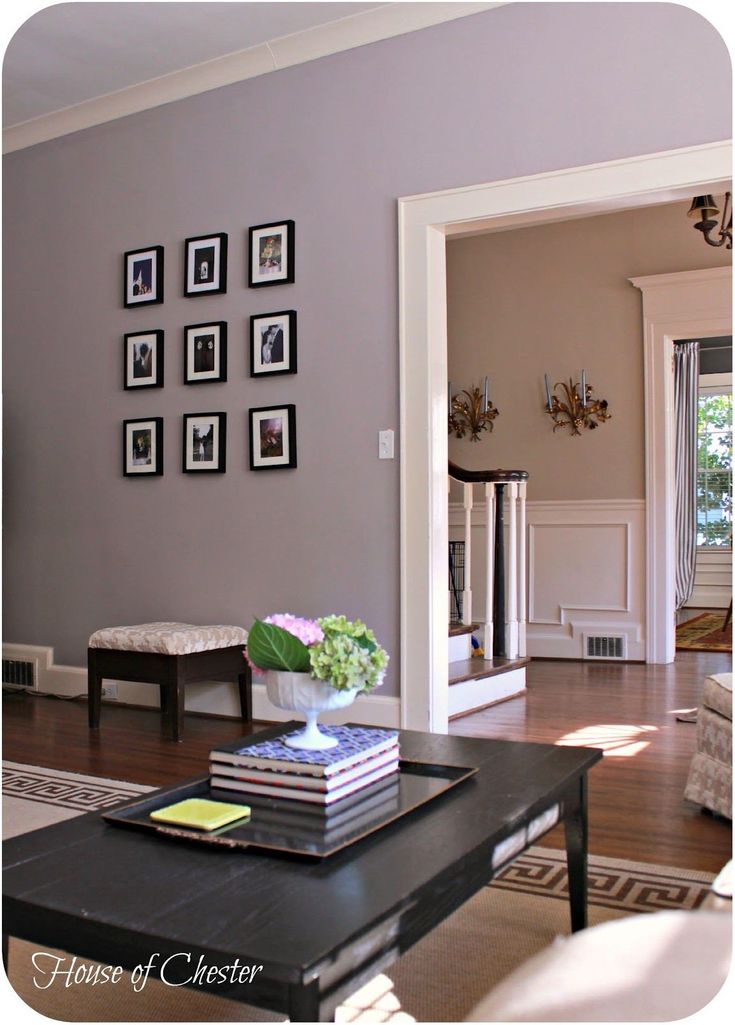
Start by thinking about how you want the finished project to look and remember that you’re not limited to four walls or an entire room in the same color. Consider painting an accent wall in a bold hue or highlighting moldings in a contrasting shade or finish. And don’t forget to look up and see whether the ceiling could use a refresh as well.
Alexander Gorlin used Parma Gray by Farrow & Ball on an accent wall in a New York apartment.
2. Choose your color
Browsing through fan decks and paint chips can be overwhelming. Start by figuring out the general color characteristics: Do you want a warm or cool shade? Neutral or saturated? If you have existing furniture or art, you’ll also want to consider how the shade will complement them.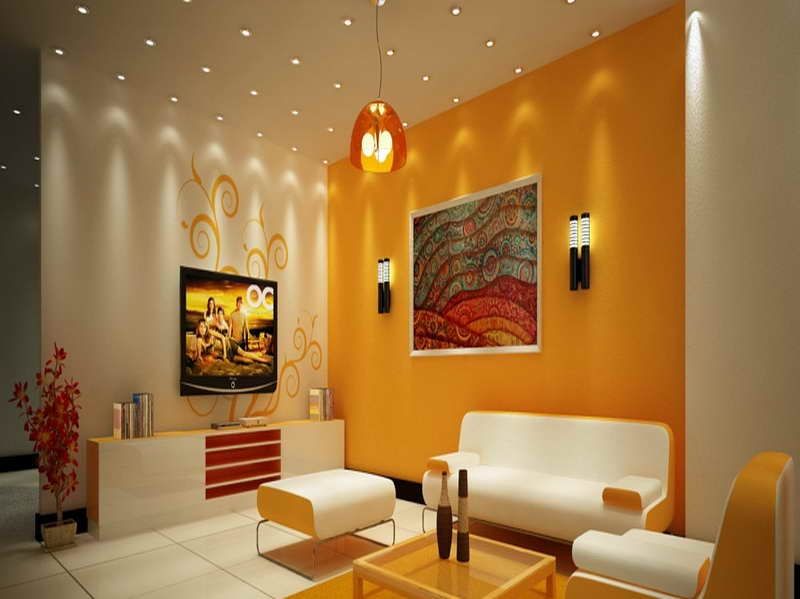 Once you have a sense of what you’re looking for, pick a few shades and get samples—lots of direct-to-consumer brands, like Backdrop and Clare, will send you adhesive swatches you can slap on the wall for a better sense of shade (and it’ll save you a trip to the store). Test the colors to see how they look in the room at different times of day.
Many paint companies also have tools on their websites that will let you upload a photo of your space and preview different colors on the walls. But colors can look different in real-world conditions, so you’ll still need to try it out in the space.
Test samples of your color choices in the room to see how they look in different lighting conditions.
Photo: Richard Drury/Getty Images
3. Pick out your tools and materials
Every project is unique and you may need different tools depending on the paint you choose and the condition of your walls, but there are a few must-haves:
- Paint
- Paint roller
- Paint roller extension pole
- Drop cloths
- Paintbrushes
- Paint tray
- Sandpaper
- Painter’s tape
- Rags
- Putty knife
Click here for a shopping list to order all the paint supplies you’ll need to get started—from sanding and priming to your very last touch-ups.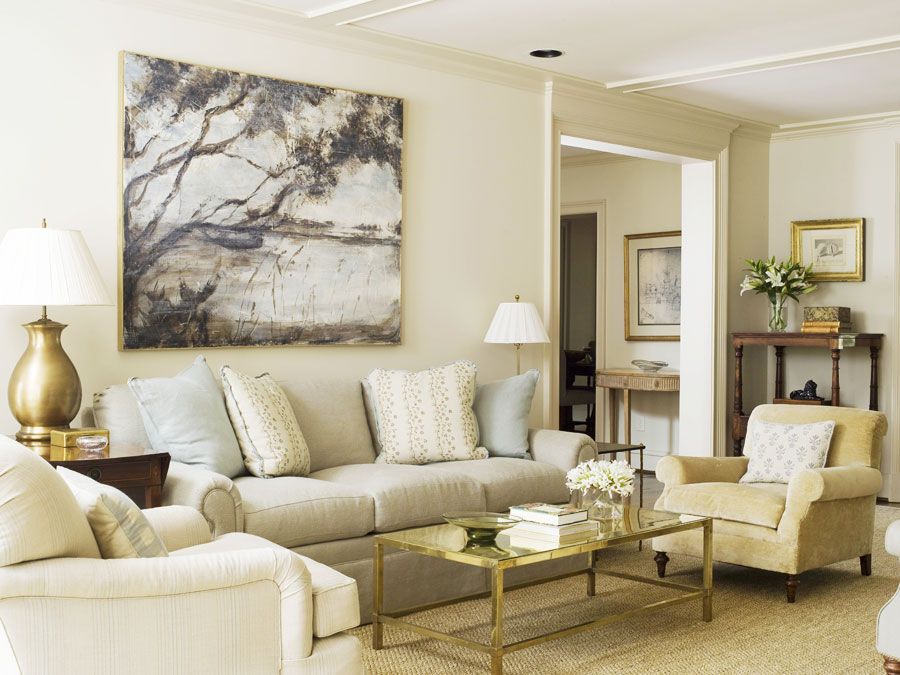
Gather all the essential tools before you start.
Photo: Anika Salsera/Getty Images
4. Determine how much paint you’ll need
Whether you’re painting a powder room or the exterior of your house, the general rule of thumb is one gallon per 400 square feet, says Carl Minchew, vice president of color innovation and design at Benjamin Moore. But that’s just a rough guideline: To get a more precise number, which you’ll definitely want for large projects, use a paint calculator like the ones provided by Benjamin Moore or Pratt & Lambert; they take into account window and door measurements. (And both assume two coats of paint per project.)
Most Popular
Planning on whitewashing a charcoal gray wall? You’ll likely need additional paint when going from dark to light. On the other end of the spectrum, a deep color base tends to require more coats of paint than a lighter color, says Carolyn Noble, color marketing and design manager at Pratt & Lambert. She recommends applying a gray-tinted primer to the surface before you paint your walls a saturated color to help reduce the number of applications. When it comes to finish, you may have heard that the glossier it is, the higher the coverage rate, but it’s not enough of a difference to change the number of gallons you need to buy, Minchew says.
If you’re painting a highly textured surface rather than a smooth one, buy a little extra, says Julianne Simcox, Pratt & Lambert associate brand manager. Cabinets with complicated millwork require more paint, too; Minchew suggests purchasing about 10% more than calculated.
Calculate the correct amount of paint you’ll need to spare yourself trips back to the store and wasted paint.
Photo: Daniel Acker/Bloomberg/Getty Images
5. Prep the walls and the room
You don’t want to damage your favorite sofa or that heirloom Grandma gave you, so empty the room of all the furniture. If you don’t have enough space to relocate everything you own, push it all to the center of the room.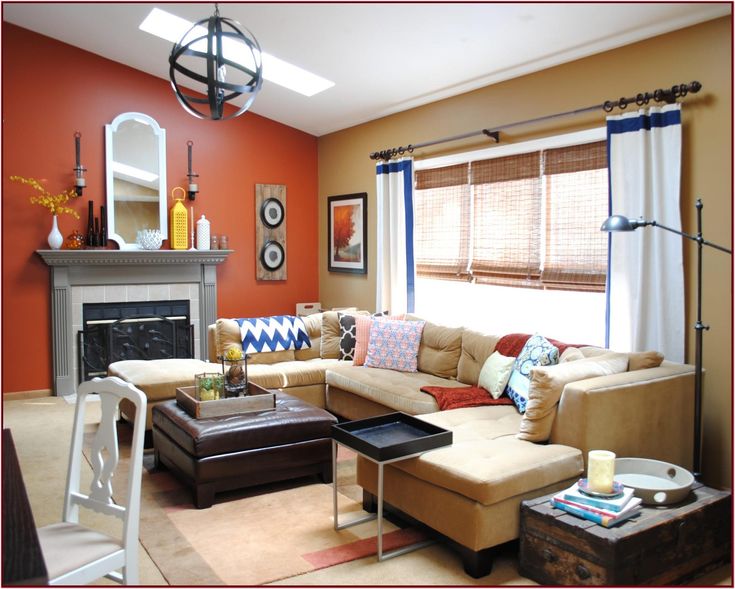 Cover the pieces with a drop cloth or lightweight plastic sheeting and do the same with the floor, as well as any cabinetry or countertops that might be in danger of excess splatter. “Don’t skip the drop cloth—paint will splatter, we promise,” say New Jersey contractors—and cousins—John Colaneri and Anthony Carrino, the stars of the HGTV series Cousins Undercover and Kitchen Cousins as well as The Build Up and Grand Design on Ellen DeGeneres’s Ellentube.
Grab a roll of painter’s tape—the cousins recommend FrogTape—and firmly apply it to the edges of the room’s corners, base and crown moldings, and door and window casings, using a putty knife to seal if needed. “Getting a good seal so paint doesn’t get under the tape is everything, plus it will pull away clean after everything is dry,” Colaneri and Carrino say. If you dare (or have an artist’s steady hand), you can skip taping entirely. Remove light switch and outlet covers and apply painter’s tape to protect outlets and switches from paint drips.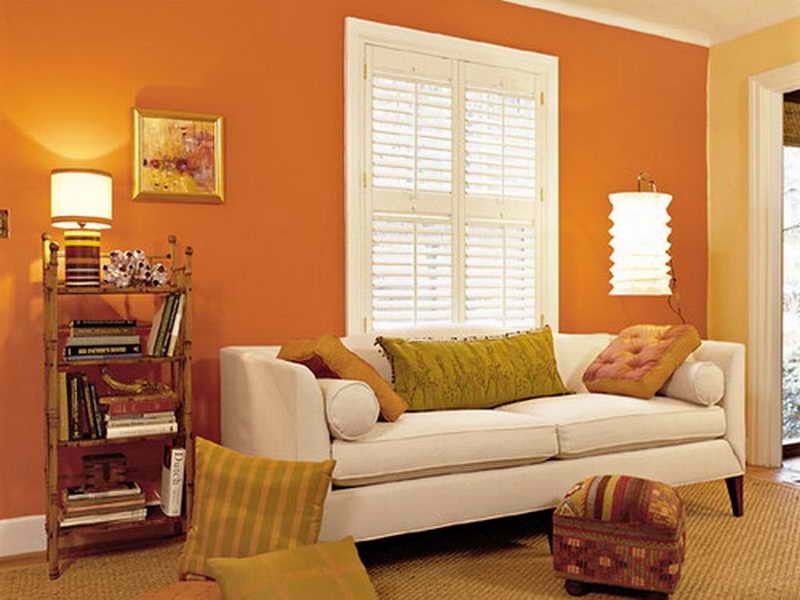 Before you get started, make sure you know how to repair drywall so you can clean up any nicks in the walls.
Most Popular
Protect floors and furniture with drop cloths.
Photo: Patti McConville/Getty Images
6. Mix your paint
Use a wooden paint stick to stir the paint, and re-stir often throughout the project. Paint that isn’t stirred consistently can lead to the ingredients separating and you’ll risk compromising the true color you’re going for. If you’re using more than one gallon of paint, combine the cans in a large bucket in case there is a slight variation in color.
Mix your paint early and often.
Photo: Tetra Images/Getty Images
7. Pick your painting techniques
Your paint is mixed and your roller is at the ready, but make sure to plan a strategy before you get started. Work from the top of the room down, starting with the ceilings.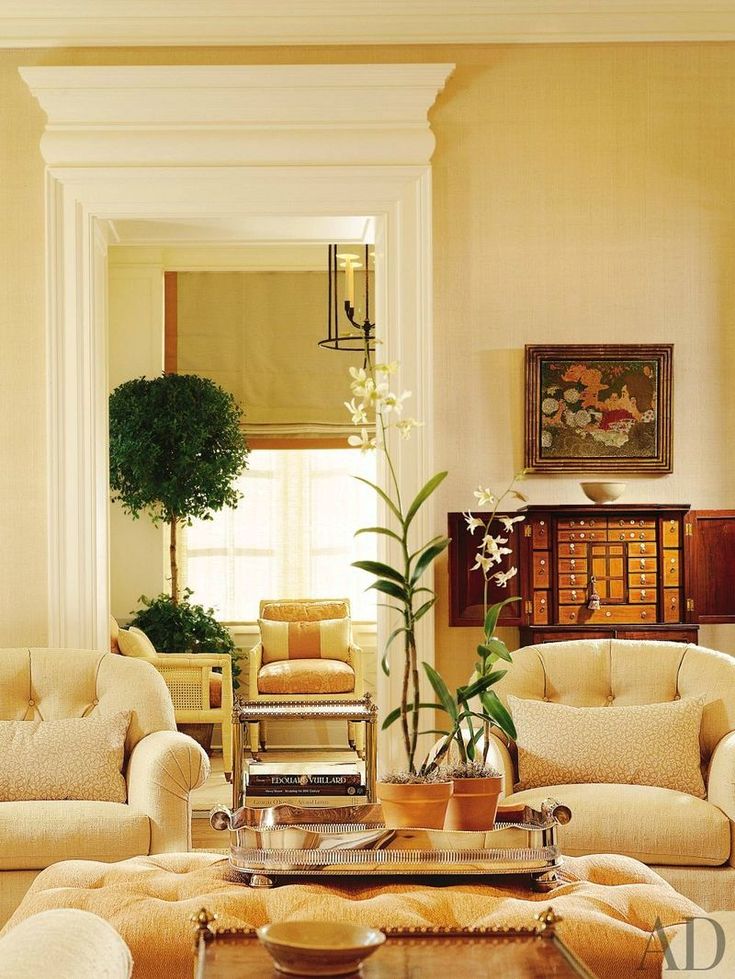 Planning a bold focal wall? Paint the adjoining light-colored walls first. “Don’t worry if you get paint on what will be your accent wall—the dark paint will cover up whatever lighter paint found its way there. After the lighter wall dries, tape off that edge so the dark color doesn’t bleed onto your new paint,” Colaneri and Carrino advise. If you’re covering up dark walls with a brighter hue, plan on three coats: your primer, plus two coats of the new color to ensure nothing shows through.
Most Popular
Tackle one wall at a time. Take a brush and “cut in”—paint along the molding and the corners from top to bottom—while your painting companion uses a roller to cover the main expanse of the wall, staying away from those more precise spots. When applying paint with the roller, use long strokes in a W pattern for ample coverage (and to avoid those pesky roller marks). Once the wall is dry to the touch, it’s ready for a second coat.
If you are painting the trim, remove the painter’s tape and wait for the walls to dry before applying tape to the walls.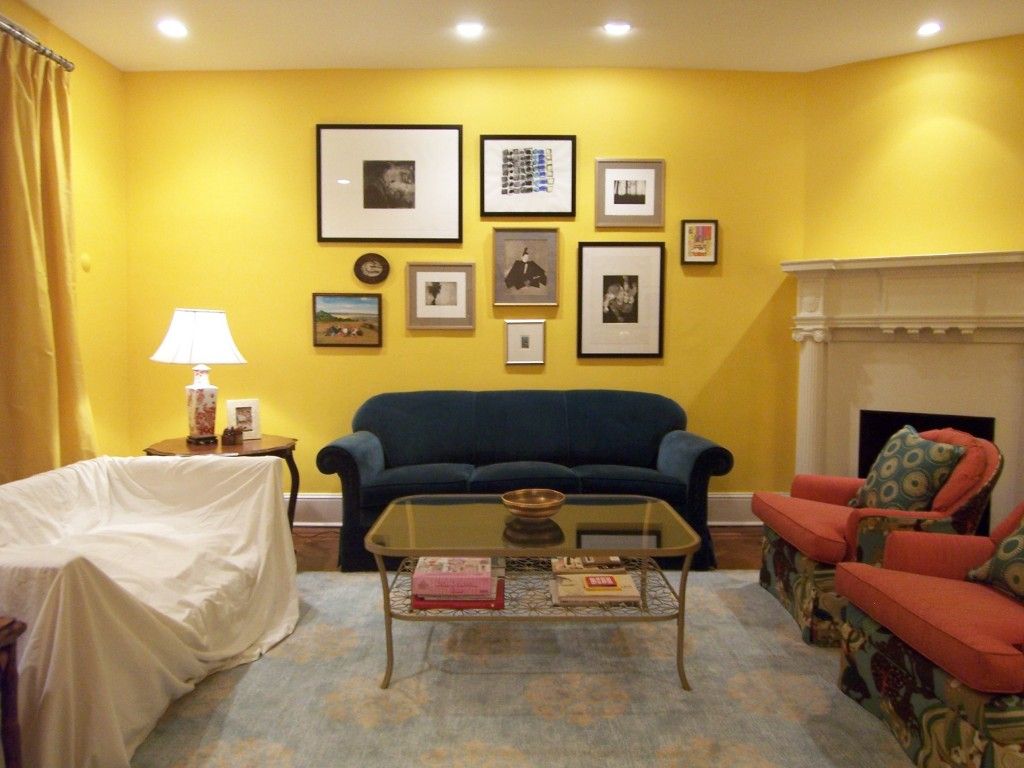 Start with the trim closest to the ceiling, move on to door and window frames, and, finally, the baseboards.
Start by cutting in near moldings and corners with a brush.
Photo: Banks Photos/Getty Images
8. Don’t forget ventilation
Watching paint dry is no fun. Make sure your space is well ventilated throughout the project by opening windows and using fans. “Keeping the room warm and a fan blowing definitely helps speed up the drying process,” the cousins say. “If it’s a damp day, it will take much longer for the paint to dry.”
Open a window or use a fan for ventilation.
Photo: Stephen Simpson/Getty Images
9. Clean up
You’ve done multiple coats, but it’s not time to relax just yet. Remove all the painter’s tape and gather drop cloths, making sure any spills or splatters are dry before you move them. For latex- and water-based paints, clean brushes with soapy water, though oil-based paints will require mineral spirits.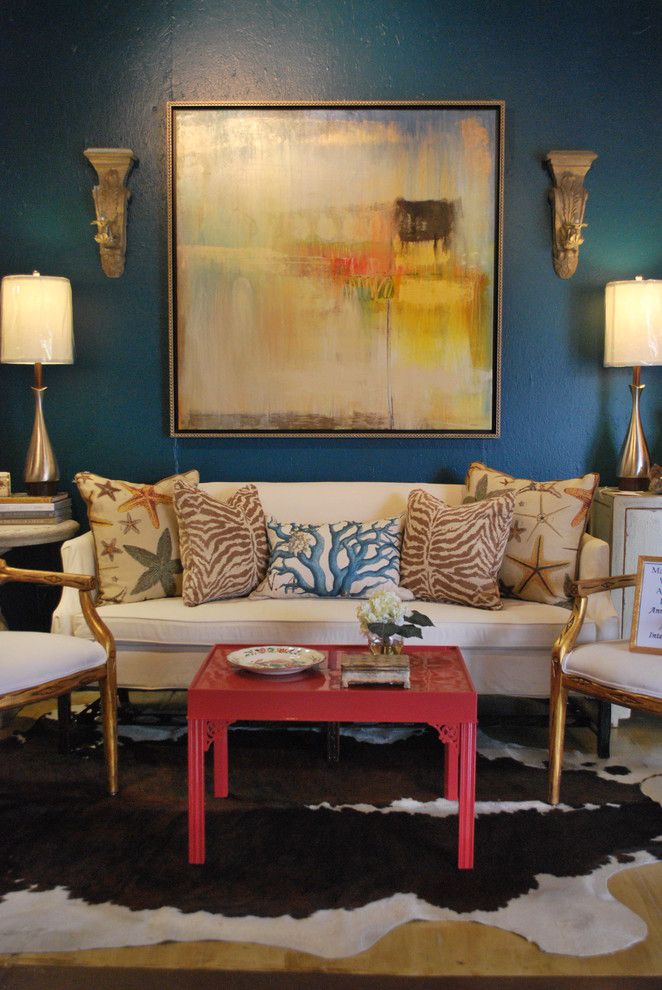 You can use a painter’s brush to clean and reshape bristles. If you want to reuse roller covers, use the curved edge of a 5-in-1 tool to remove the excess paint under running water (they’re also useful for opening a paint can, removing nails, and scraping).
Most Popular
Clean brushes with soap and water if you used latex- or water-based paints.
Photo: Ableimages/David Harrigan/Getty Images
10. Give yourself enough time
The amount of time your project will take depends on the size of your room, how you’re painting, and your skill level. For instance, using a dark shade on the walls and painting the ceiling and trim will take longer than just doing the walls in a neutral color. While some spaces can be done in a few hours, others may take several days. Be sure to budget more time than you think the job will need and don’t forget to take prep and cleanup into account.
Shopping guide
ExplorerenovationDecoratingpaintDIYAD It Yourself
Read Moread-it-yourself
How to Dispose of Paint the Responsible Way
You know not to dump old paint in a landfill, but what should you do with it instead? Here, some earth-friendly paint disposal tips
By Jennifer Beck Goldblatt
8 Things to Do Before You Paint a Living Room
By
Lauren Flanagan
Lauren Flanagan
Lauren Flanagan is an interior design expert with over 15 years of experience writing, editing, and producing articles for renowned Canadian publications and shows for HGTV on home decor. She worked in high-end home decor retail before discovering her passion was to share what she knew in publications and on television.
Learn more about The Spruce's Editorial Process
Updated on 01/09/21
The Spruce / Margot Cavin
One of the best ways to transform a living room is with a fresh coat of paint. In just one day you can make a room look completely different―without having to buy any new furniture or spend a lot of money. However, despite the fact that paint is considered an easy, inexpensive fix, it doesn't come without some cost and some effort. Particularly in large rooms and awkward to paint areas (such as stairways). So before you start painting your living room you need to make sure you've done your due diligence and taken the appropriate steps.
Here are eight things you need to do before you paint a living room.
Choose a Paint Color
Choosing a paint color can be a difficult task. There are so many options that it can be tough to narrow it down to just one. Should you go light or dark? Bright or muted? What kind of finish do you want? Any painted details like stripes, stencils, or molding? A lot of people find these decisions overwhelming, but the key is to take your time and follow all the steps for choosing a paint color. The most important step is to take your time choosing. Quick decisions can lead to unhappy results and the fix can be time-consuming and tedious.
The Spruce / Margot CavinTest the Paint Color
Once you've chosen a paint color it's a good idea to test it on the wall before you commit. Sometimes the way a color appears on a paint chip, or the way it looks in a photograph, is a little different than the way it will look in your home.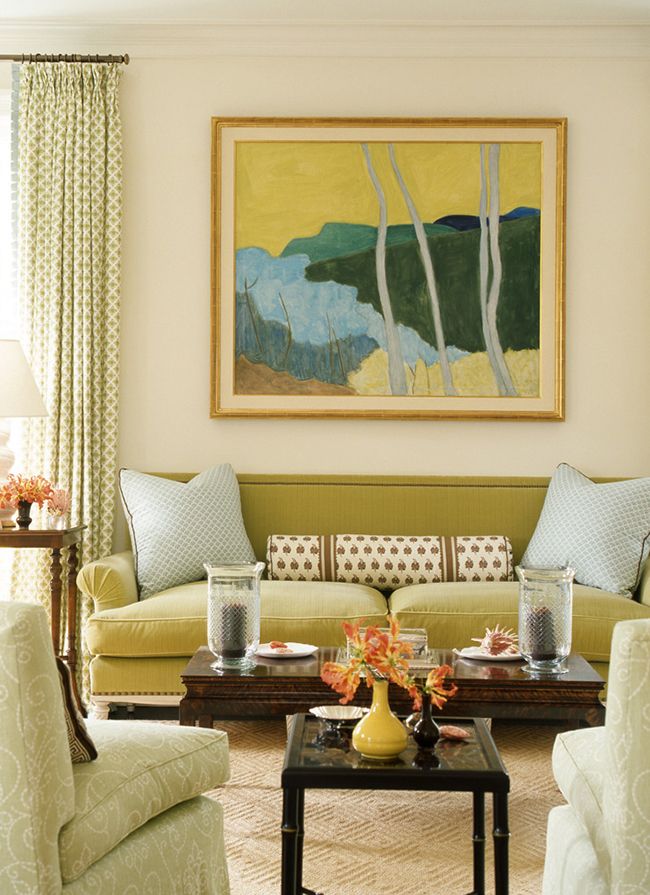 The main reason is due to the room's lighting. Lighting has a huge effect on how a paint color looks. Some rooms are flooded with natural light while others depend largely on artificial lighting. And sometimes the light can appear very different depending on what time of day it is. The best way to account for these issues is to try three different shades of the color you want―the one you think you want, a shade lighter and a shade darker. (Most paint stores sell small sample jars just for this purpose.) Test small patches in a couple of different places―near a window, in a dark corner, and right in the middle of the wall. Look to see how different they appear at different times of the day. This will help to determine the right one for the room.
Prep the Walls
Once you've settled on a paint color it's time to prep the walls. This means cleaning, patching holes and cracks, and sanding down any bumps. Dirt on the walls can prevent paint from adhering, so the first thing to do is wash the walls.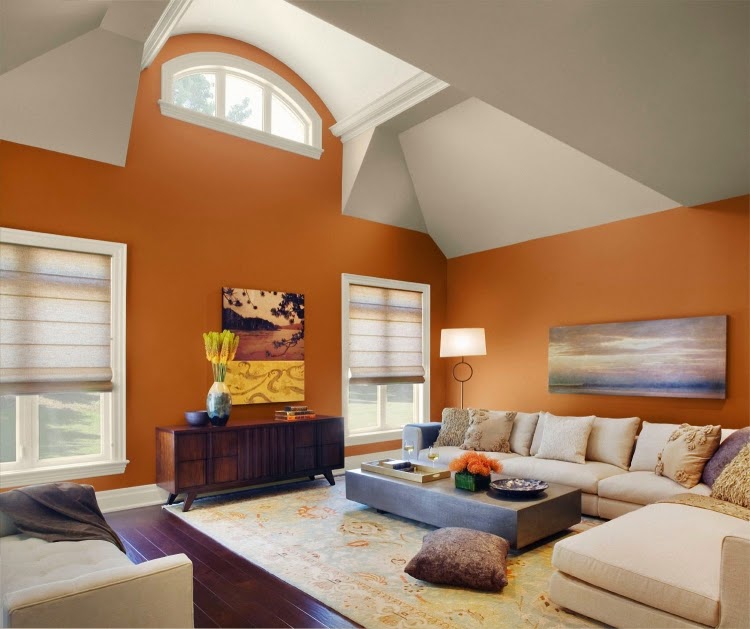 Get rid of any dirt or grime that may have accumulated over the years. Then use a filler to fill any holes, cracks or chips that may exist on the walls. At this time you should also remove any other loose paint from previous coats that may be chipping away (often found around the trim) and fill the area. Give the filler sufficient time to dry and then sand it down to create a smooth surface. After sanding give the walls another wipe down to remove the sanding dust.
Tape off Trim and Molding
A lot of people skip this step because it's time-consuming, but it's definitely worthwhile to spend the time taping around all the trim and molding. This means baseboards, crown molding, door, and window casings, and any other types you may have such as chair rail or wainscotting. Taping helps protect the trim so that you won't have to do any additional touch-ups later. That said, don't be lulled into a false sense of security around the taped off areas.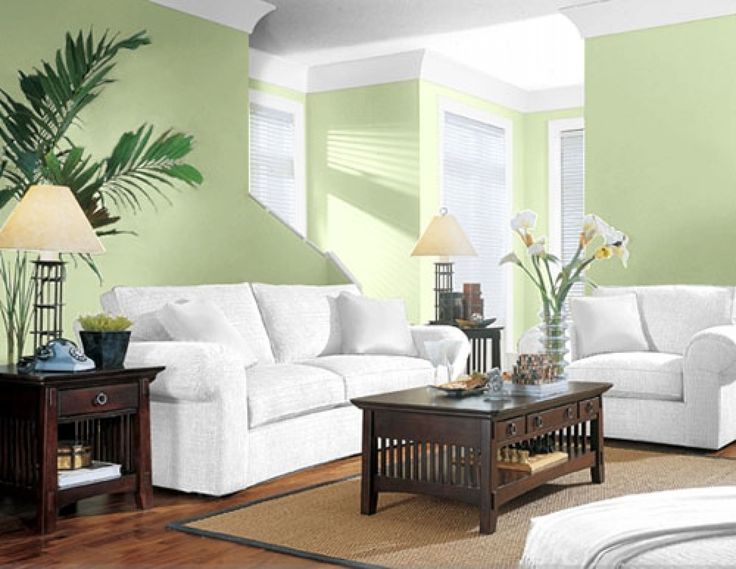 You still need to be careful around the trim so that paint doesn't seep under or go over the tape.
Remove Items From the Room
Any time you paint the walls of a room it's important to remove as many items as possible. It can be tempting to simply pull items away from the walls and put everything in the center of the room, but you may find yourself tripping over things throughout the process. If taking large pieces of furniture out is not an option you should, at the very least, remove all the accessories, and as many small pieces as you can. Also, if you have area rugs, roll them up and take them out of the room.
The Spruce / Margot CavinPut Down Drop Cloths
Even the best painter in the world can make a mistake or have an accident so don't skip the step of putting down drop cloths―especially if you have wall-to-wall carpet. While paint splatters can sometimes be picked off of hardwood, laminate or tile floors, it's virtually impossible to get paint out of the carpet.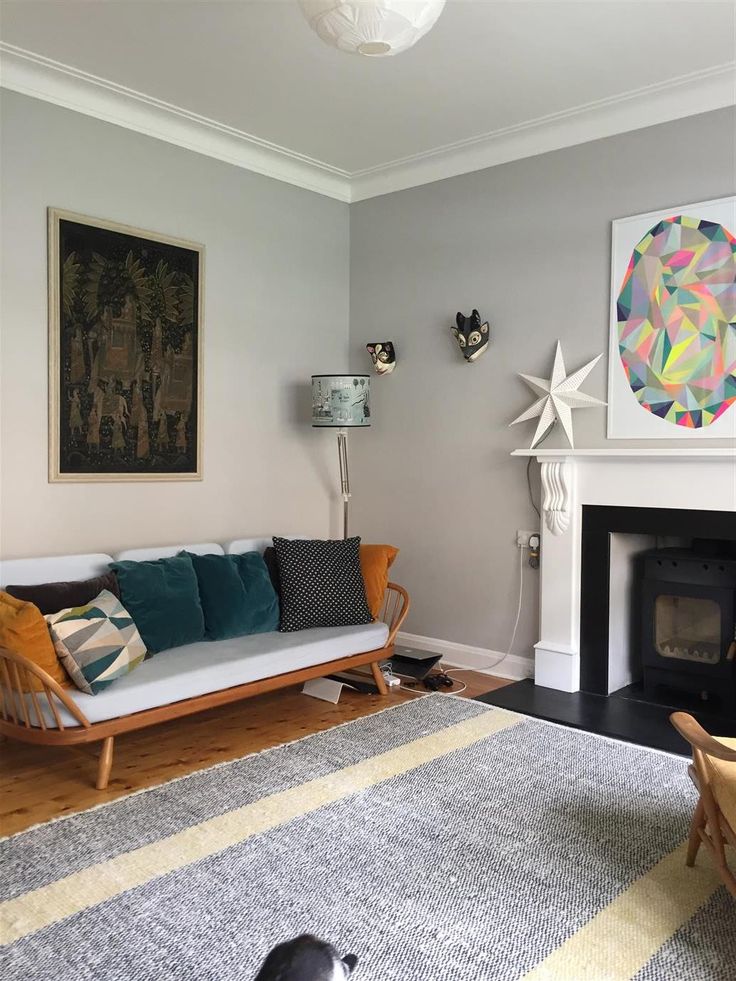 And if something happens and you accidentally spill a can or a tray full of paint you'll spend a lifetime trying to remove it from the floor―no matter what type of flooring you have.
Gather Materials in One Place
Painting requires brushes, rollers, paint trays, cloths, ladders, and any number of other items depending on what and where you're painting. Save yourself time and frustration by making a list of all the items you'll need to get the job done and make sure they're all together in one place before you start. There's nothing worse than being in the middle of a project only to discover you can't find something you need.
Prime the Walls
Priming the walls is an important step in order to ensure a smooth, even finish. Walls tend to absorb paint and if you don't prime first you may find you need multiple coats to get the look you want. Also, if there's already another color of paint on the walls you may find it needs two, three or even four coats to cover it.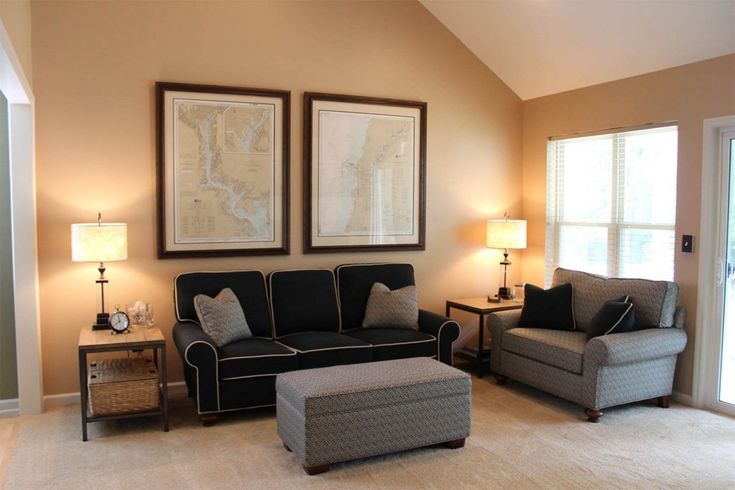 Priming the walls first will eliminate some of these issues and ensure you get the finished product you want.
How to paint the walls in the living room correctly?
As an alternative to wallpaper, people often began to use paint for wall decoration. However, this approach has both advantages and disadvantages. If you decide to paint the walls in the living room, then know that in this case they should be perfectly even and smooth, unlike wallpaper, you will not be able to hide any defects, but on the contrary, painting can only emphasize their presence.
You can’t answer the question of how to paint walls in a nutshell, since it includes the choice of tools, the choice of the necessary paint, and the technological process itself, which is why we decided to devote this article to such an important issue.
Choosing paint
Choosing a wall paint for your living room is easy. Among all the variety, it is worth giving preference to water-based paint of the color that you like.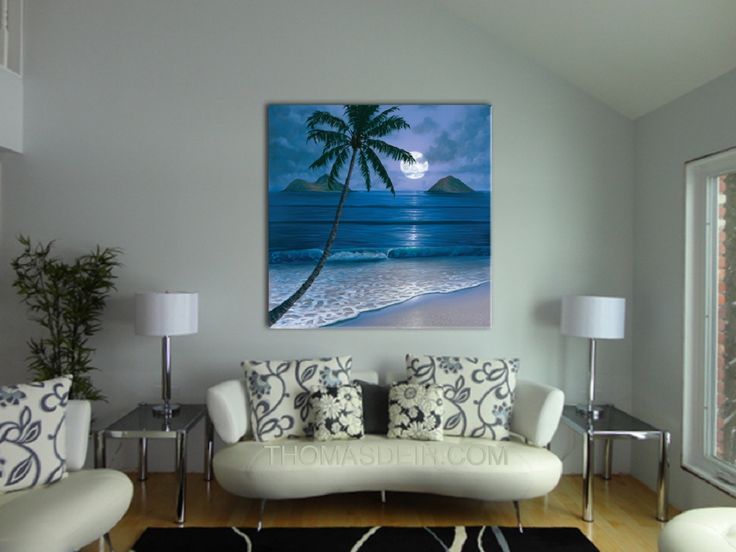 We will explain why this particular paint is best suited.
- Firstly, it contains no toxic substances that cause poisoning or allergies. This paint is environmentally friendly.
- Secondly, this type of paint is fireproof.
- Thirdly, this paint can be used to paint a wooden surface, as well as drywall, plaster, brick, but it is not recommended to apply it to metal, since this paint is based on water, which can lead to its corrosion.
Choosing a water-based paint for wall decoration, you have a great opportunity to create an individual design of the room. The fact is that you can independently choose the intensity and brightness of the color with the help of a special coloring agent added to the paint, color scheme. The more you add it, the richer the color will be. But you need to work with it carefully, here are some tips on how to paint the walls using color:
- Add color gradually, thoroughly mixing all the color. Only in this way will you achieve a uniform color.
- Accurately calculate the required amount of paint for the design of the entire room, taking into account its application in several layers. Let the paint remain, it will come in handy later on for touching up the fading sections of the wall. If there is not enough paint, then it is almost impossible to mix the paint with the color in the right proportion until the desired shade is obtained.
- When applying the first layer of paint, you can add a little water to it, about 10% of the volume, this will save it a little, but this will not affect the texture of the painted surface.
What is the best paint?
Some will say that it is better to paint with a brush, others with a roller. But we believe that not everything is so simple, let's figure out why. To decide on the choice of coloring tool, you need to know what area you have to paint. A large wall can be painted both with a wide brush 75-100 mm and with a roller. Undoubtedly, working with a roller, you will spend much less time, but it may not turn out as neatly and evenly as with a brush.
Roller is best used when you need to apply a thick layer of paint. Correctly select its size, the larger the wall to be painted, the larger the working surface of the roller should be.
In addition, thanks to the long handle of the roller, you can paint the top of the wall without using a ladder. The basis of the roller can be made of nylon, velor, polyester fabric, the choice of material will depend on the paint that you are going to apply. It is best to buy a roller along with paint, you will be offered the most suitable option.
The brush is indispensable in hard-to-reach places, such as in the corners of a room or under a radiator. When choosing a brush, pay attention to its pile. Brushes with natural fiber are suitable for enamel, and with artificial - for latex paints. Before starting work, be sure to shake off the brush, make sure that the hairs are firmly held, otherwise they will remain on the wall.
Preparing walls for painting
One of the crucial and important stages of work on how to properly paint walls is the stage of surface preparation, since the result will depend on it. If you are doing repairs in a new room, where the walls have not yet been subjected to any finishing, then you need to do one job, and for old walls - a completely different one. From new, never painted walls, it may be sufficient to sweep away dust and dirt; if there are irregularities, a layer of putty can be applied.
Finished walls require more careful preparation. Remove old wallpaper or paint. When removing the wallpaper, the glue is also removed, it is mechanically cleaned with a spatula or washed off with special compounds. Similarly, oil stains, fungus and mold are removed. In addition, it is necessary to check the wall for pieces of old plaster falling off, in general, there should be no defects left, the wall should be clean and even.
All cracks can be covered with a mixture of alabaster and PVA glue. After that, the walls are primed for greater adhesion of the paint to the wall. The primer passes twice. After the first layer, it is necessary to sand the wall with sandpaper, then go through the primer again and let it dry.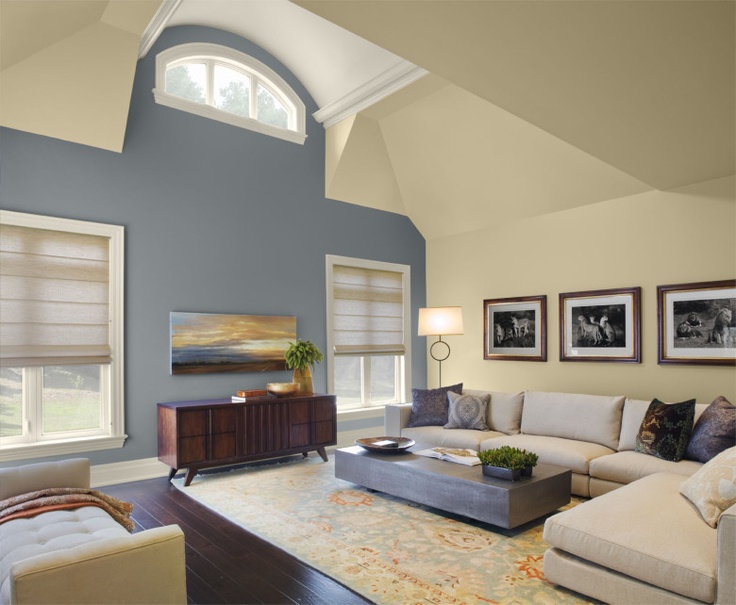
Painting the wall correctly
Having carried out all the necessary preparatory work, we proceed directly to the technology of how to paint the walls correctly, namely, how to apply paint to the surface. This is a rather laborious process, especially for those who start such work for the first time. We offer the following recommendations to help you achieve the best result.
- A large wall must be divided into several sections, which are gradually applied with paint.
- Tape the top and bottom of the wall with masking tape to prevent paint from getting onto the ceiling and floor.
- The technology of how to properly paint walls is that the whole process of painting starts from the top corner of the wall. For greater convenience, you can paint 5 cm around the perimeter of the living room at the junction of the wall and ceiling with a small brush, and only then move on to the main surface, taking a roller or a large brush.
- For uniform application of paint, it is necessary to apply one layer in one direction, and the next layer in the opposite direction.

- It is not recommended to apply several thick layers of paint or too thin paint on the wall, as it will sag during application.
- When working with a roller, use a special rectangular container to dip it into the paint, on the sides of which the roller can be squeezed, thereby removing excess paint.
- Water-based paint is applied in two coats using a roller. The first layer is applied horizontally and the second layer vertically. Moreover, it is unnecessary to wait for the first layer to dry, the work is done immediately. If you decide to paint the wall in three layers, then the first and last are applied with vertical movements, and the intermediate layer with horizontal ones. This technology will give a uniform and uniform wall design.
- If you decide to work with a brush, then you need to dip it halfway into the paint, wring it out a little, and then apply it to the wall with horizontal zigzag movements. In this case, there should be small uncolored gaps between the zigzag stripes.
 Next, with movements in all directions, smear the paint with a semi-dry brush on the wall. The second layer is applied with vertical movements.
Summing up the above, we note that the question of how to properly paint the walls in the living room requires not only theoretical study, but also practical skill. Decorating the walls in the reception room with your own hands, without experience in such work, will be quite difficult. But if you have the desire to work, you have patience, then the result will surely please you. We hope that our recommendations will help you cope with this difficult and creative work, good luck with your undertakings and experiments!
Interesting:
Share with friends:
50 photos of interiors, what color to paint the walls in
The color of the walls in the living room can be called the basis of the composition in the interior, because they become the background for further arrangement of a comfortable, aesthetic and harmonious room. The mood of the situation, the feeling of comfort and warmth depends on the shade of the finish.
The choice of palette depends not only on personal preferences, but also on the parameters of the room - color schemes will make a room with low ceilings and one north window more comfortable, a very narrow or irregularly shaped room.
The choice of colors depending on the cardinal direction
Perhaps the first thing to do is to determine how effective the natural lighting of the room is: the northern rooms do not receive sunlight, while in the southern rooms there is an excess of them. Of course, a lot also depends on the climate, because some even the southern regions are distinguished by the predominance of cloudy days.
Colors help make the living room more comfortable.
- In a room facing north, there is usually a feeling of lack of sunlight and warmth . Therefore, the color of the living room in this case should be warm, soft, cozy.
 Usually it is a beige palette, muted shades of green combined with natural woody, chocolate scale with terracotta and yellow notes.
 - The color of the room with windows facing south can be cooler - blue, gray, white and turquoise . But these tones do not seem cozy to many, so they are often changed to a neutral range - barely noticeable cream, milky, gray-blue and white-sky.
- Northwest and northeast rooms can be different. To determine in what shade to decorate such a room, it is worth watching. If there is no time, you can choose combined solutions - paint the wall where the rays of the sun fall in light cool colors, and the opposite one - in the shade - on the contrary, in the sunny palette. Then it will seem that there is still more sunlight in the room than there really is. To make the effect more noticeable, choose bright colors of warm colors for accents - they will look as if sunlight is also falling on them.
- More comfortable rooms - southwest and southeast .
 Here the sun's rays look more, respectively, they warm the room and make it bright. For a hall in an apartment with such an arrangement, any shades and their combinations are suitable.
Combination of finishes and furniture
The choice of color for the living room and its furnishings is usually based on simple rules of harmony. And in this matter, it is not so important what the chosen shade for the walls will be - it is important to find an aesthetic combination.
Natural duets and trios are among the traditional combinations. This, of course, is the color of greenery and wood, sky and earth, greenery and buds. Obviously, the blue, pastel olive and pistachio walls of the living room complement the brown furniture. An example is the combination of woody and vibrant greens, mint and fuchsia.
Combinations of beige scales with all natural shades look just as harmonious: the color of sand and the sea, clouds and clear sky. But the most organic are considered tones close in gamut - for example, cream, sand and peach, as well as pistachio, azure and emerald.
The achromatic palette is always out of competition, because it goes well with any - both natural and "poisonous" tones. The white, gray or even black color of the living room does not determine the shade of the furniture set - any other shade looks great against such a background.
To find the best combinations, you can use the circle, in which harmonious tones are selected using figures inscribed in it - triangles, squares or rectangles - depending on how many shades are needed for decoration.
How to find the perfect color for your living room
In search of the best decor, hosts turn not only to personal preferences and design advice, but also to various psychological aspects. For example, psychologists are sure that deep blue is the best shade for a bedroom, while light green gives a feeling of peace and tranquility.
Another theory of the influence of the color palette is associated with the Taoist symbolic exploration of space, called "feng shui".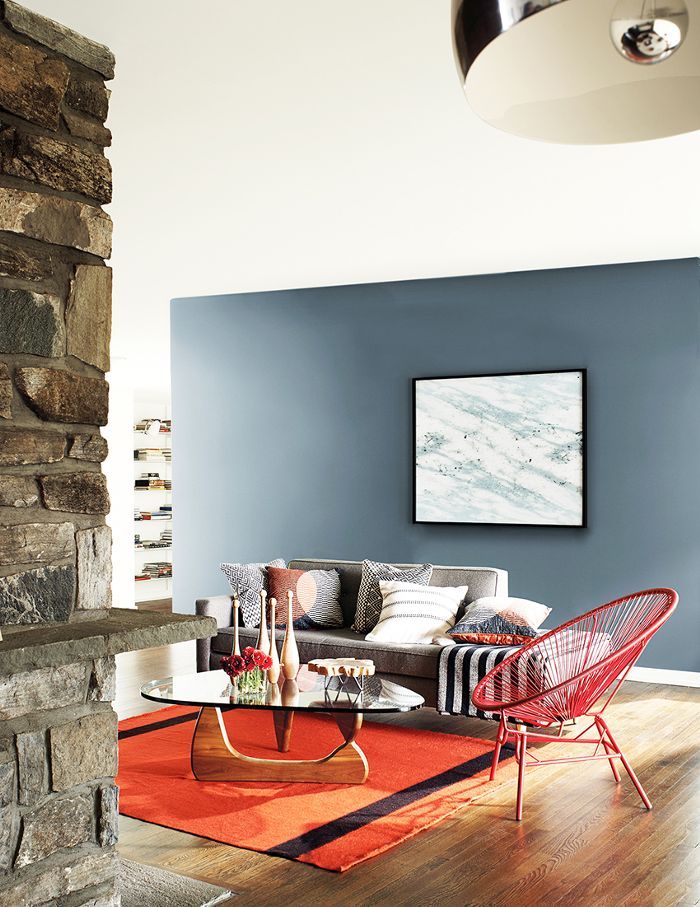 In this teaching, it is believed that the color for the living room is as important as your spiritual state is for you. Here, the balance and distribution of color throughout the room is significant. In this theory, the palette is divided into male and female shades. And they should all be present in the design. According to Taoist theory, a cozy living room should include almost all existing shades, but it is recommended to give priority to the feminine, then the atmosphere will turn out to be soft and hospitable. These tones include white, blue and green - a rather cool palette, but they must be complemented by "male" colors - black, orange or red.
Of course, no one can tell you what the ideal color for your living room will be, so you should take into account a variety of parameters and personal preferences.
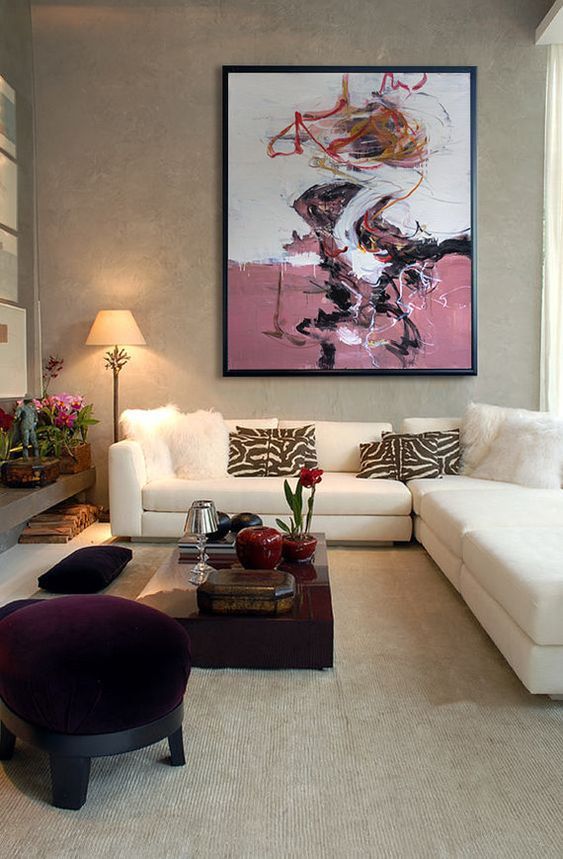
The neutral character of pastel shades
A living room in pastel shades is a versatile solution for any style project. This range is distinguished by a particularly light spectrum, almost imperceptible emotional coloring, the possibility of combining with any other bright accents. The best shades in this range are, of course, beige, milky, cream, powdery, gray-beige. Less commonly, pastel yellow, green, blue are used in the design. They are more emotionally colored, so choose them when the owners are sure what mood they want for the interior of their living room, albeit in pastel colors.
This palette has both warm and cool tones:
- Beige tones in a wide range help to make the room warm and cozy . They are applicable to the interior in any style and are harmoniously combined with bright color spots of any spectrum.
- Warm pastel yellow . It is quite close to beige, so in this color the design of the living room will become more sunny and cheerful.
- Cool include ultra-light and muted gray, blue and green, lilac, pink .
 Of course, there are also warm tones in every spectrum. The choice depends on the overall design, the location of the room, its area and shape.
Living room in pastel colors can be different - restrained and neutral, strict and unemotional, hospitable and cheerful, solemn and elegant. The inclusion of any bright color sets the mood and shapes the character of the setting.
Living room in warm colors
It is obvious that warm colors in the interior of the hall create a very unambiguous atmosphere - cozy and pleasant. Lighter shades are quite sophisticated, but saturated ones are homely and emotional.
- The lightest and most neutral creamy tones are a sophisticated option for decorating rooms in classic, modern, technological and solemn - a variety of styles . Close to white, this color looks unobtrusive and elegant. Together with gilding, it can be used in a classic majestic interior, and with the inclusion of bright colors of the "acid" palette - in the hi-tech direction.

- Living room in cream tones is an exquisite option for discreet classics, laconic minimalism, cozy interpretation of high-tech style . This is a universal color from the beige range, which is easily combined with different shades - deep, bright, dark.
- Living room in peach tones - a richer interior in which it is easy to create a special atmosphere . Summer aromas and a light atmosphere are literally in the air here, so you should choose the appropriate solutions for decoration. Peach color in the interior of the living room helps to decorate the room romantically, gently, unobtrusively. It easily fits into the directions with a rustic character, where natural white textiles, simple wooden furniture, wicker sets are also appropriate.
- Terracotta color in the interior of the living room is a rather bold decision . Of course, this is the natural color of a traditional brick, but it is distinguished by its brightness and saturation, so the terracotta shade cannot fill the entire room.
 And if it was chosen for painting a large area, but even the hinged shelves will be lighter and weightless.
A living room in warm tones can be either red - extravagant, or brown - in a natural, rather saturated color of natural wood. Against such a background, elegant details in a peach shade, in a white and beige palette, as well as green, blue, and pink decor are harmoniously used.
Warm colors in the interior of the living room can be both pink and green. To do this, just add yellow notes to such shades, and you get a curious mix of halftones that will allow you to combine opposite temperature spectra for full harmony and filling the composition. For example, a peach-colored living room includes a hint of pink, which allows you to organically use the rich shade of fuchsia in accents.
Living room in a cold palette
Cool shades are usually chosen for rooms that are flooded with sun. Most often, these are apartments and houses in the southern regions, because even the southern rooms of the northern climatic regions actually rarely see the sun. But a living room in cool colors can also be chosen to implement a discreet - modern or solemn pompous style. It will be a detached environment, perhaps strict and even businesslike, technological or with futuristic features. Of course, even such a palette can be made cozy if you choose light shades for the background, and the main composition will be wooden pieces of furniture, accents in a warm palette - red, orange, yellow, beige, chocolate.
The lilac color in the decoration of the hall will look extraordinary. Shades of lilac range are quite peculiar and ambiguous. They include a wide range of other pure colors, which creates a variety of variations and nuances of this color scheme. For example, the predominance of notes in the purple range will make the interior mysterious and meaningful. In the living room in lilac tones, there will hardly be an additional zone in the form of a children's or play area. Such a room is more often used for receiving guests and spending time with a married couple without children.
Black is designed to emphasize the style of the hall in cool shades - it outlines the contours, sets off the depth of the background color or demonstrates the lightness of the light palette.
Cool tones of blue, green, gray-beige remain pleasant to the eye. These are light and unobtrusive colors that can be pastel or more intense, but their nature allows you to create organic and comfortable compositions.
Living room decoration in dark colors
Before choosing the main color for the living room, it is worth evaluating its parameters: if it is spacious and light enough, the walls can be painted in an intense shade from any palette. Of course, black surfaces will press psychologically, so when choosing a specific tone, one should take into account its effect on human sensations.
Despite the apparent extravagance of a saturated background, you can find a lot of interesting solutions:0092 . This is a standard solution for the loft style, as well as for many industrial, urban, ultra-modern areas in which there is a lot of metal, concrete, glass.
Decorating a room in this palette is quite easy - it goes well with light and saturated shades of other ranges. Chocolate can be the color of natural wood panels or painted concrete, then there are discreet gray notes in it.
When choosing a dark color for the hall, another interesting question arises - regarding the choice of color for the kitchen-living room when combining these zones. Obviously, a saturated room in a deep palette cannot be monophonic. When we design a combined space, it should not be cluttered with intense tones. The combination of contrasting shades will be the perfect tool for zoning a room. With any dark range, white, light gray, beige will organically look.
Choice of finishing colors for individual surfaces
It is unlikely that anyone thinks that it is enough to paint the walls in the living room, and the interior will be ready: the composition, mood, atmosphere are formed by many details, and you should not take away an important role from floor and ceiling coverings in this process.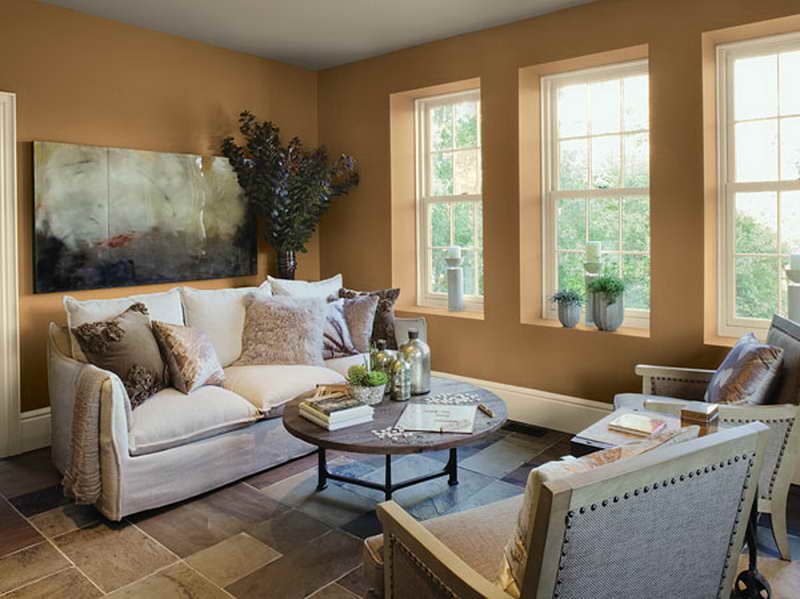 One thing is obvious - they almost never merge with vertical surfaces. Even in the same range, clear boundaries are drawn between the planes with the help of a plinth. In a monochrome room, the flooring, the color of the walls of the living room, the ceilings will be implemented in the same range, but in different shades. Although among the harmonious combinations there are many stylish and elegant solutions.
White living room
The ideal solution for a bright, spacious room is, of course, white. It is chosen for walls and ceilings in classic, Scandinavian, Greek style, as well as contemporary and shabby chic. Depending on the direction, you can find the best answer to the question of how to choose the color of the floor.
Popular and harmonious finishes:
- Parquet or other wood alternative . Most often, the coating retains its natural shade, so the color of the laminate is usually brown, although this range is quite large - from whitish to chocolate with golden threads.
 If you choose a monochrome design, gray-white types of laminate are suitable for a white room; they will look stylish and restrained in the living room interior. The warm brown shade of wood will make the atmosphere cozy and homely.
 - Natural stone will make any room solemn - natural mineral looks so luxurious. Marble, which is dominated by a white palette, will look exceptional in a classic interior. But other minerals, differing in a variety of colors, will organically fit into an aristocratic interior.
- Ceramic tiles, due to their variety, can be used in any style . When choosing such a coating, a well-chosen ornament is important - a tile can imitate wood material, natural stone, or represent a completely different category - the ability to create patterns on the surface in the widest palette of shades.
From ceiling coverings for a white interior, similar materials are usually chosen - preference is given to stretch fabrics. The choice of gloss or matte surface depends on the style and parameters of the room. As a rule, glossy ceilings are equipped in rooms that are too low and in modern design directions. In tension multi-level structures, colored canvases can be used - in the central and zoning inserts of various shapes. It can be a regular geometric figure or a contour of arbitrary geometry.
Beige interior
Everything is clear here: the use of beige neutral colors creates an elegant environment with a discreet character. As a rule, cream or sand wallpapers complement the wood floor. The ceiling can be painted both in traditional white and in milky - a softer tone.
Universal beige is a good solution for both luxury and budget interiors. Such a palette allows you to save a lot - there are no flashy and demonstrative details, the price of materials fades into the background, like the whole environment - comfort plays the main role.
Gray room
Gray palette - a wide variety of shades for decorating rooms in different styles.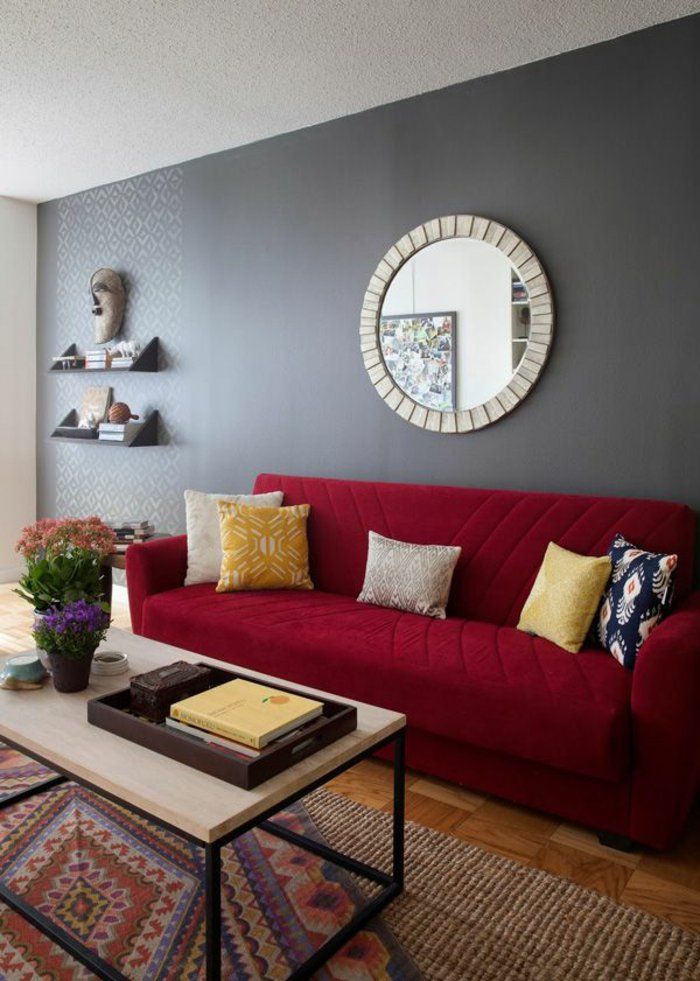 Silver is a frequent guest in restrained classicism, matte ash is the color of pure concrete in a loft style, aluminum and steel is a high-tech direction priority, graphite can become the basis of any modern or retrospective design. Of course, a living room in dark colors is possible only with a sufficient area of the room. However, there is always room for an accent surface.
To decide what color to paint the walls, it is worth comparing the parameters of the room and the nature of the chosen style. Universal and achromatic gray can be appropriate in any of the directions in a very different format.
Picking up the same color for the floor and ceiling is not difficult.
- Wood brown flooring is the perfect choice for any interior . It is a warm color that will balance the cool and austere ash, especially when used metallically in modern settings.
- Granite gray or slate grey-beige - a luxurious solution for a room with monumental features .
 This wear-resistant coating is expensive and has a variety of decorative textures, but the weight of the material prevents its widespread distribution.
 - Ceramic tiles can be bright enough - any accent looks stylish against a smoky background. And it is the floor that can become an accent in a laconic self-sufficient interior.
Wall materials
Still, the main issue when choosing a particular palette is the choice of wall material. The traditional answers are paint and different types of wallpaper. A painted interior is the simplest solution, the implementation of which is available to everyone. For a textured finish, you can choose wallpaper for painting, which differ in unobtrusive relief, or plaster, but it’s better not to work with it without skills.
Other options include decorative wood panels, glass and stone panels for accent and partial wall decoration. Such coatings can imitate doors to other rooms, look like paintings, mask built-in wardrobes, etc.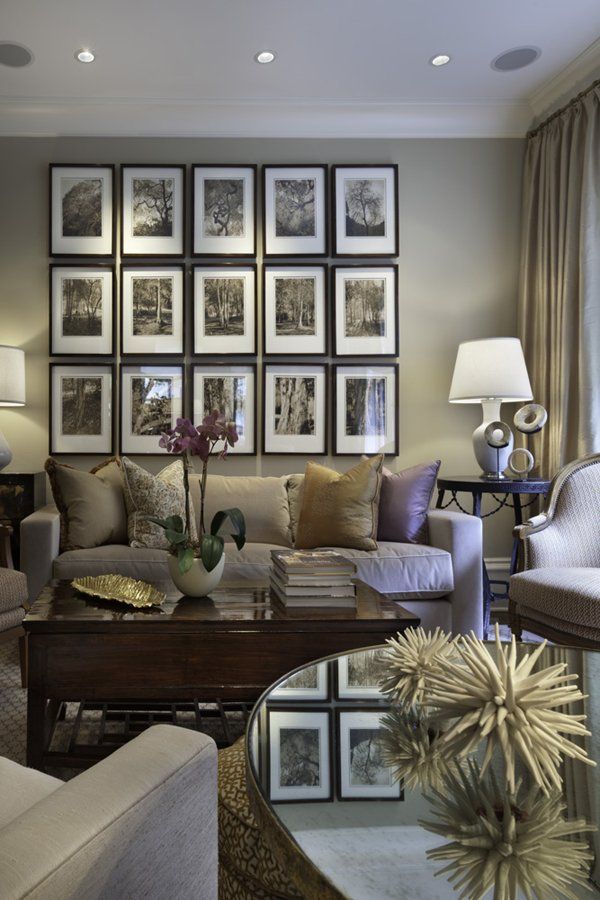
The most common option is, of course, wallpaper.
The choice of such depends on many factors:
- If you need coatings for an accent wall, you should pay attention to bright colors, catchy patterns, stylish ornaments. For example, if you choose materials for the Provence style, floral wallpaper will do. The same is worth picking up curtains, sofa cushions.
- To create a harmonious combination, it is worth considering what color other surfaces are painted.
- When choosing a base coat with a pattern, it is worth finding a plain or textured strip to place photos on the walls. In the same tone, curtains are selected.
- Wallcoverings can be combined – solid colors with stripes or floral motifs, stripes with floral motifs on adjacent walls, alternating stripes, contour ornaments and plain textural areas.
At the same time, the color of wallpaper with a pattern loses its original character - here the shade of the ornament takes on the main role.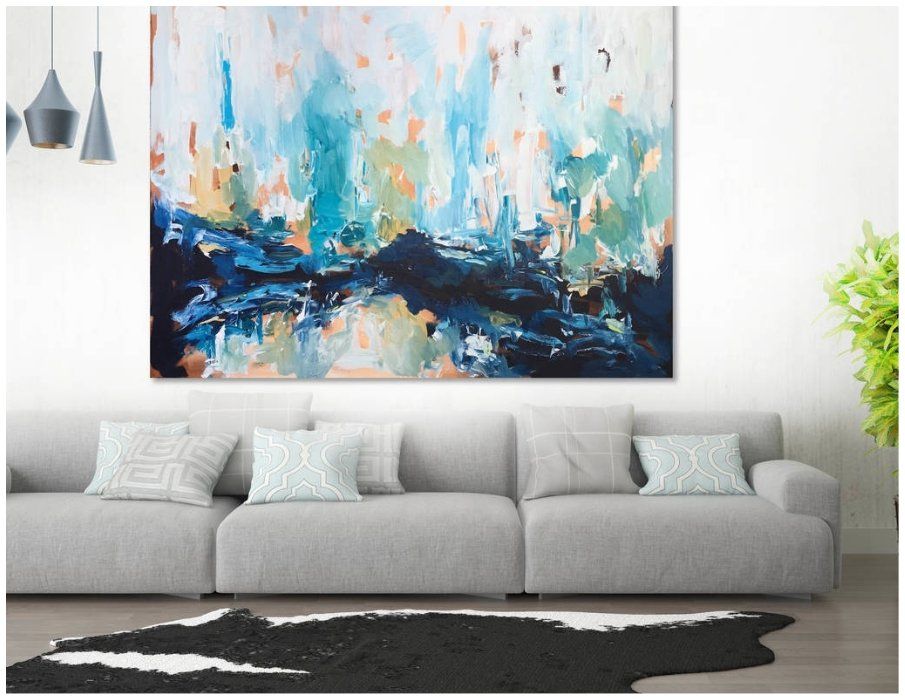 This should be taken into account when decorating a living room in a certain range.
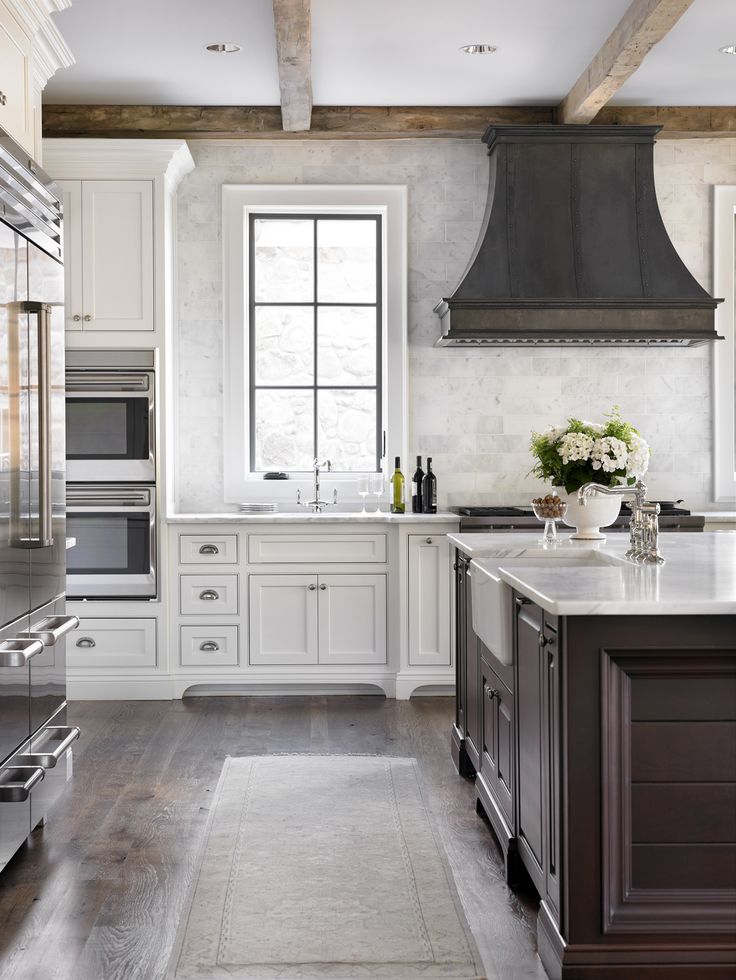
Features of choosing a color for a living room combined with a kitchen
The rules for choosing a palette for a living room combined with a kitchen, in fact, are not much different from choosing the color scheme of any room.
Nevertheless, there are nuances that are worth paying attention to.
- A popular solution is the white color for the kitchen, then the facades of the kitchen set literally merge with the wall finish, visually freeing up space . But this range remains the brand itself, so you should choose it only if you are ready to regularly care for such surfaces. True, you should not save on white furniture - modern manufacturers offer functional coating options that do not absorb dirt, so they are easy to clean.
- The kitchen can be made in the same color as the living room . Then it is worth considering constructive zoning methods that will not allow the working block to merge with the recreation area.
- When combined with the dining room, and not just the working area, it is worth decorating the entire room in the same style, but you can choose a different color . In the kitchen, for example, bright - pink, blue, blue, green, and in the guest part - neutral, more balanced. The dining room will become a transition between territories with different purposes. It can be arranged in a transitional shade or in a combination of basic ones.
- A comfortable color solution with the same background will help make the living room together with the kitchen unit complete in composition . But it is important to choose harmonious details: decor in combination with zoning tools will make the interior self-sufficient. A trio or even a quartet of shades will look organic here. Of course, tones in one palette with one catchy look more stylish, but you can pick up notes of different character.
Since in the kitchen area, instead of wall decoration, sets are usually visible, it is precisely its facades that will be combined with the decoration in the hall.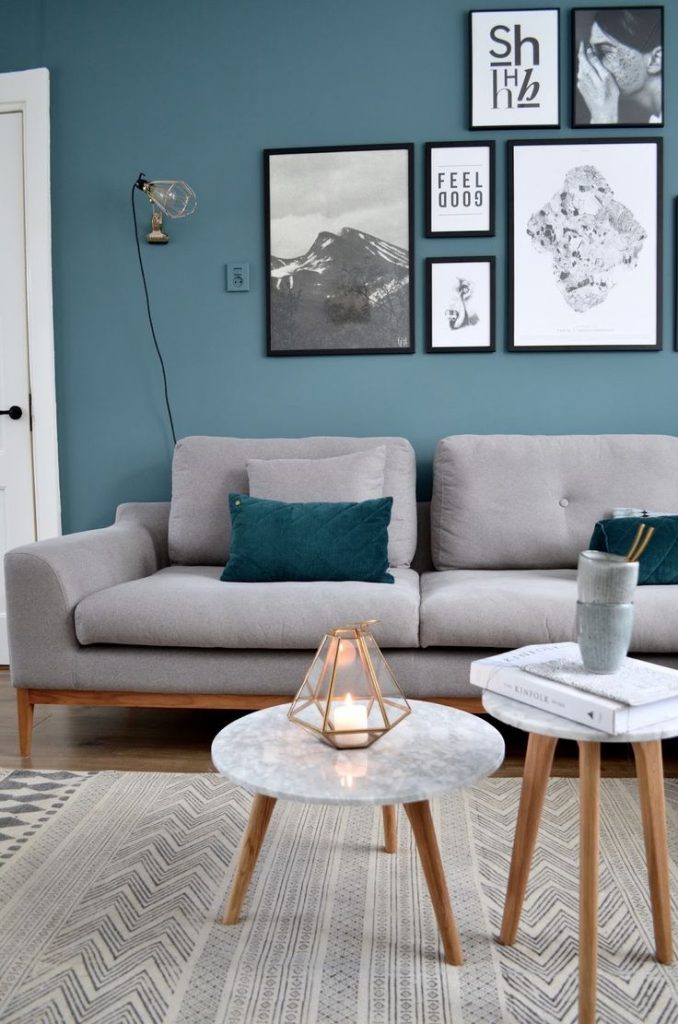
Learn more
- Classic dining room designs
- Clothing storage solution

- How to get rid of condensation

- Where to plant climbing roses

- French country kitchens 2023
- Homebuild and renovating show

- Make ceiling higher

- What not to feed birds

- Dryer temperature guide

- Painting a nursery ideas
- Sectional sofa designs for living room
