Removing a kitchen
with tips from professionals |
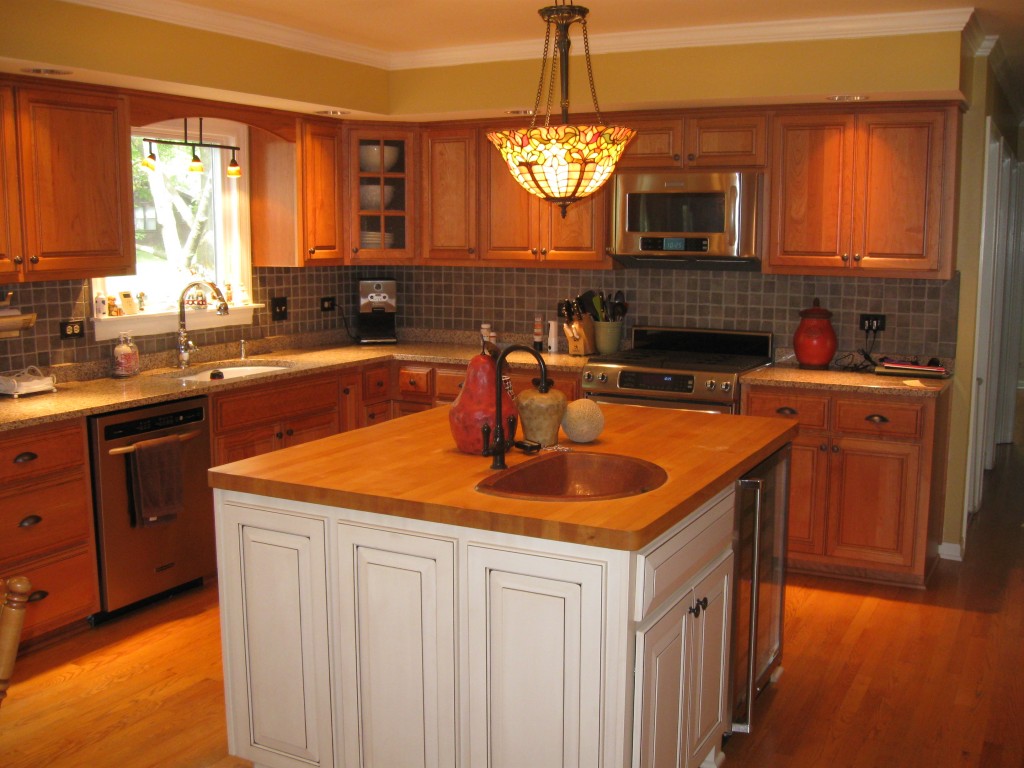
(Image credit: Getty Images)
Removing kitchen cabinets can largely be done as a DIY job, and could save you money, and the time that you have contractors in your home.
Whether you are installing a new kitchen or are getting it professionally fitted, you may want to remove the majority of the current configuration yourself. And this majority doesn’t require too much skill to tackle. Or perhaps you want to paint kitchen cabinets and just want to discover how to remove doors and drawer fronts?
The first thing to do is get the room ready by emptying all the cabinets. This means taking out all your crockery, pots, pans, cooking equipment, utensils, cutlery, glassware and food items from all the cabinets, both base and wall units, pantries, larders and any pull-outs. Removing kitchen cabinets is usually pretty straightforward and you can usually take them off the wall without damaging the surface underneath.
‘Removing kitchen cabinets isn’t too difficult,’ confirms Ryan McDonough, interior design expert at My Job Quote , ‘but there are some areas that will need a bit of skill. Doors should simply unscrew at the hinges and internal shelves are usually resting on pegs, so they should easily lift off. For drawers, you may need to negotiate the drawer-stop mechanism but otherwise they will come straight out of the unit. Metal and plastic brackets commonly hold units together and worktops in place. So these will also unscrew with the right size screwdriver.
'However, built-in appliances are a bit more difficult. Cabinets where the sink is plumbed in and electric or gas appliances are installed need safely disconnecting first. You may be able to turn the water supply off yourself and isolate or cap the water pipes but call in a gas engineer or qualified electrician to remove ovens and hobs.’
Below, we take you through the basics of removing kitchen cabinets.
How to remove kitchen cabinets and drawers
If you’re going to install kitchen cabinets, the current ones need to be removed first. After you’ve taken everything out of the cabinets and drawers, you are ready to start.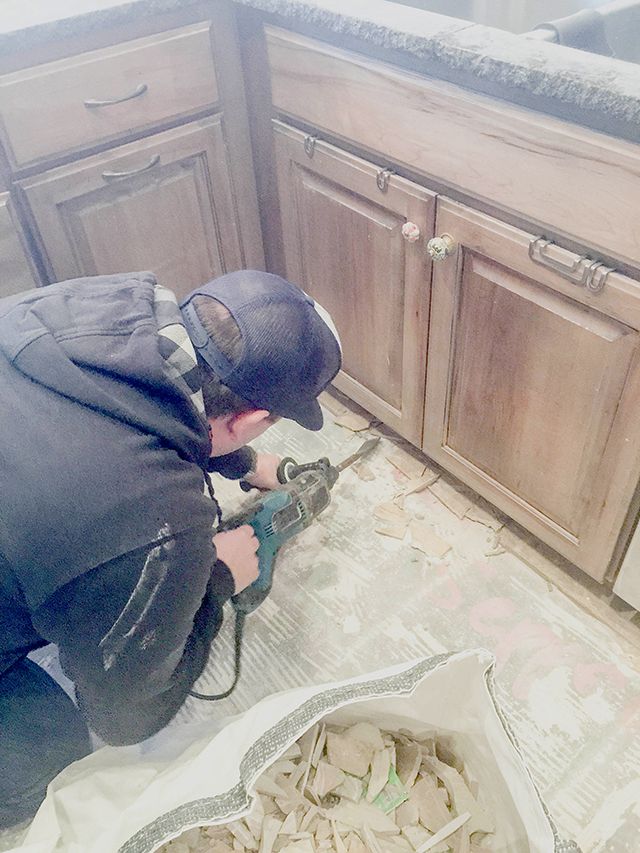
1. Unscrew kitchen cabinet door hinges
When taking on a project such as this, it’s important to always protect your eyes, nose, mouth and hands. Wear protective goggles, mask and gloves as well as old clothes that you don’t mind getting dirty.
The first step is to unscrew the door hinges. There may be a release clip that will make this easier but if not, you just need to unscrew them while someone else holds the weight of the cabinet door.
2. Remove drawer fronts
Drawers can be lifted up from their runners; you should check first if there is a securing clip that needs to be undone.
3. Remove base units
Base units tend to have fixings at the back as well as screws holding cabinets together to their adjacent unit. Once you’ve removed these, the cabinets should be pulled out slowly.
4. Remove all cabinets
Wall cabinets take a bit more effort to remove. This is because the brackets are designed to take a lot of weight. Loosen the screws on the brackets at each side as well as removing screws that connect the cabinets in the middle.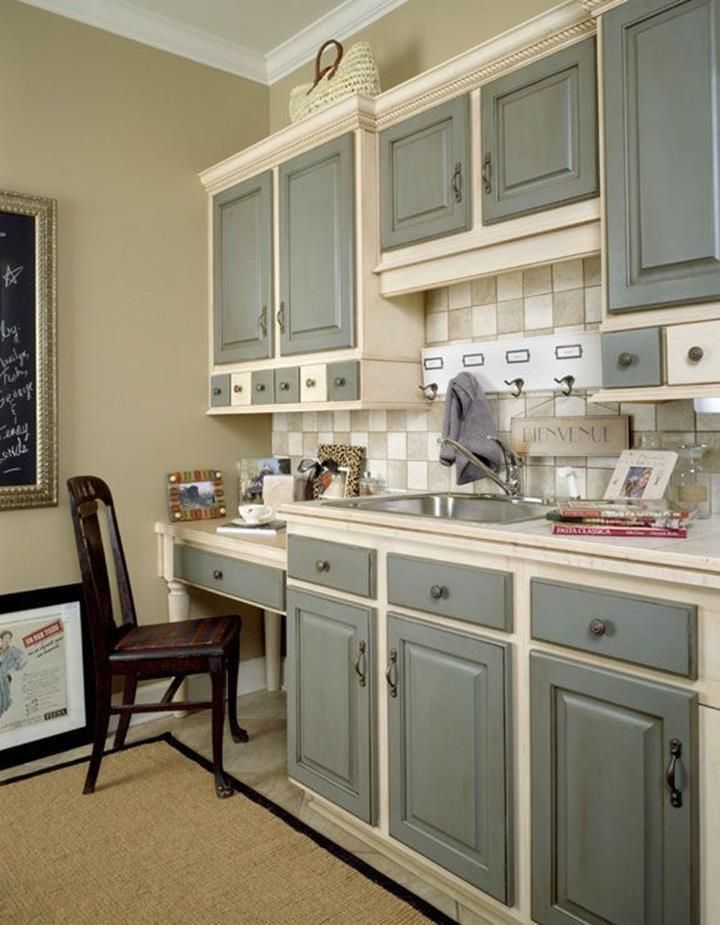 Next, lift it up and out of the bracket. Getting someone else to help makes a big difference. Some cabinets are screwed onto the wall rather than a bracket. In which case, one of you should hold the cabinet’s weight while the other unscrews.
‘Consider what’s on top of the cabinet before you start the general removal process,’ adds Scott Peterson, director of HKUK . ‘Any countertops should be supported with cabinets or end support panels either side of the cabinet that you are removing. Cabinets are usually screwed together and generally, there are four screws on each side. Check any hidden areas such as behind hinge plates and shelves. Base cabinets will usually be screwed to the wall and wall units will often be hooked on to hanging brackets, so once unscrewed from other units these will lift off the hanging brackets.’
5. How to remove appliances
Some cabinets may have appliances hard-wired into fixed connections. In this instance, always get a professional electrician or gas engineer to disconnect and make safe.
Once this is done, you can remove the appliances then tackle the cabinet it was housed in.
6. How to remove the kitchen sink
The same goes for sinks: ask a plumber to help if you’re unsure how to tackle water outlets. Turn the water supply off, keep pipes and outlets upright so waste water doesn’t spill out and dissemble any fixings underneath the sink before cutting the sealant that attaches it to the countertop above.
7. How to remove countertops
Countertops are usually fitted from underneath. Look for screws or bolts that are holding them in place and remove these, slowly, with the help of a friend. Some areas may have glue or sealant to secure in place so these will need to be prised away with a scraper. Prise the countertop up and away from the cabinets.
‘When moving heavy items such as countertops,’ adds Looeeze, ‘use the correct removal products for the job, work slowly and carefully and seek help if needed. Countertops have been sealed and the sealant is made to last. Work on the joins and loosening off the silicon first, then gather some extra manpower to help move the countertops, as they are extremely heavy and very delicate. The areas to take particular care is around any cut-outs, as these points have been weakened. Never attempt to lift a countertop just with two people with one person at either end – it’s a recipe for disaster.’
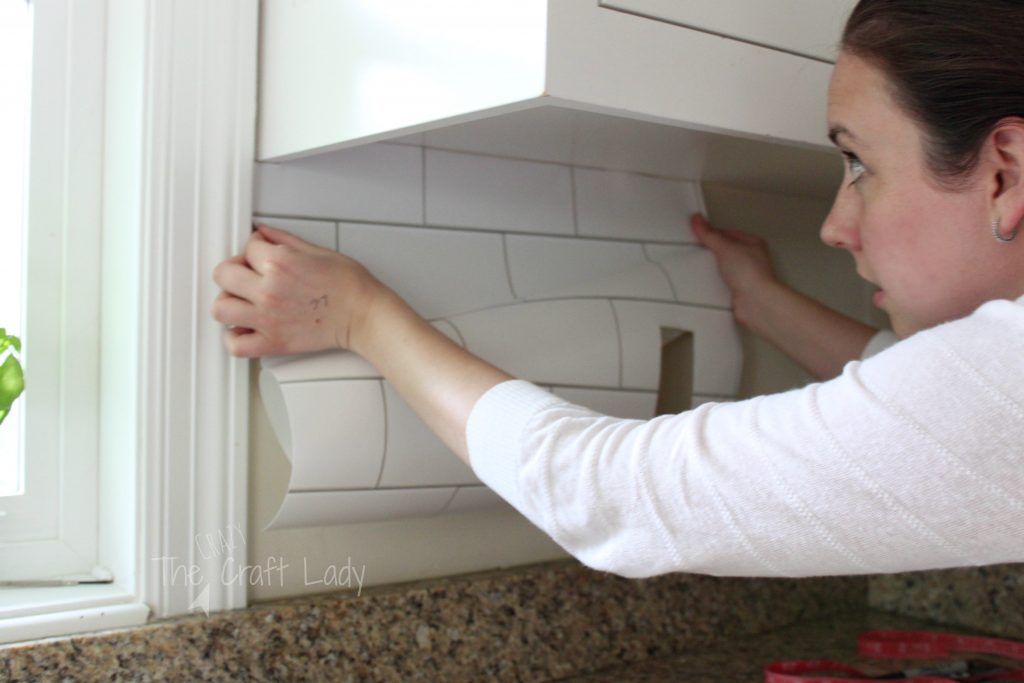
8. How to remove backsplash tiles
If you have tiles on the wall above the countertop, you may need to remove the bottom row before tackling the worksurface. Use a hammer and bolster if you don’t need to keep the tiles afterwards and always wear protective goggles and gloves.
Can I remove kitchen cabinets myself?
Yes, you can remove kitchen cabinets yourself but it is better done with a friend and it's always worth checking the installation to see how hard a job it might be. For example, if the cabinets were fitted with glue and nails rather than screws, it will be much more difficult to pry apart and out, and you will certainly damage the cabinetry as you do so.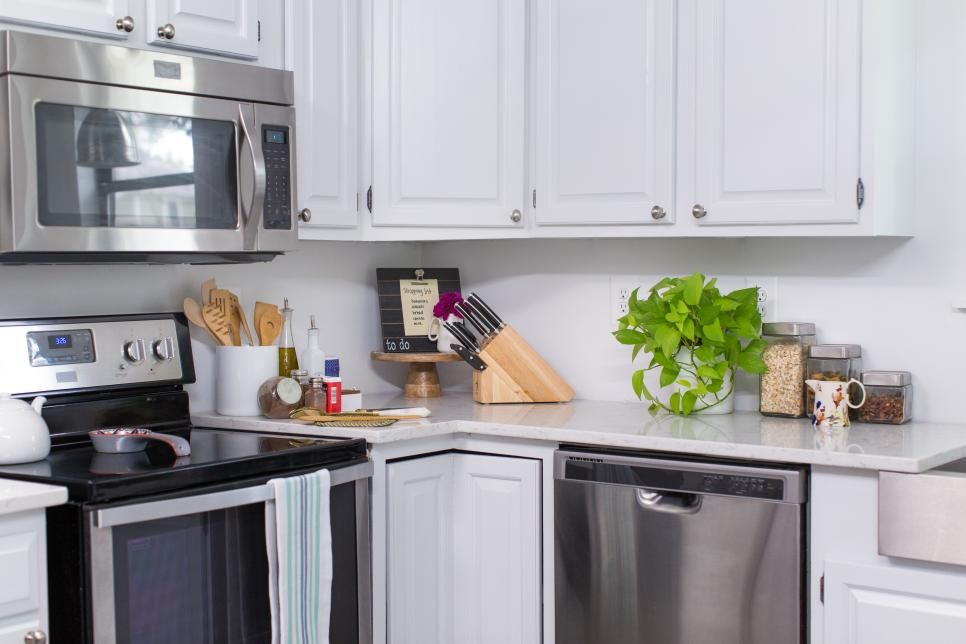
‘Most people are unaware there is an art to removing a kitchen,’ says Looeeze Grossman, founder of The Used Kitchen Company . ‘It is only when they attempt it that they realize it’s not as easy as it seems. Kitchen cabinets will need to be unscrewed from their hinges, using a drill for speed. Make sure you keep the screws and always label which ones came from which cupboard or drawer. If you can, tape them to the back of each cabinet.
How long does it take to remove kitchen cabinets?
Allow yourself at a minimum two days to remove kitchen cabinets; this is for two people in an average-sized kitchen. A larger space will take longer. The type of installation will also affect how long it takes to remove kitchen cabinets: glued and nailed cabinetry will be harder to remove than a kitchen neatly screwed together.
What should I do with kitchen cabinets I've removed?
Removing kitchen cabinets not only makes the space ready for the new versions but it also enables you to sell them and make a bit of money at the same time.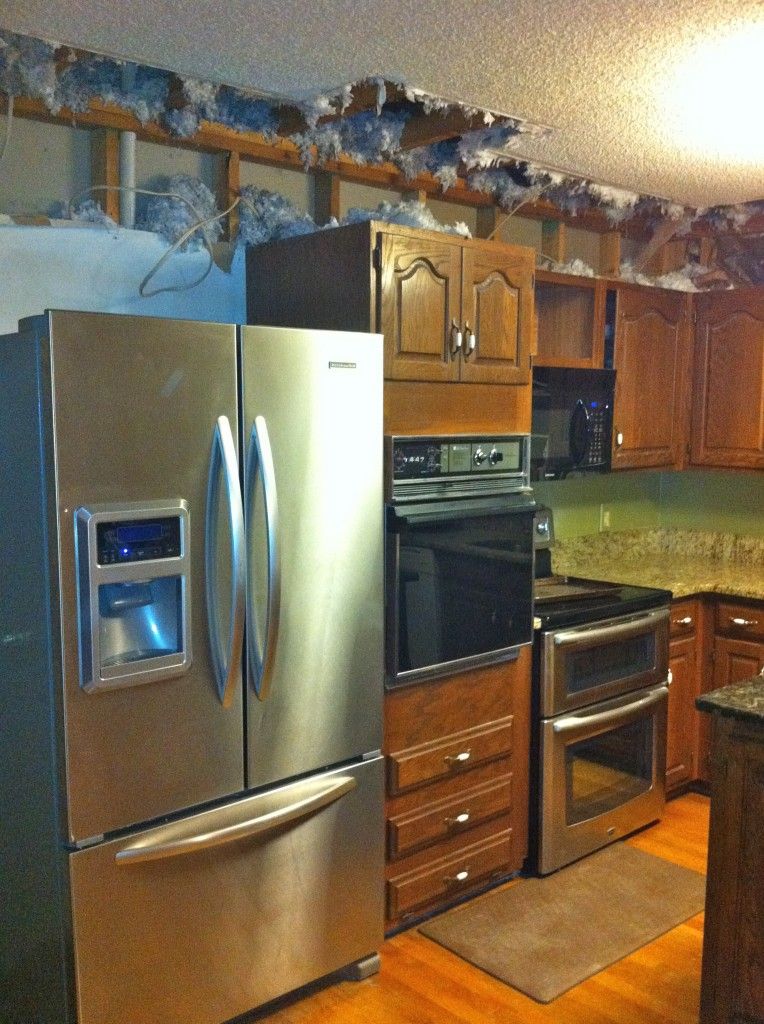 You could sell privately or use a company that specializes in this sort of thing.
Alternatively, think of using the cabinets for a mudroom or laundry room design. Refinishing kitchen cabinets or staining kitchen cabinets could give wooden versions a new look for the room, or they could be painted.
Hayley is an interiors journalist, content provider and copywriter with 26 years experience who has contributed to a wide range of consumer magazines, trade titles, newspapers, blogs and online content. Specialising in kitchens and bathrooms, she has twice won the CEDIA Award for Best Technology feature. Hayley writes for H&G about kitchens, bathrooms, cleaning, DIY and organizing.
How to Remove Kitchen Cabinets: A DIY Guide
Get your kitchen out of the 80s with new cabinetry. Learn how to tackle the upper and lower storage areas step-by-step.
ByJon Behm| Last Updated:09/16/2022
Your Step-By-Step Kitchen Cabinet Removal Guide
Are you looking to update your kitchen, but don’t have the time or budget for a full-on remodel? Luckily, there’s a simple way to give your kitchen a facelift without breaking the bank — remove and replace your cabinets.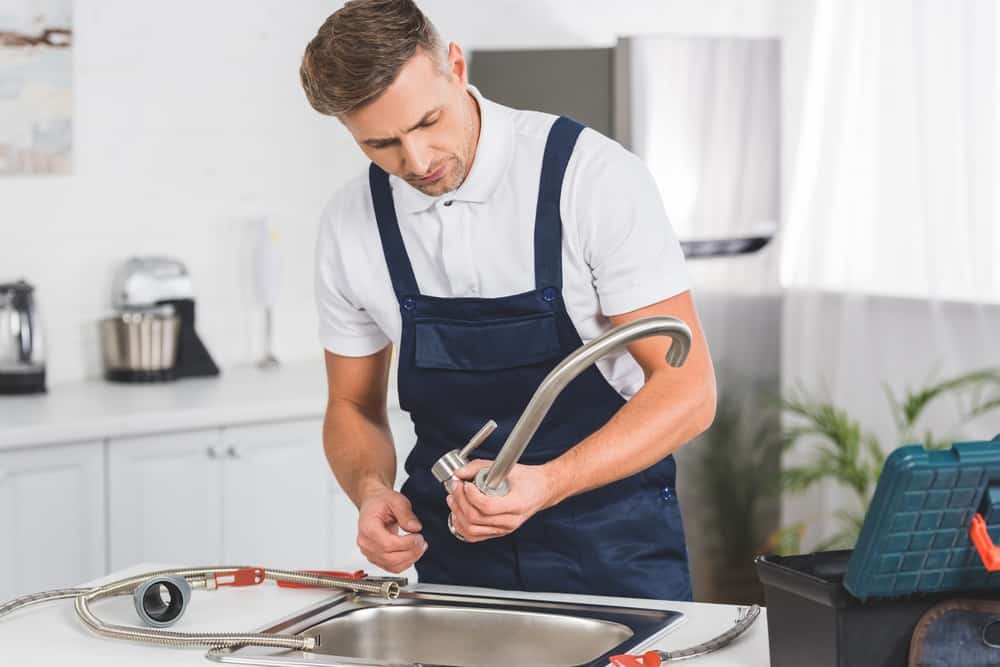
While you might hire a professional to install new cabinets, removing them yourself is a simple task if you have the time to knock it out. All it takes is a little finesse with your pry bar and a few precautions to avoid damage to your countertops and floor. Click a step in the list below to jump to where you need help, or read on to start at the beginning.
Cabinet Removal FAQs
What tools do I need to remove cabinets?The majority of the tools you need to remove cabinets are available in a standard toolbox:
- Pry bar
- Putty knives
- Utility knife
- Hammer
- Drill
- Screwdriver
- Wrench
- Reciprocating saw
The process of removing cabinets is a beginner DIY project. It doesn’t require any special tools or equipment, isn't very time-consuming and requires minimal construction know-how. If you have a basic tool kit, an available weekend and are able to lift 20-30 pounds, you can handle this project with ease.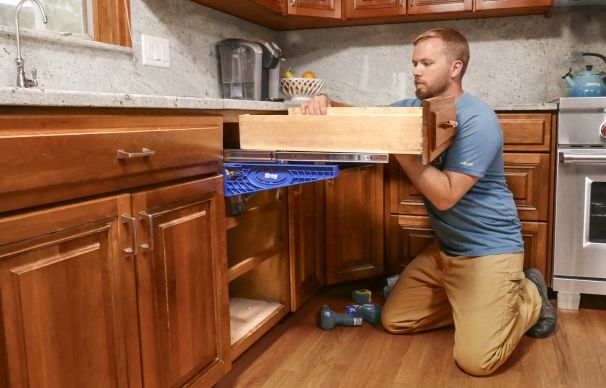
If you opt to hire a professional, expect to pay between $645 - $1,370 for 25 linear feet of cabinets. For DIY cabinet removal, the cost tends to be as low as your debris disposal method, so renting a dumpster and doing the work yourself will often be a cheaper option.
How long does it take to remove kitchen cabinets?The whole project can be completed in a few hours, depending on the number of cabinets that need removed and the materials you are working with. It’s best to give yourself a full day to complete the project in case any unexpected difficulties come up.
How to Remove Cabinets From Your Kitchen Walls
The process of getting rid of cabinets isn’t tough in itself. If you have a free weekend and a basic toolkit, you’ll be good to go. Just remember that you'll be without cabinets until new ones are installed. So don't plan to tear them out without a solid storage plan in place for the contents if it's going to be a while before the new ones arrive.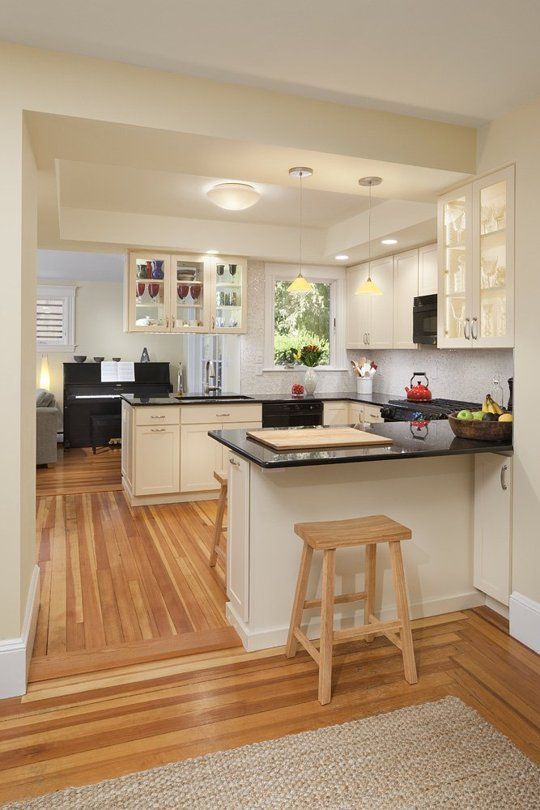
Ready to get started? Read on to see what you need to begin the job.
Cabinet Removal Prep
Gather Tools
Most of the tools you need for cabinet removal are found in your basic toolbox. That’s a good thing, because it means you can get your project started whenever you’re ready without having to run to the home improvement store for special equipment.
This is also a good time to consider how you’re getting rid of the debris. If you’re saving the cabinets, make sure you have a space cleared to store them or a way to transport them to a donation center. If you’re tossing them, a 10 yard roll off dumpster is a convenient option that comfortably fits in most driveways.
Cabinet Removal Tools
Tools | Supplies |
|---|---|
Pry bar | Gloves |
Putty knives | Goggles |
Utility knife | Tarps |
Hammer | Spare 2x4s (for supporting needs) |
Drill | Step ladder |
Screwdriver | Measuring tape |
Wrench | |
Reciprocating saw |
Preparing the Area
It’s time to get started, but don’t jump right into demolition mode.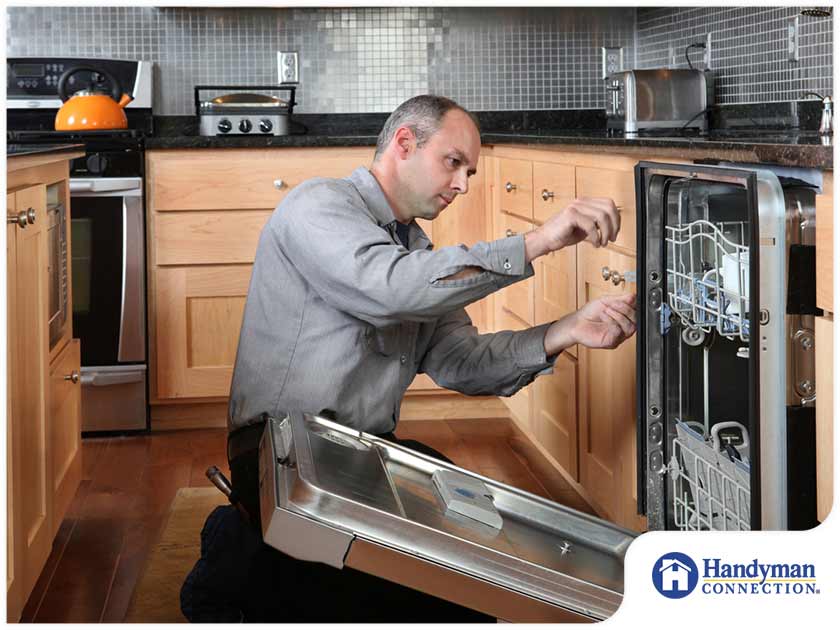 There are a few things you need to do before the screws start coming out. These tasks aren’t hard, but they are important to a successful project and will help you keep the area clean and organized as you work:
- Empty out your cabinets.
- Clear everything from the countertops.
- Shut off utilities to the kitchen.
- Cover the floor and countertops with tarps.
Disassemble Cabinet Fixtures
It’s time to disassemble the cabinets. Start with anything that might move or get in the way when you start removing the body of the cabinets. This includes:
- Doors: Unscrew the bracket from the cabinet body so the hinge remains with the door.
- Shelves: Either unscrew the bracket from the cabinet body or simply lift the shelf from the support peg.
- Drawers: Pull the drawer all the way out, then lift and continue pulling. If that doesn’t work, you’ll need to detach the sliding bracket from the drawer.
 Be sure to label each drawer with a sticky note if you plan on reusing or donating the cabinets.
Take Off Trim and Seals
It’s time to remove the pieces of wood framing that join the cabinet with the floor or wall. The trim is typically decorative and does not contribute to the cabinet’s attachment. The most common things you’ll have to remove are molding, trim and caulk. Luckily, they are all pretty easy to get rid of.
- For caulk: Use a utility knife to sever the connection between the cabinet and other surfaces.
- For molding and trim: Use a hammer to wedge your pry bar behind the trim and pull it away.
While this might seem like a step you can skip, don’t. If you fail to remove these attachments now, you’ll be forced to do it later on when your cabinets are no longer affixed to the walls with screws, which is more dangerous.
Keep in Mind
If you’re trying to save the trim, be sure to work slowly and in smaller sections.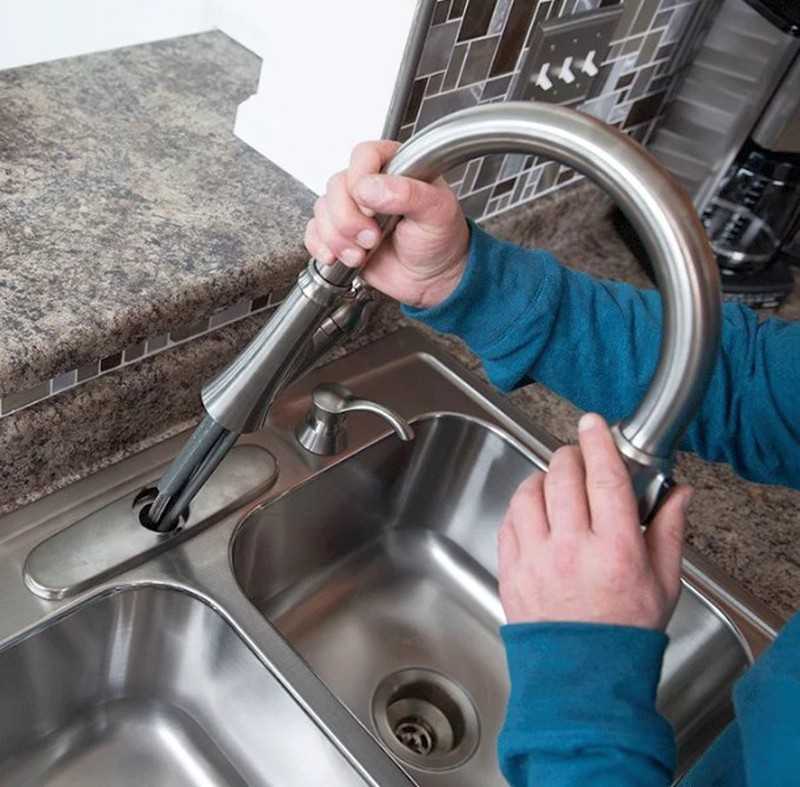 However, if you want to keep the cabinets intact but something has to break, let the molding crack. It’s far cheaper to replace trim than a cabinet.
Rent a Dumpster for Your Old Cabinets
4 Steps to Remove Upper Cabinets
It’s officially time to get to the heavy work and remove the bare bones of the cabinets. So, get your hammer, drill and screwdriver, pick the left or the right end of your cabinets and get started.
1. Place Supports
Measure the space between your countertops and the bottom of your cabinets. Then, cut your 2x4 into four pieces matching the length. Place one of your cut supports under each corner of the cabinet you’re removing.
These supports aren’t intended to hold the cabinets in place forever. They are to help for a moment if your hand slips as you pull the cabinets off the wall.
Remember to ask someone for help if you need assistance with detaching your cabinets.
2. Detach Cabinets From Each Other
Not all cabinets will require this step since some might stand alone or simply do not connect. However, it’s a good idea to double-check to be safe.
Look at where your cabinet touches another one to see if there are any fasteners. Keep in mind that they may be covered for aesthetic reasons, so look for circular discolorations, stickers and other signs that a screw might be covered up. Also, only look on the sides on the cabinets — you won’t be removing any fasteners on the back until the next step.
Once you’ve located the screws, this step is as simple as unscrewing them.
3. Unfasten the Cabinet From the Wall
You’ll need to determine how your cabinets are attached to the wall to move forward with your project. There are two standard ways they are secured: screws and glue. Luckily, determining what type of cabinet you’re dealing with is as simple as looking. If you see screws, you need to remove them. If you don’t see screws, the cabinets are most likely glued.
How to Remove Cabinets Attached With Screws
Starting at the bottom, work your way to the top as you remove screws with a drill or screwdriver. Remember as you work on the final screws to support the cabinet so that it does not fall once detached.
Be sure to look on the bottom and top of the cabinet to ensure there are no screws attached to a hidden lip.
How to Remove Cabinets Glued to the Wall
Begin at the side of the cabinet and wedge your pry bar between the back of the cabinet and the wall. Do this in a couple of spots on the side to fully loosen the glue before repeating on the top and bottom of the cabinet. To minimize potential damage to the wall, use a stud finder and pry on top of any studs that may be behind the cabinet.
As you loosen the glue’s hold, be sure to keep a tight grip on the cabinet so that it does not fall.
4. Lift and Remove Cabinet
Once you believe you’ve fully detached the cabinet from the wall, gently lift the cabinet upwards and then pull it away from the wall. Be sure to do this step slowly in case there is any residual glue that has not come loose or you’ve missed a screw.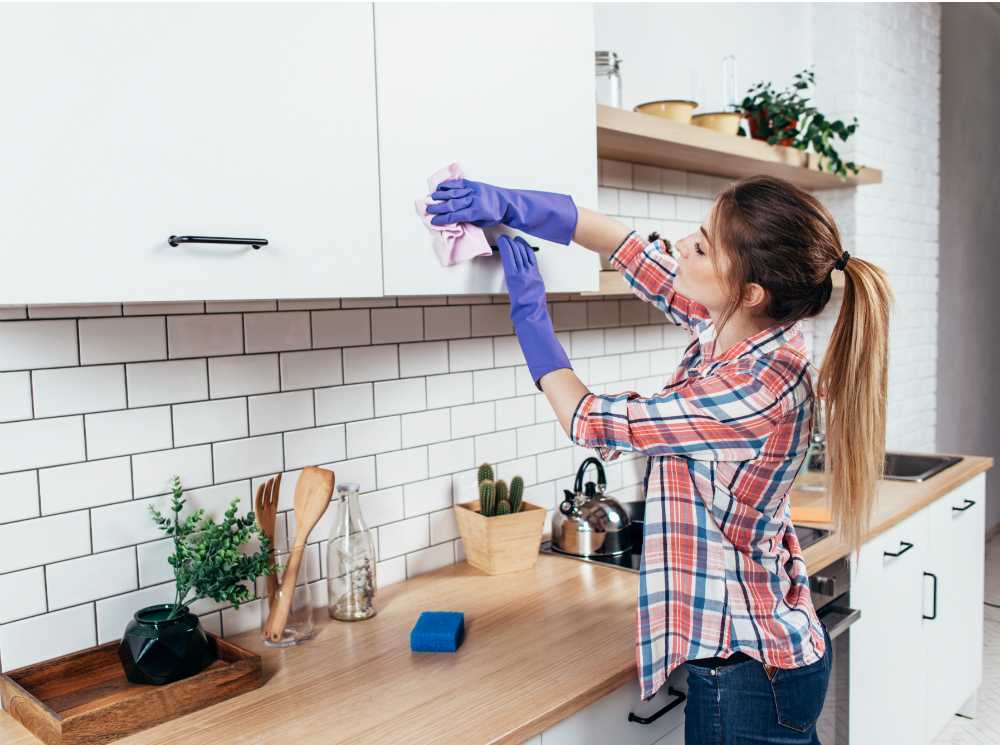
Once the cabinet is completely removed, clear it from your work zone so that you have plenty of space to remove the other cabinets.
4 Steps to Remove Lower Cabinets
While very similar to removing the upper cabinets, tearing out the lower ones requires a bit more effort and know-how, mostly because of the sink, dishwasher and countertops. Don’t worry — even with all of these extra obstructions, removing lower kitchen cabinets is still a pretty simple DIY task.
1. Lift Out the Kitchen Sink
Grab your wrench and utility knife and get started. In case you skipped the prep section, don't forget to shut off your utilities to the work area. Then, unhook all the pipes that lead to the sink. After that, use your utility knife to slice through any caulk attaching the sink to the cabinet or countertop. Finally, unscrew the sink and lift it out. Be sure to place it outside of your work zone.
2. Remove the Countertops
Your countertops will probably be attached to the cabinets with screws and caulk. Double-check this by looking at the bottom of the countertops. If that’s the case, simply unscrew the countertop and use a utility knife to cut the countertops away from the caulk. Then, simply lift it off the cabinets and move it out of the way. For more in-depth tips, check out our step-by-step countertop removal guide.
3. Detach Piping
This step is not needed for all kitchen cabinets, but might be necessary if a sink and dishwasher are not located next to each other. If so, the water pipes need to travel through a side cabinet wall to get to their destination.
You can detach the pipes in two ways depending on the type of cabinets you have. If your cabinets have no back panel, use your jigsaw to cut the side panel so that there is no wood between the pipe and the wall, which will allow you to slide the cabinet out around the pipe. If the cabinets have a back, you’ll need to use your wrench to detach the pipes and remove them.
4. Unfasten and Remove the Cabinets
All that’s left to do is remove the cabinets.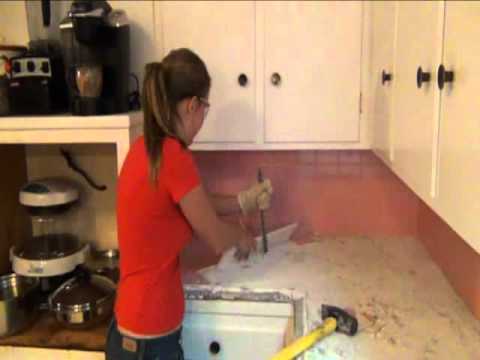 Unscrew them from their neighboring cabinets and then detach them from the wall before pulling them out. For more in-depth directions, follow the instructions to remove upper cabinets.
You’re a Step Closer to Your New Kitchen
Your cabinets are gone, but what’s next? Will you replace them with a modern, sleek look or was this just a step in a larger kitchen renovation? Whatever's next, removing your cabinets was a big undertaking and helped push you toward your dream kitchen.
What Do You Think?
Planning a kitchen demo? We're listening. Head over to Twitter or Facebook,
and use #dumpstersblog to join the conversation.
Need a Dumpster for Remodeling Debris?
Call 833-499-7510
Request a Quote
How to remove scratches in a glossy kitchen - tips on how to restore shine
5 features of glossy surfaces care
Kitchen facades are made mainly of MDF. A layer of acrylic, varnish, plastic postforming or PVC film is applied on top.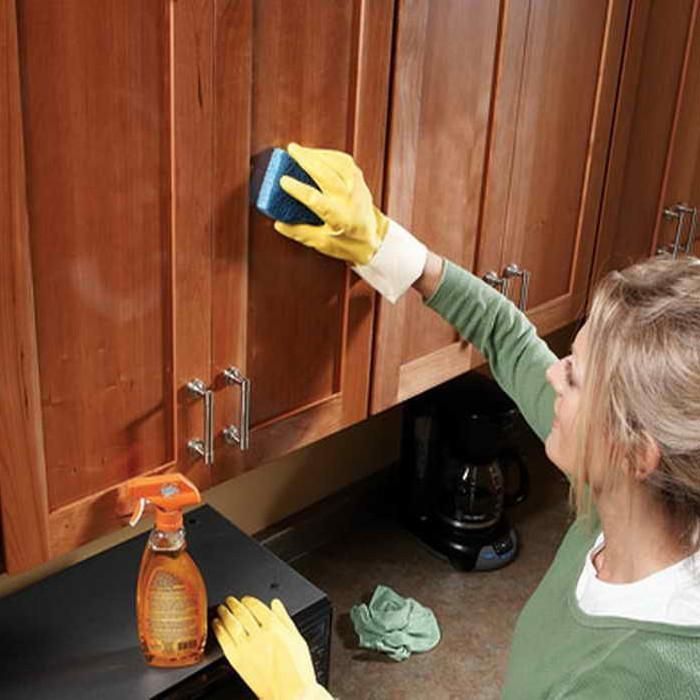 All these coatings provide a sparkling effect, but are quite picky in care.
-
Glossy surfaces do not tolerate abrasives. It is strictly forbidden to rub them with cleaning powders, soda, hard brushes, washcloths, fleecy towels;
-
Melamine sponges are considered quite delicate. However, it is better not to use them for gloss - melamine crystals often leave micro-scratches. They may not immediately catch the eye, but over time, dirt clogs into the damaged areas - the surface becomes cloudy, covered with yellow spots;
-
Aggressive household chemicals are also contraindicated. Products based on acid, chlorine, acetone and turpentine corrode the surface - it becomes rough, faded, more prone to pollution;
-
Sunlight reveals the smallest imperfections. In addition, it can discolor certain areas, give them a yellow tint with prolonged exposure to polyurethane varnishes or PVC film;
-
High temperatures are also detrimental to gloss - the coating may crack or warp.
 Try not to place elements of the kitchen set in the immediate vicinity of the stove and oven. Do not place hot dishes on glossy countertops without a stand.
How to remove scratches from a glossy kitchen surface
The main cause of scratches on countertops is careless handling of a knife. Always keep a few cutting boards handy, don't be lazy to use them for slicing bread and other small things. It is easy to “injure” cabinet doors by hitting them on a tangent with a hard object. Hard washcloths and powder cleaners inevitably leave a net of scratches on the surface.
Folk methods are powerless in the fight against scratches. You can remove them only with the help of special compositions:
-
Apply wax to a flannel or flannel cloth. Rub the damaged area until the composition completely fills the recesses and equalizes with the surface of the facade;
-
Acrylic-based halo-free spray lacquer for excellent blemish removal.
 It can be purchased at a specialized door store or a building supermarket. How to remove a scratch on the glossy facade of the kitchen is described in detail in the instructions;
 -
Lacquered surfaces can be finished with a hard wax pencil for doors and laminate. Melt the required volume of wax, rub it into the dent and carefully remove the excess. On top, apply a non-halo varnish or a marker for a laminate in tone;
-
Gel Auto Pencils are used to restore bright acrylic finishes. Squeeze a little gel on the scratch, remove the excess with a tissue.
Before restoring the glossy surface of the kitchen from scratches, it must be degreased. Wipe the damaged area with a cotton pad soaked in alcohol - this way you will remove the smallest dirt, the polish will lie more evenly and last longer.
How to restore the shine of a glossy kitchen surface
Kitchen surfaces get dirty faster than others in the apartment. During cooking, droplets of fat scatter throughout the room. They settle on the walls of cabinets, countertops, hoods. Over time, the fat forms a continuous sticky film, to which dust, pet hair, and dust that has flown during airing are tightly glued. Furniture in the stove area suffers the most.
Another weak point is cabinet and drawer handles. The space around is usually covered with a thick layer of prints, to which more and more dirt is gradually added.
-
For kitchen sets with a shiny finish, it is better to use microfiber cloths or homemade flannel cloths. After washing, the surface should be wiped dry with a paper towel - this will help to avoid streaks;
-
Aerosol detergents are a convenient solution for cleaning kitchen surfaces. Spray Cif Anti-grease on cabinet doors and wipe with a damp cloth. To remove old stains, leave the product on the surface for a few minutes. The active components of the aerosol break down kitchen dirt and enhance the shiny effect;
-
General cleaning in glossy kitchens can be carried out with all-purpose detergents and dishwashing liquids with a degreasing effect.
 It is enough to squeeze a few drops onto a napkin, wipe the dirty surface and wash off the foam. Gloss does not like contact with water - it will not break the structure of the coating, but it will leave stains behind. Thoroughly wring out napkins and rags before use;
 -
For everyday care of glossy facades, it is convenient to use universal wet wipes for the kitchen. Soft fibers do not scratch surfaces. Thanks to a special surfactant impregnation, they easily wash off grease and dirt, do not leave streaks and maintain shine. Keep paper towels handy to immediately wipe up dripping grease, sauce drips, and other contaminants;
-
To reduce dust on the kitchen front, use special antistatic sprays for glossy finishes;
-
Vinegar and water mixed in equal proportions will bring back the shine to the kitchen. The solution is more convenient to apply with a spray gun. After drying, the facade should be polished with a flannel cloth.
Read the instructions carefully before using a new detergent. Test it on an inconspicuous area.
To make cabinet doors less likely to collect fingerprints, get into the habit of opening and closing them by the handles. In addition, you can put internal closers - this will reduce contact with a glossy finish, door hinges will last longer.
As you have learned, preventing scratches on your favorite surfaces is much easier and cheaper than trying to cover them up later. Scratches on surfaces are formed not only due to not using a cutting board when cutting food, but also due to improper cleaning with cleaning powders. Cleanipedia recommends ditching scouring powders in favor of scouring creams and sprays. Cream and spray Cif will protect the surface from scratches and bring back the shine and shine of your favorite furniture!
Pledge of a clean kitchen grease removal
How to remove grease from kitchen furniture? During any cleaning from kitchen furniture, it is imperative to wash the grease. Cleaning agents are dangerous to use on surfaces made of plastic or treated with paint.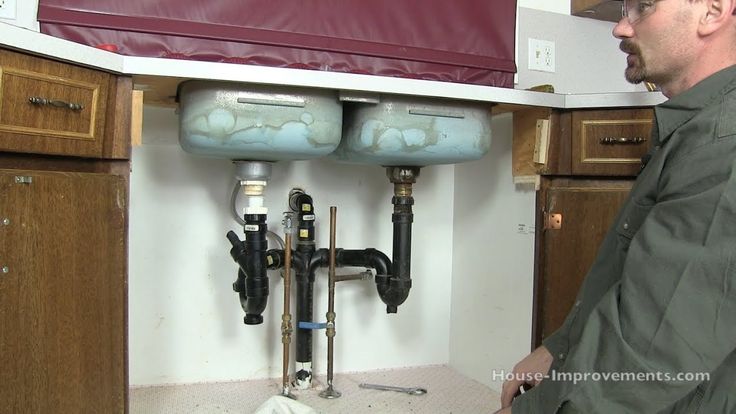 After the use of such substances, bleached spots may form. Fat deposits do not form if you wipe the headset or countertop with a damp cloth in time.
What is the surface
Kitchen interior, various surfaces.The kitchen consists of three kitchen unit covers. Each of them needs special treatment, because unpleasant consequences remain from mechanical and chemical means. Without much difficulty, furniture can be cleaned with caustic powder, but over time, the surface of the kitchen set will lose its usability.
Keeping the kitchen clean, cleaning the sink.Before making a purchase, it is necessary to check the material of the furniture, and then select a special cleaning agent. How to use it correctly and for which surface it belongs is written on the package.
Use of household chemicals
The shelves of modern stores today are full of a wide range of products, but among them there are suitable products to remove grease, while preserving the surface of the furniture.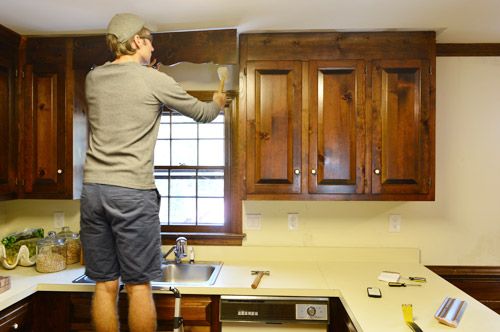 Using the powder, you can clean the headset without damaging it. Scrubbing stains with great effort is not recommended.
Sprays and gel-based products are designed for cleaning easily scratched and glossy surfaces. Before using a metal sponge, you must wait for the fat to dissolve under the influence of the product. The kitchen set should not get wet; pans and dishes are suitable for long soaking. You need to be patient if old fat has appeared on the furniture.
To be sure of the quality of the agent, it is necessary to apply it on a small area of the surface and wait. If the product does not corrode the material, then it can be safely used.
Cleansing fat with folk methods
Instead of household chemicals, you can use components prepared at home. Folk remedies will cope with a raid of varying complexity, regardless of the quality of the surface material.
Kitchen interior design. Method 1: Mix vegetable oil with soda in a ratio of 1:1 and treat the contaminated area. Do not rinse the product for half an hour. Use a soft sponge to remove fat. When wiping, do not use force, if contamination remains, you must repeat the procedure again. In this way, you can process any surface. The method is good because the wood oil is impregnated with oil to form a protective film, all the scratches and abrasions that have appeared on the furniture disappear.
Method 2: Dissolve the baking powder in water, then treat the grease stains with gruel. Within half an hour, the fat should sour. After the formation of a yellow color, use clean water to clean the dirty area.
3 method: Mix apple cider vinegar with water in a glass, pour the liquid onto a soft cloth and saturate the dirty area. If you rub it lightly, the fatty place will be cleared, and a shine will appear at the doors of the kitchen furniture.
4 method: Soak a cloth with alcohol or vodka and rub the dirty area. In case of poor removal of fat, alcohol should be poured onto the surface and not washed off for 30 minutes.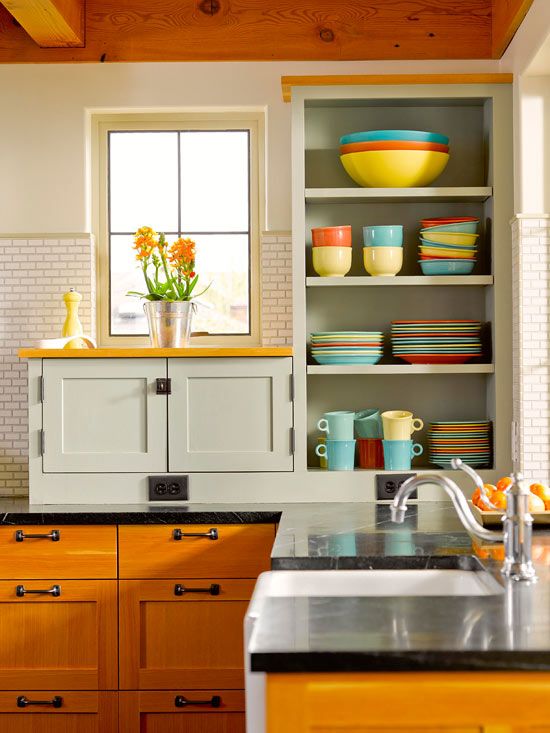 After the time has passed, add a couple of drops of spruce or eucalyptus essential oil to the water, then rinse the headset with liquid. The composition of the oil includes bactericidal substances, it has a pleasant aroma and is used as an excellent tool for caring for wooden products.
5 method: pour 15 grams of citric acid into water, then add a few drops of detergent, mix everything. Treat the dirty surface with liquid, stains can be removed after 30 minutes with warm water.
Cleaning of metal surfaces. Use of folk recipes for cleaning.Cleaning polished surfaces
Cleaning polished surfaces in the kitchen.Polishing products are expensive and contain harmful substances. The use of a simple potato will save you a lot of money and will not have a harmful effect on the body. Rub the surface of the furniture with a cut tuber. The vegetable is dominated by properties, like store sprays.
Folk remedies are as effective as sprays.Removing dirt with vinegar
Using vinegar as a cleaning agent.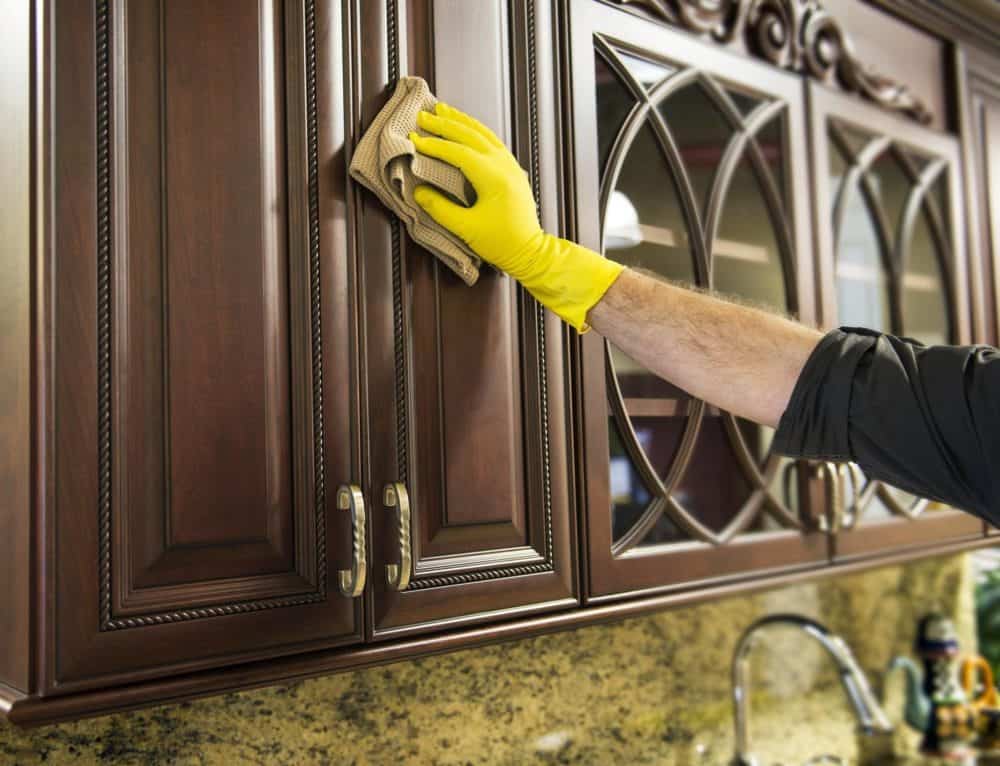
Remove dirt deposits from sinks, faucets and other metal surfaces before cleaning kitchen units. A damp cloth dipped in vinegar can clean any salts. Table vinegar can easily clean tiles, ceramics, and countertops from plaque.
Clean kitchen after cleaning.Clean furniture
Cleaning of upholstered furniture in the kitchen.Before washing the kitchen unit, it is necessary to treat all surfaces, horizontal, vertical and working. Soft seats in the kitchen are recommended to be treated with the following composition: mix baking soda with detergent, then add vinegar 6-9%.
Cleaning kitchen furniture and appliances, from grease and dirt.Gloves will help protect your hands from strong toxic substances, so all work should not be done with bare hands.
Cleaning kitchen cabinets
Preparing to clean the kitchen. The glossy surface of the MDF-based kitchen set should be treated with caution. For the treatment of the coating, only gel-like agents should be provided.
They must not contain the following substances:
- ammonia;
- chlorine;
- aggressive acids.
These components have a negative effect not only on fat deposits, but on the material itself, thus destroying it. The product must be applied to the contaminated area in the kitchen, wait until the plaque dissolves, and then remove with a soft cloth or sponge.
Cleaning the kitchen sink using folk remedies. Gel-like products must not contain the following substances: ammonia; chlorine; aggressive acids.It is difficult to clean old grease stains from kitchen furniture, so they must be treated several times. In no case should you use a metal scraper, it will ruin the entire surface of the headset.
Cleaning plastic kitchen
Degreasing plastic surfaces in the kitchen. You can wash the plastic surface using the folk method, it requires soapy water, as well as a soft rag. Any surface can be washed with this miracle product, which consists of baby soap or dishwashing gel. The second component is considered the most effective.
Gel cleanser is formulated with fat soluble ingredients to effortlessly remove stubborn grease stains. These substances do not have abrasive substances and chlorine, they do not leave stains after themselves. For wiping, it is recommended to use soft tissues, as well as paper towels.
How to properly maintain furniture
Cleaning stoves, caring for furniture and appliances in the kitchen. Cleaning and maintaining the beautiful appearance of furniture will help the choice of the right products and respect.After treating the kitchen set with cleaning agents and detergents as in the video, the furniture must be dry. Wipe the surface with a clean cloth or paper towel to avoid streaks. Walnut will help get rid of scratches and cracks on wooden furniture. If the cabinet doors are polished, dirty spots will not appear on them for a long time.