How to polish stone floors
How to Make Stone Floors Shine
- home
- Cleaning Procedures
- How to Make Stone Floors Shine
Commercial cleaning clients often ask for help making stone floors shine. Whether they want to maintain the luster of a new floor or bring older, dull stone back to life, BSCs should be prepared to address this common request.
Why do stone floors shine?
When light hits uneven stone, it scatters and dissipates. If the stone is even, however, the light bounces off the surface and that makes it shine.
To illustrate this point, imagine you're in a boat. If you're sailing on rough seas, you can't see your reflection when you look into the choppy water. If the sea is calm, however, you'll clearly see yourself in the mirror-like water. Light on the smooth water bounces the same way as it does on an even stone floor.
What causes stone floors to become uneven? Dirt, sand, and other grit, which cause microscopic scratches that degrade the shine. A dull stone floor, then, simply has a large accumulation of surface scratches.
Make your clients' stone floors shine!
Maintaining stone floors
There is nothing more important for maintaining stone floors than keeping them clean. By keeping debris off stone floors, you'll have to do far less restorative work.
Matting
Encourage your clients to prevent debris from being tracked indoors and onto stone floors by installing sufficient, high-quality matting.
Recommend walk-off mats for inside and outside of entrances to the building, plus between carpeted and tiled areas. It's also a good idea to use area rugs or mats under any furniture that might scratch floors.
Make sure your daily maintenance program includes shaking out and cleaning mats at least once, and likely more frequently during times of inclement weather. And train your teams to clean underneath mats when they clean floors.
Dust Mopping / Vacuuming
Although very effective, mats can't eliminate all debris. That's why you can't dust mop stone floors too much. Your prescribed maintenance program should include dust mopping at least once daily, or several times per day in high-traffic areas.
Use a clean, non-treated rayon dust mop when cleaning stone floors. This is different than what is typically done for vinyl floors, but treated mops may contain oil that can soak into and stain stone.
Since dust mopping is becoming a thing of the past, it's more common to vacuum stone floors with a back pack vacuum. Just make sure your vacuums have a hard floor tool so you don't scratch the floors.
Damp Mopping
Damp or wet mop stone floors between once a day and once a week depending on foot traffic. Use only a neutral cleaner (pH around 7) to prevent a film, and change the water frequently to avoid streaks.
Designate a specific mop (or use color-coded products) for stone floors to avoid cross-contamination from chemicals in other areas. Natural stone is sensitive and acidic cleaners—even all-purpose cleaners—can wear away the surface and destroy the shine.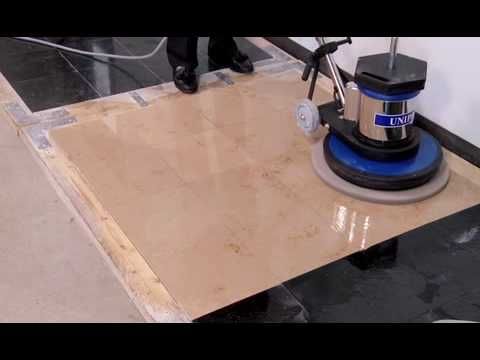
Mops are most commonly used on natural stone floors, but walk-behind or ride-on auto-scrubbers are also acceptable to use in large areas. Just be sure to outfit the machine with a non-aggressive white pad.
Restoring Shine
A stone floor that has lost its shine isn't necessarily ruined. In fact, all stone floors need restorative care. It can be as often as yearly or as infrequently as every five years. The maintenance procedures above can greatly extend the time stone floors go between restoration efforts.
A word of caution: Restoring stone floors is a specialty service that requires skill and experience. Make sure your staff is properly trained before asking them to attempt techniques like honing or polishing.
Here are 5 ways to make your clients' stone floors shine
Diamond Honing
The diamond is the hardest natural substance on Earth and it's a cleaning technician's best friend. Diamond honing is the most popular restorative method for stone floors.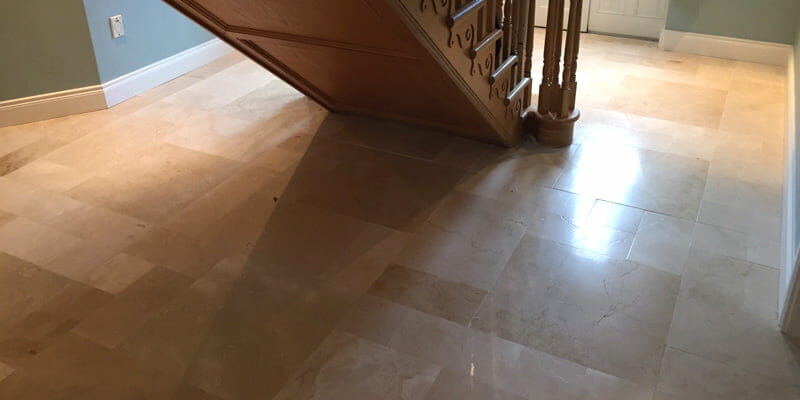
It uses a floor machine, plain water, and specialty floor pads that have a coating of microscopic diamonds on one side. Working through a succession of increasingly finer-grit pads, the process delicately polishes the top of the stone surface to remove imperfections (rather than grinding or sanding and causing significant damage).
Polishing
Polishing stone floors using a slow-speed buffing machine with a diamond pad can add a highly reflective gloss to stone floors. Another option is to use polishing powder containing aluminum oxide or tin oxide with a white buffing pad.
Stone conditioners can be used after polishing to prevent stone from drying out and eventually cracking.
Crystallization
Crystallization is a chemical polishing process that is used in heavy traffic areas. Also called vitrification, this method is only meant for polished surfaces and is generally best suited to calcium-based floors, such as marble, limestone, travertine, and terrazzo.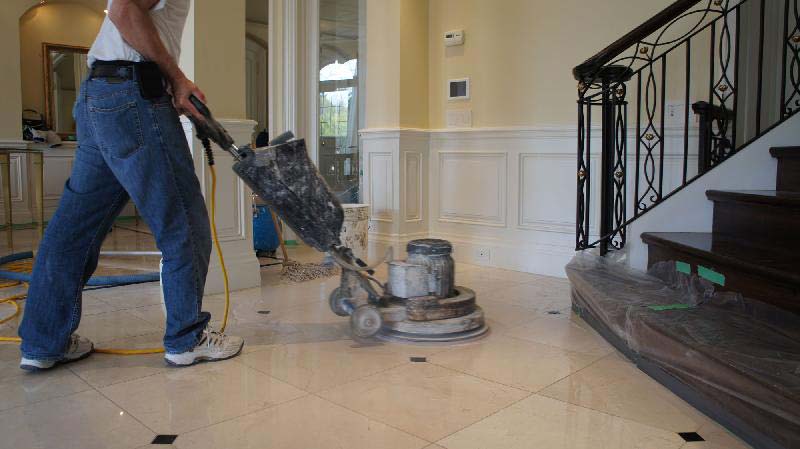
Crystallization involves spraying a crystallizer polish liquid onto the floor and then using a standard speed machine with steel wool to buff it in. It's important to match the crystallizer formulation with the stone (a chemical distributor can help).
Coatings and Finishes
Waxes, acrylics, and other coatings or finishes can add gloss to stone floors, but they aren't the best way to restore shine. Natural stone needs to breathe, and adding coatings will block marble or granite from breathing.
Travertine or Terazzo floors are better suited to adding a coating or finish, but these products may increase maintenance requirements. If a coating is necessary, seek advice from a stone professional.
Grinding
Grinding is the most aggressive way to add shine to stone floors. It uses diamond abrasives to remove lippage (uneven tiles) and deep scratches. The process requires specialty equipment and a great deal of expertise.
Done improperly, it can cause serious damage to stone so it should only be done by an experienced stone floor technician.
When it comes to stone floor care, AVOID...
- Cleaners containing acids on marble, onyx, travertine, or limestone. The cleaners used to clean grout, bathrooms, or tube/tile usually contain harmful acids that can damage the stone floor.
- Vinegar, bleach or lemon juice.
- Abrasive cleaners or ammonia-based products.
High-end stone natural surfaces are expensive and require safe and efficient cleaning methods for polishing. Understanding your customers' stone floor cleaning requirements and proper maintenance will help preserve its natural beauty and achieve a high gloss for years to come.
Copyright The Janitorial Store. All Rights Reserved
In 2021, thejanitorialstore.com was part of an acquisition by Armando Bello, Ricardo Regalado, John Disselkamp, Michael Dahlke, Saul Marchan, and Juan Padilla. Comrades in the cleaning industry. Their goal is to continue to expand on the resources accessible to its members, provide a personalized roadmap for sustainable growth, and make a positive impact in the cleaning industry.
About Us -Vision - Mission - Story
.Click below to share with friends and colleagues!
| Stone Floor Care: Packet Need Help Making Your Stone Floors Shine? Members of The Janitorial Store can download the "Stone Floor Care Packet", which includes several documents:
To download this Packet visit our Library |
Watch the video tour by clicking on the image below
Stone Floor Care & Polishing | Home Guides
By Arlene Miles
Stone flooring adds beauty and value to a home.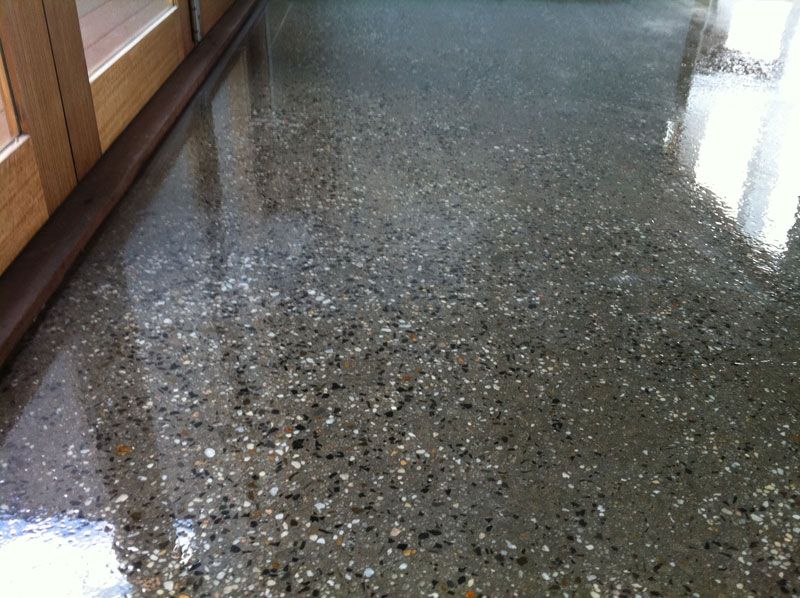 As a natural product, stone needs less maintenance than many other types of flooring. Many people, however, think that stone is indestructible, causing them to ignore their floors except for an occasional mopping. Although most care is simple, check with your supplier for specifics on how to properly maintain your floor, because different types of stone have different requirements. There are some general stone flooring care guidelines, however.
Sealing
-
Stone may be hard, but it is porous and can absorb spills and stains if it is not treated. Surface preparation, along with the stone’s density and porosity, will affect the type of sealant used. Impregnating sealers penetrate the stone and protect against water and oil-based stains. Once the floor surface is sealed, it is protected against everyday spills and stains. Be aware that some sealants can alter floor color. Manufacturers recommend, however, that even with sealant, you should mop up spills and stains on stone floors as quickly as possible to avoid possible damage.

Prevention
-
Because stone flooring is not indestructible, a little preventive maintenance can go a long way toward keeping the floor attractive. Placing a mat near entryways helps prevent dust and dirt from tracking into the house and grinding into the floor. Periodic vacuuming also will remove dirt that could grind into the floor, as will dusting with a dry mop. Stone floors in wet areas such as bathrooms should be properly caulked to prevent damage to the floor and subfloor. Add protectors to chair and table legs. When moving furniture, avoid dragging pieces across the floor.
General Cleaning
-
Damp mopping your stone floor frequently will keep it looking beautiful. Using the proper tools, however, is just as important as regular maintenance. Purchase a good quality mop and bucket. Instead of a sponge mop, a closed-loop string mop or a microfiber mop will produce better results. Use a neutral cleaner formulated for stone, diluted in warm water.
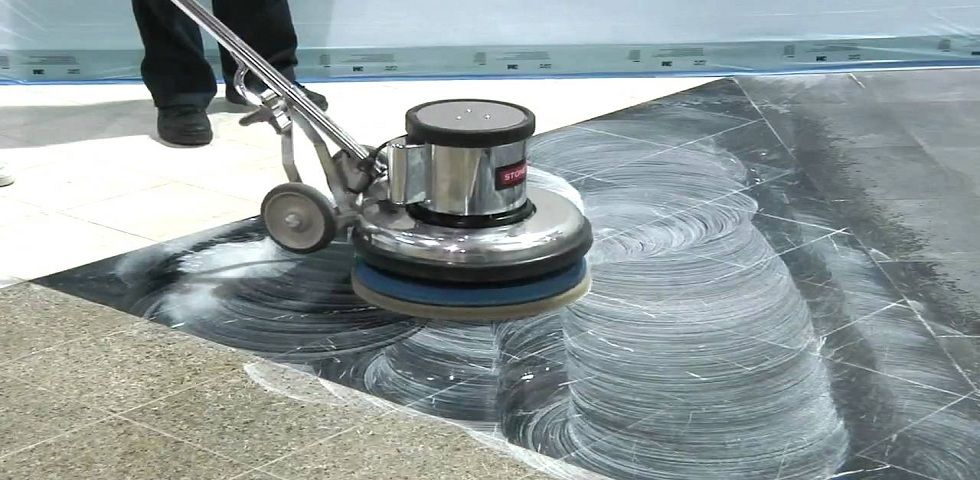 Never use acidic products such as lemon or vinegar, because these liquids can etch into the stone, ruin the surface polish and even change the color of the sealant. Never use abrasive cleaners, ammonia-based products, grout cleaners and powders or bathroom tub and tile cleaner on stone floors. All these products have the potential to dull the floor. Always rinse thoroughly to remove cleaning residue.
Heavy-Duty Cleaning
-
Every stone floor will need occasional heavy-duty cleaning to remove built-up dirt and grime. Use pH-balanced cleaners specifically manufactured for stone flooring. Honed and rough-finished stones require occasional scrubbing due to surface texture. Stubborn stains may need an application of a "poultice" of specially formulated paste covered with plastic to renew the stone. Always follow the manufacturer's guidelines on tools and products when performing heavy-duty maintenance.
Polishing
-
Crystals in a polished floor surface eventually become dull after normal use.
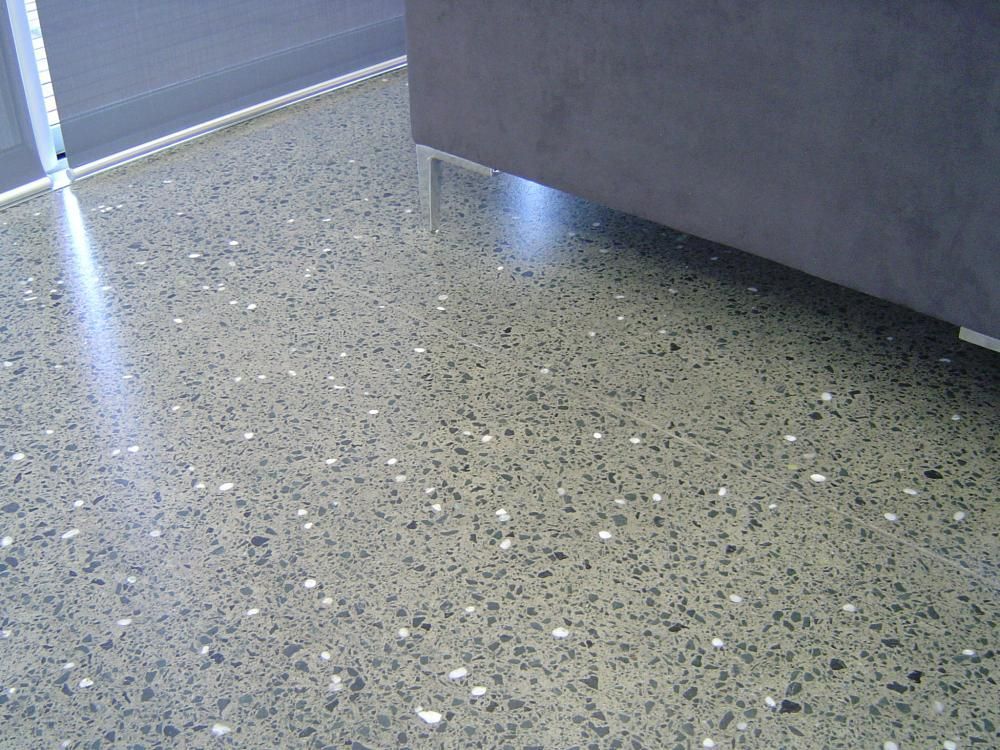 Renewing stone flooring through polish can be accomplished by do-it-yourselfers through commercial kits. To polish a floor, use commercially available polishing powder and an automatic scrubber or a low-RPM buffing machine. Polishing of larger stone floors may be best accomplished by commercial companies specializing in this service.
References
- World Floor Covering Association: Stone Floor Cleaning and Maintenance
- Findanyfloor.com: Stone Floor Care & Maintenance
- Desert Stone Care: Care and Maintenance of Your Natural Stone, Tile and Grout
- Stone Care International: Polishing Stone Floors
Resources
- Clean Solutions: Stone Logix™ Cleaner
- Nature Stone Flooring: Do-It-Yourself (DIY)
- YouTube: Hone and Polish Stone Floors
- Diamond Tool Store: Stone Floor Tools
work with marble and granite
Natural marble or granite floors, like any other, lose their attractiveness over time. The lacquered shine disappears, multiple scratches and chips appear. However, such damage is not a reason to change an expensive coating. Stone floors can be restored to their former gloss with the help of a complex of restoration works, which include grinding and polishing the coating. In construction companies, this whole complex is often called simply - marble or granite polishing.
Measures to restore the stone surface shine:
- grinding;
- direct polishing;
- final polish;
- impregnation.
It is worth noting that granite and marble are stones with different characteristics. Marble is a soft, porous material that can be easily processed with abrasives. Granite is much harder, requiring long and laborious polishing. Therefore, there are slight differences in the processes of restoration of surfaces made of marble and granite (we will pay special attention to them).
In any case, all these works can be entrusted to construction or cleaning companies, which have specialized mechanisms and experienced workers in their arsenal.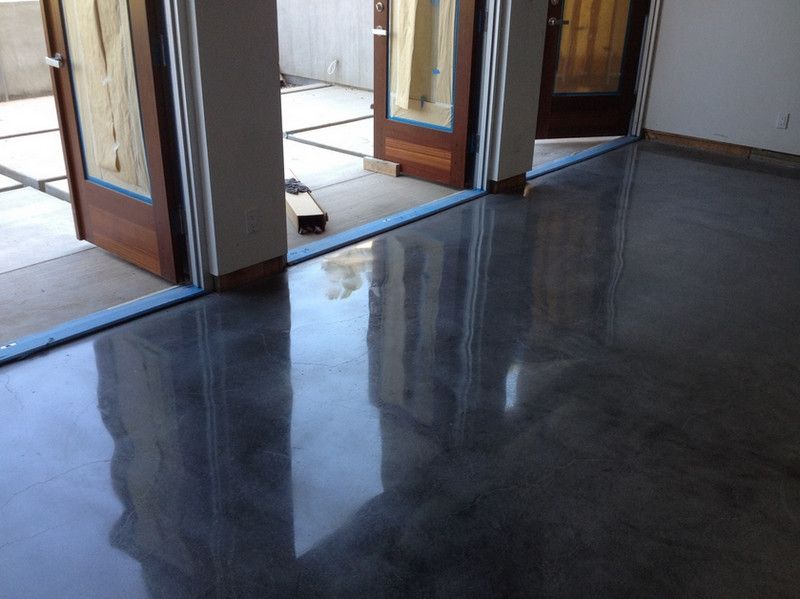 Or do the restoration yourself. To do this, just use the guide below.
Contents
-
1 Step #1. Preparatory work
-
2 Step #2. Surface grinding
-
2.1 Sanding tools
-
2.2 How is a stone floor sanded?
-
-
3 Step #3. Floor polishing
-
3.1 How is a stone floor polished?
-
-
4 Step #4. Finishing polish
-
5 Step #5. Impregnation - application of protective agents
Step #1. Preparatory work
Before starting work, the coating is carefully inspected. It is quite possible that deep cracks and chips appeared in some places during operation. They should be filled with a special putty for stone, polyester glue or a mixture of sand, cement and water glass.
Then wash the surface with a detergent suitable for the stone (this must be done in any case, even if no cracks have been repaired). Wait until the floor is completely dry and only then start sanding.
Step #2. Surface grinding
Grinding is the removal of deep scratches by removing 1-3 mm of the surface layer of the stone. The result is a smooth and visually smooth surface without gloss (matte).
Grinding tools
Grinding machines and diamond cups are used for grinding.
Professional restoration construction teams use rotary grinders for sanding. However, they are too expensive to purchase for single use at home. Therefore, when self-grinding large areas of the floor, it is more rational to rent such a machine.
If you have to grind stone in an apartment or house (with small footage), you can get by with a simpler tool - a grinder (angle grinder). For grinding, a tool with a power of 1200-1500 watts is suitable. Since grinding and subsequent polishing is performed on a wet surface, it is desirable that the grinder be equipped with a water supply function.
Diamond cups are used as cutters for grinders and angle grinders. These are metal wheels, on the working surface of which there are grinding segments with a diamond coating.
The most popular cups used for home repairs (installed on angle grinders) are two-row and "turbo". Double-row cups grind stone with two rows of rectangular segments arranged in a circle. They are used for rough grinding, when the stone floor requires significant leveling. Turbo cups provide a more delicate, soft finish. Their segments are arranged in waves, at an angle. Thanks to this shape, turbo cups grind edges and chamfers on stone floor slabs with high quality.
How is a stone floor sanded?
Before grinding, the floor should be moistened with plenty of water to cool the diamond cups. Grinding is performed at full power, gradually milling cutters process the entire surface of the floor. When using a grinder, it is important to know that you do not need to press on the tool during processing. This will not lead to better and faster erasing of the stone layer. Rather, on the contrary, the grinder will stop, which is fraught with damage.
If the floor is quite old and there are damages in the area of the seams, then they are restored during the grinding process. What does it mean? After primary grinding, the seams are cleared or embroidered with a grinder. Joints are filled with a special putty for stone (pigmented to match the color of the coating). After the putty has dried (1-2 days), finish grinding is performed until the putty is completely cleaned.
The grinding process produces a huge amount of stone dust. Part of it is absorbed by the water used to cool the cutters, and part rises into the air. To protect yourself from dust, wear a respirator and goggles when sanding. Glasses, in addition to fine dust, will be able to prevent larger pieces of stone (up to 1-2 mm) from getting into the eyes, which also often fly off during rough grinding.
After sanding, the floor must be thoroughly washed before proceeding to the next step - polishing.
Step #3. Floor polishing
Polishing - polishing floors with abrasive wheels. In the process of polishing, even microscopic scratches are removed, the floor becomes absolutely smooth.
Construction companies use rotary machines for polishing (the same as for grinding), but it is not practical to buy them for home use. Therefore, we will focus on a more affordable tool that will polish marble or granite to the state of “glass” no worse than specialized mechanisms. This is a grinder, the same one that home craftsmen use when grinding. The only thing is that polishing is a more delicate process that does not require high power. Therefore, for its implementation, you can use an angle grinder of lower power - from 800 watts.
For polishing, flexible diamond-coated wheels (“turtles”) are installed on the grinder. Several wheels are required with different grits, with numbers 50, 100, 200, 400, 600, 800 (when polishing granite, additional wheels 1500, 3000 and Buff will be required) . The coarsest "turtles" have the number 50, with an increase in the number, the graininess, on the contrary, decreases. The smallest circles are 3000 and Buff.
In the process of polishing, the grit of the sandpaper used is gradually reduced and with this the desired effect is achieved - gloss on the surface of the stone.
Flexible "turtles" are not installed on the grinder on their own. First, a special rubber disc with Velcro (adhesive base) is screwed onto the angle grinder. And already on this base a "turtle" with the desired grain size is glued. If it is necessary to replace the abrasive wheel, the “turtle” that has worked out is peeled off and the next, smaller one is glued.
Polish the stone floor by wetting the surface with water. Sometimes dry processing is performed, but it is considered to be of lesser quality. Water saturation of the stone makes it more pliable, polishing is easier. In addition, water protects the tool from overheating, increasing its resource and performance.
How is a stone floor polished?
A disk with Velcro is placed on the grinder, the speed is set to 2000-3600 rpm. A “turtle” 50 is glued onto a sticky holder and polishing begins. Wheel 50 is the largest and is used in the initial polishing phase to eliminate large scratches left after grinding with a diamond cup. Polishing is done slowly, moving from one part of the floor to another. They try to remove (or make less deep) all visible scratches. Processing circle 50 is considered preliminary, superficial.
When the entire floor has been completed, circle 50 is removed and circle 100 is fixed on the angle grinder. Slowly, the surface is treated again. At this stage, it will be seen that the stone will begin to darken. This is fine. Polishing with each subsequent, finer-grained "turtle" will make the stone even darker. Light color - these are the stripes that need to be eliminated during polishing.
The next round is with 200 grit. Finishing with it will make the stone surface even darker. Then circle 200 is changed to 400. A noticeable shine appears. Then a circle 800 is installed. Processing it is the final stage for the marble surface. When polishing with wheels of 800 and above, it is recommended to set the grinder to a lower speed - 1000-1500 rpm. After polishing around 800, the marble begins to reflect the surrounding objects. Granite becomes smooth, but not shiny yet.
If granite is being polished, it is not allowed to stop at lap 800. Granite is harder, for its shine, 3 more abrasives are replaced - with 1500, 3000 and Buff discs.
Wipe the surface with a clean cloth after each lap. This will help to see the polishing imperfections, as well as remove the used abrasive.
An absolutely smooth, mirror-like texture can be obtained by polishing with one “turtles”. However, even for professional workers with a stone, this does not always work out. Then perform the final watering - with the help of finishing powders and pastes.
Step #4. Finishing polishing
Special polishes (pastes, powders) are used for finishing polishing. They are often applied by hand, rubbing into the floor surface with felt, felt, cotton or woolen cloth. You can quickly achieve a high-quality result if you polish the surface with felt (felt) circles with Velcro, mounted on a grinder.
The main active ingredients in finishing powders and pastes are metal oxides. Widely applied:
- chromium oxide;
- alumina;
- tin oxide.
In addition to oxides, finishing agents may contain oxalic acid (or its salts) and fine diamond powder.
All of these components can be purchased separately, mixed and used for polishing. For example, a composition consisting of a mixture of chromium oxide, oxalic acid and diamond powder in a ratio of 1:1:1 works effectively.
Step #5. Impregnation - application of protective agents
To increase the durability of the stone floor and, if necessary, to enhance the shine, protective agents based on wax, paraffin or silicone are used. In addition to the additional effect of a “lacquer” surface, these substances cover the stone with a microscopic film that protects the surface from water, grease, various liquids, and dust. Impregnation is an optional step, performed if desired.
The most popular manufacturers of protective coatings for stone are Italian companies: Klindex, Tenax, Bellinzoni. For example, Klindex liquid wax is widely used. The mixture is applied to a pre-washed and dried surface, let it soak a little. Then, after 2-3 minutes, they begin to rub the wax - manually or with the help of a grinder with a felt nozzle. When using a grinder, polishing is performed at low speeds (up to 2000 rpm).
You can also make your own protective agent from wax, rosin and a thinner (eg turpentine). The volume of solvent should be equal to the total volume of wax and rosin.
To prepare the mixture, hard wax is cut into thin chips, and rosin is ground into powder. Mix wax and turpentine in one bowl and, with constant stirring, heat in a water bath. The mass must be completely dissolved. After that, without stopping stirring, the solvent is poured into the hot mixture in a thin stream. After cooling, the wax paste can be used for waxing. The technology of application is the same as for purchased mixtures.
After polishing, the surface of the marble or granite should become mirror-like, that is, it should reflect well the surrounding objects and, in particular, the light sources.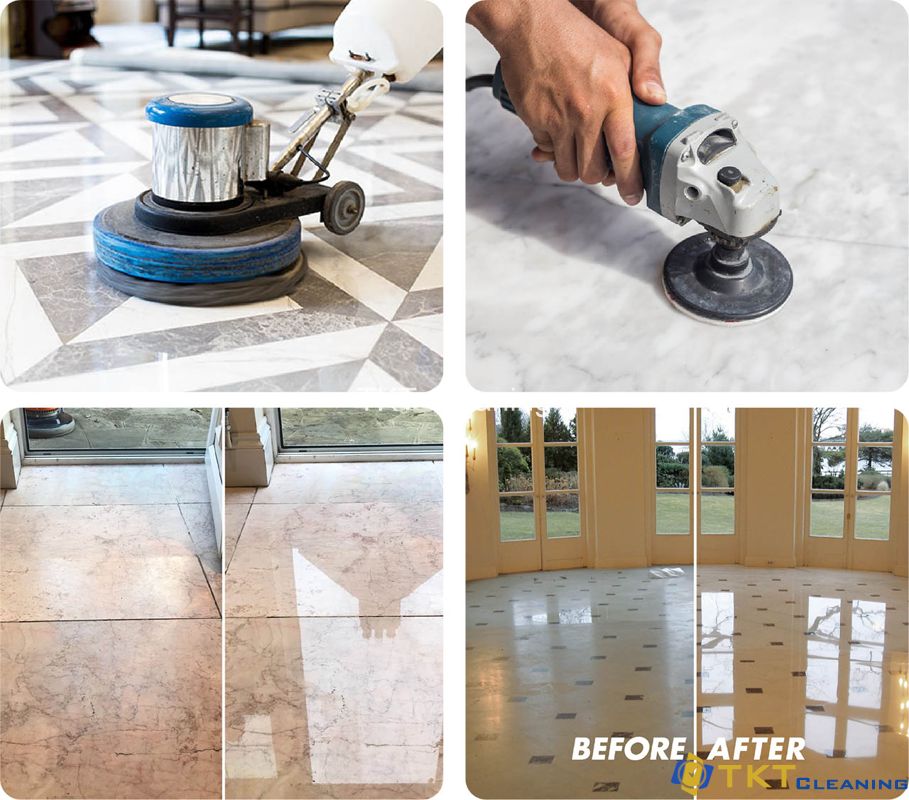 To check the quality of polishing, you should light an ordinary lamp and look at its reflection on the floor. If the filament of the light bulb is clearly visible on it - congratulations! You managed to polish the stone surface with high quality.
In order to better understand the technology of stone floor grinding and polishing, we invite you to watch the video:
- Author: AnastasyaF11
Rate this article:
(5 votes, average: 4.8 out of 5)
Share with your friends!
Stone floor grinding and polishing process
Stone floor polishing
After laying natural stone tiles, the floor surface must be sanded and then polished. As a result, you will get a perfectly smooth and shiny floor.
The floor grinding and polishing process consists of several steps:
1.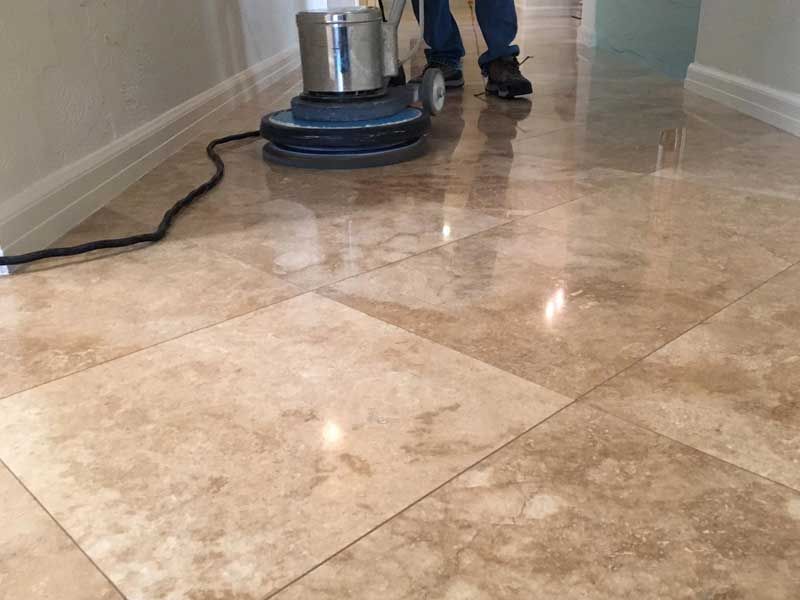 Filling the joints with a special adhesive.
First fill the tile joints with a special adhesive. The glue is matched to the color of the stone. If the floor slabs were laid without seams, they need to be embroidered. You can do the stitching using an engraving or cutting machine with a thin disk. As a result, the seams are deepened by 3-5 mm, then thoroughly cleaned and filled with adhesive. This is necessary so that during work, moisture does not get into the joints between the stone slabs, and your floor, after polishing, looks like a cast surface. Let the glue dry for about 12 hours.
- How much would a wet room cost

- Designer shower rooms ideas
- Color matching for rooms

- Wet room plans

- When do you plant dahlias

- Kitchen island bench ideas

- Front wall ideas

- How to display & in html

- Clean grease off stove grates
- Tips for organizing closets

- Small bedrooms inspiration

After you have laid the floor tiles, there are height differences of several millimeters on the floor surface. Such differences can appear for many reasons, one of which is a slight error in the dimensions of the plates themselves. In order to level the floor, we use the rough grinding method. To do this, you need to install a set of diamond grinding cups (AShK) on a rotary machine (polisher) and grind the surface. Along with this process, you will remove excess cured adhesive from the surface of the stone. At the end of the work, rinse the floor.
3. Filling the pores with special impregnation. Grinding with AGSHK discs.
First, you need to grind the floor by installing a set of No. 1 of flexible diamond grinding wheels (AGShK) on the rotary machine. The number indicates the coarseness of the grain of the diamond layer. Thus, you will remove significant scratches and bumps left after rough grinding. At the end of the work, rinse the floor with water. Wait until the surface is dry. Inspect the floor for defects, it may be necessary to re-mastic the seams. After that, apply a special liquid impregnation and spread it over the surface with a spatula. Impregnation penetrates into the pores and microcracks of the material, filling voids that are not visible to the eye. Thanks to this process, you will be able to increase the light refractive index of the surface and achieve a perfect gloss at the end of polishing. Leave the impregnation to dry. (About a day)
4. Polishing
Re-install the set of AGSHK No. 1 and re-grind. Thus, you remove excess impregnation from the surface. Rinse the floor and install a set of AGSHK No. 2. After sanding with this number, the floor will be perfectly smooth, but the shine will still be absent. Rinse the floor and install a set of AGSHK No. 3. Sand, then wash the surface again. Install a set of AGSHK No. 4. Polishing. Now your floor has acquired the long-awaited shine and looks like a single monolithic plane.
5. Application of polishing powder
The gloss of the floor can be increased, thus obtaining a “mirror” effect. To do this, you will need polishing powder and two felt wheels.
The powder must be diluted with water until a "creamy" mass is obtained. Then polish it over the surface of the stone with a felt wheel mounted on your polishing machine. Take about 2 minutes to process 3 square meters.