How to keep outdoor faucet from freezing
How to Prevent a Frozen Outdoor Faucet
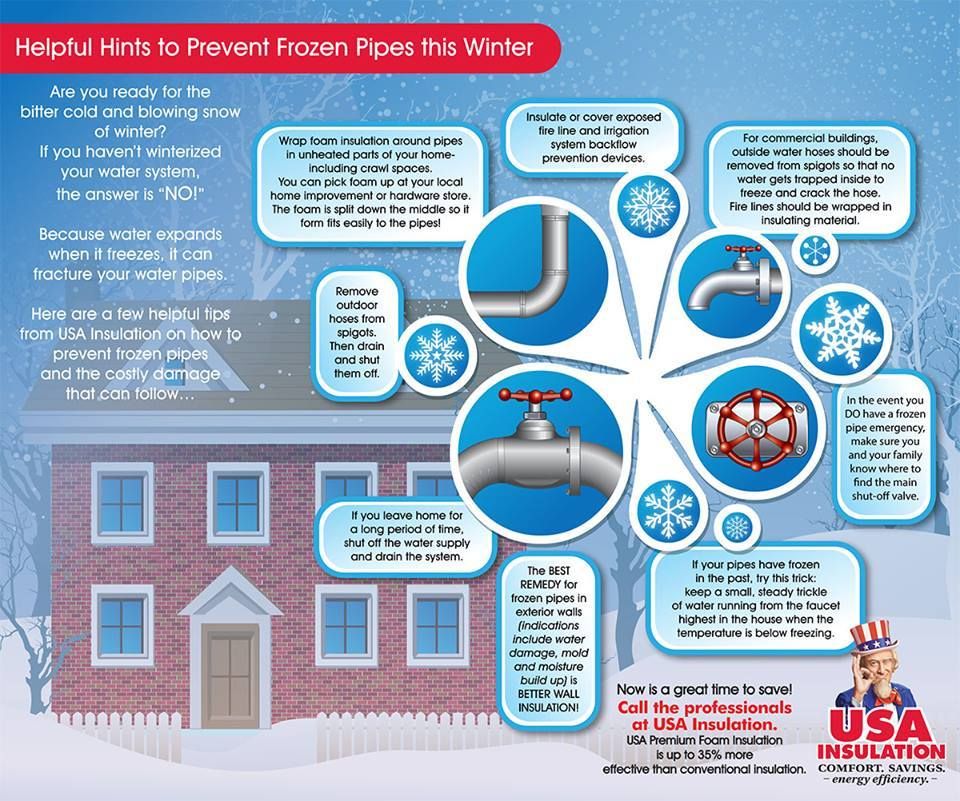
Winterizing your outdoor faucet, also known as a hose bib or water spigot, is a simple project. If it’s not done correctly, the consequences could be serious. A frozen outdoor faucet can cause serious water damage to your home and property. Luckily it is easy to prevent a frozen faucet if you follow these tips.
Why Do I Need to Winterize my Outdoor Faucets?
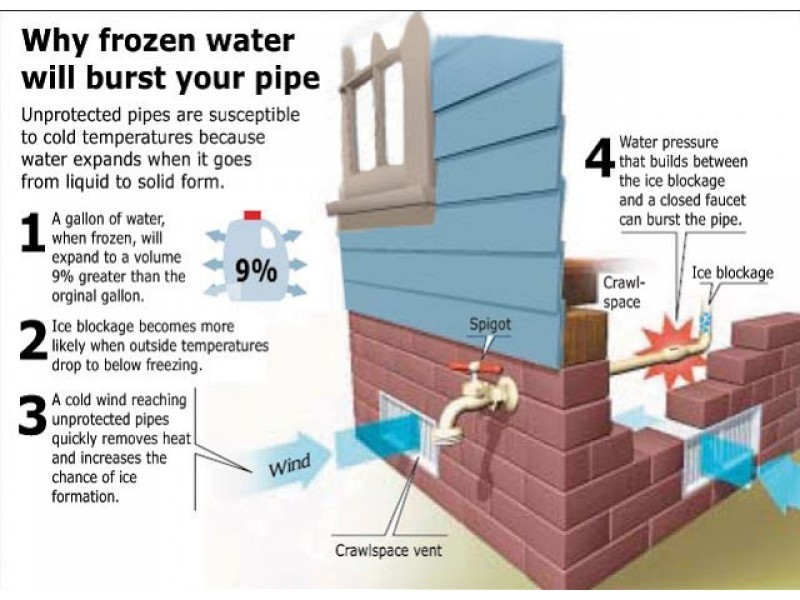
Water expands as it freezes, so if water is inside your pipes when the temperature drops below freezing, the ice can grow too large and burst the pipe. While the problem may not be immediately obvious (especially if the leak is inside the wall), a clear indicator that there’s an issue is if there’s water spraying outside.
If you see water around the spigot or inside your house, call your local plumber immediately! Waiting too long to fix the issue can result in extensive damage to your home.
Thankfully, avoiding a frozen outdoor faucet is easy. Winterizing is not expensive and you can do it yourself. A few minutes now can save you time, money & frustration.
3 Steps to Avoid a Frozen Faucet During Winter
1. Disconnect Your Hoses in Fall
This step is important because a connected hose holds water even when the faucet is turned off. When the temperature drops, the water freezes inside of the hose and pipe and can burst. We often see instances where the break happens in winter but people don’t notice until spring when they turn on the outdoor faucet. Depending on where the break is you can get water spraying inside or outside your home when you turn the water on.
Outdoor faucet covers are easy to install and protect from freezing during winter.
2. Use an Outdoor Faucet Cover
Disconnecting the hose is important, but doesn’t completely solve the problem – you also need a faucet cover. Luckily, most hardware stores carry inexpensive Styrofoam covers that keep your faucets isolated and protected from the winter elements.
Simply purchase and install based on the manufacturer’s instructions, making sure to secure it tightly in place. This little step can save you a lot of frustration and potential water damage.
3. Install a Frost-Free Faucet
If you have already experienced problems or are looking for a more permanent solution, you can talk to your plumber about replacing your faucet with a frost-free spigot. This is an outdoor faucet designed to operate in freezing temperatures. You still need to disconnect the hose in the winter. A frost-free faucet can break if the hose is left connected because the water stays trapped in the faucet head and pipe. You won’t notice you have a problem until spring when you turn on the faucet.
A few preventative steps today can save you time, money and effort in the future. Call a trusted plumber right away if you suspect that your faucet is broken or you need help winterizing it. They will help you decide what works best for you, your family and your home. You can also check out our article on 10 ways to prevent frozen pipes for more things you can do to protect your home this winter.
How to Prevent Outdoor Spigots From Freezing
By
Bob Formisano
Bob Formisano
Bob Formisano is a licensed architect and builder with nearly 40 years of experience building new homes and restoring older homes. One of his specialties is repairing old systems dating back to the 1920s, including galvanized water pipes, knob-and-tube wiring, and more. His home repair articles for The Spruce span more than 10 years.
Learn more about The Spruce's Editorial Process
Updated on 08/02/22
Reviewed by
Richard Epstein
Reviewed by Richard Epstein
Richard Epstein is a licensed master plumber with over 40 years experience in residential and commercial plumbing. He specializes in estimating as well as design and engineering for plumbing systems, and he works for one of New York's largest union plumbing construction companies.
Learn more about The Spruce's Review Board
Fact checked by
Jessica Wrubel
Fact checked by Jessica Wrubel
Jessica Wrubel has an accomplished background as a writer and copy editor, working for various publications, newspapers and in public libraries assisting with reference, research and special projects. In addition to her journalism experience, she has been educating on health and wellness topics for over 15 years in and outside of the classroom.
Learn more about The Spruce's Editorial Process
The Spruce / Sarah Lee
Project Overview
Worrying about outdoor spigots freezing every winter is something that most homeowners can relate to. But this doesn't have to be such a perennial problem.
If you have a standard spigot, there are simple winterizing steps you can take that make it unlikely you'll have a problem with freezing. You can also go a step further and replace a standard faucet with a frost-proof faucet.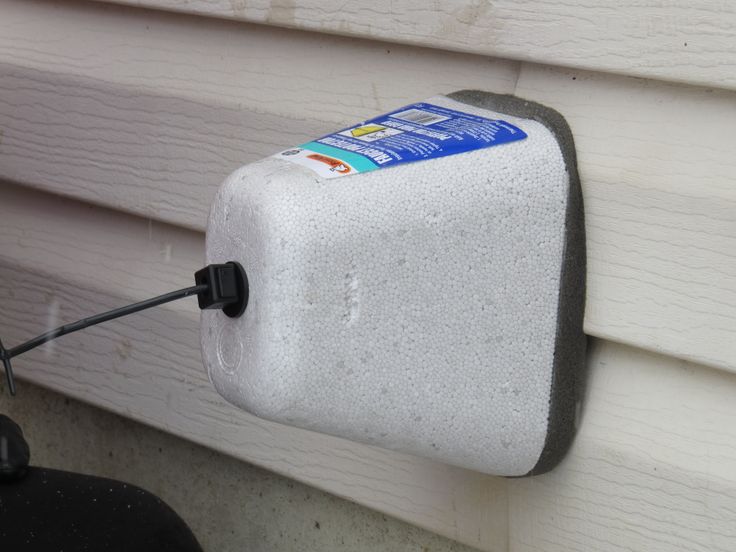
What Is a Frost-Proof Faucet?
A frost-proof (also called "freezeproof" or "frost-free") faucet provides better protection against freezing and eliminates the need to winterize the faucet—other than removing the hose.
Keep reading for two ways to prevent your outdoor spigots from freezing during the wintertime.
Equipment / Tools
Winterizing a Standard Spigot
- Bucket
- Channel-lock pliers (if needed)
Installing a Frost-Proof Faucet
- Screwdriver
- Channel-lock pliers
- Tape measure
- Tubing cutter or hacksaw
- Caulk gun
Materials
Winterizing a Standard Spigot
- Insulated faucet cover
Installing a Frost-Proof Faucet
- Frost-proof faucet with push-fit connector
- Sandpaper or emery cloth
- Corrosion-resistant screws (if needed)
- Exterior caulk
The Spruce / Sarah Lee
How to Winterize a Standard Spigot
-
Remove the Hose
If there is still a garden hose connected to the outdoor faucet, remove it from the spigot, drain any residual water in the hose, coil it up, and store it in a dry location.

The Spruce / Sarah Lee
-
Shut off the Water
Locate the control valve on the water supply pipe leading to the outdoor spigot. If you have metal water pipes, this is usually a brass ball valve located several feet from the outside wall. Turn the handle on the control valve clockwise until it stops. If the valve has a lever-type handle, turn the lever so it is perpendicular to the pipe.
Tip
As you can see, preventing a standard (not frost-proof) spigot from freezing requires a shutoff valve on the supply pipe leading to the faucet. If your spigot does not have this kind of shutoff valve, it's best to install one to simplify annual winterizing tasks.
The Spruce / Sarah Lee
-
Drain the Spigot
Fully open the outdoor spigot and let all residual water drain out of the pipe. If the water trickles and never fully stops, the indoor shutoff valve is faulty and must be replaced. Close the spigot valve.
Hold a bucket under the shutoff valve and remove the bleeder cap on the valve, if it is equipped with one. You may need pliers to loosen the cap. Let all residual water in the line drain into the bucket. Reinstall the bleeder cap, and tighten it snugly.
The Spruce / Sarah Lee
-
Install an Insulated Faucet Cover
Add an insulated faucet sock or faucet cover to the faucet, if desired. Although these covers don't create any heat of their own, they do trap a small amount of heat radiating from the house, and this is usually enough to prevent the faucet from freezing and bursting—especially if you have also followed the recommended steps for draining the pipes.
The Spruce / Sarah Lee
How to Install a Frost-Proof Faucet
The surest way to prevent an outside faucet from freezing is to replace a standard faucet with a frost-proof one known as a sill-cock. These faucets are controlled with a long rod that extends into the home, where a cartridge or compression valve controls the flow of water. Since the valve itself is located within the safe warmth of the home, it is almost impossible for it to freeze.
A frost-proof faucet is a 6- to 20-inch unit with a hose spigot and control handle at one end and a connector on the other end of the tube for attaching to the indoor water pipe. As a further safety measure, these faucets are designed to be self-draining; when you shut off the faucet handle, any residual water in the long stem will drain out of the tube.
These faucets can be attached to the plumbing pipe with a compression, soldered, PEX, or push-fit connection. For most people, it's best to buy a faucet with a push-fit style of connector, such as the SharkBite brand. This will be the easiest install, as it requires no soldering and can be used with any type of water supply pipe.
If you have trouble finding a frost-proof faucet with a push-fit connector, you can use a standard threaded type, and then use a female threaded-to-push-fit transition fitting to join it to the water pipe.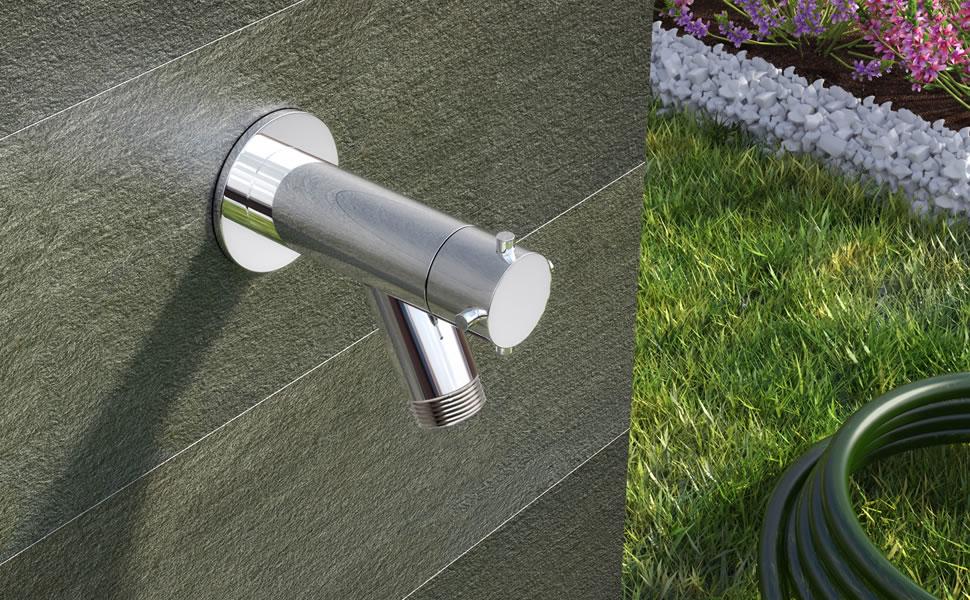 If you have PEX tubing in your home, there are also frost-free faucets that are fitted with PEX-type connectors.
Warning
A project of this scale is best left only to professionals or experienced DIYers: Do not attempt this unless you are confident in your plumbing skills.
-
Shut off and Drain the Water
Turn off the water to the supply pipe leading to the outdoor spigot. If the water pipe does not have its own control valve, you must turn off the water to the entire house, using the home's main shutoff valve.
Open the outdoor spigot and drain the remaining water from the supply pipe.
The Spruce / Sarah Lee
-
Remove the Old Spigot
To remove the outdoor faucet spout, start by removing any mounting screws, then turn the spout counterclockwise to unscrew it from the end of the pipe. You may need to use a pair of channel-lock pliers to twist the faucet spout. Pull the faucet out from the wall on the exterior side.
 Purchase a new frost-free faucet of the same size. It is important that the length and diameter of the pipe match the old faucet.
 The Spruce / Kevin Norris
-
Prepare the Water Supply Pipe
Because of the long valve stem on a frost-proof faucet, it is usually necessary to cut the water supply pipe where the tube of the faucet will connect to it. Use a tubing cutter (for copper pipe), a hacksaw (for galvanized steel or PVC pipe), or a PEX tubing cutter for PEX pipe. Remove and discard the cut-off section of pipe running to the outside of the house.
Debur the inside and outside of the cut end of the water supply pipe with sandpaper or emery cloth. Make sure the outside of the pipe is clean and smooth so it can accept the connection fitting on the new frost-proof faucet.
Mark the end of the pipe at the push-in distance specified by the manufacturer (usually about 1 inch from the cut end of the pipe).
The Spruce / Kevin Norris
-
Attach the Frost-Proof Faucet
Insert the frost-proof faucet through the wall from the outside and position the spout so it is right-side-up.
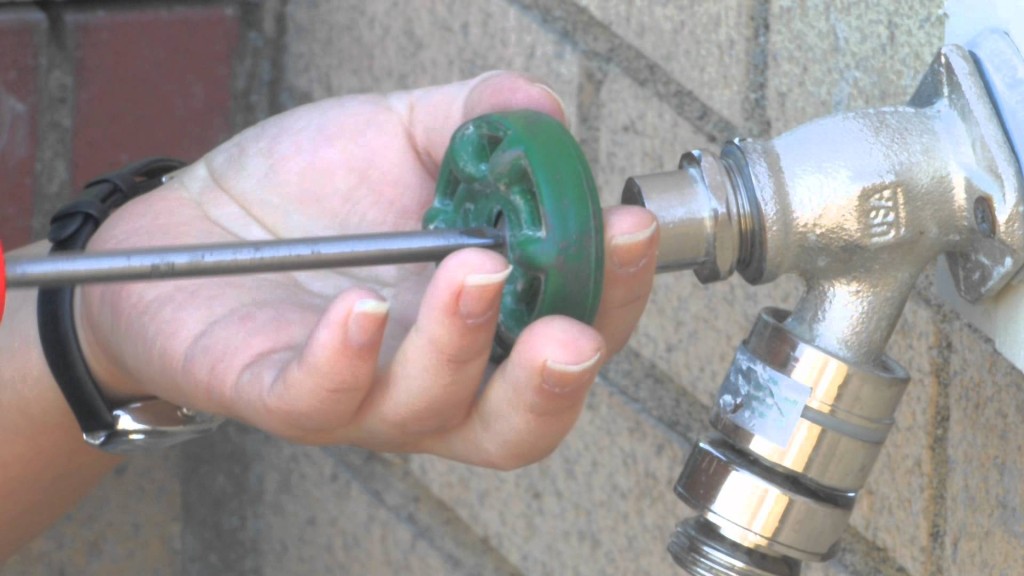 Go inside and push the faucet's fitting end straight onto the pipe, pushing as far as the fitting will go. It should reach the push-in mark on the pipe, indicating the pipe is fully inserted into the fitting.
 If you are using a standard threaded-type faucet, screw on the push-fit transition fitting to the faucet's tube first, before attaching it to the water pipe.
From the outside of the house, secure the faucet flange to the wall surface using corrosion-resistant screws, which are usually provided with the faucet.
The Spruce / Kevin Norris
-
Test the Faucet
Open the valve on the faucet, then turn the water back on at the shutoff valve and allow water to run freely out of the faucet spigot. Open and close the faucet spigot several times to confirm that it is working properly and that there is no leaking where the faucet tube connects to the water pipe.
When satisfied that the faucet works correctly, seal the joint between the faucet flange and the house wall with exterior caulk.
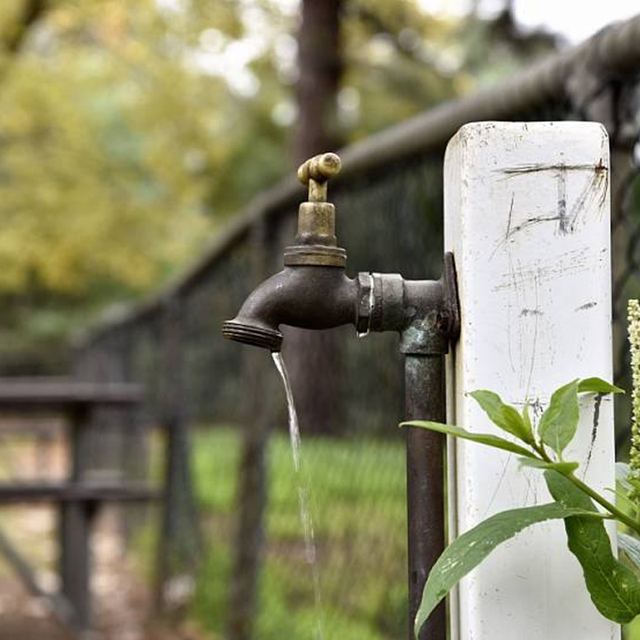
The Spruce / Kevin Norris
Measures against freezing of the pipeline | SAN SAMYCH
Plumbing, House.
A well or well in a country house is usually located a few meters from the house. Sometimes, a well is made in the underground or basement of a house, but even then measures against freezing of the pipeline will not be superfluous. As a rule, the water in the pipe freezes not in the underground section of the pipeline, but at the ground-air boundary, then crystallization proceeds along the air section of the pipe. Another “weak” section of the pipeline is located at the “underground-house” border due to the inevitable draft in this place along the pipe contour, which is quite difficult to get rid of.
I would conditionally divide all measures to combat pipe freezing into passive and active. It is desirable to foresee both those and others in advance, even at the design stage. So:
Passive measures.
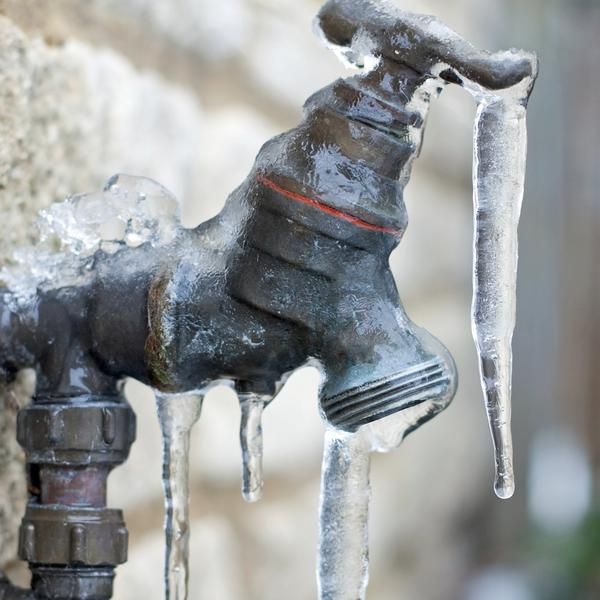
- The supply pipe material itself must be heat insulating. It can be polyethylene , polypropylene, metal-plastic . Metal pipes are undesirable.
- It is advisable to choose a larger diameter of the supply pipe. The larger the diameter of the pipe, the greater the volume of water in it, the thicker the pipe wall (additional thermal insulation), the longer the water will cool to the freezing point. The optimal diameters are from 3/4 (20mm) for polypropylene and metal-plastic (preferably 26mm) to 1½ (40mm) for polyethylene (more is possible, but it is expensive).
- The depth of the trench for the pipe should be comparable to the average freezing depth in your area, from 0.7m to 1.5m.
- The pipe must slope towards the well or well.
- The pipe must be insulated.
- All places where the pipe passes through walls and ceilings (floors, ceilings) must be sealed (foamed) to avoid the formation of even the slightest drafts of cold air in these places.
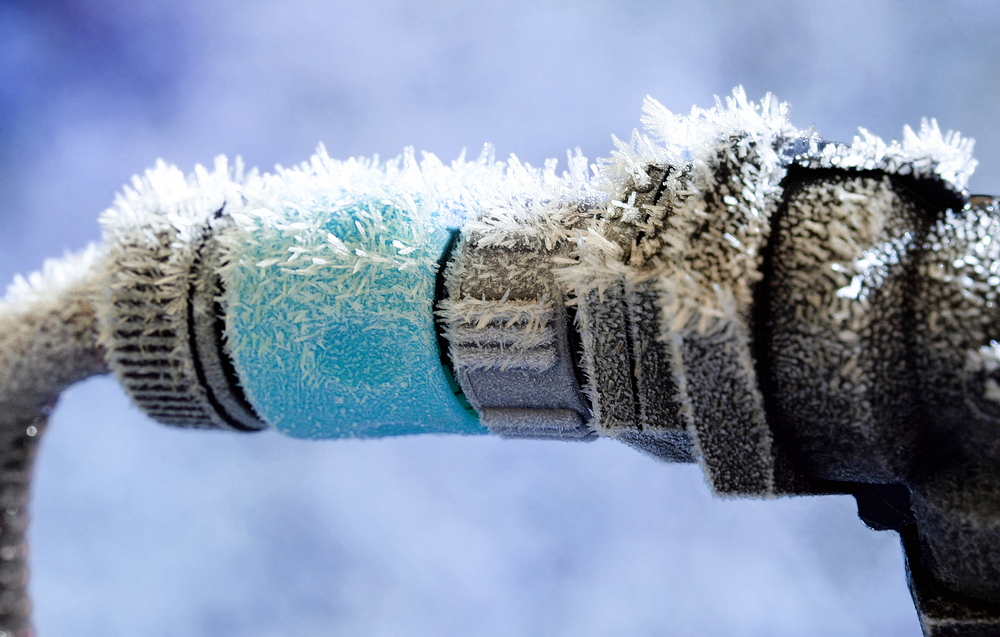
- When passing the pipe in the corners of the premises (the joint between the wall and the floor or ceiling), it is imperative to check these corners for the presence of the same drafts, and, if possible, eliminate them.
- It is undesirable, or rather unacceptable, to place metal fittings outdoors and/or in places where drafts can form. If they are placed in such places and it is impossible to remake them, they must be well insulated and provide for the possibility of at least periodic heating (heating cable, heat from the house, hot water or heating pipes).
I conditionally call the following measures
Active:
- It is necessary to provide easily detachable pipe connections at the outlet of the well (well) and at the entrance to the house or basement, for possible inspection of the mouth of the underground section of the pipe and removal of ice plugs.
- The best active protection is to run the heating cable along the supply pipe.
 It is not necessary to buy an expensive self-regulating two-wire. In the worst case, you will use it only a few times during the winter. Quite enough is a cheap single-core cable for underfloor heating of domestic production. The only limitation in its use is that its activation time should not exceed 15 minutes. If this was not enough, just repeat the procedure after 10-15 minutes so that the cable cools down a bit. It does not make sense to turn on the cable for constant heating (you need another cable for this), this is an extra waste of energy, and the cable can overheat. The cable is attached to the pipe using plastic clamps or adhesive tape.
 - When using submersible pumps, a small hole can be made in the pipe (1-3mm) 3-5cm from the pump for direct water flow. Running water will never freeze. Unfortunately, when using pumping stations, this is not possible.
- In severe frosts, if you are at home, spill, i.e. turn on the water at least once every two hours. Then you will need to heat the pipe, turn on the heating cable, only once a day - in the morning.
As practice shows, observance of only passive measures against freezing of pipelines guarantees their trouble-free operation up to 20-25 degrees of frost. Subject to all measures - in any frost.
Page 2 of 2 ← Earlier 1 2
Page 2 of 2 ← Earlier 1 2
Your review
All rights reserved © 2015 SAN SAMYCH | To come in
How to prepare a well equipped for irrigation for winter
In order for the water in the well not to freeze, it should be insulated Almost all areas of country houses are equipped with a well that provides uninterrupted water supply. The cold winter months are risky as the casing and supply pipe can freeze. To ensure that the water supply does not stop, the owner of the house must know at what temperature the water freezes on the street, as well as how to insulate the well and prevent freezing. You can do it yourself with the help of improvised materials.
Does the water well freeze in winter?
The intake structure itself cannot naturally freeze.
But difficulties with the operation of wells in the winter still arise. The fact is that the water in the well at a level above the freezing level of the soil can freeze. Therefore, in order to prepare the well for winter, it is important to analyze where and in what cases the water in the well may be above the freezing level of the soil.
For the middle lane, it is considered that the level of soil freezing is 1.8 - 2 meters. For other regions, the value may vary. In addition, freezing may be deeper with a significant decrease in temperature from average values and may depend on other factors.
Insulation of a well with a high groundwater level
The process of drilling a well is not complicated. It is more difficult to ensure its well-coordinated work, especially in the cold months. The winter period is the most difficult.
Temperatures that are too low can cause the moisture in the upper soil layers to freeze.

Frost line depth may vary depending on local climatic conditions. Problems with water supply can be avoided by first taking care of choosing the right thermal insulation technology. It is necessary to insulate the well before the onset of the first frost.
How to install the caisson:
- Dig a pit around the well column.
- Equip the bottom of the pit with a gravel pad. Fill it with concrete mortar.
- In the caisson, or rather, on its bottom, it is necessary to make a hole, the diameter of which will correspond to the casing pipe and the supply water pipe.
- Cover the walls of the structure with insulation, on which waterproofing is laid.
