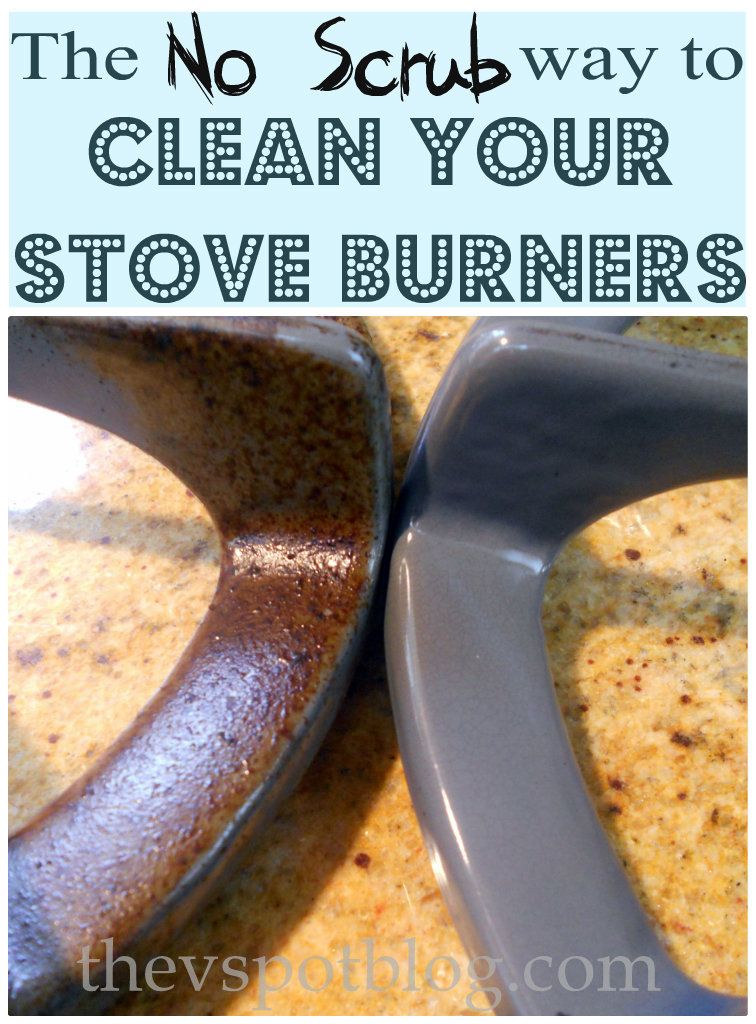
Best way to clean stove top burners
How to Clean Stove Burners (Homeowner's Guide)
- Kitchen
Return a messy stovetop with grease-covered burners to like-new condition in under 30 minutes. Here's how.
Photo: shutterstock.com
We’ve all been there: It’s the end of a long day, and rather than wipe up the splatters on the range, you decide the mess can linger for a day. A week later, you still haven’t cleaned the stove burners, and—largely thanks to the pasta sauce you’ve just brought to a low simmer—the situation has only gotten stickier. OK, it’s time. All it takes is one deep cleaning to restore the stovetop to its pristine state. Follow these steps to clean stove burners quickly and with a minimum of hassle.
Tools & Materials- Dishwashing soap
- Sponge
- Baking soda
- Scouring pad
- Ammonia
- Cloth
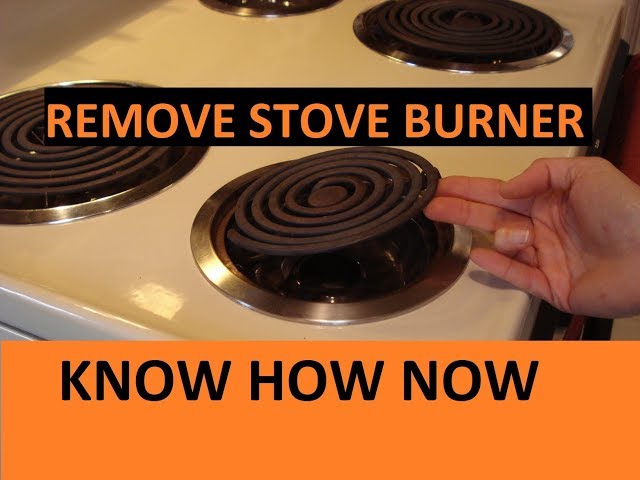
Before going any further, wait until the burners have completely cooled. Next, remove the grates (for a gas range) or burner coils (for an electric range). In the latter case, it takes only a little tug-and-lift motion at the point where the coils connect to the sockets on the stove. If those coils don’t budge, refer to your appliance manual in order to avoid causing any damage. Once the grates or coils are off, move them over to your countertop to be cleaned separately.
Photo: Shutterstock.com
Step 2Combine lukewarm water and a bit of dishwashing soap in a bowl. Dip a cloth or sponge into the solution, then proceed to scrub the burners. (With an electric range, do your best to avoid getting the sockets wet.) If you’ve cleaned the burners somewhat recently, you may have luck with this approach.
Step 3To tackle tougher stains, enlist the abrasive power of baking soda. Mix a handful of baking soda with a little bit of water to form a thick paste. Coat your burners in the paste and let them stand for about 20 minutes. Once that time has passed, caked-on residue should have become soft enough to be removable with a sponge. Lastly, rinse off the burners to make sure that none of the paste remains.
If neither of the above has worked to clean your stove burners, there’s one more method to try. Place each burner into its own plastic bag, along with a quarter-cup of ammonia. The goal is not to cover the burners in ammonia, but simply to seal them in with the ammonia fumes. Let the plastic bags sit overnight in your sink, in case of a leak. On the next day, with proper ventilation in the kitchen, open the bags and now—finally—the burners should come clean under a sponge. Once the burners are no longer caked in residue, remember to rinse them thoroughly to remove all traces of the ammonia.
Step 5Pat down the burners with a clean cloth or paper towels and let them air-dry. Before reconnecting the coils on an electric range, be certain that both the coils and the stove sockets are both completely dry.
Additional Notes
One trick for everyday cleaning is to spray the burners with vinegar. Let them sit for a while (perhaps while you put dishes in the dishwasher), then wipe down the vinegar-treated burners with a clean cloth or paper towel. Cleaning burners after each use of the range makes it so grease and food residue cannot accumulate, and that negates the need for a deep cleaning like the process laid out in the steps above.
Clean Your Stove Burners in Just 4 Steps
Learn how to restore your stovetop to its former just-off-the-shelf glory.
Let’s face it, the worst part of cooking is the cleanup–especially when you’ve got spattered spaghetti sauce baked onto your stovetop.
And to make matters worse, when food splatters go uncleaned, they become tougher and tougher to remove every time you use your stove. Eek! Let’s be honest: deep cleaning your stovetop probably isn’t something you’re doing regularly, so you might have a bit of a crusty food situation on your hands.
Fear not! We’ll take the three most common cooktops–electric, gas, and glass–and break down the steps for getting them cleaned up so you can get on with your life and return to living out your top-chef dreams. Because the last thing you want to do is clean it incorrectly and ruin your whole appliance or shudder have your rental deposit taken away. It’s also a good idea to refer to your stovetop manufacturer's manual for care and cleaning instructions.
Step one: Wait for the burners to completely cool. Electric burners can be deceiving; you think they’re cool because they’re not bright orange anymore, but (ugh) they might still be pretty hot. Hover your hand over the burner and if you feel heat, they’re not ready for cleaning quite yet. Once the burners are cool, gently tug and lift then out from their connection point. If you have questions about how to do this, check your stove’s user manual.
Step two: Wipe the burners down with dish soap and water. Dawn is the perfect match for this job because of its grease-cutting power. Just give each grate a gentle scrub-a-dub-dub with a sponge or dishcloth, being careful not to ever submerge the burners in water completely. While you’re at it, give the rest of the stovetop a wipedown.
Step three: If the burners still have bits of cooked-on-food after the soap and water treatment, try the tried-and-true baking soda method. Make a paste from baking soda and water in a bowl, then apply it to the gross spots and let it sit for 20 minutes. Conveniently, just enough time to stream an episode of your favorite throwback sitcom. Then, scrub and rinse. Could these burners BE any cleaner?
Step four: Dry the burners completely and replace them back on the stovetop. But seriously, make sure they’re totally dry. Water and electricity don’t mix! I know you have things to do and places to be, but it’s always better to be safe than sorry.
Cleaning a gas stovetop
Aaaah, the gas stove, every cook’s dream appliance chef’s kiss. If you have a gas stove, the good news is: it’s relatively easy to clean. Plus, we even have a trick for tough stains that doesn’t require any hands-on work. Your grease-less elbows will thank us later.
Step one: After using your stove, wait for the grates and stovetop to cool completely (trust us, you don’t want to shortcut this step), then remove the grates and put them in your sink. We recommend doing this after you’ve eaten dinner and are back in the kitchen cleaning up your dishes. This will give everything time to cool down.
Step two: fill your sink up with water and a few drops of gentle dish soap like Dawn. Soak the stove grates in soapy water for 15 minutes. While they’re soaking, go ahead and use that soapy water to wipe down the rest of the stovetop. A sponge or dishcloth is the perfect tool. Once your stovetop is sparkling, turn your attention back to the grates. Use that same sponge or dishcloth to scrub down each grate, paying special attention to all the bits of stuck-on food.
Step three: If your stove grates are still feeling worse for the wear, try this trick. Partially fill a ziplock bag with ammonia, stick the grates in the bag, zip it up, and leave them to soak overnight. It’s a good idea to put the bag in the sink, just in case it leaks. In the morning, you’ll wake up to squeaky clean stove grates. Simply take them out of the bag, use a sponge to loosen any remaining residue, and rinse. And voila! Your grates will be as good as new.
Step four: Dry the grates with a towel, put them back in their place, and stand back to marvel at your good-as-new stove.
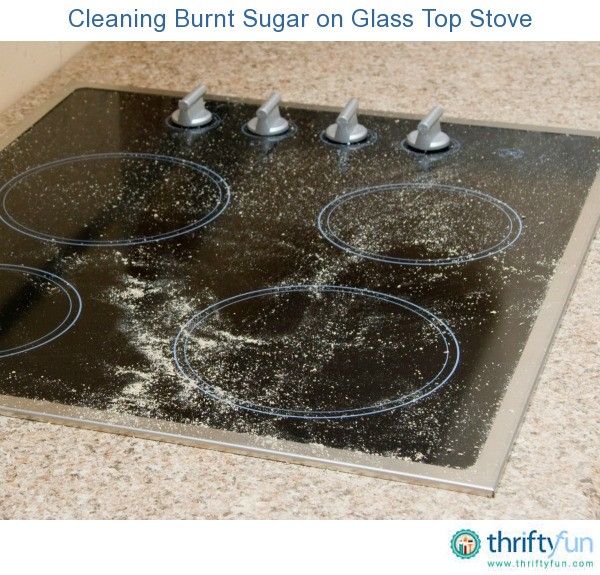
Cleaning a glass stovetop
A clean glass stove is a thing of beauty. I mean, who doesn’t love a stovetop that can also be used as a mirror in a pinch? Unfortunately, if you do any cooking at all, its glamour shot is probably ruined by cooked-on food pieces and grease splatters. But don’t worry: After following these four steps, you’ll be back to covertly checking yourself out while stirring risotto in no time.
Step one: Wait until the stovetop has completely cooled. A boring step, but a very important one. Most stoves have indicator lights that let you know if the surface is hot, but if yours doesn’t, hold your hand close to the stovetop (without touching it). If you feel the heat radiating up towards your hand, it’s not cool yet.
Step two: Put some distilled white vinegar into a spray bottle and spray down the surface of the stovetop. Then, sprinkle baking soda on top and watch the science experiment unfold. Put a damp, hot towel over the top and let everything sit for 15 minutes. Once time is up, remove the towel, then rinse and wipe up everything with a sponge or cloth.
How to clean gas burners at home: the best ways
It's hard to imagine a modern kitchen without a gas stove. In the process of cooking, no matter how carefully you use the equipment, it gets dirty. How to clean gas burners and nozzles at home and what methods are best to use?
Contents:
- Why you need to clean the burners
- Cleaning steps
- How to clean gas burners
- Cleaning the nozzles on a gas stove
- Tips
Why you need to clean your burners
Although the burners on the stove are the least likely to get dirty, the problem of poor combustion or a change in the color of the gas occasionally occurs. And if the stove is still old and unkempt, the flame may disappear altogether. The reason for this may be a weak fuel supply or dirty burner dividers, dirty nozzles.
When cooking food, it is not uncommon to flood the stove with bubbling water, fat, boiled milk, etc. Not only the surface of household appliances suffers, but also the burners. Why do you need to periodically clean the dividers?
- To avoid fat, food residues that would not burn with the gas and would not emit an unpleasant odor.
- So that impurities do not trap gas at the outlet of the dividers.
- So that clogging does not lead to a complete failure of kitchen equipment.
Cleaning steps
The stove must be cool before cleaning if it is hot. Then follow the following cleaning steps:
- Close the general gas valve and open the window for ventilation.
 This is necessary for safety reasons. Situations are different, so it's better to play it safe.
 - Remove the grate and other parts from the stove to leave open dividers.
- Proceed with the removal of dirt from the burners and stove with any of the selected means.
- Reinstall all detachable parts after complete cleaning. Check gas combustion.
Methods for cleaning gas burners
In order not to spend money on buying special cleaning products for stubborn dirt, you can use folk methods:
- Use of table vinegar. Remove the burners from the stove. Disassemble them into two parts: a divider and a cover. Then, take a capacious saucepan, pour a liter of boiling water into it, pour in half a glass of table vinegar. Place the burners in the resulting liquid for half an hour. After that, take out the parts, rinse them in clean water, wipe dry with a soft cloth. The dirt should be completely gone. Put the burners in place, check them for serviceability.
- Use of baking soda. It is sure to be found in any home. Baking soda is especially good at removing stubborn greasy stains. First, remove the burners and wash them in a soapy, detergent-based solution to remove soot and carbon deposits. Take 4 tablespoons of baking soda, put it in a bowl, add water to make a thick paste. Using a sponge, apply the resulting mixture to the burners. Leave it like this for half an hour. Then, use a toothbrush to clean all the gaps on the divider so that no dirt particles remain. Rinse them in clean water and dry with a towel or paper towel.
- Detergent for cleaning burners. Soaking the parts in a soapy solution is another effective and inexpensive way to clean the burners from dirt. Fill a bowl with two liters of hot water, dissolve 4 tablespoons of any dish detergent. Place the removable parts of the burners in the resulting liquid for one hour. After the specified time, rinse the parts in clean water and wipe dry with a towel. Assemble the gas stove.

Cleaning the nozzles on the gas stove
Poor combustion can be caused not only by clogging of the dividers on the burners, but also by contamination of the nozzles. Consider the step-by-step process of cleaning the nozzles on the stove.
- As with cleaning the burners, turn off the gas valve, open the window for ventilation.
- Remove the grate and all parts of the burner from the appliance.
- Empty bowls will remain on the stove. There will be small holes in the middle of these bowls. This is the injectors.
- To clean them, you will need a thin copper wire, a needle or a paper clip. Let's say you chose copper wire. Take it and insert it directly into the nozzle of the nozzle, deeper. Scroll the wire several times, move it up and down.
- After cleaning the nozzles, clean the bowls and hob with soapy water. Collect everything the way it was. Check combustion.
We recommend reading an article on how to clean a frying pan from carbon deposits at home.
Tips
- Once a year, call the master who will check the stove for serviceability of kitchen equipment, gas leaks.
- To avoid stubborn greasy stains on the hob, wipe it after each use, even if it seems to be clean.
- Do not use powdered cleaners to remove dirt. They can get into the burner dividers and stay there. Use liquid gels or regular dish detergent.
- To remove stubborn grease, wet the hob surface with soapy water and let it soak for 15-20 minutes. Then, with a soft cloth, collect the dirt and rinse with clean water.
Never use a hedgehog to clean surfaces.
- Once a week, carry out a general cleaning of the entire hob, even if you wipe it down every day.
How to clean the burners of a gas stove from carbon deposits at home
When a gas stove starts to work worse, usually clogged burners are to blame. The gas supply holes are clogged with soot and dirt. The “trickle” of gas becomes thinner, and in some places it does not light up at all. Cleaning burners is easy, but it needs to be done right.
Contents
- How to clean burners
- Laundry soap
- Table vinegar
- Food soda
- ammoniating alcohol 9000 helping to clean the burner from dirt. In any apartment there are substances that remove carbon deposits well - you just need to use it correctly. Before cleaning, the burners should be removed from the stove and transferred to a large container for easy processing.
- Grate about ¼ of the bar on the finest grater.
- Pour warm (but not hot) water in a thin stream, stirring the soap powder continuously. 100 ml of water is enough - the mixture should not be too liquid.
- Mix thoroughly until smooth. It is more convenient and faster to use a whisk.
- Apply with a sponge to dirty burners.
- Wait approx. 7 minutes.
- Wash off with plenty of water, leaving no soap on the burners.
- Put the removed burners together with the lids on the bottom of the pan.
- Pour 1 liter of boiling water inside.
- Add 100 ml vinegar.
- Cover tightly and leave for 30-40 minutes.
- Remove the hotplates from the water. It is worth using a mask to protect the lungs from the caustic fumes of vinegar.

- Rinse under the tap. If adhering dirt does not come off on its own, rub it with the hard side of a kitchen sponge.
- Dry with a soft cloth. You should not leave it to dry naturally - the smell of vinegar runs the risk of clinging to the metal for a long time.
- Sprinkle baking soda evenly over the burners.
- Wait about 15 minutes - the substance should act on the dirt.
- Wet a soft sponge with water and rub baking soda over the soiled areas. Strong dirt can be rubbed with the hard side of the sponge.
- After cleaning, wipe the baking soda off the burners with a damp cloth.
- Rinse with water.
- Moisten a foam sponge with the product.
 And in cleaning small holes it is more convenient to use a toothbrush.
 - Rub lightly into dirt.
- Leave on for 20 minutes.
- Wipe clean with a damp cloth. Pollution will have time to soften and easily “move away” from the metal.
- Wet the burners with water so that the acid sticks.
- Sprinkle product on all sides.
- Transfer the items to a saucepan or deep bowl. Leave for 10 minutes.
- Then pour boiling water over so that the water completely covers all elements of the burners.
- Leave on for 1-2 hours (until dirt starts to peel off).
- Remove and rinse. If necessary, rub lightly with a sponge (brush).
- Place the burners on the bottom of a large saucepan.
- Fill with water.
- Add detergent (2 tablespoons for each liter of water). Do not stir so that foam does not appear (it will just interfere).
- Put on fire. Bring to a boil and boil for 30 minutes.
- Turn off heat and let cool.
- Wipe the burners with a regular sponge or cloth. Pollution will lag behind without difficulty.
- Clean Powder;
- Bagi Schumann spray;
- Sanita spray;
- Cinderella Antifat cream.
- Shut off the gas supply to the injectors. Close all burners tightly.
- Open window to allow air to circulate.
- Remove the upper part of the plate body. More often it is held on by screws, so you will need a screwdriver, but there are also ordinary latches.
- Inspect nozzles for dirt. They look like thin tubes placed under each burner. Color is usually golden.

Laundry soap
72% soap is well suited in the recipe - due to the high content of fatty acids, it dissolves greasy deposits well. But in general, any bar soap will do.
Procedure:
Cleaning paste can be strengthened by adding 100 g of baking soda to the formula. The prepared mixture is stored for about 3 months under a tight lid, so it can be used repeatedly.
Vinegar
A good way to clean carbon deposits from burners is to use vinegar. You can use any solution of acetic acid from 3% to 15%. Still - you will need a capacious pan (better - made of stainless steel).
The algorithm is as follows:
Baking soda
Baking soda is often used as a cleaner for burners.
The finely abrasive structure of the baking soda helps prevent scratching the metal:
Ammonia
Ammonia is easy to apply if the burner is clogged:
In case of severe old soot, the processing time can be extended up to several hours. The ammonia will not harm the burners in any way.
Citric acid
Powdered acid should be used like this:
Another method is to use acid as a cleaning agent, rubbing vigorously into the dirt.
Then it is worth applying the algorithm indicated above with baking soda.
Dishwashing liquid
Liquid dishwashing detergent also helps if the burner is clogged and does not work well.
But it is better to use boiling rather than ordinary washing:
Household chemicals for cleaning stoves
In addition to traditional methods for cleaning burners, household chemicals can also be used. There are many products available in the grocery store to deal with soot and hardened grease. It is worth choosing such a tool for the material from which the burners are made - then the processing will be more efficient.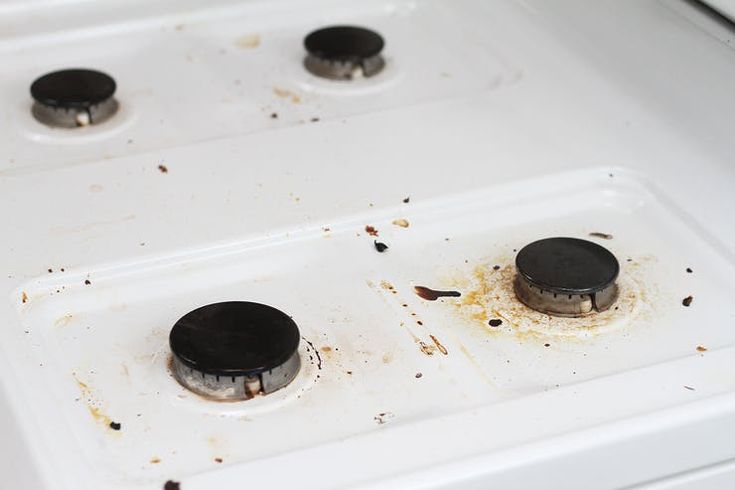
| Material of conferences | Suitable tool | Description |
|---|---|---|
| Aluminum | CIF Active | 9027|
| Ceramic | Dr. Beckmann | German detergent removes deposits from ceramics better than any analogues. The composition does not contain abrasive components that scratch the surface. |
| Cast iron | Le Creuset | Removes hardened grease easily. Copes with soot, too, quite well. A significant plus is a sparing attitude to cast iron. |
| Steel Grille | Astonish Stailess Steel & Shine | Non-abrasive cleaner that makes it easy to clean uncomfortable grating. |
| Electric stove burners | Cillit Magic | The agent quickly acts on dirt and softens even very hard deposits. |
Other good products to help clean dirt from burners:
To choose from a variety of household chemicals, you should look at the reviews of other customers. And also - read on the packaging whether the drug is suitable for the specific purpose of use and the material of the burners.
Cleaning the nozzles
It often happens that cleaning the burners did not help restore the "power" of the flame. This means that the nozzles on the gas stove are clogged. These essential elements are needed to distribute gas between the burners and are also often clogged with soot and sticky fat.
Clean them in the following order: