Wood wall paneling painted
How to Paint Wood Paneling the Right Way
By
Lauren Flanagan
Lauren Flanagan
Lauren Flanagan is an interior design expert with over 15 years of experience writing, editing, and producing articles for renowned Canadian publications and shows for HGTV on home decor. She worked in high-end home decor retail before discovering her passion was to share what she knew in publications and on television.
Learn more about The Spruce's Editorial Process
Updated on 06/24/22
Reviewed by
Johnathan Brewer
Reviewed by Johnathan Brewer
Johnathan Brewer is a home improvement expert with over two decades of professional experience as a licensed general contractor specializing in kitchen and bath. He has been featured on HGTV’s “Super Scapes,” “Curb Appeal the Block,” “Elbow Room,” DIY Network's “House Crashers,” "This Old House," and OWN Network's Emmy award winning show, “Home Made Simple. ” Jonathan is also a member of The Spruce Home Improvement Review Board.
Learn more about The Spruce's Review Board
Fact checked by
Jessica Wrubel
Fact checked by Jessica Wrubel
Jessica Wrubel has an accomplished background as a writer and copy editor, working for various publications, newspapers and in public libraries assisting with reference, research and special projects. In addition to her journalism experience, she has been educating on health and wellness topics for over 15 years in and outside of the classroom.
Learn more about The Spruce's Editorial Process
The Spruce / Margot Cavin
Project Overview
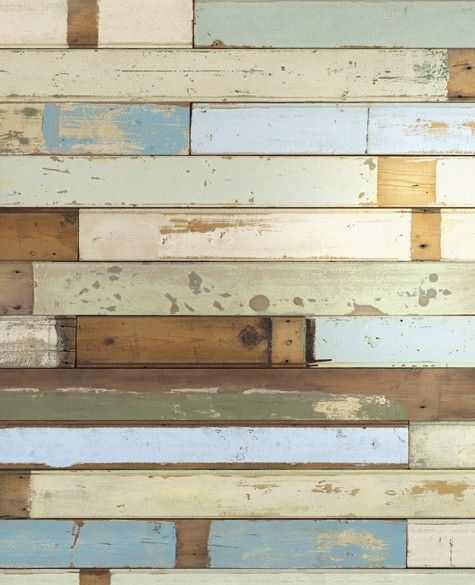
Wood paneling can make a home feel warm and comfortable. However, if your house is full of paneling that is dated, damaged, or made of an inferior veneer, it's worth considering an upgrade. Since removing it could be costly, consider a coat of paint. It can instantly make that dingy paneling look fresh and bright for a fraction of the cost.
Whether or not to paint wood paneling and moldings is often up for debate. The answer is a resounding yes when it comes to the cheap wood veneer that was so popular during the 1970s. When discussing higher-quality, solid wood-paneling, the decision can be more complicated. First, there's no going back, as it's pretty much impossible to completely redo the process if you ever change your mind. Also, solid-wood planks have numerous joints that can open up and show hairline cracks if the planks contract during periods of low humidity.
Warning
If the paneling has old paint that was likely applied before 1980, do not sand the paneling unless you have the paint tested to confirm that it does not contain lead. If old paint tests positive for lead, skip the sanding and simply apply a good primer to ensure the paint job will stick.
If you decide to paint over the wood paneling in your home, follow the proper steps to ensure it's done correctly. It may seem like cleaning, sanding, and priming are unnecessary, but paneling requires extra attention if you want the wall to look its best. Consider an oil-based primer for good coverage and to aid against bleed-through.
Need more help? Talk to an interior decorator
Our partners can help you compare quotes from top-rated professionals near you
Get a Quote
Advertiser Disclosure
The offers that appear in this table are from partnerships from which The Spruce receives compensation.
Equipment / Tools
- Rags
- Putty knife
- Caulking gun
- Paint roller with foam roller covers
- Paintbrush
Materials
- TSP or TSP substitute
- Wood filler
- 150-grit sandpaper
- Caulk
- Stain-blocking primer
- Wall paint
- Trim paint
The Spruce / Margot Cavin
-
Clean the Molding and Paneling
Begin by making sure the paneling is clean. A damp rag will remove most of the dust, dirt, and cobwebs. If there are layers of grime, use a solution of TSP (trisodium phosphate, a heavy-duty cleaner) or a TSP substitute (which can be less toxic) and water to get it all off.

Never paint over a dirty surface because the paint won’t adhere properly. It will also look low-grade because the paint will pick up clumps of dirt, making it impossible to get a flat, clean look.
The Spruce / Margot Cavin
-
Fill and Sand the Wood
Apply wood putty with a putty knife to fill any holes or cracks and allow to dry. If desired, lightly sand all of the paneling, along with trim and moldings, with 150-grit sandpaper. The idea is to take off the sheen and create a lightly gritty surface so the paint will adhere. Try not to get carried away and sand too hard. When you're finished, wipe it down with a slightly damp cloth to remove all the dust.
Note: Sanding is optional and often is not necessary. Using a good primer that will stick to the old finish usually means you don't have to sand the wood. Just keep in mind that if the primer doesn't stick well, neither will the paint. Sanding always improves adhesion.
Some paneling that appears to be wood may just be a melamine finish. If it is, sanding and a primer are recommended. Check with your paint supplier for the proper primer.
The Spruce / Margot Cavin
-
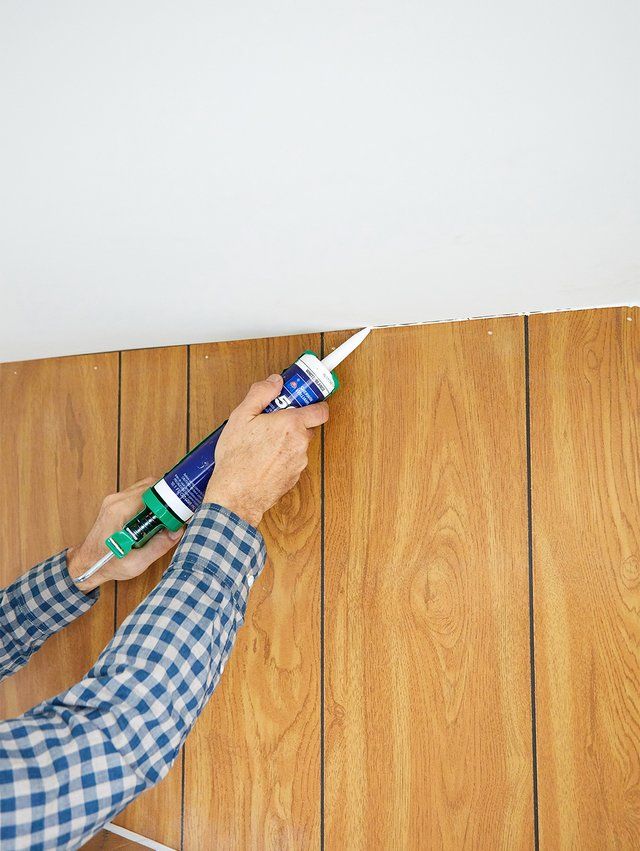
Caulk Around the Trim
Apply caulk to any gaps between paneling planks, between the panels and trim, and around the windows and doors. Make sure to use "paintable" caulk. Allow the caulk to dry, as directed by the manufacturer.
The Spruce / Margot Cavin
-
Prime the Wood
Use a foam sponge roller and a brush or just a brush alone to apply a thin coat of primer to all of the paneling. When rolling, keep a brush on hand to get into any cracks, seams, or corners where the roller can’t reach and remove drips. Make sure to cover the entire surface, including any trim. It’s best to use an oil-based primer or a water-based stain-blocking primer. These will prevent any grease or wood stains from coming through and ruining your paint job.
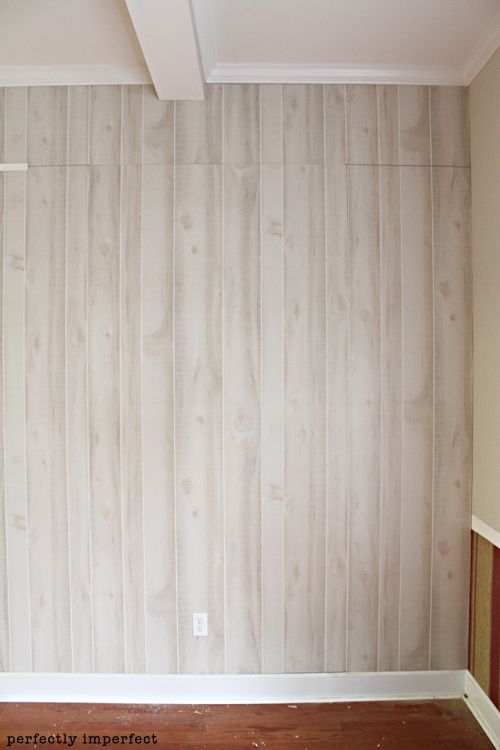
When painting knotty pine, use a primer formulated to cover knots, which can bleed through several coats of paint if not properly primed.
-
Paint the Paneling
Apply a thin coat of paint to all paneling surfaces. Begin at the top and work your way down, making sure to cover all the gaps between the panels. With your brush, remove any excess paint that collects in the panel grooves. Take care of any drips right away, too. Let the first coat dry, as directed, then apply a second coat.
After the primer and first coat, your wall may look finished, but a second coat will ensure the best coverage and improve its durability. It’s definitely worth the extra time and materials.
The Spruce / Margot Cavin
-
Paint the Trim
Paint the trim your desired color. It is usually best to use a glossier finish for the walls, which helps the trim stand out, and creates a smoother surface that's easier to clean. However, this really comes down to personal preference.
The Spruce / Margot Cavin
The Spruce / Margot Cavin
Article Sources
The Spruce uses only high-quality sources, including peer-reviewed studies, to support the facts within our articles. Read our editorial process to learn more about how we fact-check and keep our content accurate, reliable, and trustworthy.
Lead in Paint. Centers for Disease Control and Prevention.
How to Paint Wood Paneling
Photo: ranchremodels.com
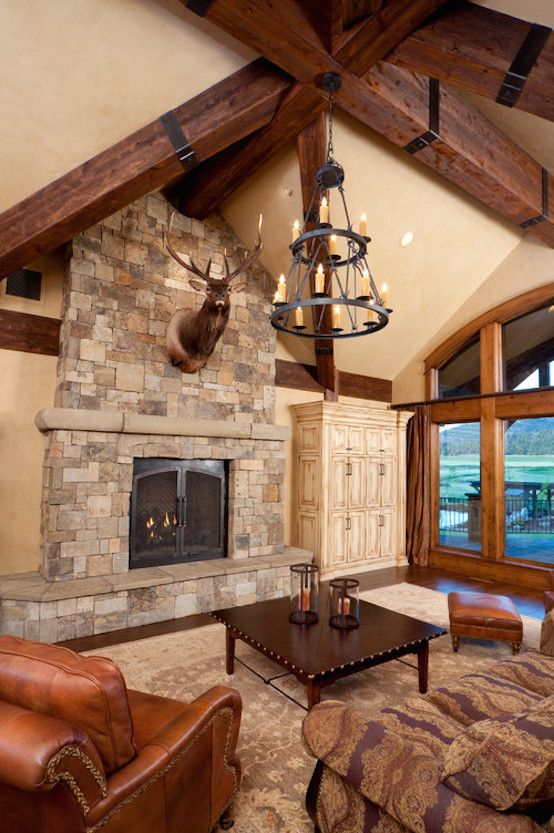
In a room with wood-paneled walls—particularly if that wood is a veneer—your instinct may be to start fresh, either by tearing out the paneling or by concealing it behind drywall. Both of these options, however, involve avoidable expenses that may be difficult to justify if you are trying to keep costs to a bare minimum. So long as your paneling has stayed in decent condition over the years, perhaps the least expensive way forward is to leave the paneling in place and paint over it.
Don't want to do it yourself?
Get free, no-commitment estimates from pro painters near you.
Find local painters
+That may be easier said than done, partly because solid-wood paneling so often has knots, the kind that appear invincible to paint coverage and leave the well-intentioned homeowner feeling a bit trigger-shy. Just as often, there’s a wax or varnish to deal with, and do-it-yourselfers know that sanding can be not only taxing but really messy. And then there’s veneer wood paneling: Isn’t there something about its hard, almost plastic-like surface that looks like it simply wouldn’t take paint very well?
RELATED: How To—Paint EVERYTHING
The truth is that, regardless of whether yours is solid or veneer, it’s pretty easy to paint wood paneling. If you’ve ever painted a piece of wood furniture, then you’re probably already familiar with the basic steps that make up the process—though there are a few differences, like protecting neighboring walls and trim or accounting for the grooves of paneling.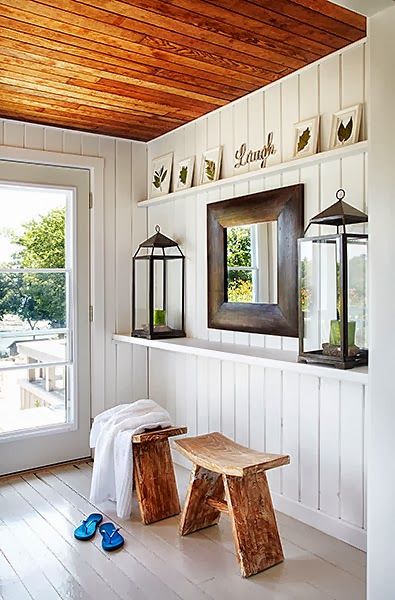 Follow these key guidelines for how to paint wood paneling and you ought to achieve professional-level results.
- Clean the wall paneling with diluted TSP.
- Lightly sand the wood surface.
- Ready your work area.
- Apply two thin coats of stain-blocking primer.
- Apply at least two thin coats of paint.
For full details on painting wood wall paneling, continue reading below.
Tools & Materials- Trisodium phosphate
- Rubber gloves
- Protective goggles
- Respiratory mask
- Bucket
- Sponge
- See full list «
- 220-grit sandpaper
- Tack cloth
- Vacuum
- Drop cloths
- Painter's tape
- Paint roller
- Foam sponge roller cover
- Interior stain-blocking paint primer
- Interior paint
Photo: woodfurniturehub.com
STEP 1: Clean the wall paneling with diluted TSP.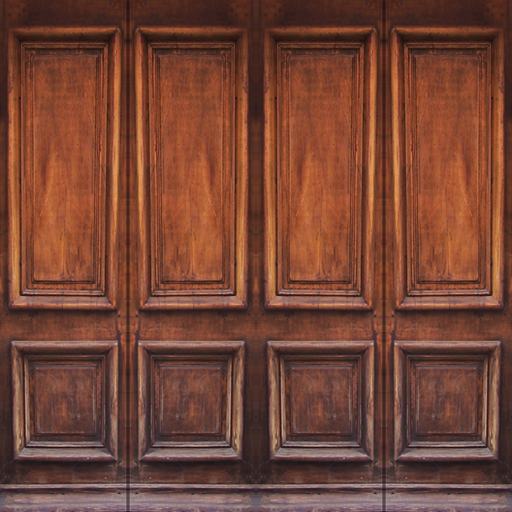
Any dust, dirt, or oily fingerprints can prevent the paint from sticking well to the wood paneling, so start by thoroughly washing the wood-paneled walls with a solution of trisodium phosphate (TSP) and water. Before you even pick up a sponge to begin using this toxic cleaner, put on protective gear—full-sleeve clothing, rubber gloves, glasses, and a respiratory mask—and open windows in the room to adequately ventilate. Then, dilute TSP in a bucket of water and wipe down the wood paneling with a sponge dampened in the solution.
STEP 2: Lightly sand the wood paneling.Next, proceed to lightly sand the walls using a technique aptly known as “scuffing”; the goal here is to create a good mechanical bond between the paneled wall and the initial coat of primer that you will soon be applying. You’ll use a 220-grit sandpaper in even circular motions to do so.
Advertisement
Today’s primers are so good that you can probably skip the sanding, but I think it’s worth doing.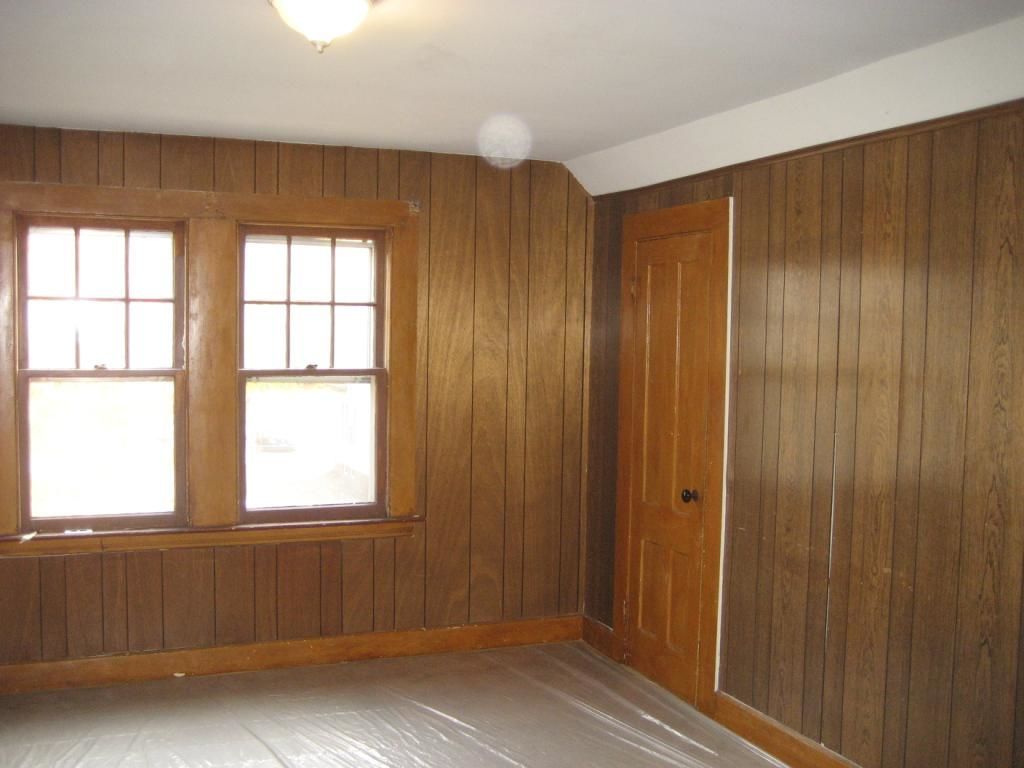 Even though it takes only 20 or 30 minutes, scuffing gives you long-lasting insurance against chipping paint. Just be sure to wear a dust mask and, for health reasons as well as cleanliness, wipe away dust with a tack cloth or damp rag as you go. (Now may also be the time to vacuum the floor so that you don’t track dust room to room.)
Save yourself from having to scrub errant paint drips and splatter off the floor after the paint job is complete by laying down a bunch of old newspaper or a drop cloth. If there is molding or ceiling that you do not want the paint to inadvertently color.
STEP 4: Apply two thin coats of stain-blocking primer.Having finished scuffing the full width and height of the wood paneling to be painted, give the surface its initial coat of primer to prevent any of the wood grain, imperfections, and the like from showing through the final coat of paint.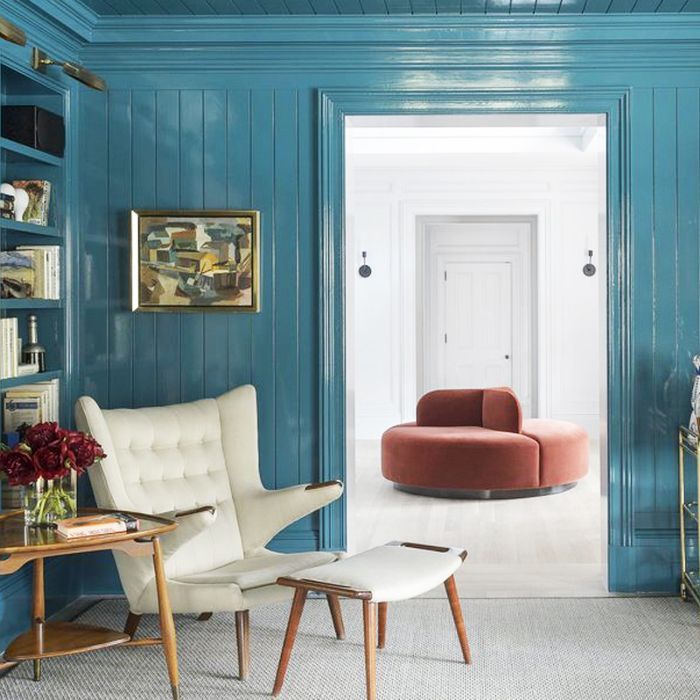
Choosing the right primer is key. For solid wood, use a water-based product; for veneer, use a shellac-based one. While it’s not strictly necessary to do so, you can have the primer tinted to match the shade you eventually plan to paint the wood paneling. One detail you absolutely should look out for? The words “stain-blocking” on the label. This trait helps hide any knots that appear throughout the wood paneling, or else you may see them bleed through your weekend paint job sometime in the future.
Start in with a 2-inch high-quality angle sash brush to cut in at corners, then keep it handy to dab away drips as you work.
Advertisement
Since you’ll be covering such a large surface, switch to a roller for the rest of the paint job—you’ll still be able to coat the grooves of paneled walls just fine. In order to avoid ending up with the orange peel–like texture that roller-applied paints sometimes produce, opt to use a foam sponge roller cover (it’s inexpensive and easily purchased at your local paint supply store or home improvement center).
Two thin primer coats are normally sufficient. Check your can of primer for instructions on exactly how long to wait between coats.
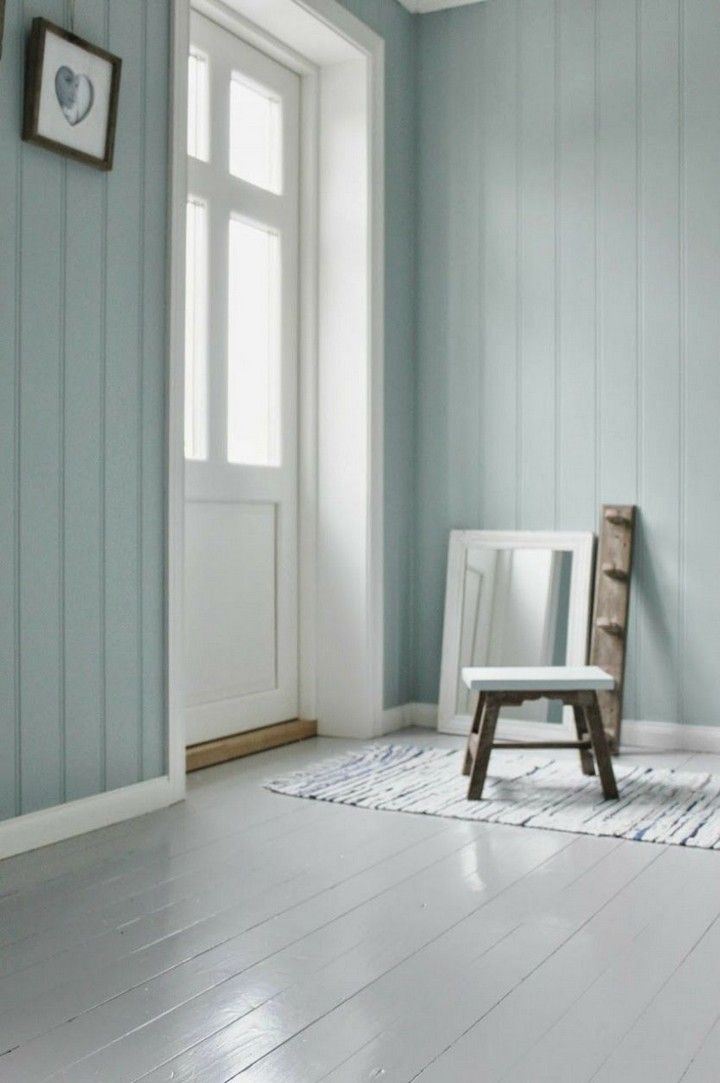
STEP 5: Apply at least two thin coats of paint.Top with your chosen paint applied in the same manner as described in Step 4. While you’re rolling on the paint in thin layers, pay close attention to how much collects in the panel grooves and wipe out any excess that might be too thick and become tacky once dry.
Lightly sand the surface between coats, and expect to do two or three in total (leaving adequate dry time between each). It’ll be a weekend project for sure, but, when you finish, you’ll certainly admire the difference painted wood paneling can make in a room! Whether you’ve chosen to paint wood paneling a lighter color to for a very airy farmhouse vibe or a matte black for something cozier and more dramatic, like a library, the fresh color will definitely deliver results.
Don't want to do it yourself?
Get free, no-commitment estimates from pro painters near you.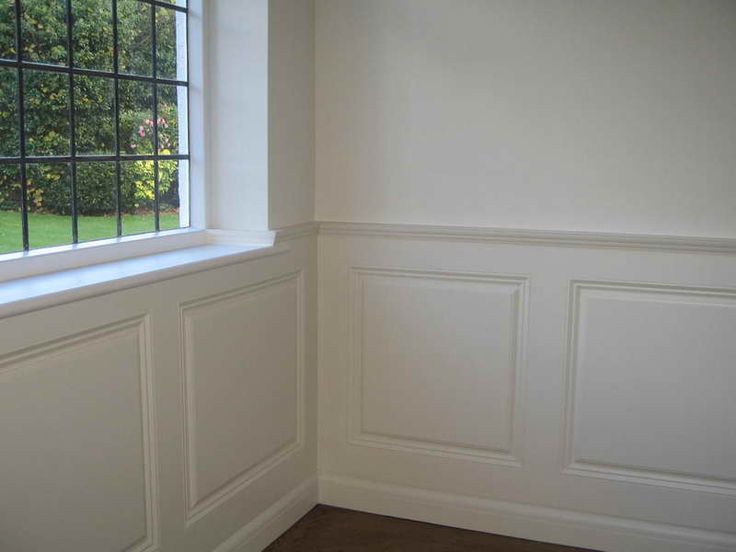
Find local painters
+ 90,000 painted wooden walls (76 photos) ”at the dacha photoTikkuril Tick imitation of beam
EVERATION in the interior of the bedroom
Svetlitsa imitation of the beam
The attic in the marine style
Library in the interior 9000,000,0002 Clapboard
Clapboard in the interior
Clapboard in a modern interior
Clapboard in the interior
White imitation timber interior ikea
Macial decoration Lining
Painting Dulux wooden walls 1064 Photo
Two wagon in the interior
Color Lining in the interior
Lining in the interior 9000
Library and brick in the interior of
,000Clapboard walls
Imitation timber interior
Summer house interior in bright colors
Tikkurila timber imitation
Gray-pink color imitation of the beam
White lining on the ceiling
Two lining in the interior
Blood Brus in the interior
IMMICATION OF
Tikkurila Green Brus.