Wallpapering a window
A guide to wallpapering windows like a professional for really neat edges
Join our newsletter
Thank you for signing up to Realhomes. You will receive a verification email shortly.
There was a problem. Please refresh the page and try again.
By submitting your information you agree to the Terms & Conditions and Privacy Policy and are aged 16 or over.While you might be happy with the thought of wallpapering walls, wallpapering windows is a bit more daunting. And it’s true that it does take some care to wallpaper around a room’s obstacles – and windows are one of them.
But we’re here to help and once you know what you need to do you’ll be able to get a great finish around windows and into the recess for a pro standard job. ‘The key is to take your time and make sure you’ve got the right tools to hand,’ says Jason Hines, Trading Director for Decorative, Homebase .
Get savvy about how to wallpaper round a window with our step-by-step guide. All you need to do is scroll down.
- Find all the best wallpaper ideas to inspire your look.
How to wallpaper around a window
You will need:
- Dust sheets
- Stepladder
- Bucket of water
- Paper-hanging brush
- Pasting table
- Tape measure
- Plumb line or spirit level
- Wallpaper scissors
- Sponge
- Wallpaper
- Wallpaper paste
- Seam roller
- Need to remove wallpaper too? DIY.
1. Start with the walls
Wondering if you should wallpaper walls or windows first? The answer is to start with the walls. The first length of wallpaper in a room should be hung on the wall next to the wall with the main window.
And do you wallpaper towards or away from the window? ‘When hanging wallpaper, it is best to work away from the window,’ says Chris Moorhouse, Category Director for Timber, Building, Décor and Garden at Wickes . ‘This is so that paper edges do not cast a shadow if they overlap slightly. It’s always best to start in the direction based on your dominant hand, that is if you’re left-handed, start on the left side of the window.
‘Another top tip would be to avoid hanging harrow strips against the windows to ensure these edge pieces do not peel away over time.’
- DIY: painting windows.
2. Overlap the window frame
As you reach a window recess, hang a full length drop of wallpaper overlapping the opening.
Bear in mind that you might need someone to help support the weight of the pasted paper at this stage.
- See more on painting molding and trim in our guide.
Using the scissors, make a horizontal cut level with the top edge of the recess. Make a parallel cut level with top of the windowsill. These cuts will allow the wallpaper to cover the side of the recess.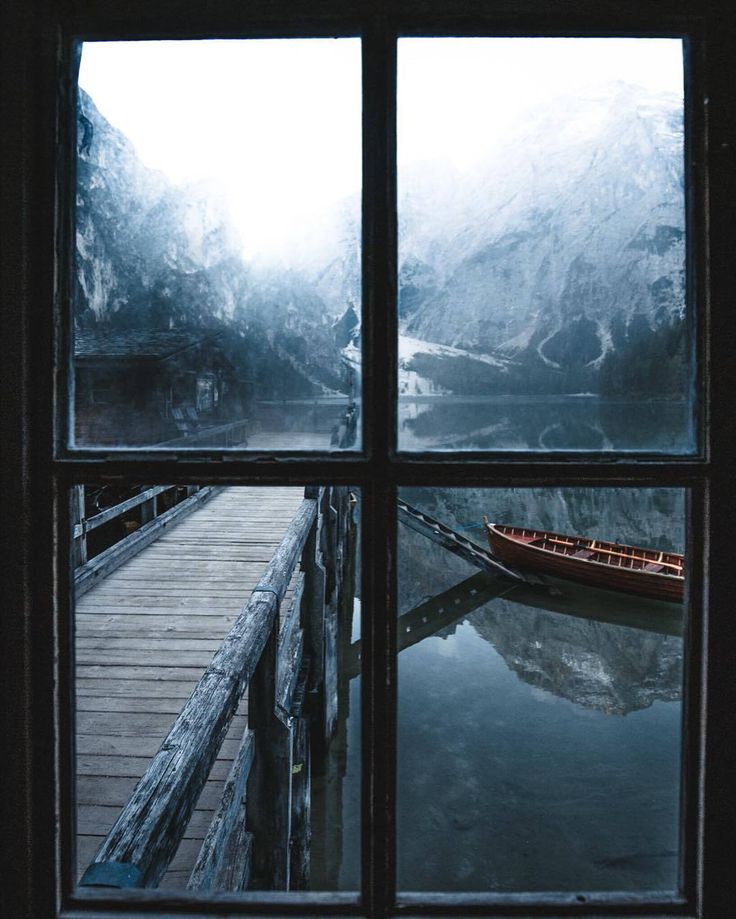
A cut out for the windowsill will also be required. It can be helpful to press the wallpaper against the sill to make its outline in the paper, the pull it away from the sill to cut.
4. Smooth the wallpaper into the reveal
If there is sufficient wallpaper to fit the depth of reveal, crease it around the corner using a paper-hanging brush.
Not enough paper to reach the window frame? Cut and paste a wallpaper strip that’s a bit wider than the gap and hang it on the side of the reveal. If your wallpaper is patterned, take care to match the pattern.
(Image credit: Getty Images)
5. Trim the wallpaper
Run the scissors along the crease to create a cutting line. Gently peel back the wallpaper and trim to fit. Use the brush to smooth the paper into place.
6. Work from the top of the wall
Cut a piece of wallpaper large enough to extend from the ceiling above the window to the window and into the recess as far as the window frame, allowing some extra for trimming.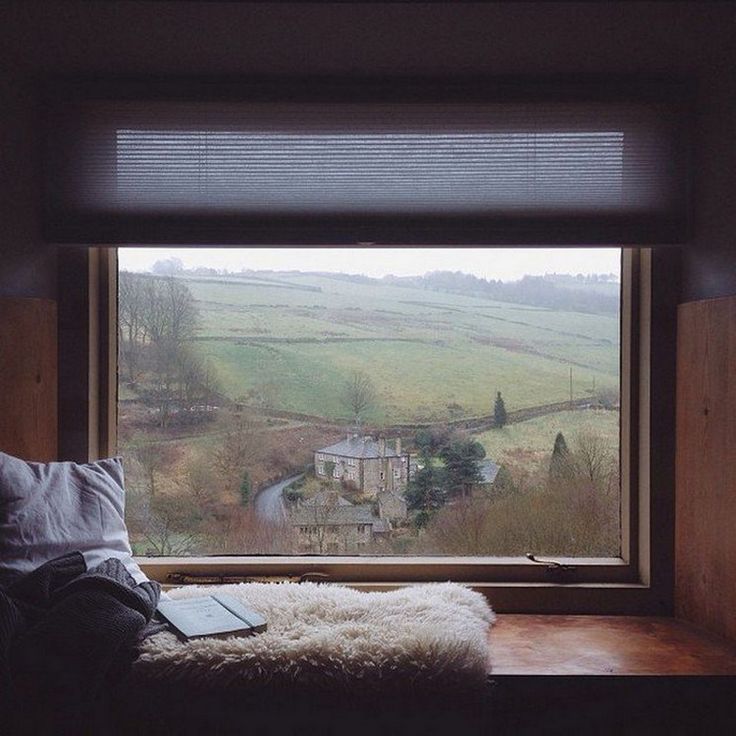
Hang this next to the previous strip of wallpaper and use the brush to smooth it into the window recess. Trim at the ceiling level and at the top of the window frame. Repeat as necessary above the window.
- Decor inspo: Living room wallpaper ideas.
7. Wallpaper under the windowsill
Measure from the top of the baseboard to the windowsill and add an extra 2 inches (50mm) for trimming. Cut the strips of wallpaper to this length to cover the area below the window.
Hang the wallpaper below the window, matching patterns if required.
8. Neaten the top corners
Cut the full length drops of wallpaper on either side of the window so they fit under the top of the window opening. It’s worth cutting and pasting these first before finally pasting the lengths of wallpaper in the sides of the reveal for a neat finish.
- DIY: painting doors to get the job done before you start wallpapering.

Pro tip: ‘Pre-cutting your strips of wallpaper will really help when you’re wallpapering around a window,’ says Chris Moorhouse. ‘Measure the space around the window before you start, adding an extra 4 to 6 inches (10 to 15cm), for overhang. When finished, feel for the corner of the window frame and mark it with a pencil, then cut straight across the top and bottom so it’s easy to fold and paste the flap into the window reveal or ledge if there is one.’
Neat edges all around.
an expert step by step |
Our guide on how to wallpaper around a window will help you master this fiddly maneuver with ease so that you get the smart finish you want, whether you are DIYing or asking someone else to do the job for you.
While you may have graduated from removing wallpaper to the basics of how to wallpaper an uninterrupted wall, our guide is designed to take those skills up a level to wallpapering a full room.
Once you have learned how to wallpaper around a window, you’ll be able to get so much more creative with wallpaper ideas. Furthermore, wallpapering around doorways, fireplaces and even into alcoves is a very similar process, so those new skills can be applied to other wallpapering challenges.
How to wallpaper around a window
(Image credit: Penny Morrison/Mike Garlick)
Professional decorators will likely use a far more complex technique involving splicing and overlapping – our version is pared back for keen DIY-ers, but the results are top rate.
Measuring for wallpaper accurately is crucial then make the type of wallpaper you buy your number one priority. If this is your first attempt at wallpapering around a window, we’d recommend buying paste-the-wall wallpaper, not paste-the-paper.
‘Applying paste to the wall is the best approach as it prevents the wallpaper from being weakened with moisture or incurring any accidental fold marks. Applying paste to the wall also eradicates the need for large surface spaces or a wallpapering table to apply the paste to flat rolls of wallpaper,’ explains Emma Coles, Senior Stylist at Sanderson Design Group .
The step-by-step guide below will demonstrate just how easy it is to wallpaper around a window.
You will need:
- Dust sheets/drop cloths
- Steps
- Paperhanging brush
- Tape measure or steel rule
- Pencil
- Plumb bob and line or laser level
- Sharp scissors
- Cutting knife with snap-off blades
- Trim edge/straight edge
- Seam roller (optional)
- Paste bucket
- Water bucket with sponge (for cleaning off any stray paste)
- Paste brush or roller
1. Find the perfect starting point
Establishing the best place to apply your first strip is one of the key wallpapering tips. ‘When wallpapering around a window you need to ensure you hang the paper with enough overlap left to wrap into the recess,’ says James Greenwood, Paint & Wallpaper expert at Graham & Brown . ‘If your window is a particular focal point of the room, then it will be easiest to start here, working from the left to right of the window. ’
’
Wallpapering away from the natural light coming through a window will also help reduce the visibility of any minor overlaps between subsequent strips of wallpaper. ‘As most rooms are not perfectly square, there will be a pattern mismatch somewhere. Think about the best place to lose the pattern, most times it is behind a door,’ adds Gareth Hayfield, Head of Research and Technical Development at Farrow & Ball .
2. Overlap the window
Use the width of your wallpaper and a tape measure to find the best position in relation to the window for your first drop. For example, if your wallpaper is 20in wide and your window recess is 8in deep, you should hang your first piece around 4 to 5in to the left of the window, allowing an inch or so tolerance for trimming at the window frame. Increase the trimming tolerance if your window recesses/walls are particularly uneven, in a period cottage for instance.
Then use a plumb bob and line or laser level to mark where your first panel of wallpaper will go. Cut this first panel at least six inches longer than the height of the wall to avoid manhandling excessive amounts of wallpaper.
Lightly paste the wall and into the window recess, overlapping with paste by about 13⁄16 in on either side of where the wallpaper should go. Then line up your first panel of wallpaper and slide it onto the wall, using your hands and a wallpaper brush to smooth out any creases or air bubbles.
3. Make your first cuts
This first wallpaper panel should be overhanging your window recess by about 8.5in. Feel through the paper to find the corner of the recess at the top and made a light indent. Take your sharp scissors and cut horizontally from the right edge of the paper to this indent in alignment with the top of the window recess. Do the same at the bottom. Your overhang should then fold right into the window recess, butting up to the window frame. Again, gently smooth out any creases or air bubbles.
Next, grab your straight edge and cutting knife and use it to trim vertically where the wallpaper meets window frame.
‘The secret is a straight edge and a very sharp blade. I use Olfa Japanese blades as they are sharp enough to cut through wet paper without buckling or tearing it,’ says Gareth Hayfield, Head of Research and Technical Development at Farrow & Ball .
If the window sill protrudes from the wall below the window, you may also need to cut out a thin rectangle so the wallpaper fits snugly around it. It helps to press the wallpaper against the sill to make an outline in the paper that you can use as a guide when cutting.
Finally, trim your first wallpaper panel at the top and bottom of the wall. Use your straight edge and cutting blade to trim off the excess. Some people prefer to use the back of their scissors to gently score a line at the point where wall meets ceiling or cornice (or skirting board at the bottom) then gently pull back the paper before cutting across the scored line with scissors. Use the brush to smooth the wallpaper back into place.
4. Continue with your next panels
Cut your next piece of wallpaper – which will go to the right of the first panel, above your window. Make it long enough to span from the ceiling above the window, to the top of the window recess and then into the recess, again allowing a little extra tolerance for trimming at both top and bottom.
Take care to ensure the pattern on this second panel aligns with the pattern on the first panel before you cut it from the roll. Hang the panel, butting neatly up to the first panel to the left, above the window, trimming at the top and where the paper meets the window frame. Use a seam roller, if you have one, to ensure secure adhesion where the panels join.
Carry on in the same manner below the window sill, again matching up patterns, and repeat until you reach the other end of your window recess.
5. Complete the window
With luck, the last panel to go into the right-hand window recess will have enough overhang to fold right into the recess in the same way as you did on the left. If not, simply cut a wallpaper strip a little wider than the gap you need to fill, matching the pattern, paste it on and trim any excess.
Now you have finished wallpapering around the window, you can continue with full length panels until you meet your next obstacle! ‘Before you install any curtain poles or blinds, make sure the wallpaper is completely set and dry. Allow at least a day, ideally two, otherwise you may risk the wallpaper ripping,’ says Jamie Watkins, founder of Divine Savages .
How do I wallpaper into a deep window reveal?
‘Wallpapering into a deep window reveal can often be daunting to those who are working with wallpaper for the first time. However, it isn’t as difficult as it initially appears. Simply measure a roll of wallpaper to understand where it will meet the reveal. Note, this may change where the wallpaper is hung from to begin with,’ says Emma Coles, Senior Stylist at Sanderson Design Group.
‘Once the first sheet has been laid, the second sheet should be placed alongside it to match up the pattern. When the paper has been smoothed out, the wallpaper can be cut with a sharp knife at the top portion of the window frame edge. On the edges of the reveal, the wallpaper should be cut at the top corners before being folded inwards so that the pattern continues into the window reveal.’
How easy it is to wallpaper around a window?
If you can wallpaper a wall, then you can definitely wallpaper around a window as well as learning to wallpaper a corner. If you have never wallpapered before, we’d recommend practicing on a wall without windows first; a feature wall is ideal.
‘Wallpapering around a window just takes patience, and the right tools. A sharp craft knife with plenty of snap-off blades is essential and will allow you to cut neat lines without tearing the paper. We also like to use a smoothing trim guide tool when hanging our wallpapers to achieve professional cuts into the window recess,’ says Jamie Watkins, founder of Divine Savages.
Take your time and don’t rush the project. It helps to buy plenty of wallpaper (and don't go too expensive) so if you get a cut or pattern match majorly wrong, you can pull it off and try again.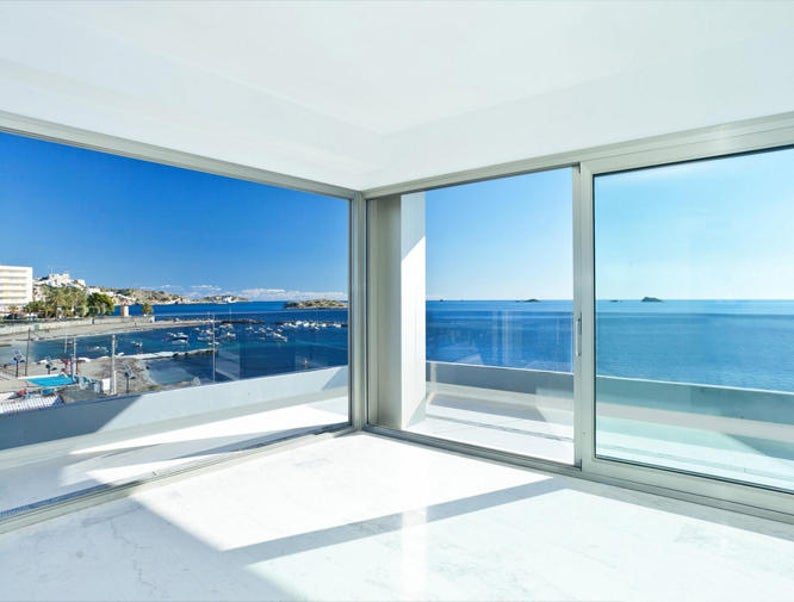 There’s nothing more stressful than not having enough spare wallpaper to accommodate rookie errors.
How to glue wallpaper near the window, where to start gluing, how to mark and cut canvases
Home » Wallpapering
Many people make a mistake when calculating how much wallpaper is needed for gluing walls. Do not take into account the area around the window. And it should be pasted over with high quality. And look no worse than other sites.
Contents
- How to calculate and cut wallpaper
- Where to start hanging wallpaper: from the window or towards the window
- How to hang wallpaper near the window opening
- How to stick wallpaper around a window sill
- How to stick canvases above a window
- How to stick wallpaper if the window is in a niche
- How to avoid mistakes when hanging wallpaper near a window
How to calculate and cut the wallpaper manufacturer
about the parameters of the wallpaper product.
| Size type | Web width, cm | Roll length, m |
|---|---|---|
| Standard | 53 | 10.5 | increased width or length | 106 | 10.5 |
Calculation is made in the following order:
- First calculate the number of lanes in the roll, its collapses in the roll. length to ceiling height. For 2.5 meters it is 4; for three meters - 3.
- Determine the number of long stripes.
- Alternately mark 53 or 106 cm on the wall (starting from the window). With a pencil, make marks in the form of small vertical lines.
- The last distance to the casing may be less than the web width. Add to the total number you need a whole strip / sheet.
- At least one more sheet is needed to cover the space above/below a standard size window. Pieces of the desired length will be cut off from it.
- We calculate how many sheets are needed in total.

- The number of rolls is calculated by dividing the total amount of all strips by 4 (if the wall is 2.5 m high) or by 3 (for a three-meter one).
Cutting for the window area is performed in the following order.
- Cut two long sheets. Leave one intact.
- On the second place the previously measured distance from the last sheet to the casing. Draw a vertical line.
- In the upper part, at a distance equal to the height from the ceiling to the window opening, draw a perpendicular to the vertical markings.
- Do the same at the bottom.
- Cut the gap between the two perpendiculars, adding 15-20 mm for the allowance.
- Cut pieces for areas above and below the glazed area.
Where to start gluing the wallpaper: from the window or towards the window
The direction is chosen depending on the type of wallpaper and sticker technology.
- When using paper sheets, it is better to start from the window, moving from left to right.
 They are connected "overlapped". So the butt seam is less noticeable. It is easier to form a vertical.
 - Cloths of higher density (vinyl, non-woven) are glued end-to-end. A door, a large piece of furniture, a corner is used as a guide. Move from the landmark to the window opening.
How to hang wallpaper near a window opening
- Mark on the prepared sheet the gap from the window to the ceiling and the height of the opening. Add 25 mm.
- Fix it to the wall surface with a 25 mm overhang.
- Cut along the marked lines: above the window, to the edge of the window sill, below it. Press the panel against the wall, pressing its cut edge with a spatula under the casing on the side.
- Cut off the allowance with a utility knife. Leave a strip equal to the thickness of the window sill.
- Similar actions are performed on the opposite side, combining the pattern with the fragments on the already glued strip.
How to glue around the window sill
Cut the remaining strip to the side edge of the window sill. Fill under it with a narrow spatula. Press down. Remove excess.
How to glue the curtains over the window
You can use trim pieces of a suitable size. Or cut 2 pieces of the desired length from the roll. This must be done taking into account the displacement of the pattern rapports.
- First fix the full piece in a strictly vertical position, matching the pattern.
- From the second cut out a strip along the width of the remaining non-pasted area.
- Carefully fasten it, trying to make the joint inconspicuous.
The wall under the window sill is glued in the same way.
How to hang wallpaper if the window is in a niche
Using the following methods.
| Gluing method | Procedure |
|---|---|
| With precut strips | 1. Cut a strip with a width equal to the distance from the last glued panel to the niche + an allowance of 1.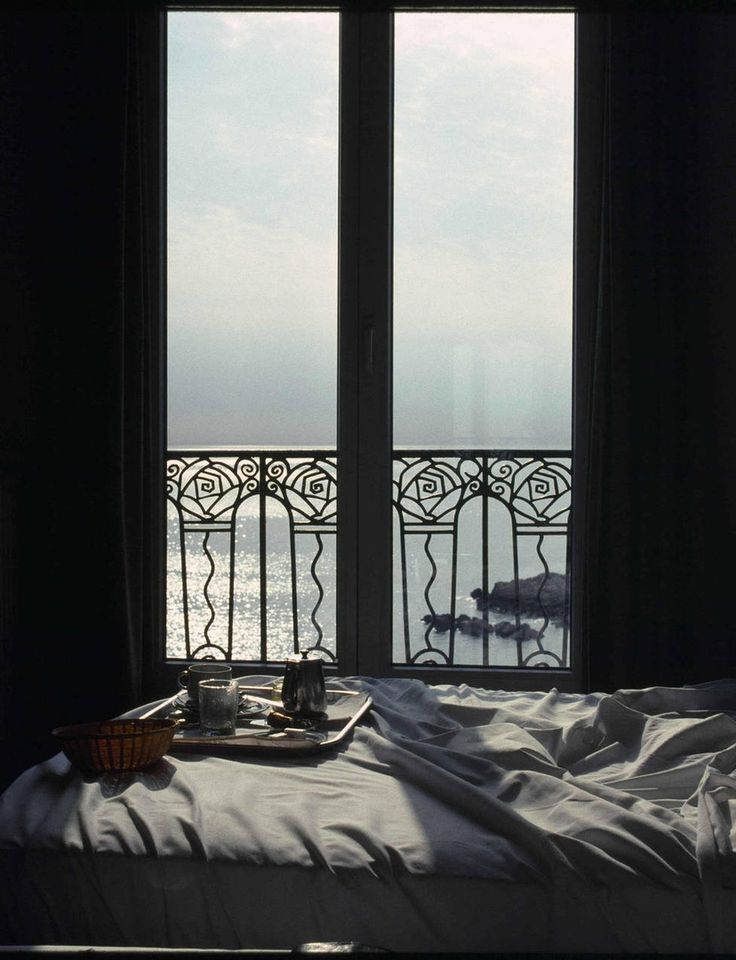 5-2 cm. Cut the same strip for the opposite side; 5-2 cm. Cut the same strip for the opposite side; 2. Attach to wall; 3. From above, measure the gap from the ceiling to the upper border and make a horizontal cut of 2.5 cm. Cut in the same way at the level of the lower border; 4. Fix by carefully smoothing out the allowance strip above and below the niche, bending in the middle part onto the sidewall; 5. Cut out 2 strips for the sides, one for the top and one for the bottom, first measuring their dimensions. Do not forget about the allowance; 6. Finish first the top, then the sides and lastly the bottom, fixing the sheets using the "overlap" technology. Remove overlaps with a sharp knife. |
| By gluing the full size sheet | 1. Attach the sheet to the wall, overlapping the niche; 2. Make a horizontal cut in the center of the free-hanging part, leaving it 15 mm away from the edge of the wall. From it, cut a strip parallel to the sidewall to the upper and lower borders with an allowance of 15 mm; 3.  Remove cut pieces; Remove cut pieces; 4. Carefully press the seam allowances to the bases, making diagonal cuts in the corners; 5. The inner surfaces are finished by analogy with the first method. |
How to avoid mistakes when wallpapering near a window
- Use quality glue. Prepare it strictly according to the instructions.
- Before gluing the next strip, make sure that the edge of the previous one is well attached to the wall.
- Cut off excess with a sharp knife.
- Thoroughly smooth the pasted fabrics with a wallpaper roller, wide spatula.
Methods of gluing - All about repair
In our new article you will learn how to wallpaper around windows and doors by yourself. Do not try to pre-cut wallpaper panels to fit them to the size of windows and doors. Stick the entire wallpaper directly over the trim, then smooth it out before trimming the edges along the door or window. Make diagonal cuts to fit the wallpaper to sharp corners. To prevent damage to wooden structures when making diagonal cuts, use scissors, but not a knife with replaceable blades.
If short strips of wallpaper are to be pasted directly above and below the opening, make sure they hang vertically and that the pattern on them matches the pattern on the next whole panel.
- Stick the panel on the wall so that it goes over the window trim. Butt it to the edge of the pasted wallpaper panel.
- Brush flat areas of wallpaper. Firmly press the panel to the casing.
- Make a diagonal cut with scissors from the edge of the panel to the corner of the casing. If the wallpaper is glued around the window, then make exactly the same cut in the lower corner.
- Trim the excess wallpaper around the trim with scissors, leaving an allowance of about 2.5 cm. Smooth out the panel and squeeze out any air bubbles.
- Press the wallpaper against the architraves with a wide spatula and cut off the excess with a sharp wallpaper knife.
 Trim the allowances at the ceiling and at the cactus. Wipe the wallpaper and trim with a damp sponge.
- Cut short pieces to cover the area above and below the window. You can find suitable cuts. Glue small pieces of panels strictly vertically so that their pattern matches the next whole panel of wallpaper.
How to wallpaper around windows and doors
- Cut and prepare the next whole piece of wallpaper. Hang it on the wall and butt it with the edge of the previously glued panel so that the pattern matches.
- Paper wallpapering read here
- Use scissors to make diagonal cuts from the edge of the panel to the top and bottom corners of the trim. Trim excess panels around the window or door trim, leaving an allowance of approx. 2.5 cm.
- Butt the bottom half of the panel to the edge of the previously glued panel. Cut off the excess with scissors, leaving an allowance of about 2.
 5 cm. Smooth out the wallpaper with a brush.
 - Press the wallpaper against the architraves with a wide spatula and cut off the excess with a sharp wallpaper knife. Trim the left allowances at the ceiling and at the baseboard. Wipe the wallpaper and trim with a damp sponge
How to wallpaper around a window in a niche
- Paste the wallpaper panels so that they cover the niche. Smooth out the wallpaper and cut off the excess at the baseboard and ceiling. To tuck up the wallpaper for pasting the top and bottom of a niche, make a horizontal cut in the middle, without bringing it to the wall by about 1.5 cm.
- From the end of the horizontal cut (step 1), make vertical cuts to the top and bottom of the niche. Make small diagonal cuts to the corners of the niche.
- Turn over the top and bottom cut edges and glue them to the niche surface. Smooth out the wallpaper and cut it off at the trailing edge.
 Fold the wallpaper along the vertical edge of the niche. If necessary, paste wallpaper around the window.
- Measure, cut and prepare a piece of wallpaper that fits the size and pattern to be pasted on the side of the niche. The piece for the side surface should slightly extend over the top and bottom of the niche and over the folded vertical edge. Use vinyl-to-vinyl adhesive to join overlapping seam allowances.
Methods for wallpapering pipes, radiators with heating fittings
When wallpapering places near sinks, pipes and other obstacles, it is necessary to cut the wallpaper. Glue the wallpaper panel so that the patterns match, and make a cut from the edge closest to the armature.
If possible, guide the cut along the lines of the patterns so that it is not visible. At the end of the cut, cut a hole that will match the size of the rebar.
How to hang wallpaper around a pipe
- Dock the masking pipe flange from the wall.
 Stick the panel on the wall so that the pattern matches the previously pasted wallpaper. From the nearest edge of the wallpaper, make a cut to the pipe.
- Smooth the wallpaper down to the pipe with the brush.
- Cut a hole at the end of the cut so that the wallpaper fits around the pipe. Bring the edges of the incision together and smooth them with a brush.
How to wallpaper around a wall-mounted sink
- Brush the panel up to the edge of the sink. Make horizontal cuts in the wallpaper, leaving an allowance of about 0.5 cm at the top and bottom of the shell.
- Trim the wallpaper around the side of the sink, leaving a small allowance.
- Smooth out the wallpaper. If possible, fill the remaining allowances in the gap between the sink and the wall, or cut them off.
How to hang wallpaper behind a radiator
- Straighten the uncut panel and hang it on the wall.
Learn more