Wallpaper feature wall tips
How to wallpaper a feature wall – which wall to paper, expert advice how
Ideal Home Newsletter
The Home Of Great Ideas For More Than 100 Years
Thank you for signing up to . You will receive a verification email shortly.
There was a problem. Please refresh the page and try again.
By submitting your information you agree to the Terms & Conditions and Privacy Policy and are aged 16 or over.Feature walls are still very much a thing, considered an ideal way to invigorate a room without too much time or money. Feature walls also give you the opportunity to embrace pattern which you might otherwise avoid, for fear of overpowering the decor.
If you’re looking for an easy DIY and decorating project to refresh your home, wallpapering an accent wall in your dining room or bedroom, or adding feature living room wallpaper ideas to your space could be just what your space needs to take it from drab to fab.
Jody Hudson, Stylist and James Hughes, In-House Decorator at Graham & Brown shares their step-by-step guide on how to wallpaper a feature wall. Use this simple advice, and reinvigorating your room should be a breeze…
How to wallpaper a feature wall
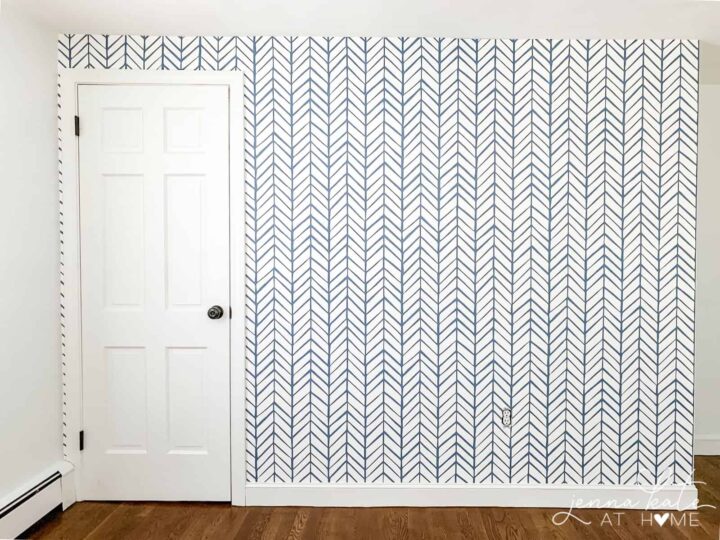
(Image credit: Graham & Brown)
1. Prepare your wall
Preparing your walls for wallpapering is quick, easy and essential. First start by removing any grease, dust or dirt with a damp sponge, and fill in any small cracks with filler. For really troublesome walls, think about applying a lining paper first, to get a smooth base.
2. Draw a plumb line
Start by drawing a plumb line (a vertical straight line from which you will hang the first drop of wallpaper against) about 50cm from the left-hand corner of the wall you are about to paper.
3. Paste the wall
Apply wallpaper paste directly to your wall with a paint roller or wide brush. Paste over the plumb line and at least 2cm wider than the width of the wallpaper.
Use a slim paint brush to add paste at the top of the wall, around sockets and just above the skirting, to avoid the wallpaper lifting when dry.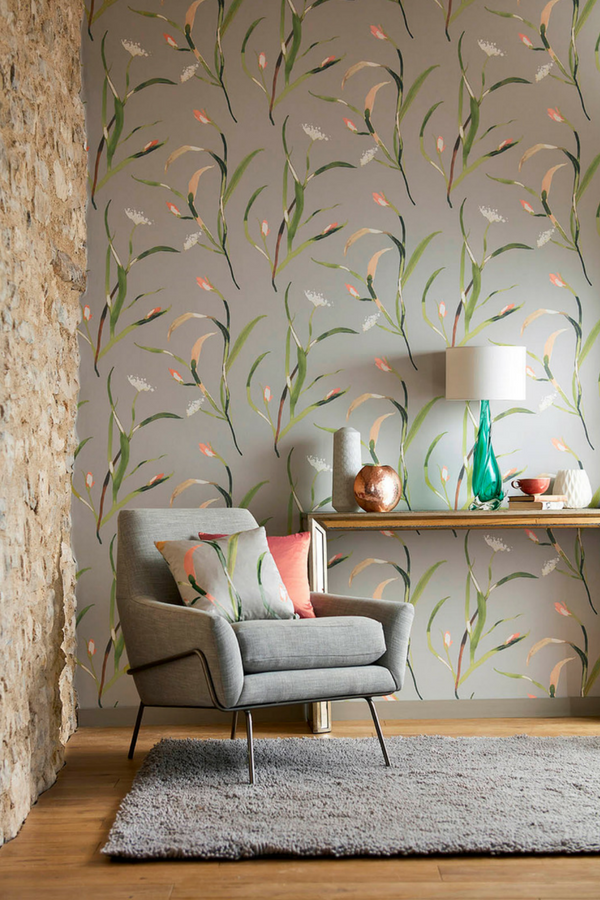
(Image credit: Graham & Brown)
4. Hang your paper
The wallpaper can then by hung, straight from the roll, using a clean, dry paint brush to smooth it into place, allowing 2-3cm extra at the top and bottom. The wet waste will allow you to wiggle the paper into the right spot, lining it up with the plumb line, then starting at the centre, brush out any lumps or air bubbles to the side.
5. Trim your wallpaper
Once smooth, cut the excess paper at the top and bottom with sharp scissors or a craft knife.
6. Move to the next drop
For the second drop, check that your design fits together along the edges of the wallpaper. Starting at the top, match the paper as your hang it from the roll, lightly brushing the paper to the wall as you go- the paper will slide into place on the paste.
When you get to the bottom of the wall, double-check that the pattern matches and there are no gaps- loosely pulling back the paper and brushing it back down if there are any bubbles- the paper is pretty forgiving!
7.
 Repeat until the wall is covered
Repeat until you have covered your wall and use a damp cloth to remove any paste that may have oozed out onto the paper.
So which walls in your home will your be transforming this weekend?
Which wall should be a feature wall?
(Image credit: Graham & Brown)
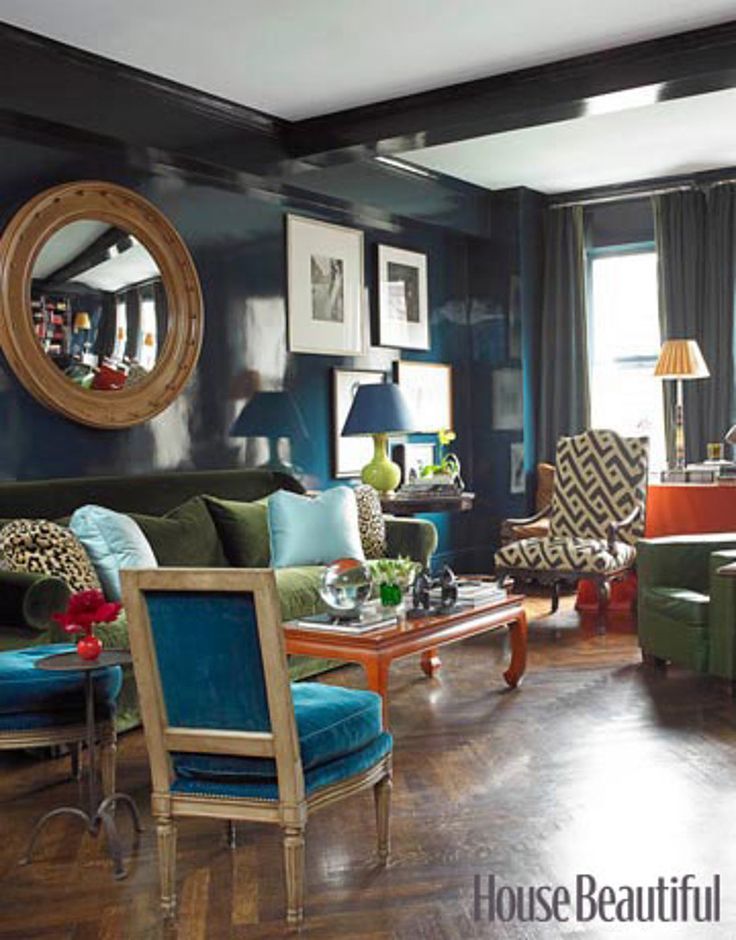
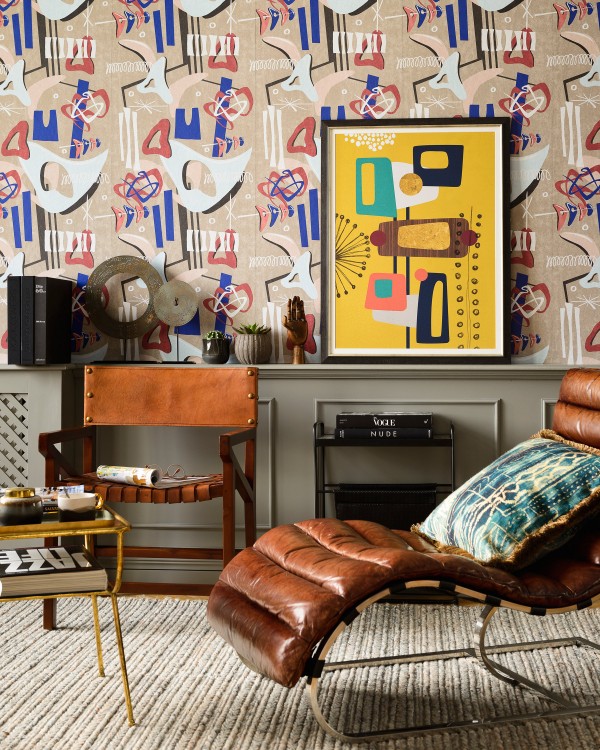
A feature wall can define a space so choose your wall wisely. They’re a brilliant way to highlight existing architectural features or zone the space in an open plan home. Chimney breasts and walls behind headboards make for interesting focal points.
What colours should the other walls be?
Adding a feature wall can be a great way to inject colour and pattern into your home, but the whole room doesn’t have to be bold and bright to make a statement.
Graham & Brown pairs each of their wallpapers with four co-ordinating paint shades, so you choose to match with a more neutral hue to give your room soothing balance.
Holly Walsh has been Content Editor at Ideal Home since 2021, but joined the brand back in 2015. With a background of studies in Interior Design, her career in interior journalism was a no-brainer and her passion for decorating homes is still as strong as it ever was. While Holly has written for most of the home titles at Future, including Livingetc, Country Homes & Interiors, Homes and Gardens and Style at Home, Ideal Home has always been her ideal home, and she can be found sharing her expertise and advice across both the printed magazine and the website too.
How To Wallpaper A Feature Wall -
Related blog posts:
–LITTLE GIRLS BEDROOM
–SOPHISTICATED LITTLE GIRLS BEDROOM REFRESH
All products featured in this post are in my Amazon Store!
I’ve been casually thinking about how to spruce up my daughters room for over 6 months now. I love the impact a feature wall can bring to a space but nothing I could think of really jumped out at me until a few weeks ago!
I came across this wallpaper from A-Street Prints and fell in love with the subtle texture and neutral but playful color. I knew I wanted to use it… but then comes the question of how. The full room? Trim halfway up and wallpaper the top? One full wall? Just the ceiling? The possibilities of how to use wallpaper as a statement are endless.
Originally, I thought I would do box molding as I talked about in this post. Once I started laying out the dimensions, I ultimately ended up using 1×4 trim and cove moulding to create dimension and a little interest. I couldn’t be happier with how it turned out and am here to give you a step by step of how I did it!
Where we started…
This was my son’s nursery and I had some really cute peel and stick vinyl wallpaper complimented with a soft grey-green. Note: I chose not to paint over this before starting because this wallpaper was very thick, but I would check to see if anything would show through before deciding not to paint.
Deciding Where to Start.
My recommendation is to start in the center of the wall if you are doing a single feature wall.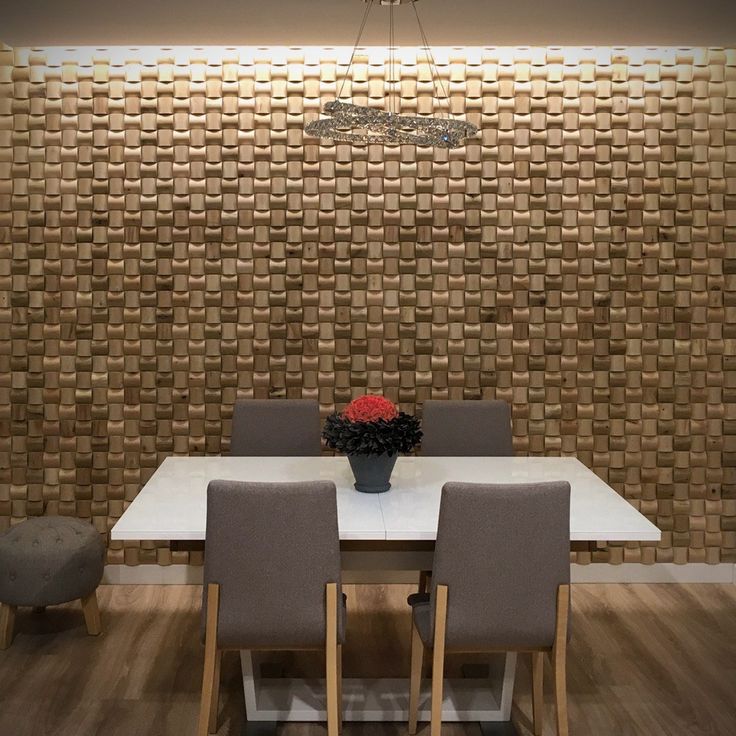 If you were wallpapering an entire room, you would want to start in an inconspicuous corner.
I found the middle of the wall and made plum lines where the edges of the first piece of wallpaper would hit. This will serve as a guide to make sure your first piece is completely straight. All your other pieces will line up based on this first strip, so make sure it’s straight!
This wallpaper is unpasted so you will need a wallpaper adhesive to apply to the wall. I’ll include a full list of supplies in my Amazon shop! Some wallpaper will come pasted so make sure and check which kind of wallpaper you buy. I will also note that this wallpaper has the most beautiful texture which really added to the final result. This was by far one of the best quality wallpapers I have ever used.
I used a 3/8″ nap roller to roll it on the wall… being careful to only apply it to the area where the strip would go. The instructions called for it to only be applied to the wall, but I chose to apply it to both the wall and the back of the paper.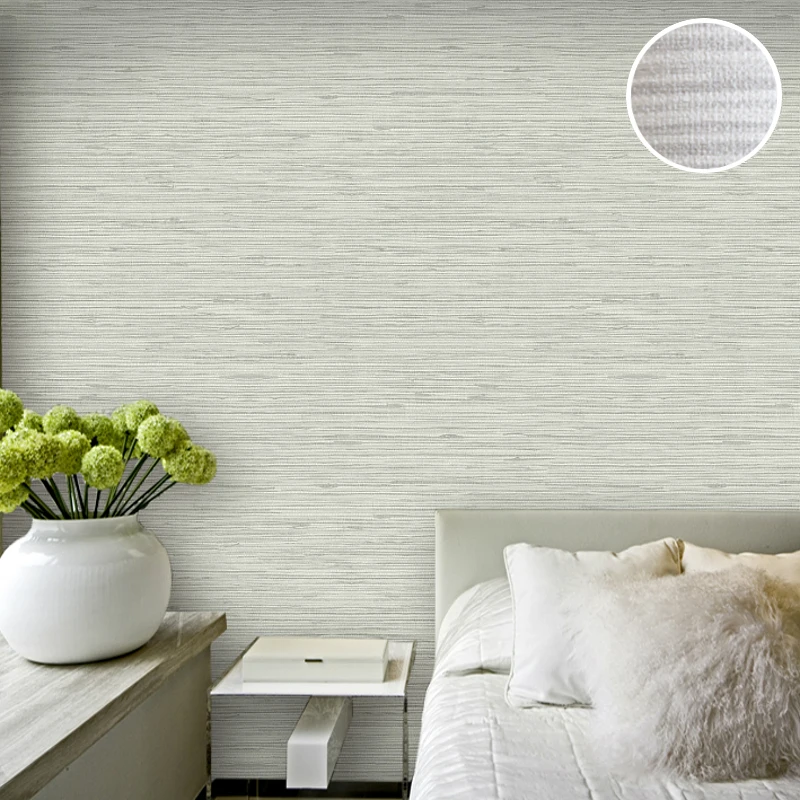 I found the paper to slide better and allow me to get perfect seams. The edges of the paper are very important to make sure you have enough adhesive on!
You can also use a brush for tight areas or along eges.
I use a large framing square to make all of my cuts. If you have a big table, you can use a utility knife. I found that making a clean pencil mark and using scissors worked just fine.
This post is specifically showing how to wallpaper a feature wall with trim – so it was not necessary to have exact edges. I knew there would be trim covering those areas. I also skipped an inch (see below pic) strictly to save myself from having to open another roll. Trim would be covering it so it wasn’t a big deal but it does look a little funny here!
My trick for getting wallpaper to line up is to go from the seams and work down and out. The paste allows you to move it quite a bit before it dries. I can slide it around pretty easily until I get the seams lined up perfectly! I mainly use my hands to smooth it out and then will use a wallpaper brush to really get a firm adhesion.
I also take the time after each strip to take a very lightly damp rag and wipe off the seams as there is most likely glue that has escaped.
After the full wall received the wallpaper treatment, it was time for the trim! I used 1×4 select pine and started with the bottom and top. I used 12′ boards so I didn’t have to have a seam. I wanted to beef up the bottom so I used a piece of base cap to place on top of my trim before adding the 1×4. \ This trick will work regardless of the type of baseboard you have so that 3/4″ material will fit seamlessly against it!
I nailed each piece of trim in, trying to hit studs where I could. I used 2″ brad nails and a nail gun to make sure the nail went through the trim, drywall and potentially a stud.
At this point, you could paint and easily be done! I knew I wanted to add some dimension so I chose to add some cove moulding inside each box. First, I cut each piece to length, then I primed and painted each piece before installing since these pieces would fit tight against the wallpaper and I didn’t want to have to worry about painting the wallpaper!
I used DAP wood filler on all the seams and nail holes… sanding the seams smooth after it dried. I also caulked any corner as well as the space between the trim and wall with paintable latex caulk.
The cove moulding adds such a nice touch doesn’t it?
Almost done! I had a color matched to the wallpaper that was a paint and primer in one and painted all the trim, including the baseboard.
I really love this brush for trimwork!
This wall is full of character and I couldn’t be happier with how it transformed this room!
I already had most of the furnishings so I just brought everything back into the room and hung these new sconces right on the trim (Yes, this was planned!)
What do you think? Would you tackle a feature wall like this? Stay tuned for some finishing touches on the rest of her room!
SOURCES:
Rug
Ottomans
Bed
Sconces
Nightstands
Blanket
Decorative Pillows
Light Fixture
Nightstand hardware
Wallpaper
Tips for using paintable wallpaper
Unlike their unpainted counterparts, paintable wallpaper will let you forget once and for all what drywall or plaster on walls looks like.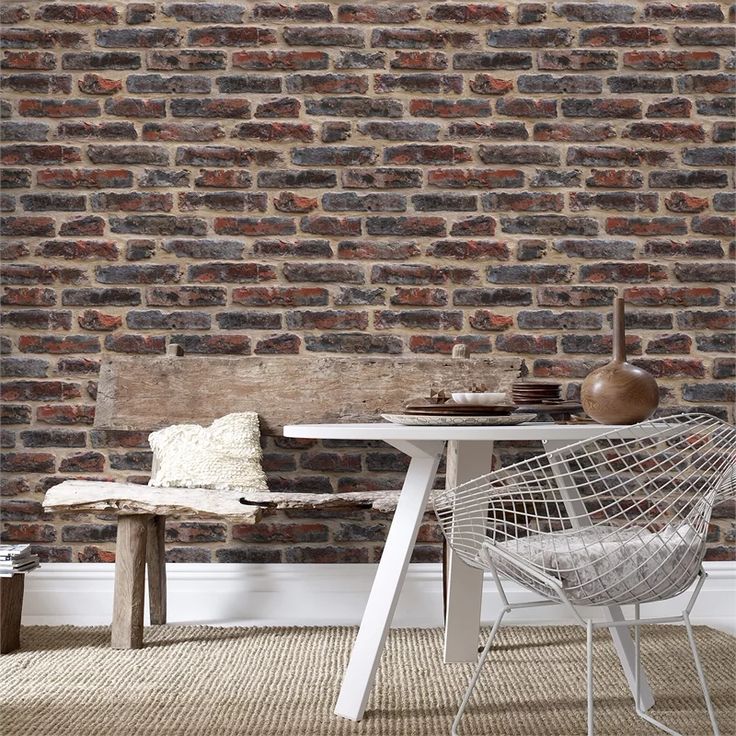
Unlike their unpainted counterparts, paintable canvases allow you to forget once and for all what drywall or plaster on the walls looks like. The second and all subsequent cosmetic repairs will only consist in changing or updating the tinting, which will save you from removing old wallpaper and priming the walls.
Paintable wallpaper classes
There are four types of such wallpaper:
- structured paper;
- non-woven;
- vinyl;
- fiberglass.
Let's consider each type in more detail.
Paper wallpapers
These are dense textured canvases in which the effect of three-dimensional texture is created by a special paint applied by a factory screen printing method. In most cases, after the final painting of the wallpaper, the patterns and compositions made on them resemble textured plaster.
Advice: If you want to mask the unevenness on the wall, choose two-layer paper sheets - the material is embossed in them only on the outer layer.
Acrylic, polyvinyl acetate or latex paint is suitable for painting wallpaper. Many experts prefer the latter type, believing that the paint does not weigh down the surface of the wall covering. However, if you need to save money, we recommend stopping at PVA.
Non-woven fabrics
Paintable non-woven wallpaper is an independent material for wall cladding. The chemical fibers in their composition make the wall covering more dense and prevent its shrinkage after sticking to the wall. Non-woven wallpaper in its pure form is often used for pasting ceilings. Traditional non-woven wallpapers are presented by the Marburg factory in the Patent Decor collection.
Both acrylic and latex paints are suitable for these wall coverings.
Vinyl products
Vinyl wallpapers are considered to be the strongest and most durable options for houses and apartments. The top layer of such canvases is more resistant to mechanical damage, pollution and fading. Modern production technologies make it possible to create imitations of stones, marble, decorative plaster, textiles and other natural materials on wallpaper. These wallpapers are featured in the Anti-Vandal collection by AS Creation.
Use acrylic for painting paper based wall coverings. If the base of the canvases is non-woven, latex is also suitable for you.
Glass cloth wallpaper
The last class, glass cloth wallpaper, is mainly used for wall decoration in office and commercial areas. Glass fibers protect the surface of the fabric from deformation, fading and moisture. These paintable wallpapers have not yet gained popularity in decorating the interior of private homes.
Advice: if the room where you plan to stick the wallpaper is not intended for the accumulation of a large number of people and is not characterized by high traffic (hotel room, reception, corridor), we recommend choosing the first two options.If there are animals in your house, we advise you to stop at vinyl products. And in rooms with frequent crowds of people, it is better to glue fiberglass cloths.
How to use quartz wallpaper for painting
Quartz coating on wallpaper is gaining popularity every year among those who have planned repairs. Features of such canvases:
- absolute incombustibility and harmlessness;
- resistance to abrasion, mechanical damage, scratches and fading;
- the possibility of additional decoration of the canvas with rhinestones, stones, beads;
- ability to mask uneven walls.
The edges of the wallpaper are joined end-to-end; when the work is completed, the connecting seams are not visible.
This type of wallpaper cannot be cleaned with a wet sponge, but dirt can be removed with a brush, damp cloth or vacuum cleaner. The wallpaper is painted exclusively with latex paint. The number of attempts is not limited.
Wallpaper is good for living room, large hall, bedroom or commercial premises in modern styles: modern, hi-tech, art deco. It is also appropriate that the wallpaper will look in a classic style with appropriate coloring in beige, milky and olive tones.
Helpful hints: How to hang wallpaper correctly
Helpful hints: How to glue wallpaper correctlyx
- Catalog
- General building materials
- Dry building materials
- Dry mixtures and bulk materials
- Pilomaterials
- varnishes
- tools, protective equipment
- roof, siding, drainage system
- Electrics
- plumbing, heating
, oxen materials, decor - Floor coverings
- Ceramic tiles and decorative stone
- Home and garden goods
- Stoves for home and sauna
- Sawing/cutting
- Door installation
- Greenhouse assembly
- Payment information
CONTENT:
The pain that the hooligan Fedya felt in Shurik's Adventures when the wallpaper was pasted incorrectly forever drove him away from hack work. But how to glue in the style of Shurik, and not in the style of Fedi? Here are a few highlights.
 9 steps for correct wallpapering
With the right organization of the case, wallpapering does not take much time. To get things right, follow this guide.
- If you decide to line the walls with special paper or old newspapers, stick them on. If, after sticking the preparatory layer, there are protrusions under it (for example, debris got into the glue), tap on them with a hammer. If you decide to do without paper, then fill the bucket halfway with water, pour a little PVA glue into it and coat the walls with the resulting mixture (the second option is to cover the walls with a primer). Wait for complete drying. After such preparation, wallpaper paste adheres to the wall much better.
- Use a plumb line or spirit level to draw a vertical line on the wall so that the adhesive sheets are parallel to it. One line is enough for each wall, because you will glue the rest of the sheets, focusing on the first sheet on the wall.
- Measure the height of the wall and cut the required amount of wallpaper from the roll. In order not to shaman with a tape measure every time, make on the floor or on the table (depending on where you cut the wallpaper) a mark of the beginning and end of the segment, and check it already. The only thing to remember is not to cut everything at once. Because if the wall turns out to be uneven, which often happens in domestic houses, you will have to take up the scissors again.
- Apply glue to a piece of wallpaper. In order not to glue it in half during the process of raising the segment, grab the edge that will be the top one and pull it towards you until the entire segment is in your hands. You may need someone's help if you have high ceilings and you are not Uncle Styopa from the story of the same name. If there are no assistants, then the sheet will have to be folded in half with the adhesive side inward and attached to the wall in this form.
- Glue the first piece so that its left edge touches the corner and the top touches the ceiling.
 To make it easier, drive 1-2 centimeters to the ceiling and then cut off the excess (it is convenient to cut along a long spatula), getting the same even edge on all sheets. Use a knife with interchangeable blades for this. They will have to be changed often, as they will quickly become dull against the wall. Dull blades will tear rather than cut paper, so saving on them is definitely not worth it.
- Start ironing the sheet gradually starting from the ceiling. Do not apply it to the wall as a whole - in the process, you can break the segment. To avoid the appearance of air bubbles under the wallpaper, smooth from the center to the edges with something soft - a palm, a sponge, a cloth. Do not press hard, as this may damage the paper. If you still missed the bubble, pierce it with a needle and smooth the paper. Perhaps, after that, the wallpaper will wrinkle slightly - this is a punishment for your inattention.
- Don't worry if the glue is crooked - the glue does not set immediately, so the sheet can be moved along the wall or peeled off and glued again.
 If, when dry, the edges of the sheet begin to bend upwards, coat them with glue with a small brush additionally and glue them back. Wipe off excess glue that has fallen on the front side with a soft cloth or a slightly damp sponge.
 - If white stripes of the wallpaper are visible after pasting (for example, on the edges or on the reverse side), paint over them with a color that matches the color of the wallpaper. For example, markers.
- Don't throw away the scraps - they can come in handy when neighbors flood you or a child tears off a piece of wallpaper.
Peculiarities of stickers of different types of wallpaper
The nuances of pasting with different types of wallpaper differ depending on the surface to be pasted and the glue used. Below are four points to pay attention to.
- Not all adhesives are equally useful - for example, it will be problematic to glue vinyl or metallized wallpaper with paper wallpaper glue. Standard glue is not suitable for special wallpapers - vinyl, angalipt, textured, textile, silk, cork and so on.
 So use the right glue.
 - Pay attention to the information on the glue pack - some brands require a time for absorption after application. The time may depend on the type of wallpaper - for paper it takes more, for vinyl - less, and so on.
- Don't mix up what to apply where. For example, adhesive for non-woven wallpaper is applied to the wall before sticking, not to the wallpaper. Such a mixture can be colored so that you can see where it has already been applied and where it has not yet been applied (however, when it dries, it becomes colorless). So read the instructions before work, so as not to get into an unpleasant situation.
- The surface you will be wallpapering on (concrete, plaster, drywall, wood, plastic, metal, etc.) influences the choice of adhesive. Learn this before buying.
Helpful Hints
Finally, here are some tips to help you save time and money.
- In good light, inspect each roll carefully to make sure the colors are the same shade as the rest of the rolls.