Sloped flower beds
Raised Bed On A Slope: How To Do It Right
Table of Contents
Yards aren’t created equal. Some are beautifully flat and easy to work with, but others may be set on a sloped surface going either up or down. Without doing major terraforming, you’re stuck working with the landscape you’ve got. Thankfully, building a raised bed on a slope is an option, and there are multiple ways to do it!
Depending on how steep the grade is where you’d like to place your raised beds, different variations may be necessary. You’ll have to do some digging and leveling no matter what you do, but the rewards will be worth it.
So let’s cover all the essentials you’ll need to know to build your raised garden beds on a sloping surface. Gardening is possible no matter what your landscape looks like to start, and you’ll love being able to plant your garden every spring!
Do Raised Beds Need To Be Level?
Technically speaking, a raised bed does not absolutely need to be level. Plants grow on slopes naturally, after all! But a level raised bed can help with many different things.
In a level garden bed, watering will be easier. Applying water on a slope means the top is more likely to dry out before the bottom of the slope does. You want your bed to have an even distribution of soil moisture, so a level bed is best for that.
Similarly, nutrients dissolved in the water will flow to the lowest point. Having level beds ensures the even distribution of fertilizers and other amendments you add to your soil.
As rain hits a non-level raised bed, another thing can be unevenly distributed: your growing medium itself. You can end up with some rather severe erosion issues if you don’t level off your beds.
Finally, it’s a lot easier to work on a level surface. Gardening on a slope can be a bit of a challenge in the best of times, so when you have the option of leveling things out, you should take it! Your raised garden bed will perform better overall.
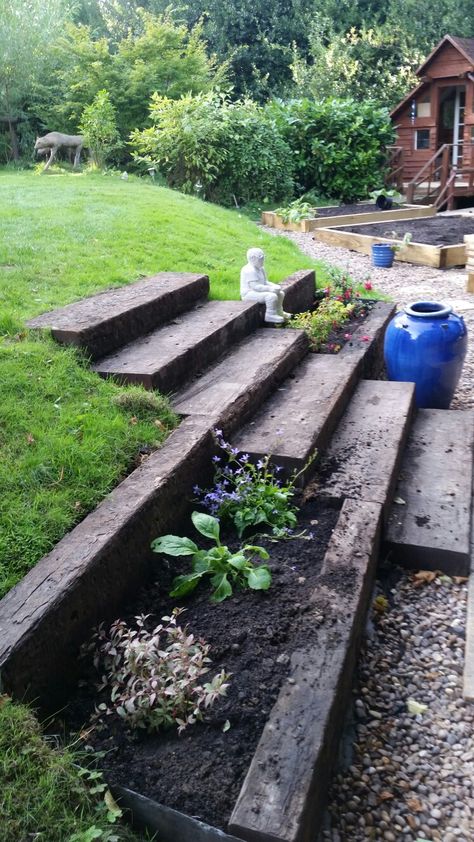
A homespun version of a terraced garden. Raised beds would be even better. Source: hardworkinghippyReinforcing A Steep Hillside
If your hill near where you’d like your beds to be is a steep slope, it can seem daunting to get everything set into motion.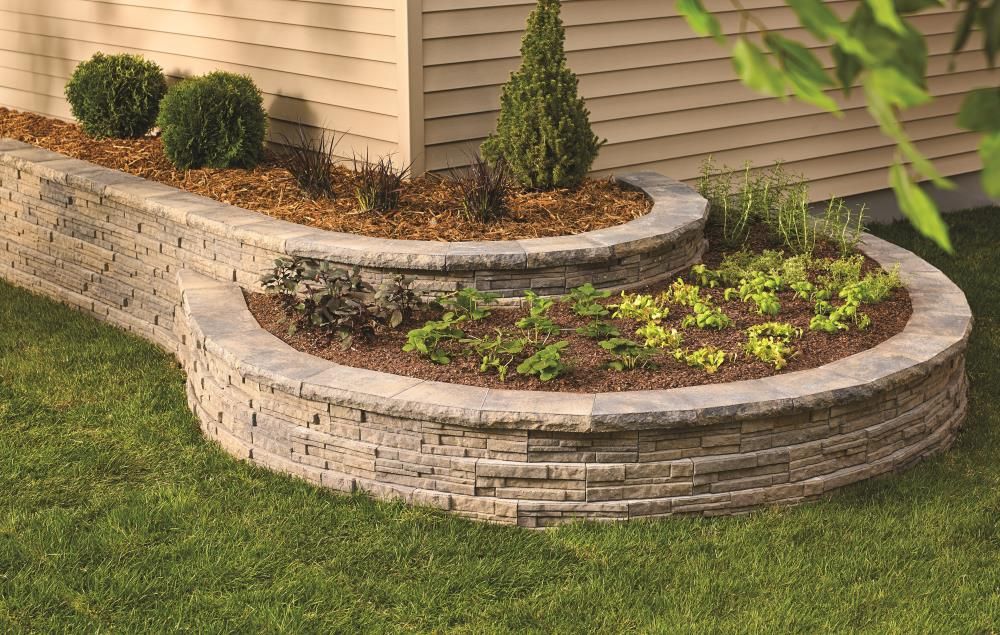 Since water flows downhill and carries dirt and debris with it, erosion could be a major factor with a heavily-sloped surface. Reinforcing your steeper hillsides will help you to protect your beds from damage as well as protecting the rest of your yard from flooding.
The easiest method of reinforcement is by building retaining walls or reinforcing fencing to hold back the hillside. This should be done during a time when rain is not likely to interrupt your work, as that way you don’t run the risk of erosion while halfway through your project!
You’ll need to carve out the side of the hill to make a level, stepped location for your raised beds. Leave enough room for both the raised bed and your intended reinforcement wall, plus additional room if you want to access the side of the bed closest to the reinforcement. You’ll likely need to remove quite a bit of soil to make a level surface.
Once the soil is out of the way, you may need to remove a little more soil to add leveling sand and tamp it down for a good base for your wall. This is especially true if you’ll be building a concrete wall, as you don’t want it to sink into the soil underneath it! Take time to make sure it’ll be on even, secure footing now, or you’ll be rebuilding it again later.
After the soil is stable, it’s time to build your wall. Both concrete block and wood are options depending on the steepness of your grade. A very steep grade should use concrete block, while a shallower one may be able to be held back with wood.
A good concrete retaining wall can easily be 24” to 28” thick to ensure it can handle the weight of the hillside behind it. Typically, these walls will be constructed of two layers: one which leans inward towards the slope, and a secondary wall that acts as the front surface you’ll see. Between the inner wall and the hillside, you’ll need to add some gravel to allow excess water to drain and to help stabilize the soil.
Wooden retaining walls are often much thinner, but usually have a moisture barrier directly against the soil, then a heavily reinforced fence panel against that.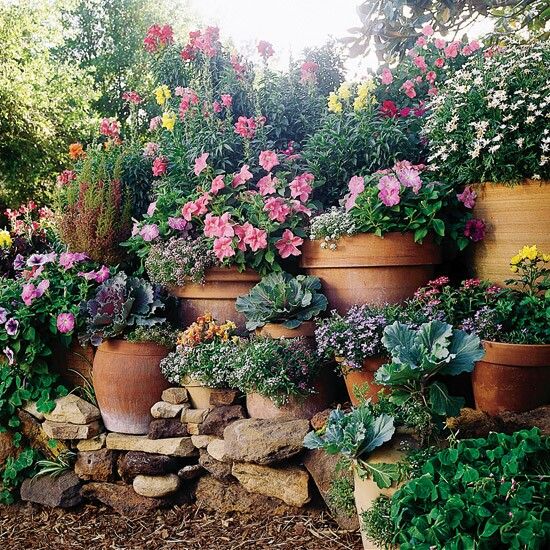 Often the fence panel will have runners that extend out into the upper slope as well to ensure that the fence stays stationary. Rebar or heavy lumber posts will add even more stability.
Take time planning out your retaining wall in advance and make sure you allow for plenty of room between that and your future gardening space. Building a retaining wall can open up quite a lot of room for your future garden!
A raised bed can be built separate from or as part of a retaining wall. Source: bluekdesignTerraced Gardens
A terraced garden style can be done with or without raised beds. But for the best results, the addition of some raised structures can really enhance your environment.
In technicality, these multi-level plots are another variation on raised gardens. After all, you’re just leveling and stair-stepping your garden for maximum working area. Something like this can be incredibly effective and essential when dealing with heavily sloped surfaces!
With a terraced garden, you’ll definitely want to build sturdy retaining walls to prevent erosion.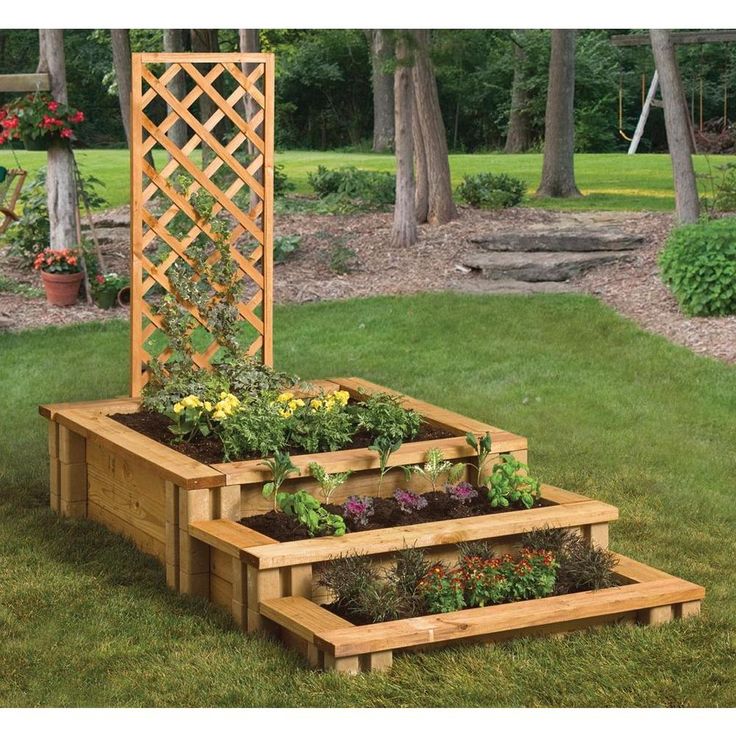 Something on the weaker side may allow a lot of soil to spill out around the edges. This gradually will reduce the amount of good soil you have in your upper levels and can overflow the lower ones, so it’s important to start out right.
Building individual raised beds to hold the majority of your soil in will prevent the erosion issues that come with terraced gardens. You can even use the raised beds in conjunction with your terracing for a great, sleek-looking space.
Gardening On A Shallow Grade
A shallow sloped surface is much easier to work with and requires a lot less soil to be moved. For a vegetable garden in a location like this, you’ll need to level the sloped surface just a little bit before you begin construction.
Make sure that the surface for your future beds is level, tamped down if you want it to be a bit more compacted, and that everything is out of the way. Then it’s time to construct your beds!
Steel Raised Beds
A galvanized steel garden bed of the sort that is sold through the Epic Gardening store is a great choice to build.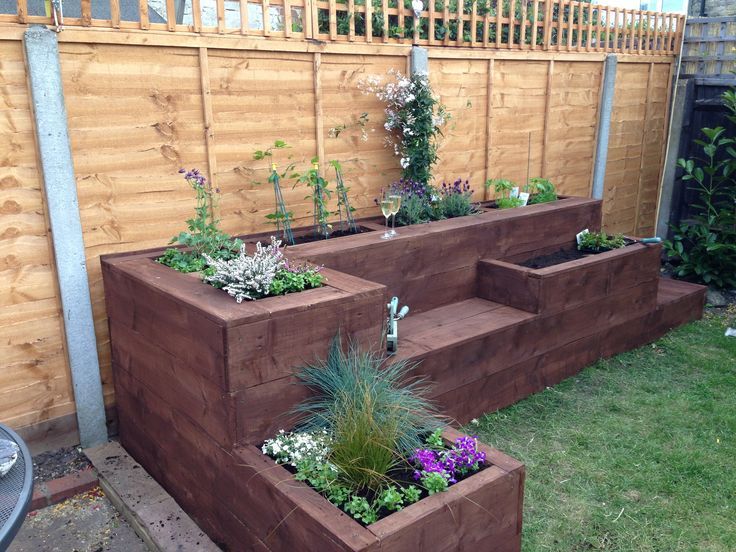 Construction of this style of bed is incredibly easy, as it’s ready to go right out of the box. Build the configuration you want if you’re going with one of the 8-in-1 beds or 6-in-1 beds by using the included screws to secure it together in the shape you desire. The fixed-size bed pieces are also easily assembled with screws.
Once your bed is assembled, you’ll need to make sure that the bottom of the frame is flush with the ground and that the top is level. If you’ve done your preparation in advance, this is easy. Otherwise, remove small amounts of soil to level out the sides of your bed.
If you’ve got problems with moles or gophers, place some hardware cloth underneath your bed to prevent them from digging up your plots. Check the level once more so you make sure your bed isn’t tilting downhill, then fill with your potting mix of choice and you’re ready to grow!
One last aspect with this style of bed: while the planting medium should prevent your bed from moving, if you’re dealing with a heavily sloped surface you may want to confirm there’s no chance of the bed sliding forward due to the pressure of the hill. Sturdy stakes made of rebar or wood can help. Pound the stakes into place along the inside of the bed to secure it in place. Lumber will deteriorate over time when covered with damp potting mix, so using rebar or other metal stakes is generally a better option for use over many years.
Wooden Raised Beds
The corner posts can act as stakes to hold the raised bed in place. Source: osiristheWooden beds on a slope work out well, too. This style of garden is more of a custom build than an out-of-the-box project, but it’s easy to source wood and screws to assemble them.
As with galvanized garden beds, you’ll want to make sure your bed isn’t sloping or sitting on an angle. Level the ground in advance where your bed will be.
Most wooden beds are simply a box made from boards that have been cut to size. Cedar is one of the favored lumber types for this style of build due to its longevity, but you can opt for Douglas fir or other woods as well. Avoid pine, as this will break down quickly when exposed to moisture.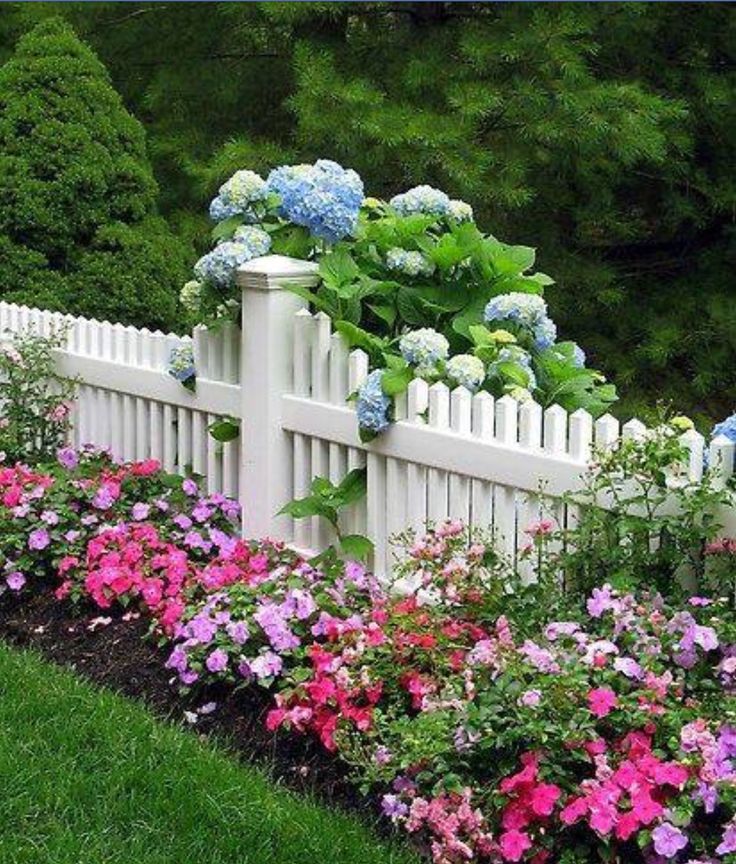 Gardens are always moist!
I prefer 2 x 6 lumber for the sides of my garden bed, but depending on your design you might opt for other sizes. The perk of a 2 x 6 board size is that two of them stacked atop each other is one foot in height, so it’s easy to plan for your desired height and buy lumber. Most people prefer raised beds with sides at least 12” deep, and these pieces will work well for that!
4 x 4 posts make good reinforcing corners. If you’d like to anchor your bed securely in place, you can make the corner posts about 12” longer than necessary for the height of your side panels, and bury the extra 12” at each of the corners under the ground. This ensures that the frame won’t move or shift from its position.
Once the construction of your box is done, set it in place and check the level. Adjust the placement of the bed’s sides to eliminate sloping. As with metal beds, you can anchor your bed with stakes if necessary. Fill with your garden mix of choice, plant it out, and you’ll have a beautiful garden in no time!
How to Raise a Sloped Flower Bed | Home Guides
By Deborah Stephenson
Gardening a slope can produce results that are far more interesting than similar landscaping on a flat space, but it does present challenges.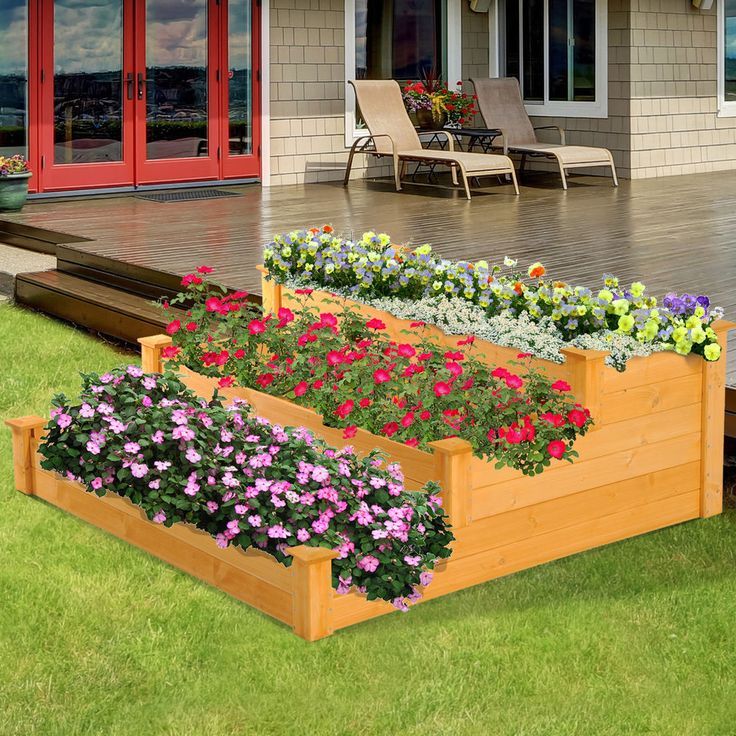 Level areas conform more easily to conventional flower bed arrangements -- especially when you use planter boxes or brick, stone or other edging -- but there is more than one way to improve potential problems. With a sloped bed, drainage is often better, so you can count yourself lucky to have a slightly slanted yard.
Determining the Amount of Slope
-
Drive a stake into the ground with a mallet or hammer at the highest point of your flower bed, and put a second stake in the ground at the lowest point.
-
Tie a string tightly between the two stakes and hang a line level from the string.
-
Adjust the string up or down from one end until the bubble on the line level sits exactly in the center.
-
Measure the heights of the string at each end where it is attached to the stakes.
-
Subtract the smaller number from the larger to get the difference in height from one end of the bed to the other. That is the amount of slope you will need to work with, and it determines the height that the low end of the bed will need to be raised to match the upper end.
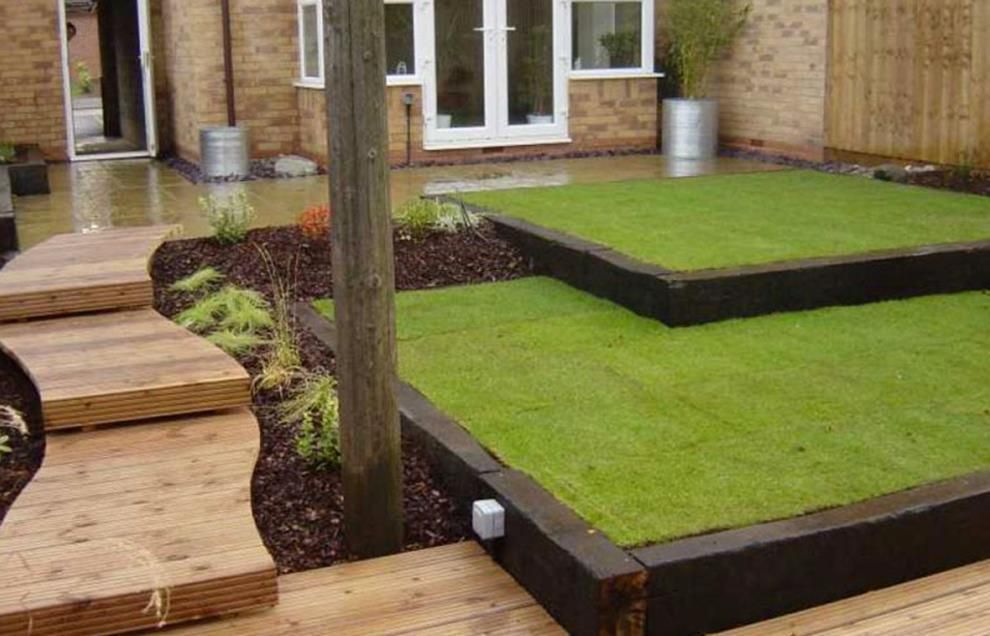
Raising a Dirt Bed to Level
-
Dig down into the bed with a shovel half the number of inches of your measurement, as already determined, and throw the soil to the opposite, or low, end. Leave the stakes in place, but temporarily remove the string from one end so that it is out of the way while you dig.
-
Rake the soil evenly over the bed and check for level by re-attaching the string and line level to the opposite stake, leveling the string and then measuring the heights from the soil to the string.
-
Continue digging, redistributing the soil and checking for level until the soil is the same height from the string across the entire length of the bed.
Adding a Retaining Wall or Edge
-
Reposition your stakes and string about a foot faurther out from the bed on both ends and level the string as before.
-
Excavate a narrow trench about 6 inches wide just outside the perimeter of the flower bed all the way around.
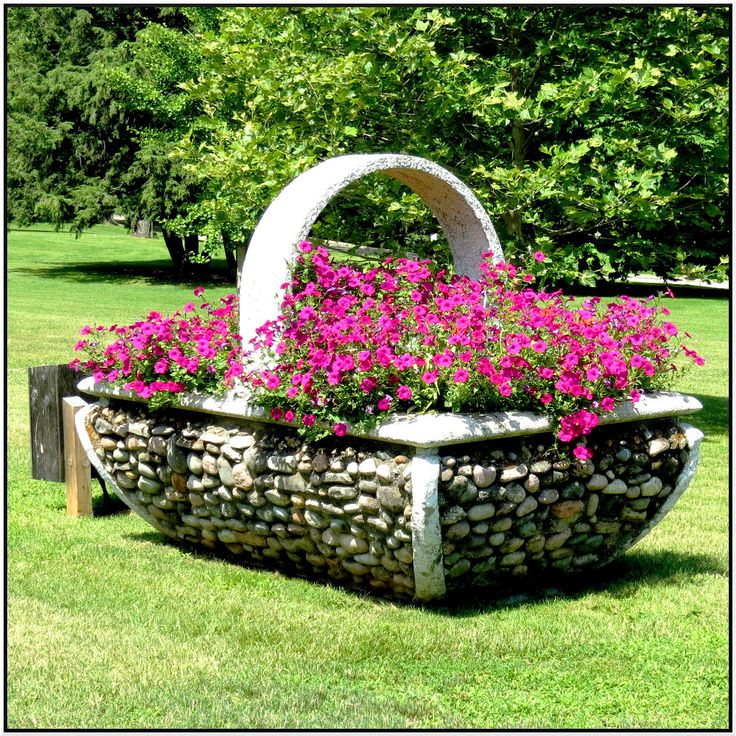 Keep it at the same depth from the leveling string exactly as you leveled the height of the soil in the bed, but in reverse. In other words, you will need to dig the trench somewhat deeper at the top where the ground surrounding the bed is higher, and somewhat shallower at the opposite, low end.
 -
Rake out the trench, dig and rake again -- checking the level repeatedly -- until the entire trench is at the same level all the way around.
-
Spread a 2- to 4-inch layer of gravel or sand evenly across the trench and pack it firmly in place using the bottom of a hoe, your feet or a hand tamper.
-
Position bricks, stones or cement blocks in the trench around the perimeter of the bed, dry-stacking them in an alternating pattern -- placing one brick or stone across the gap between the two below -- until you reach the desired height of your flower bed.
-
Check for level on the first row and adjust the masonry material by taking out or adding gravel as needed.
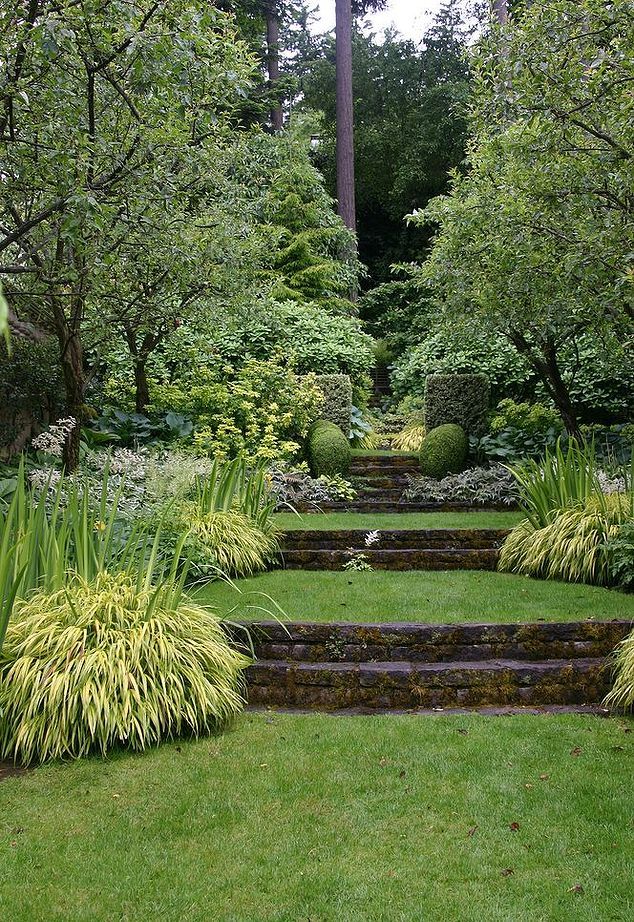 Tap the materials firmly into place on the first row; you will likely continue to have a level wall as you build upward. Continue to check for level periodically, however.
 -
Back-fill the soil around the outside of the trench as necessary to smooth the excavation and blend it with the surrounding ground. Level the soil inside the bed as well, and you are ready to plant.
References
- Earth Easy: How to Build a Raised Garden Bed on Sloping Uneven Ground
- You Tube: How to Build a Raised Vegetable Bed on a Hillside
Resources
- Rose Gardening Made Easy: Raised Flower Beds
- Houzz: Raised Flower Beds and Planters on Slopes Home Design Photos
Tips
- For a more formal or permanent bed, “glue” the masonry materials together with cement mortar rather than dry-stacking them.
- As an alternative to masonry materials, use naturally decay-resistant woods like redwood, red cedar, cypress or white oak to build a simple wooden box around your flower bed.
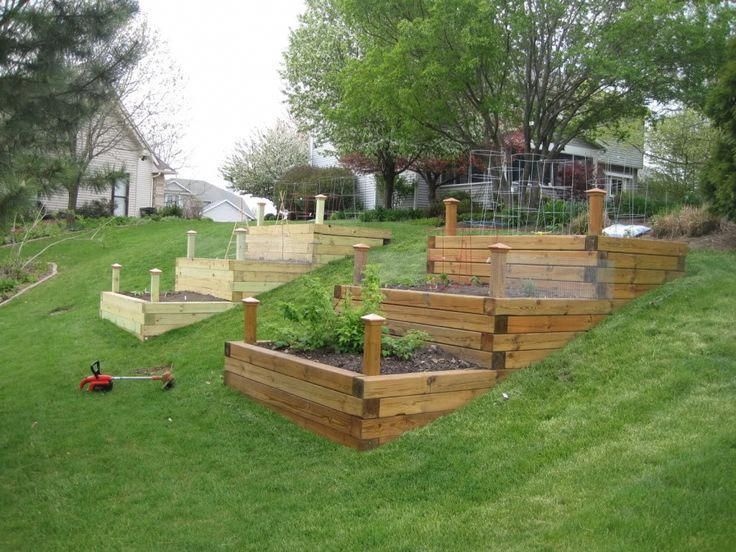 Position the wood atop gravel or a row of stones or brick to keep it drier.
How to equip a flower garden on a slope: how not to make mistakes?
A site with a slight slope for many beginner gardeners is a real stumbling block when arranging landscape design. But more experienced garden designers, on the contrary, consider sloping land plots more interesting for creating picturesque landscapes: arranging sloping flower fields, decorating cascades and alpine slides, and placing terraces. We will also try to figure out what tricks they use to turn an empty hillock into an extraordinary flowering slope.
In order to create an elegant flower bed that will please with its attractive appearance and at the same time does not require special care, a number of points must be taken into account. Main features of slopes:
- Washing out of the soil by streams running down the slope and streams of rainwater;
- Necessity of arrangement of retaining walls and terraces;
- Differences in the microclimate depending on the orientation of the inclination in relation to the cardinal points.
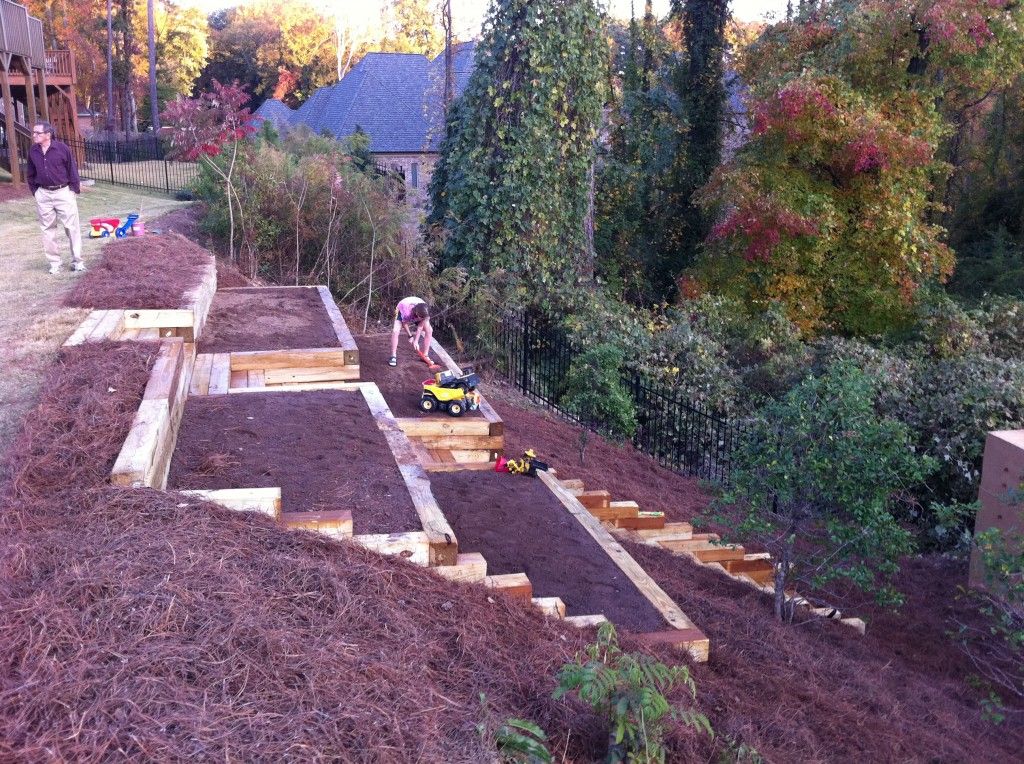
In areas with a slope angle of 5-7 °, small grooves help prevent soil washout. They are dug up in several corners of the flower garden, strengthen the walls, and then make out in the form of small reservoirs. The water flowing into the "pockets" is convenient to use for watering plants and moistening the soil.
The best solution for arranging plots at 7-15° would be to plant a lawn, the emerald grass of which, in addition to its decorative function, will with its roots hold back the soil from being washed out by water flows.
How to properly plant lawn grass can be found in the material: https://diz-cafe.com/ozelenenie/kak-pravilno-posadit-gazonnuyu-travu.html
When designing less flat areas with an inclination angle of 20 ° or more, the only solution to the problem will be the arrangement of terraces - horizontal sections reinforced with retaining walls.
Flower gardens on the slopes always look extraordinarily impressive and picturesque, reminiscent of colorful carpets smoothly descending to the foot of the hills
The main problem of arranging flower beds on a slope is the threat of soil being washed out by rain and melt water.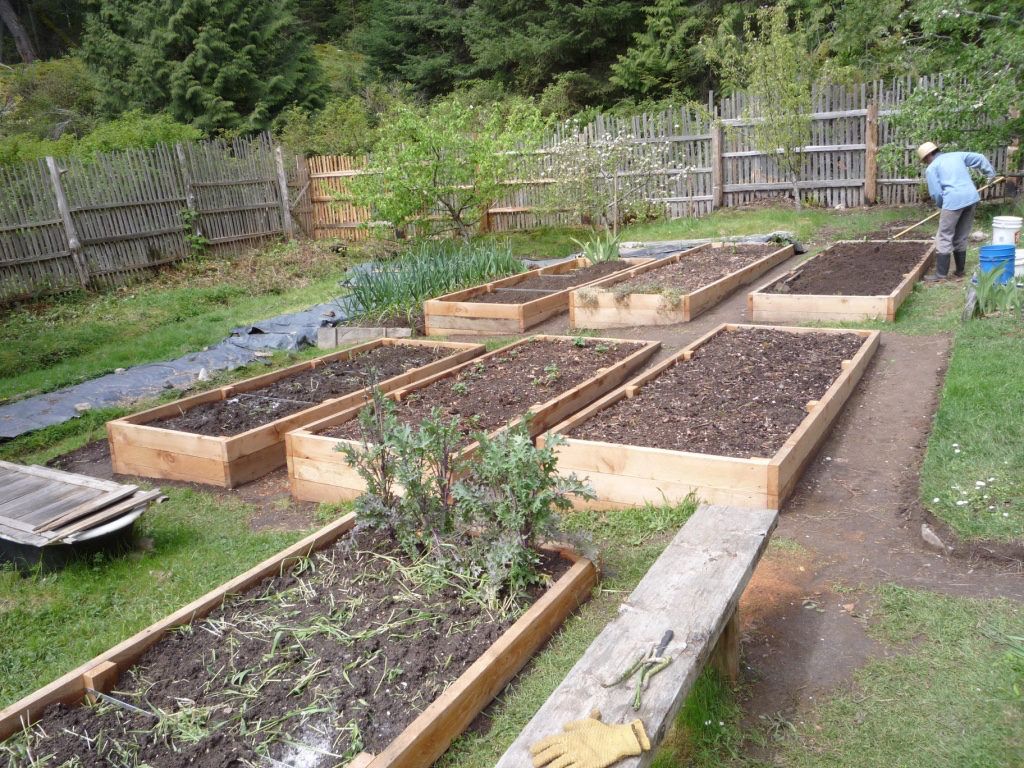 The arrangement of the drainage system
Rock garden - a picturesque composition of plants and stones. Such a flower garden is a popular element of landscape design and adorns many suburban areas
If for the arrangement of an alpine slide on flat surfaces it is required to additionally build small hills, then when it is placed on a natural slope, it is necessary to make only a minimum of effort to design the natural landscape.
Flower beds arranged on the slopes are attractive because they are better visible and not so monotonous in comparison with flat compositions. Natural elevation changes help emphasize the silhouettes of plants planted on the slope.
Creation of a flower garden on a slope, like the arrangement of any other flower bed, includes a number of basic steps.
Contents
-
1 Selection of plants according to cardinal points
-
2 Slope flood protection
-
3 Strengthening the soil in the flower garden
Selection of plants according to cardinal directions
When arranging a flower garden on a slope, it is important to focus on its location relative to the cardinal points.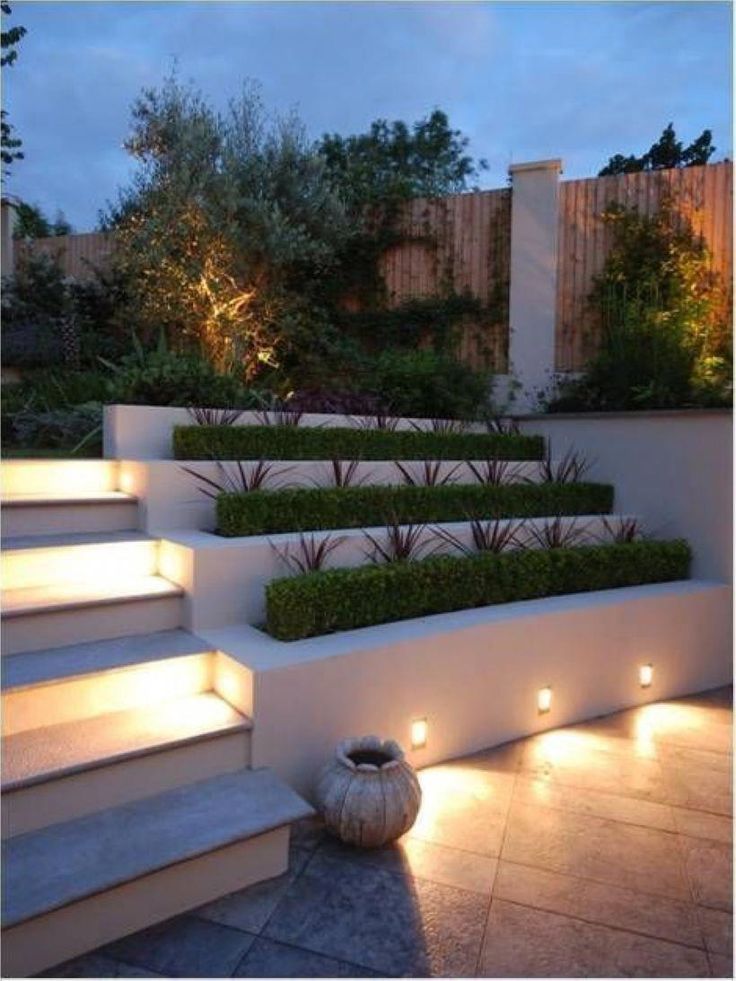 It is especially important to observe this condition if you are dealing with a hill, the slope of which is more than 10 °. The location of the flower garden determines its microclimate.
The southern slope is the warmest and lightest part of the hill. It warms up more in the sun. It snows faster in spring. But at the same time, in the summer months, it is the driest and therefore not suitable for all plants.
Only on the southern slope, sun-loving flowers are able to show their decorative effect and flowering splendor to the highest extent
On the southern and southwestern slopes, it is best to plant rocky flower beds - rockeries and rock gardens. For their design, dwarf varieties of ornamental shrubs are ideal: dyeing gorse, euonymus, dwarf broom, shrub St. John's wort, creeping pine. Fluffy “pillows” of sheep fescue and colorful rugs of perennial phlox will be a bright decoration of flower beds.
Soapweed also feels great on rocky hills.
More about this plant: https://diz-cafe.com/ozelenenie/saponariya.html
When designing rocky flower beds on the southern slopes, sun-loving ground cover perennials are indispensable: sunflower, milkweed myrrh, echscholzia, iberis, carnation
The slope, turned to the east and southeast, is no less illuminated by the sun's rays. But the soil on it can retain moisture longer. These seemingly comfortable conditions can have a detrimental effect on plants awakened in early spring: the aerial part of the flowers is baked under the scorching sun, while the root area is still drying out under the snow that has not melted. On the northeastern and eastern slopes, astilba, aquilegia, dicentra and badan will grow well.
The western slope is more affected by the wind. The soil on it quickly weathers and dries up. To design such a slope, it is better to choose drought-resistant plants that are not afraid of winds and drafts. Ground covers take root well here: saxifrage, loosestrife, yasnotka, wallenstein, periwinkle.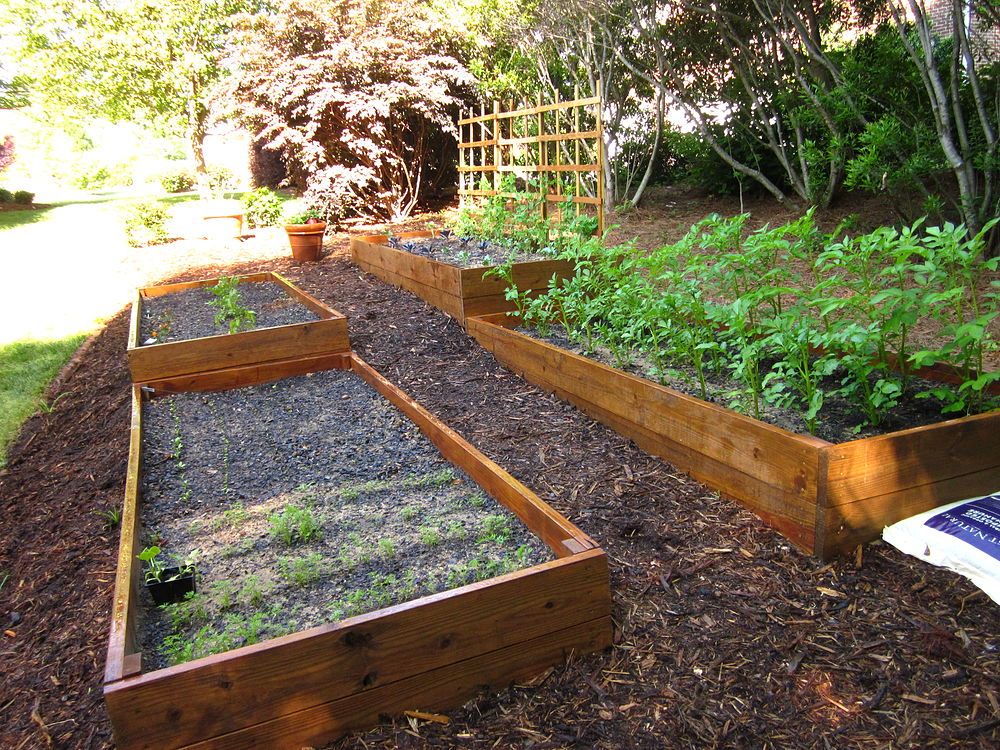
More information about drought-resistant plants for the garden can be found in the material: https://diz-cafe.com/ozelenenie/zasuxoustojchivye-rasteniya.html
Green plantations on the northern slope, receiving insufficient heat, do not have a special flowering splendor. On the northern slope, moisture does not evaporate so quickly. This creates ideal conditions for growing moisture-loving flowers. Shade-loving and shade-tolerant plants will also feel comfortable here.
Delicate lilies of the valley and anemones, expressive hydrangea and geranium, St. John's wort and lungwort will create picturesque islands in the penumbra. And to add volume to the composition will help the openwork foliage of the fern, as well as the airy bushes of kupena and bergenia
In addition to the orientation of the slope relative to the cardinal points, it is also important to consider that in the upper part of the flower garden the earth will always be drier than in the lower.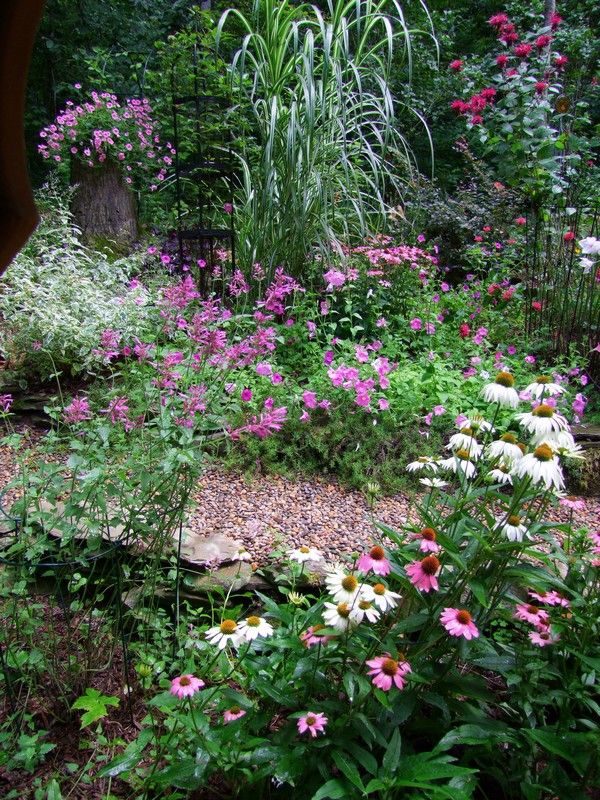 Therefore, plants in a flower bed are arranged according to the principle: drought-resistant flowers are planted on a hill, moisture-loving - at the foot.
Material on the selection of plants for an alpine hill will also be useful: https://diz-cafe.com/ozelenenie/podbor-rastenij-dlya-alpijskoj-gorki.html
Slope flood protection
Rainwater and spring floods are a major problem for slope sites.
Water flowing down the sloping surface of the flower garden leaves its mark on the ground in the form of deep ditches, which over time can turn into steep ravines
Along with water flows, the fertile soil layers are also washed away. Therefore, one of the first tasks that the owner of a sloping site must solve when planning to “break” a picturesque landscape is to establish a drainage system. To arrange it, you can use one of two methods.
How to organize a water drainage system on the site can be found in the material: https://diz-cafe.
com/voda/drenazh-uchastka-svoimi-rukami.html
The first way is to dig drainage ditches along the slope. Shallow "strips" are laid at a distance of 2-3 meters from each other. The role of drains can be performed by both ordinary shallow pits, the bottom of which is lined with a waterproof film, and small storage tanks, the liquid from which is convenient to use for watering plantations.
The second way is to equip a "protective" drain, placing it above the flower bed. Such a drainage system is more suitable if the quality of wastewater leaves much to be desired, for example: when a highway passes over the site. Ditches are laid along the perimeter of the site, placing them just above the beds so that wastewater does not enter the site, but accumulates in storage reservoirs equipped along the edges.
When arranging the drainage system, it is important to take care of the appearance of storage containers by decorating them along the outer edge with moisture-loving flowers or decorative foliage bushes
Strengthening the soil in the flower garden
The sloping terrain is a stunning observation platform where a beautifully designed flower garden always looks extraordinarily picturesque and spectacular.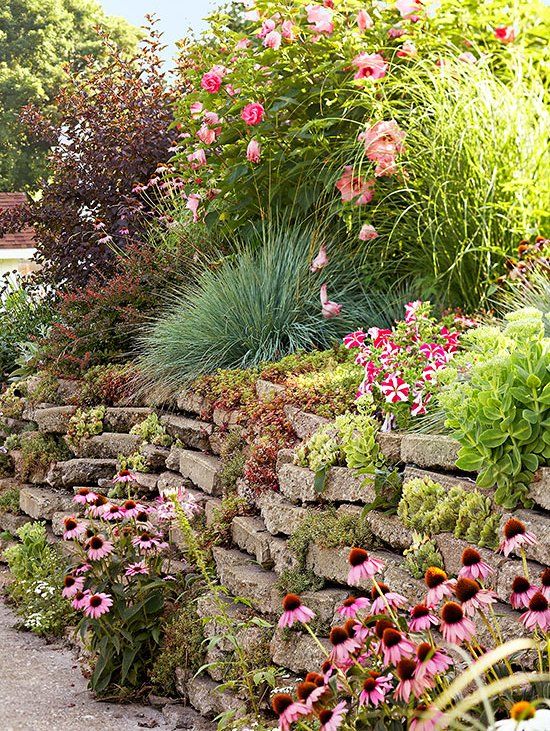 But the soil on the hills often has a thin layer of fertile soil, which is also washed out by rains. Strengthening the soil by installing retaining walls and arranging terraces helps to solve problems. It is possible to enrich the soil composition at the site of the arrangement of the future flower garden by pouring the brought black soil.
An overview of the 5 most effective ways to strengthen slopes and slopes: https://diz-cafe.com/plan/ukreplenie-sklonov-na-uchastke.html
Creating terraces is an exciting and creative process. They can be arranged in a row, placed asymmetrically or in a checkerboard pattern. The number and height of terraces depends on the size of the plot and the degree of its steepness
All natural and building materials are excellent for soil containment and decking: stones, bricks, concrete blocks, sheet metal and logs.
In order for the retaining wall to be successfully combined with the overall design of the plot and look harmoniously against the backdrop of the slope, the materials for its design should be chosen taking into account the stylistic orientation of the entire garden.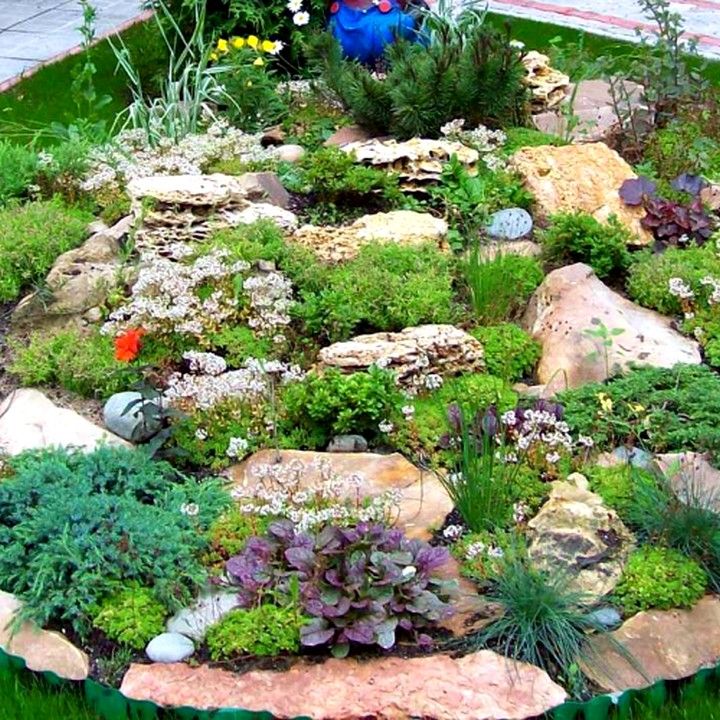 Flower beds with an emphasis on natural beauty will look spectacular framed by artificial or natural stone.
In order to create the effect of a natural landscape, retaining walls are placed somewhat randomly during their arrangement. Retaining walls can either emerge from the ground or merge smoothly with the terrain
Brick design with forging elements is ideal for a garden bed in Art Nouveau style. When decorating a plot in a rustic style, terraces look very picturesque, fortified with supports, designed in the form of a wattle fence. Such supporting walls are attractive and easy to manufacture.
To strengthen the wall of the slope, it is only necessary to drive in a few strong stakes, placing them at a distance of half a meter from each other. Between the vertically installed stakes, it remains only to twist the flexible young shoots left after seasonal pruning of trees in the garden.
Sloping terrain is an excellent basis for creating flower beds.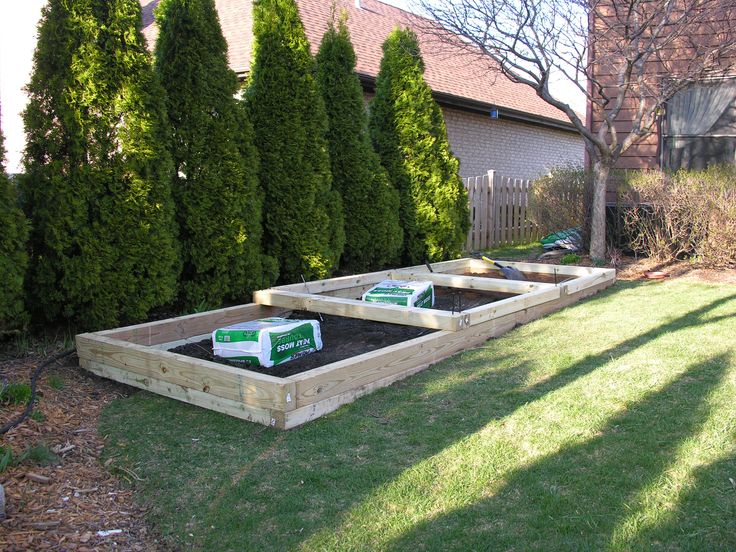 On improvised terraces, plants feel very comfortable, and the height differences provide a spectacular play of sun and color.
- Author: limon4ik2013
Rate this article:
(7 votes, average: 5 out of 5)
Share with friends!
how to make a beautiful flower bed in the country, ideas and photos
flowers with your own hands. Here are 15 ideas and life hacks to implement them.
1. Lush beauty
For a large flat area
Alternate flowers to make your flower bed stand out from your lawn or seating area with ornamental grasses and cereals. On dry soil, feather grass, gray fescue grow well, bearded vulture paniculate and reed grass acuminate.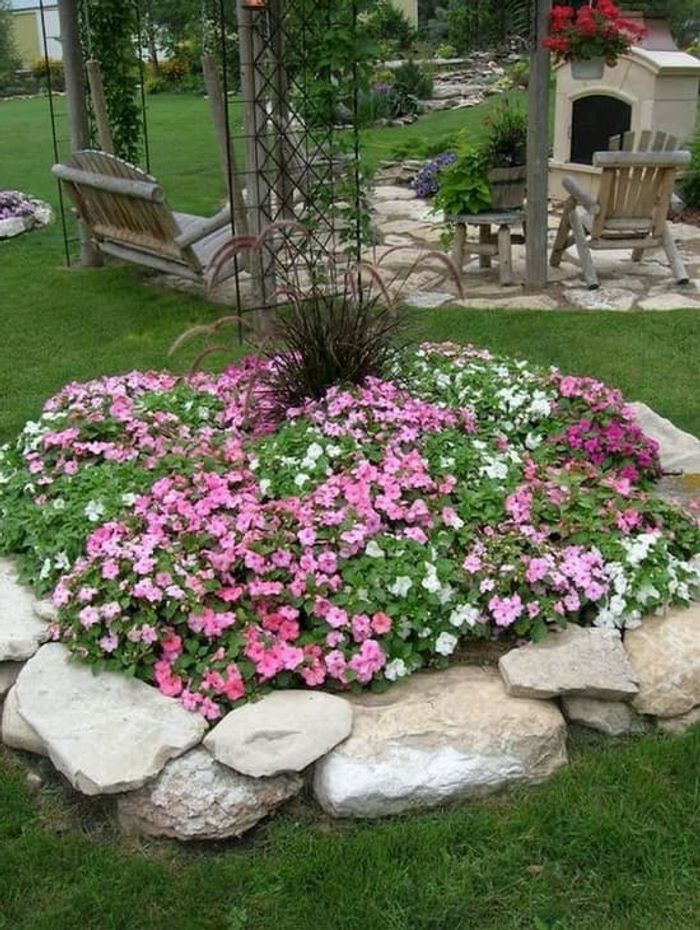 In the design of a flower bed on marshy soil they use calamus, miscanthus and virgin millet - they are lush and love moisture. High cereals make it difficult to access the flower garden - it is better to use a drip system for irrigation, but it must be laid at the stage of laying out a flower bed.
2. Floral calendar
For lovers of perfect order
When creating beautiful flower beds in the country with your own hands, take an interest in the flowering period plants. Plant them so that the opening buds of the same flowers replace the falling ones. petals of others. There are different design options for such flower beds - rings, sectors, stripes and even zigzags. If you allocate more than 100 sq. m, you will need gasoline Huter GMC-2.8 cultivator capable of plowing a strip up to 28 cm wide.
3. Mobile flower garden
For beautiful perennials plants
A good option for a flower bed in the country - flowers in pots.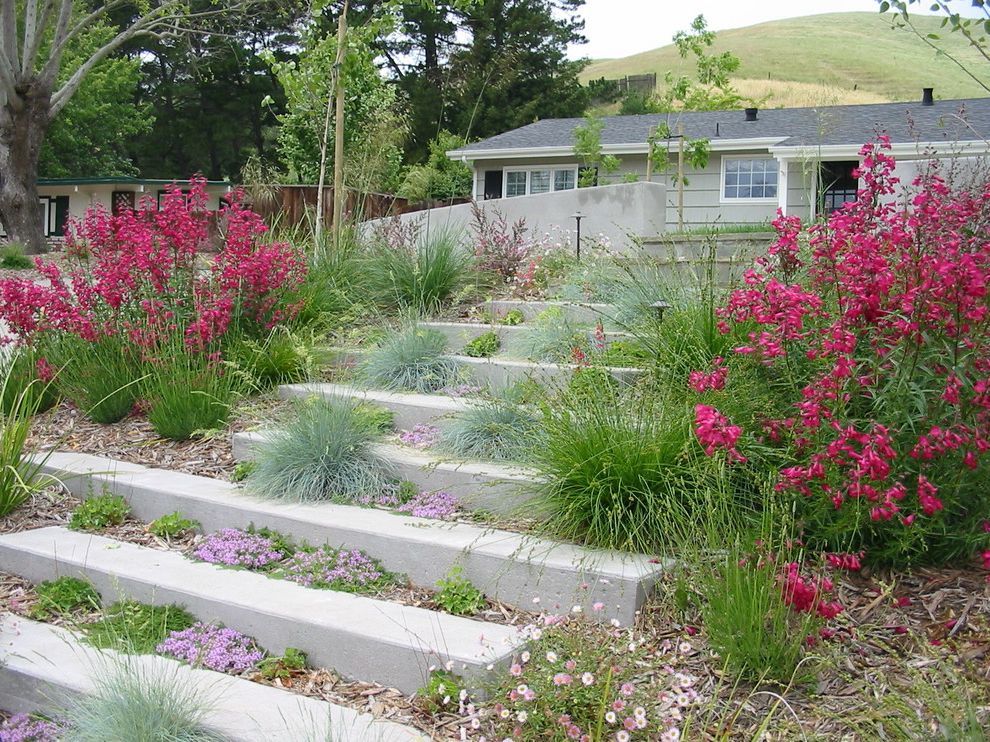 They can sort by color, swap and take out when the petals begin to fall off. In winter such an unusual flower garden moves into the house or onto the veranda, where you continue to follow it care. Flower pots are surrounded by soil, gravel or river pebbles. You can install them along the perimeter of the terrace or form vertical flower beds.
4. Alpine classic
For those who appreciate nature beauty
flower bed with a stone fence. For her choose low creeping plants with bright flowers - subulate phlox, loosestrife, iberis and grass carnation. Make an alpine it is not easy to make a slide with your own hands - you need to carefully select stones in shape and size. If this task is too difficult, you can make a special concrete tile - for this, the “Resource” form is ideal, imitating the texture exactly natural stone.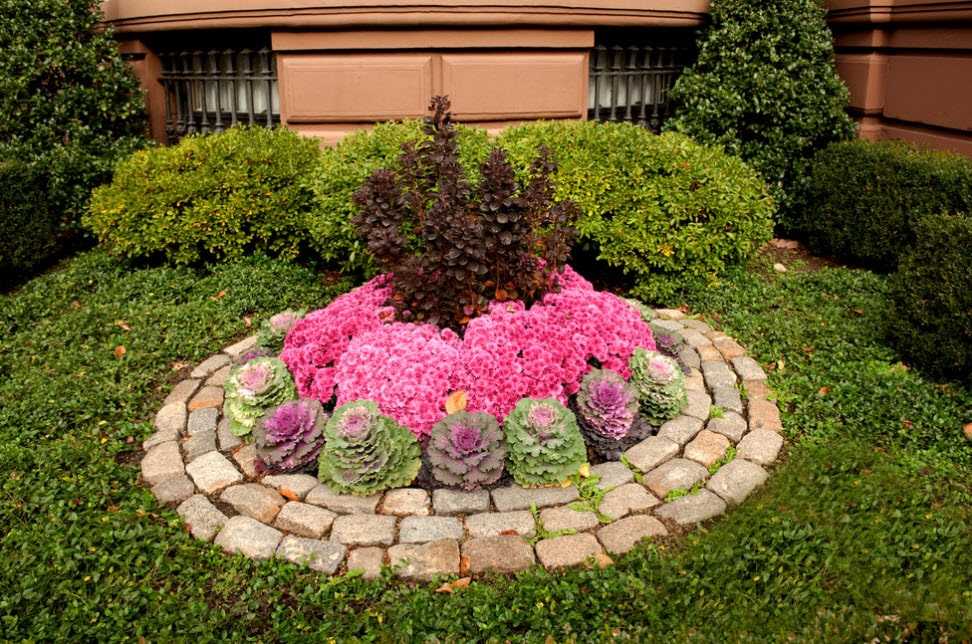
5. The second life of a tree
For wildlife lovers
An old rotten stump or a dry log will serve as the basis for a flower bed with unusual country style design. Hollow out the wood from the inside, pour the nutrient substrate inside (pre-fertilized soil) and plant flowers. After spending a little more time, you can cut recesses for pots to change the flower arrangement during the season.
6. Gourmet garden
For the most practical
Many experienced gardeners create garden beds with their own hands, planting them with flowers mixed with herbs. Basil, thyme, parsley, tarragon, and arugula are excellent seasonings for your meals. The main rule of arrangement is to protect different types of plants in order to they had room to develop. And spicy herbs are very fond of water - they need water every 2-3 days depending on the climate in your area and the weather.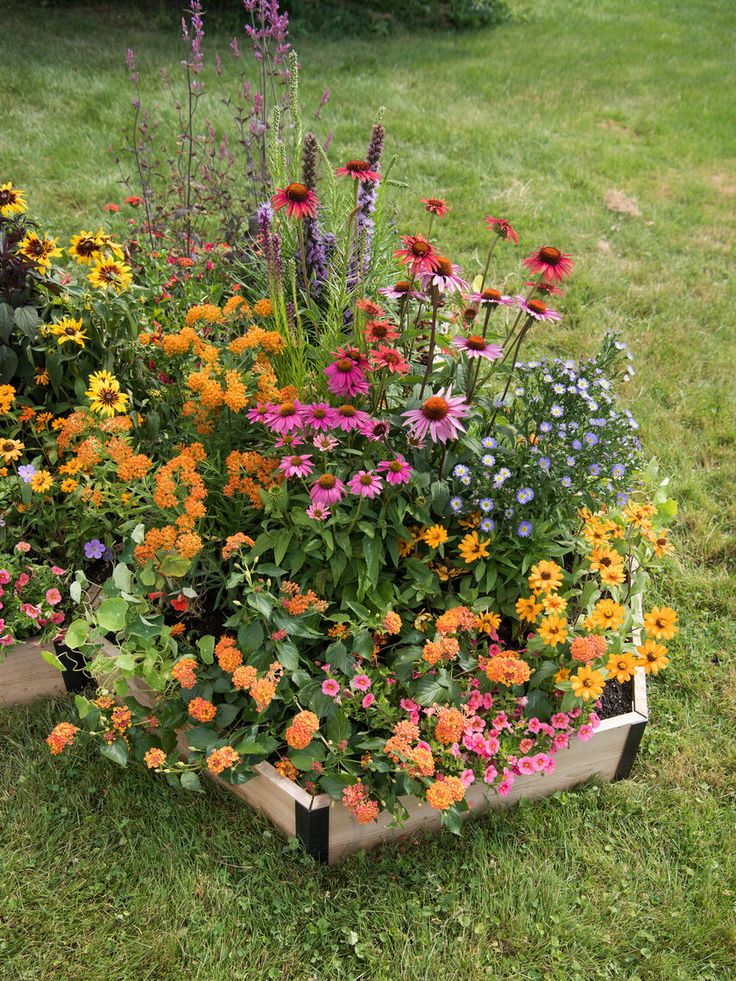 To do this, you can install the Karcher RS 130/3 sprinkler - it covers more than 100 sq. m.
7. Secret yard
For privacy lovers
rest, make a garden chair or a bench the center of the composition. Surround them with decorative fences - tall flowering shrubs like jasmine, hydrangea and rhododendron or arches with climbing plants - clematis and morning glory, which will grow very fast. Climbing roses will curl a metal structure in 2-3 years. Drop off inside cereals and tall flowers, as in the design photo below. You will get a quiet corner where you can spend time with a book.
8. Double decoration
For a beautiful garden
A beautiful flower bed with your own hands will help to disguise a tall bare tree trunk that disturbs garden harmony. To do this, you need to raise the soil level by 15–20 cm, making an artificial knoll.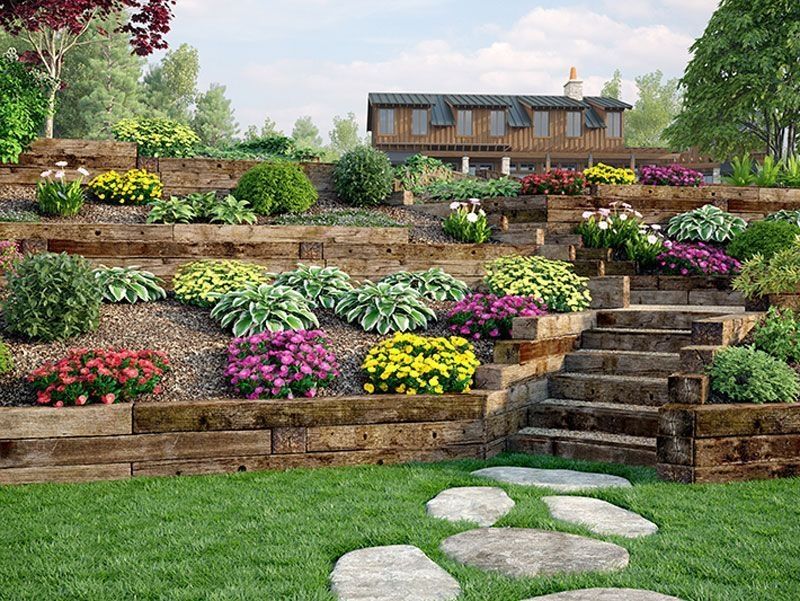 For such an arrangement of a flower garden, shade-tolerant plants with short roots are needed: aquilegia, garden geranium, volzhanka or astilba, which will grow to full height in a season. They will need good watering - for a large garden, it is better to choose a 50-meter reinforced hose "Whirlwind" that does not bend on turns.
9. Border of two worlds
Use each square meter
show the neighborhood of plants and terrace decking. To do this, the boards are made square, rectangular or round cutouts. Plants are planted in them: high - in the soil, and low ones - in pots with a nutrient substrate. But frequent watering is harmful wood, so landscape designers use drought-resistant species: lavender, yarrow, echinacea and perennial asters.
10. Living screen
For those who value privacy
Owners of small plots often have the question of how to make a beautiful flower bed, which will serve as an additional fence.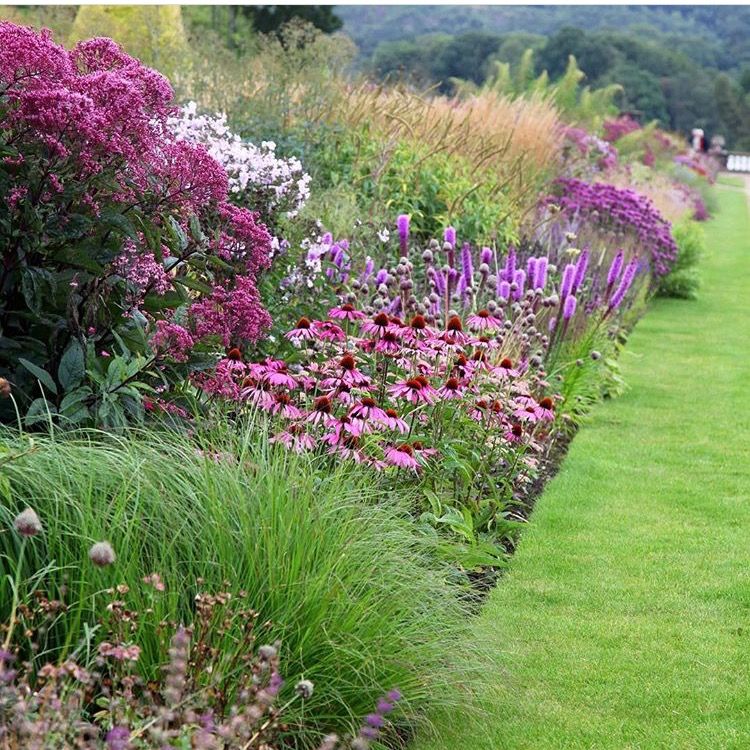 Get creative with this issue - set long high pot on wheels for a warehouse cart. Plant tall flowering plants in it shrubs - elderberry, spirea or rhododendron. You can get by with greens - honeysuckle, mahonia or bamboo, which grows the fastest. Enclose with this beautiful screen terrace, seating area or barbecue area. Suitable for cutting shrubs compact electric trimmer Huter GET-1000S with a comfortable curved bar.
11. Flowerbed-waterfall
Suitable for the smallest plot
Vertical flower garden will decorate the facade of the house and help mask cracks in the blind area. To do this, you need to build a slide that descends from the windowsill to the ground. Highlight there are 4-5 levels for pots on it and plant them with ampelous flowers falling down. In the photo of such flower beds, petunia, pelargonium, geranium and dichondra are more often visible, which form colorful "streams" descending to the ground.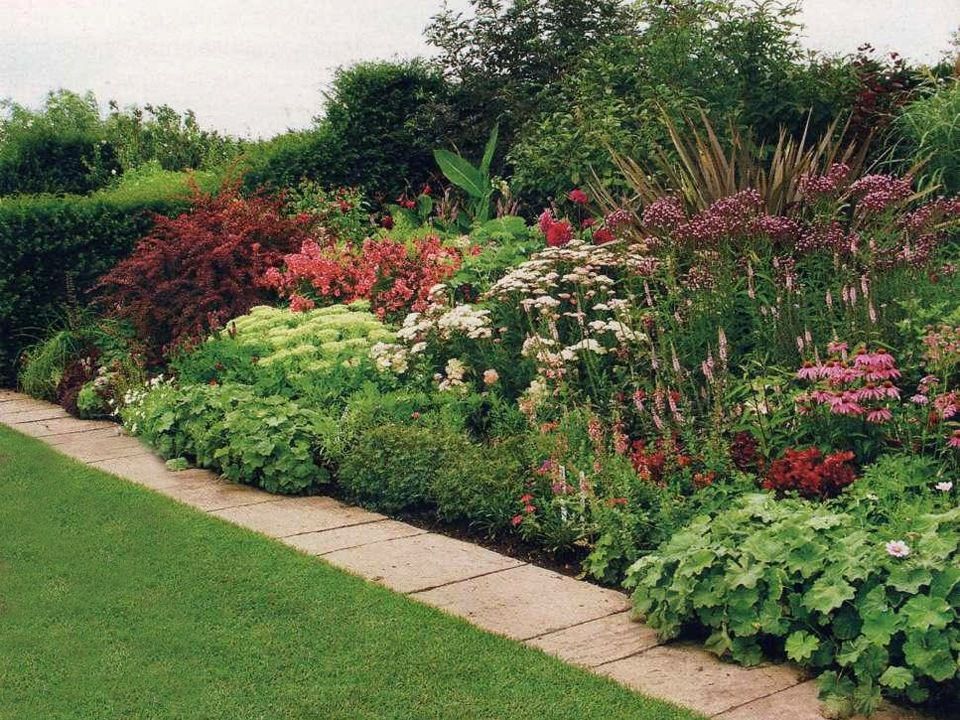
12. Tools at hand
For the most creative
wheelbarrows, beds and tables. To get a beautiful composition, they need to be painted correctly. For rustic style - in inconspicuous colors like green, brown, brown and gray, and for Provence - in bright shades of yellow, red, blue and pink. Try not to use bottles, cans or tires - they always catch the eye.
13. Elevation difference
For a sloping site
A steep slope can be turned into stepped terraces, as is done in the South America. In this case, vertical flower beds will separate small areas of the lawn or vegetable garden. Retaining walls can be made of natural stone, concrete or polymer wicker. Do not forget about gardening tools. For flowers you will need special scissors, and for grasses - a small lightweight lawn mower Huter ELM-1000, capable of maneuvering on terraces, without shedding fragile soil.
14. Geometry
Do-it-yourself park near the house
Flowers can be used to decorate a cottage path made of concrete slabs. Answer the question of how to make a flower bed is very simple - lay out one continuous row in the center plates, and place them on the sides in a checkerboard pattern. Free places are planted with flowers medium height - up to 15–25 cm. It is advisable to choose one or two shades in order to not create a feeling of abandonment and desolation.
15. Paradise
Maximum naturalness
On a plot of more than 20 acres, be sure to leave a corner of the wild. In the shade of a tall tree, you can build vertical flower beds with lush plants and flowers, such as fern or Kalanchoe. Surround them with decorative grass and cereals, that do not require a haircut. The final touch is a small pond or cascading waterfall, like on the design photo below.