Create a pond
How to build a pond or lake on your property
We interview a permaculture design expert about installing a water feature while avoiding common pitfalls and mistakes.
After years of dreaming, saving and endless searching you’ve found your near-perfect rural property.
It has just the right amount of acreage, a gorgeous home site, unbeatable views and is the ideal distance to and from civilization.
Yes, your dream property is perfect…except for one small thing.
It’s missing a water feature.
Specifically, it’s missing a pond.
A pond offers numerous benefits for landowners, from providing water for livestock, to entertainment for the kids and promoting eco-diversity within the landscape.
But, despite its aesthetic and functional joys there are a lot of factors to consider before installing any size pond.
Factors like:
-
Is your land and soil actually suited for a pond?
-
How much will it cost to build?
-
Can you do it yourself?
-
Whom do you need to contact to install the pond? (Hint: it’s not usually just a guy with a digger.
)
-
Are short-term costs worthy of the long-term gain?
In today’s post, Spiral Ridge Permaculture's Cliff Davis, a southeastern permaculture design expert, consultant, lecturer, homesteader and “applied farming ecologist,” will guide you through everything you need to know about installing a pond on your near-perfect piece of land.
The Significance and Far-Reaching Benefits of Ponds
Permaculture design has become infamous in drought-ridden regions, such as Australia and the Middle East, for restoring barren landscapes to fertile oases through specific systems of water capturing, planting and other land design and animal management principles.
Cliff describes his role in permaculture design as, “Designing regenerative human settlements that mimic nature and the intelligence behind ecosystems. As a permaculture designer, I use the land’s ecology and eco-intelligence to design more effective and resilient farm systems.”
Here’s how it relates to building a beautiful, fertile, functional pond.
“When most people think of a pond’s purpose, they think of them for fishing, irrigation, or watering livestock—which is their primary function in the southeast.”
But, according to Cliff, a permaculture-designed pond, or system of ponds, can offer so much more to both the land and its inhabitants.
“Properly designed and positioned ponds create microclimates within a property. They help humidify the landscape—water holds a lot of heat, so if you can have a pond ecosystem near your orchards or your house you can stabilize more of the environment around those areas and even prevent frost and delay flowering in spring.”
Cliff also explains that besides creating remarkable microclimates, ponds help create biodiversity by recharging the ground water table and providing habitat for frogs and wildlife that help keep the ecosystem in check.
Ponds positioned on slopes (known as ridge dams) can also help sustain your land and livestock during times of drought (a memory fresh in the minds of Southern landowners everywhere).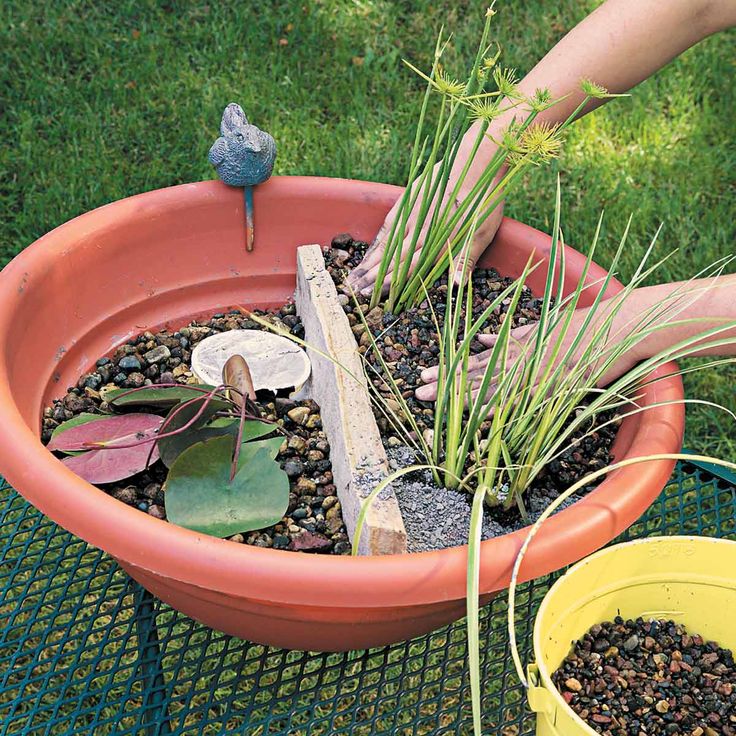
“When you begin to view the significance of a pond from this perspective, it helps you start to think about how many functions you can get out of this thing you’re about to spend thousands of dollars on.”
Now that your mind is beginning to brim with possibilities, let’s take a look at Cliff’s step-by-step tips for successful pond integration.
Step 1: Decide what function(s) your pond will serve
Before you start dreaming about your pond’s location, landscaping or size, Cliff recommends asking yourself the big question: Why do I really want a pond, now and in the future?
“You don’t want to just build a pond, you want to build an eco-system. You can irrigate and water livestock from a pond, but you can also use it to create an aquaculture, raise geese, fish, mitigate drought and create microclimates. So there’s a lot to consider in the function of your pond.”
Take some time to carefully consider and research your big WHY before you start calling up contractors.
This will determine a number of crucial design aspects such as the pond’s ideal location, size, expert advice required and the type of aquaculture you want to create.
Step 2: Determine whether or not your land and soil are suited for a pond
Though a pond can be installed on nearly any type of land, your soil has to be compatible or the water won’t hold.
Cliff refers to soil that holds water as “plastic soil."
In the Southeast most of us have clay, which is ideal for ponds, but if your property has sandy, rocky, or dispersive soil you may have to truck in clay such as bentonite clay, which gets expensive.
“At that point you have to do a cost-benefit analysis to see if it’s really worth it for the long-run, because there are other water-capturing features you can consider.”
“Whether or not your land is suited for a pond also depends on what kind of usage you want out of it. If you want to gravity feed water with piping for irrigation using a ridge dam (a pond positioned mid to mid-high slope), then having gentle hills is a must.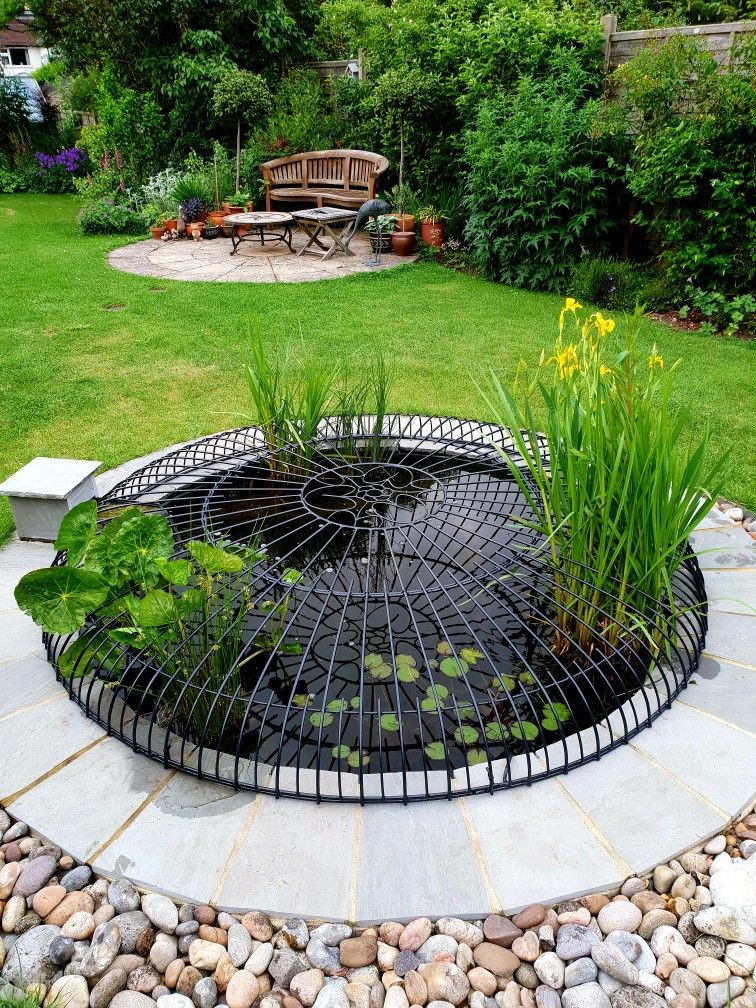 ”
”
“The best landscape is where you can get the most uses.”
Step 3: Do your due diligence (and avoid the biggest mistake aspiring pond owners make)
As a permaculture design consultant, Cliff has been called in to assess and fix a lot of ponds-gone-wrong.
“I’ve seen a couple-acre pond built that didn’t hold water. If you can imagine that’s kind of like pumping a 500-foot well dry, and that’s a major problem in the design process.”
“What I typically tell people is due diligence is the best thing you can do in the beginning.”
Cliff references one of his permaculture design mentors, Darren Doherty, co-author of the much-anticipated “The Regrarians Handbook”, who explains there are 28 steps to building a pond - and during the first 14 you’re not even digging.
“Managing water on a landscape is one of the most important things we design for.”
Here are 4 key tips to ensure you've done your due diligence before you build a pond:
1. Do “dry-runs” with help from a professional
“Get a hold of the National Resources Conservation Service (NRSC) or your local extension office, find out who the geologist is and talk to them about your soil and the possibility of putting in a pond in your area. Do exploratory pits to see what the soil looks like. If it’s rocky, then most likely it’s not going to work so well because you can’t build a pond with dispersive soil.”
2. Consider rainfall AND watershed
Though rainfall is an important consideration, Cliff emphasizes you must also account for watershed when determining the best location for your pond.
Watershed is an area of land that feeds all the water running under it and draining off of it into a body of water on your land. In this case that body of water is your pond site.
“You have to do a study of the area and the watershed that is going to be filling up the pond. That’s very important, because I’ve seen ponds that don’t fill up because there’s not enough watershed to fill that size pond, so you have to size your pond accordingly. ”
”
“And you have to build the spillways (for overflow) to be able to handle a lot of water coming out, like a 100 year flood, so it doesn’t spill over the back of the dam wall. Those have to be designed and built very well.”
3. Want a clean, clear and full pond? Beware of trees.
“The other thing I notice when ponds won’t hold water is they have a lot of the trees growing on the backside of the dam wall.”
“That’s not good, because the trees will either wick the water from the pond or can cause capillaries from the backside of the dam into the pond leading to multiple drainage issues. Then if the tree dies, the roots die, causing a piping network that can drain water.”
“If you want the pond to hold water and for that water to be clean, then it’s best not to have trees around the dam wall at all (no pun intended).”
4. Don’t forget to check on legalities
In most areas there are legal restrictions on how close your dam or pond can be built to an existing creek, stream, river, reservoir, etc. Ignore these to your peril because you could get sued.
Then there’s the what-if factor, “I don’t recommend building a big dam wall up above your house. If you have your house on a slope with the dam above it and the dam wall breaches it could completely destroy what’s beneath it. And you have to consider your neighbors too.”
You also need to research permits, review your insurance policy and determine whether or not your pond will be used for fire protection.
Step 4: Finding and hiring your pond building and design team
Though you may think you can just hire a machine operator to dig a hole (or dig it yourself), you may need to consult with contractors, designers, operators, geologists, insurance agents and even engineers before you break ground.
“First, find the portfolio of the contractor who’s going to build this thing. You’re paying someone $100-$150 an hour so you want to know exactly what they plan to do to your land and what they’ve done in the past. ”
”
“Ask them questions like: Do you know what freeboard is on a pond (that’s the difference between the water level and the still weight on the dam wall)? Do they know about keying in a dam? How do they build the dams? I highly recommend studying and researching how dams are supposed to be built for yourself.”
“Sometimes the scale of the pond will demand different consultants or different people working on it. If your pond will be more than 2-3 acres you may have to hire hydrological engineers—and remember, engineers don’t cost you money - they save you money.”
If you’re interested in implementing permaculture design principles into your landscape, a regional design expert like Cliff can provide a wealth of knowledge and recommendations for your unique land.
Though there are DIY options for pond building, Cliff recommends getting help when you need it:
“Even though DIY is kind of my MO, I would say don’t be too cheap to hire the right people to help you.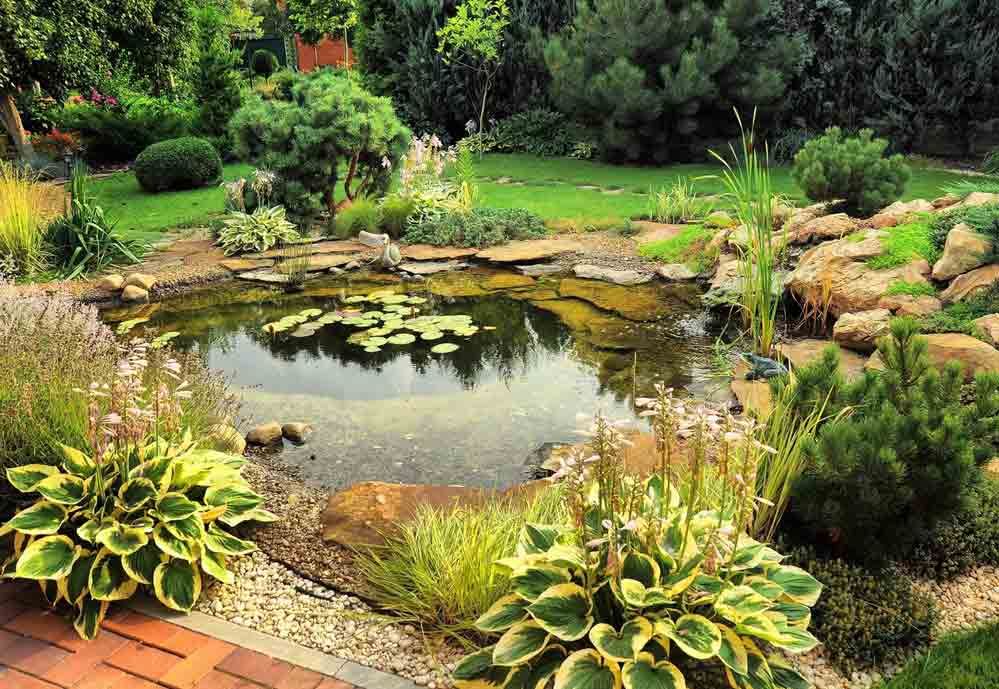 You’re making a major change to your landscape that you’re going to have to live with forever, plus ponds are very costly to fix if they’re not installed right in the first place.”
Bottom line, be your own advocate in researching the specifics of building your pond, but seriously consider seeking help from the experts when it comes to the physical task of building it.
Step 5: Introduce plants and wildlife carefully
“First of all, keep ducks off your pond at first (using fencing) because they’ll consume all the plant material that wants to grow in there.”
“As soon as the pond’s built you need to get some really good perennial grass, like fescue, on the backside of the dam wall. You want to get that covered and mulched right away to help stop any erosion of the wall.”
“You can start planting aquatics on the edges. Contact your fish and wildlife department for help determining stocking rates, and I highly recommend talking to your local extension agent for advice and options.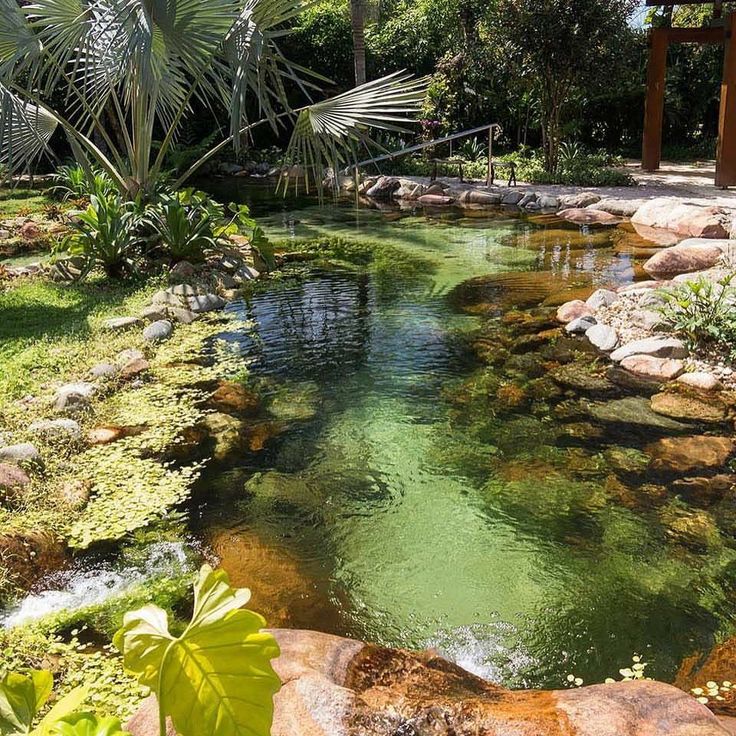 ”
”
Cliff also warns against letting cattle or other livestock walk directly into your pond at any stage in its life, as this destroys the aquatic life and introduces bacteria and parasites that disrupt and pollute the pond’s eco-system.
Ponds within a sustainable water infrastructure
For farmers interested in using a pond or ponds to capture and utilize water sustainably, Cliff emphasizes it is important to view them as only one piece (albeit an important piece) of your water infrastructure.
“There are multiple ways to capture and recycle water, such as cisterns off of your barns that collect run-off, grazing your animals better and building topsoil faster so it can hold water in the system. So when you think of water don’t just think of ponds, think of using them within a tool belt of water infrastructure.”
As you can see, integrating a successful pond into your landscape involves a lot more than just digging a hole and figuring out how to fill it. It takes research, planning, strategic design, investment and team work.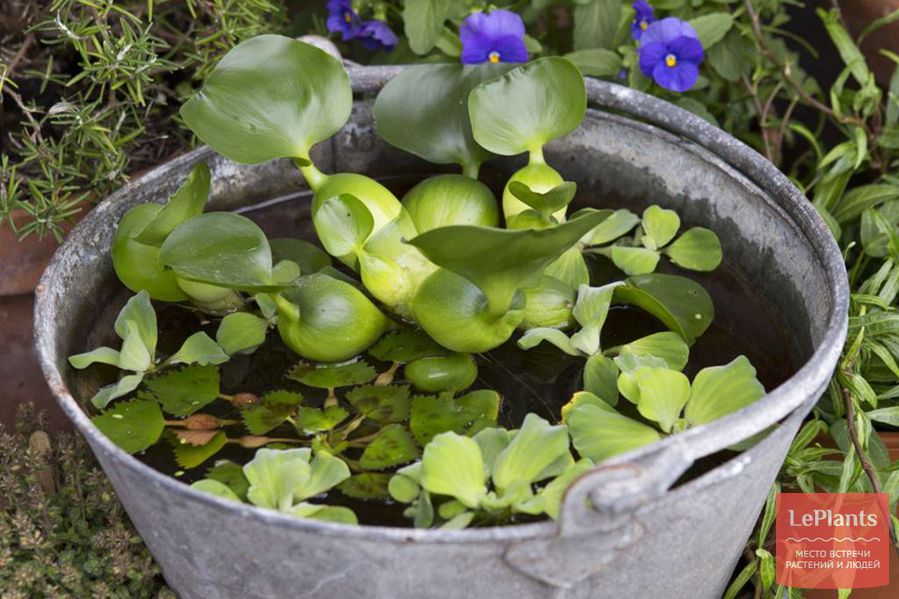
But when built the right way for the right reasons, a pond can offer beauty, recreation and sustainable functionality to your perfect piece of land.
To learn more about Cliff and his permaculture courses and workshops, upcoming lectures, permaculture and pond design consulting, internships, and his farm visit: www.spiralridgepermaculture.com. Cliff will also be speaking at the 2016 Georgia Organics Conference & Expo, February 26-27 in Columbus, GA.
Further reading: To learn more about designing and building your ultimate pond, Cliff recommends: www.regrarians.org.
Are you looking for rural land to set up your dream homesite? Raydient Places + Properties features land for sale throughout the South from Florida to Texas at RaydientPlaces.com.
a step by step expert guide |
If you want to make one change in your garden, then learning how to build a pond is a must. Not only will it benefit wildlife, but it can also evoke serenity, movement, and a relaxing soundtrack to your plot and create a thriving environment for a limitless array of wildlife.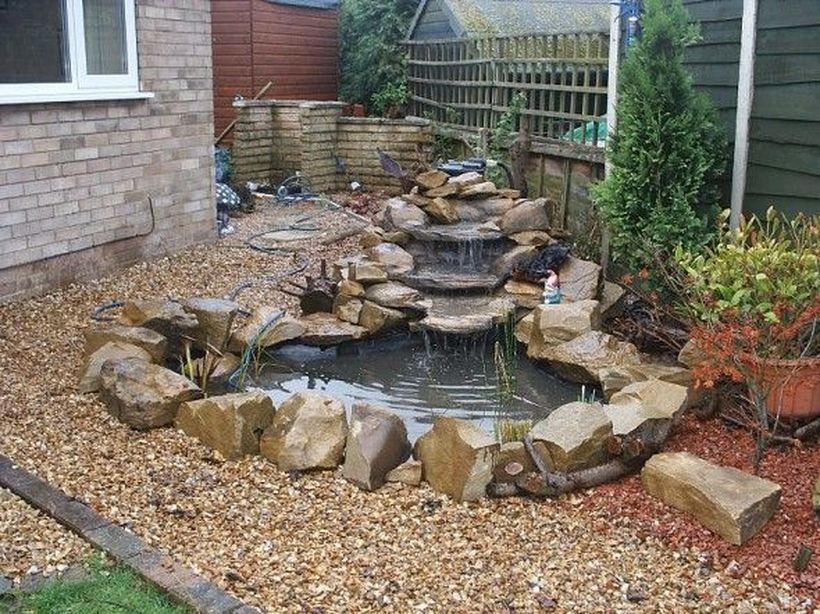
Every animal, from tiny insects to larger mammals, needs a source of water in order to thrive. Including garden pond ideas in your outdoor space can dramatically increase the bio-diversity of your backyard ideas and as a result, will help your garden to flourish.
‘Insects are the base of the food chain and though they are less iconic than some of our familiar mammals, a water source will increase the number and the variety of insects in your garden very significantly’, says Barry Chambers founder of Garden Design Guru . Insects are vital to the well-being of our garden and ‘more diversity brings greater stability and less chance of a proliferation of any pest or even disease on your patch.’
(Image credit: Leigh Clapp)
How to build a pond
When researching how to build a pond and investigating a garden pond, it is crucial to figure out what you want from your pond. Do you want something that is a haven for wildlife or perhaps just a reflective space? This will influence your backyard landscaping ideas as it will define the style and size of your pond.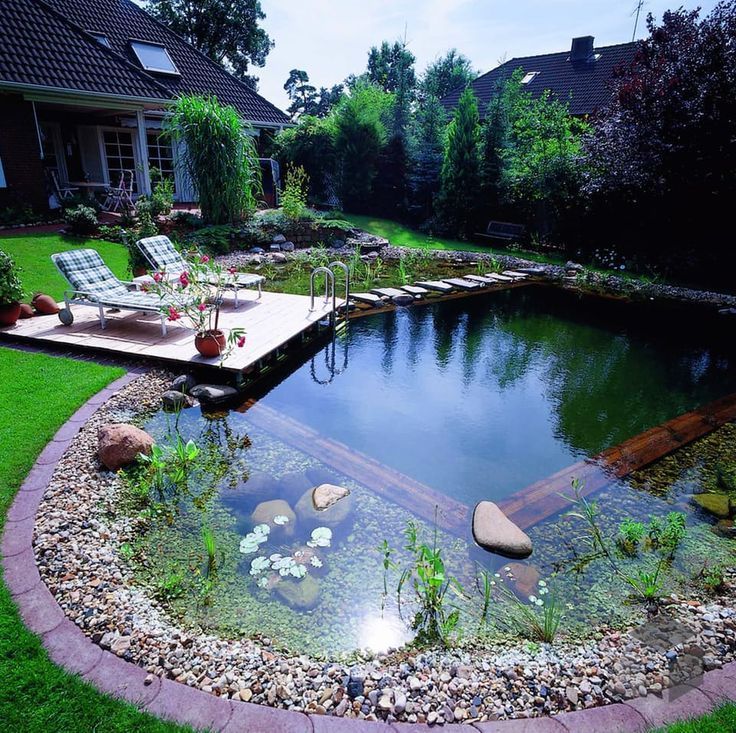
There are many different ways to build a pond, however, the three most popular methods are using a pond liner; using a preformed base, or creating a container pond.
- Lined pond - the traditional method of pond construction, a lined pond starts life as a large hole, dug into the ground. Ensure there are no stones in the hole as these could pierce the liner, then coat the hole with sand. Next, build a trench around the outside of the pond to accommodate the edges of the lining. Then lay your pond liner in the hole and tuck the edges into the trench, using large rocks to weigh it down. The Wildlife Trust recommends using a pond liner that is made of butyl rubber. From here the liner is then smoothed flat and the pond is filled with rainwater. Backfill the trench with soil to secure the liner.
- Preformed - this method utilizes a plastic base, which is buried in the ground and is much easier and more convenient than lining your own. However, you are limited to the size and shape of your pond.
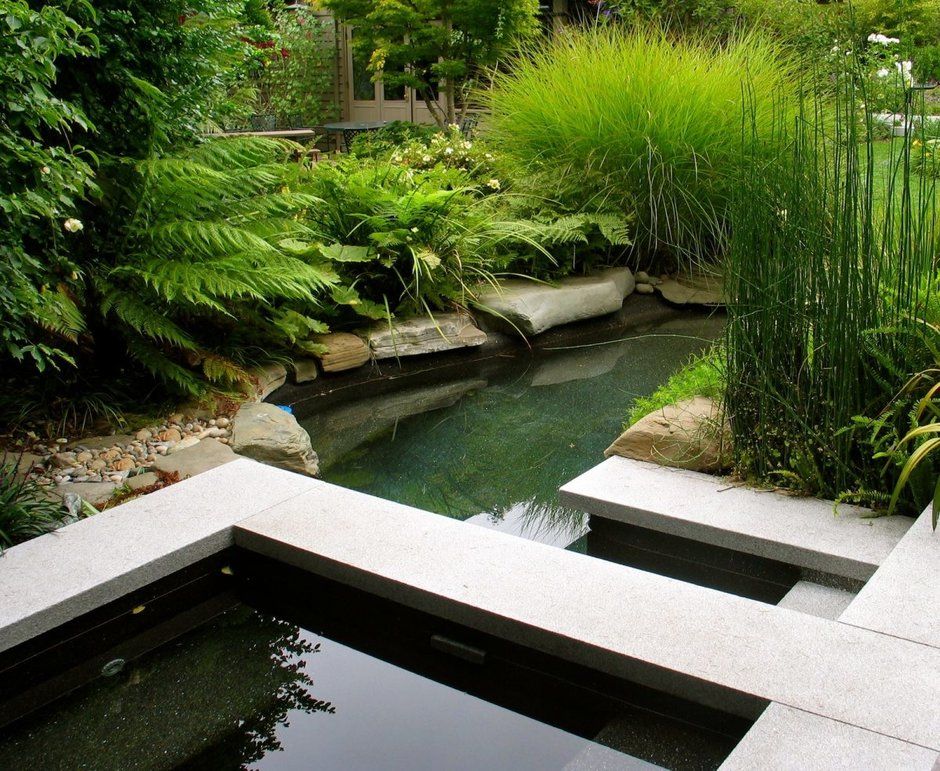 To install, dig your hole, coat it with a layer of sand and then install and backfill around your preformed pond.
 - Container pond - the easiest to create, any watertight container can be transformed into a pond. Simply fill with rainwater and add your plants, immersed in pond baskets. You can then create slopes in your pond by sinking rocks and old bricks.
After you've built your pond, the next step is incorporating it into your garden ideas and adding pond plants. Container ponds are the easiest to integrate as their appearance is predominantly provided by the container. This means that so long as the container you choose fits into your garden style, then your pond should fit perfectly into your scheme.
On the other hand, you have a lot more freedom to design the space around a sunken pond. Once built, the way you decorate is pretty much the same regardless of whether you used a liner or a preformed mold.
Consider edging your pond with rocks and alpine plants to create a rockery feel that is befitting of cottage garden ideas.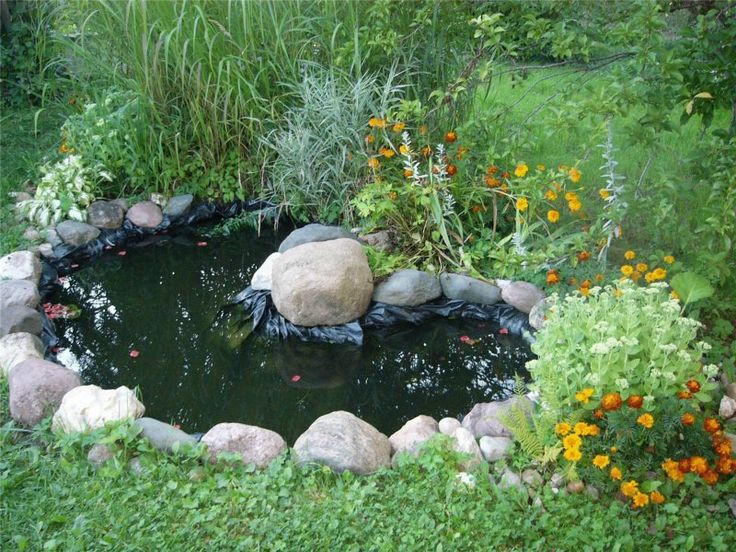 Alternatively, you can try surrounding your pond with a more formal deck or paving which draws on patio ideas. For something more out-there, consider drawing on Japanese garden ideas when decorating around your pond. Ponds are a requisite feature of this design, so embrace elements of this reflective style of gardening and create a sanctuary in your backyard.
(Image credit: Charlie Hopkinson)
How to build a container pond
Finding out how to build a pond in a container is one of the quickest and easiest ways to build a pond in your backyard. In fact, you can turn almost any watertight container into a miniature wildlife pond. From troughs and buckets to barrels and urns, there is no size or shape that can’t be transformed into a haven.
The steps for how to build a pond in a container are really straightforward. Simply select your container, then sink stones and bricks to create slopes. Then fill with rainwater and immerse your chosen pond plants in pond baskets. Once you've figured out how to build a pond in a container, you can then incorporate it into your other container gardening ideas for a beautiful display.
Container ponds are also a brilliant way of gardening with children as they are much safer than a traditional pond, while still bringing the delights of frogs, tadpoles, and dragonflies into the garden.
(Image credit: Annaick Guitteny)
How deep should I dig a pond?
How deep you should dig a pond depends on what you want to achieve with it. If you are hoping to have fish in your pond then a depth of at least 20 inches and a minimum capacity of 2000 liters is recommended. However, if you are hoping to create a wildlife pond then shallower is better.
'A wildlife pond should have lots of shallow water – roughly 50% shallows, and the deep area is not more than 30 cm,' says Dr Jeremy Biggs, CEO at FreshWater Habitats Trusts 'Most garden ponds are too deep for their area: if you want a half meter deep pond, or deeper, it needs to be much bigger or you end up with very steep sides. '
'
The size of your pond will largely depend on the size of your garden, even a small pond is a beneficial addition both to wildlife and to your garden's aesthetics.
However, regardless of the size, 'it is important that you ensure that almost all pond slopes are shallow, less than 1:5 (12°) and preferably less than 1:20 (3°),’ continues Dr. Jeremy Biggs. Opting for sides at gentle angles will ensure that any animals that accidentally find themselves in the pond can escape.
(Image credit: David Lovatti)
How to fill a pond?
For all ponds, filling them with the correct water is vital. The best option is rainwater, which has a pH level supporting the most extensive range of plants and wildlife. Start collecting rainwater in water butts before you begin to build your pond. You can then use this to fill your pond quickly and efficiently.
‘When topping up your pond it’s a good idea to use collected rainwater or tap water that has stood in a watering can for a few days to allow some of the chemicals to evaporate,’ recommends gardening expert Leigh Clapp.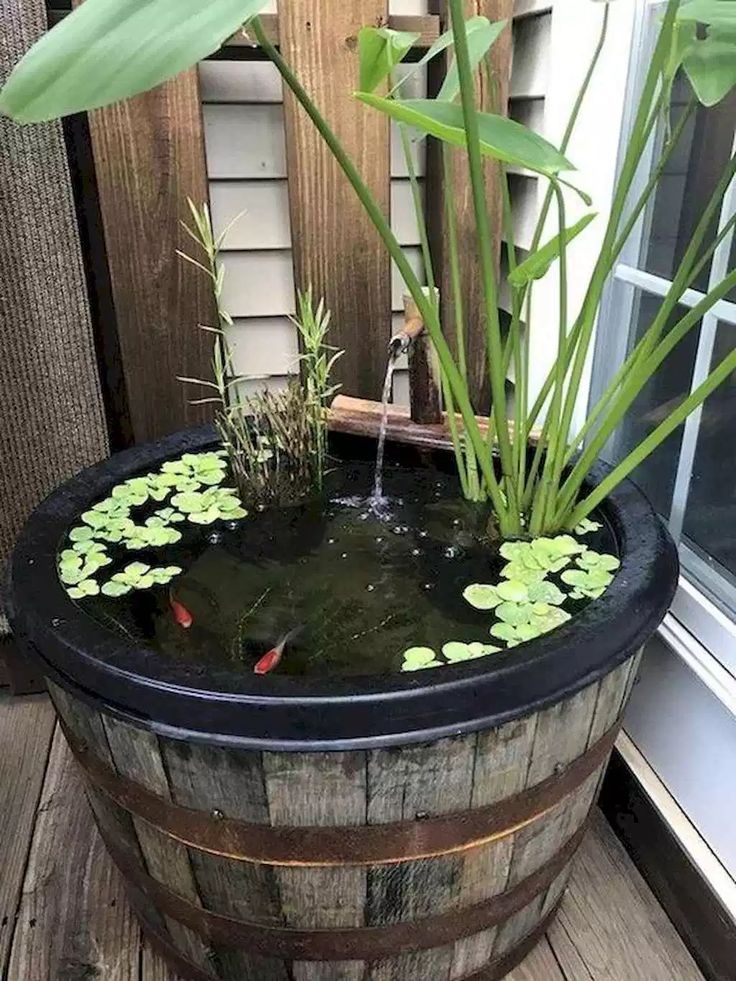
(Image credit: Getty Images)
How do I get rid of green water in my pond?
Oxygenating and nutrient-absorbing plants are the best way to get rid of green water in your pond.
‘Green water is caused by algae. Although some algae are beneficial to the pond a sudden bloom can cause real issues. The key is trying to keep the nutrient level low and the water well-oxygenated,’ explains Ian Jelley, director of Landscape Recovery at Warwickshire Wildlife Trust .
Reducing nutrients can be achieved by ensuring plenty of plants absorb the nutrients between your borders (which are likely to be fertilized) and your pond. ‘Let the grass or other vegetation grow longer around your pond to intercept nutrients before they enter the pond. Some of the best pond plants include: rushes; Sedges; Water mint; Meadowsweet,’ adds Ian. ‘In the pond you can plant species like Common Reed which can help act as a filter, reducing nutrients and pollution.’
The second method is to increase the amount of oxygen in the water, the easiest way to achieve this is also with plants.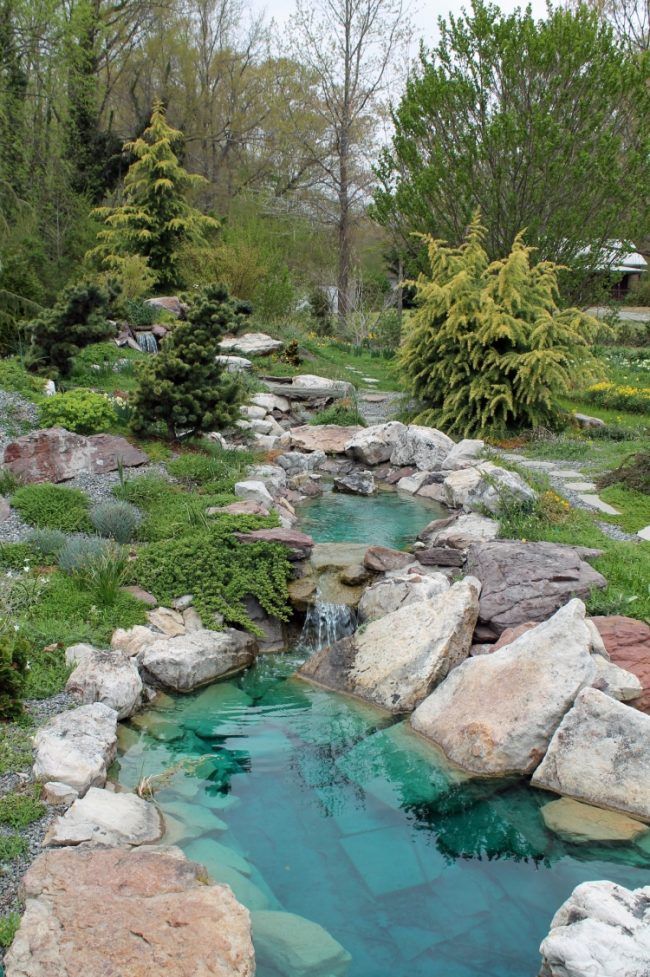 Ian recommends varieties such as hornwort; marestail; spiked water-milfoil and water starwort. While adding native plants can help to remedy problems relating to algal bloom, it is important not to go overboard. ‘Keep your pond healthy by maintaining the natural balance. You should aim to keep around 50 percent of the surface free of vegetation by thinning out plants occasionally during the summer,’ Ian adds.
These ideas can also be used to keep natural swimming pools clean too.
(Image credit: Polly Eltes)
Is a pump necessary in a pond?
No, a pump is not necessary for a pond. ‘If you get the balance of native plants right, you shouldn’t need a pump. Ponds in the natural world don’t have pumps. In some situations, it may take a few years for the plants to establish and during that time you may experience algal issues,’ says Ian Jelley, director of Landscape Recovery at Warwickshire Wildlife Trust.
However, this doesn’t mean that pumps can’t bring an aesthetic benefit to your pond and help oxygenate the water.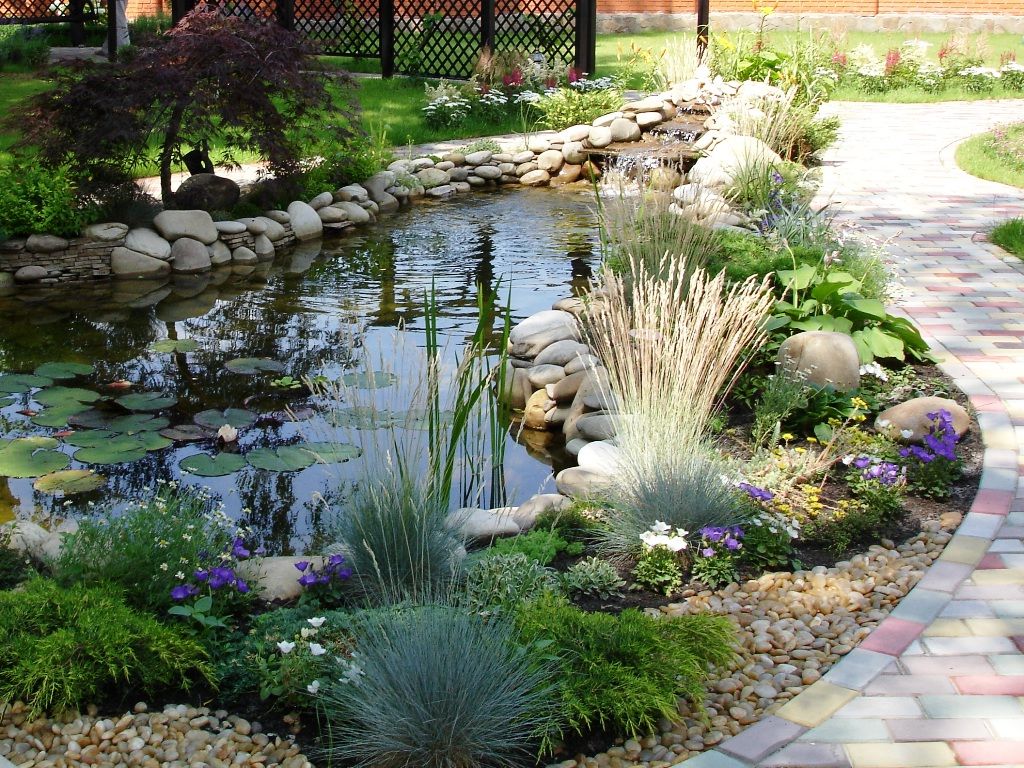 One of our favorite sensory garden ideas is to include a garden fountain that will look stunning when incorporated into a pond. ‘If a pump is used, though, then the critical thing is ensuring that the filter on the pump is fine enough to prevent wildlife from being sucked into it,’ says Ian.
(Image credit: Leigh Clapp)
How to build a pond that is safe
With any sunken pond, safety is key, especially if you have children or pets.
The most traditional method is to surround your pond with a fence, however, this does come with aesthetic costs. Pond covers are also popular but they also come with aesthetic compromises and will restrict the amount of wildlife that can benefit from the addition to your backyard.
A pond grate, on the other hand, offers invisible protection. A simple plastic grid is installed just below the surface of the water meaning that if someone or something should fall in, it cannot sink. However, since the grate also has holes it doesn't have a detrimental effect on any wildlife that wants to enter the pond.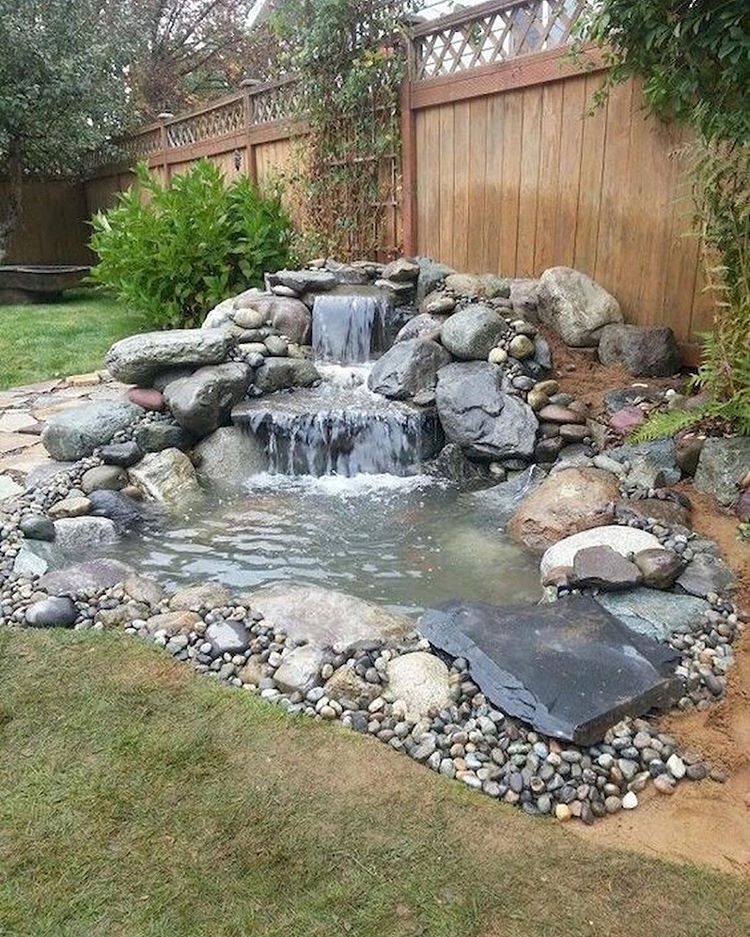 Once the pond is full of water and plants have been added the grate becomes nearly invisible. You can find all types of pond grates at Amazon .
(Image credit: Leigh Clapp)
How do I attract wildlife to my pond?
Knowing how to build a pond is essential if you want to incorporate wildlife into your plot. Whether you create a small pond in a container or a large pond in your lawn, they will quickly become a safe haven for all sorts of wildlife.
‘Generally, wildlife can 'sniff out' water when it's there! Animals and insects will turn up, as if by magic and you could argue that those which come are those to support,’ says Barry Chambers founder of Garden Design Guru. However, there are a few things you can do to make your pond more appealing to wildlife.
Plants are a great way to encourage wildlife to your pond. ‘If you aim to cover around 50 per cent of your pond, they can do a great job at keeping the water cool and algae growth down,’ says experts from the RSPB .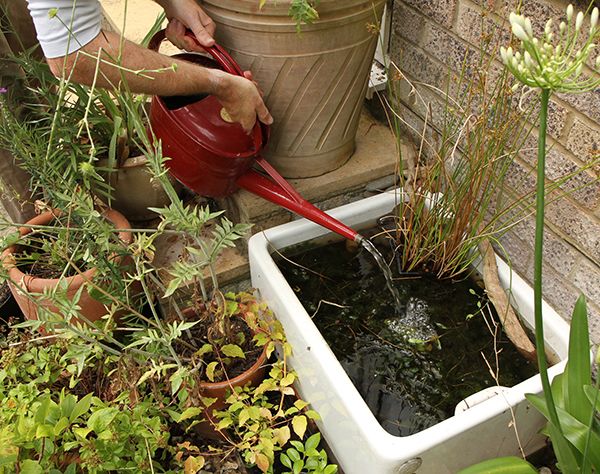 However, when selecting plants be sure to opt for a mix that offers food for pollinators as well as protective habitats or food for insects, amphibians, and mammals. ‘It is important to avoid invasive species like Canadian Pond Weed (Elodea canadensis) and those like Rushes (Typha species) which can puncture the liner,’ recommends Barry.
Also when thinking about how to build a pond, you must also consider whether you want to incorporate water feature ideas. Additions such as a fountain will not only provide a bubbling soundtrack to your garden but will also add visual interest and help to attract birds and wildlife to your pond.
There are many options for fountains, from those with pumps that help to aerate the water to solar options that simply float on the surface and recirculate the water below.
(Image credit: Getty Images)
Can a pond be built anywhere?
Yes, a pond can be built anywhere. Though if you want to figure out how to build a pond as part of your small garden ideas, it might be better to opt for a container pond over a permanent structure.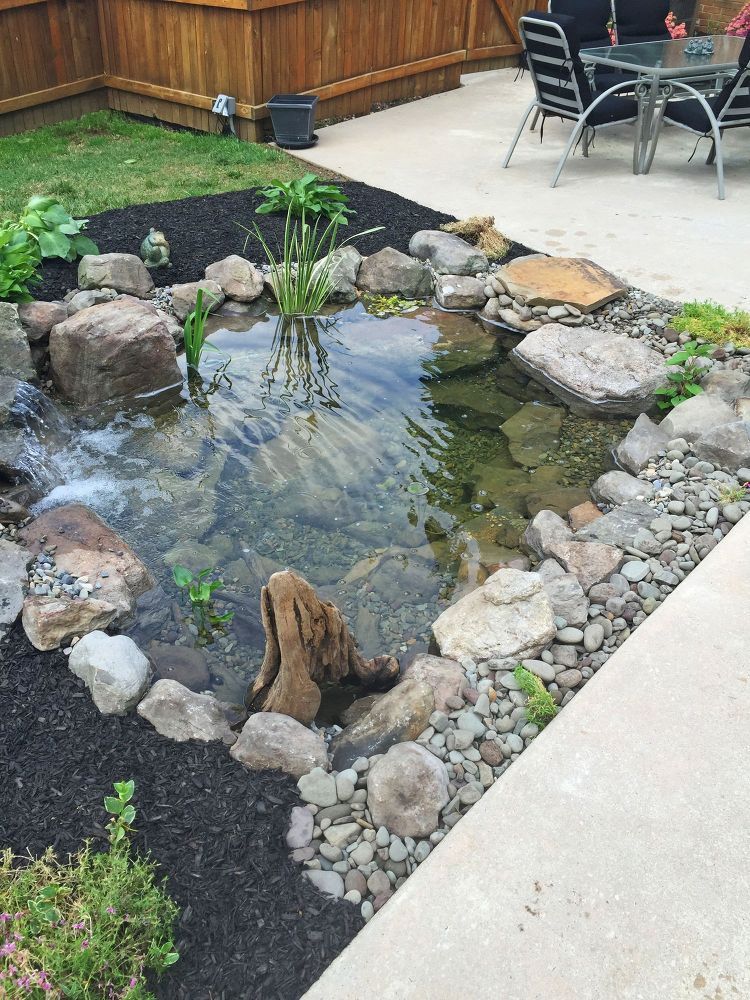
You also need to consider the location of your pond. The optimum location would be one that receives between four and six hours of sunlight. However, it is better to have a pond in a less optimal location than to not have one at all.
The other key factor that will influence the site is how the pond is going to be fed water. ‘Although you may be able to pipe water from a roof to reach the pond this ideally does not want to be an afterthought – rainwater is best and of course, the sustainable way to go,’ says Barry Chambers founder of Garden Design Guru.
'Increasingly we need to consider what wildlife is already using the garden so as not to destroy existing habitats but ensure we add without subtracting. You could set up a wildlife trail camera to see if there are visitors which you don't know about, like hedgehogs for instance,' continues Barry.
(Image credit: Leigh Clapp)
How to remove a pond
Total removal of a pond should always be a last resort.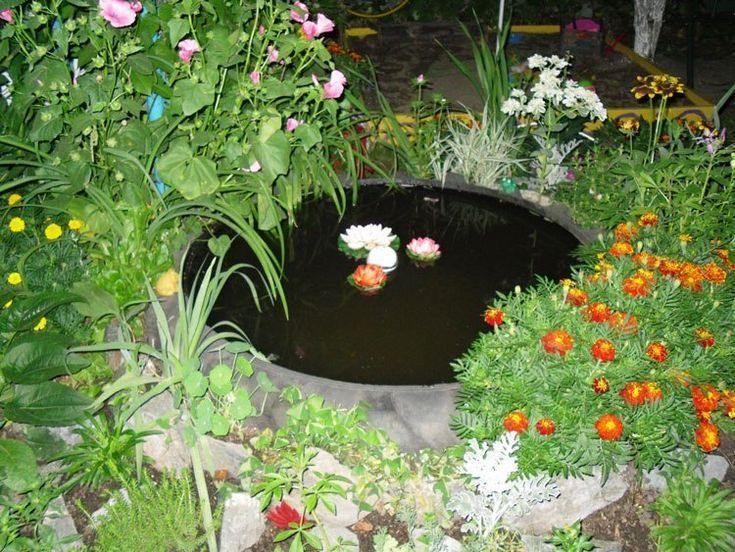 ‘Ponds are critical to all wildlife so avoid filling in a pond unless totally unavoidable. The decline in ponds in gardens and in the wider landscape has significantly contributed to the decline in our wildlife, this means that every garden pond has an invaluable role in nature’s recovery,’ explains Ian Jelley, director of Landscape Recovery at Warwickshire Wildlife Trust.
If you are concerned about the safety of the pond, look into methods to boost its credentials – try fencing, grates, or similar. If you don’t want to take on the burden of managing a pond, consider reimagining it as a low-maintenance bog garden that will be self-sustaining and invaluable to semi-aquatic wildlife.
However, if alternatives are proving impossible, ensure that your efforts to remove your pond have as little impact on wildlife as possible. ‘If a pond has to be filled in then the work should be undertaken in the autumn to minimize the disruption to wildlife. During this time of year, most species will have moved out of the pond into the terrestrial habitat. Any remaining animals can be relocated to a nearby pond – ideally less than a mile away.’
Never move pond plants or wildlife into local streams, rivers, or lakes as this can invite infection, disease, or non-native plants into the natural environment and can have severe long-term consequences. It is also worth noting that some fish and amphibians may also require a license or consent to move.
How to make a pond with your own hands? Construction technology of an artificial decorative pond for fish
How to make a pond with your own hands? This question is asked by many owners of summer cottages and country houses. It turns out that building a decorative pond on a suburban area is not so difficult.
It is necessary to start making such an artificial pond by determining its location. This should be a place on a suburban area where the shade from the trees would cover it from direct sunlight.
An ideal place for a pond would be an area that is illuminated by the sun until 11 am in the summer, and in the period from 11 am to 3 pm, will be in partial shade.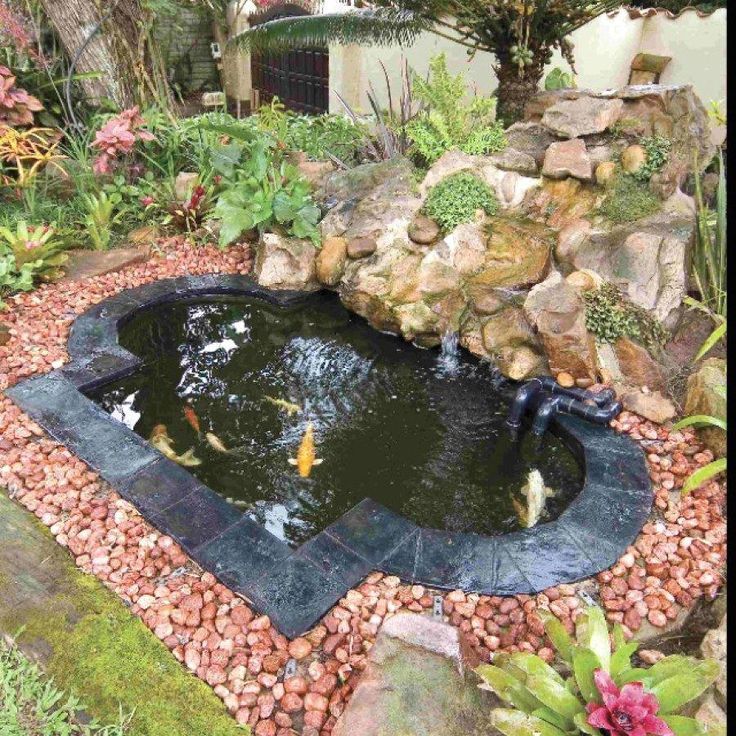 It is at this time, during the midday heat, that the shade will positively affect the quality of the water. It will not start floating plants (duckweed) and algae. An artificial pond should be clearly visible from the side of the house, there should not be trees next to it, the roots of which can further damage the waterproofing of the pond, and the leaves that have fallen into it can cause massive development of algae and decay. Trees should be at a distance no less than the height of their trunk.
Having decided on a place for the pond, you can begin to determine its shape and mark it with a cord or rope. Having outlined the contours of the future reservoir, we proceed to digging the pond. If the pond is small, it can be dug by hand with a shovel in a few days. Forming its "bottom" part, it is necessary to adhere to some rules. The first is that the angle of the slope of the pond should not be more than 30 °, otherwise, in the future, the soil may shift, the pit will be filled up.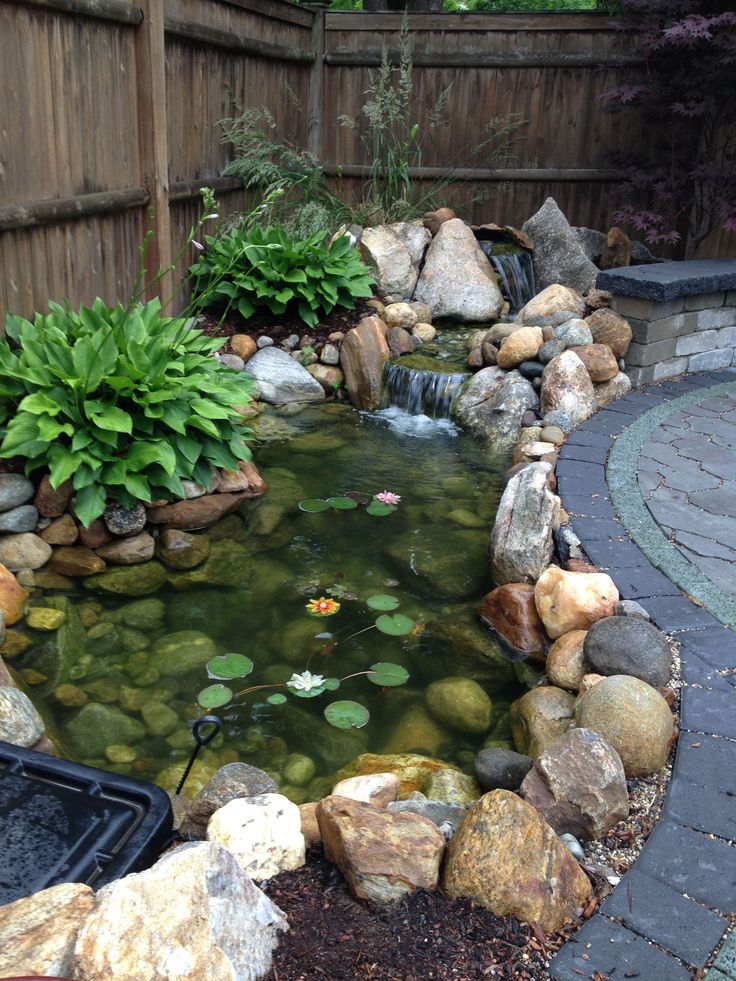 Then, it is necessary to form the bottom topography using the stepped method. The shallow part is up to 40 centimeters deep, the middle part should have a depth of 60-100 cm. If a fish pond is supposed, then the deep part should have a depth of 120-150 cm, depending on your climate. At such a depth, fish can spend the winter in the pond.
Free consultation
Formula for calculating the amount of film:
- Width = pond width + double depth + 1m
- Length = pond length + double depth + 1m
Parameters and prices of polymer film for reservoirs
We will arrange delivery of the film to your door throughout the country. Read more...
The warehouse of our company is located in Barnaul, but developed partnerships with various transport companies allow us to send film to all cities of our country. Contact us and our managers will help you with the choice of film and guide you on the cost, payment methods for the film and delivery time.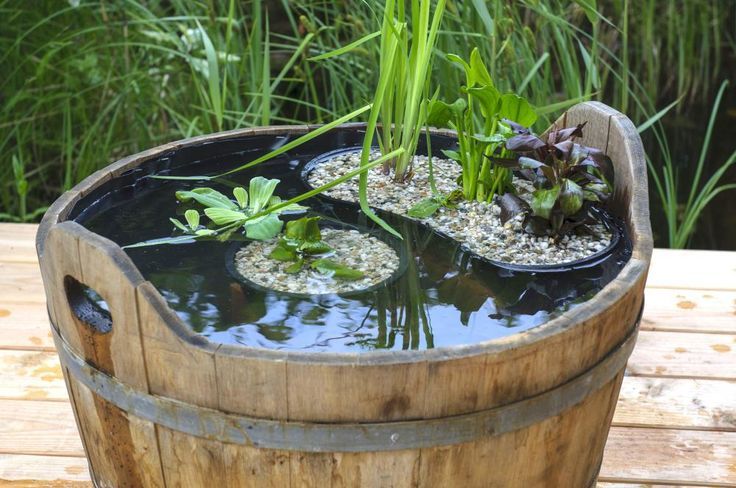 After placing an order and payment, we will arrange the delivery of the film directly to your door or to the warehouse of a transport company in your city.
Then, the bottom of the pond must be thoroughly cleaned of stones, roots and other foreign objects. It is advisable to fill the pit with a layer of clay 15-30 cm thick - this will serve as additional waterproofing in case of a violation of the tightness of the film. We make a sand cushion 10-20 cm thick on a layer of clay. Next, we cover the pit with a layer of geotextile, then a layer of geomembrane, and again a layer of geotextile. These materials are absolutely harmless to fish and plants that will be in the pond. You can learn more about the process in our article Pond film, and you can order waterproofing materials from the manufacturer on our website.
We weld geomembrane joints with a special welding machine that uses hot air or a wedge, or with a conventional building dryer. The seams are sealed and durable.
Do not forget to put a film on the banks of the pond and form an earthen castle there. The first layer of geotextile protects the film from sharp objects, stones and roots from below (from the ground side), the second layer of geotextile protects the film from stones and other objects (from the water side).
We cover the bottom of the reservoir with pebbles, coarse sand (sifted and washed), stones.
The soil that was taken from the pit will go to form the bank of the pond. Before filling the pond with water, plants can be planted in it, for example, water lilies. They are planted in places with a depth of at least 65 cm. It is recommended to plant them in special baskets, from which they can then be quickly removed from the pond. Now you can pour water into the pond.
After pouring water, another question arises: how to make a pond so that the water in it is always clean, not overgrown with algae? There are several ways to deal with these problems.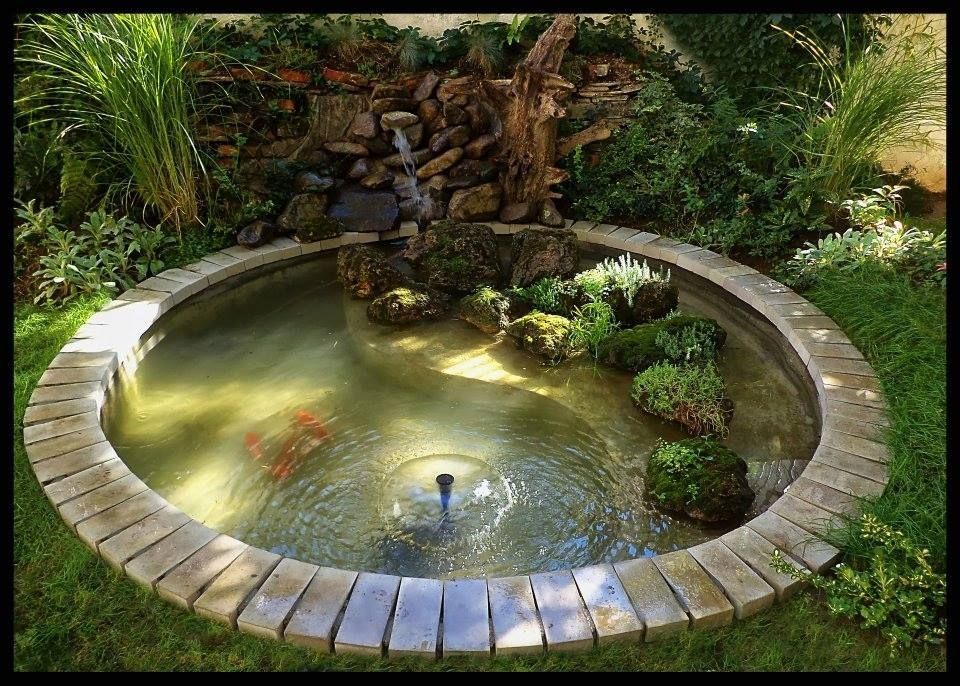 The first is a partial replacement of the water in the pond when it becomes cloudy. To do this, you will need a submersible pump, and water can be used to water the site. The second way is to use special filters for water purification. The third is planting such underwater plants that will compete with algae. These activities will help maintain clean water and will contribute to the favorable life of fish bred in the pond.
DIY PRUD
Artificial pond
PRED PID
Decorative pond 9000
How to make a pond at the DIY DIY and 30 Ideas
garden decoration. It can be equipped even on a small plot without resorting to the help of professionals. If desired, fish can be put into it or plants can be planted.
The first thing to think about when choosing a base for a pond is what will be its volume and shape.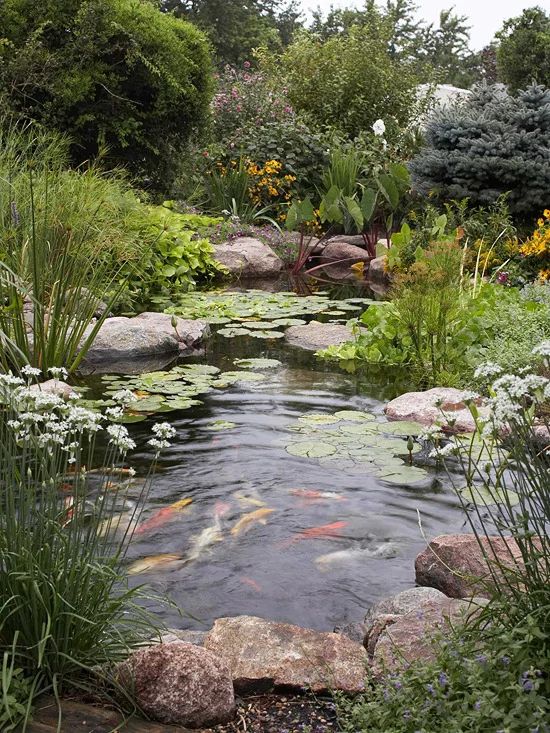 The pond can have the most natural shape, decorated with stones and aquatic plants.
Photo: Instagram nastya_shi_za
Or have a clear geometric shape. It all depends on the style of the site design.
Photo: Instagram _idei_dizainakrasoti
-
Baths, saunas, swimming pools
How to make a shower in the country with your own hands: tips for installing and choosing materials
1 Concrete Pond Base
Concrete is an inexpensive and durable material that can be used to create a pond of any shape and large enough. The best place for a concrete pond in a summer cottage will be a sunny area remote from trees and utilities.
First of all, you need to dig a hole for the future pond and make waterproofing using films, clay or a ready-made container.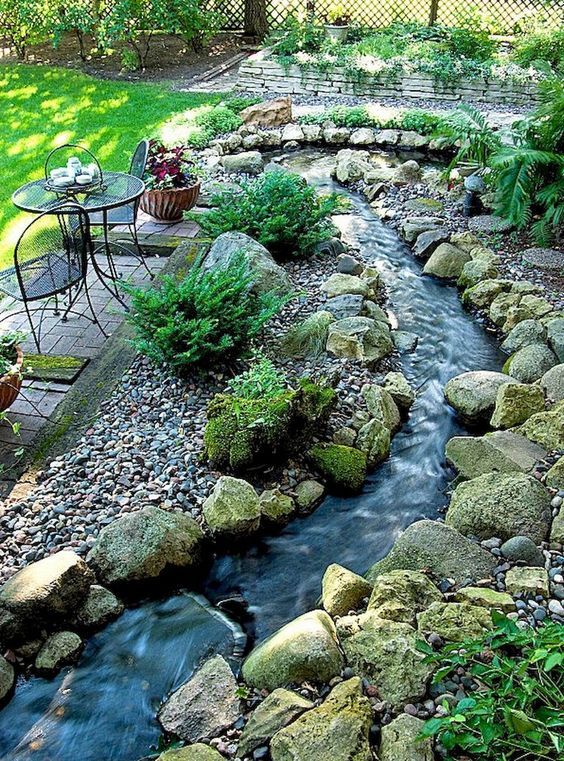
Photo: Instagram akvarium_org
Next, the first layer of concrete is applied and reinforcement is carried out - strengthening the structure due to the reinforcing mesh, which is pressed into the first layer. When the first layer dries, a second layer is applied, at least 5 cm thick. If necessary, the bottom is leveled with cement mortar, and the protruding parts are smoothed.
After drying, the concrete pond is often decorated with tiles or decorative stones. Pebbles or rubble are poured along the edges of the reservoir. Often figurines of birds and animals are used.
First of all, a pit breaks out on the site. It must match the outline and depth of the pond shape. A form is immersed in it and with the help of a measuring rod it is determined whether it is installed evenly. The gap between the mold and the pit is covered with sand and rammed. After that, soil is laid out in the pond, plants are planted and water is poured. Very often, such ponds are additionally decorated with small fountains.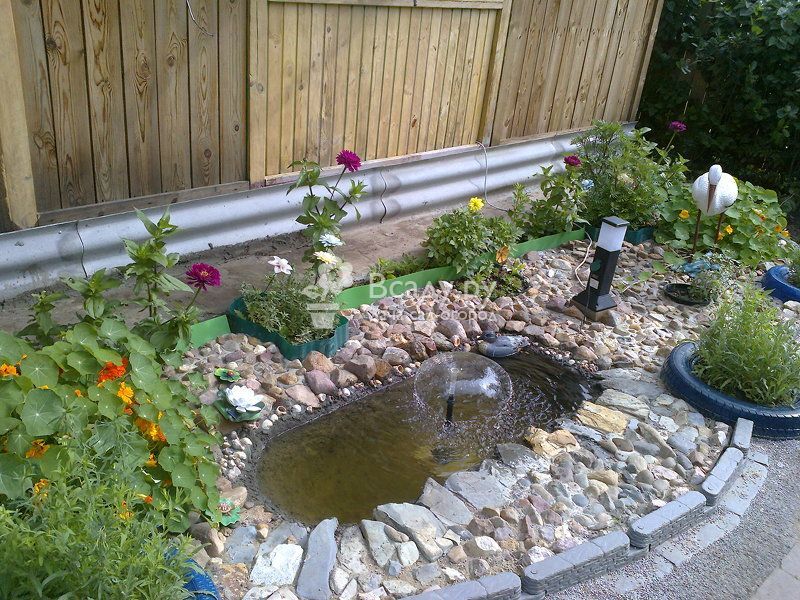
The first step is to create a pit of the required shape.
Photo: Instagram resttv
After creating the foundation pit and covering it with film, you need to decide whether a layer of pebbles or stone will be laid out on the film. Such a coating will make the pond suitable for planting plants and protect the bottom from mechanical damage.
Photo: Instagram abramovans_vision
On the other hand, such a pond will require regular cleaning, as decay processes of organic particles will occur between the film and stones. Therefore, many prefer to leave the film uncovered.
Photo: Instagram vesna_veda
The size of the required piece of film is calculated as follows: 2 depths and 1 meter of margin should be added to the length, and then to the width of the pond. The edges of the film must extend 20 cm beyond the edge of the pond so that they can be fixed without stretching the film.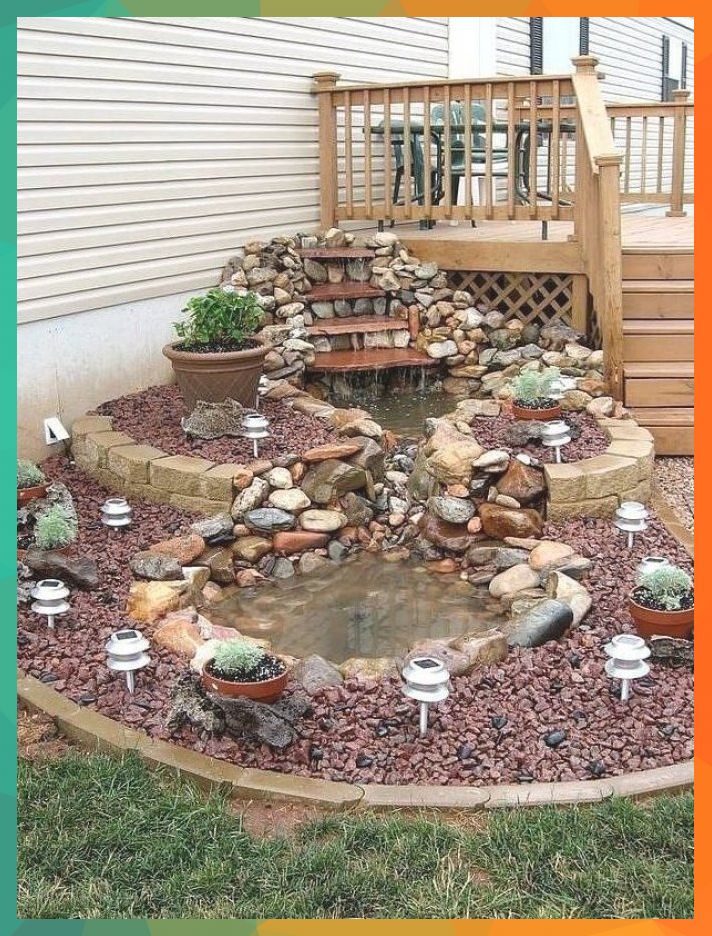
Photo: Instagram resttv
To fix the film along the perimeter of the pond, a groove 10 cm deep is pulled out. The edge of the film is inserted into it and pressed down with stones.
Photo: Instagram resttv
After that, the film is completely closed with the help of stones, decorative figurines and plants.
Photo: Instagram resttv
4 Pond from improvised materials
For those who are not ready to dig large pits and buy construction and finishing materials, small ponds are suitable, which can be created from an old bathtub, a basin, tires and other items.
Bathtub pond
A hole is dug under the bathtub, repeating its shape, with a small recess in the place where the drain will be located. Pebbles are laid out in this recess so that, if desired, you can remove the plug and the water goes into the ground.
Photo: Instagram tentiru
The bath itself is varnished or covered with paint, immersed in a prepared hole and filled with water.
