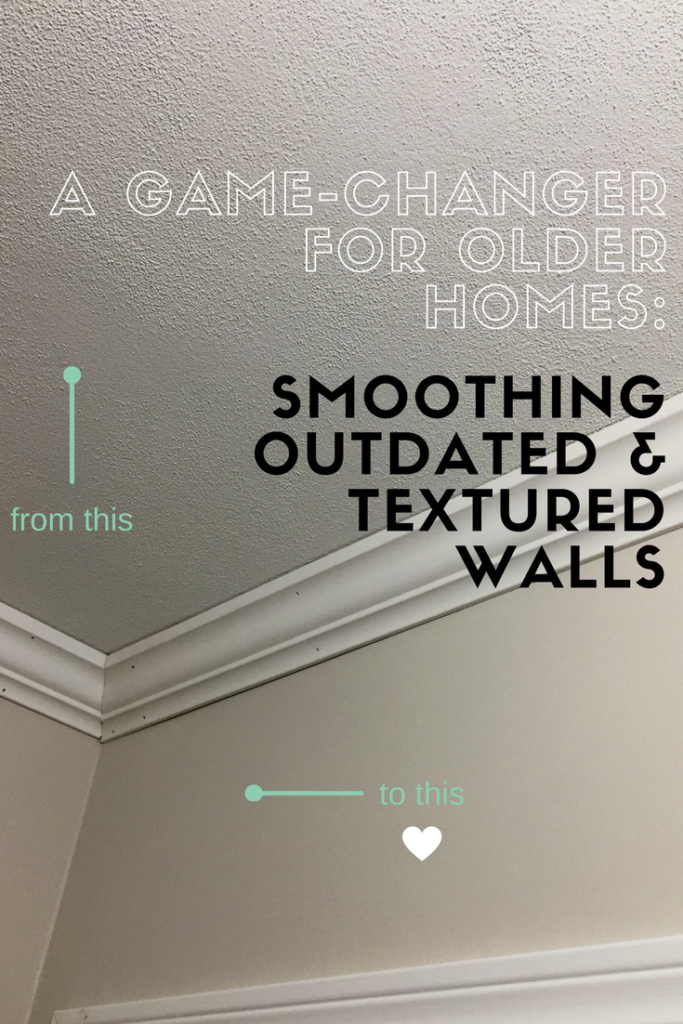
Removing plaster ceiling texture
How to Easily Remove Popcorn Ceiling
Very few things date a space like a popcorn ceiling—and not in a charming way. They're difficult to repair, hard to clean, and catch dust easily; but despite all these cons, their popularity exploded beginning in the late 1950s because they made easy work of finishing ceilings and hiding imperfections.
If it's time to redo a popcorn ceiling, there are three popular ways to take on the challenge: scrape, cover with a new layer of drywall, or skim coat with plaster to create a new textured ceiling.
How Much Does it Cost to Remove Popcorn Ceiling?
The national average for popcorn ceiling removal is $1,707, according to Home Advisor.
Removing popcorn ceiling can be a labor-intensive process that is best left to a licensed professional to ensure safe removal. In some cases, there may be asbestos present in the ceiling, so it’s always a good idea to consult with a pro before starting the project.
What is the Best Method for Removing Popcorn Ceilings?
Which is best? Depends on a lot of things, including the age and condition of the substrate (ceiling). We spoke with drywall and stucco expert Mike Poellinger, owner of Poellinger, Inc., in La Crosse, WI, who filled us in on everything a homeowner should know before deciding how to remove their popcorn ceiling. With his help, we break down the three methods to redoing popcorn ceilings below.
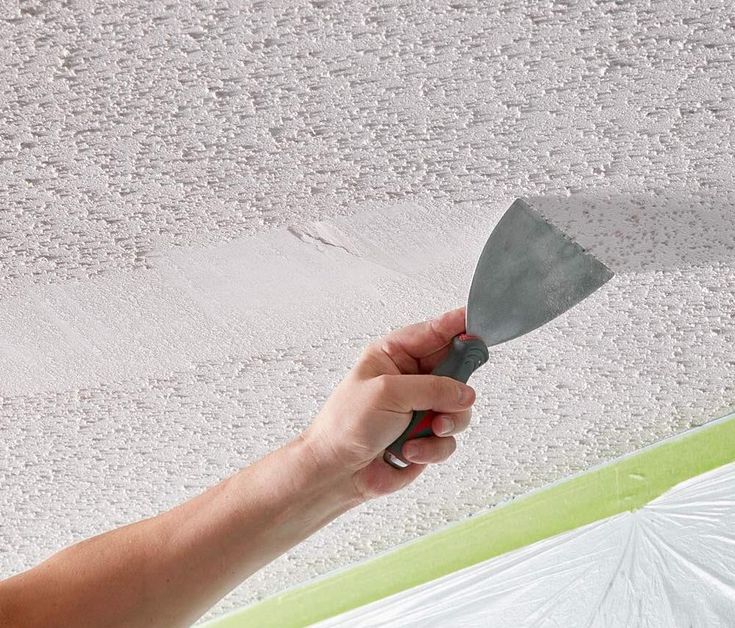
How to Scrape a Popcorn Ceiling
When scraping popcorn ceilings, you'll want to use a 4-inch utility knife or a drywall knife to chip away at the texture and create a smooth surface. You'll probably need to skim it with a thin layer of joint compound to smooth out imperfections, then sand it smooth before repainting.
Why do it?
This is by far the most common method of popcorn ceiling removal. Scraping your ceiling is a messy and slow process, but it's the most cost-effective and can be completed by one person. However, popcorn finishes and paint applied before 1979 often contained asbestos and lead, respectively, which could be toxic if sent airborne. If you live in an older home, purchase a home test for lead paint, and consult with an expert about testing for asbestos. If it tests positive, do not scrape it.
If your ceilings are not at risk for asbestos or lead paint, but they have been painted, it may be near impossible to scrape them, since the porous popcorn material will have soaked it up. Drywalling over them may be a better option.
Pro tip: Don’t spray your ceiling with water before you scrape
A lot of people spray their ceilings with water before scraping to loosen them up, but Poellinger doesn't recommend it. "Not only will it be a sloppy mess, but it will absorb into the ceiling and make it heavy; then it could start to expand and crack. It's more time-consuming, but it's best to scrape it dry."
How to Cover up with Drywall
Affix ceiling-grade gypsum board, which weighs significantly less than standard wall board, right over the existing popcorn ceiling. You'll need to securely screw it into the framing and be proficient at mudding and taping for a seamless job.
Why do it?
This is a better option than scraping if you have lead paint or asbestos, because you can encapsulate the harmful substance instead of sending it airborne. Plus, you'll get the smoothest possible finish, if you mud and tape properly. Alternatively, a team of pros will be able to complete the job in no time. Finally, if the ceiling has damage or if you already need to cut into it to reroute electrical or HVAC, you can make large cuts into the existing substrate without worrying about patching, since they'll soon be covered up anyway.
This method will come at a price—a 4-by-8-foot sheet of ceiling-grade gypsum board costs $9 apiece. It may also be difficult to maneuver the boards single handedly if you're DIYing it. And if you have crown molding, you'll likely have to remove it and replace it.
Pro tip: For a DIY removal project rent a drywall lift
Rent a drywall lift if you're DIY’ing it. It might cost about $40 per day (The Home Depot; location pricing varies), but it's safer and allows you to get a better handle on the material.
Skim Coat on a New Design
Yes, it's still a texture, but according to Poellinger, it's making a comeback—and it's fairly easy for homeowners to do themselves. Often found in older homes—pre-popcorn-era—this type of textured ceiling involves cleaning and prepping the existing substrate with quick-set drywall mud, applying a bonding agent like joint compound, and then applying a finish compound with a trowel or knife to create a new texture.
Why do it?
Many old-house owners want to recapture the history of the home, and a smooth ceiling won't fit the bill.
The most important consideration is to make sure the substrate is structurally secure, since adding a wet product could create more weight than the ceiling can handle and cause it to come down. You might need to consult with a contractor before getting started.
Pro tip: Don’t use ready-mixed material as your base
If you opt to skim coat, use a quick-set drywall mud, then touch it up with a ready-mixed joint compound. Don't use a ready-mixed material as your base, as it has a higher moisture content and contains silica, which is prone to causing some shrinkage, affecting your final look.
Do Popcorn Ceilings Have Asbestos?
If your home was built between the 1950s and 1980s, there is a chance that the popcorn ceilings contain asbestos, according to the Mesothelioma Center. The best way to determine if your popcorn ceilings contain asbestos is to hire an abatement professional, or you can purchase a test kit.
If you discover that your popcorn ceilings contain asbestos, don’t panic—and don’t try to remove it yourself. Removing it will cause the particles to escape into the air, making it easy for you and your family to breathe in the carcinogens. Leaving the ceiling intact poses no dangers.
If the ceilings must go, then it’s a good idea to call a professional abatement company to do the job.
Textured Ceiling: Quick Guide to Getting Rid
Spiky popcorn, sweeping swirls or – please, no – a floral pattern. Nothing dates a room quite like a strange texture on the ceiling. So if you have plans to redecorate, getting rid of a textured ceiling might well be top of your list, but know how to do it can be tricky, with lots of conflicted advice flying around.
Ugh, I know. They gained popularity in the 1950s because applying textured wallpaper or a textured render product is a cheaper and easier way of finishing a ceiling than a smooth plaster skim.
The main types of textured ceilingTo know how to get rid of your textured ceiling, you need to know what sort you have.
- Wood chip or Ingrain textured paper: This is made of two sheets of paper with tiny pieces of wood fibre pressed between them. It’s popular because there’s no need to line up sheets for continuation of a pattern, and can be easily painted with brushes or rollers. And it’s more common on walls but people also use it to finish ceilings easily and cheaply.
- Anaglypta-style textured wallpaper: These papers have a particular pattern. Craftspeople make them by spreading a wet mixture onto paper, before pressing with a roller embossed with the pattern.
 The high end version, Lincrusta, is made from linseed oil and wood flour. Patterns range from small and abstract to large scale impressions of period moulding. This latter is common on ceilings in period homes.
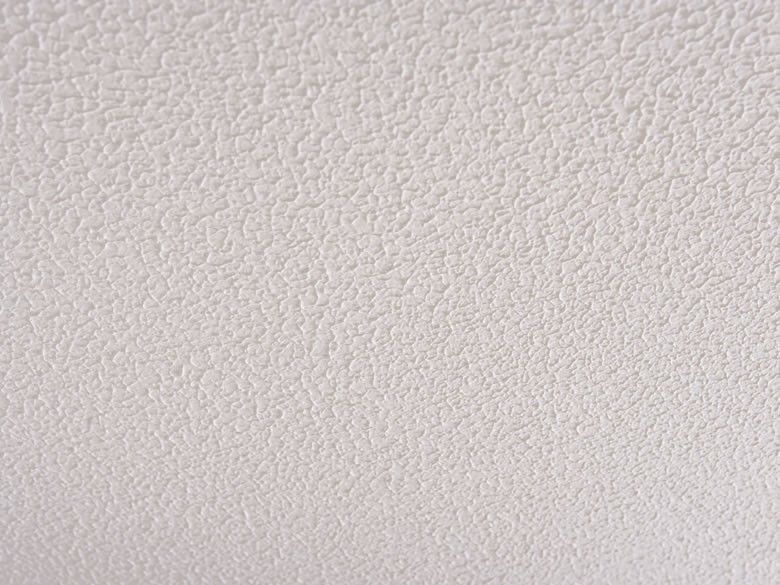
 - Popcorn, Stucco or Artex ceiling: These are also known variously as acoustic ceilings, stipple ceilings or by many other names. The key difference here is that this finish is not a pasted-on paper – it is a texture that contractors spray or paint directly onto ceiling boards. Because it’s easier than a smooth render finish, it is very common in more modern homes – especially those built int he 1970s and 1980s. NOTE: textured ceilings installed before 1979 may contain asbestos or lead (read on to see what to do if you think this may apply to your home)
You can easily identify woodchip by the look of the finish – small, irregular splinter shapes behind a satin-finish layer of paper.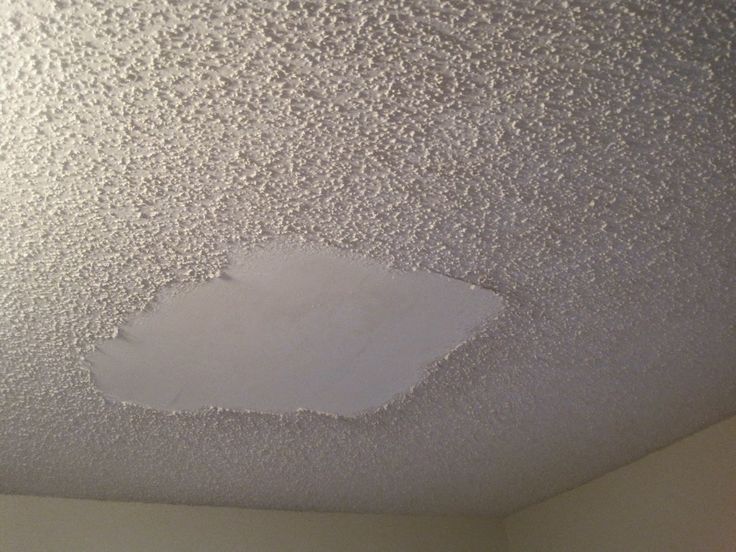
You can confirm other textured paper by looking for joins in sheets. However it is possible to expertly hide these joins (or simply obscure them with layers of paint) so try lifting a corner with a scraper.
In contrast, spiky ‘popcorn’ or Artex-style ceilings can be identified by the absence of paper. If there are no lines or creases, or the effect seems to extend in some places of your coving, that’s a painted/sprayed finish.
Filler Base Coat
£35
Buy Now
Wallpaper Steam Stripper
£44.95
Buy Now
Eco Artex Remover
£26
Buy Now
Polycell Crack-Free Ceilings
£20
Buy Now
Wallpaper Remover Solution
£5
Buy Now
Asbestos Home Testing Kit
£29. 95
95
Buy Now
How to remove a textured ceilingSo, now that you know what type of ceiling you have, there are 3 main ways it can be removed or obscured:
- Scrape the texture away
- Over-board, or cover with new sheets of plasterboard/drywall
- Skim coat
There are pros and cons to each technique, and not all of them are appropriate for all ceiling finishes. We’ll look at all 3 in a little more detail.
1. Scraping off a textured ceilingThis approach manually removes the texture from the ceiling.
Suitable for: Popcorn, Stucco or Artex ceilings
Not suitable for: Wood chip paper, Anaglypta-style paper
How to do it
- If the textured ceiling hasn’t been painted, use a spray bottle filled with room temperature water to lightly dampen small sections – don’t overdo this or you’ll make your ceiling itself wet and heavy! Add wallpaper remover solution for a quicker, more effective removal
- Use a drywall scraper to chip and scrape away the texture to create a smooth surface
- Finish with a layer of problem wall paint to cover imperfections
Pros
- Cost-effective
- One person can do it solo
- You can DIY it without a tradesperson
Cons
- Very time-consuming
- Messy
- Finish may not be as even
- If paper has been painted over, it will not dampen which may make scraping hard or even impossible
NOTE: textured ceilings installed before 1979 may contain asbestos or lead (read on to see what to do if you think this may apply to your home). If you’re worried about the possible presence of asbestos or lead and considering this approach, employ professional testers or order at-home kits to confirm or deny the presence.
Polycell Crack-Free Ceilings
£20
Buy Now
Wallpaper Remover Solution
£5
Buy Now
Asbestos Home Testing Kit
£29.95
Buy Now
2. Over-boarding or plaster-boarding over a textured ceilingThis approach creates a new secondary ceiling to entirely hide the textured ceiling
Suitable for: all types of ceiling (with conditions below)
How to do it:
- Measure and cut sheets of ceiling grade plasterboard (this is much lighter than regular plasterboard) to size
- Identify position of ceiling joists and attach plasterboards using suitable length of screw and plugs
- Use mudding and taping technique for an even finish (this involves using fibreglass tape to cover seams and create sharp edges)
Pros:
- Smoothest possible finish
- Suitable for ceilings that may contain asbestos or lead
- Can preserve period moulding or coving by creating a slim shadow gap round edges
Cons:
- More expensive
- Requires two people
- Requires skilled tradespeople experienced in plasterboard
- Very small loss of ceiling height (expect around 2cm)
 Skim Coating a Textured Ceiling
This technique applies a skimming composite directly to the texture to even it out.
Suitable for: Popcorn, Stucco or Artex ceilings
Not suitable for: Wood chip paper, Anaglypta-style paper UNLESS paper is removed first using a traditional steam-and-strip technique (the resulting ceiling finish will highly likely need re-finishing with this method)
How to do it:
- Clean the existing textured ceiling
- Apply a coat of PVA per traditional plastering techniques
- Apply a thin layer of a lightweight plaster composite to a smooth finish
Pros:
- Quicker and cheaper than over-boarding
- Requires 1 person
Cons:
- Can only be carried out if the existing substrate is structurally secure. Because adding another layer of plaster may be more weight than the ceiling can support therefore it could result in failure.
NOTE: Because of the risk associated with this technique, I recommend always getting a second opinion if your contractor or plasterer suggests it.
Two plasterers I consulted advised against it and gave me all the information why, however they also explained the likelihood of a failure in our particular instance was low. Therefore they’d be willing to do it if that was our chosen route, provided we shouldered the risk. The third plasterer said he would not be prepared to use this technique at all due to the risks. All three made the point that if a plasterer ever enthusiastically suggests this approach and doesn’t discuss the risks with you – run for the hills. Therefore we opted for over-boarding in the end because your girl has a very low appetite for risk!
How to remove plaster from the ceiling without problems
Gusevsky Andrey Anatolyevich
Before removing the old plaster from the ceiling, make sure that this step is necessary old cover.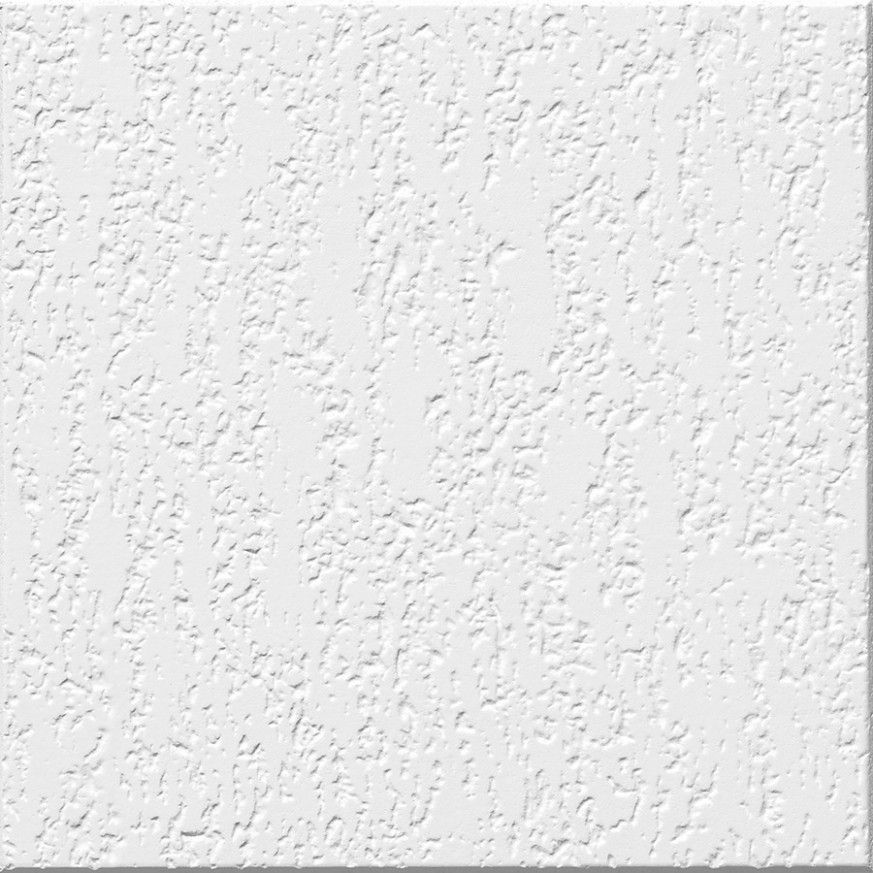 Beating plaster is not an easy and pleasant task, and if you have to do it yourself, tune in to a long, dirty and physically very expensive process.
Content of Article
- In which cases the plaster needs to be deleted
- Technology for removing the old plaster
- Tools
- Methods
- Conclusion
In what cases the plaster must be removed
not necessarily, if it holds well, does not threaten to fall off. Or if you are going to build a suspended plasterboard structure, which is not afraid of small collapses.
But the stretch ceiling from such incidents may well suffer. But situations are possible when such a coating requires full or partial replacement, a thorough repair.
The plaster will have to be completely chipped off in the following cases:
- If it crumbles, does not adhere well or is covered with frequent cracks. The strength of the coating is easily determined by tapping with a hammer over the entire area: even if the plaster does not fall off due to impacts, a dull sound will point you to “weak” places;
Please note.
If the area of such areas is no more than 15-20% of the entire surface, you can limit yourself to partial removal of the coating, followed by embedding with fresh plaster.
- If the ceiling is “blooming”, that is, affected by fungal mold. This happens with regular leaks from above - from neighbors or because of a poorly made roof. There is only one way to get rid of the fungus: completely repelling the plaster to the base, drying it and treating it with antifungal impregnation. Of course, you first need to eliminate the cause of the leaks.
A ceiling in the condition shown in the photo would require a major overhaul
Fortunately, these situations do not occur often, and in most cases it is possible to minimize costs by beating off the plaster only in problem areas. These can be cracks along the joints between ceiling tiles, damp places, greasy stains that cannot be removed by washing and degreasing.
This is important! The old coating is removed not only from weak areas, but also around them by about half a meter in all directions.
The cracks also deepen and widen into a V-shape. Subsequently, they are filled with a solution in several steps with drying of each layer.
Cracked plaster is sanded down to a stable layer
When partially removing plaster, make sure that the remaining coating is really holding well and will not start to fall off during the installation of "patches" from exposure to moisture from the mortar.
Technology for removing old plaster
This work can be done in different ways, depending on the thickness of the layer, type and strength of the plaster. In accordance with this, the necessary tools and fixtures are selected.
Tools
You may need:
- Axe;
- Hammer;
- Rigid spatula;
- Brush or sponge;
- Hammer drill;
- Bulgarian;
- Pulverizer;
- Ladder or goats.
There are also special machines for removing plaster, but the price of such a professional tool is quite high, and it makes sense to purchase it only with a very large amount of work.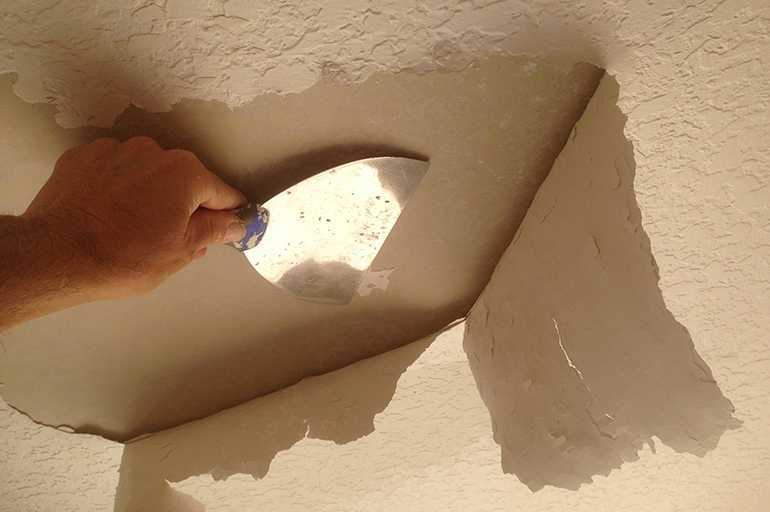
Special concrete grinder with vacuum cleaner
You should also take care of protective equipment for yourself: gloves, respirator, goggles, headgear. If there is a risk of large pieces of plaster falling on the head, it should be a construction helmet.
Methods
Before removing the plaster from the ceiling, remove all furniture and other interior details from the room: the work will be dusty. Cover the floors with cling film or old newspapers.
Even if they do not need protection and are also subject to repair, this measure will allow you to quickly clean up the garbage after work is completed. First of all, tap the entire surface of the ceiling with a hammer so that the weakened areas disappear.
Then proceed according to the situation:
- To remove gypsum putty, it is abundantly wetted with water using a sponge, cloth or brush (see How to remove putty from the walls and for how long it is necessary). A few minutes after wetting, the coating will swell and can be removed with a spatula or scraper;
Gypsum putty cleaning
The water should be warm, to enhance the effect, you can add a little potato starch to it.
- Strong areas that cannot be hammered can be cut with an axe;
- Coarse-grained plaster is removed by alternating actions with a hammer and a spatula: tapped - cleaned;
- For large areas, use a grinder with a diamond cut-off wheel. They make mutually perpendicular cuts on the surface, weakening the strength of the coating;
- It is also possible to use a perforator with a special nozzle, working in the “blow” mode.
Spray the ceiling periodically with water from a spray bottle to reduce dust. And don't forget to take precautions. The safety instructions require the mandatory use of protective equipment and checking the stability of the ladder.
After removing all the plaster from the ceiling, the surface is processed with coarse sandpaper - manually or with a grinder. This will get rid of the remnants of the dry mortar and make the surface smooth. And before applying a new leveling layer, it must be washed with warm water and dried thoroughly.
Conclusion
Breaking is not building, no special skills are needed to remove the old coating from the ceiling. But it will take a lot of physical strength and patience. The video in this article will give you a complete understanding of the difficulties you may encounter in the process.
Removing plaster and putty from the ceiling: nuances, tools, quality assurance
All instructions for the device and application of plaster or putty compositions begin with words about preparing the surface for work.
Cleaning of the old coating is the main stage of in the process of preparation, and if you do not follow certain rules during its implementation, then it is simply impossible to achieve a quality result. Even if the final result immediately after plastering or puttying seems satisfactory, it will not be long. After a certain period of time, even with minor temperature changes or changes in humidity, gaps made during surface preparation work will begin to make themselves felt.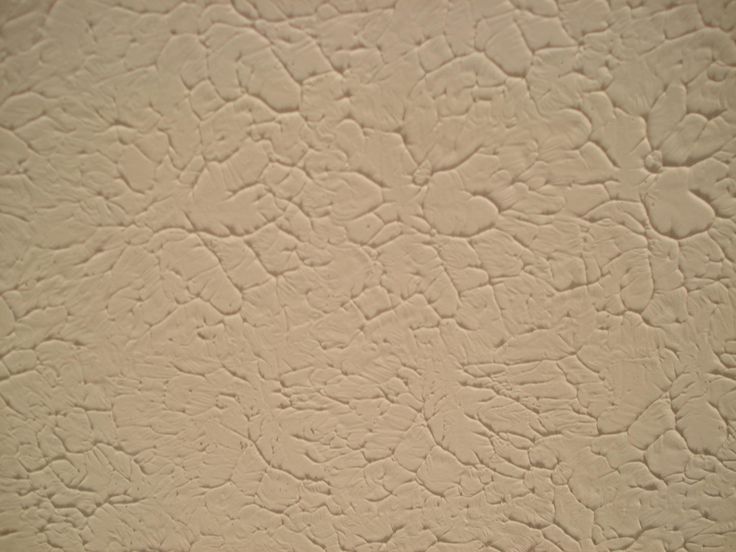
When a dull sound is heard when the applied coating is tapped , cracks or swellings begin to appear in some areas, then grief - the builders are looking for an excuse in the poor quality of the plaster composition or in another moment beyond their control. An experienced builder will easily find the cause. This is often the poor bearing capacity of the plastered surface .
Contents of the article:
- Looking at a certain plane
- Warranty of high -quality work
- nuances of removing plaster
- If you are lucky
- Larbage case
- Tool to help you 9001 finishing works are divided into three types according to the type of processed planes:
- floor covering device;
- wall decoration;
- ceiling device.
- old gypsum or cement plaster;
- any kind of putty;
- have painted spots;
- greasy stains.
- a hard spatula 10 cm wide (preferably stainless steel) or a special scraper;
- chisel;
- Grinding grater with coarse diamond mesh or wear-resistant sandpaper;
- long pile roller;
- paint tray.
- metal brush;
- special metal scraper, similar to the sole of a climber's boot.
- angle grinder with cutting disc for concrete and metal brush attachment;
- perforator with chisel attachment;
- belt sander with coarse sandpaper belt;
- random orbital sander with carbide cutter;
- vibrating diamond mesh grinder.
- manual - make cuts to the slab with a scraper, then pry off the plaster with a spatula, and in especially stubborn places go through the metal with a brush;
- mechanical:
- 1) with a layer of up to 0.5 cm - with an eccentric grinder with a cutter;
- 2) with a layer of 0.5 cm - grinder with a disk on concrete to make cuts in the form of a grid, then use a perforator with a wide chisel to clean the prepared surface;
- 3) for removing particularly strong putties, such as alkyd, a vibrating or belt sander will help a lot.
- closed goggles;
- respirator - from dust and for partial protection of the face from small fragments;
- work gloves;
- overalls with elasticated cuffs.
Each one has different requirements for a good finish. There is no, as mistakenly believed, a universal approach to working with walls and ceilings.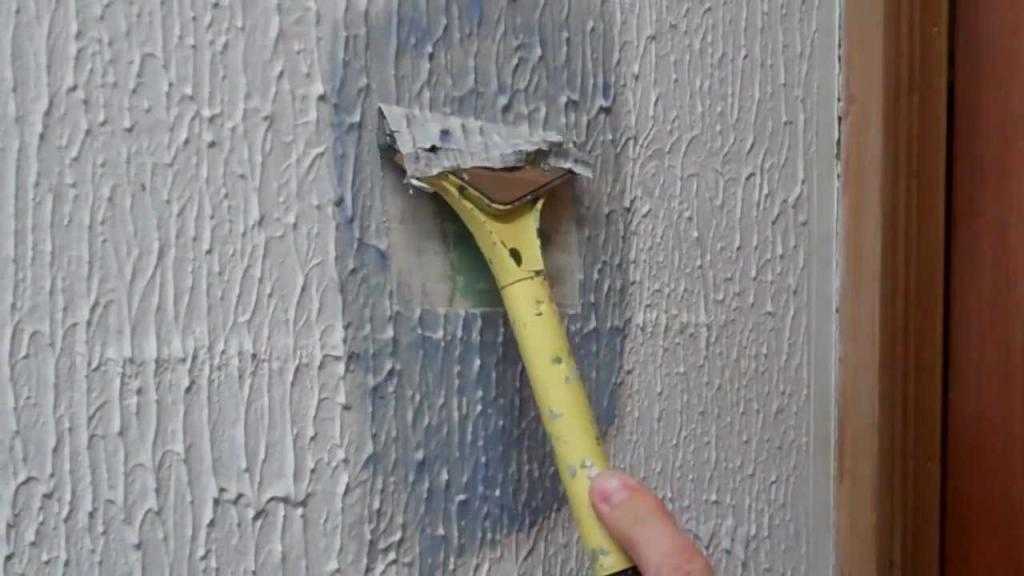
The most critical area where the slightest defects are visible is the ceiling of any room. Due to the law of gravity, any finishing composition uses the opportunity to break away from the surface to which it is applied, if on it:
Guaranteed quality work
To make sure that after all the work, from plastering to painting, a decent result is guaranteed, everything must be removed from floor slabs , up to dust . The existing opinion that it is necessary to remove only loose areas is erroneous. The left fragment of the gypsum mortar will inevitably repel the cement-based composition applied to it. In this case, no deep penetration primer will help, supposedly penetrating through the left old composition and gluing it to the base.
The question of whether and how to remove the old putty would not have arisen if the process itself was not quite problematic in many moments. There are cases that are not complicated and what is applied to the plates crumbles by itself. A spatula and stepladder are all you need for this job. But, as a rule, not everything is so smooth.
The nuances of plaster removal
Manual removal of the old coating involves the application of certain physical efforts and constant movement. A small working area is available from the stepladder and the stepladder can be knocked over if the covering does not give in and you have to rest. In a room with a standard height of 2.5 meters, it is better to work from a regular kitchen table. It's safer, plus you need to move the table much less often than the stepladder.
Before starting the process itself, it is advisable to cover the floor with film - otherwise it will be impossible to completely remove the remains of the fallen putty from the screed. In the event that there is a finished coating on the floor that cannot be dismantled after repair, the film must be spread in two or three layers to ensure reliable protection.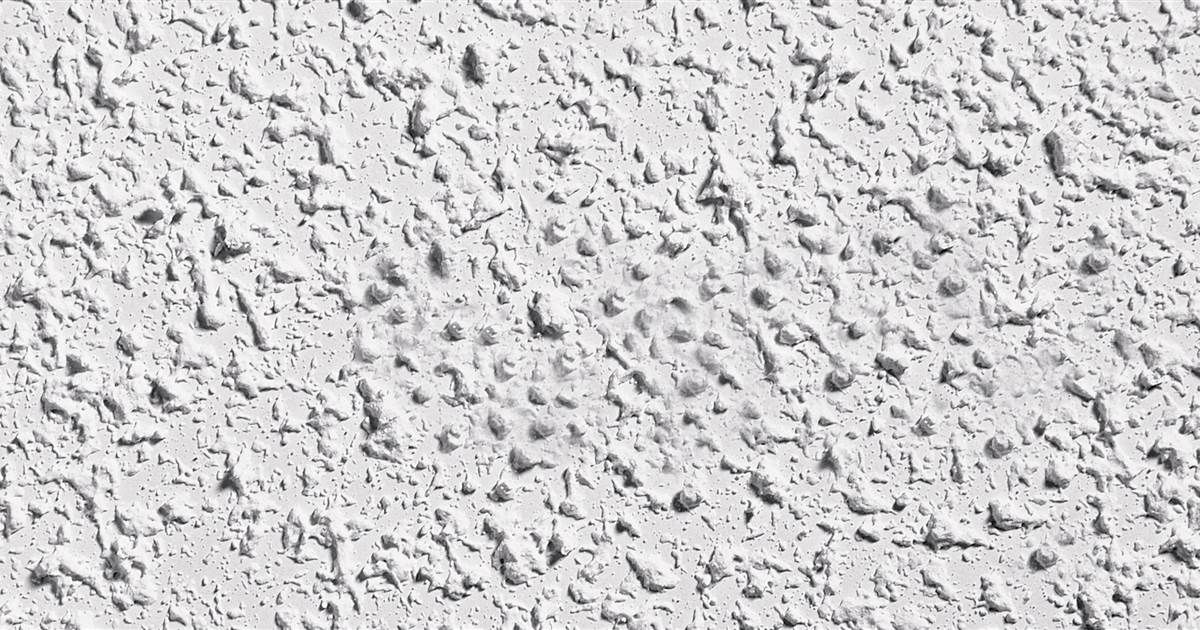 Doors and windows should also be covered with a covering film, so the cleaning time after repair work will be reduced.
If you are lucky
Existing ceiling slabs are divided into two types.
The first - panel and monolithic houses, where the ceiling is one solid slab, which is rarely plastered. Basically, only putty compounds were used here, and how to remove putty from the ceiling depends on its quality. With a simple version, a simple set of tools is required for dismantling:
The first step is to determine how strong the peelable coating is. To do this, it is enough to try to remove the applied composition in different places of the ceiling up to the floor slab itself. If this succeeds, work can begin.
Water is applied with a roller from the bath to the gripper, which is taken into work. In the event that the ceiling was whitewashed - this is a prerequisite. Old whitewash perfectly absorbs water, so it can be easily removed after several passes with a roller using a spatula. Any other coating is wetted to reduce dust.
A chisel may be needed to remove small build-ups of concrete on the slab itself. Also, you can’t do without it in places where heating pipes pass through the ceiling. This is a difficult area that will have to tinker with, since the pipes are located next to the wall and the hole under them is usually patched up with mortar.
If the process was not particularly difficult, it remains to remove the missed coating residues with a grater with a diamond mesh.
Difficult case
A room in which the ceiling is made of hollow core slabs is a more difficult variant of work . A serious minus and the main difference from panel and monolithic houses is the presence of seams and differences in height between adjacent slabs. To eliminate these shortcomings, until recently, a complex solution was used - lime, sand, cement in a certain proportion. If excess cement was added to the composition for a better fight, then such a solution does not differ much in hardness from concrete.
Difficult cases can also be referred to when a material as difficult to dismantle as alkyd or polymer putty was used as a leveling material. Here, without the use of a special tool, the desired result cannot be achieved. When solving problem how to remove plaster from the ceiling, can not do without the use of a special tool.
Tools to help you
Special tools are divided into two categories - manual and mechanical. By manual include:
More varied mechanical tools:
First of all, mortar is knocked down from the seams and on the differences between the slabs using a perforator with a chisel . Further actions depend on the thickness of the layer and the strength of the plaster. There are options here:
Safety
There are folk methods of how to quickly remove the plaster from the ceiling - from the chains on the perforator to spray various homemade corrosive mixtures. These are quite traumatic variants of and it is better not to use them. But, in any case, it is extremely important to take care of the safety of work.
In addition to observing the rules for working with power tools, it is necessary to use personal protective equipment:
Special care must be taken when cleaning plaster in corners where the ceiling meets the wall . Sometimes the electrical wiring running along the wall is not, as it should be, 10 cm from the ceiling, but goes exactly at the junction and is covered only with a plaster composition. When working with a spatula or puncher, there is a possibility of damage to it and electrical injury. To avoid this, it is advisable to ring the place where the wires are located with a special device before work.