Polishing silver plated silverware
How to Clean Silver-Plated Items Easily and Naturally
This baking soda and water mixture restores shine
By
Lauren Thomann
Lauren Thomann
Lauren Thomann is passionate about crafting and DIY home improvement, writing on both topics. While refurbishing her 1916 bungalow on her own, she shares lessons learned through her DIY and home improvement articles.
Learn more about The Spruce's Editorial Process
Updated on 07/12/22
Reviewed by
Amanda Rose Newton
Reviewed by Amanda Rose Newton
Amanda Rose Newton holds degrees in Horticulture, Biochemistry, Entomology, and soon a PhD in STEM Education. She is a board-certified entomologist and volunteers for USAIDs Farmer to Farmer program. Currently, she is a professor of Horticulture, an Education Specialist, and pest specialist.
Learn more about The Spruce's Review Board
Fact checked by
Jillian Dara
Fact checked by Jillian Dara
Jillian is a freelance journalist with 10 years of editorial experience in the lifestyle genre. She is a writer and fact checker for TripSavvy, as well as a fact-checker for The Spruce.
Learn more about The Spruce's Editorial Process
The Spruce / Letícia Almeida
Project Overview
You can do things to slow silver from becoming tarnished and dull, but ultimately the item will need to be cleaned if you want it to look like new. There are many commercial products to clean silver and silver-plated items, but you also can clean silver naturally. Using common household items will save you money, and cleaning silver this way is much less labor-intensive.
Use the following steps to clean your silver naturally.
Tips
Toothpaste is a mild abrasive, often made with baking soda, that can double as a cleaning remedy for many things around the house, including silverware and jewelry. Other household items that you can use successfully to polish silver include vinegar, lemon juice, and ketchup. Each has weak acids that can get rid of tarnish.
Watch Now: How to Clean Silver Without Chemicals
Equipment / Tools
- Bucket, washtub, or baking dish
- Pot to boil water
- Tongs
Materials
- Aluminum foil
- Baking soda
- Salt
- Soft rag
The Spruce / Letícia Almeida
-
Assess the Silver Item
Before you clean silver, evaluate the basic characteristics of the item.
 Is it solid silver or silver plate? Is it old? How much is it worth? If you inherited antique silver, check with a local antique dealer to determine its value. If you want to sell the item, the dealer can help you decide whether it's best to leave the item in as-is condition.
 Restoring silver is a hotly debated topic in the antique market. Some people think polishing causes damage and reduces the value, while others want the item to look as new as possible. Some leave only a portion of the tarnish intact to show character.
If you aren't planning on reselling the silver-plated object any time soon, then how you restore it is entirely up to your discretion.
The Spruce / Letícia Almeida
-
Gather Required Supplies
You'll need roughly 1 cup of salt and 1 cup of baking soda for every gallon of water used. Pick a bucket or tub that is large enough for the silver to lay flat and be covered in the liquid.
The Spruce / Letícia Almeida
-
Line a Bucket With Aluminum Foil
Place a few sheets of aluminum foil on the bottom of your container, and make sure that the shiny side is facing up.
 For this process to work, you'll need the silver to be directly touching the foil.
The Spruce / Letícia Almeida
-
Sprinkle Salt and Baking Soda on Foil
Sprinkle equal parts salt and baking soda on top of the aluminum foil.
The Spruce / Letícia Almeida
-
Add Boiling Water
Bring water to a boil, and carefully pour it into the container. Make sure the bucket you're using is deep enough to withstand the fizzing that occurs when the water hits the baking soda and salt. Boil enough water to cover the items you will be cleaning.
Warning
When pouring, stand back because the steam could potentially scald your skin, and the smell is not pleasant.
The Spruce / Letícia Almeida
-
Allow Silver to Soak
Use tongs to add the silver into the container. In most instances, you'll notice the tarnish starts to dissolve immediately. If some tarnish is stubborn, add more salt, baking soda, or water.
 Ensure the aluminum foil is in direct contact with the silver item.
 Some people let their silver sit for just a minute or two. Others leave it to soak for up to a half hour. You'll be able to tell how long your silver needs to soak based on how much tarnish is still left on the piece. To see if the silver is ready, carefully remove it from the hot mixture with tongs, and wipe with a soft rag. If there is still tarnish, place it back in the bucket for additional soaking.
Tip
Be aware that some darker spots might be the base metal showing through the silver plating. This is common on older pieces where the silver plating has been worn down over time by polishing.
The Spruce / Letícia Almeida
-
Rinse and Dry
After removing the object from the bucket, rinse it thoroughly with clean water. The goal is to remove any leftover salt and baking soda residue that could speed up the tarnishing process in the future.
Dry the piece with a soft rag.
 And make sure there is no moisture left, which could also cause the silver to tarnish again rather quickly.
 The Spruce / Letícia Almeida
Article Sources
The Spruce uses only high-quality sources, including peer-reviewed studies, to support the facts within our articles. Read our editorial process to learn more about how we fact-check and keep our content accurate, reliable, and trustworthy.
Antique Silver. The British Antique Dealers' Association.
Burns and Scalds. United Kingdom National Health Service.
How to Clean Silver With a Homemade Cleaning Solution
By
Mary Marlowe Leverette
Mary Marlowe Leverette
Mary Marlowe Leverette is one of the industry's most highly-regarded housekeeping and fabric care experts, sharing her knowledge on efficient housekeeping, laundry, and textile conservation. She is also a Master Gardener with over 40 years' experience; writing for over 20 years.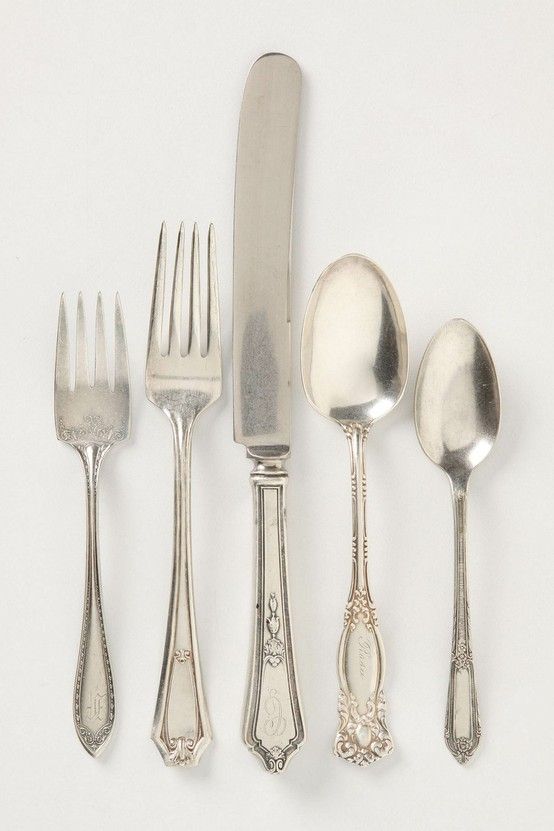
Learn more about The Spruce's Editorial Process
Updated on 08/21/22
Reviewed by
Amanda Rose Newton
Reviewed by Amanda Rose Newton
Amanda Rose Newton holds degrees in Horticulture, Biochemistry, Entomology, and soon a PhD in STEM Education. She is a board-certified entomologist and volunteers for USAIDs Farmer to Farmer program. Currently, she is a professor of Horticulture, an Education Specialist, and pest specialist.
Learn more about The Spruce's Review Board
Fact checked by
Emily Estep
Fact checked by Emily Estep
Emily Estep is a plant biologist and fact-checker focused on environmental sciences. She received a Bachelor of Arts in Journalism and a Master of Science in Plant Biology from Ohio University. Emily has been a proofreader and editor at a variety of online media outlets over the past decade.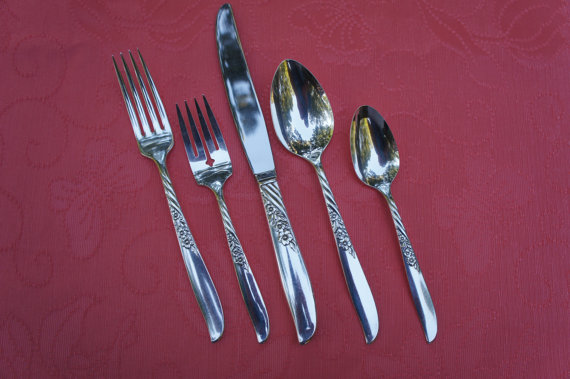
Learn more about The Spruce's Editorial Process
The Spruce / Ana Cadena
In This Article
-
How Often to Clean Silver
-
Before You Begin
-
How to Clean Silver
-
Additional Tips
Project Overview
If you love the look of silver pieces but don't enjoy polishing them to keep them looking their best, there is a DIY cleaning method that doesn't require any elbow grease.
When tarnished silver, salt, baking soda, aluminum foil, and water are combined, a chemical reaction occurs known as ion exchange. During this process, the tarnish on the silver (silver sulfide) is released and becomes aluminum sulfide on the foil. If the silver is tarnished enough, you may see brown or yellowish tarnish flakes on the aluminum foil. The process can be used on sterling silver or silver-plated items.
How Often to Clean Silver
Silver should be cleaned at least once a year, though silver pieces may need to be cleaned more frequently depending on how often you use them and how they are stored.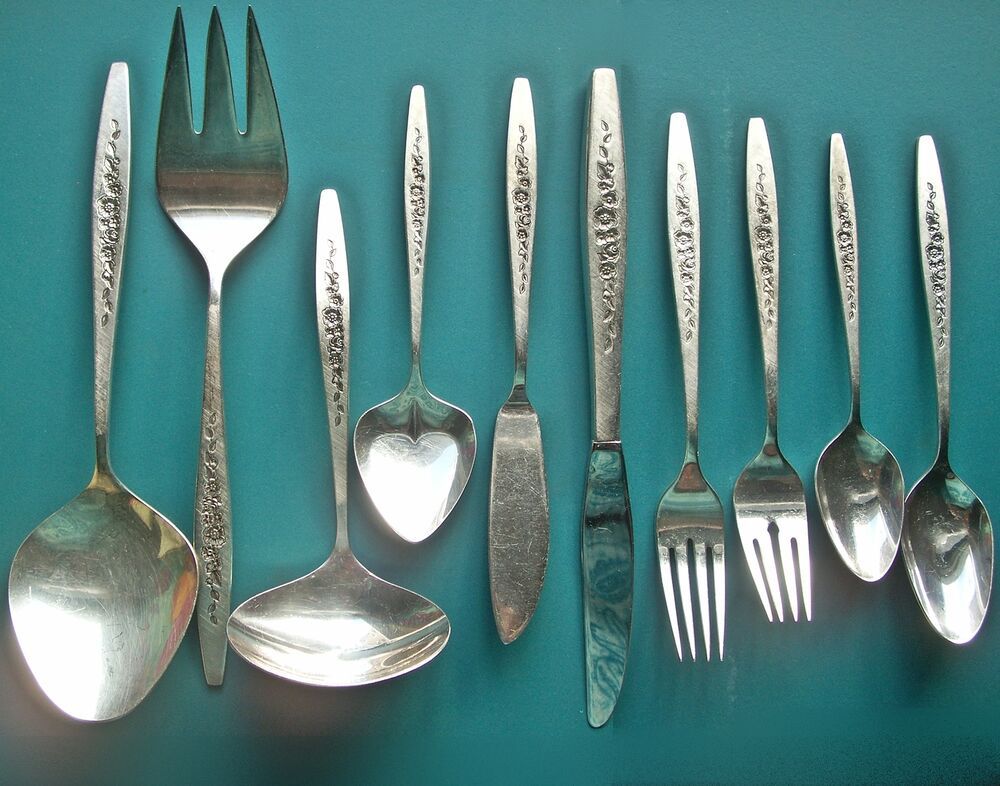 For silver pieces you use or wear daily, cleaning every other month is usually sufficient. Tarnish does not go away on its own and cleaning is easiest if the piece is only slightly dull or tarnished.
Before You Begin
Warning
While this cleaning method will remove tarnish, it can also harm your silver by loosening glued areas and removing so much of the patina that ornate patterns are lost. It is not recommended for use with fine silver or tarnished jewelry that is set with gemstones or pearls.
When the silver is added to the cleaning solution, the chemical reaction will create fumes (hydrogen sulfide) that smell like rotten eggs. Be sure to work in a well-ventilated area. You will also be using boiling water so take precautions to prevent accidents.
The 9 Best Jewelry Cleaners of 2022
Equipment / Tools
- 1 Aluminum or glass pan large enough to submerge the silver
- 1 Tea kettle or pot for boiling water
- 1 Stovetop
- 1 Microfiber cloth
- 1 Plastic or wooden tongs
Materials
- 1 Aluminum foil
- 1 Table salt
- 1 Baking soda
- 1 Boiling water
Watch Now: How to Clean Silver Without Chemicals
How to Clean Silver with a Homemade Solution
The Spruce / Ana Cadena-
Line Pan or Dish
Line the bottom of an aluminum pan or glass baking dish with aluminum foil.
 You can use a plastic tub but be sure that it will not be damaged by the boiling water.
Tip
If you select a pan that can be placed directly on the stovetop, you can create the cleaning solution, submerge the silver, and heat the water to boiling on the stovetop. This method works best for heavily tarnished items that need to stay in the heated solution for a longer period.
-
Add the Silver
Place your silver pieces on top of the aluminum foil. Make sure they are touching the aluminum foil but the pieces themselves should not touch each other.
The Spruce / Ana Cadena -
Create the Cleaning Mixture
Sprinkle two tablespoons of table salt and two tablespoons of baking soda into the container.
The Spruce / Ana Cadena -
Add the Boiling Water
Pour enough boiling water into the pan to completely cover the silver.
The Spruce / Ana Cadena
-
Soak the Silver
After a few minutes, turn over the silver pieces using a wooden or plastic utensil (tongs work best) so that as many surfaces of the item touch the foil as possible.

Allow the silver to soak for two to three minutes on each side. Soak as long as five minutes for heavily tarnished items. If the water cools down during this process, add more hot water and refresh the baking soda and salt.
The Spruce / Ana Cadena -
Remove, Rinse, and Buff the Silver
Remove the silver items, being careful not to drag them across the foil. Rinse them with fresh water and buff dry with a lint-free microfiber cloth.
The Spruce / Ana Cadena
Tips to Keep Your Silver Clean Longer
- Don't be afraid to use your silver jewelry and silverware—silver that's used more often tends to tarnish less.
- Store all silver items in a cool, dry place. Higher humidity increases the likelihood of tarnishing.
- When storing silver, keep it free from moisture by wrapping it in acid-free tissue or fabric that deters tarnish, such as unbleached cotton, silver cloth, or tarnish-resistant flannel.
- Use chalk or silica bags in the storage area to help absorb moisture that can speed tarnish development.
- For a quick polish, make a paste of baking soda and water. Dip a soft cloth in the paste and gently rub it on the silver. Keep moving to a clean area of the cloth as tarnish is transferred. Rinse well and dry the silver with a microfiber cloth.
How to Clean Gold Jewelry the Right Way
Originally written by
Erin Huffstetler
Erin Huffstetler
Erin Huffstetler is a frugal living expert who has been writing for over 10 years about easy ways to save money at home. She's covered money-saving advice and tricks for numerous publications, including The Wall Street Journal, The New York Times, and Forbes, among others. She is the owner of "My Frugal Home," a money-saving, frugal living how-to guide.
Learn more about The Spruce's Editorial Process
Article Sources
The Spruce uses only high-quality sources, including peer-reviewed studies, to support the facts within our articles.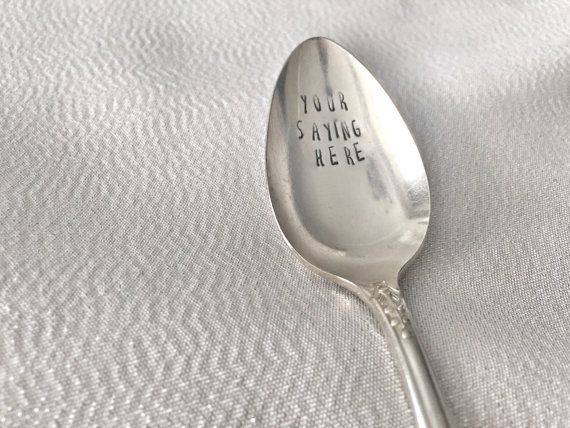 Read our editorial process to learn more about how we fact-check and keep our content accurate, reliable, and trustworthy.
Finishing Techniques in Metalwork. Philadelphia Museum of Art
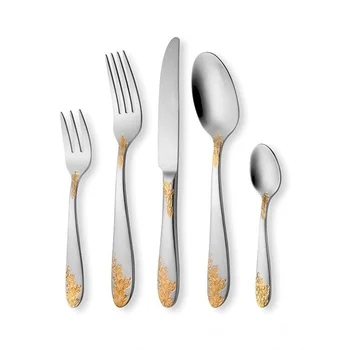
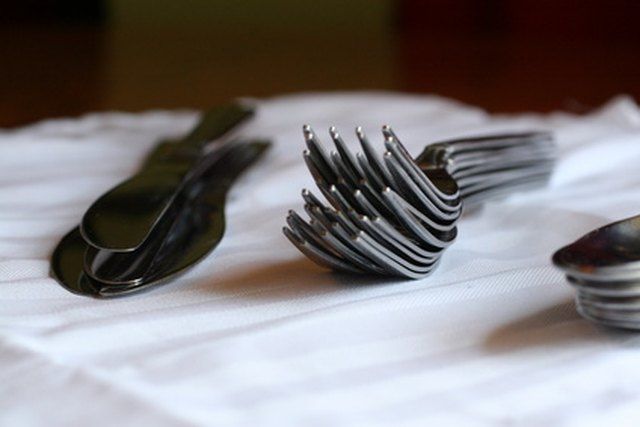
Homemade ways to polish silverware: pros and cons
Homemade ways to polish silverware: pros and cons luxury items, and, like everything luxurious and unusual, it requires a special attitude and increased attention. Despite the fact that, unlike porcelain and glass, silver cutlery cannot be accidentally broken, this metal is very capricious and does not tolerate being left unattended. nine0005
Silver will require regular maintenance from you. This is the first thing you need to know if you are going to buy children's silver cutlery or just add a silver fork to your collection. For every plus there is a minus, and even the most perfect things in this regard are no exception. However, this is not a reason to deny yourself the pleasure of owning truly luxurious appliances made of precious metal. Moreover, cleaning silverware is a pleasant chore. nine0005
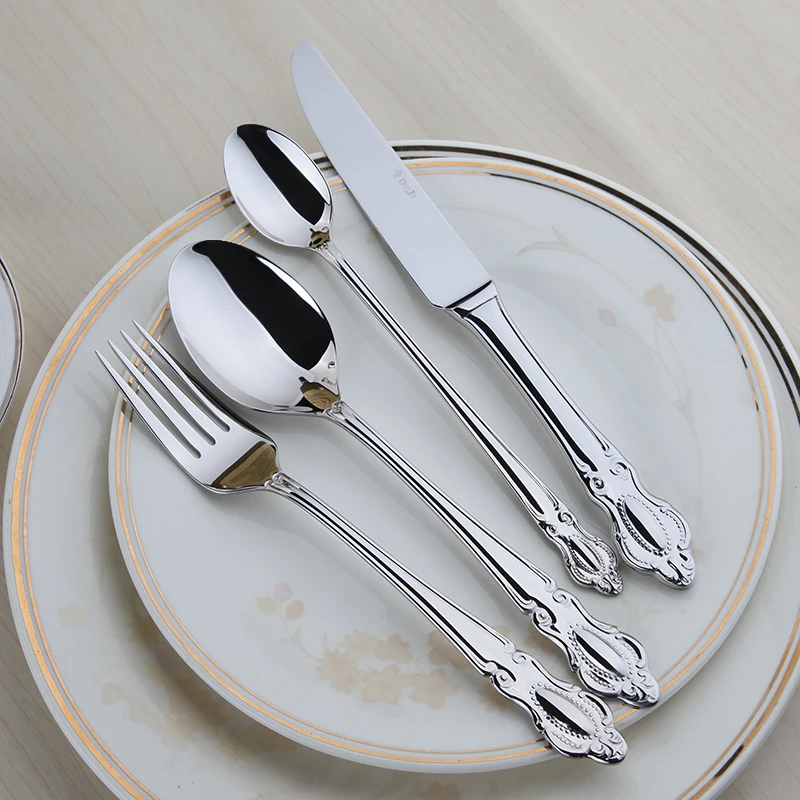
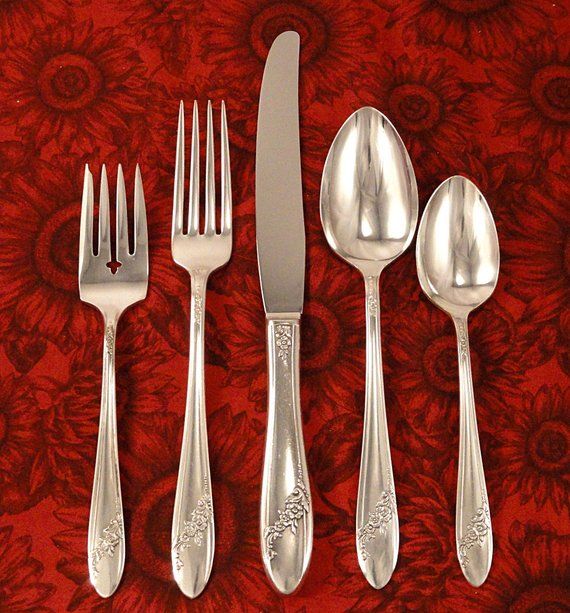
In the process of operation and simply during long-term storage, even in inactivity, silver items begin to fade and lose their amazing aristocratic brilliance, turning into a "Cinderella". But even if such a product fell into your hands, do not despair and always remember that a true princess of blood is hiding inside any "Cinderella".
Looking at the blackened silver, many are filled with regret, and even despair. And it doesn’t matter if you bought this piece of silverware at a sale, or bought it in an expensive salon (or maybe you inherited it and has a long history). In this case, it is not important, but what method to choose in order for it to sparkle again with all its facets. nine0005
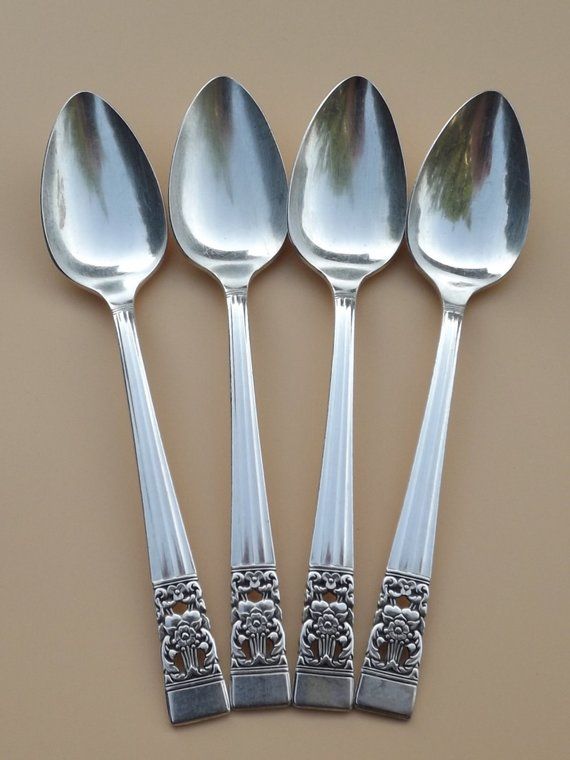
Folk wisdom holds many recipes for cleaning and polishing silverware, from toothpaste to aluminum foil to baking soda. Some of these recipes are quite effective, but it is quite risky to use them, especially for old pollution. The fact is that silver still belongs to soft metals and the presence of abrasive particles, even not too large (such as in the case of baking soda), can damage the surface of the product. This is especially true of antique dishes with rich and expressive decor. nine0005
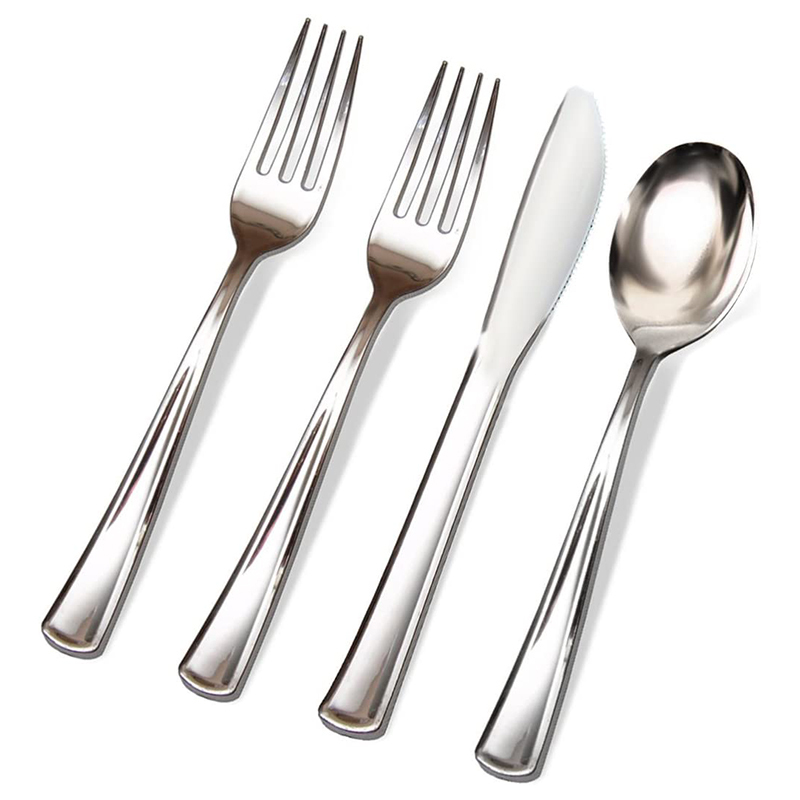
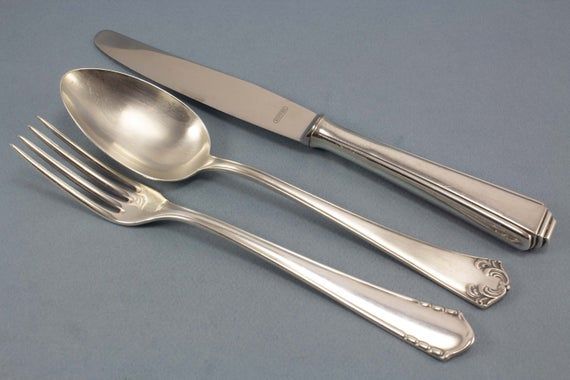
It is not uncommon to use household chemicals for cleaning, which are supposedly intended for washing dishes. It is also important not to be deceived here. Silverware is not a simple utensil, and given that it can react with other chemicals, this kind of experimentation should be avoided. By doing this, you can not only spoil the product, but also harm yourself.
Other articles:
Silverware. Fashion trend or eternal values?
Baroque silverware: beautiful or vulgar?
Silverware 925… What other types of silver exist?
Queen Anne silverware - Imperial scope with a classic aesthetic
Should you buy silverware on sale?
Second tier silverware: to buy or not to buy?
Silverware "Favorite" - traditions, quality, style
Shall we shine? Cutlery care
For hard workers - canteens appliances need to periodically arrange a good "Puzzle" . .. to shine like new!
Reasonable approach
Achieve perfect cleanliness and, frankly, the mirror shine of cutlery, silver trays, bronze candlesticks... easy if you know some tricks. And to cope with stubborn dirt and greasy stains will not help only modern cleaning products, but also simple grandmother's recipes. Just do not forget: not all metals in everyday life behave the same way. The approach to products needs an individual approach. nine0005
Stainless steel, quality steel and other non-precious
appliances by hand with normal dishwashing detergents. Rinse and wiped off immediately with a towel. They shine, and no white streaks from drops of water.
There is a dishwasher - loaded them there and after the end of the wash immediately opened door so that the steam does not leave marks on the appliances.
For cleaning copper, brass, bronze, cupronickel, stainless steel, as well as nickel-plated and chrome surfaces, use metal care pastes (e.g.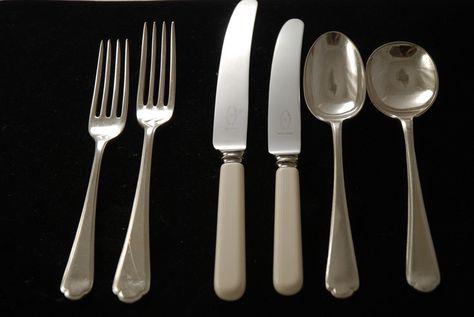 Frosch Citrus Cleaner). Apply a little on a soft cloth and rub the stained surface, then rub until shine. nine0005
NUANCES:
- Do not leave for a long time cutlery dirty - from food debris, metal quickly fades.
- Do not use for washing in dishwasher detergent with chlorine - on "pieces of iron" will remain whitish stains.
- Cleaning cutlery without coatings, use the same cleaning agents as for dishes made of stainless steel ("Elite", Sillit, etc.).
- Appliances made of two different materials, e.g. wood and porcelain handles, wash manually with warm water. Hot handles can crack. nine0078
- Do not wash silver cutlery together with steel - scratches will appear on silver.
Silver and gold plated
Fine cutlery with coated with precious metals can be washed both by hand and in dishwasher. And clean only with special products that can be purchased at jewelry stores. They are suitable for jewelry as well as cutlery.
NUANCES:
- Silver - very soft metal, it cannot be cleaned with hard sponges and abrasive means - scratches will appear.
 The same applies to gold-plated products. nine0078
 - "Launched" items can be updated with a special napkin, for example from Vileda. Bezo any additional means, it removes plaque and greasy stains, while perfectly polishing the surface.
- Store your silverware, wrapped in a soft cloth, and be sure to shift trays and dishes paper towels to avoid scratching.
Special products
Liquid metal cleaners perfectly remove stains, rust and dark deposits from cutlery, leaving no scratches. For example, Metal Cleaner with ease will update products made of copper, bronze, brass, cupronickel, gold, silver, of stainless steel. nine0005
Not suitable for all metals abrasive, but metal sponges from Amway will not damage even the most capricious. Despite the name, they are soft and elastic, and with old dirt cope without any effort.
Clean and polish products made of copper, brass and stainless steel will help a cleaning agent for metal surfaces L. O. C. Plus Metal Cleaner.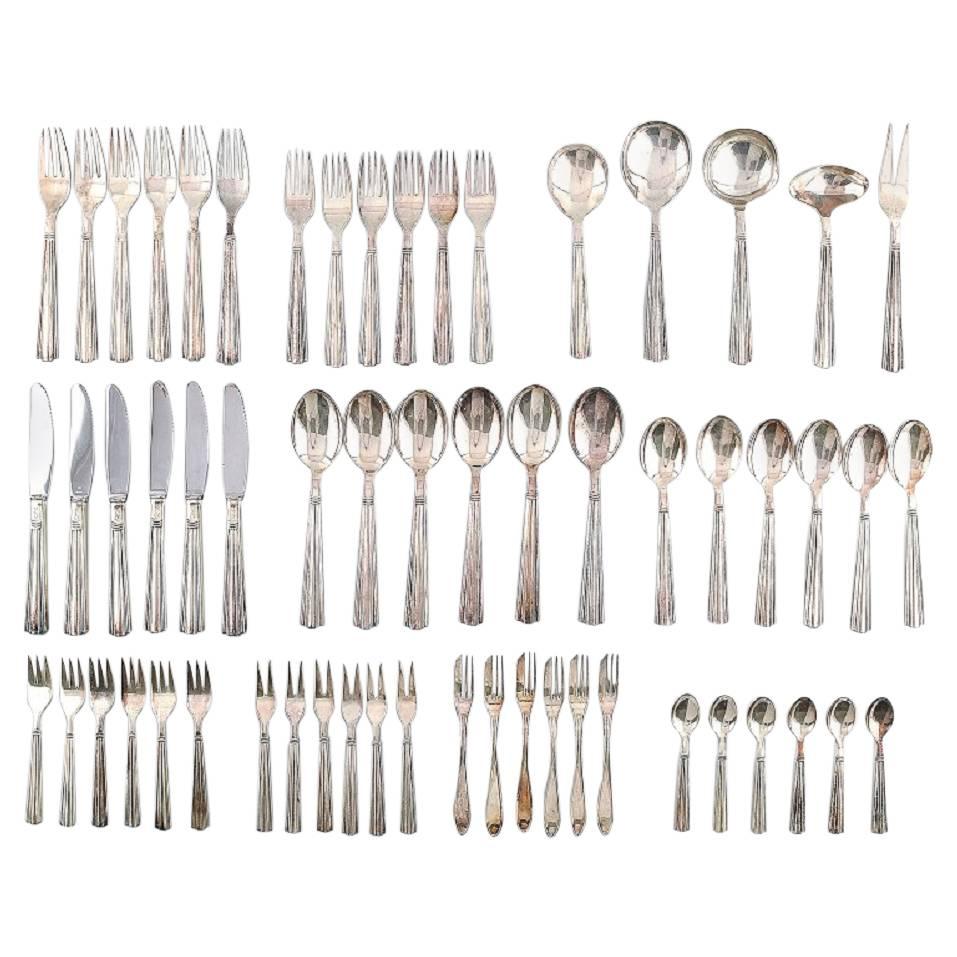
From grandmother's piggy bank
- Rust from knives and forks easy to remove with a piece of onion. nine0077 Yolk stains with ash cleans silver appliances well.
- Silver can be cleaned chalk, but it is harmful to silver-plated objects - it will erase thinnest coating.
- To ensure that the instruments are always shiny, after use, dip them into boiling water with a little amount of soda.
- Darkened table warm potato broth returns shine to silver. Cleaning time - 15 minutes.
- To get rid of the dark plaque on the walls of the Turks, pour 4 teaspoons of salt and 1 cup into it crushed ice cubes, pour a glass of water. Shake the mixture pour it out. Wash the Turk with a regular sponge. nine0078
- Silverware again will shine if you put it in a glass container, the bottom of which is lined with foil. Fill the appliances with boiling water and add an incomplete glass of soda. Leave overnight.
- Plain soda fine removes plaque and dirt from cupronickel cutlery.
Learn more