Kitchen cabinet restorations
Tips for Refinishing Kitchen Cabinets
While it may be tempting to rush through—or even skip—the preparation process, if you truly want your finish to look good and last a long time, prep is the most important step. And the techniques you employ, and the products you use, can make or break your outcome. Follow these steps and you’ll be on your way to a foolproof finish.
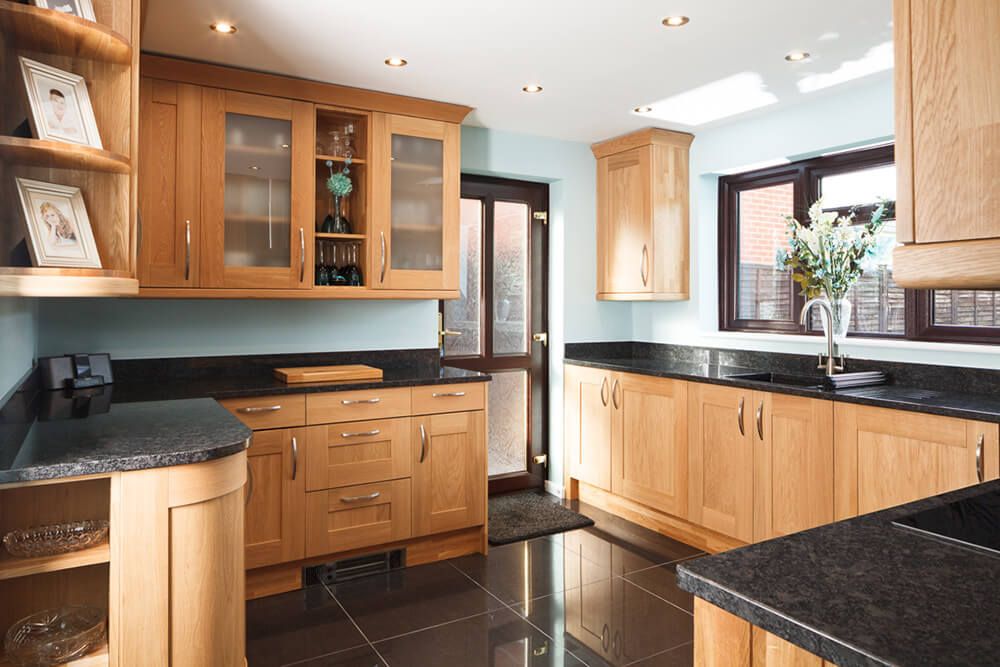
The “Before”
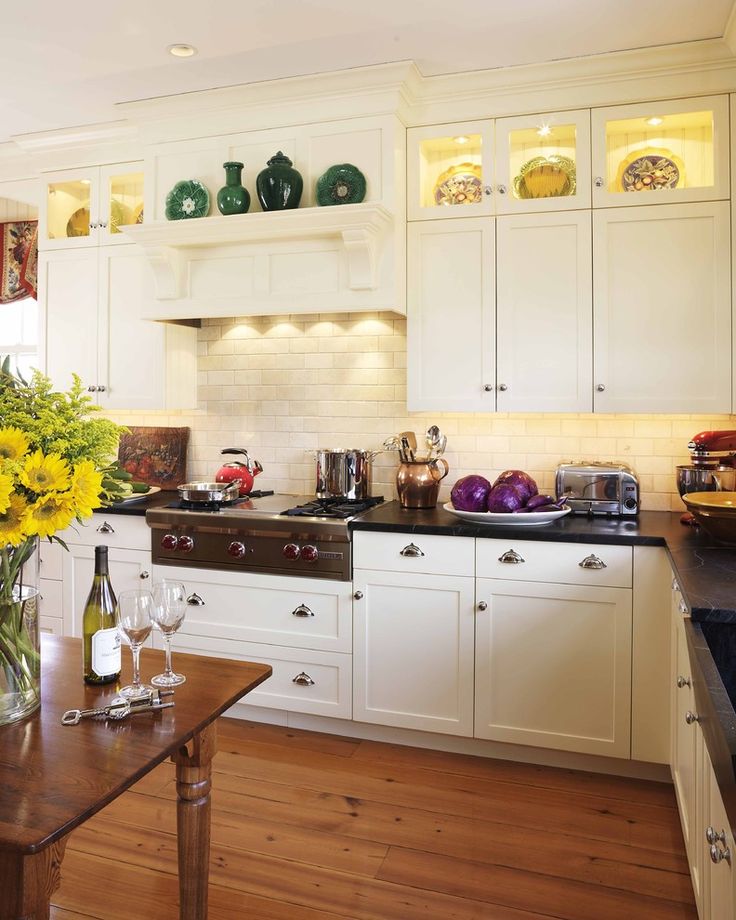
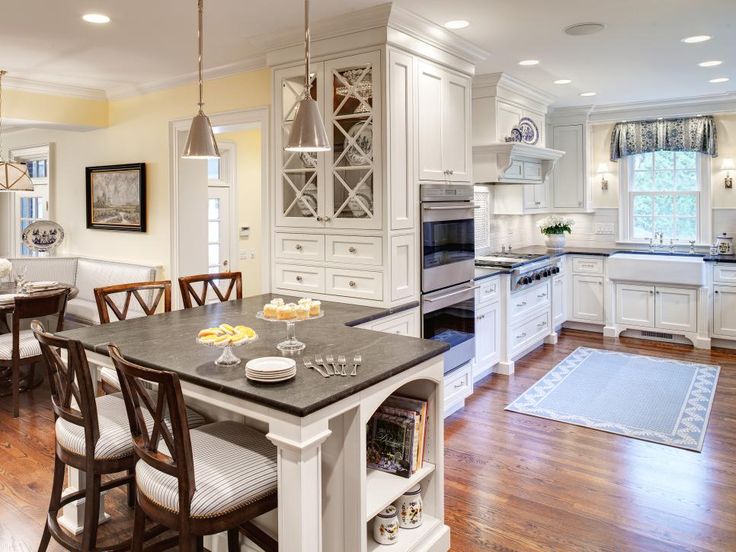
Courtesy Nick SlavikThe wood cabinets were in great shape, but the dark finish was outdated, and made the space feel small and dreary.
Protective Measures
Courtesy Nick SlavikStart by laying down floor protection, and then cover countertops so they can double as a work surface. You can use canvas drop cloths, but personally I prefer builder’s paper, as it protects well, it’s affordable, and it’s easily discarded/recycled.
Preparation Pays Off
Courtesy Nick SlavikYes, some people would say I go a little crazy with prep, but from experience I know that it’s not wasted time. Remove all of the doors and drawers, label/number them carefully (you’ll thank me later), and stage them for cleaning. Plastic and tape off all of the insides of the cabinet boxes to keep dust from getting in, cover all backsplashes with plastic, and seal all appliances to keep them clean.
Degrease
Courtesy Nick SlavikOn to the cleaning process. Scrape off any food residue from the cabinets and then wash/scrub with synthetic steel wool and soap and water. For tough grease, use TSP (trisodium phosphate) and water; the TSP actually emulsifies the grease and removes it much more efficiently than soap alone. Let dry completely before moving on.
Prep, Part One: SVT
Courtesy Nick SlavikThis is the key step to prep: SVT (Sand, Vac, and Tack). Sand the cabinets with medium-grit sanding sponges and/or 180-grit sandpaper on a random orbital sander. It’s not essential to remove all of the finish, but you must scuff it to give it “tooth” and promote adhesion.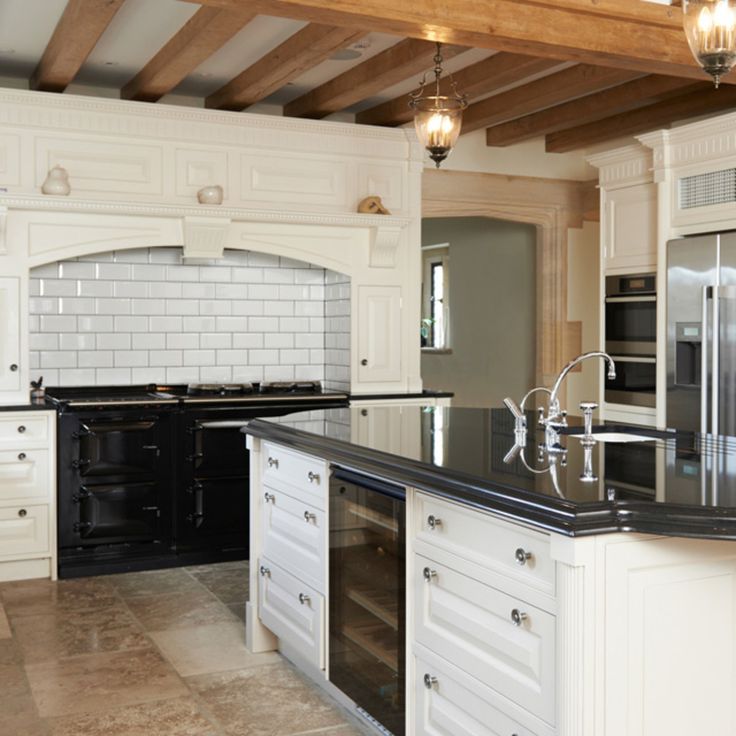 Once 100% of the surfaces are sanded, use a shop vac with a brush attachment to remove the majority of the dust. The last step is to tack-rag off the residual dust. The best method is to use a microfiber rag with water–but remember to wring out almost all of the water, as residual water will leave spots.
Prime Time!
Courtesy Nick SlavikChoosing the correct primer is so important. The wrong primer will leave you with chipping cabinets, an uneven finish, and even stain bleeding from the wood. KILZ 3® Premium Primer, in my experience, is easy to apply, adheres wonderfully and blocks stains. A major benefit is that it has low odor, so families can continue to live in the house while work is done. (This is unlike most traditional oil primers which have a very noticeable odor.) And KILZ 3 Premium Primer dries to the touch in 30 minutes and can be top-coated in one hour; this will help with achieving a dust-free finish.
Application
Courtesy Nick SlavikPriming is fairly straightforward: apply as uniformly as possible, and be super thorough. Application can be done with brush, roller, or sprayer. For this project I’ll be demonstrating brush and roller application. The best brush for painting cabinets will have super-fine nylon bristles. This will leave a finish nearly devoid of brush marks. Don’t skimp on this. Expect to pay between $15 and $25 for a good brush. Properly cleaned, it will give you decades of service. When choosing a roller for painting cabinets, I prefer a very high-quality woven cover. This will prevent shedding of fibers and a flawed finish. For the nap, I like ¼” or ⅜”. Anything thicker will leave excessive stipple.
Prep, Part Two: Repeat SVT
Courtesy Nick SlavikOnce the primer is dry I like to repeat the SVT process: lightly scuff-sand to promote adhesion and remove any minor flaws left on the cabinets, and vacuum and tack-rag again before caulking any cracks. I prefer to caulk cracks (where the cabinets meet walls, crown molding, etc.) after priming. Caulk will always stick better to a primed surface than to bare wood. However, never caulk the panels on cabinet doors—they’re actually called “floating panels” and need to move with seasonal temperature and humidity fluctuations. I’ve seen some really bad effects from caulking these panels, such as peeling caulk and even cracked door panels. It’s tempting to caulk these, but you’ll have to abstain—trust me on this one. Let any caulk dry completely before moving on.
Top It Off
Courtesy Nick SlavikNow that you have a perfectly primed surface, it’s time for the top coat. The application techniques are the same as priming—use a high-quality nylon-bristle brush and/or roller, and take your time to ensure smooth, even coverage. Start by coating the back sides of the doors and lay them flat. Laying doors flat will help with the leveling of the enamel and give you a smooth finish. Once dry, you can flip the doors over and coat the fronts. For the cabinet boxes, try to keep a wet edge (don’t start and stop, allowing the paint to dry). I recommend applying a second top coat for added protection and an even shine.
De-Prep (Almost There!)
Courtesy Nick SlavikOnce everything has dried to the point where you can handle it, start by removing the tape and plastic from the cabinets. Install the doors one by one. (Now, you get to see if your door labeling system was effective!) Save any adjustments of the doors until the end. I use only hand tools when installing doors and drawers; drills tend to strip out delicate screws. Install any knobs or pulls, and make any necessary adjustments to get them all straight. Pro’s Note: Clients love when you install new clear rubber bumpers on the doors and drawers (they were removed during the prep process). It’s a small detail, but well worth the effort.
Photo Finish
Courtesy Nick SlavikTake one final walk-through to look for touch-ups; if you’re satisfied, then you can go ahead and remove the plastic, paper, and tape from countertops, appliances, and floor, and consider your job well done!
KILZ 3
® Premium Primer is designed for use on interior and exterior surfaces including woodwork, drywall, plaster, paneling, masonry, brick, painted metal, and properly prepared glossy surfaces. To learn more, visit KILZ.com
 Cabinet Refinishing | N-Hance
View Before
Choosing the Right Cabinet Refinishing Solution
Don’t Replace, Don’t Reface – Refinish with N-Hance!
If you’ve had your wood cabinets for years and want to restore their original life and luster, then it’s time to call the cabinet refinishing experts at N-Hance®. Our refinishing services will restore your cabinets to their previous glory, all for less time and less money than traditional refinishing services.
Older cabinets may appear so scuffed and faded that they need to be sanded and refaced, or even replaced with completely new fronts. But with N-Hance, you can easily restore well-worn cabinets to their previous condition, even after years of wear and tear.
Unless you want to change your kitchen layout completely, N-Hance’s cabinet refinishing process could be the perfect solution.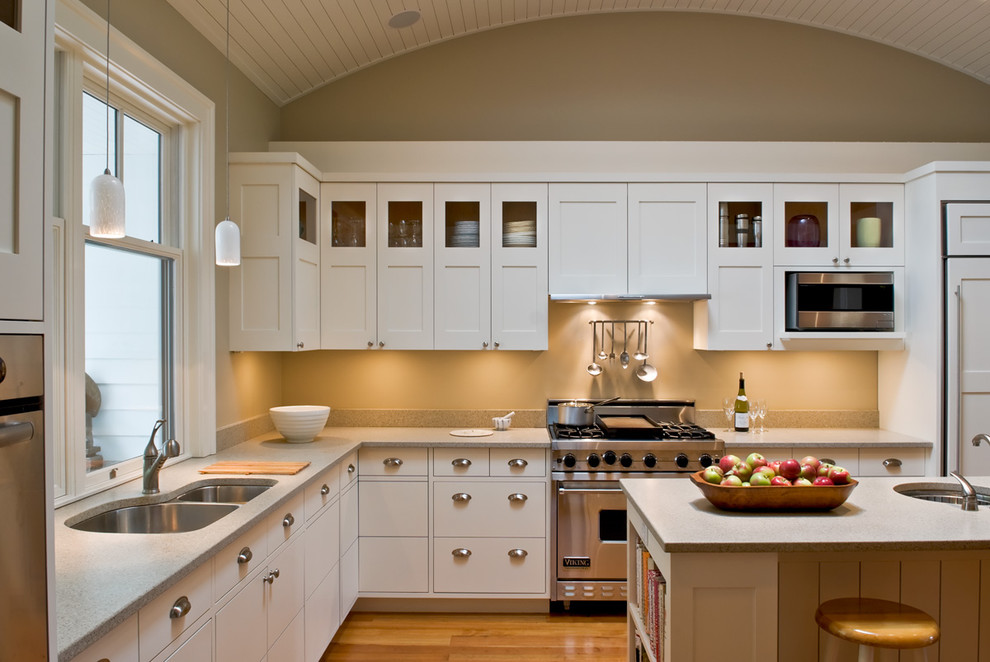
Cabinet Refinishers vs. Cabinet Painters
When updating cabinets, you might be undecided about whether to refinish your cabinets or to have them painted by a team of cabinet painters. Unfortunately, many professional cabinet painters apply a layer or two of paint and call it a day.
At N-Hance, our cabinet refinishing process does more than just cover up an old look with a new one. Instead, we restore the color and finish of your cabinets to like-new condition, offering a beautiful finish that will last for years to come.
Our process starts with cleaning and priming your cabinets, ensuring the best adhesive surface. We then apply a new color, stain, and/or finish to your cabinets, taking care to ensure proper coverage.
Unlike traditional cabinet painters, who often leave woodgrain exposed, N-Hance cabinet refinishers offer a solution that will minimize the grain, giving your cabinets a cleaner, on-trend appearance. And while it can take over a week for cabinet painters to complete their work and let it dry, our Lightspeed® process cures the finish immediately!
Classic Cabinet Refinishing
Our Classic Cabinet Refinishing services will revitalize the look of your cabinets with a like-new finish. Our process is faster and more family-friendly than traditional refinishing services and comes at a fraction of the cost.
Read More
Cabinet Color Change
Our Cabinet Color Change services are the perfect way update the look of your kitchen and keep the beautiful look of wood without breaking the bank on a full remodel. We offer an extensive range of finish options for wood cabinet refinishing, making it easy to refresh the look of your kitchen.
Read More
Custom Painted Finishes
Transform the appearance of your kitchen cabinets and bring a splash of color to your home with N-Hance custom color finishes.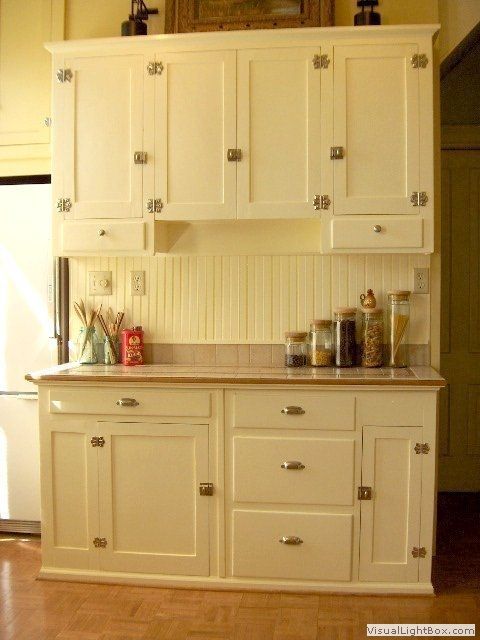 We offer an extensive palette of color options and finishing techniques so you can achieve the picture-perfect kitchen of your dreams.
Read More
Cabinet Door Replacement
Our cabinet door replacement service upgrades your cabinets exteriors with new, custom doors and drawer fronts to give them a fresh, new look.
Read More
Custom Color Options
Many kitchen cabinet painters offer a limited variety of colors and finishes. At N-Hance, you can choose from our Color Palette or have us match any color for limitless color and finish combinations. You’ll be able to work with your local N-Hance owner to pick a style right for you and so you can find the perfect color and finish for your personal style.
Before we refinish your cabinets, we will walk you through each step of the process and make sure you are perfectly satisfied with your selection.
N-Hance FAQs
What is the N-Hance process?
Your N-Hance technician will:
- Prep and Detail the job site by masking and draping the job site to protect your property.
- Sweep and vacuum to remove dust from surrounding area. We even remove and clean any heat vents to ensure area is dust free.
- Patch and fill cracks and gaps. (Not required for all applications.)
- Hand clean the tight areas.
- Deep clean the floor surface. Hand Clean cabinet surfaces.
- Remove contaminants created by the N-Hance deep cleaning process.
- Fan dry
- Burnish before we apply the N-Hance proprietary finish.
How long does the N-Hance finish last?
The longevity of your wood surface finish is dependent on several factors including floor traffic, pets, and your practice of maintenance. As far as protection from wear, you can expect many years of protection and durability. Keep in mind that surface scratches are part of normal wear on your floor and cabinet finish. These can start becoming noticeable in as little as two years. If surface scratches are a concern, we suggest our N-Hance Clean and Recoat process. Remember, the better you protect your wood surfaces from damage, the longer your finish will stay beautiful.
Does the N-Hance process work on cabinets?
Yes, N-Hance is ideal for cabinets and a great alternative to the high cost of cabinet refacing or replacement. We can bring back the shine, shield and luster to any wood surface. We can also completely change the color of your cabinets.
How long will it take?
Usually your N-Hance technician is in and out of your home or office usually in a day. In most cases you will have use of your floor within a few hours. Ask your N-Hance representative for details.
With the N-Hance process can I change the color of my cabinets?
Yes, with our revolutionary process we can change the color of your cabinets.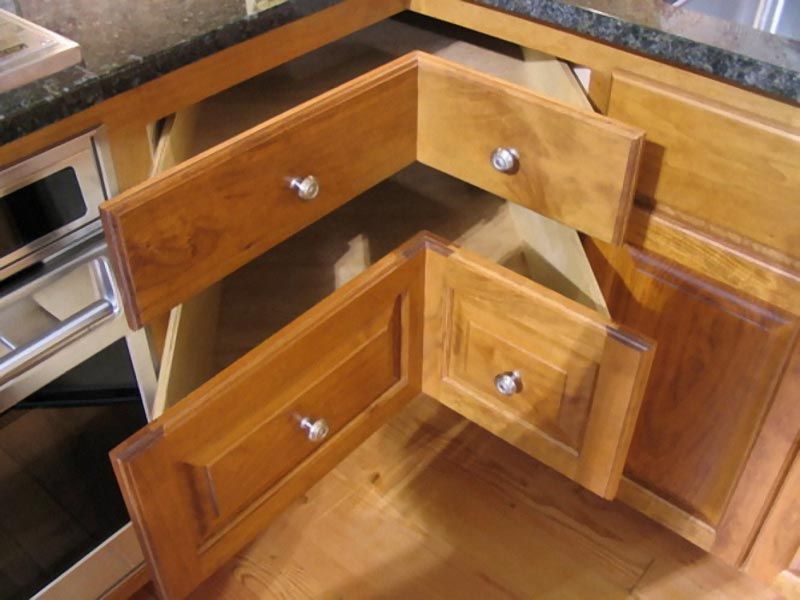 With our Revolutionary Touchless Color Change process we can do dramatic color change on your wood cabinets without the added cost and hassle of hiring cabinet painters. Ask your N-Hance technician for more details about changing the color of your wood surfaces.
Will the N-Hance process work on pastel (white wash) finishes?
Yes, we can restore worn areas, correct ambering (yellowing), and renew the luster to your pastel finishes.
Does N-Hance provide In Home Estimates?
Yes, it is important that we understand the scope of work as well as determine what your expectations are. During the estimate, we also provide advice and information on proper wood care. Since your wood floors and cabinets are one of the largest expenses in your home it is important that you understand what the N-Hance process can do.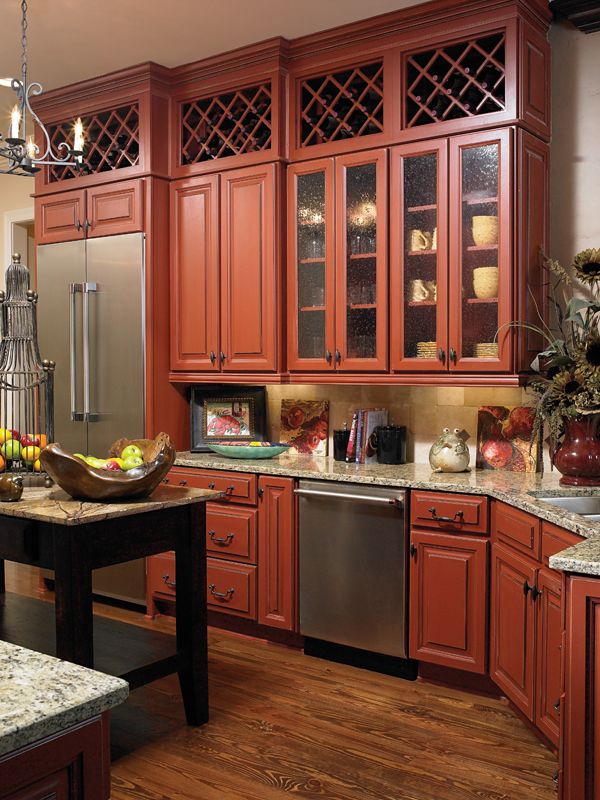 Locate the N-Hance Franchisee in your area to schedule an In-Home Estimate.
After the N-Hance process is complete how do I protect my new finish?
Your N-Hance technician will talk to you about proper care and maintenance of your new N-Hance finish. Your N-Hance technician will review cleaning instructions, use of furniture pads, pet instructions and traffic on your new N-Hance finish.
How do I find the nearest N-Hance location?
Go to the Franchise Locator on this web site and enter your zip code. It’s that easy.
Back to Topbefore and after photos, step-by-step instructions
An old kitchen set that needs a makeover can be restored on your own without much financial investment.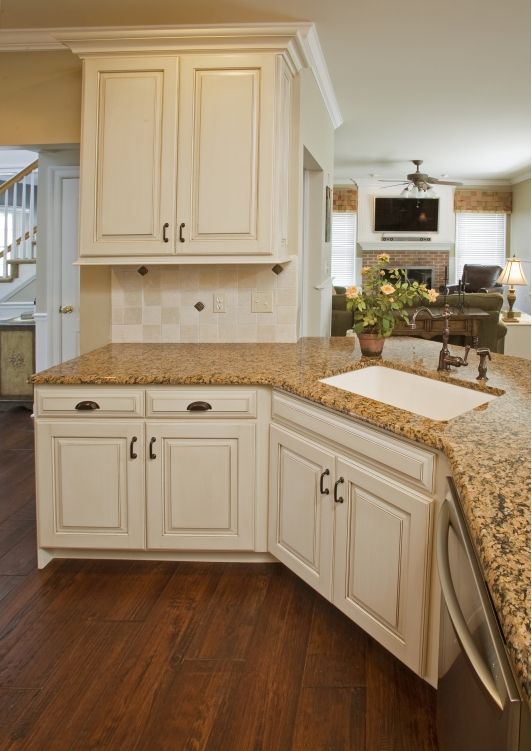
The most common ways to update the facades: the use of decoupage technique, painting, the use of moldings and self-adhesives.
1. The simplest - vinyl stickers
The most economical option is to update facades with self-adhesive film. Using this method does not require special skill and the use of professional tools.
Required for work:
- Self-adhesive vinyl - purchased at hardware stores or advertising agencies;
- Stationery knife, scissors;
- Square, long ruler (at least 80 cm), construction tape measure;
- Special scraper for smoothing material.
How to glue with your own hands?
- Remove all kitchen doors. Clean them from dirt, grease, dust. Eliminate the revealed deformation of the facades: cover up the cracks, cut off the bumps, etc. The surface to which vinyl decals will be applied should be treated with a degreaser.
- Measure each element to the nearest millimeter.
 Transfer the obtained dimensions to a sheet of film with observance of right angles. It is important to make a margin around the perimeter of at least 10 mm on each side. Cut the film according to the received size.
Example: Front dimensions 200 x 700 mm. The film cut out for it should be 220 x 720 mm. The example is valid only if you plan to stick the film exclusively on the front without capturing the ends. If it is necessary to apply restoration material to the side parts of the doors, the thickness of the material will also have to be added to the total size.
- Vinyl film (oracala) is applied in stages. A small section of protective paper is removed and the open part of the sticker is applied to the top of the facade. Air bubbles are “expelled” with a scraper, and then the paper is pulled very slowly from the back side. In this case, it is necessary to continue with a spatula (or similar tool) to eliminate the formed voids with air.
- Excess material is trimmed immediately after the foil has been applied to the kitchen front.
 Next - the installation of new fittings and fixing the doors on the cabinets.
Photos before and after
A step-by-step photo report of how the old kitchen was redone, which is in the photo below.
Decoupage is a technique for creating unique images by attaching a certain pattern cut along the contour of paintings, napkins, wallpapers, fabrics to a plane. Prints are glued to the surface with ordinary PVC and fixed with varnish.
Molding - miniature decorative elements made of wood, plaster and foam. They are attached to the facades immediately before painting. They create an additional relief: a frame, a thematic ornament, a fantasy composition.
All three methods (molding, decoupage, painting) are closely related and can be used in kitchen restoration both together and separately.
Tools and materials:
- prefabricated decorative elements,
- PVA glue, small nails,
- pieces of fabric (for smoothing the design),
- paints and varnishes, solvent,
- paint scraper (optional),
- sandpaper, spray gun, brushes.
Quick start guide
- Remove fronts, clean. Prime facades if cracks are found.
- Attach moldings and similar decorations. Degrease all surfaces of kitchen doors.
- Apply two coats of paint. Each subsequent layer is applied only after the previous one has completely dried.
- Fix paper images (decoupage). At this stage, you can also use stencil and contour drawings from oracal.
- Apply lacquer for the final fixation of all details and for the overall uniformity of the coating of the restored facades.
- Mounting of fittings is recommended after all surfaces have dried.
- Next - the installation of doors on the frame of the kitchen unit.
Preparation of facades for painting and decoupage
Decoupage
Secrets of fastening moldings
Restoration of countertops can also be attributed to the options for updating the kitchen. But, unlike the transformation of old facades, countertops are not so easy to handle. The most common types (stone, chipboard and wood) require the use of professional tools and specialized tools. Therefore, if you want to update the countertop in an old kitchen, it is recommended to contact trusted furniture companies involved in the restoration of sets. For example, the Restavratsiya company in Moscow has tremendous experience, many positive reviews, and a wide range of services. When choosing a company, we recommend that you be guided by real photographs of already completed projects.
Photos from sites: JKuhnya.ru, Kitchen Restoration Company, acmchome.com, CustomWritingInk, Pinterest, Dekoriko.Ru
it is not necessary to change the headset, especially since such expenses significantly affect the budget. One of the advantages of modern furniture is high maintainability, and the kitchen is no exception.
Restoration of a kitchen set is actually a very interesting job, although not an easy one.
Restoration of coating
Restoration of kitchen facades depends on both the base material and the finishing layer. In most cases, if the main material is damaged, then the entire facade will have to be replaced. The exception is small scratches and chips, which can be repaired with a special wood putty or wax pencil.
Damage to the finish is not so simple.
- PVC film. M The material does not hold very well on chipboard or MDF due to its different nature. Over time, as well as under the influence of moisture and temperature changes, the film peels off. The advantage of the material can be considered that the restoration of such a coating is quite possible.
In case of small defects, the PVC film is simply glued: PVA glue, “Moment” is drawn into the syringe from the needle and the area under the film is filled. Then the coating is smoothed and fixed with adhesive tape for 4 hours. If the damage is great, you can remove the entire old film from the facade by heating it with a hairdryer, and stick a new one in the same way. In this case, it is better to use liquid nails.
- Melamine and acrylic films have much better adhesion to wood material, so peeling is rare. Small areas are glued in the same way, but with extensive damage, the facade cannot be repaired at home: the coating will have to be changed in the workshop.
- Acrylic panel. This kind of kitchen renovation is not possible. In case of severe chips, scratches, the sash must be replaced with a new one.
- The veneer is as easy to stick as PVC film. Replacing it is also not difficult: the material is produced with glue already applied to the back.
- Enamel. Do-it-yourself kitchen facade repair is quite possible, although the work requires extreme accuracy.
 Firstly, it is necessary to clean up scratches or delaminations, secondly, to choose exactly the same shade, and thirdly, to apply very carefully. With a large area of damage, it is better to entrust the work to a professional.
Renovation with PVC foil
Restoration is not always understood only as the return of facades to their original appearance and replacement of fittings. Modern methods of decorating allow you to change the look of the kitchen beyond recognition, using quite affordable means.
One of these options is a vinyl film, or rather a sticker with an image on a PVC film. Moreover, the image can be anything - from a wood pattern to an ornament of any complexity or landscape.
Quite often, this technique is used to change the style of the kitchen or just diversify the design. To do this, decorate a zone or two sashes with a sticker. If you want to update your entire suite, all facades are pasted over with vinyl film. The choice is entirely determined by the style of the room.
Panel fronts are very suitable for such kitchen renovation. At the same time, the frames are painted or also pasted over with a film of a different color, and the inner plane is decorated with a self-adhesive film.
In the photo - a good solution in the Art Nouveau style.Staining
Restoration of kitchen facades with staining is the second most popular method. It is worth noting that it is far from being as simple as it seems at first glance. All facades are painted with the exception of MDF doors with acrylic panels.
Polyurethane enamels are preferred for kitchen materials. They are resistant to moisture and temperature extremes, are not afraid of light, dry quickly and are safe. In addition, the palette of colors includes all sorts of shades and textures - from matte to high-gloss, literally with a mirror shine.
How to restore a kitchen set with painting?
- Remove all fittings from the sashes, then remove the facades themselves.
- The finishing layer is completely removed, the surface is cleaned with sandpaper.
- The material is primed - a water-based polyurethane primer is recommended. The procedure should be repeated and wait for the primer to dry completely.
- Apply the paint using a roller and brushes of various sizes. The paint must be applied in several layers, after allowing each layer to dry completely. The carved parts of the product are especially carefully painted. Using a stencil, you can form a pattern, ornament or image on the sash.
- When restoring the facade, do not forget about the final stage - varnishing. No matter how good the enamel is, the varnish will prevent its mechanical damage.
Staining techniques are different. Depending on your own skill, you can simply paint the facade in one color, you can paint it, you can paint the kitchen set with “metallic” paint - it includes aluminum powder.
A fashionable aging effect is obtained in this way: the facade is covered in two layers of paint of different shades, and after drying, a solvent is applied to the surface. In this case, the top layer is covered with cracks. With proper skill, you can also get the “chameleon” effect: this will also require painting in two colors, but after drying, the facades are covered with glossy varnish.
Decoupage
To restore the facades of kitchen furniture, sometimes they resort to not quite traditional methods. Decoupage has become a trendy retro kitchen touch. But in practice it is used quite rarely, as it requires taste and accuracy in execution.
Decoupage material is special napkins with bright original images. In fact, in this capacity, you can use newspaper clippings, pieces of fabric, fragments of lace, your own old photos, a finished image from albums or books. In the kitchen, decoupage using small items will be very useful: coffee beans, herb stalks and spikelets, dried flowers, and the like.
The decoupage technique is quite simple: do-it-yourself kitchen set is sanded with large and then fine sandpaper. Painted with a background color - acrylic paint is used, and then with the help of stationery glue, the image or objects are fixed on the surface.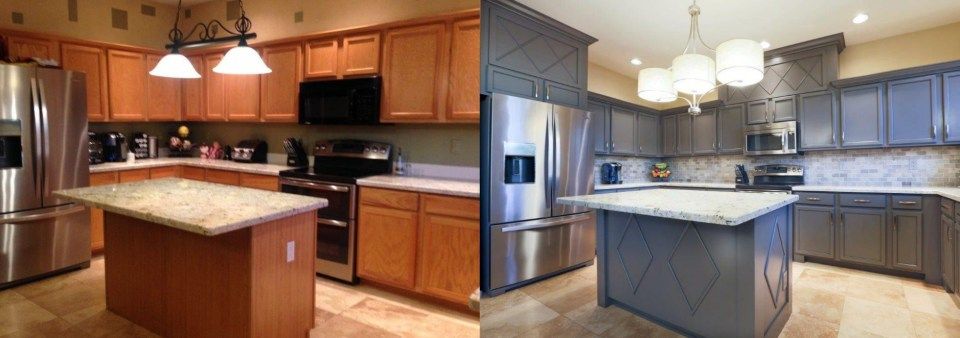 Be sure to cover the craft with several layers of transparent furniture varnish after the glue has dried.
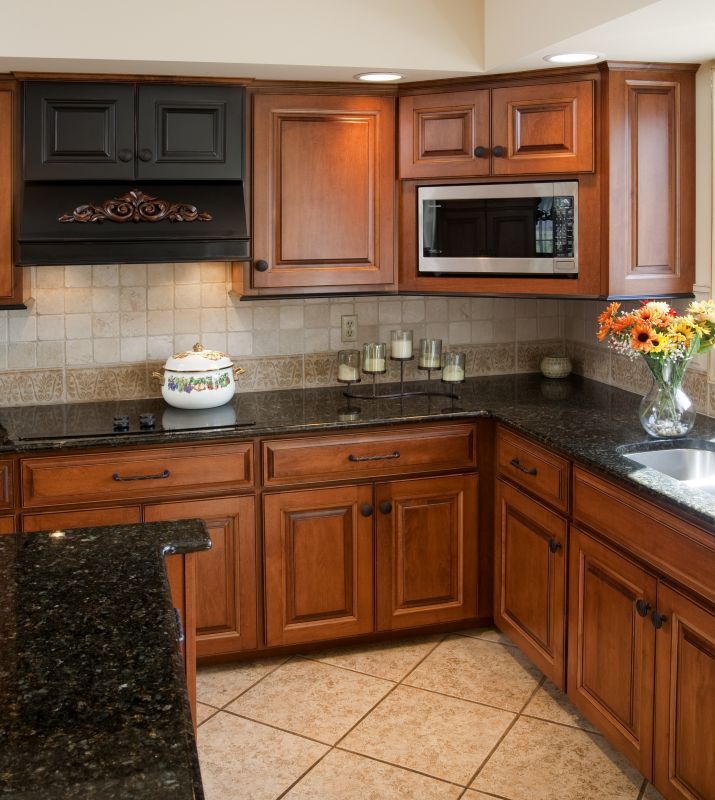
Lacquering
Repair of a kitchen set made of wood comes down to restoration, especially if the material is quite expensive wood. Yes, and old wooden furniture today, and centuries ago, is perceived as a symbol of solidity. In addition, wooden kitchen sets are not that difficult to update.
Varnishing and toning are the most popular techniques, and they are often combined. The varnish can be used as a matte transparent, glossy or even colored. It does not radically change the color palette of furniture, but gives a shade. Stain is used in cases where they really want to change the color of the facade by a couple of tones.
The technology of both processes is similar.
- Facades are removed from hinges, fittings are removed.
- The surface is cleaned of old varnish or other finishes, treated with sandpaper, coarse and fine, and then carefully sanded.
- The cleaned surface is primed.
- After the primer has completely dried, a layer of varnish is applied to the facade with a brush. After the varnish has dried, the procedure is repeated at least twice.
The stain is applied in the same way, after the primer has dried. Depending on how much they want to change the color of the furniture, tinting is carried out from 1 to 4 times. Then the product is varnished at least twice.
Molding will help to diversify the look of the updated furniture - a furniture plinth of various shapes. It is very diverse in size and configuration. The molding is glued to the facade surface and can be painted and varnished together with the sash.
Unusual solutions
The imagination of home craftsmen literally has no limits, so completely unexpected things can serve as material for a kitchen renovation.
- Photowall-paper - the material in terms of density and strength is by no means inferior to PVC film.
 It is fixed to the surface of chipboard, MDF and even plastic with liquid nails. Photowall-paper is cut according to the sizes of facades and pasted in the most usual way. After the glue has dried, the products must be varnished. If you wish, you can order photo wallpapers with images from your personal archive.
 - Tiled. As a rule, walls are finished with ceramics. However, nothing prevents the use of this beautiful material as a decoration for a flat or paneled facade. The tile is cut and fixed using the same liquid nails.
- An even more interesting, but also time-consuming option is porcelain mosaic. Broken dishes from one apartment are not enough for this, so the fragments will have to be obtained somewhere: if you agree with the nearest cafes and restaurants, then the material will be typed pretty quickly. The fragments are sorted by color, they form a pattern or just a color gradient with their help and stick them on the surface of the facade.