How to clean kitchens
How to Seriously Deep Clean Your Kitchen
sparkling clean kitchen in blue and white
Credit: RYAN RAY/CC + EM INTERIORS
Our kitchens have been working overtime. After months of creating more home-cooked meals than you've likely ever whipped up before, which was followed by the marathon of food preparation for the holidays, it's likely time to wipe the slate clean. Give your family's hub this expert detailing twice a year to get it looking, smelling, and running like new.
Make Your Sink Sparkle
Your hand- and dish-washing HQ is—brace yourself—one of your home's dirtiest spots. To sanitize it, spritz on a mix of one ounce bleach, one-half quart water, and one teaspoon dish soap. Wait five minutes, then scrub with a large brush. Detail the faucet and drain seam with a toothbrush, and flush with hot water.
refrigerator filled with food containers illustration
Credit: Illustration by Stephanie Singleton
Tackle the Refrigerator
Sure, you wipe up spills, but if you haven't done more than that in six months or so, it's time to roll up your sleeves. Per a 2019 American Cleaning Institute survey, 41 percent of us don't even remember the last time we really sanitized this space. And while it's satisfying, the goal isn't just Instagram-worthy organization—this is for your health. The standard temp inside a fridge (about 40 degrees) makes it hospitable to germs and fungal mold, says New York University microbiologist Philip Tierno, PhD.
What's more, pet hair, dust tumbleweeds, and stray green beans can accumulate underneath and behind this appliance, covering the condenser coils that cool its motor and help it run efficiently. So unplug it, or hit the switch for its outlet on your home's electrical panel, and vacuum them with the brush attachment. They may be located on the front or back, or underneath, depending on your model; you may need to shimmy it away from the wall for access. (It's not such an ordeal, we promise, and the efficiency and lifespan payoffs for your fridge are major.) Then turn it back on and take everything out—from your freezer, too.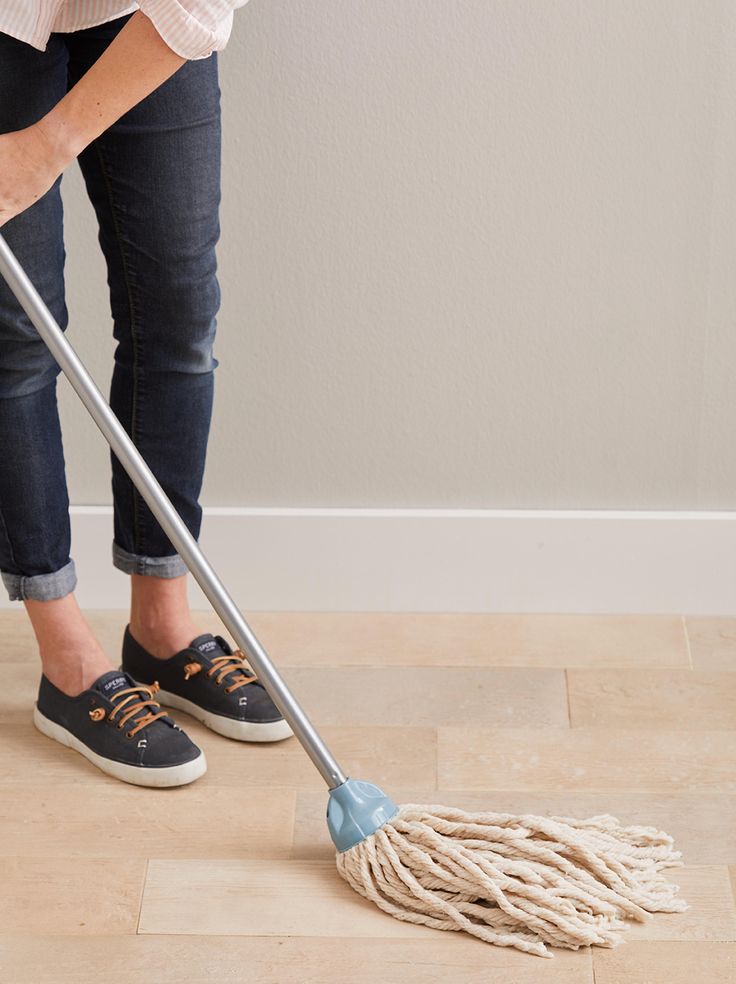 Stash keepers in coolers; toss anything expired, and recycle the containers. Slide out any removable shelves and drawers, and soak them in hot, soapy water in the sink (or a tub, if they're big). Meanwhile, spray the interior and top with a mix of one cup each water and distilled white vinegar, plus one teaspoon of dish soap. If you see any stuck-on food bits or discoloration, sprinkle on baking soda. Then scrub the whole shebang. Clean My Space founder Melissa Maker uses Scotch-Brite Advanced Scrub Dots Non-Scratch Scrubbers ($4 for two, amazon.com); their unique pointy shape wiggles into tight corners. Run a damp cloth over all surfaces, then dry and replace the shelves and food, wiping bottles as you go. To sequester spills prevent items like meat or berries from leaking onto clean surfaces in your fridge, place a shelf liner or enamel butcher tray underneath, and wash them as needed, suggests Sansoni.
gray stove illustration
Credit: Illustration by Stephanie Singleton
Scour the Stove
Sauce and grease splatters don't just look messy; they can harbor germs and draw bugs if allowed to set.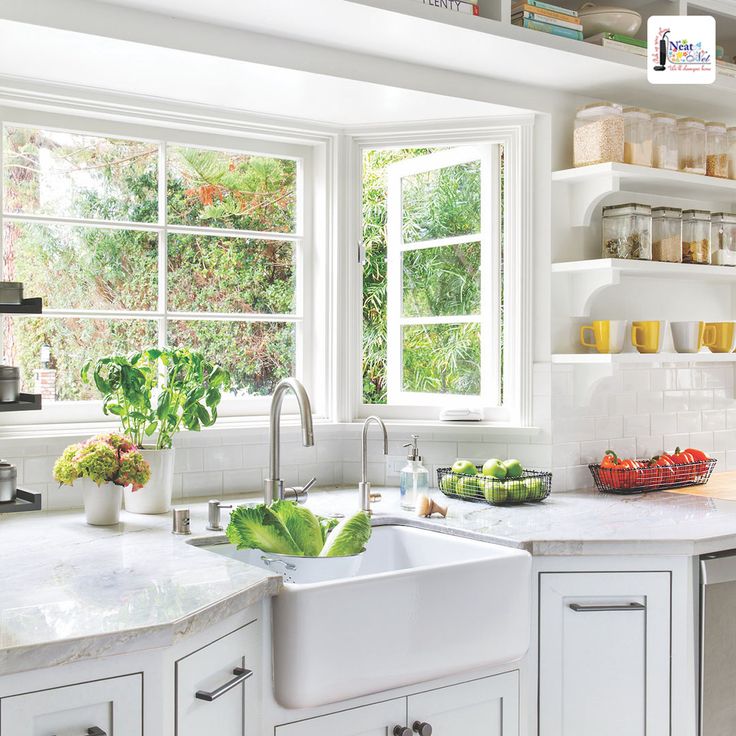 So, use the right method for your model. Glass stove tops can get scratched, so grab a special sponge, like the pad in Affresh's Cooktop Cleaning Kit ($7, amazon.com); it has a textured surface that works vigorously but gently. For gas stove tops and burner grates, borrow Chicago chef and a partner at One Off Hospitality Paul Kahan's recipe: one cup white vinegar, one tablespoon castile soap, and two cups water. "A scouring pad soaked with this stuff makes grates look terrific," he says. Next, pop off the knobs and the vent-hood screen up top, and let them soak in hot, soapy water. "They collect so much grease and dust," says Tennessee chef Mee McCormick of Pinewood Kitchen & Mercantile. "That extra little bit makes a big difference in how clean your kitchen is." If soap doesn't cut it, grab your dedicated cleaning toothbrush (every pro's secret weapon) and get in there with a paste of baking soda and water.
Overhaul the Oven
This hardworking holiday appliance needs your attention when it smokes or smells funny while preheating.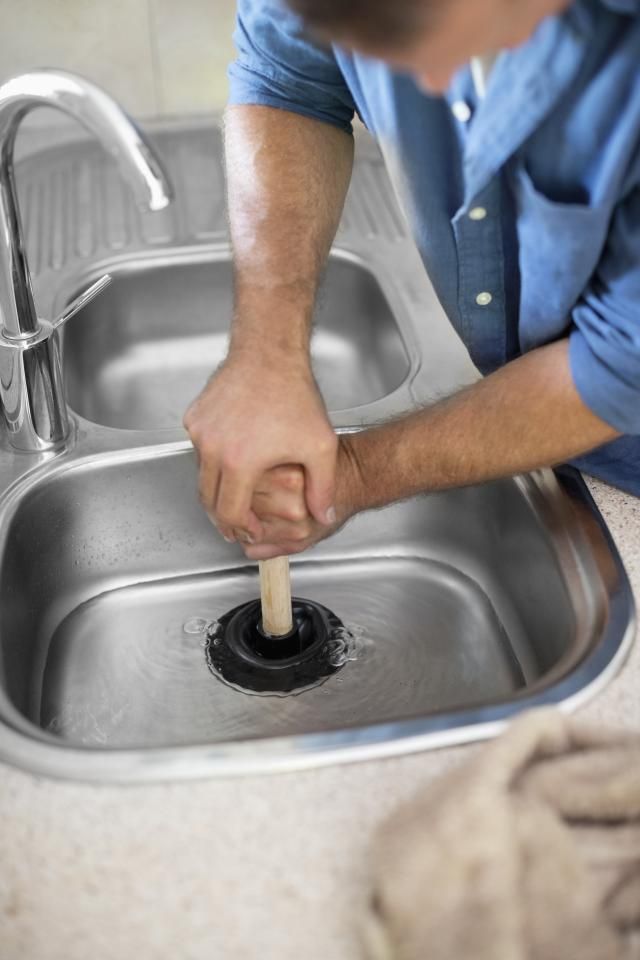 Pull out the racks and, depending on their size, either put them in the dishwasher; soak them in the sink in hot water and a few regular dishwasher-detergent tablets for two hours, turning as needed; or stick the racks and tablets in the tub (line it with an old towel first, to avoid scratching the glaze). "The tablets are powerful degreasers, and they'll cut through cooked-on crud so you don't have to use elbow grease," says GoClean Co's Sarah McAllister. Meanwhile, spray the interior with a solution of two cups water and two table-spoons dish soap, let stand for five minutes, then swipe with a wet pumice stone, says Maker, who assures that the combo of abrasion and degreasing is plenty strong—no toxic cleaner or self-cleaning setting necessary. There are big pumice stones for jobs like this; Maker likes the Pumie Scouring Stick ($10 for three, amazon.com). Hit the inside of the door with cleaning pro and the founder of Unclutter.com Donna Smallin Kuper's favorite tool: a damp Brillo pad ($2 for ten, walmart.
 com). Vacuum any crumbs out of the warming drawer, and replace the dry racks and knobs.
These efforts become easier, however, if you maintain your oven year round. To protect the bottom from food drips, stick a baking sheet on the lowest rack before you slide in your next lasagna or pie, suggests Brian Sansoni, the senior vice president of communication, outreach, and membership at the American Cleaning Institute. That way, you can just wash the sheet afterward, versus cleaning the whole oven. (To get that baking sheet spick-and-span, see chef Sharone Hakman's technique.)
cups and bowls in dishwasher illustration
Credit: Illustration by Stephanie Singleton
Degunk the Dishwasher
Food, grease, water minerals, and undissolved detergent can build up on the interior and in the filter at the bottom, knocking its performance. Unscrew the filter, rinse it with hot water, scrub it with a trusty cleaning toothbrush (just rinse this tool between uses), and screw it back on. Then pop off the spray arm—or arms; your machine may have more than one. Rinse them in warm water, pry out any buildup in the holes with a toothpick, and replace. Wipe the door gasket and exterior with a damp cloth, then insert a deep-cleaning pod, like Cascade Dishwasher Cleaner ($17, amazon.com), and let it do its thing. These have powerful surfactants that dissolve grimy or smelly residue effortlessly.
kitchen cabinets illustration
Credit: Illustration by Stephanie Singleton
Conquer the Cabinets
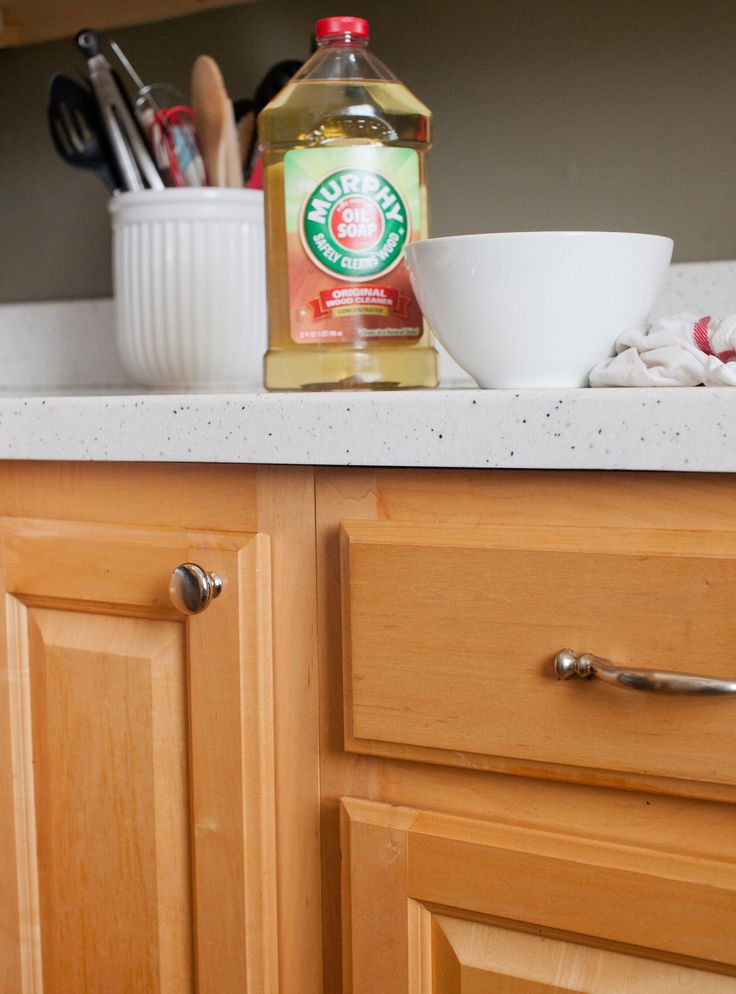
When the light hits a certain way, drips and fingerprints can appear out of nowhere. Dust bunnies adore any exposed tops, and millwork—like the grooved fronts of Shaker cabinets— is an extra-sticky area. Unscrew the pulls and knobs, and wash them in hot, soapy water. While they're off, grab a cleaning toothbrush, suds it up, and tackle the door's nooks and crannies. Then wipe the entire surface with a cloth dampened in hot, soapy water.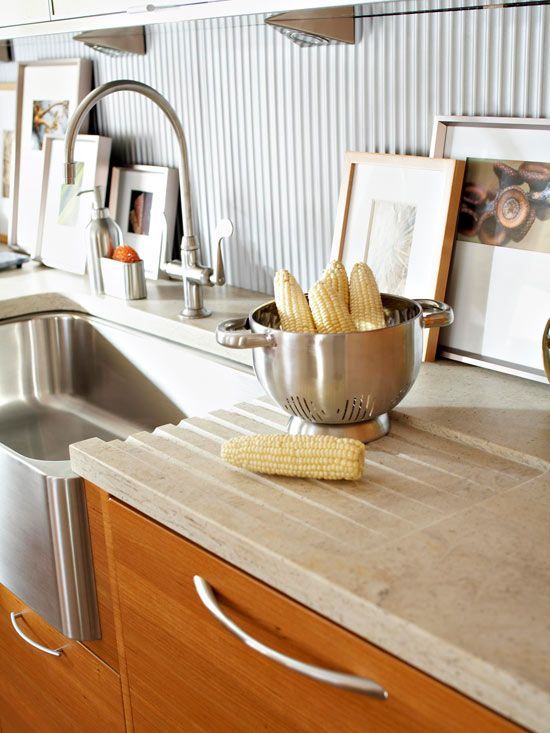 Follow with a damp cloth, and dry with a microfiber one. If grime persists, spritz on an enzyme cleaner, like Bio-Kleen All-Purpose Spray ($10, biokleenhome.com), and let it sit for five minutes before wiping it off. When the hardware is dry, replace it. Then empty the drawers and use your vacuum's brush attachment or a lint roller to nab crumbs. (To hit corners, roll a lint-roller sheet around a butter knife, says Maker.) Wipe down if needed, and refill.
toaster and jars on counter illustration
Credit: Illustration by Stephanie Singleton
Get Counters Gleaming
We're guessing you don't detail the caulk line where the countertop and backsplash meet very often—or always excavate under the toaster, mixer, and coffee maker, for that matter. For glorious grout, apply a paste of one-quarter cup hydrogen peroxide and one-half cup baking soda, then scrub gently and wipe well. Countertops require a little recon: Although some of us wield a multi-purpose cleaner with abandon, the wrong formula can damage or discolor some materials. A spray bottle filled with hot water and a squirt of dish soap is a universally safe bet. When you want to disinfect, check a formula's label first to ensure it's okay for your surface. Most multipurpose sprays are fine for laminate, quartz, and soap-stone. Otherwise, a mix of one part isopropyl alcohol to three parts water works great on concrete and granite, and half a lemon and salt work wonders for wood. Marble calls for a specialized product, such as Miracle Sealants Tile and Stone Cleaner ($9, homedepot.com). Martha keeps her counters pristine by wiping them down with white cotton-terry bar towels (like these, from Williams Sonoma ($20 for four, williams-sonoma.com)) in lieu of paper towels—they're bleachable and look neutral in any space. Since they need to be laundered after a few uses, she keeps plenty in rotation.
dutch ovens illustration
Credit: Illustration by Stephanie Singleton
Polish Pots and Pans
Daily washing doesn't nix tarnish or blackened, cooked-on food. That's why you should let the material be your guide. For copper, chef Bill Kim of Chicago's Urbanbelly mixes a paste of equal parts lemon juice and salt; it dissolves tarnish almost instantly. For stainless steel, Planta chef David Lee lets heat do the work: Fill a pot with water and a squirt of dish soap, boil for five to 10 minutes to get rid of scorch marks and hard-water stains, then wash as usual. Phoenix chef Christopher Gross, the owner of Christopher's & Crush Lounge, uses a similar strategy for any burnt pot: "Fill it with water and a teaspoon of baking soda, and simmer for a half hour." It works like magic. When a baking sheet has seen better days, take a cue from chef and Masterchef competitor, Sharone Hakman: Let it sit in equal parts baking soda and hydrogen peroxide for four hours. It'll shine like new.
How to clean a kitchen in less than an hour
Real Homes is supported by its audience. When you purchase through links on our site, we may earn an affiliate commission.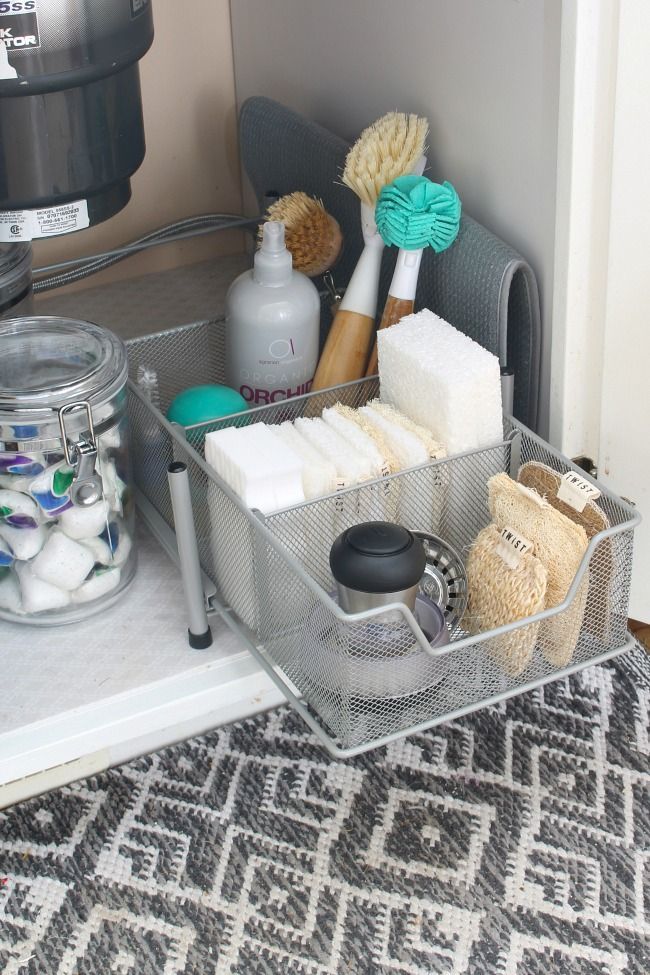 Here’s why you can trust us.
(Image credit: Neptune)
Join our newsletter
Thank you for signing up to Realhomes. You will receive a verification email shortly.
There was a problem. Please refresh the page and try again.
By submitting your information you agree to the Terms & Conditions and Privacy Policy and are aged 16 or over.Knowing how to clean a kitchen properly is essential. Whether yours is big or tiny, rented or owned, deep cleaning your cooking space every week or so totally pays off. Aside from the key hygiene aspect, a clean kitchen is one that is a pleasure to be and cook in also. Although it might come as a surprise, once you've deep cleaned your kitchen once, keeping on top of it will be a total breeze.
The key, as with many undesirable household chores, is to just get started. Making sure you have the correct technique and tools to hand will help bring up your kitchen space like never before. From decluttering and organizing, to cleaning out appliances and sprucing hard to reach surfaces to perfection, take it one step at a time and the results will be worth it.
(Image credit: Garden Trading)
How often should you clean a kitchen?
Running the dishwasher or doing the dishes by hand and wiping down countertops should be done daily, as and when a build up happens. How often you physically have to do this depends on a multitude of factors, but it will make deep cleaning your kitchen more light work and keep cooking in this space a pleasurable experience rather than a hectic one.
If you have a big family, or even just one toddler running around, if you work from home regularly or love nothing more than cooking up a storm every darn day of the week, then of course you will need to spend more time cleaning your kitchen than not. Using the best kitchen cleaners will help make the job easier. Use these daily tips to stay on top of it.
How to clean a kitchen fast
If you don't want to spend hours scrubbing, we hear you. Especially when you feel you're not that good at cleaning or haven't cleaned much before, 'it can be a little daunting to know where to start', according to Anne Clark, the founder at My Kitchen Serenity . Clark has a fool-proof basic guide to cleaning a kitchen fast:
- Sweep or vacuum the floor to remove any large particles or debris, then
mob with a floor cleaner if necessary. You can make your own floor cleaner
with vinegar and baking soda - Wipe down the countertops and appliances, including the oven, stovetop,
refrigerator, and dishwasher. Then, spray an all-purpose on all of the
surfaces to be cleaned. Let it sit for a few minutes, then wipe it clean
with a cloth, sponge, or paper towel. If you don’t have an all-purpose
cleaner, you can use a vinegar and water solution - Clean the sink and wipe down the faucet and handles. Again, use the
same method as above as with your kitchen surfaces - Dust all of the cabinets and shelves with a clean rag or duster
This is the bare minimum and can be achieved in well under an hour. Of course, there's much more to it – if you want to deep clean a kitchen and keep it clean. What better way to show off your favorite kitchen ideas after all?
Daily kitchen cleaning tips
- Clean up after every meal: The rule of thumb, it seems like a faff but it is so worth it.
- Aim for an empty sink: Striving to keep your sink empty at all times will instantly make your kitchen space seem spotless and it will make deep cleaning a doddle too.
- Do the eye-level test: Get every last crumb by checking your countertops at eye-level after you’ve cleaned them.
- Be strategic: Always work left to right and top to bottom. Once you've nailed this strategy, cleaning your space will be so breezy and you won't need to think about it.
- Clean over the floor: You’ll clean your floor last so it’s fine if collects crumbs and the like.
- Vacuum daily: It takes five minutes and it will stop staining delicate floors leading to more time when deep cleaning.
- Empty your trash: Smelly trash is a recipe for disaster and bacteria also. Don't let it get to the point where your bag is overflowing by emptying it regularly.
- Never overfill your dishwasher: This is a star appliance but if you overfill it, it won't clean properly.
 And, who wants to do the dishes twice?
 - Clear out the refrigerator frequently: Cleaning a fridge regularly will stop smells and and unsightly food display every time you go to open those doors. Aim for at least a monthly clean and get rid of old food as and when.
- Clean that under-counter sink: You know the one we mean, and just because it's loaded with cleaning products, it doesn't mean that it's a clean space. Clear it out regularly.
- Be minimal: Limit what you have on your countertops to keep your cooking area uncluttered, easier to clean and more visually pleasing also.
- Label, label, label: To stop the need to organize everything again and again, every day of the week, label your herbs and spices – whether you have a pantry or not – so that creating order is far easier and becomes more routine.
(Image credit: deVOL)
How to deep clean a kitchen in 45 minutes: step-by-step
On top of daily cleaning, you should be deep cleaning your kitchen on a weekly if not bi-weekly basis. Again, it depends how much the space is being used, and remember also that if you have a large family in tow, sharing the load is a wise move...
However, if you keep on top of quick daily chores, you'll soar through the following deep clean checklist in about 45 minutes flat.
1. Clear the decks
You cannot clean a kitchen with clutter everywhere and this first step may actually take you the longest but it's also one of the most important tasks.
This is a good time to employ Melissa Maker's, author and creator of Clean My Space , 12 O'clock method (more on that later). You start by the door, and work your way around moving everything off the counters, putting any dirty dishes in the dishwasher or in the sink to hand wash/soak.
Note that it's pretty tempting when putting the cayenne away to start reorganzing your entire herb collection, but don't. Organizing kitchen cabinets and the entire contents of your pantry for that matter is a separate job. Focus on cleaning the kitchen only.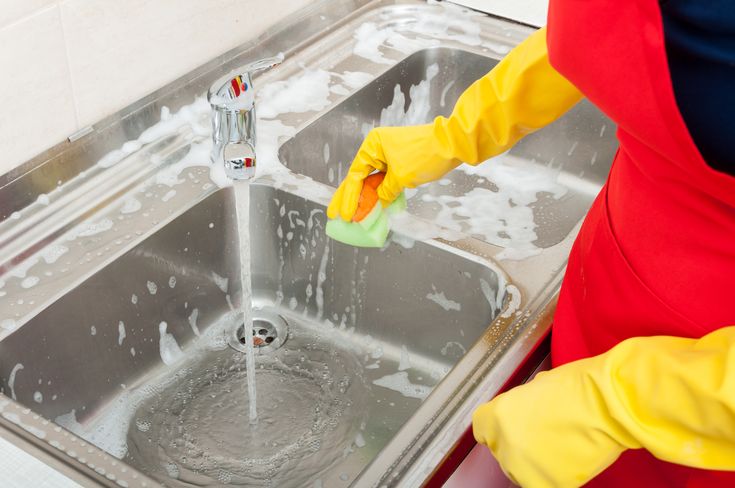
Empty the trash, your compost and any recycling too.
2. Start the dishwasher and make a start on the sink
With everything in your dishwasher, if you have one, switch it on now. If you're hand washing, do this now then dry everything to stow away.
With a clear sink, you can start deep cleaning process. if you know how to unblock a sink, add your unclogging cleaning agents now so that it can work as you continue to work on the rest.
Then, learn how to wash a stainless steel sink properly to remove any stains and food residue.
3. Clean your stove top
If you have gas burners or a glass-top stove that's looking grubby, start by scrubbing this down so that any burn-on food leftovers and splashes end up on the floor or on your countertops which you'll get to next.
Why? You'll kick yourself if you never realized that cleaning your countertops before you dust and wipe down any upper kitchen cabinets just means that you'll have to clean your counters again.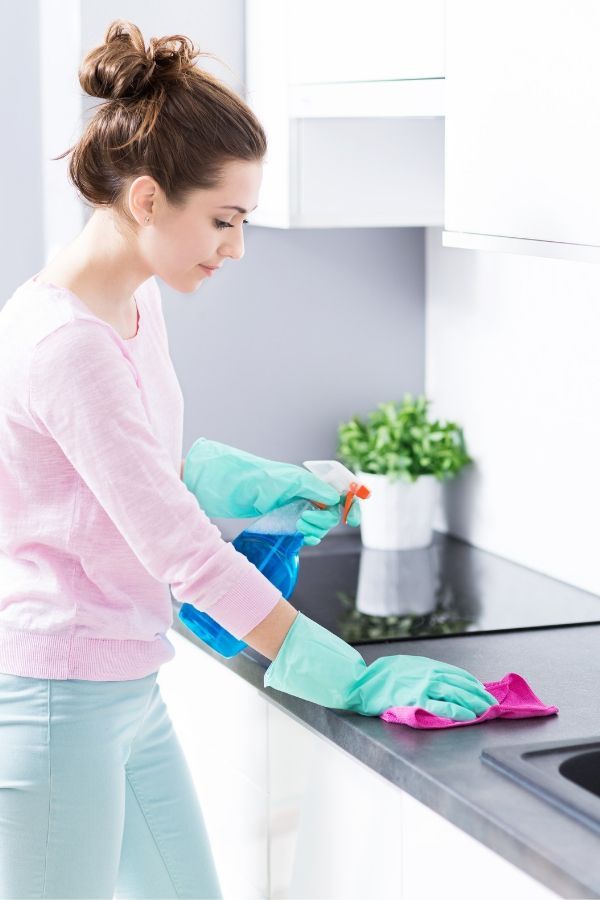 So start from the top with your favorite cleaning product and a damp microfibre cloth and work your way down to your bottom cabinets.
If you are cleaning marble, granite or other natural stone worktops take care with what you use as natural products like vinegar are too acidic and can damage the finish.
If your countertops are wood, then you'll need some extra knowledge on how to clean butcher-block countertops, but it's not that difficult; you just need to be gentle.
5. Clean left to right
And working left to right just makes it easier to ensure that you've got to everything, including big and small appliance doors like microwaves and ovens, in one smooth sweep.
Dust your fridge, and make sure you catch crumbs from your toaster or grounds from your coffee maker. We're surface cleaning here, but if you do want to set more time aside later to say, clean an oven or descale a kettle, you can get your cleaning agents started now so they have time to work their magic.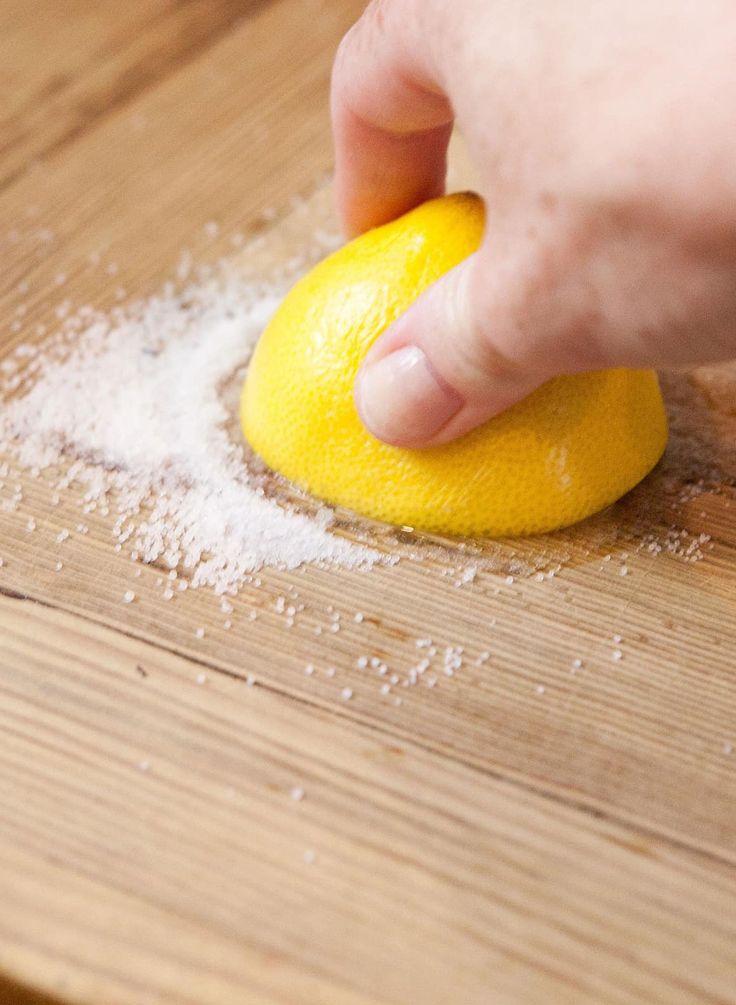
(Image credit: Kasia Fiszer © Future)
6. Clean anything else in the space
If you have a breakfast bar or a dining table in your space, maybe it’s an open plan kitchen that you have – be sure to wipe down the chairs and table top also.
7. Reassess everything remaining on your counter
With your counters clean, now you can take a good, hard look at what you're left with. If it's spick and span but still a little busy, think about what you actually use and what you actually need on display. Be ruthless here, and if the waffle iron that made an appearance 3 Christmases ago is still there collecting dust, find it a new home in your cupboards.
8. Finish cleaning the sink
Whether it's baking soda and vinegar, or your favorite cleaning product you used to clean and unblock your sink, now it's time to scrub it off. Once done, pour hot water down the plughole to unclog anything remaining. Make sure you give your taps and spout a wipe down too.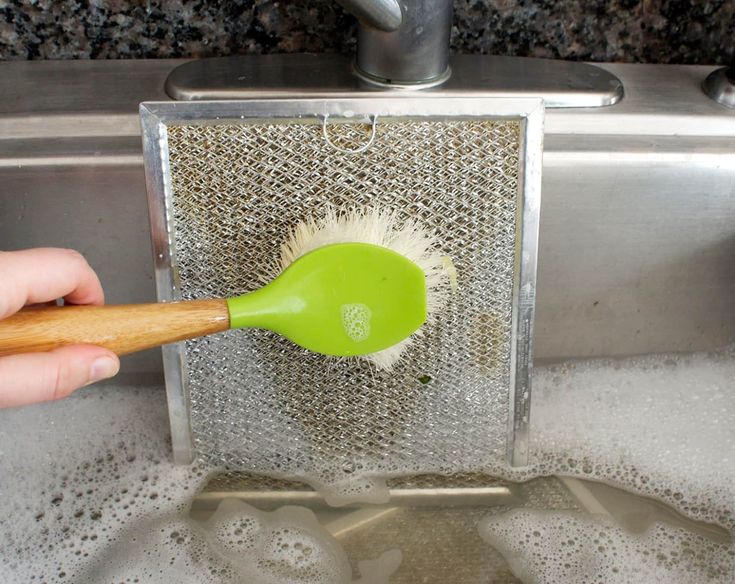
(Image credit: Katie Lee)
9. Clean the kitchen floor
All that dust and all those crumbs landed on your kitchen floor so grab your best vacuum cleaner or go old school with a broom and collect it all.
Once it's dust-free, pick up your best mop – we like to use a flat head mop – and wipe the floor down, cleaning yourself out of the kitchen, not into a corner! Make sure you consider your kitchen's floor material, taking care not to clean with acids on engineered wood and the like.
Ceramic tile is the easiest to clean, but you can learn how to clean hardwood floors to keep them in perfect condition, too.
10. Put your kitchen back together again
Whether you need to replace the kitchen sponge that is now in the garbage can or if your need to put a new liner back into the trash can for that matter, now is the time to do it.
Add clean kitchen towels and if decluttering your breakfast bar area now means you can add fresh flowers or your favorite candle to lightly fragrance the room, do that now too, you totally deserve it.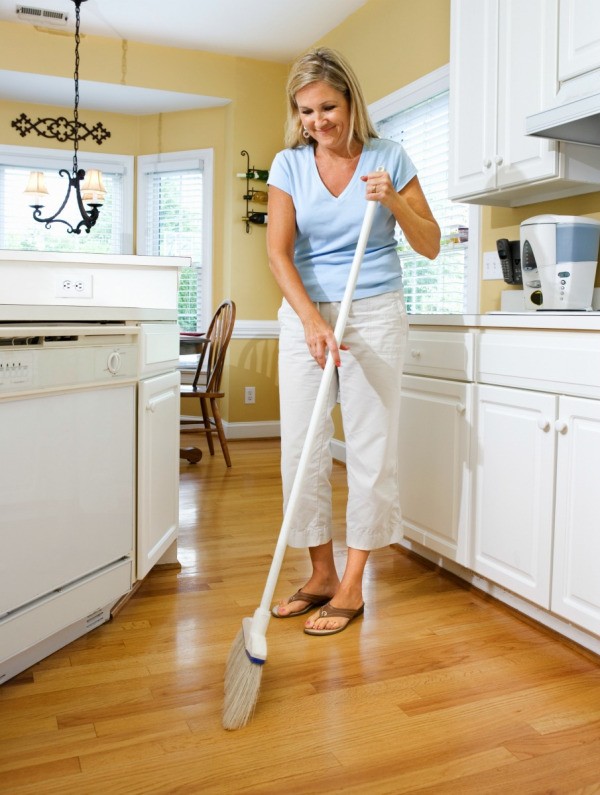
11. Protect your appliances and cookware from spills
It may sound obvious, but protecting your appliances from spills in the first place will drastically reduce the amount of cleaning you have to do. Dennis Capone, a kitchen expert at My Kitchen Toolkit , recommends using cooking liners 'if you use an air fryer, toaster oven or slow cooker. There are plenty of products out there that can be inserted perfectly into your appliance to protect it from food spills - slow cooker liners like these from Amazon are an absolute game-changer.'
Don't want liners? Capone points out that 'you don't have to limit yourself to
pre-made liners – a simple sheet of aluminum foil can also do wonders
for keeping baking trays, broiler pans, and toaster ovens clean.'
Kitchen cleaning tips from celebrity cleaning experts
Melissa Maker explains her kitchen cleaning method a little more on her YouTube channel, ‘The reason I like working in this 12 o’clock starting at the door and working my way around the room way, is that I don’t miss anything.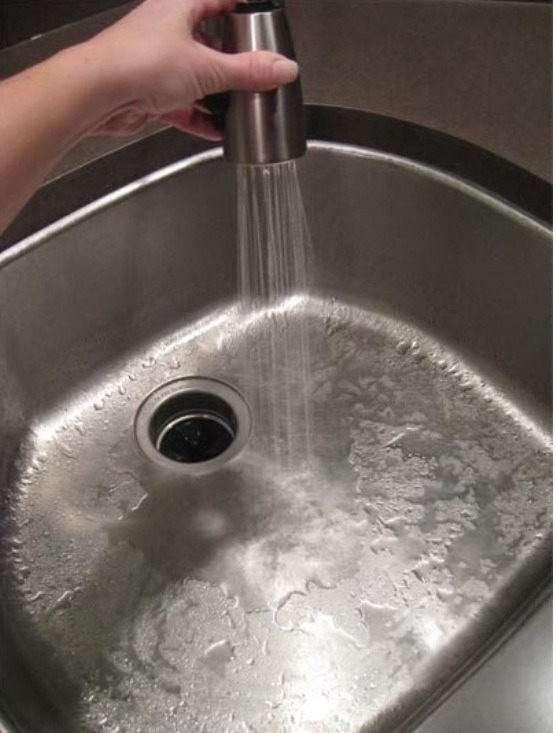 '
'
How do you clean a kitchen if you're a beginner?
If you're moving into your first home and don't have much experience cleaning a kitchen, panic can set in pretty quickly. Sara San Angelo, a professional house cleaner and blogger , appreciates that 'for those who are moving into their first apartment or house, cleaning the kitchen can seem like an overwhelming job.'
However, she has some words of reassurance: 'if you do a few certain things each day, it becomes much more manageable. I recommend doing the dishes every day, clearing and wiping the counters, and spot sweeping or cleaning up spills immediately.'
Do those dishes, and do them every day! According to San Angelo, 'an empty sink at the end of the day can really give you a sense of accomplishment and keep you
motivated to tackle bigger cleaning tasks.'
Additionally, 'keep a nice basket on the counter to throw loose items in for a quick decluttering' and keep your floor clean: 'a clean floor is the easiest and fastest way to make your house look clean.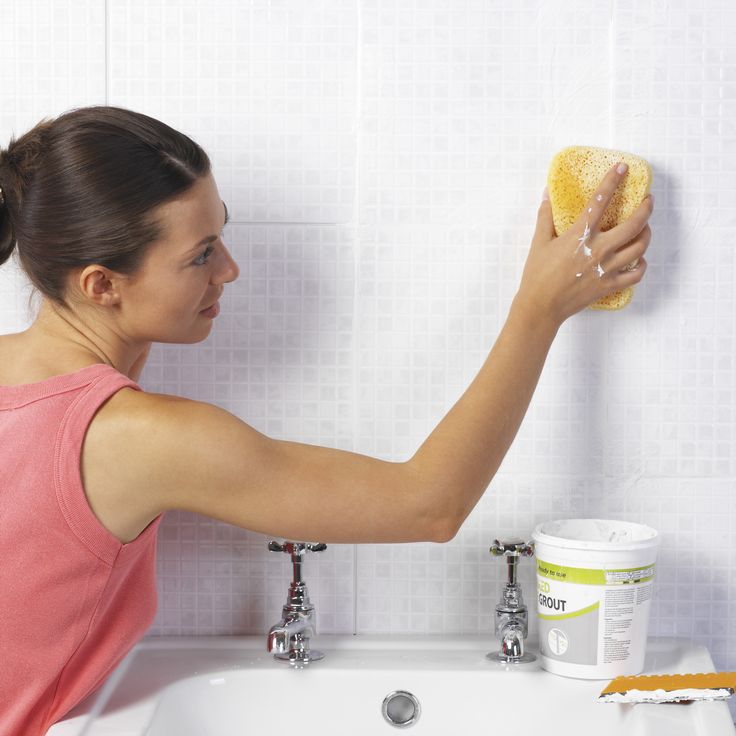 '
'
Your kitchen cleaning essentials
Scotch-Brite 7100223066 Classic Scouring Pad, Green
Duzzit Baking Soda 550g, Non Scratch Multipurpose Powerful Cleaning Action.
A hero product in the world of natural cleaning.
Our favorite liquid soap to use
Dawn Ultra Dishwashing Liquid Dish Soap Original Scent, 19.4 oz, 573ml
Works a treat, every time!
Easy as pie!
Hey there! I’m Cam, Deputy Editor of Realhomes.com. I’ve been here since early 2020 and I have the best job of working with a ton of different talented writers and creators to bring you the most inspiring home design content! As a renter myself, sharing a home with two friends (and my cat) in London, I know all too well the challenges that this can pose when it comes to creating your perfect setup. As someone who has always loved everything interior design-related, I cannot rest until a home feels right and I am really passionate about helping others get there too, no matter what their living situation, style, or budget may be. It’s not always the easiest to figure out, but the journey is fun and the results are so worth it.
After interior design, travel, art, and photography are my next big passions. When I’m not writing or editing homes content, I’m usually tapping into other creative outlets, exploring galleries in London or further afield, taking photos, scribbling, or drawing!
How to wash the kitchen from sticky deposits and grease - read on TEA.ru
One of the most unpleasant, long and annoying things in the kitchen is washing cabinets. It is no coincidence that we put it off for months, or even years, and then fiddle with old fat for half a day. It is not always possible to wash the kitchen, and sometimes the appearance of the furniture itself becomes the price of cleanliness. It has muddy stains, scratches and other marks. We have sorted out common mistakes and prepared useful tips on how to make the cleaning process in the kitchen quick and easy.
Errors that cause the kitchen to quickly age and deteriorate
Spray the cleaner onto the surface and leave to soak.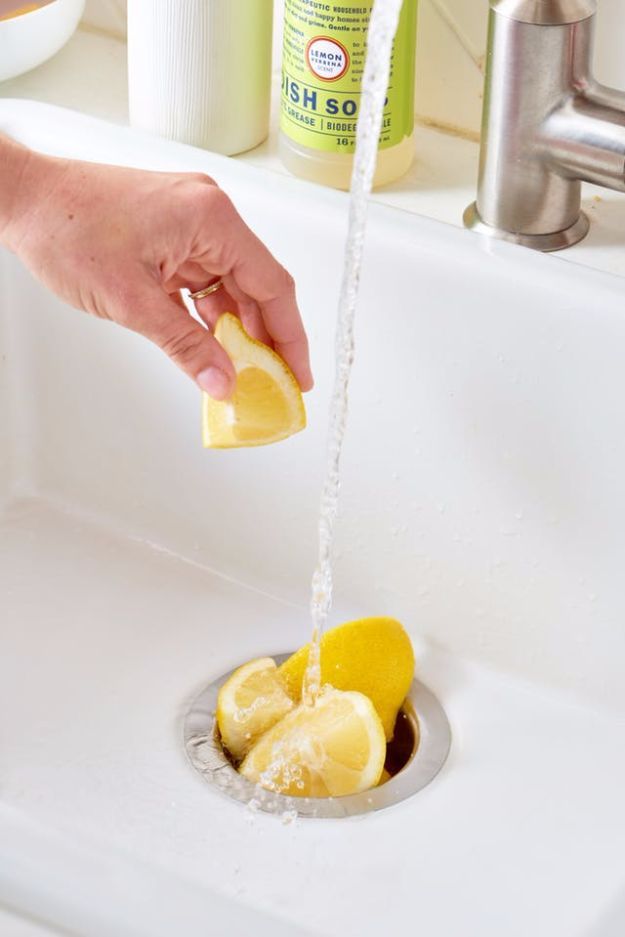 A rule that applies to any furniture: apply the product on a soft cloth or cloth, and not on the surface of the shelf or door itself. And even more so, you should not leave it for a long time, so that it "works better." You run the risk of at least getting stains and streaks, or completely ruining the coating of the kitchen set.
Wet hinges and other metal parts. Do not allow moisture or cleaning agent to come into contact with door hinges, door closers or other metal parts of the furniture. Perhaps nothing bad will happen from once, but over time, an excess of moisture will lead to rust. Therefore, either clean these places with a dry cloth, or do not forget to wipe dry after you have washed off the grease and dirt.
Do not read instructions for use of detergent. Applied, rubbed, washed off - it seems that you will not read anything new on the label of a cleaning agent. But it's not. Before you start cleaning, you need to make sure that the chosen product is right for your kitchen, and at the same time figure out how to properly apply and rinse it off.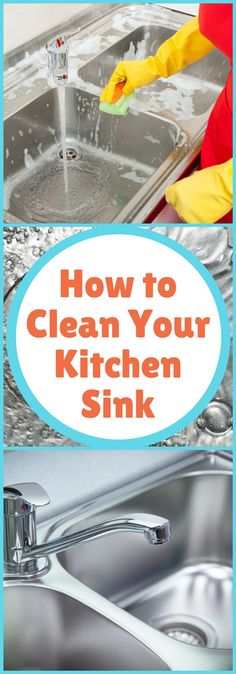 Especially if the furniture is made of natural wood or with a glossy finish, which is easy to scratch even with the most ordinary soda.
Wash kitchen cabinets every few years. We clean the countertops, sinks, dining table and stove every day, but our hands reach cabinets and shelves much less often. At best, I wash them during the general cleaning before the New Year. And as a result, old grease and dirt accumulate on them, which are not so easy to clean. We recommend wiping the inside of the cabinets with a mild soapy solution at least once every two weeks, and once a month, carry out an audit and throw away accumulated rubbish and delays from the shelves. It will definitely become cleaner and freer in the kitchen. Or maybe you don’t have to do a general cleaning at the end of the year.
Do not wear gloves. This mistake will not damage the kitchen, but the skin of your hands. But it would be wrong not to include it in our list. Under the influence of household chemicals, the skin dries, ages, loses elasticity, and sometimes you can even get a serious chemical burn.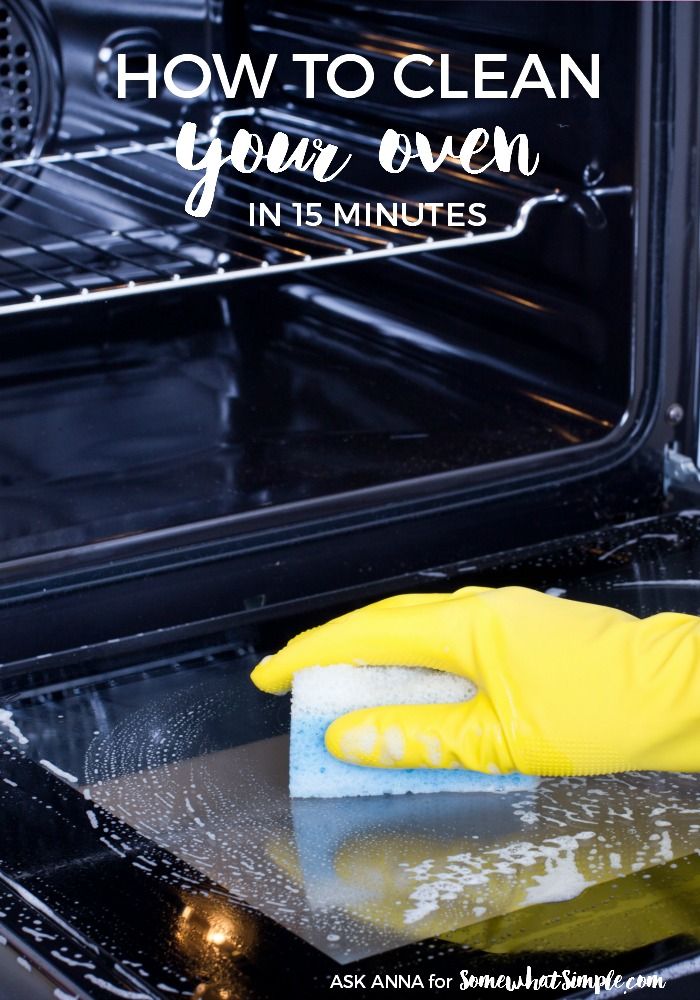 Therefore, we strongly advise you to protect your hands with gloves, and after cleaning, apply a moisturizing or nourishing hand cream.
Five tips for cleaning your kitchen
1. Use mild detergents. This also applies to household chemicals for the kitchen, and the rags, brushes and sponges themselves. What can be used to clean a stove, tile or sink should not be used to wash other kitchen surfaces. Harsh products and accessories can damage the surface of the furniture. And even if you don’t notice it right away, tiny scratches and roughness will accumulate dust and grease faster, the kitchen will tarnish, and it will become increasingly difficult to clean it.
2. Wipe surfaces twice. After you have washed off all the grease and dust, do not be too lazy to wipe the furniture twice with a soft cloth dampened with clean water. First - to remove the remnants of the product, then - to remove excess moisture. On a clean, dry surface, dust and other contaminants adhere less well, and the kitchen will look cleaner longer.
3. Ventilate cabinets. If you decide to wash the kitchen cabinets and shelves from the inside, do not rush to return jars with bulk products, dishes, kitchen utensils and other contents to their places. Dry all surfaces first, then leave cabinets open for a few minutes to dry and air out. At this time, at the same time, you can critically evaluate the content: throw away everything expired, spoiled and outdated, or come up with options for where to attach the unused.
Everything fits: how to save space even in the smallest kitchen >>
4. Be careful with glossy surfaces. To ensure that furniture retains its appearance for longer, always wipe the glossy fronts dry, do not leave drips or streaks. Use special household chemicals with a soft texture for glossy and glass surfaces, avoid abrasive cleaners.
5. Use baking soda, vinegar, and other natural products. Old greasy stains can be removed with soda, alcohol, vinegar and even ammonia.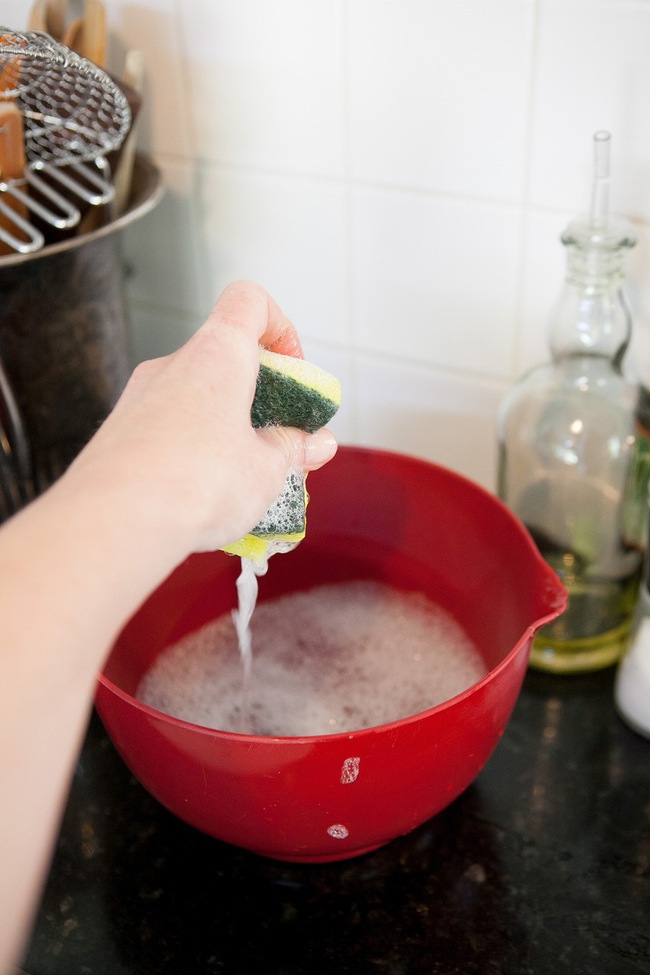 The advantage of such methods is their environmental friendliness and availability. The main thing - do not forget to test any folk remedy on a small inconspicuous area of \u200b\u200bthe kitchen set to make sure that it does not spoil the surface.
Folk recipes for cleaning products
- To prepare a cleaning solution from baking soda, it is enough to mix it with ordinary water in a ratio of 1:2. Apply the resulting paste to a cloth, treat the oily stain and rinse off after a few minutes.
- Mix baking soda with liquid soap in equal proportions: for example, two tablespoons each. This slurry will also do a great job with grease on facades, countertops and tiles. Leave it on for 15 minutes, then remove it along with the remaining grease and wipe the surface with a clean, damp cloth.
- Use vinegar to remove stains from glass surfaces. Mix ordinary table vinegar with warm water in a ratio of 1: 2 and start cleaning.
- Pour 150 ml of salicylic alcohol (you can use any vodka) into a glass container and add 2 tablespoons of dishwashing detergent.
 Mix well, then pour into a spray bottle. Natural remedy for fat is ready! Apply it on the stain, wait 10 minutes and then wash it off effortlessly.
How to quickly clean the tiles in the kitchen: modern devices + grandmother's recipes >>
What to do so that you have to wash kitchen furniture as little as possible
preventive measures.
- Get in the habit of wiping down all surfaces after cooking, especially if you're pan frying.
- Make sure the extractor above the stove is in good working order and don't forget to turn it on when you cook.
- At least once every two weeks, clean your kitchen furniture with professional household chemicals.
Even these three steps will be enough to keep grease from building up in layers in your kitchen, keep your furniture looking tidy and not have to spend too much time cleaning.
How to wash the MDF kitchen set, how to wash and clean the kitchen
MDF is one of those materials that, despite all the advantages of wood construction, is devoid of their main disadvantages.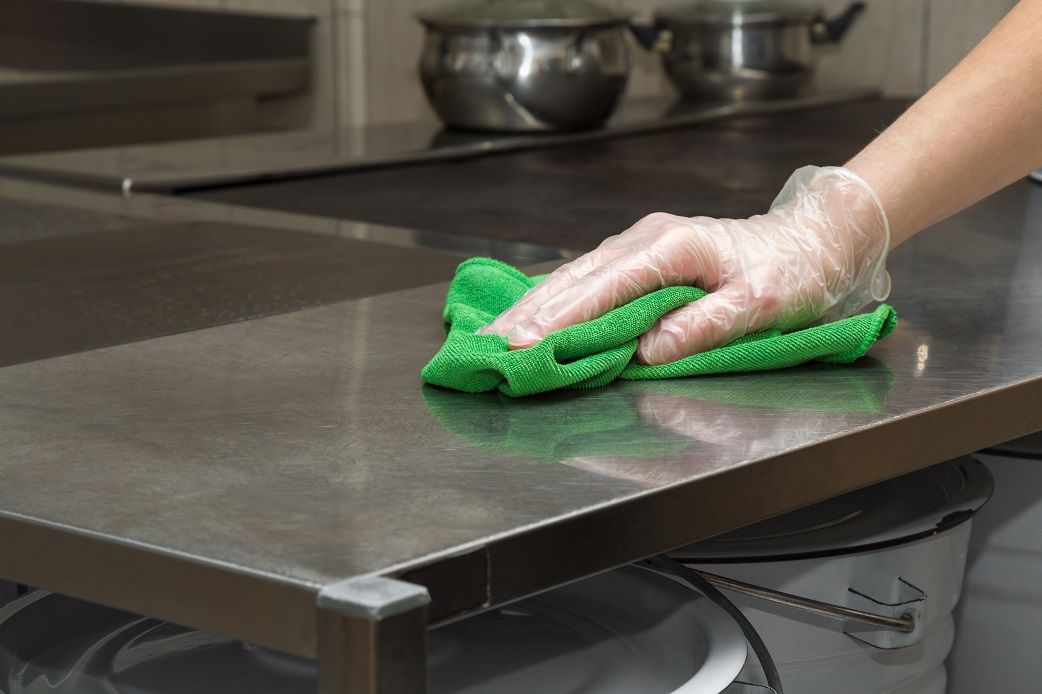 Finely dispersed pressed chips absorb moisture to a lesser extent, therefore, they retain their color, shape, and integrity longer. But in the manufacture of MDF sets, it acts as the basis, which is painted, pasted over with a film for lamination, varnished. The care of such surfaces is complicated, because the risk of violating the integrity of the finishing layer increases. Kitchen fronts need to be washed regularly, so you need to find a safe way that will keep your kitchen set clean without scratches or damage.
The first rule of cleanliness
In order to avoid questions about how to clean the headset, cleanliness must be maintained regularly. Of course, this can be difficult, especially when caring for modular or white furniture. But if you do not regularly wash the settling fat and dust, they turn into a plaque that can not be removed with gentle means. The frequency of cleaning depends on how much and what exactly the hostess is preparing. Therefore, the timing will always be individual.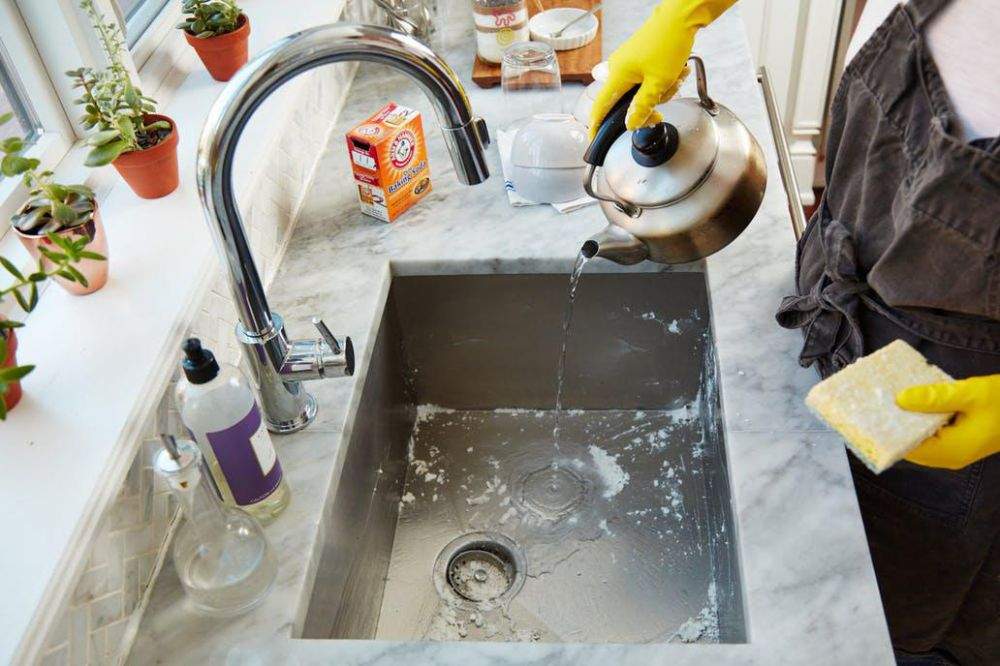
It is important to clean hard-to-reach places. You can do this with an old toothbrush. This is the first assistant when caring for a kitchen set, especially when it comes to modular or white furniture.
Wiping furnitureIf you are afraid that you have chosen not the most gentle product, try it first in a place where the damage will not be noticeable. This is equivalent to an allergy test - you need to apply a detergent composition to the surface and see the reaction. Moreover, you need to carefully choose chemistry for facades if they are covered with gloss (it is easy to scratch), a thin film with a pattern, paint. Dense matte lamination often withstands a lot of cleaning, only after years it may show chips and scratches.
How to clean the fronts of the MDF set
To prevent the accumulation of grease and dirt on the surface, the fronts of the kitchen should be wiped as soon as they are splashed with oil, greasy food. If there is no time to do this right away, once a week it is worth washing the doors with ordinary dishwashing detergent. But for this it is better to dilute the gel to get a thick foam. This method launders fat well, acts quite gently, so you can use it often.
If the drops of fat are still frozen, the foam should be left for a few minutes. Then you need to take a new cup and wipe off the dirt with the hard side. But gloss can prevent this - it can not be rubbed hard and even more so cleaned with an abrasive. Therefore, when caring for a glossy surface, first of all, it consists in regularly wiping the facades before the dirt hardens.
Gentle kitchen cleaners: TOP-5 effective compositions for MDF
To keep furniture clean, there is no need to clean it, rub it with a scraper.
You can clean the facades of the kitchen using homemade recipes without store chemicals:
- Vodka is an effective remedy. Instead, you can dilute alcohol one to one with water. Such a liquid can wipe the doors of any headsets. So you can wash white, glossy, any other surfaces.
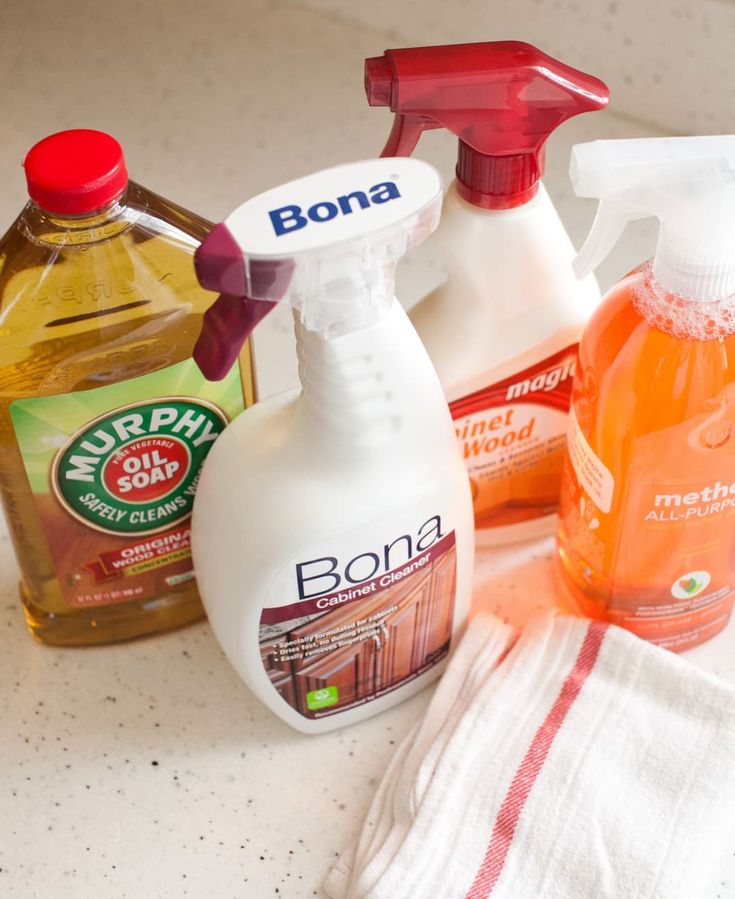
- Ammonia cleans grease and other dirt well. One tablespoon per liter of water is enough to wipe off any dirt in the kitchen. The liquid needs to be sprayed, and after a few minutes, wipe it off. But streaks can remain on the gloss, so it's best to try wiping an inconspicuous area first.
- A mixture of vinegar, lemon juice and alcohol removes grease well . At the same time, the solution is safe for any facades: they can wash white, glossy doors.
- Similar composition - apple cider vinegar vodka . Such a solution will help protect surfaces from grease, and they will always shine like a new kitchen.
- Another proven method is hot steam, especially for modular sets . Not only a steam cleaner is suitable, but also a regular iron with vertical steaming.
IMPORTANT! This method is not suitable for all MDF facades, so it is worth checking in an inconspicuous area.
For example, the film may move away from the base during a steam boost.
Soda, effective against many contaminants, is not applicable in the case of MDF - it strongly scratches the surface. But mustard, which was previously mixed with soda to wash off hardened dirt, is suitable for preparing a thick paste. Spots or the entire surface are smeared with such a mass, and after a while they are washed off with clean water. Of course, you should not experiment with white furniture - it can turn yellow from mustard.
Painted MDF fronts should only be washed with soapy water and a soft sponge. If you can't get rid of the grease, try more effective products on an inconspicuous area of furniture.
Dirt Prevention
To make the facades “repel” dirt, you can rub them with a wax polish. It creates a protective layer on the surface of the furniture, so it becomes easier to keep it clean.
Modular furniture after polishing. The most difficult thing is to regularly care for modular furniture - a lot of grease, dust and other dirt gets into the gaps between the individual elements, and it is difficult to wash these places. Therefore, it is worth using overlays - connectors for countertops. They will protect the side walls of the modules from moisture, pollution, aggressive chemicals. Of course, if the modular kitchen consists of free-standing parts, then you just have to regularly wipe down the side panels.
What you should never clean MDF kitchens with
When choosing products for the care of kitchen furniture, pay attention to the ingredients.
Do not experiment with MDF surfaces, so exclude:
- Methyl and other compounds, only ethyl alcohol is allowed.
- Any abrasive compounds and brushes.
- Acid, chlorine, sodium.
- Toothpaste, vegetable oil, soda.
Each of these agents has its own negative effect on the surface. It is worth considering that small scratches from brushes and abrasive compounds will immediately be noticeable, but aggressive chemical preparations, vegetable oil and other mixtures can “destroy” MDF gradually.