Making a wet room floor
Wet Room Construction Details | Building a Wet Room
» Wet Room Construction Details
How to Build a Wet Room
Building a wet room can be more complex than renovating or building a standard bathroom. Wet rooms have a number of crucial elements that need to be factored into their construction to ensure they not only look good, but function efficiently and most importantly, do not leak.
Read on to find out the aspects of wet room construction that should be considered when planning an installation.
Wet Room Construction: 4 Things to Consider
From deciding on where to build the wet room, to understanding the implications of flooring type, there are many aspects to consider when constructing a wet room.
1) Wet Room Location
Where to place a wet room in a new build is an important consideration of planning and design. Wet rooms are no longer constrained to a solid floor. They can be constructed anywhere – including onto timber floors – thanks to the advances in the design of wet room drainage and waterproofing methods. With effective waterproofing systems, a wet room can be installed throughout residential properties, including family bathrooms, bedroom en-suites and even loft conversions.
2) Build Up Process
Another factor to be considered when constructing a wet room is the floor build up. Wet rooms can be constructed on both timber and solid floors, but the method of installing the wet floor, and the elements used to create the gradients (falls) on each substrate, will vary.
3) Creating Gradients
Creating a gradient in a wet room is one of the three most important components of wet room construction, and is vital in order to guide water down the drain efficiently. The minimum recommended fall is 12mm, and the slope needs to be formed into the floor itself.
There are several ways of doing this depending on the flooring type you are working with.
4) The Differences Between Wooden and Solid Floors
The type of flooring beneath it will have a significant impact on how to build a wet room.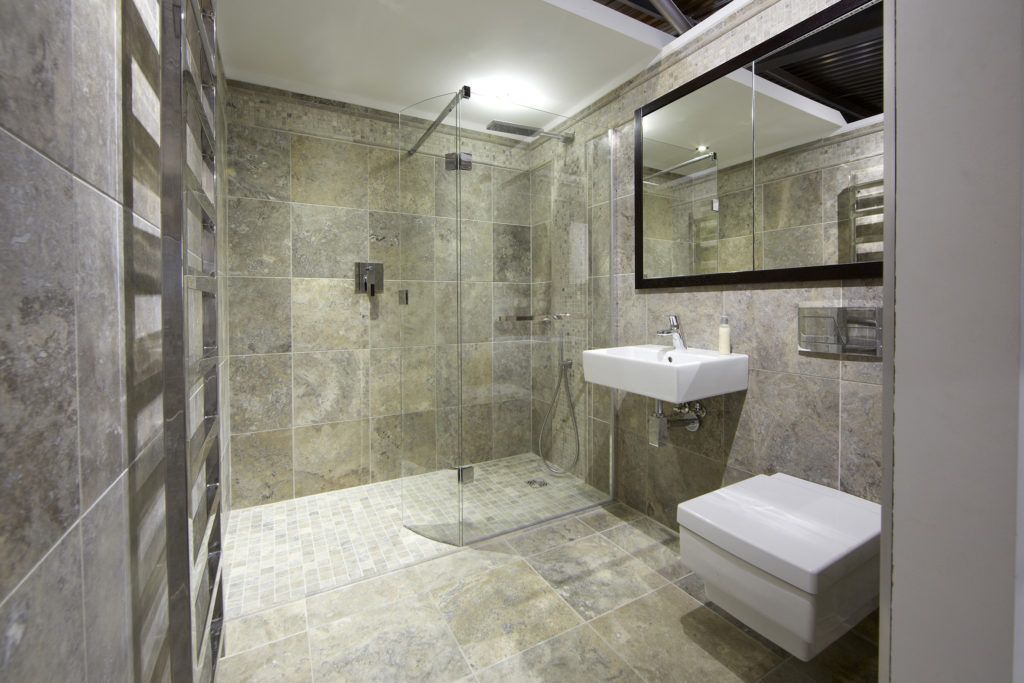 Read on to discover the differences between wet room construction on a wooden floor, compared to a solid floor.
How To Build A Wet Room On A Wooden Floor
Wet room wooden floor build up
Timber floor wet room installation will require the removal of the floorboards before anything else is installed. Following its removal, a floor former or ‘dec’ can be fitted, and the drainage systems and waterproofing membranes can be installed.
Wet room wooden floor structural rigidity
Installing a wet room on an upper timber floor, or converting an upstairs bathroom into a wet room, may involve minor structural modifications. This is to ensure it is properly supported, and it is a relatively simple and straight forward process. Whilst planning permission is not necessary, wet rooms need to comply to Building Regulations for bathrooms in general.
To ensure that a wet room built on a timber floor using a floor former or ‘dec’ is structurally secure, the following should be consider:
- a subfloor within the wooden joist spaces will need to be constructed using plywood
- A minimum of 18mm ply should be installed between the joists, finishing flush with the top of the joists
- the 22mm floor former should then be installed above the ply lining
- the whole area must be waterproofed
By following these steps, you will ensure that the wet room is structurally sound.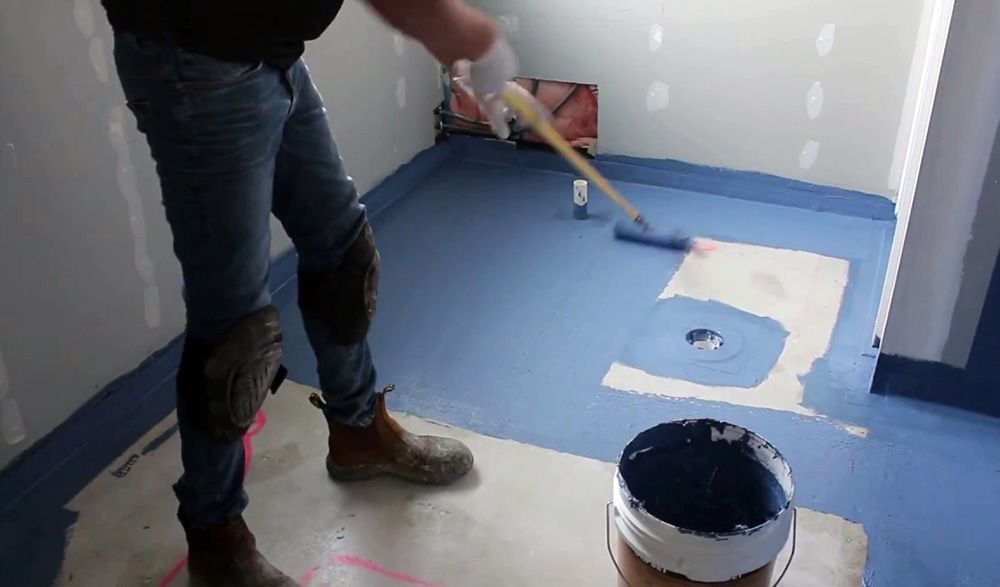
Wet room wooden floor gradients
The floorboards will need to be taken up, supported with ply lining and a floor former with built-in gradients installed. The floor formers are lightweight but they are efficiently designed to carry the weight of the tiles. They have one or two way falls built in, which slope to a linear drain positioned in the floor, or next to the wall. A four-way fall can be achieved with the use of a square drain, offset or in the centre of the former.
See Our Wet Room Drainage Systems for Timber Floors
Installing A Wet Room On A Solid Floor
Wet room solid floor build up
In a new wet room
In a new build, the wet room drainage systems are installed into the floor prior to the screed being laid. This is to create the required gradient needed for the wet room floor.
In a renovated wet room
A retro-fit wet room will require the old screed to be removed in the designated shower area to allow the new drainage system and screed to be installed with the required drainage falls. It is also possible to remove the screed within the shower area to allow the drainage outlet to be fitted, self-levelling latex to be poured, and a floor former installed on top. This will form the wet room gradient.
Wet room solid floor gradients
A new concrete floor can be laid to fall, which allows for the height of the drain. If the wet room is being installed retrospectively, the existing floor will need to be broken into, in order to install the drainage systems.
See Our Wet room Drainage Systems for Solid & Concrete Floors
Drainage & Waterproofing – All Flooring Types
Drainage grill aesthetics in a wet room
It’s advisable to establish the style of wet room drain required at the beginning of the project. This will help determine which system should be installed. Taking into account the desired position of the grill within the shower area will also narrow down the options that are available.
The two main styles of drainage grills are:
Linear grill
This is a contemporary rectangular grill that can be positioned anywhere within the shower area, including up against the wall.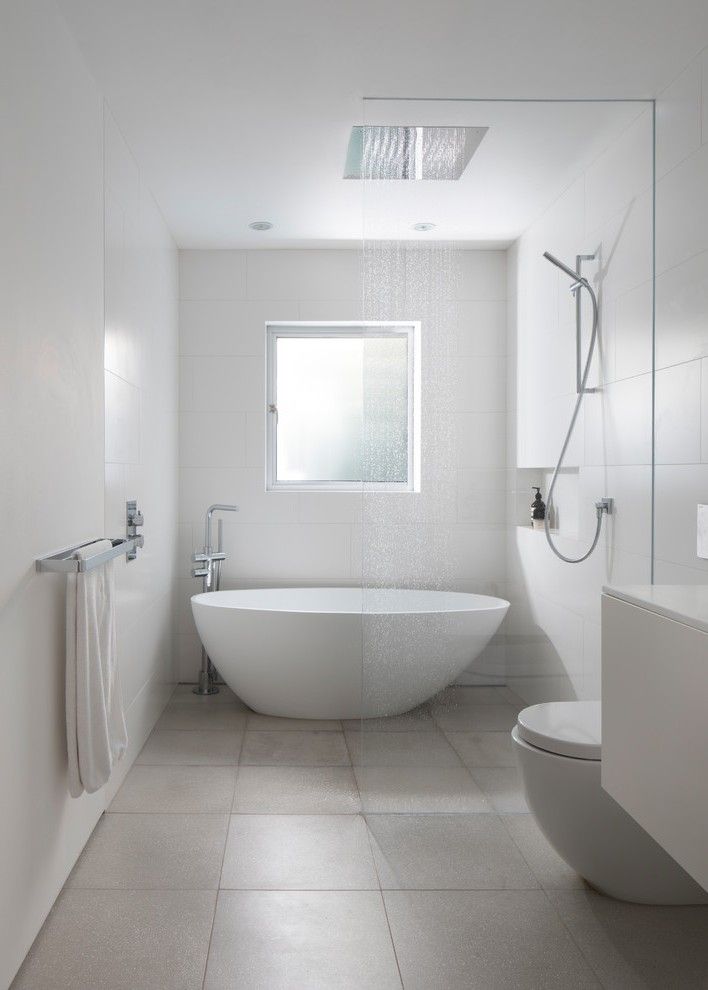 The grill comes in different styles:
- stainless steel (available in a variety of finishes)
- Stone-Infill Grill – which is inlaid with your chosen tile to co-ordinate with the wet room
The linear grill can be used on timber or solid floors and is ideally suited to contemporary large format tiles.
Square grill
This is a traditional square drain that is best suited to wet rooms on a timber floor construction. The drain is ideal for use with mosaic tiles.
- Linear Floor Grill against the wall
- Stainless steel Linear Floor Grill
- Stone-Infill Grill against the wall
- Slotted stainless steel square grill
- Solid stainless steel square grill
- Stone-infill grill
Explore Our Wetroom Drainage Products
Discover CCL Wetrooms' range of wetroom drains for solid and timber floors, from our Linear Screed Drain to our Solo 4 Drain.
Wet Room Drainage
Drainage is a key element in the construction of a wet room and the style of drainage used will depend on the following:
- Floor build up
- Flow rate of the shower* (litres per minute, l/m)
- Style of drainage grill
- Type of tiles required
All wet room drains contain a trap and a vertical or horizontal waste pipe attachment. It’s important to choose one that will cope with your water pressure and the desired flow rate for the shower. Once the drain is installed and the waste pipe has been connected to the soil pipe, the floor former is fitted on top before being sealed and waterproofed.
* The l/m is determined by the type/style of shower head chosen and your water pressure. It is vital to ensure that the correct number of traps have been installed at this stage to cope with the flow rate (l/m), as additional traps cannot be added later.
Please remember that other sanitary-ware products in the bathroom do not share the wet room waste pipe.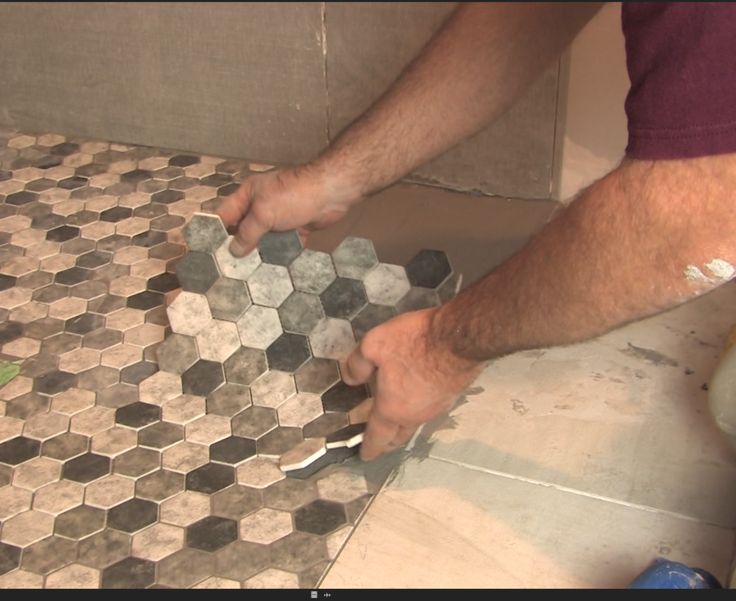 Always ensure that the wet room waste pipe runs independently into the soil pipe.
At CCL Wetrooms we’re experts in wet room drainage. We offer a range of innovative drainage systems, such as our market leading shallow linear screed drain. Take a look at our products page for more information.
CCL Wetrooms Products
Waterproofing
Waterproofing, also known as ‘tanking’ is a vital part of wet room construction and mustn’t be overlooked. It can be effectively carried out through the application of an impermeable waterproof membrane that is designed for use across the whole shower floor area prior to the application of tiles. It is recommended that the membrane is installed across the whole bathroom floor (where appropriate) or at a minimum of 1 metre beyond the shower area.
The membrane is ideal for fast track construction and can be walked on and tiled on immediately – unlike liquid membranes that have to be left for 24 hours to dry.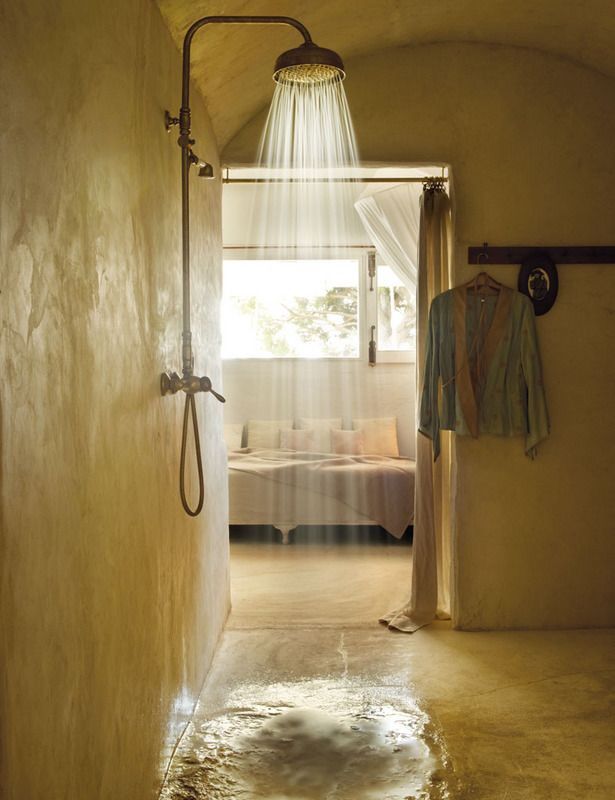 The floor membrane should be used in conjunction with a flexible wall membrane on the walls to ensure water cannot penetrate through any gaps.
A correctly installed waterproof membrane will last for the lifetime of the tiles. Tiles should then be laid using a high quality, rapid set flexible tile adhesive on a solid bed.
Explore Our Wetroom Waterproofing Products
Find out more about the types of waterproofing solutions that can be used in wetrooms. All of our products are expertly manufactured to ensure highly effective waterproofing.
Wet Room Tiling (to British Standard BS5385)
Tiles are one of the most popular options for wet room flooring. They look good, are easy to keep clean, and offer plenty of scope for design in a wet room.
Textured tiles can help to ensure maximum safety while using a wet room. Natural stone tiles, mosaics, sandblasted or flame finishes are good options because they provide more friction and a secure feeling underfoot.
At CCL Wetrooms, we offer a comprehensive wet room design service (and an optional installation service through our sister company Wetrooms UK) that can be tailored to your project and encompasses all stages of the build.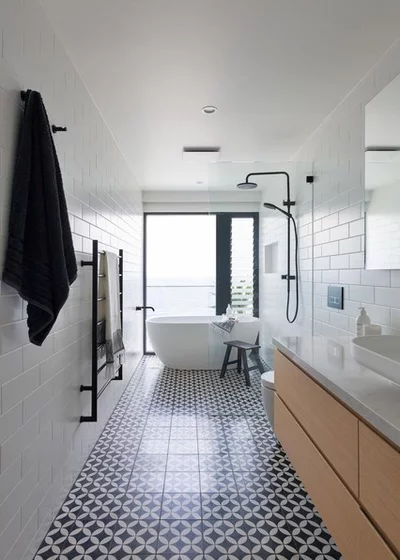 If you’d like to find out more about how we can help you design a beautifully functional wet room, contact us today.
Wet Room: How to Build a Wet Room
When it comes to bathroom upgrades, options abound. Now more than ever, it seems people are turning to the sort of renovations that make their shower and bath areas feel as spacious and spa-like as possible. And one increasingly popular option for achieving these spa vibes is by transitioning your traditional bathroom space into a wet room.
This May Also Interest You: What’s a Wet Room?
Read on to learn more about this burgeoning trend and to find out if it might be the right fit for you and your next bathroom renovation.
What Is a Wet Room, Anyway?
A wet room is a completely waterproof bathroom space with no separation between the shower area and the rest of the bathroom. Wet rooms are single level in that there are no steps, trays or raised portions at all. Because they utilize space more effectively, adding a wet room can make your bathroom appear larger.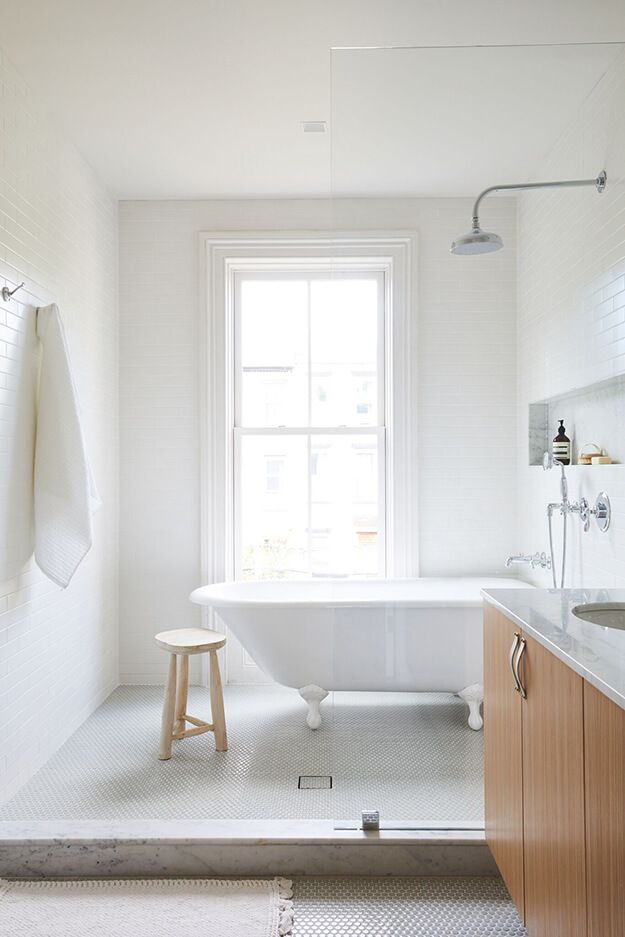 If tranquility and spaciousness are what you’re after, transforming an outdated bathroom into a wet room is the perfect way to maximize your space.
Wet Room Bathrooms: The Benefits
Once you start scrolling through images of wet rooms online, it might start to feel like adding one to your home is more fantasy than reality. After all, their super sleek, elegant appearance looks like something out of your favorite magazine.
But what if adding a wet room wasn’t nearly as difficult as you thought? What if installing a wet room was a smart and sensible upgrade that can be as useful as it is luxurious? The fact is that adding a wet room bathroom to your home offers a number of advantages:
Space Maximization
One of the most enticing reasons to install a wet room is its inherent space efficiency. Because everything in a wet room is waterproof, the need for a shower screen or enclosure becomes obsolete. Without the need for a separate shower area, the entire bathroom becomes an open area that appears larger than it actually is. Do you have a small bathroom with an awkward layout that makes mobility difficult? An open-plan wet room might just be your best bet.
As you lay out your new bathroom, be sure to remember that these rooms are designed in such a way that everything can get wet. So you'll want to be sure to site your toilet and sink in such a way that they don't get sprayed by your shower. If there's not enough room to do so, a simple partition between the shower and toilet/sink space can do the job nicely — and using one made from glass will still keep the open feel of the room.
Easier to Clean
As an added bonus, wet rooms are easier to clean than conventional bathrooms. Think about it: There are no shower trays or screens to contend with and, with fully tiled walls and floors, a wet room cleaning routine is super simple. If you opt to install a wall-mounted toilet or sink to further open your floor space, cleaning gets even easier.
What’s more, when installed properly, your wet room floor will protect your subfloor better than standard bathroom flooring. Because the floor of a wet room is as waterproofed, or “tanked,” as a conventional shower pan, wet room floors prevent water from infiltrating your subfloors and are actually more protected against mold and mildew than a normal bathroom would be.
Safer and More Accessible
One of the best reasons for installing a wet room bathroom is its functional, accessible design. Whether or not you have any handicapped or elderly members of your family, a doorless, curbless shower area is just safer in general. If you’re concerned that a fully tiled floor might be a slip hazard, you can easily avoid installing polished tile and opt for a non-slip option like natural stone or porcelain.
Speaking of safety, be sure to plan your drain correctly. A popular option in wet room bathrooms is drains that run from one wall to another and funnel water to a central point. Such a drain system can act as something of a gutter that can ensure that water stays on one side while the other side stays dry.
Adds to the Value of Your Home
Open floor plans are in, and they’re here to stay. Sleek design and open spaces are timeless qualities that are both stylish and functional. Secondly, a bathroom without a shower alcove or a bathroom stall feels and looks larger, so increasing the functional space in a room is always a plus when it comes to adding value to your home.
More Related Articles:
- How Much Does a Shower Remodel Cost?
- How to Tile a Shower in 7 Steps
- Making It Rain: How Much Does It Cost to Install a Shower?
- How Do You Install a Shower? Follow This Guide
- How to Remove a Bathtub in 4 Simple Steps
Installing a Wet Room
If you can’t already tell, adding a wet room shower area to your house is a gift that keeps on giving. That said, the idea of ripping apart your bathroom can feel like a pretty daunting and even scary task. And let’s be clear: Unless you’re an advanced DIYer or all-around remodeling expert, installing a wet room is a job that’s best left to the professionals.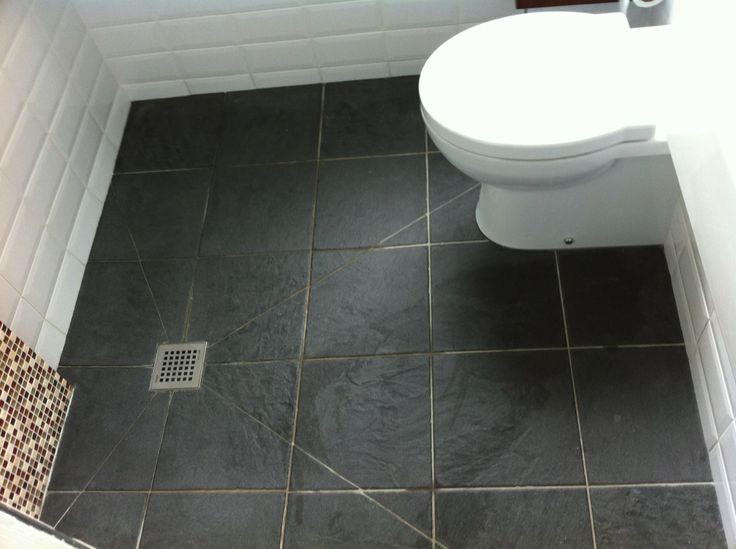 Ensuring that everything is graded and waterproofed properly is a necessary aspect of a wet room installation, and a pro will be able to make sure there aren’t any water leaks in your new space.
But still, how do you begin designing your new wet room? Whether you’re in the process of a new build or remodeling your existing bathroom, there are crucial aspects to a wet room bathroom design that it pays to stay aware of. Here are some considerations to keep in mind while you’re in the design phase:
1. Examine Your Bathroom Floor
Before you dive into designing a wet room, you first need to examine your bathroom floor to determine how complex the install will be. In fact, it’s generally accepted that the floor type dictates every aspect of the installation process.
Consider the two most popular floor types: timber and concrete. Timber flooring is perhaps the most popular type of flooring and, if you are planning on installing a wet room upstairs, you are most certainly working with timber flooring.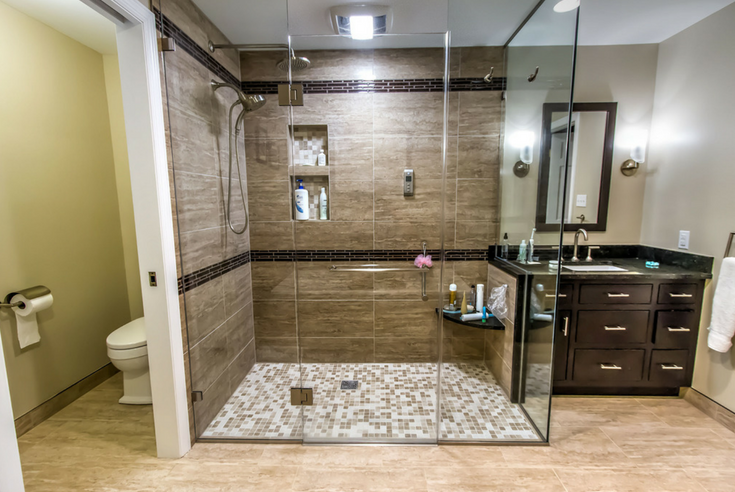 In timber floors, joists run parallel to support plywood subflooring. To install a wet room onto a timber floor, you’ll first need to have a floor former installed onto your subfloor. Floor formers have built-in gradients that work to channel water into the drain. On the other hand, if you are installing a wet room onto a concrete subfloor, you’ll need to first install a drain screed to enable the water to channel away from the shower area and safely exit into a wastewater pipe.
2. ‘Tank’ the Wet Room
One of the key benefits of a wet room bathroom is that the entire floor area, as well as the lower section of each wall, is properly waterproofed — “tanked”— to prevent water from damaging the structural elements of your home. The waterproofing process can be time-consuming and can account for a hefty portion of your project’s budget.
To properly waterproof your wet room area, the entire floor section (including the lower section of the walls) will need to be primed and then have a membrane applied that will need to be set or cured.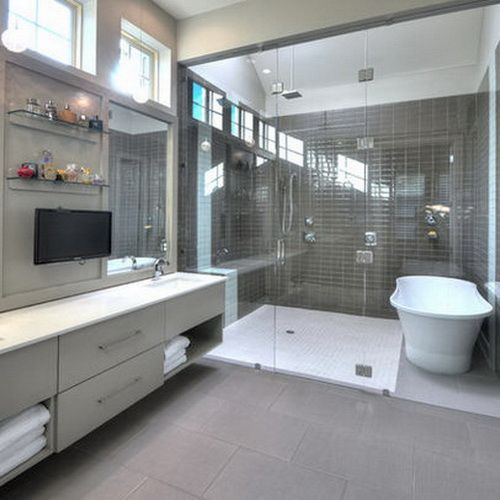 You can choose to use a liquid membrane like Jackoboard Wet Room Waterproofing Tanking Kit that’s painted on with a roller, or a physical membrane such as Impey TileSafe, which is laid onto the floor before tiling.
3. Choose Flooring and Wall Coverings
Once the room has been properly waterproofed, the surface areas are ready to be applied. Tile is by far the most popular choice for surface areas in a wet room, and for good reason. Tile is a sturdy, aesthetically pleasing option that is both easy to maintain and can stand the test of time. However, when choosing tile, it’s important to go for a material that’s not inherently slippery, like ceramic tile. Although they need to be sealed after installation to prevent damage and staining, natural stone tiles are one of the most popular choices for surface areas in a wet room due to their rustic, hard-wearing finish, but also because they’re less slippery than other types of tile.
In addition to tile flooring, vinyl and rubber flooring are other popular choices for a wet room bathroom area. Because of their durability, cost-effectiveness and the wide variety of available patterns, colors and textures, vinyl and rubber flooring remain good waterproof options for your new wet room, particularly if tile is out of your budget.
In terms of wall tile, you can really let creativity be your guide. Keep in mind that porcelain is less porous than ceramic, so it might be a good choice for keeping moisture away from the back of the tiles. Glass tiles are also a popular and waterproof option.
4. Vent It
One other thing to keep in mind when planning your wet room: Be sure to have good ventilation. This can be as simple as a standard vent fan, but it's critical that you include one in your planning because wet rooms tend to get moisture over a larger surface area. If that moisture doesn't have a place to vent, mold and mildew growth can occur.
Wet Rooms: Worth the Work
Whether you want to add value to your home, increase accessibility or simply update your space, adding a wet room may be the way to go. And doing so might be less complicated than you think.
Finishing floors in "wet" rooms (kitchen, corridor, boiler room)
/ Finishing work / Finishing floors in "wet" rooms (kitchen, corridor, boiler room)
Finishing floors in "wet" rooms (kitchen, corridor, boiler room)
Rooms with high humidity require special attention.
The floors in the kitchen, in the boiler room and in the hallway, in the bathroom and in the toilet are constantly exposed to moisture, which adversely affects many types of floor coverings.
In high humidity conditions, mold fungi actively multiply, which can destroy the coating.
Moisture-repellent adhesive-based fillers are effective in solving the problem of , which make it possible to make a moisture-resistant concrete screed.
Often in such areas they make a "warm floor", the elements of which are placed under the finishing screed.
Ceramic or porcelain stoneware tiles are recommended for .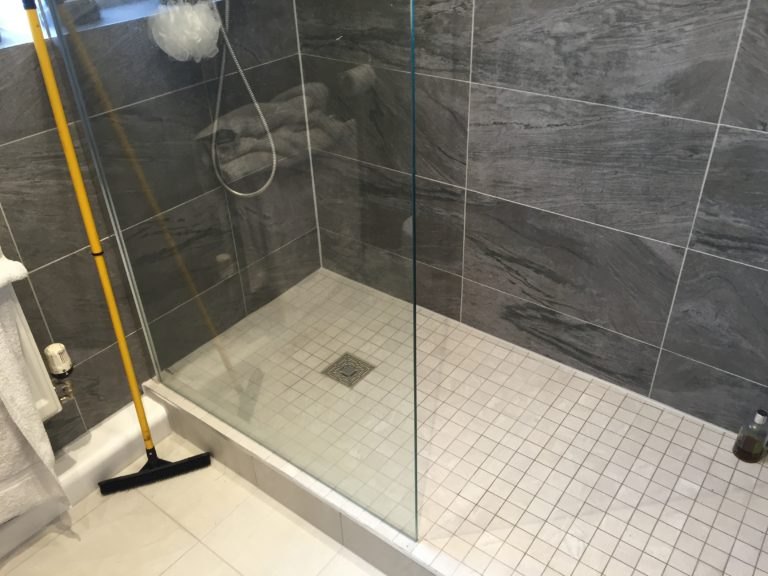
The tiles are laid on a moisture-repellent adhesive, and the seams are treated with a protective varnish.
An interesting variant of is a glue plug, which is coated with a special varnish to make it water-repellent.
Instead of screed, you can also choose wooden floors , in which case all wooden surfaces must be impregnated with antiseptics and flame retardants. Wooden boards are coated with wax or varnish, which protect against water ingress.
The kitchen of a wooden house is its "heart", it is here that every housewife spends most of her time. Therefore, the decoration of this room should be pleasing to the eye and be practical.
All questions on the construction, decoration and interior design of wooden houses, please call:
+7 (495) 212-10-80
90-081 + 70
Participation in exhibitions
Online calculation of the cost of the house
Do you have a ready estimate?
Have you already calculated the house?
CALL!
We will make it cheaper!
Leave a request for the calculation of estimates
Houses for sale,
plots for sale
News
LLC PSK "Russian Mansions" gives a written Guarantee for wooden houses and baths made of logs or timber. The guarantee is printed on letterhead, has a “wet” seal and the signature of the General Director. The warranty period is 5 years, starting from the date of signing the Acceptance Certificate of the work performed by both parties: the Customer and our representative.
Read more
When ordering the design of a wooden house, most Customers set themselves the goal of getting a stylish interior. But in fact, one should strive not for trends, but for harmony and comfort. After all, people live in a country house, and do not come for short-term excursions.
More
Wooden log houses are popular. This is due to their characteristics: durability, environmental friendliness, aesthetics. So that the log does not lose its properties, it is necessary to regularly stain the log house. For wood processing choose paints, varnishes, oils and wax.
Read more
How to make a bathroom floor with your own hands, recommendations
Bathroom floor installation is one of the most important and difficult stages in repair. The presence of numerous communication pipes, high humidity, make the task more time-consuming and responsible. In the bathroom, you need to properly install the drain, this will prevent the appearance of mold, as well as fungal plaque. The level of the floor in the bathroom must be done exactly to the smallest detail. To properly perform this hard work, you need to choose the right composition of materials and tools for repair, as well as steadily follow the instructions and recommendations. Usually the process begins with the question of how to level the floor in the bathroom, because it is this task that is the initial one, the quality of the final result largely depends on the success of this enterprise.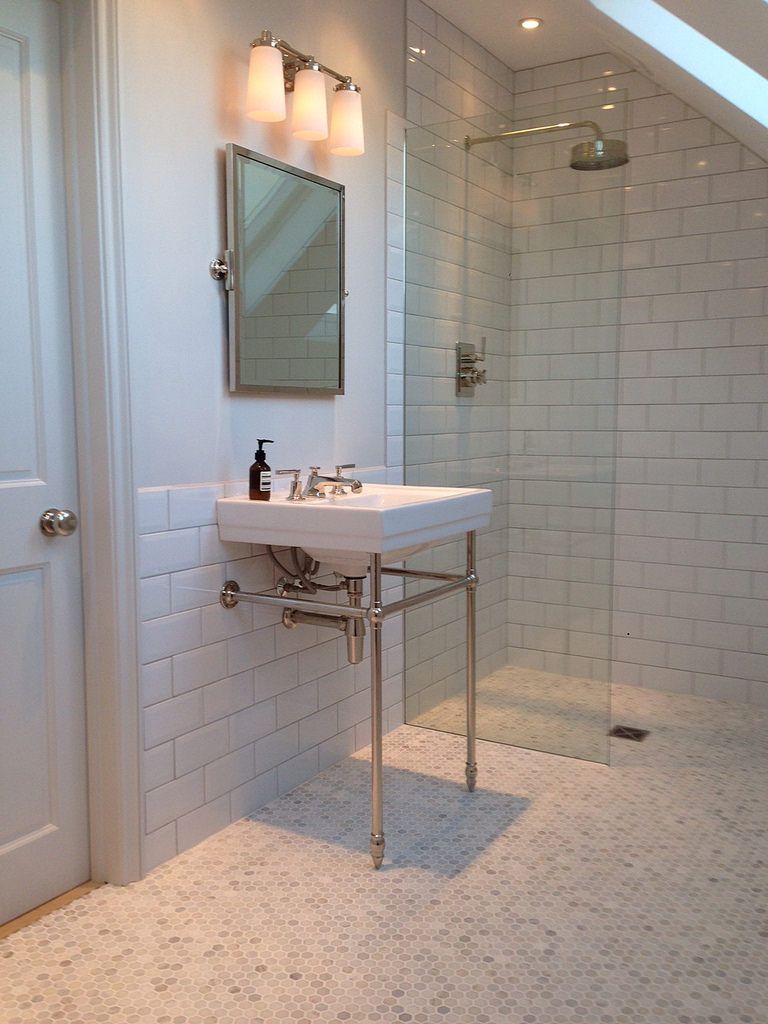
Efficient restoration of the subfloor is the key to the durability of the floor, and also thanks to it the waterproofing and the screed are less subject to wear and deformation.
Waterproofing
High-quality waterproofing of the bathroom under tiles or other coatings is important due to the presence of high humidity in the room. Waterproof materials for this stage should be chosen depending on how much you are interested in the durability of the coating, as well as the ease of working with them.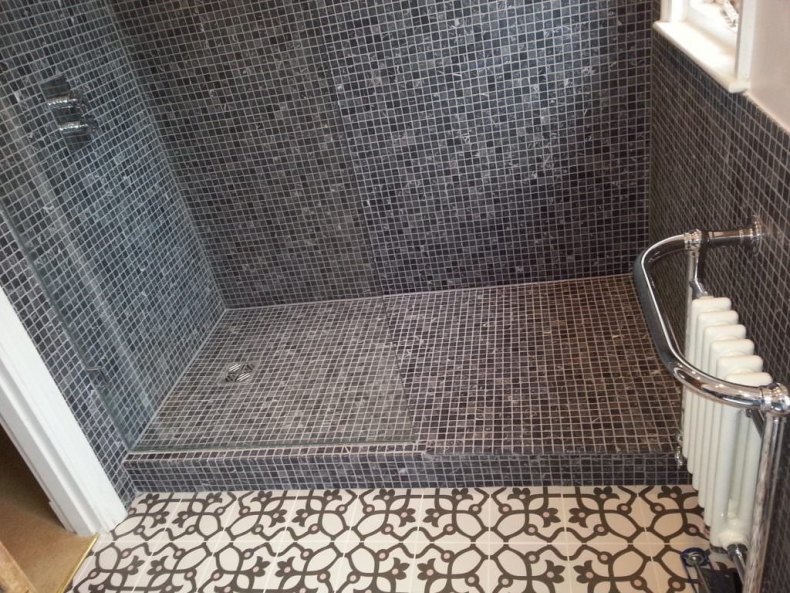
- gluing materials - used for waterproofing not only the floor, but also vertical planes. The surface that is being treated becomes like a bowl, in which the height of the walls is more than 15 centimeters. These materials can be perfectly fixed, while spending a minimum of effort, and also without professional skills;
- bituminous emulsion - has a composition that is easy to apply with a brush or roller. This method has a significant disadvantage - waterproofing is short-lived, the period of protection from moisture is about 5 years;
Screed
To create an impeccably flat surface, you need to make a high-quality floor screed in the bathroom, which will become an excellent basis for the new floor and facilitate the subsequent laying process. To properly fill the floor in the bathroom yourself, you need to use the exact sequence of actions. Knowing how to effectively level the floor in the bathroom, you can do it in a few hours.
- The first step is to determine the level of the surface, this can be done by marking the entire perimeter of the bathroom. In order for everything to be done without errors, it is worth using a laser level. If you do not have such a device, you can design its analogue yourself. To do this, you will need two disposable syringes and a plastic hose that will connect them;
- after that, you need to install beacons in the form of rails, in the shape of the letter “T”. A cord is stretched between them, which will align the profiles vertically;
- grout must be made strictly according to the manufacturer's instructions, and then this composition should be evenly poured onto the floor surface.
 The fill is applied to the space indicated by the beacons, and a construction spatula is used to level it;
 - so that the screed does not have air bubbles, its surface must be treated with a roller with needles.
Semi-dry screedConcrete screedScreeding will facilitate further work on laying the floor in the bathroom, provide a long service life of the coating and decorative superiorityIn order for the screed to serve for a long time and be a quality base for the future floor, it is necessary to strictly follow the manufacturer's recommendations regarding climatic conditions and the length of the drying time.
Do-it-yourself drain
Preparation for laying a quality floor should include a reliable drain that will allow water to not linger on the surface. A drain will keep your bathroom dry and free from mold and mildew.
Do-it-yourself drain installation is a quick and easy process that can be done by a non-professional repairer. In order for the arrangement to take a minimum of time, and the drain to last for a long time, you need to clearly follow the tips and recommendations, keeping the sequence of actions:
- preparing the floor before installing the structure. First you need to make a tray. To do this, using a perforator, a small hole is made in the screed and everything is processed with a liquid waterproofing agent;
- installation of a drain drain - it does not need to use waterproofing material for its installation. It simply collects from the floor and drains the remaining moisture to the sewer pipe. The ladder consists of a body in the form of a funnel, which is attached to the floor surface. The next component is a branch pipe, which has a different length depending on the installation conditions;
- after installing the drain, you should get a common threshold for draining water.
 This device consists of the following parts: the base of the coating, the waterproofing layer, the second layer of waterproofing, which is more airtight than the layer below, the concrete screed, which is 4 centimeters lower on the side where the drain is located, the finishing layer;
 - this completes the preparation and you can start installing the drain. With a simple pencil, it is worth noting the ladder, and then connecting it to the sewer socket. The joints are treated with a sealant, the composition of which is silicone;
- Styrofoam 5 centimeters thick is placed on the floor surface so that it does not fit snugly on the drain. To create deformed seams, slats are installed near the walls. After that, a cement mortar is poured onto the site, which will tightly fix the ladder and level all defects;
- when the concrete is completely dry, the next layer of waterproofing is laid, and then a siphon with a grate is inserted into the drain and fixed at an angle using wooden guides;
- the second layer of cement mortar is laid out at the level of the guides, and after it dries, you can proceed to finish the surface.
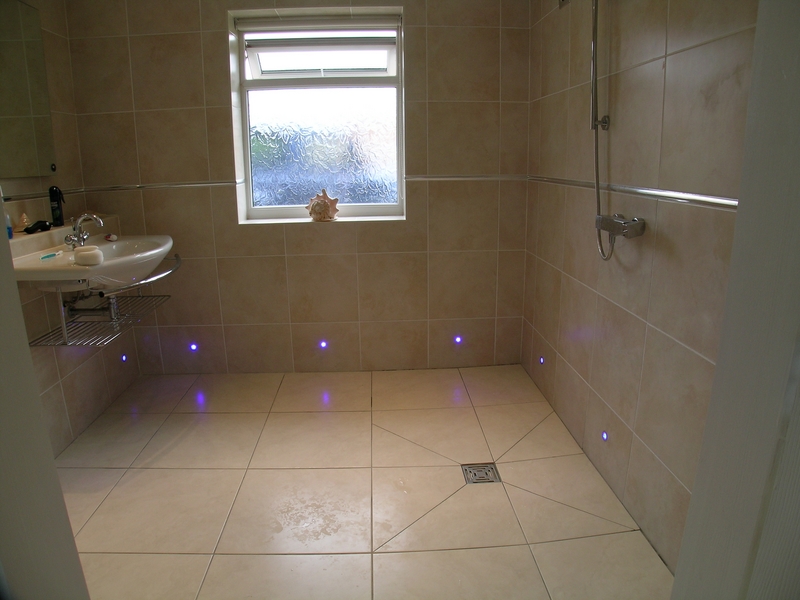
Do-it-yourself drain keeps your bathroom dry and safe. It helps to prevent the appearance of dampness in the bathroom, thereby preventing the formation of fungus and mold. A well-made drain will serve well and for a very long time.
The best options for flooring
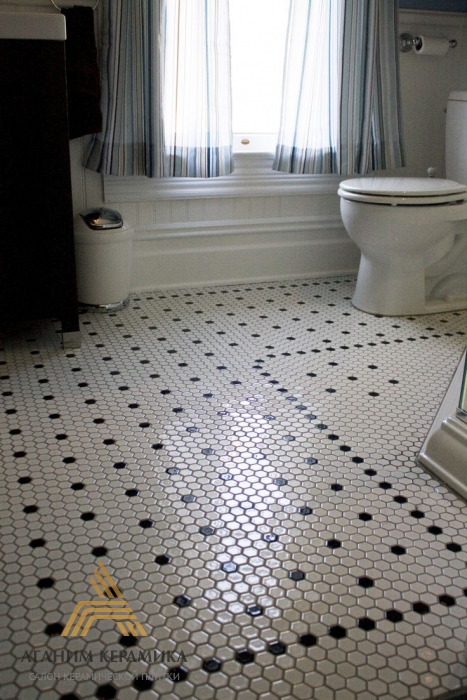
In order for the floor in the bathroom, corridor, kitchen to serve as long as possible, it is worth choosing a quality flooring. Moisture-repellent materials are best suited for the bathroom: tile, cork, wood, linoleum, self-leveling flooring or pebbles.
Tiles
To lay tiles, you first need to prepare a mortar that will connect the base and finishing material. Then the amount of material is calculated, taking into account the distance between the tiles. A mortar is applied to the surface of the tiles, as well as to the base of the floor, they are connected and the surface is leveled with a level.
The main advantage of this material is a wide range of design solutions. Tiles are easy to put on the floor, easy to clean and have a long lifespan, but updating them is not so easy and is a complex process. For a detailed description of how to lay floor tiles, we have made detailed instructions.
Cork
Cork is installed in two ways, adhesive and floating. In the first method, cork sheets are glued to a perfectly flat plywood or wood base. The workflow should start from the middle of the room, moving in a circle. Each stage must be controlled with a level, there should not be even the slightest difference. The glue dries for about 48 hours, all this time the floor must not be loaded.
The floating method is suitable for very damp rooms. To protect the surface, an additional layer of waterproofing is laid - a polyethylene film. The material has a very natural look, it is pleasant to the touch, and also environmentally friendly. The disadvantage of such a coating is fragility, high price, complexity of installation.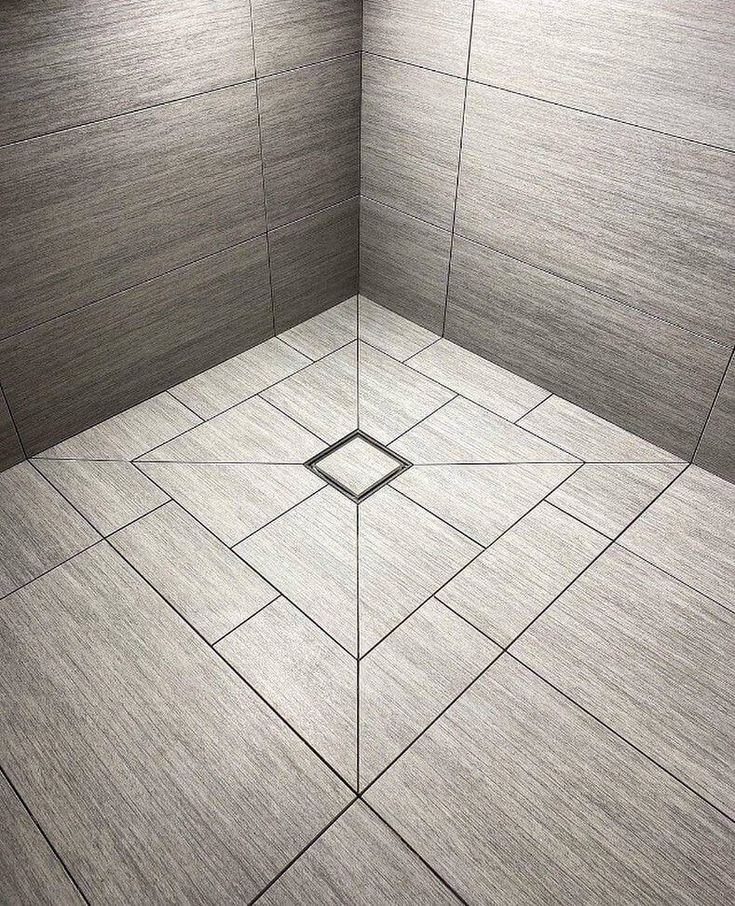
Wood
For the durability of wood flooring, additional waterproofing must be used. The material has the ability to absorb moisture well, because of this, it quickly loses its beautiful appearance. As an alternative to natural wood, you can use a moisture-resistant laminate.
Wood flooring is refinement, sophistication, naturalness. The floor is easy to use, easy to install, but must be perfectly maintained.
Linoleum
A budget option for economical owners. It is very easy to install the coating, a large selection of designs, simple and not time-consuming maintenance. The downside of the material is its fragility, or rather the rapid loss of its original appearance, so it will soon have to be updated. Linoleum tends to wipe off when exposed to moisture, so in order for the coating to last longer, you need to keep the room dry.
Self-leveling floor
Self-leveling floor technology is very simple, but it provides an opportunity to create a unique bathroom design.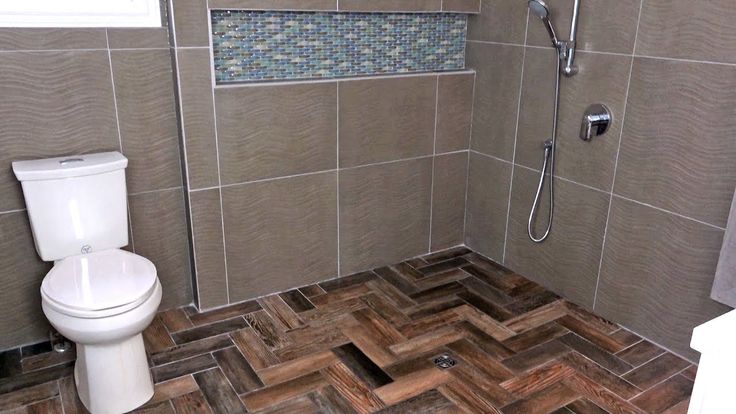 The prepared mixture is poured without stopping, controlling the height of the coating. The thickness of each layer should be no more than 5 millimeters, and the time between fillings should be 10 minutes. To work, you will need a wide spatula, a squeegee and a spiked roller to get rid of air bubbles. The screed must be used within an hour.
For decorative finishing, a special film is used, on which the desired pattern is applied. Using the dry method of application, the film is mounted on the floor surface, and then fixed with an epoxy composition and varnish. Innovative technology produces a continuous, perfectly even coating that has a very long service life. Detailed step-by-step instructions for self-leveling flooring with your own hands, you will reveal all the technology.
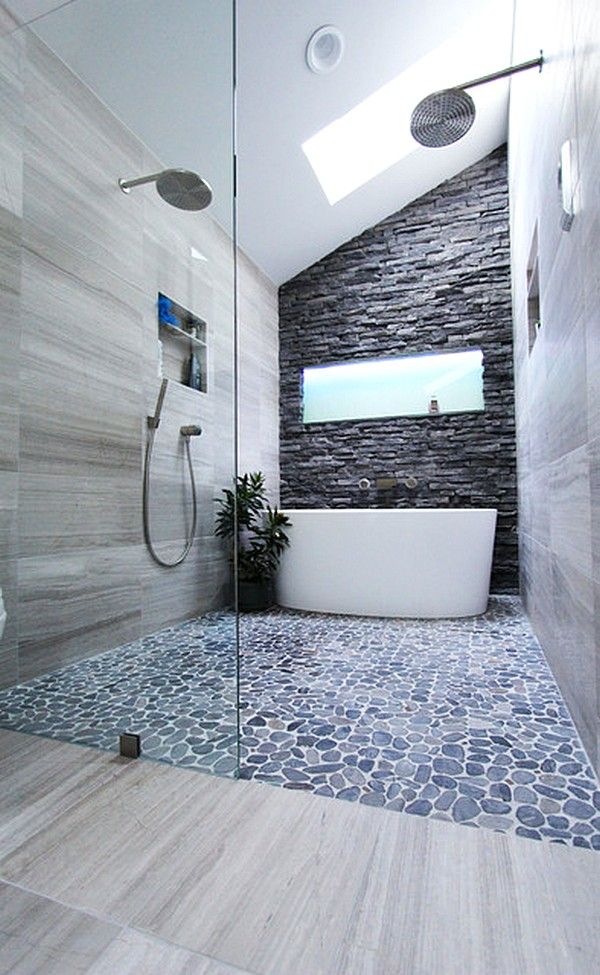
Do-it-yourself pebble floor
How to make a do-it-yourself pebble floor in the bathroom? There are several methods that can be used, but which are fundamentally different from each other:
- pebble mosaic - the easiest option that even a beginner in the field of repair will be able to do.
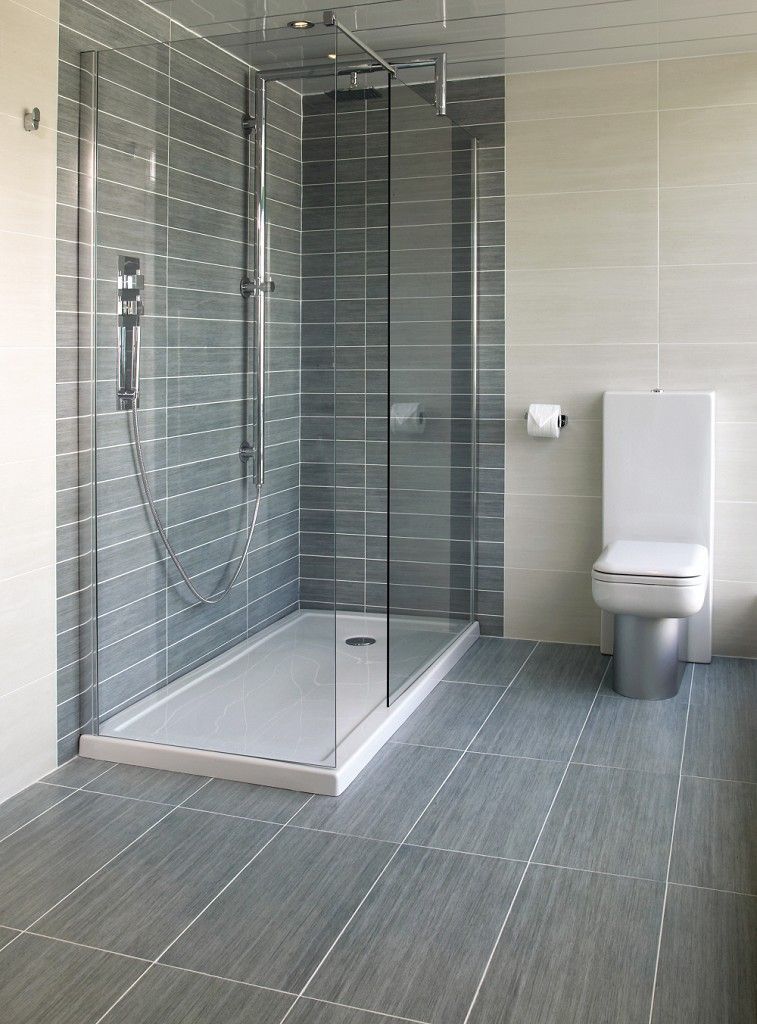 Pebble stones are glued on a special mesh, which is glued and rubbed in the same way as a regular mosaic;
 - pebble floor under glass - a very effective and beautiful way to update the floor in the bathroom with your own hands;
- The most economical way to make a pebble floor is to assemble the pebble mosaic yourself. To do this, you first need to pick up stones of the appropriate size and shape, which are harmoniously combined in color. Then they are glued with tile glue, and the seams are rubbed with high quality;
- polymer pebble floor is a mixture of stones, as well as other finishing elements that are laid on a prepared base, and on which a protective compound is poured. This method is good because the design is exclusive, and its composition depends only on your imagination.
The pebble bathroom floor surface is a modern solution that has a very effective look and is easy to maintain. The arrangement of the bathroom floor in the apartment is easy to do by yourself, because the pebble floor is easy to install and work with, it is easy to update it.