Cleaning brushes oil based paint
How to Clean Oil Paint from Paint Brushes
Updated: 11-25-2019
Home Maintenance For Dummies
Explore Book Buy On Amazon
You’ve finished painting, so now it’s time to clean the oil paint from paintbrushes. Use solvent (paint thinner) to clean oil paint from paintbrushes; soap and water won’t work. Cleaning paintbrushes before the paint has a chance to dry on them is the best way to keep your equipment in good shape.Cleaning with paint thinner can be quite messy. Work in a garage or outdoors, if you can. Be sure that wherever you choose is protected from splatters and is well ventilated.
Gather your materials.
You need a wire paint comb, used paintbrush, paint container, latex gloves, goggles, dropcloths or newspapers, three plastic or metal containers (such as coffee cans), paint thinner or mineral spirits, paper towels, large cardboard box, large garbage bag (lawn-cleanup size).
Protect yourself and the work area.
Put on your gloves and goggles, and lay down newspaper or dropcloths to protect your work surface.
Half fill each of the three containers with paint thinner.
Set the three containers on the protected surface, and fill each half full with paint thinner.
Comb out excess paint from the brush.
Use the wire paint comb to scrape excess paint off the brush and into the paint can.
Set the brushes in the first container of paint thinner.
Put all your brushes into the first container and soak for five minutes. Wiggle them around to work out the paint.
Create a place to blot the brushes with paper towels.
While the brushes are soaking, prepare a blotting area: Lay down several layers of paper towels on top of the protected surface where you’re working.
Blot the brushes against the paper towels.
Remove the brushes and place them on the paper towels. Use gentle pressure to press the bristles into the paper towels, blotting off the thinner.
Repeat Steps 5 and 7 using the second container.
With each successive container more paint should come off the brushes.
Rinse the brushes in the third container.
Put the brushes into the third container and soak for three minutes. Swish them around once or twice. The liquid should be clean.
Create a drying box for the brushes.
Create a place for the brushes to dry by lining a large cardboard box with a large garbage bag.
Remove excess paint thinner.
Pick up each brush and, using your gloved hand, squeeze the excess paint thinner back into the container. Blot the brushes on clean paper towels.
No paint should appear on the paper towels at this point, all having been removed from the brushes. If paint still appears, go back to the second container and begin again from there.
Beat the brush to remove residual paint thinner.
Place your hands inside the large cardboard box to contain the spatter, and slap the metal heel of the brush handle against the heel of your hand repeatedly until no liquid is left. Dry with paper towels.
Dispose of the paint thinner.
Pour all the paint thinner into a single can. Replace the lid securely. Contact your local waste disposal service to ensure proper disposal.
About This Article
This article can be found in the category:
- Walls & Painting ,
How to Clean Oil Paint Brushes
Oil painting is an incredibly satisfying form of expression.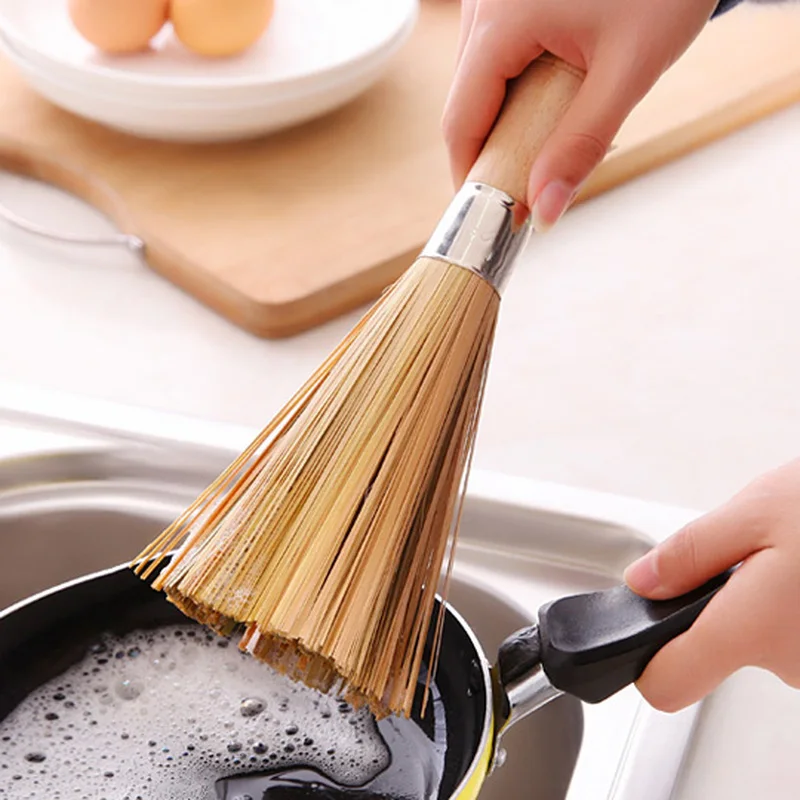
Yet most oil artists agree that there’s one part of the process they could live without:
Cleaning dirty brushes.
The cleanup process after oil painting is something that you have to do right away. And though it is definitely not the most pleasant aspect of painting, it’s essential to take the time to do it properly.
There are, as you may have guessed, right and wrong ways to clean brushes. And you can’t rush the process. So if you want your brushes to last, you’ll need to make sure you’re doing it right.
From solvents to soaps, there are all sorts of things you can use to clean oil brushes. And different types of brushes can benefit from unique cleaning products and techniques.
Whether you use bristle, sable, or synthetic brushes, here’s how to properly clean your oil brushes and extend their lifespan.
Products You Can Use to Clean Oil Brushes
There are a variety of products that you can use to clean your oil brushes, including the oil itself.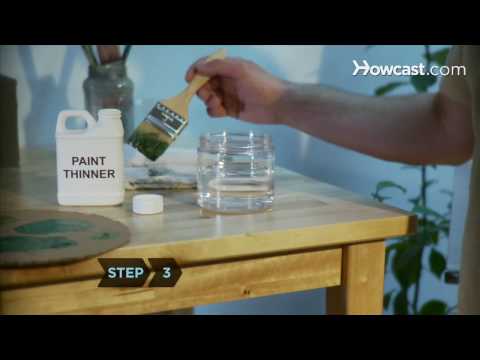
Solvents, soaps, natural mineral oils, and natural cleaners are all options, and there is a wide variety of each that you can choose from as your key brush cleaning agent.
SolventsSolvents, such as turpentine, paint thinner, and mineral spirits, are the most common brush cleaners for oil painters.
All three options are incredibly effective, but they do have toxic properties. When using solvents to clean brushes, be sure to do so in a well-ventilated area.
Natural OilsOlive oil. Walnut oil. Linseed oil. Safflower oil. Baby oil …
You probably already use some of these natural oils as painting mediums. And you can use all of them to remove paint from brushes.
Winsor & Newton Refined Safflower Oil and Winsor & Newton Refined Linseed Oil are great examples of mediums that do double duty as brush cleaners.
Natural CleanersWant to clean your brushes in a natural, eco-friendly manner?
Three products are great at getting oil paint off brushes that don’t include any nasty ingredients.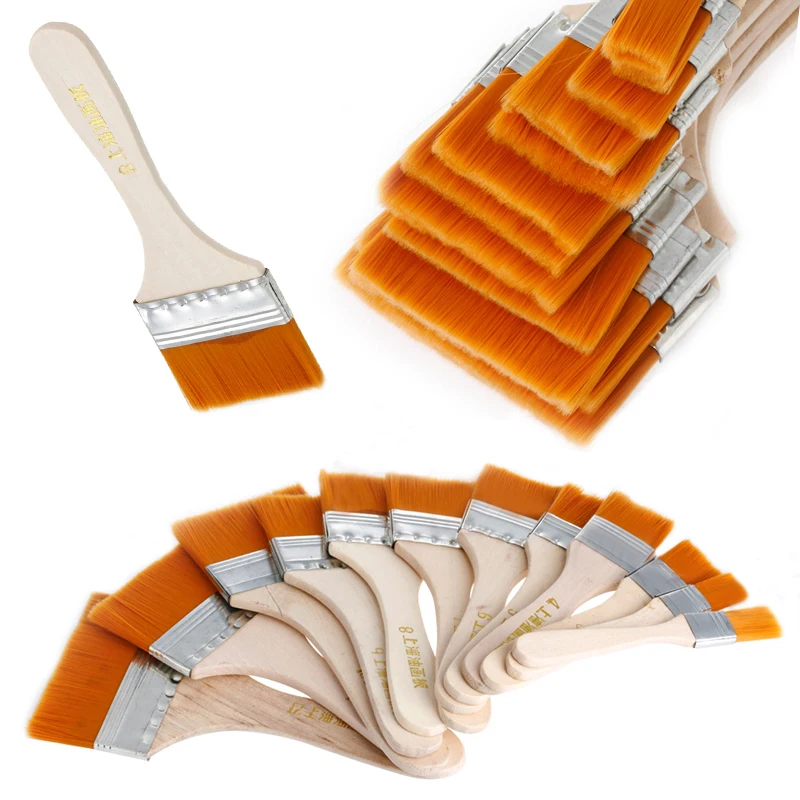
Eco-Solve is a natural product that works just like a paint thinner. The best part? It’s soy-based, so it doesn’t have that nasty, paint thinner smell.
Murphy’s Oil Soap isn’t just for cleaning wood furniture and floors - it can remove oil paint. Because it contains pine oil, it works much like the other natural oils listed above.
White vinegar can clean all sorts of household items, including paintbrushes. While you should never let paint dry and cake onto a brush, white vinegar is surprisingly effective at removing hardened, dried paint.
SoapsHaving some soap on hand is a crucial tool in effectively cleaning paintbrushes.
If you remove most of the paint from your brushes, soaking your brushes in water with dish soap will help remove the remainder of the paint.
Speedball Pink soap is made specifically for cleaning paintbrushes. Not only will it clean your brushes thoroughly, but it can even help to condition and reshape them.
The Masters Brush Cleaner makes cleaning oil brushes easy (and almost fun).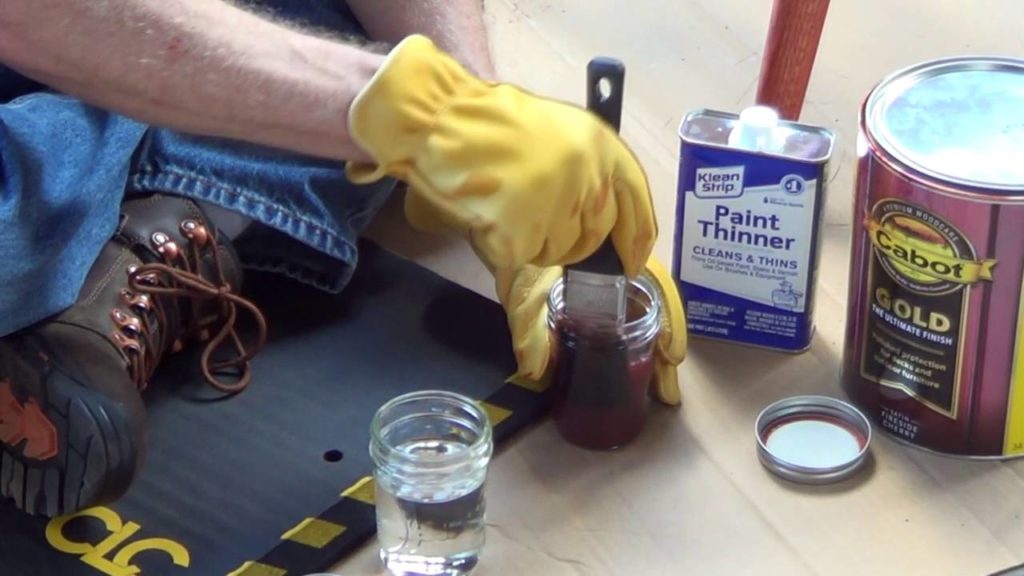 This cleaner feels like a hard bar of soap that lathers up to remove all remnants of paint from your bristles effectively.
Depending on how you decide to clean your brushes, you’ll want to have a newspaper, paper towels, and a few empty brush cups or jars on hand.
If you prefer to clean with solvents, we recommend wearing plastic gloves to protect your skin in case of accidental spills or splashes.
How to Clean Oil Paint Brushes
Okay, so now that you know what to use to clean your oil brushes, let’s talk about how to clean them.
How to Clean Brushes With Solvents:- The first step in cleaning brushes with solvents is to dip your wet brush into your paint thinner or mineral spirits and swish it around.
- Tap your brush on the side of the jar or bottle so that you don’t drip paint thinner everywhere.
- Then, wrap your brush in paper towels and pull it through to wipe off any excess solvent and remaining paint.
 You may have to do this two or three times to get all of the leftover paint off your brush.
 - When all the paint is gone, dip your brush into a bit of warm water with dish soap to restore and condition the brush hairs’ tip.
Remember: Never leave your brushes in solvent or water for too long. Always remove them promptly so they can dry immediately after washing.
How to Clean Brushes With Natural Cleaners:When using a natural cleaner, such as Eco-Solve or Murphy’s Oil Soap, you’ll want to take a bit of extra time and care washing the product out of your brushes.
- To clean your oil brushes with a natural cleaner, dip your wet brush into your natural cleanser of choice and gently splash it around.
- Tap your brush on the side of the jar or bottle to remove excess moisture.
- Then, wipe off any excess cleaner and remaining paint with a paper towel. Do this a few times to get all of the leftover paint off your brush.

- When all the paint is gone, dip your brush into a bit of warm water with dish soap to restore and condition the brush hairs’ tip.
The steps are the same as washing with a solvent, but natural cleaners can leave residue behind. To get rid of that remaining residue, wash your brushes in a bit of dish soap and water as the final step.
How to Clean Brushes With Natural Oils:- The first step is to get all of the excess paint off your brush. Use paper towels or a rag to soak up as much of the paint on your brush as you possibly can.
- Then, dip your brush into a jar or container with a small amount of your chosen oil. You don’t need to submerge the entire handle — you only need to cover the bristles up to the ferrule.
- In between oil dips, go back to your rag or paper towels and wipe the brush back and forth repeatedly to get all of the remaining pigment particles out.
- After a few rounds of oil dips and towel wipes, the result will be clean, paint-free brushes.
- Once all paint is removed, clean and rinse your brushes with dish soap and water. Lather a bit of liquid soap directly into the brush hairs at the ferrule to get every bit of paint out.
- Finally, rinse your brushes thoroughly and set them out to dry.
Just be careful how you dip your brush into the oil container. You don’t want to push straight down; you want to keep the brush hairs as flat and smooth as possible at all times.
One of the benefits of using a medium like linseed oil or safflower oil to clean your brushes is that you already have it readily available while you paint. And that’s key because sometimes you’ll need to clean brushes during your painting session.
Tips for Cleaning Bristle Brushes
Bristle brushes, such as those made from hog or boar hair, tend to retain a slight residue, mainly when used with oil paints. This is normal, so keep your oil bristle brushes separate from any bristle brushes you use with other media.
After cleaning a bristle brush, it’s best to restore the tip of the brush. You can do so simply by dipping the bristles into hot water, blotting them dry on a towel, and using your fingers to reshape the brush head.
Tips for Cleaning Sable Brushes
After you’ve cleaned your sable brushes, take special care about where and how you store them. You should never store sable brushes in direct sunlight. Whenever possible, keep them in an airtight box.
Because sable brushes have natural bristles, it’s vital to restore the natural oils in the brush hairs from time to time. A few times per year, roll your brush in a small amount of brush conditioner and rinse it thoroughly to help restore those lost oils.
Tips for Cleaning Synthetic Brushes
Most synthetic brushes have nylon and/or polyester bristles. Because they are often less pricy than bristle and sable brushes, many artists do not feel the need to invest a lot of time cleaning them.
However, synthetic brushes can last for months when properly cleaned, stored, and cared for. Clean your brushes the right way, and you can spend money on buying new canvases or paints and not buying new brushes.
Abuse Your Brushes on Purpose
For many artists, the oil painting process is one of constant experimentation — and that includes using different painting techniques.
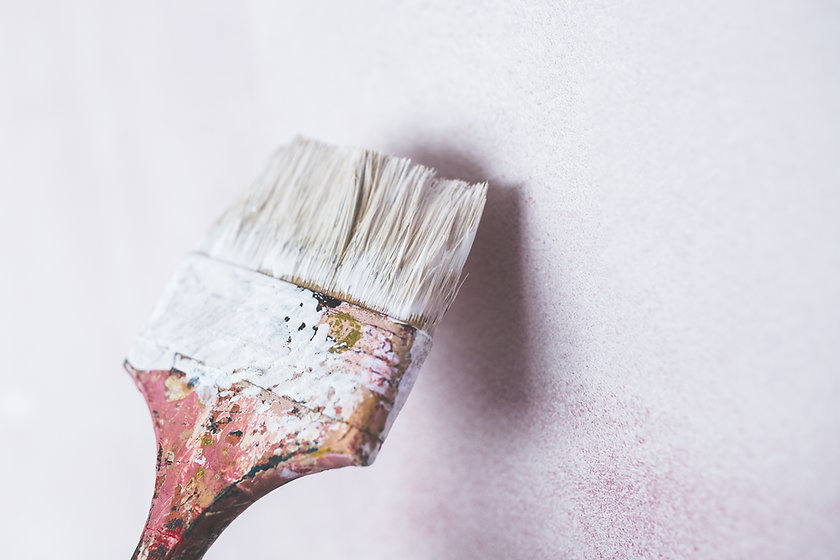
Do you have old brushes that didn’t dry properly, started to fray, or dried with paint remnants down at the ferrule? Don’t throw them away just yet — you can use them to create some pretty cool effects on your canvas.
Rough, abused brushes are great for creating natural textures, such as grass and trees. If you’re a landscape painter, an abused, overworked brush just may be one of your best tools.
You can also use old brushes to create other effects, such as splatters. New, perfectly clean, and well-maintained brushes are a must for doing detail work, but splattering doesn’t even require the brush to touch the canvas, making an old brush perfect for that effect.
Even if you find a use for your oldest, most beat-up brushes, it’s still essential to clean them. There’s very little you can do with a solid brush full of dried-up, caked-on paint.
How to Store Your Brushes After Cleaning
Once your brushes are clean, it’s necessary to put them in the proper position for drying.
Never dry oil paint brushes vertically with the bristles up. As they dry, the excess moisture will run down into the brush’s ferrule, while can cause the handle of the brush to swell. Instead, lay your wet brushes horizontally. Also, wipe down the handles with a paper towel or old rag so that the wood doesn’t crack or swell.
Once your brushes are dry, store them vertically, with the bristles upright. Brush hairs can attract mold over time, so it’s best to store them in a room with proper ventilation.
Brush Cleaning Products to Try Now
Not satisfied with the way your current cleaner is removing oil paint from your brushes? Here are a few recommended products that you may want to try in place of your existing method:
Winsor & Newton Brush Cleaner & Restorer
Winsor & Newton Brush Cleaner & Restorer is safe for use with natural and synthetic brushes.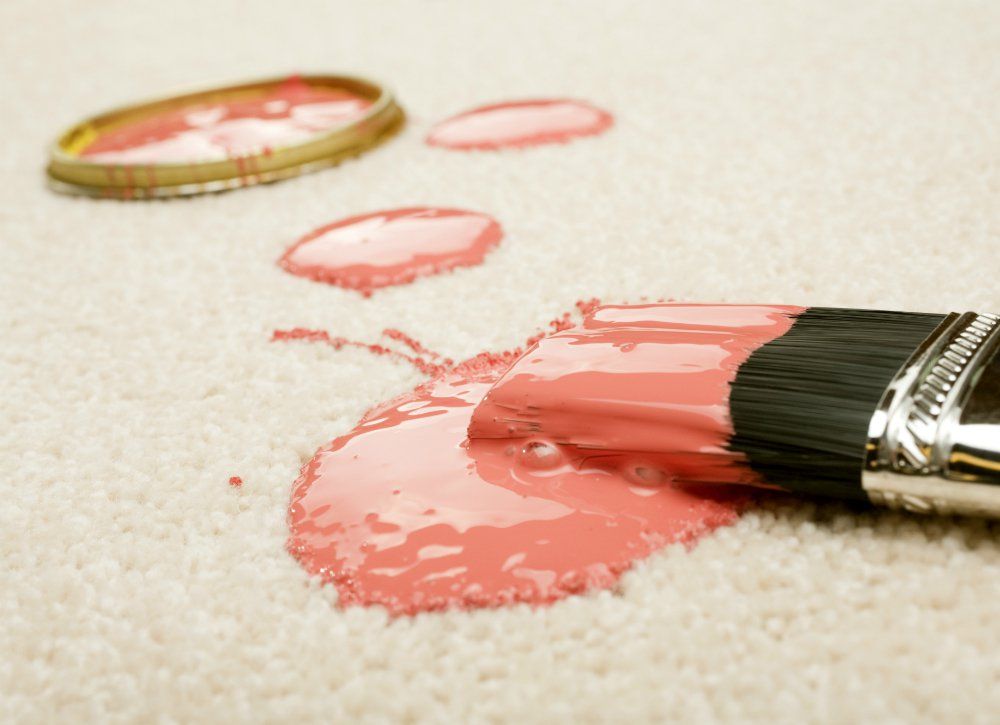 This cleaner doesn’t just remove paint from your brush heads; it also conditions them without leaving any residue behind.
Gamblin Gamsol is a mineral spirit solvent that is 100% odorless. It’s perfect for the artist looking for a highly effective way to clean their brushes without having to endure that paint thinner smell.
Mona Lisa Odorless Paint ThinnerMona Lisa Odorless Paint Thinner is a mild solvent that can clean brushes as well as other accessories, like palette knives. It’s completely odorless (and affordable).
Bristle Magic Brush CleanerBristle Magic Brush Cleaner is non-toxic, non-flammable, and eco-friendly. It can clean oil and acrylic paints from brushes and conditions them to maintain their brush heads for a more extended period.
Conclusion
As an artist, cleaning oil paint brushes probably isn’t the highlight of your day. But there’s no way to avoid it, so you may as well learn to do it the best way possible.
Be sure to gather your supplies and make sure you have the proper cleaning agent on hand before you dip your brush into the paint. If you don’t clean your brushes thoroughly after each and every use, you’ll end up with useless brushes that’ll need replacing before you can paint again.
Need new supplies for painting or cleaning up? Shop Rileystreet for oil brush sets, cleaning agents, and oil paints now. With the right products and techniques by your side, cleaning your oil brushes won’t be such a hassle.
How to clean oil paint from brushes and palette
Probably one of the most frequently asked questions from beginner artists! For detailed instructions on how to clean brushes and wash the palette of oil paints, read this article.
By their nature, oil paints are such that they cannot be washed off as easily and quickly as, for example, acrylic paints. Let me remind you that oil paint is nothing more than a pigment diluted in linseed oil. And oil, unlike water-based paints, is much more difficult to clean, it will require more time, effort and patience.
Content
- How to clean a wooden palette of paint
- How to clean the brushplaces of oil paint
- What if the oil paints have dried up
How to clean a wooden palette from paint
Clean a wooden palette to its original, store state, alas, will not work. This is because wood is a porous material and oil paint penetrates very well into all layers and pores, never completely cleaning out of wood.
First, before you start cleaning your palette, you need to prepare it. If after work, you have a thick layer of paint left on the palette, then it must be carefully removed from the palette with a palette knife.
Having collected all the excess paint, wipe the palette knife on a pre-prepared cloth, it is better to take a cotton one. This will be enough to clear the palette knife of paint. You should also not wash the palette knife in water to avoid metal corrosion and rust.
To clean art oil paint off the palette, I recommend using white spirit thinner.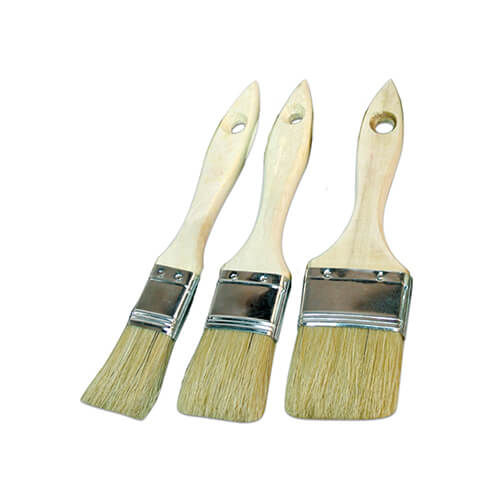 Earlier, I talked about the types of thinners and mentioned that white spirit has a specific and very unpleasant odor. Therefore, I advise you to purchase an imported solvent, which will not smell so strong and sharp, and its smell will leave the room much faster.
Many students ask me if materials can be cleaned with a tee or linseed oil?
I must say right away that this is not worth doing for several reasons. Firstly, these materials are quite expensive and it would be a pity to waste them like this.
And secondly, they still won't wash off the paint. Linseed oil, because it is oil, and a tee, because it also contains oil, and varnish, which, on the contrary, holds the paint even more. Therefore, as I said, it is best to use white spirit to wash the palette and brushes from oil paints.
Pour a few drops of thinner onto a cloth and remove the remaining paint. After you remove all the paint from the palette, wipe the palette with a dry cloth or wet wipes. But do not wash it under water - this is not necessary!
How to clean oil paint from brushes
Just like with the palette, you need to remove all excess paint from your brushes with oil. To do this, I carefully clean off excess paint with a cloth from the pile, as if squeezing it out. Just make sure that the villi do not remain on the cloth due to strong pressure on the brush.
Now that you have removed all excess paint, you can rinse the brush. Oil, like fat, is washed well enough with various detergents, powders or ... ordinary laundry soap!
This is the one I recommend to use if you want to wash the brush and don't know how to clean brushes stained with oil paints. In addition, due to the high content of alkali in its composition, such soap corrodes oil paints much better than usual.
The brush can be cleaned with soap in several ways:
- Lathering your own hands and washing the bristles of the brushes with your hands;
- Putting the soap solution in the soap dish, cleaning the brush on the very surface of the soap dish;
- Cleaning the brush on the foamed surface of a dish sponge.
After you have cleaned the brushes and washed them well with laundry soap, the bristles of the brushes must be straightened, put hair on hair, giving them a shape. It is also better to dry the brushes in an upright position so that the pile does not wrinkle. To do this, you can use a special stand for brushes, which is sold in many art stores.
For more information on how to clean the palette and brushes from oil paints, I tell in this video:
What to do if the oil paints are dry
If you are too lazy, or for some reason did not have time to clean right away wooden palette from the paint, now you have to try to do it as neatly as possible.
Dried, exactly like fresh oil paint, must first be removed from the surface. That is, scrape off that extra layer that has formed on the palette. To do this, again, with a palette knife, cut off layer by layer, trying not to damage the wooden surface of the palette.
Some artists varnish their palettes before starting work to protect the delicate texture of the wood from scratches and the chemical properties of solvents.
If there are enough paints that you have collected with a palette knife, and you see that they are still usable, you can put them in separate jars or containers. But it is better to do this only with the remnants of pure, not mixed in shades, colors.
Of course, it's nice to start a new painting or a new stage of work with a clean palette, but this is not always possible. Therefore, I recommend that you carefully monitor your palette and clean it and other painting materials from oil paints in a timely manner.
How to wash off oil paint from a brush with dishwashing detergent
How and how to clean brushes from paint: oil, acrylic
It is necessary to clean brushes from paint in order to keep it as long as possible. If a short break in work is expected, for example, for lunch or a night's rest, then it is not necessary to clean the tool, but if it is idle for a long time without cleaning and maintenance, the brush will become unusable.
Cleaning methods
In the instructions for the paint material, manufacturers usually indicate how it can be removed after painting.
Oil-based coatings are well rubbed with turpentine or kerosene, and water-based paints are easily washed off with water. Other paints can be washed off with thinner, thinner or cleaning compounds.
Cleaned brush after solvents must be rinsed with water and dish detergent.
The method will depend on the type of paint.
Acetone
Painting tools are soaked in acetone. After washing, the brush is rinsed in a warm soapy solution. If contamination still remains, the procedure can be repeated. Rinse enamel well with acetone.
Alkaline solution
Used for dried paint. The tool is soaked in the solution, and after a while it is washed and rinsed in soapy water.
Dishwashing Gel
Dishwasher cannot remove dye, but solvent residue can be removed from the brush.
Afterward, the instrument is rinsed thoroughly under running water.
Special brush washer
This is a container in the form of a small saucepan with a spring soldered to it from above. The diluent is poured inside, and the brush is fixed in the spring so that its pile is completely immersed in the product. After cleaning, you can store the brush in the brush washer, but then oil is poured instead of the solvent. Suitable sunflower or linen.
To keep the bristles of the brush soft, just dip the tips of the bristles into the oil.
Storing brushes for a short break
When the brush does not require long-term storage, it does not need to be thoroughly cleaned.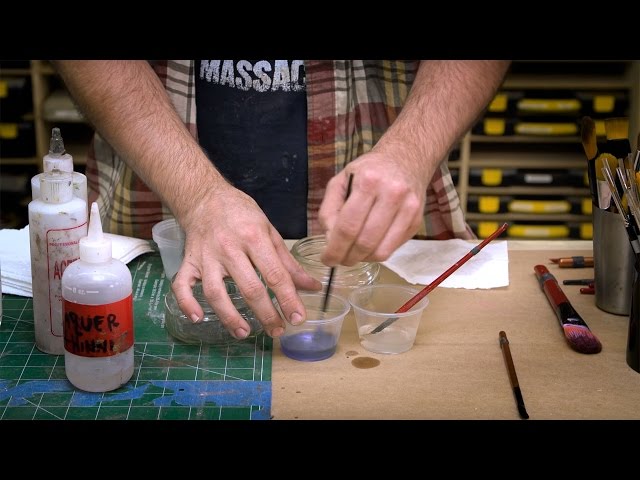 It is necessary to remove the remnants of the dye, wrap the pile with food foil or polyethylene. In this state, the brush will not deteriorate for two days.
Long-term storage
After use, the brush is thoroughly rinsed in one of the following ways, and then placed in a suitable container. To prevent the pile from breaking, the tool is placed with the handle down.
Oil Paint Remover
Many chemical washes are commercially available for oil paint removal (eg Constanta, Neomid, Dufa Abbeizer). They contain acetone, paraffin, organic solvents. The action of the washes is already noticeable after 5-10 minutes: the coating softens, deforms, after which it is easy to remove it with a spatula.
Material consumption can vary between 150 and 400 grams per square meter. A specific consumption indicator is almost impossible to determine in advance, since it largely depends on the thickness of the paint layer. Based on the foregoing, it is recommended to buy a wash with a certain margin.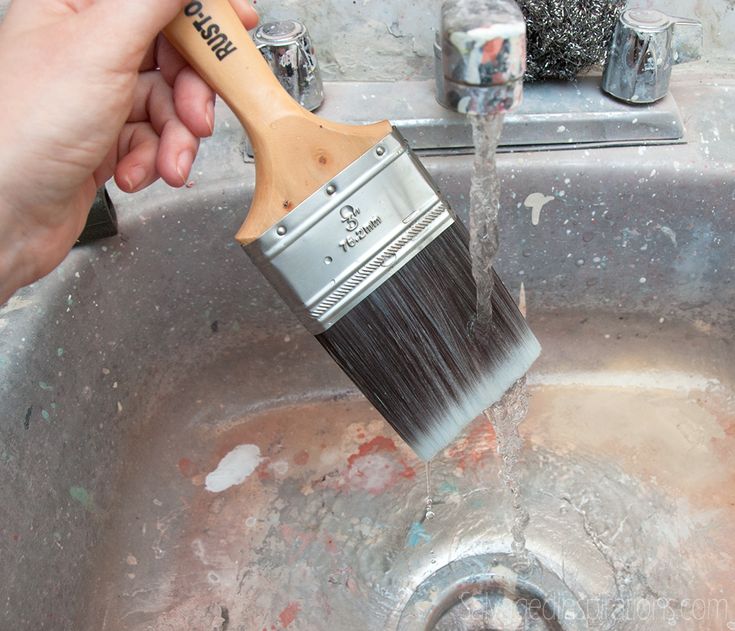
Washing composition "Constant"
As an example of a wash, consider the composition of the Ukrainian brand "Constant". "Constant" can be used to remove oil, pentaphthalic and glyptal paints, varnishes, drying oils from wooden and metal surfaces.
"Constant" contains organic solvents, leavening agents, thickeners. Outwardly, the wash looks like a thick gray-white or brown-yellow suspension. The average consumption of the drug "Constant" - from 150 to 170 grams per layer.
Technical parameters of the cleaning composition:
- The proportion of non-volatile components is from 2 to 10%.
- The level of evaporation at a temperature of 20 degrees above zero - up to 6%.
- The time spent on washing off one layer is up to 20 minutes.
- Corrosive effect on metal - from 20 minutes.
Note! Store the drug in a tightly closed package, away from direct sunlight or heating devices. The composition does not need to be diluted with a solvent, as it is already ready for use.
However, the solution must be thoroughly shaken before use: it is important to achieve its uniformity. If, even after shaking, separations remain (usually a consequence of storage at low temperatures), it is recommended to heat the jar in a water bath. The composition does not need to be diluted with a solvent, as it is already ready for use.
However, the solution must be thoroughly shaken before use: it is important to achieve its uniformity. If, even after shaking, separations remain (usually a consequence of storage at low temperatures), it is recommended to heat the jar in a water bath
The composition does not need to be diluted with a solvent, as it is already ready for use
However, the solution must be thoroughly shaken before use: it is important to achieve its uniformity. If, even after shaking, separations remain (usually a consequence of storage at low temperatures), it is recommended to heat the jar in a water bath
Apply the remover with a brush or roller at an air temperature of at least 10 degrees Celsius.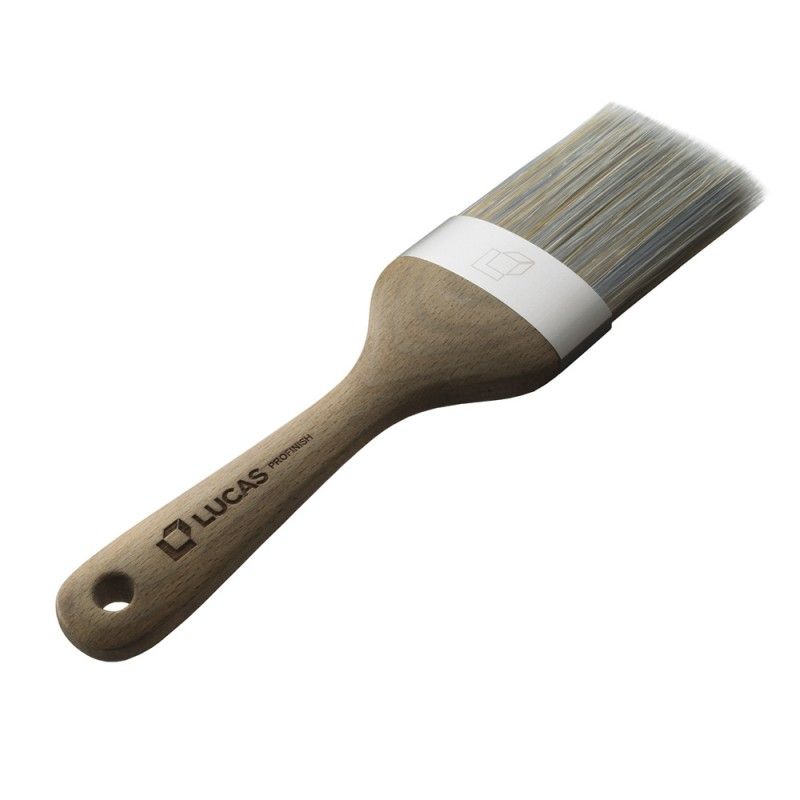 After about 20 minutes, softening and peeling of the paint material will begin. If the layer is too thick and cannot be removed immediately, you can repeat the surface treatment with a cleaning compound.
After removing the coating, the surface should be wiped with a solvent, but not any, but from a highly volatile group. This is an important point as solvent residue can destroy the new finish.
If you are removing oil paint stains from your clothes, you should definitely wash them.
Folk Remedies
If you don't have the time or money to buy a cleaning agent, you can wash off the oil coating using the following time-honored folk remedies:
- Mixtures of turpentine with ammonia. The solution is made in the following proportion: for 2 parts of ammonia we take 1 part of turpentine. We apply the liquid with a brush, wait for an hour until the coating begins to swell. We remove it with a spatula, rinse, dry the cleaned surface.
- Quicklime mortar (70%), potash (30%).
 Water is added in such a way as to obtain a viscous mixture. We apply the finished substance to the desired area, wait for at least 12 hours, after which we remove the paint and varnish with a spatula.
 - Pasty mixture of chalk and lime paste. We prepare the composition as follows: mix 5 kilograms of chalk with the same amount of lime dough. Add some 20% caustic soda. We put the paste-like substance in a 2-mm layer on the material to be processed. Already after 60-90 minutes, the paint layer will become pliable, it can be removed mechanically.
If the wallpaper is stained
Was the wallpaper damaged while painting the baseboard, floor, doors or ceiling? In this case, it is possible to correct the situation if the paint has not yet had time to dry. How do you remove paint from wallpaper? The best option is to immediately blot the stained area with a damp sponge and leave to dry.
Vegetable oil can also help remove paint from wallpaper - for this, a clean cloth is moistened in oil, applied for a while to the stain, after which it is removed with light blotting movements.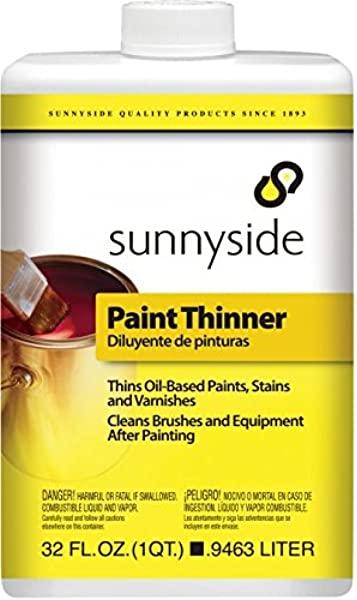
It is almost impossible to remove dried paint from wallpaper without damaging it. The solution to the problem will be to replace the stained area of the wallpaper or skillful wall decor that hides the repair misunderstanding.
Water-based paint removal
There are several easy ways to remove water-based paint at home, including:
- Combination of mechanical brushing with metal teeth and normal warm water. To begin with, we leave deep scratches on the surface with a brush. Then we wet the roller in warm water, carefully process the surface. We wait for 10-15 minutes until the paint swells and begins to peel off. Remove it with a metal scraper.
- Wallpaper glue. We take any sheet of paper, apply glue to it, apply it to the paintwork. We are waiting for the glue to dry. Then remove with a spatula.
Cleaning tools during a long break
If the break between the stages of painting is longer, at least one day, the brushes need to be treated differently. After painting, leaving them in a can of thinner for a day is not the best method, as it can lead to deformation of the pile, which will make the subsequent painting process impossible. Therefore, you will have to wash the instrument according to all the rules using special tools. If you do not have a professional brush cleaner, prepare the following kit:
- any paint thinner;
- disposable paper towel or piece of soft cloth;
- ordinary laundry soap;
- deep enough container to dip brushes.
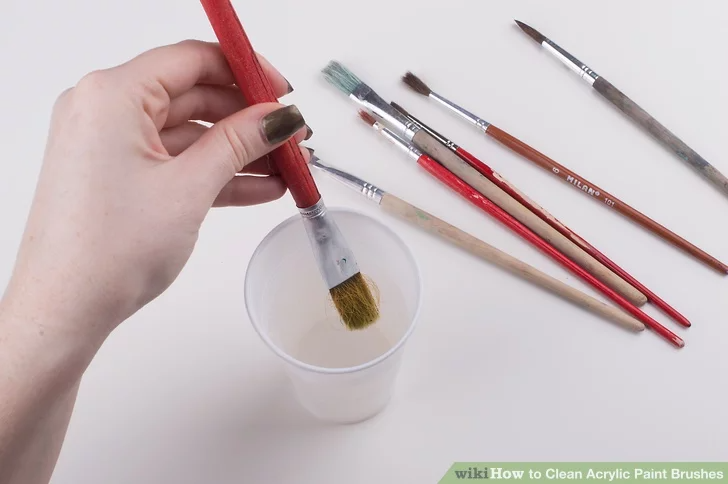
To clean the brushes thoroughly after painting and ensure they are properly cared for, follow these steps:
- Pour a sufficient amount of thinner into the container.
- Insert the brush into the cleaner with the bristles down and thoroughly soak the bristles.
- Then remove the brush and dry it thoroughly using a cloth or paper towel.
- Then the bristles of the products should be thoroughly smeared with soapy foam and washed under running water for several minutes.
Repeat all these steps until the pile is completely free of paint and varnish materials. This method of care allows you to qualitatively wash the paint, even if it has dried.
Depending on the type of paint used, the brushes must be washed with different types of solvents. Paints and varnishes that have a water-soluble or adhesive base can be washed with plain water.
And if you have to clean the brush after applying oil paint, you should use a special mineral thinner.
Due to the fact that brush cleaner and solvent are very strong and specific odors, it is advisable to wash these products on a balcony or in the open air. After the procedure is completed, the brush must be thoroughly dried by setting it in a vertical position with the bristles up.
What types of brushes are used during painting work
Every person who at least once carried out repairs in the apartment on their own is well aware that several different types of brushes are required to perform quality work. So, priming surfaces, painting ceilings and walls of a room with water-soluble acrylic products requires the use of large flat fly brushes. To work with oil and some other types of paints, small round or flat brushes, which are called flutes, are quite suitable.
Types of brushes
In any painting process there are certain breaks during which the functional properties of the brushes must be kept in their original state - this will help to avoid the need to purchase a new product, save you money and time.
How to clean oil paint?
Oil-based paint marks are not easy to deal with. The best results are obtained by trying to remove small drops of still fresh paint - in this case, it is enough to simply remove it with a damp cloth. Large areas of recent contamination are wiped off with a cotton swab or cloth dipped in vegetable oil. Dried paint can be removed by treating the problem area of the surface with solvents - refined gasoline, alcohol, kerosene, ammonia.
Various in shape and size, the brushes are used for priming and painting walls, ceilings, skirting boards, doors and wooden window frames. Used in work, but left for a while in the open air, they can become unusable. The paint sets quickly, the bristles of the brush stick together, and in the future it becomes inconvenient, if not impossible, to work with such a tool. Are there ways to save brushes and clean them of paint after use? And how to wash the brush from paint after repair?
Laundry Conditioner
Helps remove fresh paint from bristles. To do this, its remnants are removed by wiping the brush on paper. The conditioner is mixed with water in equal proportions and the brush is rinsed in the resulting solution until the paint begins to gradually separate from the bristles. Rinse the brush under running warm water. Repeat the procedure until the desired degree of tool cleaning is obtained.
Table vinegar
It can be used to clean the brush from paint that has already dried.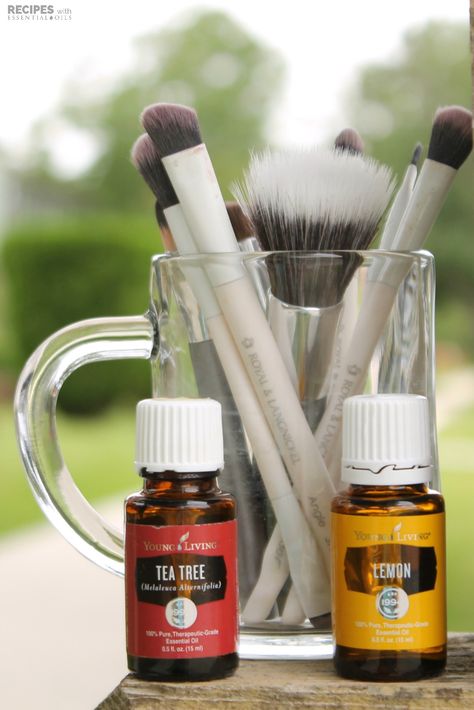 Brushes are soaked in essence for 60-80 minutes, boiled in a fresh portion of vinegar (10-15 minutes). Then thoroughly comb out with a steel brush or comb with frequent teeth. Repeat the procedure until the paint is completely removed, washed with warm water and dried.
Thinners (white spirit, alcohol, refined gasoline)
Handles all types of colorants. To obtain a good result, the brushes are soaked in a container with any solvent for a period of half an hour to 1 hour, rinsed in a fresh portion of the solvent and rinsed thoroughly with water.
Specialty Solvents ("Universal Cleaner")
These can be found in hardware stores and ham radio departments. They contain alcohol and gasoline in their composition, therefore they equally well remove both acrylic and oil paints from brushes.
How to clean the paint brush: 13 best products, home cleaning rules
In almost any repair work, painting is indispensable. Consumables in this case are not only paints, but also brushes, which, if desired, can extend the service life. So, with proper care, any tool will retain its functional ability. In this regard, the question of how to properly clean the brush of paint remains relevant.
Nitro paints
Nitro paints are the fastest drying finishing material of all paints. That is why they are often applied with a sprayer, but it also happens that the masters take up the brush. In this case, the question arises of how to wash the tool.
Nitro thinners
Nitro thinners are the simplest and most obvious way to quickly and effectively clean your brush.
These are special products that are designed to deal with nitro paint residues. All that is required is to carefully study the instructions for use for the selected drug.
Acetone
Acetone is also used when cleaning nitro paints from tools. In this embodiment, it will not be necessary to leave it in solution for a long time. As a rule, you need to wipe the bristles with the composition, then rinse with warm water and leave to dry.
Oil
Despite the fact that oil paints take a long time to dry, they also deform the brushes. So, the composition is clogged between the bristles of the tool, and if appropriate measures are not taken immediately, it can be thrown away.
Turpentine
In this variant, the brush should be cleaned immediately after finishing work. The tool is wiped to remove paint residues, and then washed with turpentine.
RS-1
This tool is aggressive, and requires caution when working. Wipe the tool with a thinner, then rinse with water and leave to dry
White spirit
The best way to remove oil paint residue is to soak the tool in white spirit. Then it is washed under running water, wiped, trying to give the bristles their original appearance, and left to dry.
Alkali solution
If oil paints are already dry, use an alkali solution, in particular caustic potash.
If the brush is made of synthetic, an alkaline cleaning solution will not work.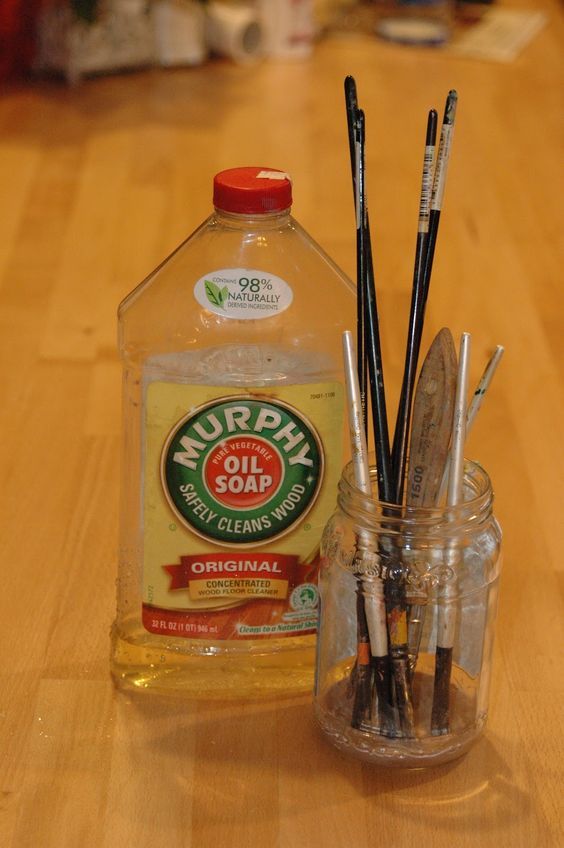
Isopropyl alcohol
Isopropyl alcohol will handle dry paint residue. After cleaning, the instrument is washed and left to dry in an upright position.
Vinegar
The tool is soaked in vinegar for 60 minutes, after which the condition of the bristles is checked. If the bristles are not yet soft enough, repeat the procedure. Next, the brush is washed in clean water and left in an upright position until completely dry.
Dishwashing liquid
Try to squeeze out the maximum paint from the brush with a paper towel or cloth. Next, a small amount of dishwashing detergent is poured onto the hand, after which the bristles are washed under warm water.
Water-based paint
Water-based paint is easier to clean. It is advisable to wash the brush immediately after use under running water. If the paint has already dried on the tool, it is easy to remove it with improvised means: detergent for washing kitchen utensils, soap.
Acrylic
To avoid problems with cleaning brushes, it is worth using water-based paint liquids: acrylic, watercolor, latex. Next, consider several proven ways to clean the tool from the remnants of the coloring material.
Degreaser
The use of degreasers is important if the tool has been in the paint for a day and a film has formed on it.
The algorithm for using the drug is indicated on each individual product by the manufacturer.
Special cleaners
More commonly used for cleaning brushes is the Universal Cleaner, which is designed to degrease coatings.
Contains alcohol and petrol.
How to care for your brush
To prolong the life of your brush, follow these guidelines:
- The brush should only be dried in a horizontal position.
- Do not leave the instrument in water with the bristles down.

- It is recommended to wear an elastic band over the bristles so that the tool dries in the correct position.
- If there are loose bristles on the brush after cleaning, remove them with tweezers.
- If you use oil paints on a daily basis, making cleaning your brushes a chore, you can try wrapping your tools in a ziplock bag. The fact is that if you leave the brushes constantly in a solvent, their service life will be significantly reduced.
General recommendations
Blot excess paint with a cloth or soft cloth. For greater efficiency, you can gently squeeze the hairs with your fingers or a cloth in the direction from the cartridge to the tips, while trying not to pull them.
If you have painted with oils, rinse the brush in turpentine or oil. When using water-soluble pigments, warm water will also suffice. Never use hot water. This will cause the cartridge to expand, causing the hairs to fall out.
Blot the brush again with a cloth to remove any remaining paint.
Rinse the brush gently in a mild soap or dishwashing detergent solution. Lightly rub the bristles with a bar of soap, then lather on a surface or your palm if you are not using any toxic solvents or pigments.
Rinse the hairs and repeat until no dye of any color is washed out. The brush gets dirty over time, but don't stop rinsing it until you're sure it's clean.
Do not use brute force. Be patient and rinse the brush several times.
Rinse off soap residue with warm water. Shake moisture off the pile.
Try to shape the hairs with your fingers.
If necessary, wrap the wet brush in tissue paper or toilet paper. The paper will shrink as it dries, giving the bristles the desired silhouette.
Leave the brush to dry at room temperature
Please note that it should not stand with the pile down, otherwise the form will be damaged after drying. Position the brush horizontally or vertically at the tip of the handle
Don't dry too many brushes together to avoid cramping.
If you are concerned about the toxicity of the paint you are using, or if it smears your hands while washing, wear gloves. You can also try the Bob Ross Painters Glove.
How to clean makeup brushes
1. Baby shampoo
For many years I have washed my brushes with baby shampoo. During all this time, they have not lost their shape, but on the contrary, they have retained it.
How to wash makeup brushes with shampoo
First, squeeze a drop of baby shampoo onto a cotton swab.
Gently dip the brush into the detergent.
“Twist-twist” on the palm until the bristle of the brush is clear.
Rinse with water.
Summary: This method is suitable for brushes that only you use. If you work as a makeup artist, then you definitely need to disinfect your brushes! And the next option is just for you.
2. Makeup Brush Cleaners
Similar fluids can be found in every brand. This applies not only to professional brands, but also to luxury brands, for example:
- Bobbi Brown Conditioning Brush
- Clinique Makeup Brush Cleanser
- Estee Lauder Makeup Brush Cleaner
- Mac Cosmetics Makeup Brush Cleanser - I wash my “working” brushes with it (read the review here).

How to clean your brushes with a special brush cleaner
I described this in detail in the article “How to clean your brushes with a special tool”
Bottom line: the difference between these products is that they contain alcohol, which is necessary for the disinfection of brushes!
If you are afraid that alcohol will have a bad effect on the pile, then this is not so. A certain amount of alcohol has long been calculated in such products and believe me, they are not intended to destroy brushes, but only to disinfect them.
3. Tea tree oil
Tea tree oil has been found to have antibacterial properties, though not as strong as previous products.
How to clean brushes with tea tree oil
- Add 3-4 drops of tea tree oil to a container of warm water.
- Lower the brush and rinse.
- You can add one teaspoon of baby shampoo to make sure your brushes are clean.
Bottom line: I have never tried this cleaning method, but I heard about it as the most positive way.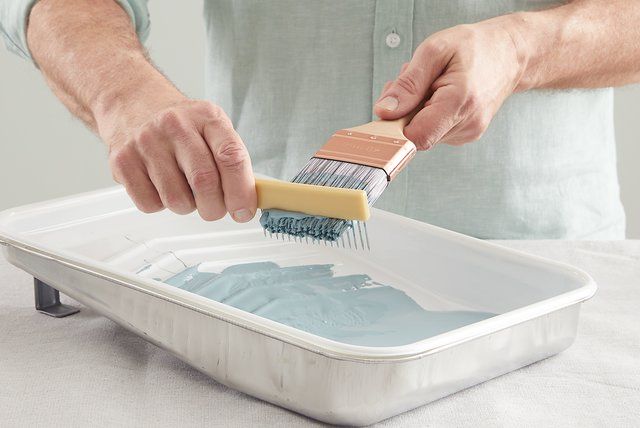
4. Makeup Remover Wipes or Makeup Remover Wipes
This method is handy when traveling when there is no oil, no special product, no baby shampoo! I am sure that no girl will forget to take makeup remover on a trip. This is exactly what will help out your brushes.
How to clean brushes with makeup remover wipes
- Moisten a cotton swab with makeup remover
- Swipe it a couple of times with a brush until it is clean.
- The same can be done with wipes - with the help of circular movements of the brush until completely cleansed.
5. Laundry soap
The only product that completely removes creamy textures from brushes! This applies to watercolors, waterproof cream shadows and foundation.
How to clean the brushes with laundry soap
- Run the brush a couple of times over the soap
- Scrub the palm with circular motions.
- Rinse with water.
Bottom line: I am completely calm about the condition of the brushes after this cleaning method, since when working with creamy textures you are only dealing with synthetic, not natural bristles. This is the only soap I can wash my brushes after creative makeup
How to dry your makeup brushes
- After washing your brushes, don't put them in a cup right away, otherwise the water will get into the fixing place and dissolve the glue! Result: a broken handle.
- Place them on a pre-folded napkin on the table. I use kitchen paper towels.
- Wash your brushes at least once a week. If you have rashes and other skin problems, then try to wash them much more often, at least every other day.
Rumors
- It is said that brushes that have lost their shape can be brought back to life by holding them in water at 90°. about 3 minutes.
- They also say that you can disinfect brushes with chlorhexidine, as one of the cheapest options.
I haven't tested these options because I don't want to risk brushes that I love and treat with care.
Conclusion: it depends only on you how long your makeup brushes last.