Best pressed flowers
7 Best Flower Pressing Supplies 2020
7 Best Flower Pressing Supplies 2020 | The StrategistEvery product is independently selected by (obsessive) editors. Things you buy through our links may earn us a commission.
7 items in this article 1 item on sale!
7 items in this article 1 item on sale!
Photo: Kate Cadbury
Over the past few weeks, many of us have been on the hunt for things to keep our hands occupied, so as to avoid frantically scrolling through Twitter. In order to provide suitably engaging suggestions (that’ll yield genuinely successful results), we at the Strategist have consulted a slew of experts on everything from how to bead a bracelet (according to designer Susan Alexandra), to advice for the novice needlepointer (by way of Parker Posey, noted needlepoint obsessive). After spotting London-based artist Kate Cadbury’s beautiful pressed violets and daisies on Instagram, we decided to ask her how to properly press a flower. Cadbury, it turns out, has been pressing flowers for most of her life — she walked us through which flowers to use, and exactly what you’ll need (a lot of the supplies, as it turns out, are things you might already have at home).
Giant Pansy Viola Flower Mix Color 200 Seeds
$9
$9
Buy at Amazon
Buy
$9 at Amazon
Buy
Seed Needs White English Daisy Twin Pack of 1,000 Seeds
$5
$5
Buy at Amazon
Buy
$5 at Amazon
Buy
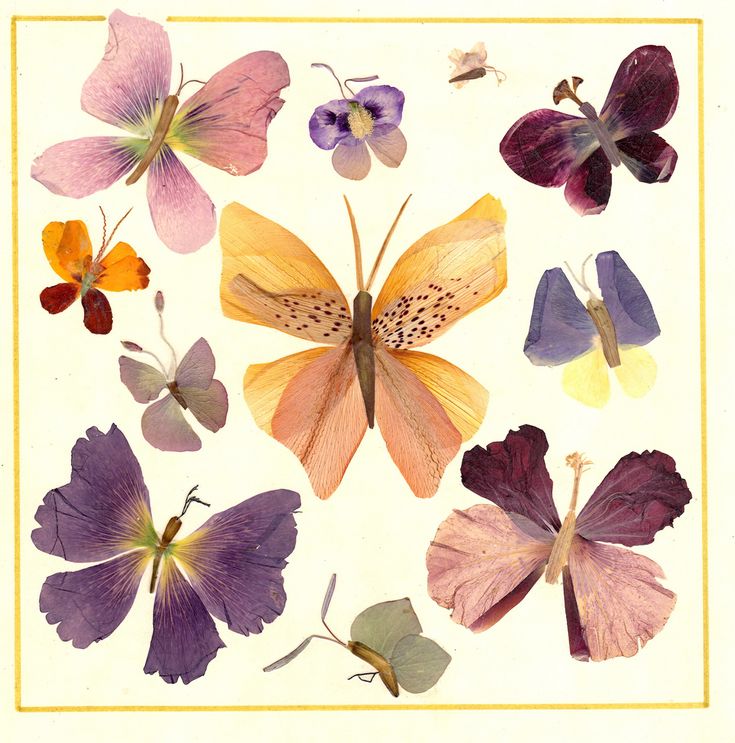
The best flowers to press are ones that have only a single layer of petals.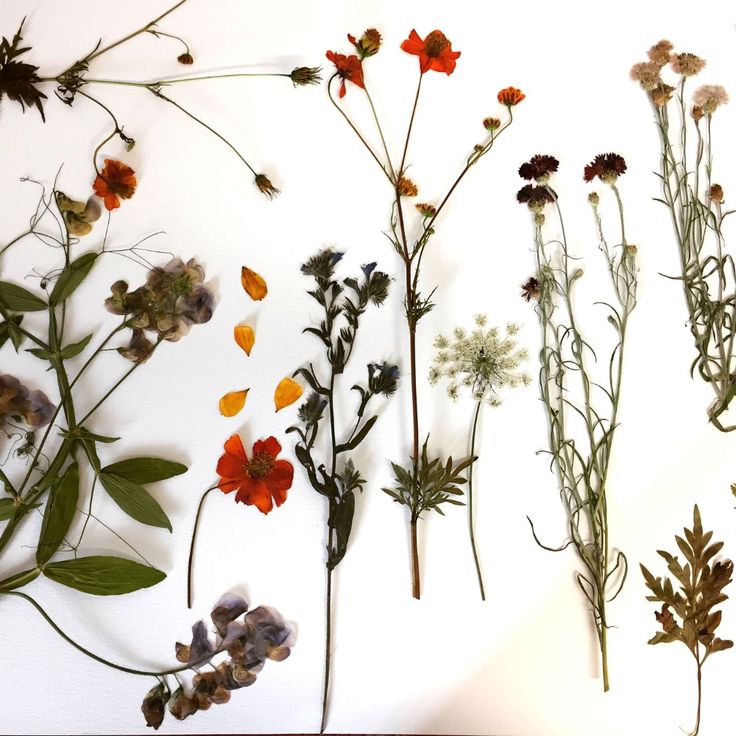 For example, pansies and violas have just the two or three petals to form the flower head — those will take the shortest amount of time to press, as little as two weeks. Daisies work well, too. These are also all plants you could grow in a window box, if you live somewhere without much outdoor space. If you’re pressing cut flowers, you could try using an anemone, which come in different varieties of colors — you can also try pressing the petals of roses. How much color the flowers will retain after pressing depends on how long they’ve been in bloom. The best flower to press is one that literally just opened up; one that’s been in bloom for a few days will be less vibrant. The fresher the plant, the fresher the color.
Aunt Martha’s Replacement Blotters
$6
$7 now 14% off
$6
Buy at Amazon
Buy
$6 at Amazon
Buy
Reynolds Kitchens Non-Stick Parchment Paper
$6
$6
Buy at Amazon
Buy
To press the flowers, you make a little stack, almost like a sandwich. You put a heavier piece of cardboard on the bottom, and then at least five sheets of newspaper on top of that. Then put down a layer of blotting paper to absorb any extra moisture from the plant. I personally like to put a piece of parchment paper on top of that, because the petals become so delicate and fine when they’re pressed that when you open the press and take them out sometimes they’ll tear — parchment paper is oil resistant and waxy, so it helps the petal glide right off. On top of the flower, put more blotting paper, newspaper, and cardboard, and then put the “sandwich” in your press. I tend to leave the plants in the press as long as possible, three weeks to a month. And I try not to peak because that only disturbs the process.
Wooden Flower Press
$29
I’ve made my own flower presses that are 20-by-20 inches because I wanted to press bigger species of plants. However, smaller flower presses are more than fine for most small blooms, and are readily available online. If you don’t want to buy a flower press, you really can just your “sandwich” in the middle of a heavy book on top of the stack you’ve made. I like to then put the book back in my bookshelf and forget about it — that way, one day I know I’ll take the book out, and lo and behold, the pressed petals will fall out. I quite like the magic in a moment like that.
$29 at Etsy
Buy
Neenah Cardstock
$16
$16
Buy at Amazon
Buy
$16 at Amazon
Buy
Supplies Clear Glue Craft Fabric Floral Adhesive Liquid Silicone
$14
$14
Buy at Amazon
Buy
$14 at Amazon
Buy
One of Cadbury’s pressed poppies.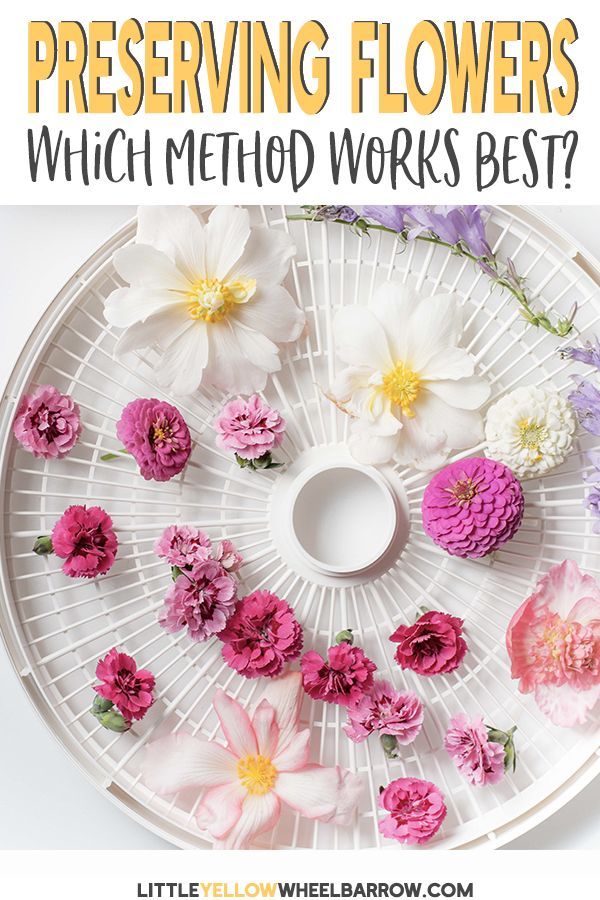 Photo: Kate Cadbury
I think receiving something in the post is a lovely thing, especially now during this time when we’re at home and isolated, and you wanted to be connected to those you aren’t seeing. Once the pressed flowers are done, you can take your flower and glue it to a bit of card stock — most clear, waterproof glues will work. Just be careful to add the glue sparingly and carefully, as the tackiness can pull the petals (remember, once the plant is pressed it’s very delicate). What’s really special about flower pressing is that lots of people buy and give bouquets of flowers for holidays and birthdays, but preserved flowers last forever — they can be framed and treasured.
get the strategist newsletter
Actually good deals, smart shopping advice, and exclusive discounts.
This site is protected by reCAPTCHA and the Google Privacy Policy and Terms of Service apply.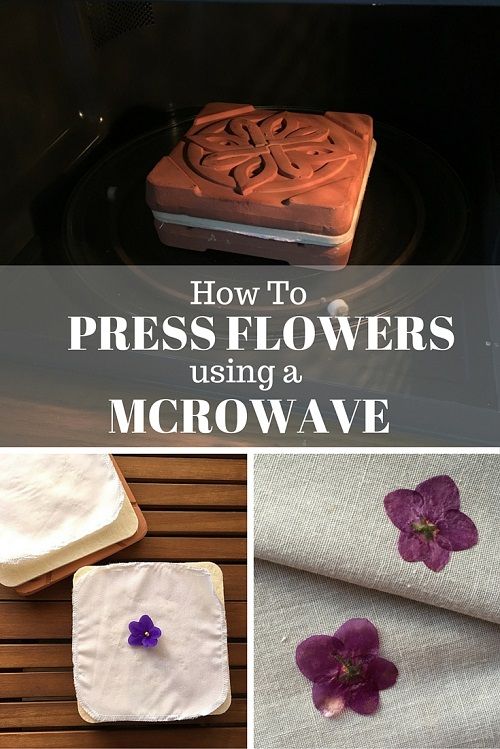
The Strategist is designed to surface the most useful, expert recommendations for things to buy across the vast e-commerce landscape. Some of our latest conquests include the best acne treatments, rolling luggage, pillows for side sleepers, natural anxiety remedies, and bath towels. We update links when possible, but note that deals can expire and all prices are subject to change.
How to Press Flowers, According to a Flower ArtistEvery product is independently selected by (obsessive) editors. Things you buy through our links may earn us a commission.
2022's Top Sellers
ZimaSilk 100-Percent Mulberry-Silk Pillowcase
$26
$26 $40 35% off
Buy at Amazon
BOTN KF94 (Large Black)
$24 for 10
Buy at Amazon
Waterpik Aquarius Water Flosser
$69
$69 $100 31% off
Buy at Amazon
Oral-B Nighttime Dental Guard With Scope
$15
$15 $20 25% off
Buy at Bed Bath & Beyond
EltaMD UV Clear Broad-Spectrum SPF 46
$39
$39 $41 5% off
Buy at Amazon
Related Stories
trust me i should know
I’ve Taught Many a Friend to Knit Using These (Very Giftable) Kits
trust me i should know
How to Make an Animal Vase at Home, According to Ceramicist Katie Kimmel
trust me i should know
I Turned My Tie-Dye Hobby Into a Side Hustle. Here’s What I Use to Dye at Home.
trust me i should know
How to Make a Toadstool Candle, According to Artist Janie Korn
trust me i should know
Parker Posey’s Guide to Getting Into Needlepoint
trust me i should know
The Watercolors, Paper, and Brush Self-Taught Artist Ashley Longshore Swears By
trust me i should know
Everything You Need to Do Origami, According to an Origami Artist
this thing's incredible
I’ve Made 1,200 Face Masks (and Quilts and Slippers) With This Sewing Machine
gifts they'll want in a pandemic
Making Friendship Bracelets Kept Me Occupied (and Productive) During Lockdown
recommended by experts
The Best Yarns for Every Kind of Craft, According to Experts
More StoriesWhat Flowers Are Good for Pressing? | Home Guides
By Maureen Malone Updated March 10, 2021
The best flowers to press are those that are already naturally flat, such as violets (Viola sororia), which are hardy in U.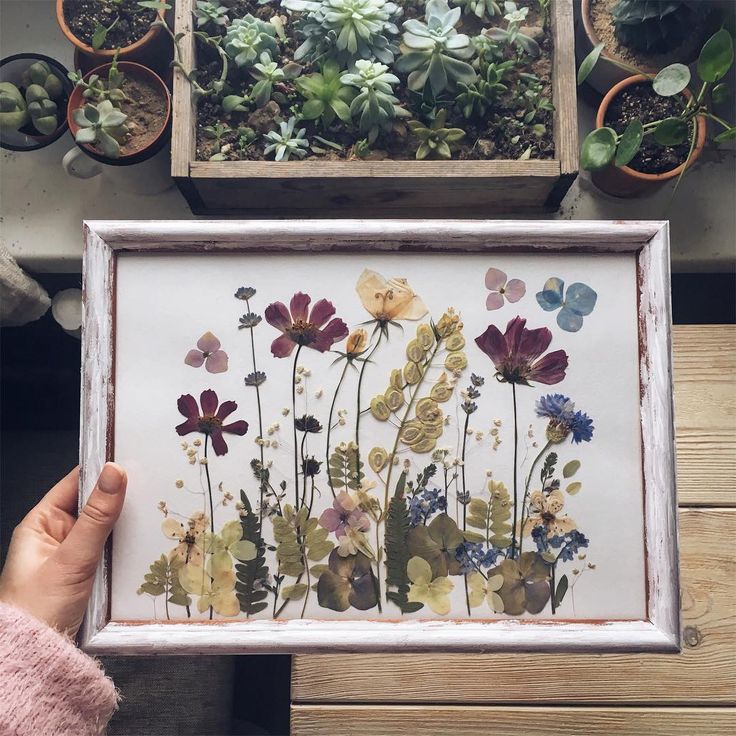 S. Department of Agriculture plant hardiness zones 3 to 7. Other factors to consider include the color of the bloom and whether or not the flower has an obvious stamen.
Tip
Naturally flat blossoms are the best flowers for pressing. However, you can press nearly any type of flower you desire.
Best Flowers to Press
When selecting flowers for pressed flower art, consider how you want the end result to look. Flat flowers are the easiest and are usually the best flowers for pressing. In addition to violets, which have blue or lavender flowers, another great option is clematis (Clematis spp.), which is hardy in USDA zones 3 to 9 and comes in several colors, including white, blue, pink and burgundy, advises North Carolina State University Cooperative Extension.
Pansies (Viola tricolor), which feature yellow, orange, cream, blue or purple blossoms, and sweet alyssum flowers (Lobularia maritima), which feature yellow or cream-colored flowers, are also good for pressing.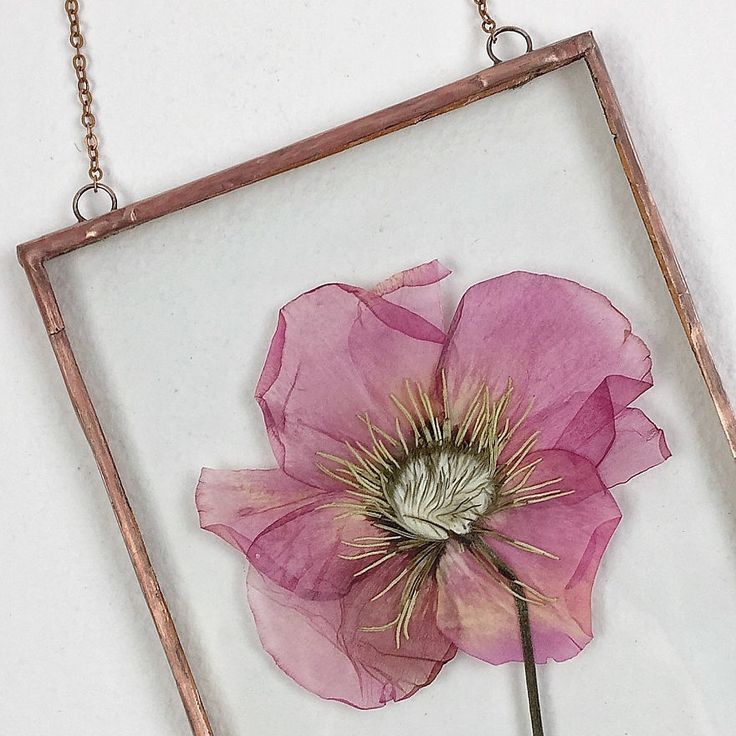 They are hardy in USDA zones 2 to 9 and 5 to 9 respectively, according to North Carolina State University Cooperative Extension.
Harvest healthy, attractive flowers without any blemishes in the morning after the dew has dried, advises the University of Vermont Extension. Consider gathering some herbs, grasses or other foliage to enhance your design.
Other Flower Considerations
You can dry and press any flower with some extra time and attention. Thicker flowers and stems will take longer to dry. If you plan to display the dried flowers in a thin frame, these flowers may present additional challenges and may be too thick to fit.
You can also take apart larger double flowers, such as some roses (Rosa spp.), which are hardy in USDA zones 5 to 9 depending on the species. You can press the individual petals to recreate the similar appearance of the original flower.
Consider how the colors will appear when the flowers have fully dried.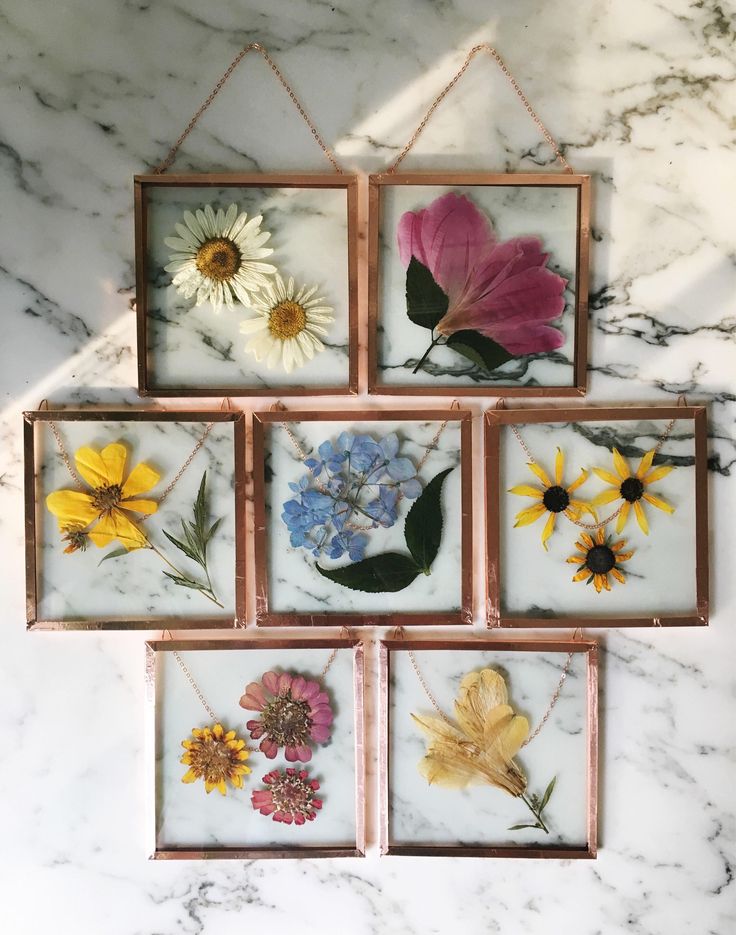 Oranges and yellows typically hold their color well during the process, notes the University of Vermont Extension. Red flowers may dry into a muddy brown color. Other lighter colors, such as pink, blue and violet, may offer good color initially, but they are more likely to fade over time.
How to Press Flowers
You can purchase a flower press kit from your local crafts store or simply use the items you have on hand to complete the project. Place the flowers on a piece of printer paper, newspaper or facial tissues. This material is in place to help absorb moisture, so avoid material that retains moisture, such as wax paper. Don't use paper towels or other textured material that can leave an unwanted pattern on your flower petals.
Cover the flowers with another layer of absorbent paper. Next, cover the flowers with a heavy book or if you prefer, place the flowers between the pages of a large book. Consider placing a brick or another heavy object on the book to increase the pressure on the flower.
Check on the progress after approximately one week and add fresh paper to absorb moisture if needed, advises the University of Maryland Extension. Then, replace the book and allow the flowers to dry for another two to three weeks. The specific time needed will vary depending on the thickness and moisture content of the flower and the amount of moisture in the air.
References
- North Carolina State University Cooperative Extension: Lobularia maritima
- North Carolina State University Cooperative Extension: Clematis
Writer Bio
Maureen Malone has been a professional writer since 2010 She is located in Tucson, Arizona where she enjoys hiking, horseback riding and martial arts. She is an outdoor lover who spends her weekends tending her raised garden and small orchard of fruit trees.
she looks great in the interior
From Masterweb
22. 07.2020 11:30
I like to make various home decor items with my own hands. When creating crafts, I try to use natural materials that are reminiscent of wildlife. I recently made a decorative arrangement of pressed flowers in a frame. It looks great in the interior and decorates the walls of my room. In the article, I will share with you the technique of creating a composition and talk about how to press flowers. nine0005
What is pressing
Pressing is the best way to preserve plants. With normal drying, they remain voluminous. They are difficult to store and use for making crafts. Pressing not only dries out the flowers, but also makes them flat. Such buds are often used to create compositions and postcards.
Collection rules
You can collect pressing flowers in your garden, as well as in the field, meadow or forest. Both cultivated and wild plants are suitable for drying. nine0005
Pick those that are at their peak of bloom. During this period, the inflorescences are painted in bright and beautiful shades.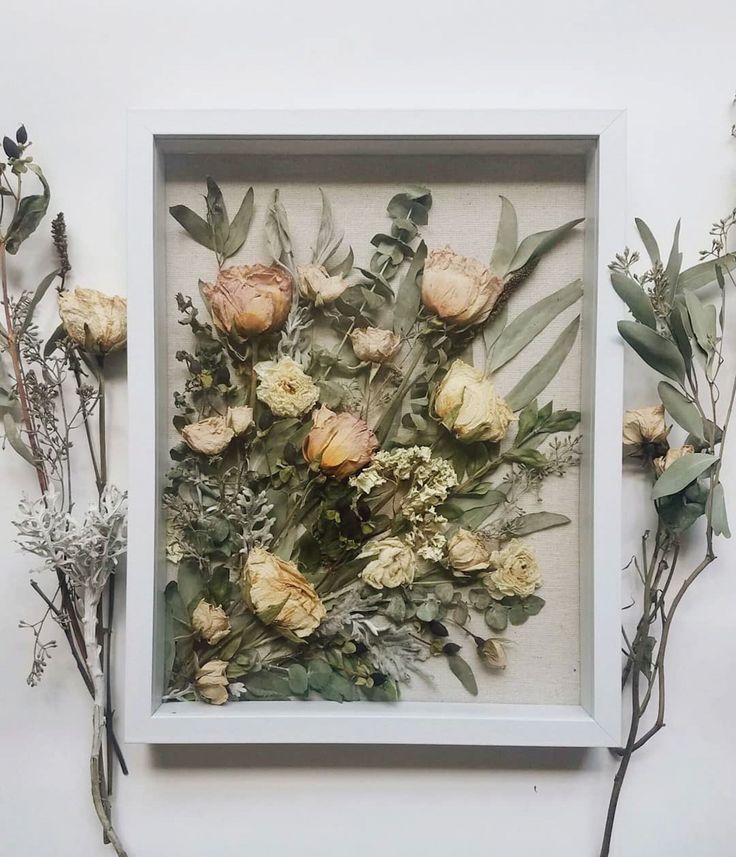 Do not take flowers with damaged and crumpled petals.
Choose flat flowers such as chamomile, geranium or violet. They are much easier to press than bulky tulips or roses. However, you should not completely refuse to collect flowers with lush buds. You can press individual rose or tulip petals and use them in your arrangement. nine0005
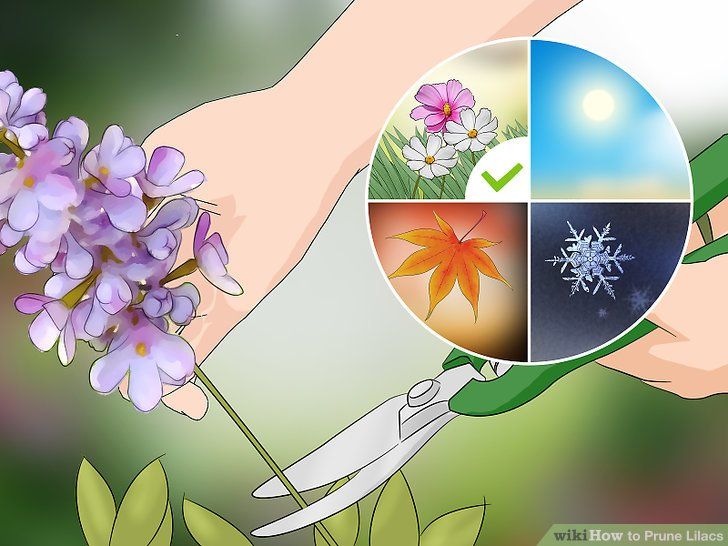
Flowers are best picked in the late morning or early afternoon. At this time, the morning dew dries up and the plants look most attractive.
If you picked wet flowers after rain, let them dry before pressing. Take a paper towel and blot the plants. This will speed up drying.
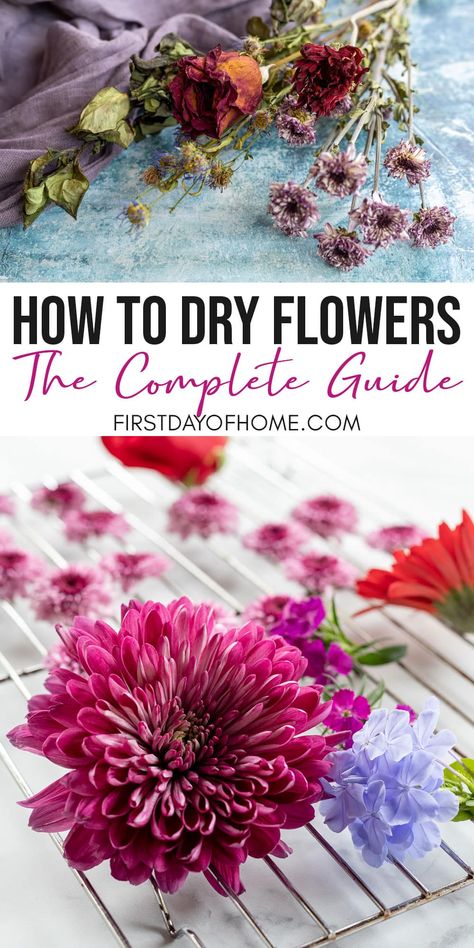
How to make pressed flowers
For traditional pressing you will need:
- paper towels or blotting paper; nine0030
- book;
- additional heavy items.
Thick and heavy books should be used. Dictionaries, reference books, encyclopedias are suitable. Keep in mind that after drying the colors, the pages may wrinkle with moisture.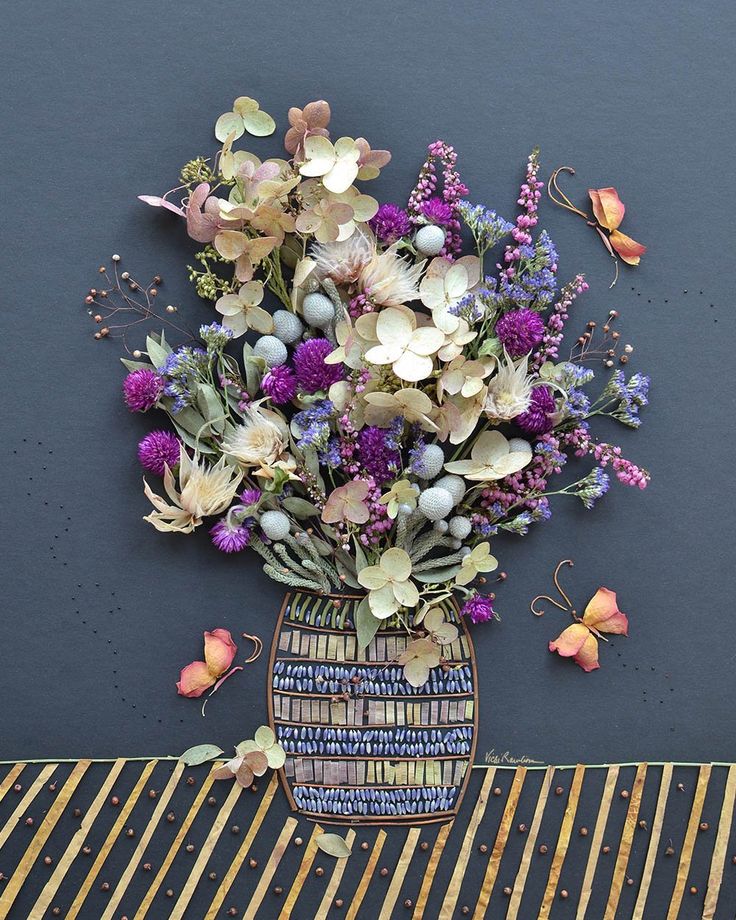 Therefore, choose an old book that you do not mind spoiling.
Place the collected plants in front of you. Make sure they look the way you want. After drying, you will no longer be able to straighten the petals and improve the appearance of the flowers. nine0005
Open the book in the middle. Place a paper towel or blotting paper on its page. Cut off stems and leaves from plants. Place the buds on top of the paper. Cover them with a paper towel or blotting paper. Close the book tightly and place under the load.
This pressing method is quite time consuming. Drying of the buds takes from 1 to 3 weeks. After about 7 days, you can start checking how dry and flat the flowers are. When you are satisfied with their condition, you can start creating a composition. nine0005
Fast drying
If you are in a hurry to make pressed flowers as soon as possible, there is a quick drying method. You will need wax paper and an iron.
Place fresh flower buds between pieces of wax paper. Heat the iron to low or medium. Lay a piece of fabric on the waxed paper. Press it with a hot iron until the flowers are dry and flat.
Fast drying should only be used in extreme cases. Using an iron, you run the risk of drying out or burning the plant. Drying in a book is the best way to press as the plant dries naturally. nine0005
Creation of the composition
To create the composition you will need:
- pressed flowers;
- hot glue gun;
- double glass frame.
Remove the glass panels from the frame. Place pressed flowers on one of them, making up a composition from them.
When you are satisfied with the arrangement of the elements, apply a line of hot glue along the edges of the glass. Cover the collage with a second glass panel. Apply some more glue to the edges of the second glass and enclose the picture in a frame. nine0005
Wait for the glue to dry. You can hang the finished composition on the wall, and also use it to decorate a table or shelves.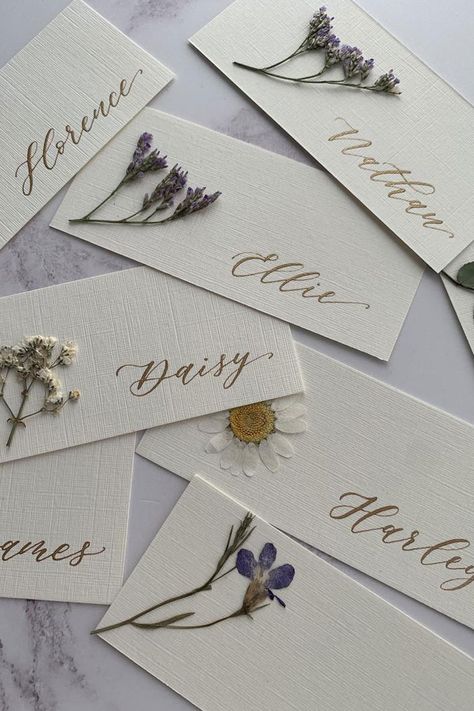
Conclusion
You can decorate not only glass panels, but also frames with pressed flowers. This will make your composition even more effective. To fix the buds to the frame, use PVA glue. Don't forget to coat the frame with varnish to keep the decorations in place.
| The Microfleur flower press is a real find for everyone who loves needlework, it is worth talking about it separately! Using this flower press and microwave oven, you can get great quality pressed flowers for your creations in just a few minutes! Thanks to the almost instantaneous burst of heat from the microwaves and the special, moisture-absorbing pads inside the press, the flowers are pressed together while maintaining their integrity and, most importantly, color ! This press can easily dry flowers such as tulips, orchids, chrysanthemums, gerberas, roses and many more! Now the process of drying flowers brings real pleasure and delight, because you immediately see a great result! Microfleur Flower Press Manual.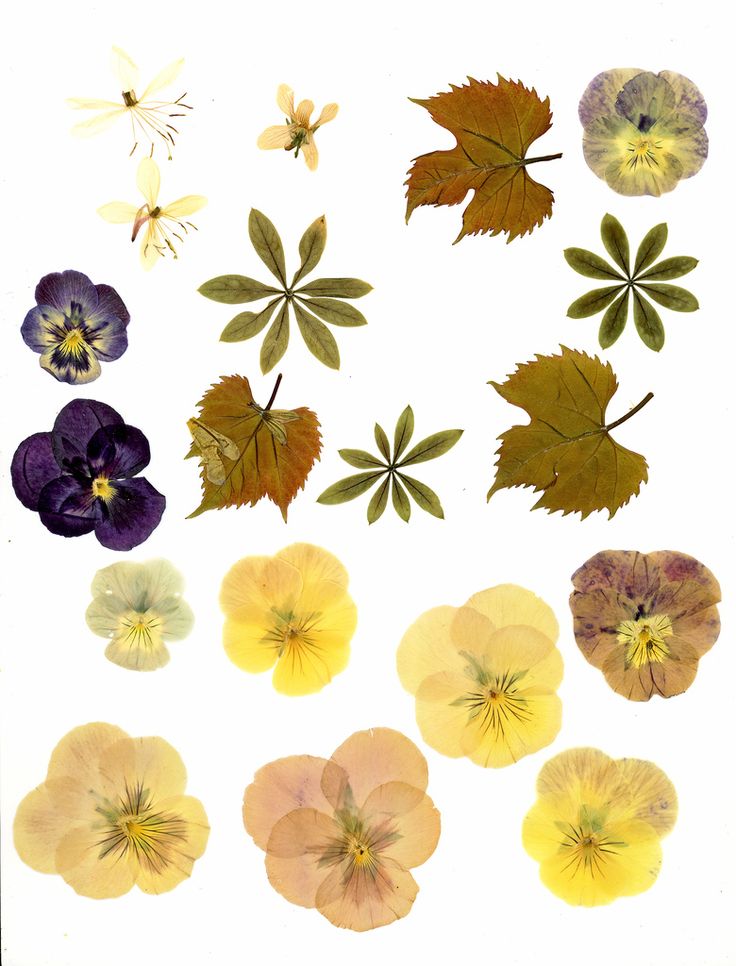 nine0079 nine0079
The goal is to get a material that is hard enough that does not hang down and feels dry or 'papery' to the touch. 
|