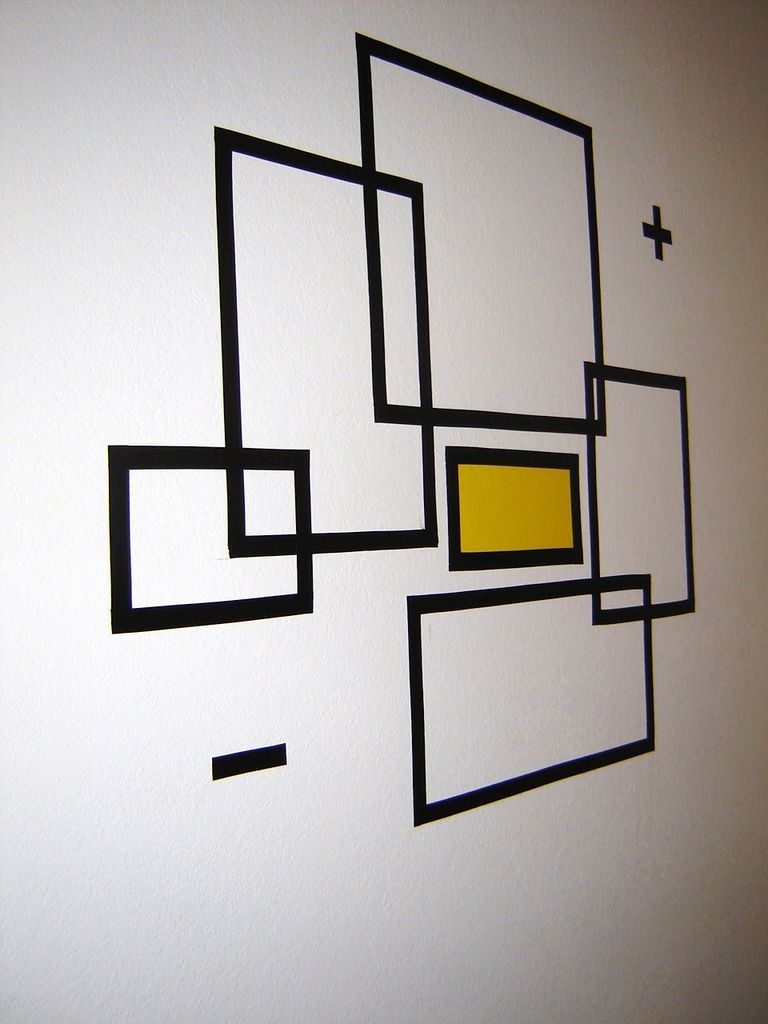
Basic wall painting
How to Paint a Room: 10 Steps to Painting Walls Like a DIY Pro
AD It Yourself
Learn how to paint a room in your home or apartment with these easy DIY steps and brighten up any space in no time
By Lindsey Mather and Elizabeth Stamp
All products featured on Architectural Digest are independently selected by our editors. However, when you buy something through our retail links, we may earn an affiliate commission.
Learning how to paint a room properly is essential for beginning DIY’ers, new homeowners, and veteran home improvement experts alike. After all, it’s pretty painless, relatively inexpensive, and—should something go horribly wrong—easy to fix. But before you grab your roller and get started with your first coat, it’s essential to have a plan of attack. So we asked a handful of experts for their best painting tips and tricks to get you started. Read on to learn how to paint a room and see step-by-step what you’ll need to do to make sure your project is a success.
While San Francisco based designer Nicole Hollis may have turned heads for painting the exterior of her home jet black, we're prone to the moody blue she chose from Farrow & Ball for the bar.Douglas Friedman
1. Plan your approach
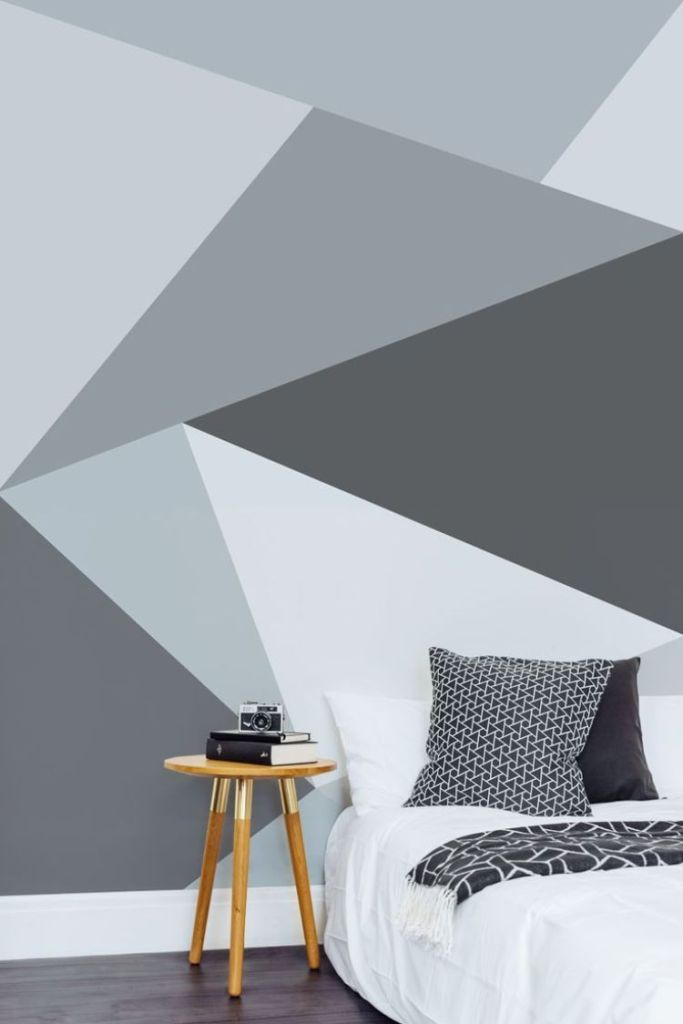
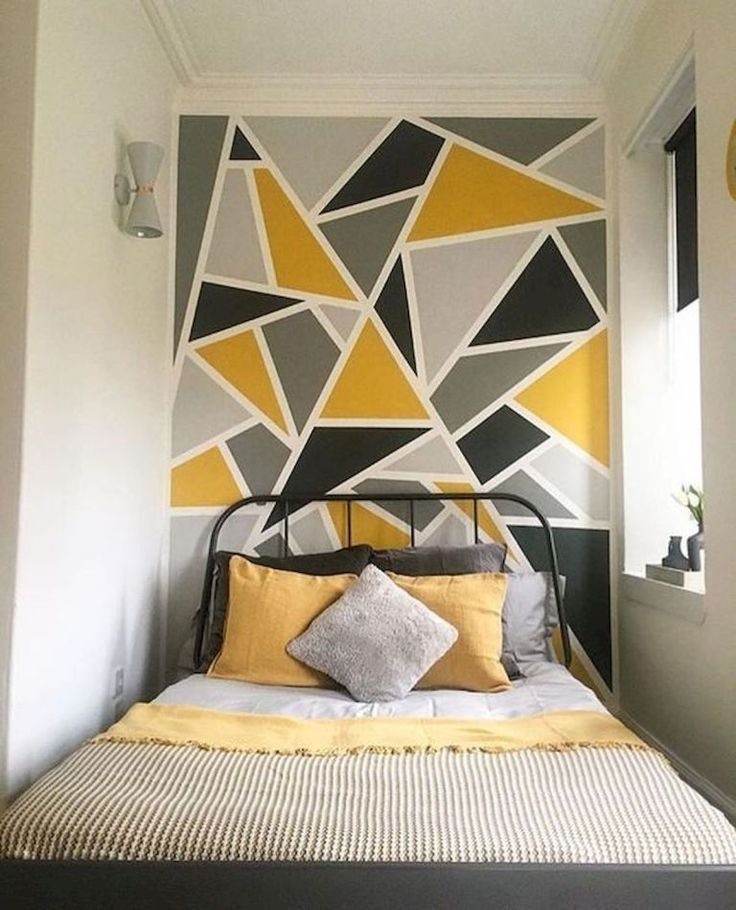
Start by thinking about how you want the finished project to look and remember that you’re not limited to four walls or an entire room in the same color. Consider painting an accent wall in a bold hue or highlighting moldings in a contrasting shade or finish. And don’t forget to look up and see whether the ceiling could use a refresh as well.
Alexander Gorlin used Parma Gray by Farrow & Ball on an accent wall in a New York apartment.
2. Choose your color
Browsing through fan decks and paint chips can be overwhelming.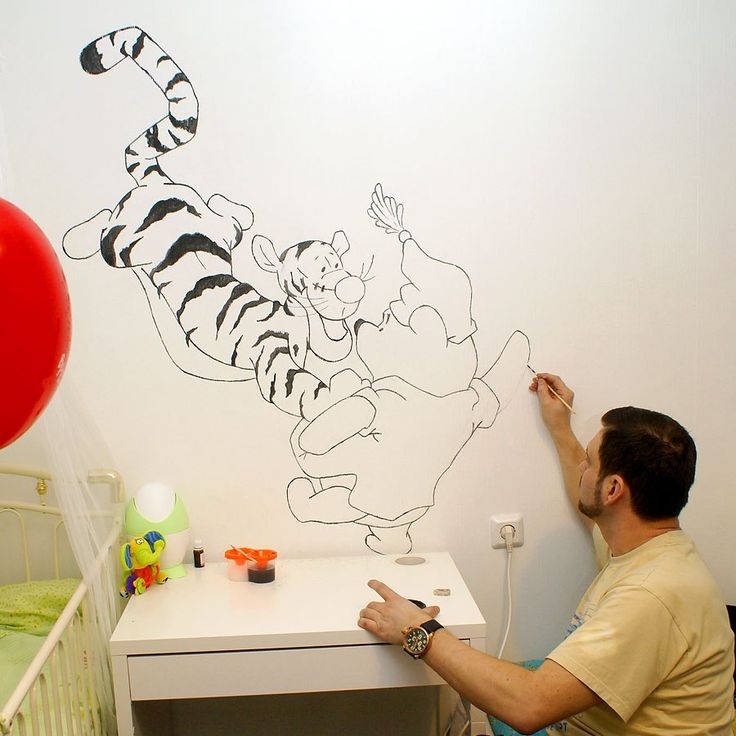 Start by figuring out the general color characteristics: Do you want a warm or cool shade? Neutral or saturated? If you have existing furniture or art, you’ll also want to consider how the shade will complement them. Once you have a sense of what you’re looking for, pick a few shades and get samples—lots of direct-to-consumer brands, like Backdrop and Clare, will send you adhesive swatches you can slap on the wall for a better sense of shade (and it’ll save you a trip to the store). Test the colors to see how they look in the room at different times of day.
Many paint companies also have tools on their websites that will let you upload a photo of your space and preview different colors on the walls. But colors can look different in real-world conditions, so you’ll still need to try it out in the space.
Test samples of your color choices in the room to see how they look in different lighting conditions.
Photo: Richard Drury/Getty Images
3.
 Pick out your tools and materials
Every project is unique and you may need different tools depending on the paint you choose and the condition of your walls, but there are a few must-haves:
- Paint
- Paint roller
- Paint roller extension pole
- Drop cloths
- Paintbrushes
- Paint tray
- Sandpaper
- Painter’s tape
- Rags
- Putty knife
Click here for a shopping list to order all the paint supplies you’ll need to get started—from sanding and priming to your very last touch-ups.
Gather all the essential tools before you start.
Photo: Anika Salsera/Getty Images
4. Determine how much paint you’ll need
Whether you’re painting a powder room or the exterior of your house, the general rule of thumb is one gallon per 400 square feet, says Carl Minchew, vice president of color innovation and design at Benjamin Moore. But that’s just a rough guideline: To get a more precise number, which you’ll definitely want for large projects, use a paint calculator like the ones provided by Benjamin Moore or Pratt & Lambert; they take into account window and door measurements.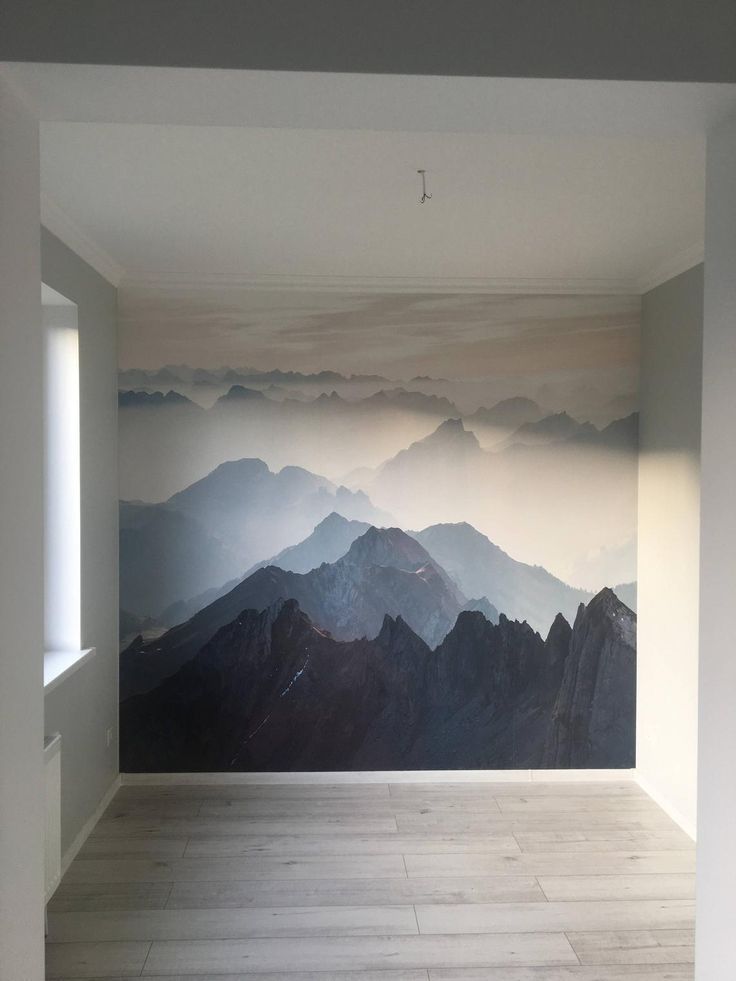 (And both assume two coats of paint per project.)
Most Popular
Planning on whitewashing a charcoal gray wall? You’ll likely need additional paint when going from dark to light. On the other end of the spectrum, a deep color base tends to require more coats of paint than a lighter color, says Carolyn Noble, color marketing and design manager at Pratt & Lambert. She recommends applying a gray-tinted primer to the surface before you paint your walls a saturated color to help reduce the number of applications. When it comes to finish, you may have heard that the glossier it is, the higher the coverage rate, but it’s not enough of a difference to change the number of gallons you need to buy, Minchew says.
If you’re painting a highly textured surface rather than a smooth one, buy a little extra, says Julianne Simcox, Pratt & Lambert associate brand manager. Cabinets with complicated millwork require more paint, too; Minchew suggests purchasing about 10% more than calculated.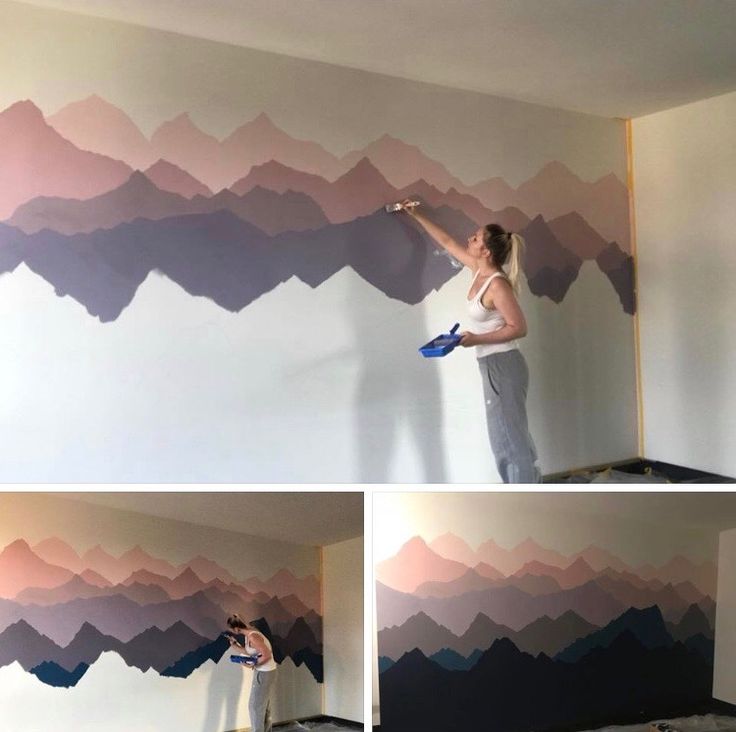
Calculate the correct amount of paint you’ll need to spare yourself trips back to the store and wasted paint.
Photo: Daniel Acker/Bloomberg/Getty Images
5. Prep the walls and the room
You don’t want to damage your favorite sofa or that heirloom Grandma gave you, so empty the room of all the furniture. If you don’t have enough space to relocate everything you own, push it all to the center of the room. Cover the pieces with a drop cloth or lightweight plastic sheeting and do the same with the floor, as well as any cabinetry or countertops that might be in danger of excess splatter. “Don’t skip the drop cloth—paint will splatter, we promise,” say New Jersey contractors—and cousins—John Colaneri and Anthony Carrino, the stars of the HGTV series Cousins Undercover and Kitchen Cousins as well as The Build Up and Grand Design on Ellen DeGeneres’s Ellentube.
Grab a roll of painter’s tape—the cousins recommend FrogTape—and firmly apply it to the edges of the room’s corners, base and crown moldings, and door and window casings, using a putty knife to seal if needed. “Getting a good seal so paint doesn’t get under the tape is everything, plus it will pull away clean after everything is dry,” Colaneri and Carrino say. If you dare (or have an artist’s steady hand), you can skip taping entirely. Remove light switch and outlet covers and apply painter’s tape to protect outlets and switches from paint drips. Before you get started, make sure you know how to repair drywall so you can clean up any nicks in the walls.
Most Popular
Protect floors and furniture with drop cloths.
Photo: Patti McConville/Getty Images
6. Mix your paint
Use a wooden paint stick to stir the paint, and re-stir often throughout the project. Paint that isn’t stirred consistently can lead to the ingredients separating and you’ll risk compromising the true color you’re going for. If you’re using more than one gallon of paint, combine the cans in a large bucket in case there is a slight variation in color.
Mix your paint early and often.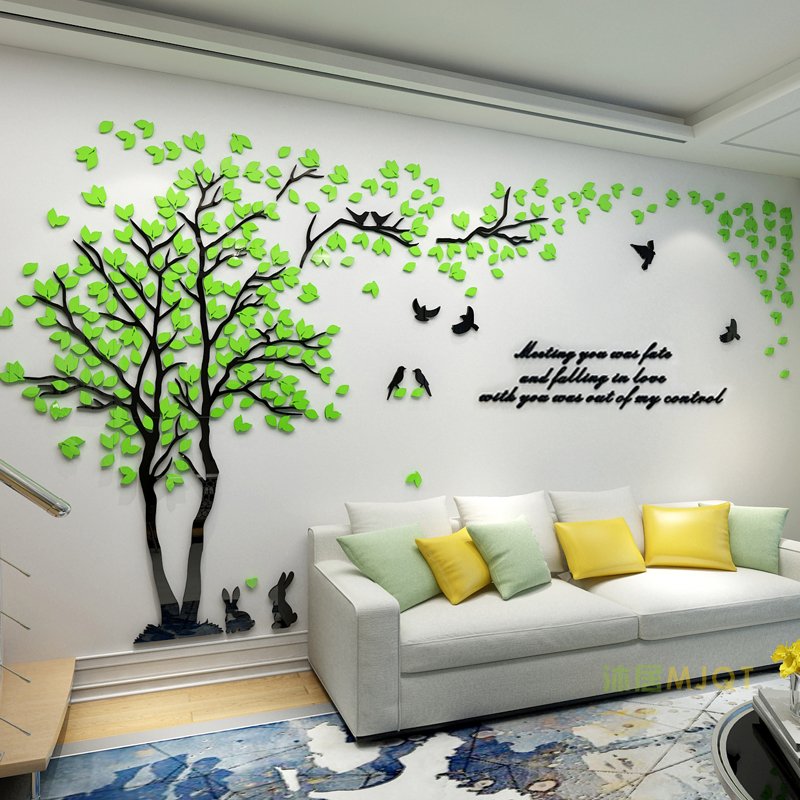
Photo: Tetra Images/Getty Images
7. Pick your painting techniques
Your paint is mixed and your roller is at the ready, but make sure to plan a strategy before you get started. Work from the top of the room down, starting with the ceilings. Planning a bold focal wall? Paint the adjoining light-colored walls first. “Don’t worry if you get paint on what will be your accent wall—the dark paint will cover up whatever lighter paint found its way there. After the lighter wall dries, tape off that edge so the dark color doesn’t bleed onto your new paint,” Colaneri and Carrino advise. If you’re covering up dark walls with a brighter hue, plan on three coats: your primer, plus two coats of the new color to ensure nothing shows through.
Most Popular
Tackle one wall at a time. Take a brush and “cut in”—paint along the molding and the corners from top to bottom—while your painting companion uses a roller to cover the main expanse of the wall, staying away from those more precise spots.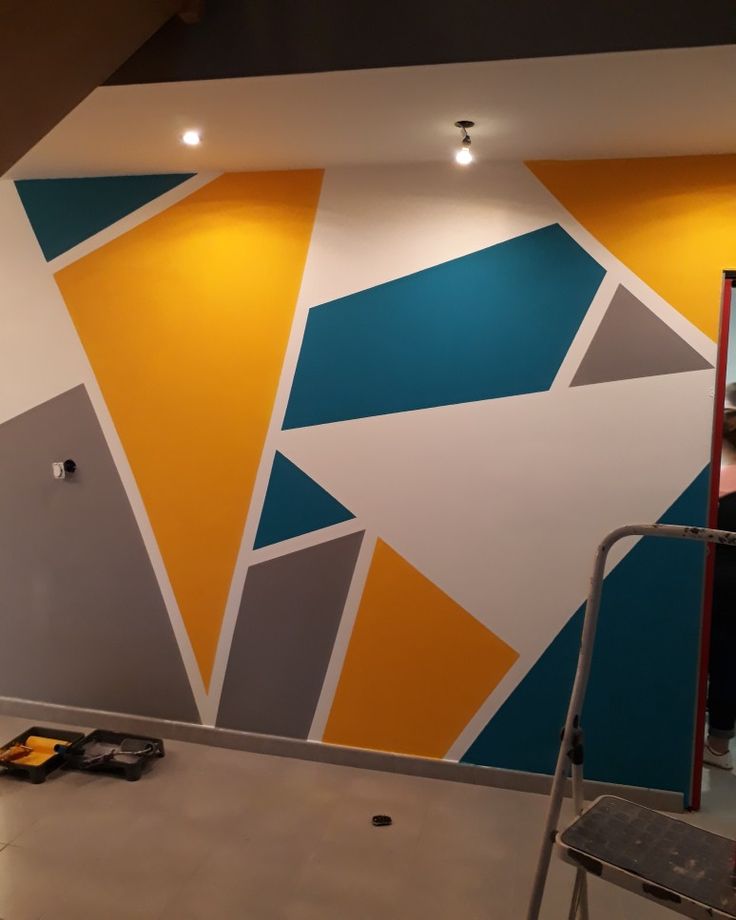 When applying paint with the roller, use long strokes in a W pattern for ample coverage (and to avoid those pesky roller marks). Once the wall is dry to the touch, it’s ready for a second coat.
If you are painting the trim, remove the painter’s tape and wait for the walls to dry before applying tape to the walls. Start with the trim closest to the ceiling, move on to door and window frames, and, finally, the baseboards.
Start by cutting in near moldings and corners with a brush.
Photo: Banks Photos/Getty Images
8. Don’t forget ventilation
Watching paint dry is no fun. Make sure your space is well ventilated throughout the project by opening windows and using fans. “Keeping the room warm and a fan blowing definitely helps speed up the drying process,” the cousins say. “If it’s a damp day, it will take much longer for the paint to dry.”
Open a window or use a fan for ventilation.
Photo: Stephen Simpson/Getty Images
9.
 Clean up
You’ve done multiple coats, but it’s not time to relax just yet. Remove all the painter’s tape and gather drop cloths, making sure any spills or splatters are dry before you move them. For latex- and water-based paints, clean brushes with soapy water, though oil-based paints will require mineral spirits. You can use a painter’s brush to clean and reshape bristles. If you want to reuse roller covers, use the curved edge of a 5-in-1 tool to remove the excess paint under running water (they’re also useful for opening a paint can, removing nails, and scraping).
Most Popular
Clean brushes with soap and water if you used latex- or water-based paints.
Photo: Ableimages/David Harrigan/Getty Images
10. Give yourself enough time
The amount of time your project will take depends on the size of your room, how you’re painting, and your skill level. For instance, using a dark shade on the walls and painting the ceiling and trim will take longer than just doing the walls in a neutral color.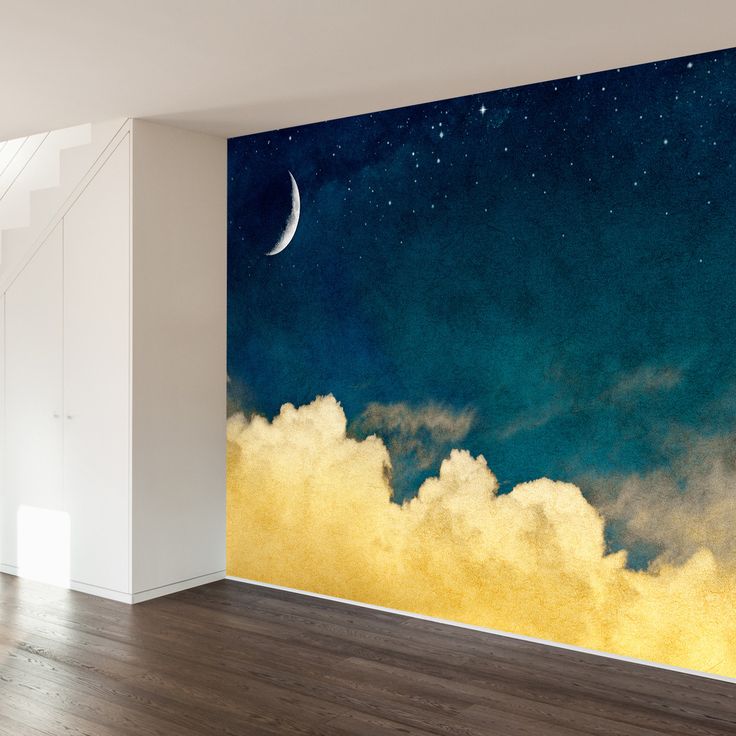 While some spaces can be done in a few hours, others may take several days. Be sure to budget more time than you think the job will need and don’t forget to take prep and cleanup into account.
Shopping guide
ExplorerenovationDecoratingpaintDIYAD It Yourself
Read MoreHow to paint a wall: 15 steps for painting walls for beginners
Painting a wall is one of the easiest and most affordable ways of updating any room. And you don't have to get professionals in to do an aesthetically pleasing job of it.
But, before you start to paint a room, it is a good idea to learn a few tips from top experts on how to paint a wall like a pro before you start.
After all, you're going to be looking at those walls for a long while to come. We've consulted experts from the likes of Benjamin Moore, Lick and Dulux for their insight into how to paint a wall to perfection – so that you can bring your paint ideas to life yourself.
How to paint a wall
Here, we tackle the basics of painting a wall – using the expert tips we've added will ensure you get a professional finish.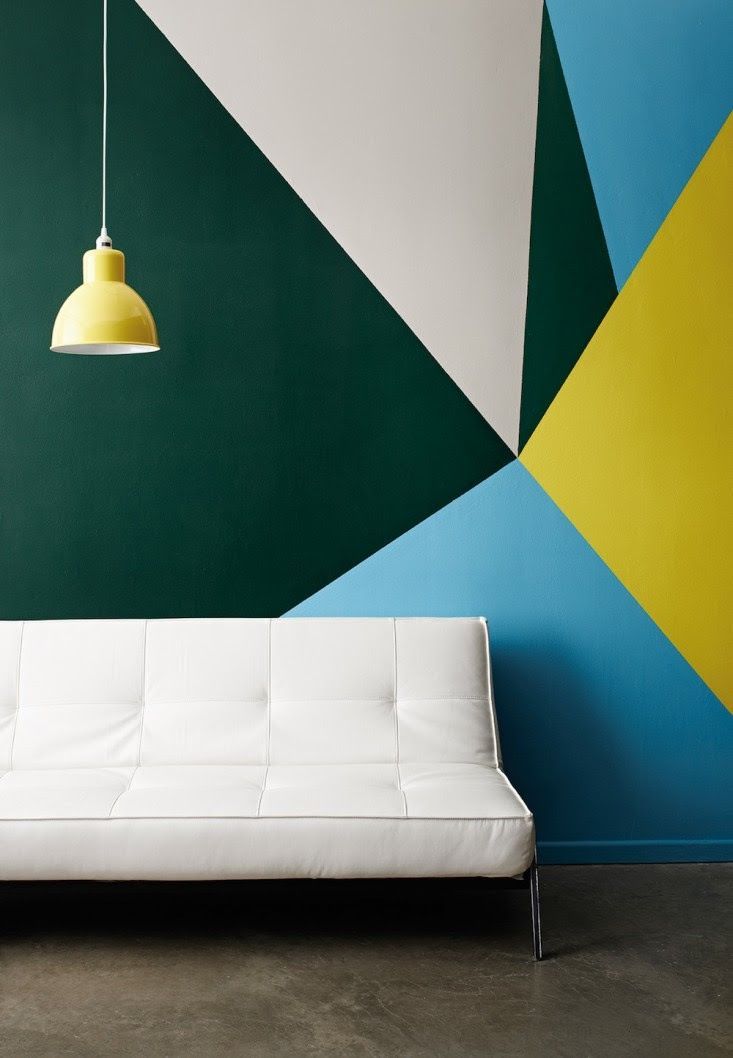
1. Measure your room and determine how much paint you need
If you've been browsing living room paint ideas and are wondering whether you could work the transformation yourself – and how much it costs to paint a room – the first thing to get to grips with is paint quantities.
'There is no "average room", so it’s important to roughly work out how much paint you will need to avoid buying too much,' says Helen Shaw, Director at Benjamin Moore . 'As a guide, it’s key to bear in mind that most paints will cover about 10-12sq m per litre. '
She continues: 'Firstly, we recommend starting by measuring or estimating the length of the room. A loose and easy guide for this is step it out – one step for an adult is about 1m, so start by standing against one wall and pacing out to the opposite wall. You can then do the same to estimate the width. Then add two times the length and two times the width together to get the perimeter.
'Most rooms have a standard 2.5m high ceiling, so if you simply multiply the perimeter by 2.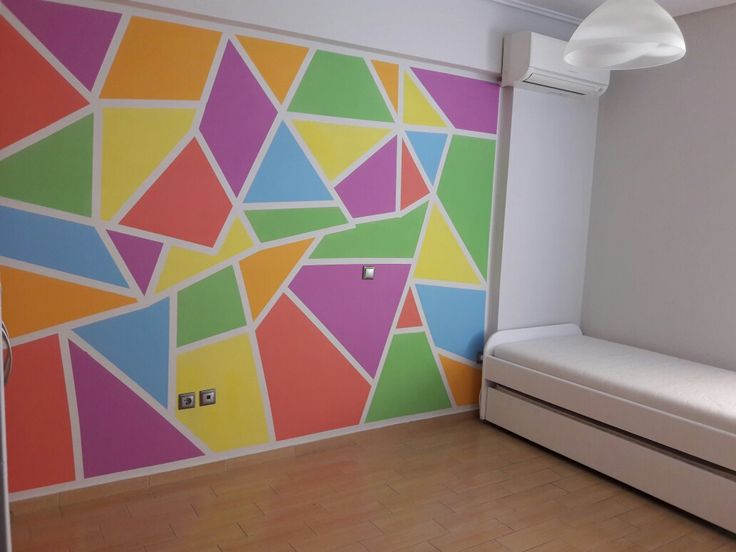 5, you will have the total in meters squared. Although we would recommend that if you have particularly tall ceilings, it’s best to measure this rather than use the 2.5m estimate. If you have large windows or many doors or built-in cabinets, you can deduct this from the total to avoid buying too much. Finally, double the overall meter square total to account for doing two coats.'
2. Choose your color and get the right finish
Whether you're looking for organic, neutral or bold, statement living room color schemes, picking up a selection of sample pots is always a good idea to see how the hue reacts to the light in your space.
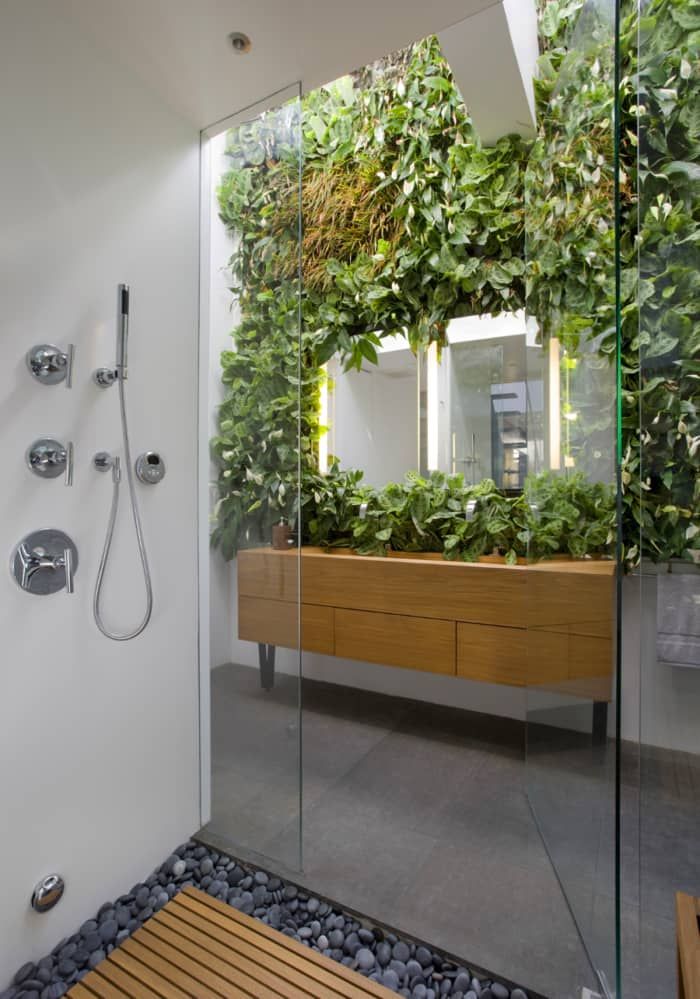
And don't forget the finish. 'The right paint finish for different surfaces and specific results is the key to a perfect result,' say the experts at Dulux . 'For example, mid-sheen and gloss finishes reflect light, while kitchen and bathrooms require moisture and stain-resistant qualities.'
3. Buy the right tools
When painting a wall, there's nothing worse than realizing too late that you haven't got all the tools and materials you'll need to do the job properly.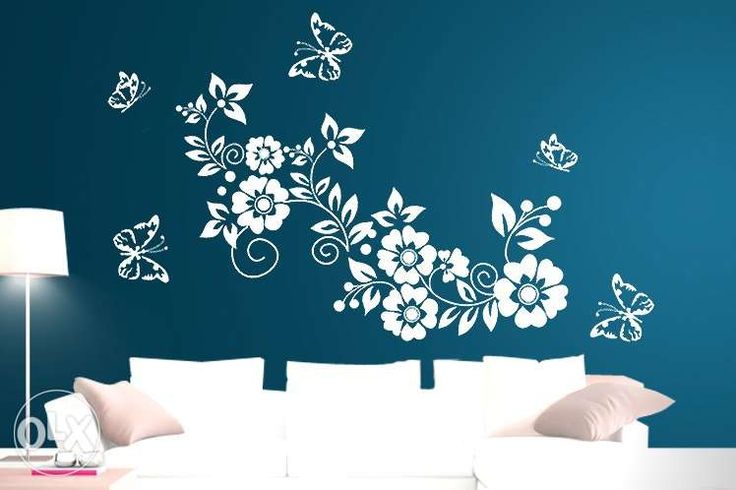 You will need: a pot of paint; a paint brush and paint roller; primer; soap and water for cleaning; a painting tray; a dust sheet; painter's masking tape; and, if you have high ceilings, a roller extension pole is a good idea.
Benjamin Moore's Helen Shaw says: 'When it comes to the must-have tools, a firm favorite amongst consumers is to use a roller for painting walls and a 2in brush for cutting in around the edges. To ensure a smooth finish, a microfiber roller sleeve is best.'
4. Paint in natural light
For best results, always paint in natural, not artificial or low, light.
A Dulux expert advises: 'Whether you're rushing to get the job done just as the sun goes down or it’s dark and stormy outside, it’s always better to wait for bright, natural light to paint your rooms. Painting in dim or harsh artificial lighting can easily result in patches and imperfections that only show up in glaring natural light.'
5. Clear the area
Now you've got the right amount of paint in the correct finish and color of choice, you're ready to take the next step in painting a wall.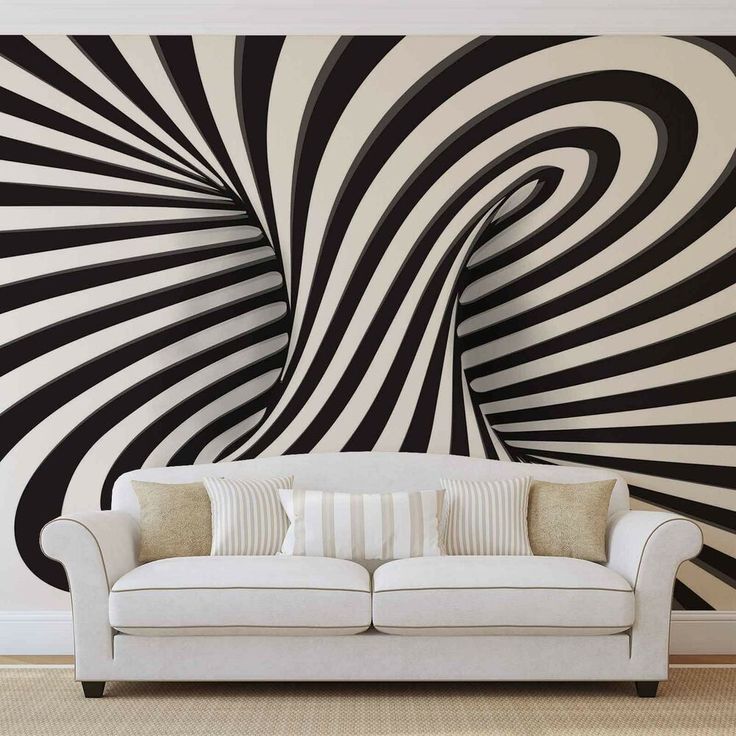
'Start by clearing your working area to give yourself ample painting space,' says Lick’ s Interior Design and Colour Psychologist, Natasha Bradley. 'Put away your favorite furniture items and anything you don’t want to get splatters or splodges on.
'Put a protective dust sheet down to save your flooring and any furniture that’s too heavy to move. Newspapers and bedsheets won’t be sufficient here, but either a canvas or a plastic drop sheet should work equally well.'
Helen Shaw, UK Director of Benjamin Moore adds: 'Before you jump in with your paint brush, make sure the space around you is prepped and cleared – you don’t want to be spilling paint over your new sofa! If there’s not enough space to clear the room entirely, push everything to the centre of the room and cover, don’t forget to also cover the flooring.'
6. Prep your walls
'Once everything is cleared and covered, you can then make a start on preparing the walls for painting,' says Helen Shaw. 'A key factor in ensuring you have a smooth finish is having a clean surface to paint on, dust, cobwebs or grime can stop your paint adhering and having the perfect finish.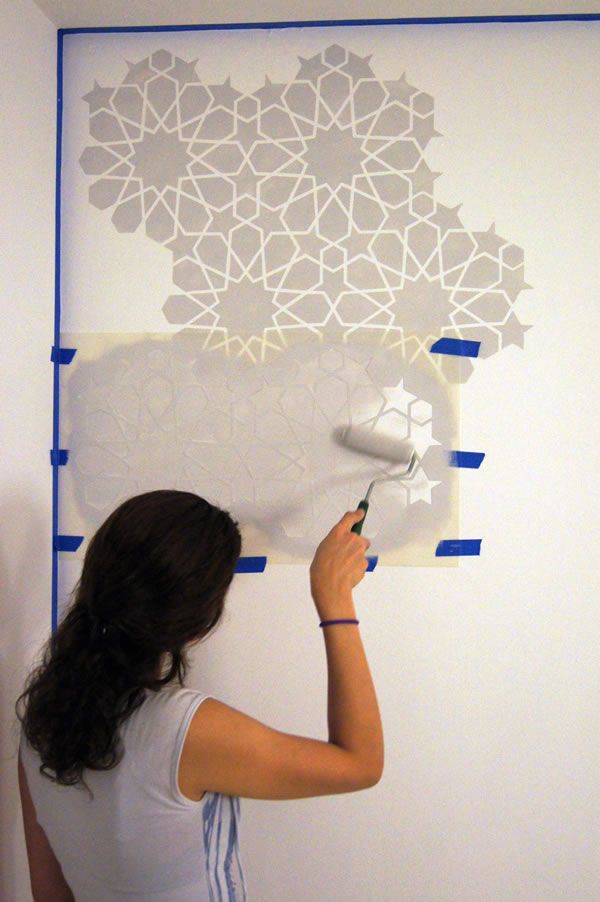 Most walls can be washed with a soft sponge and warm water, but if you’re painting in the kitchen then you’ll need something to help cut through the grease before rinsing with warm water.'
Speaking to H&G, a Dulux expert says: 'It’s very tempting to skip this crucial first step, whether it’s to save time or because you think your walls look fine to paint over. But, it’s often hard to see dirt, dust, scratches and cracks, until they rear their ugly heads through your new paint. Before you do anything, give your walls a good clean with warm, soapy water, fix any cracks or holes with filler and wait until the surface is totally dry before painting.'
Be ultra-vigilant about this step, says Lick's Natasha Bradley. 'Examine your wall for any flakey areas or little bumps. Use filler and sealant to fill up any cracks or holes or a scraper to even bumps and flaking paint. Don’t skip this step if you want to achieve a smooth and professional finish.
'Next, get your painting surface ready.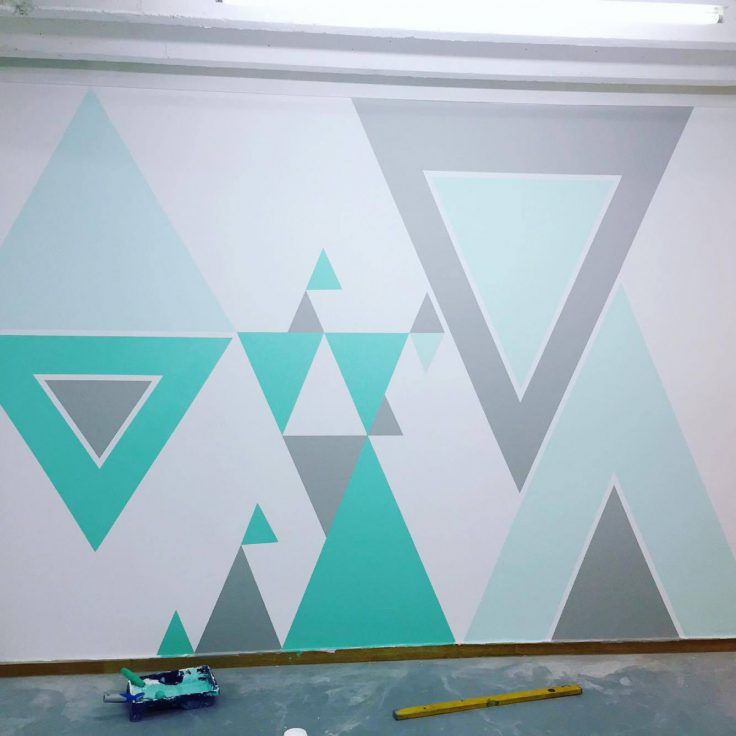 Clean your walls thoroughly but gently using a soap and water mixture. Wipe clean and leave to dry.'
7. Apply your painter's tape
Once the surfaces are dry, use painter’s masking tape or good, old-fashioned masking tape to cover any sockets, switches and skirting boards in the area.
Helen Shaw says: 'You’ll need a roll or two of painter’s tape to protect any mouldings or switches from any drips and ensure a neat finish. Make sure you apply the tape carefully to get a good seal to avoid paint getting underneath and running.'
8. Time to prime
Using a primer will ensure a more professional finish and help you get the most from your paint color. 'Apply a smooth and even base coat of primer using a roller,' says Lick's Natasha Bradley. 'Work into smaller crevices using the tip of your paintbrush. Leave to dry for a few hours before starting to paint.'
She adds: 'Avoid the temptation to skip the priming stage if you want a vivid and consistent finish, especially if you’re painting over a darker color. '
'
9. Stir and decant your paint
After opening a paint can, stir the paint thoroughly for an even texture, before pouring some into your painting tray.
A Dulux expert says: 'As colors can vary slightly from can to can, it pays to decant paint into a smaller container or tray to mix it before you start painting. In terms of how to decorate while making the least amount of mess, this tip might just save your sanity. Imagine accidentally knocking over a 10 liter can of paint?'
Kathryn Lloyd, of Crown Studio , offers her top tip: 'Pour the paint into the roller tray and, for ease, you can use some aluminium foil within the tray to save you cleaning it out afterwards. Once you’ve finished with the paint you need, pour the residual paint back into the can and you can dispose of the foil without using tons of water.'
10. Cut in the edges
Before you start painting the walls, cut in the edges with a one or two-inch brush. This means first painting the areas that are too tight for rollers, like the ceiling line, corners and trim.
Benjamin Moore's Helen Shaw advises: 'To cut in with ease, a low-tack tape around the ceiling edges or skirting will help to get a sharp line and a clean finish. Gently remove the tape when the paint is still wet to ensure there is no bleed through or peeling.'
Kathryn Lloyd's top tips on cutting in while painting a wall? 'Apply some paint onto the brush, providing any excess has been removed to guarantee you have control when using the brush and keep the paint looking neat along the edges.
'With your paint brush in hand, start a little bit away from the edge of the wall, so that you have the right amount left on the brush to create a very sharp edge so that it’s nice and neat. Repeat this for the top, bottom and sides of the wall.'
From preparation to painting, work from the top of your room down, for best results. Start with the ceiling and the architrave. Then, paint your walls from the top down with your roller. Finish the job with woodwork and skirting.
12.
 Use this painting technique for best coverage
'If you’re flinging your roller around, you might not achieve the best coverage,' say the experts at Dulux. 'Instead, apply your paint in a W shape on the wall. Go over the W with an M shape to fill in the gaps, then reload your roller and move onto the next section in the same way.'
Lick's Natasha Bradley agrees this is a good technique for painting a wall, saying: 'Dip your roller into the paint tray and start to paint your wall in W or M motions for even distribution.'
13. Apply another coat of paint
Leave the first coat to dry for a couple of hours before you apply another coat.
'Most walls shouldn’t require more than two coats of paint,' says Natasha Bradley. 'Remove the painter's tape from the wall whilst the second coat is still drying.'
14. Don't forget ventilation
To make the experience more pleasant for you, open the windows and let some air in.
Natasha Bradley advises this will also quicken up the wait: 'Keep your work area well-ventilated to minimize drying time.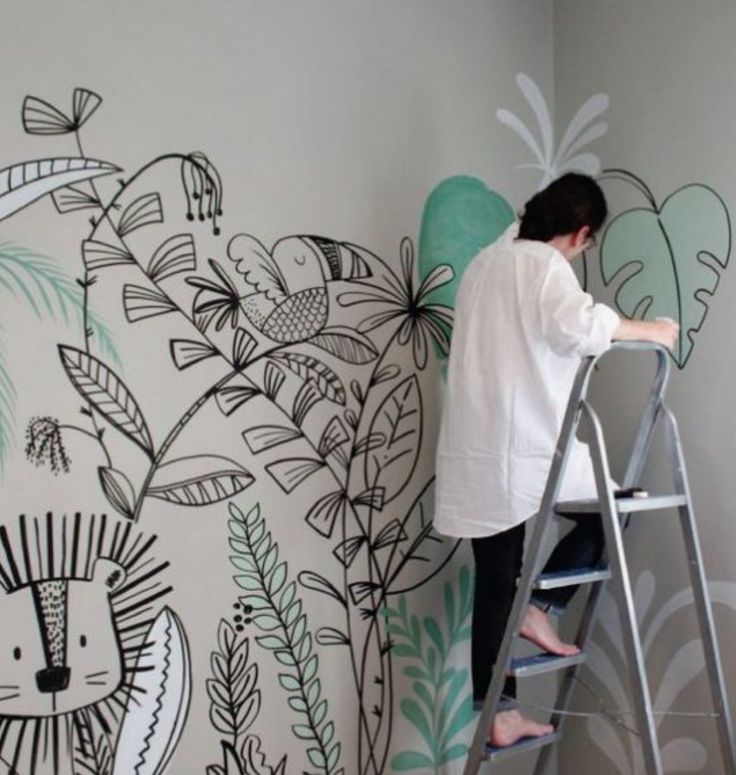 '
'
15. Clean up ready for the big reveal
Leave to dry for at least 24 hours and remove your dust sheets to reveal your brand new wall. Keep your brushes in good condition by cleaning them before you put them away. If you've used a water-based paint, a clean with soap and water will suffice.
Keep the colors you’ve used so you can touch up paint on walls as necessary and make sure to dispose of paint safely when you do finally come to changing to a different wall color.
Now it's time to step back, admire your own handiwork, and give yourself a well-deserved pat on the back.
style directions, basic materials and workflow
12/25/2020
2575 Views 0 Comments
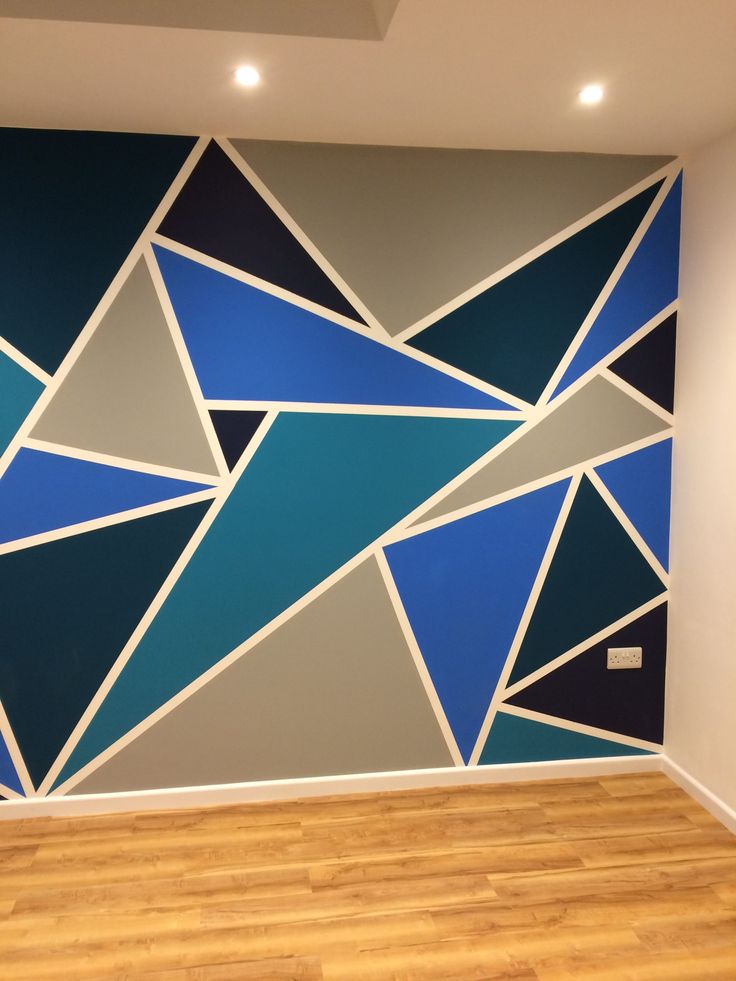
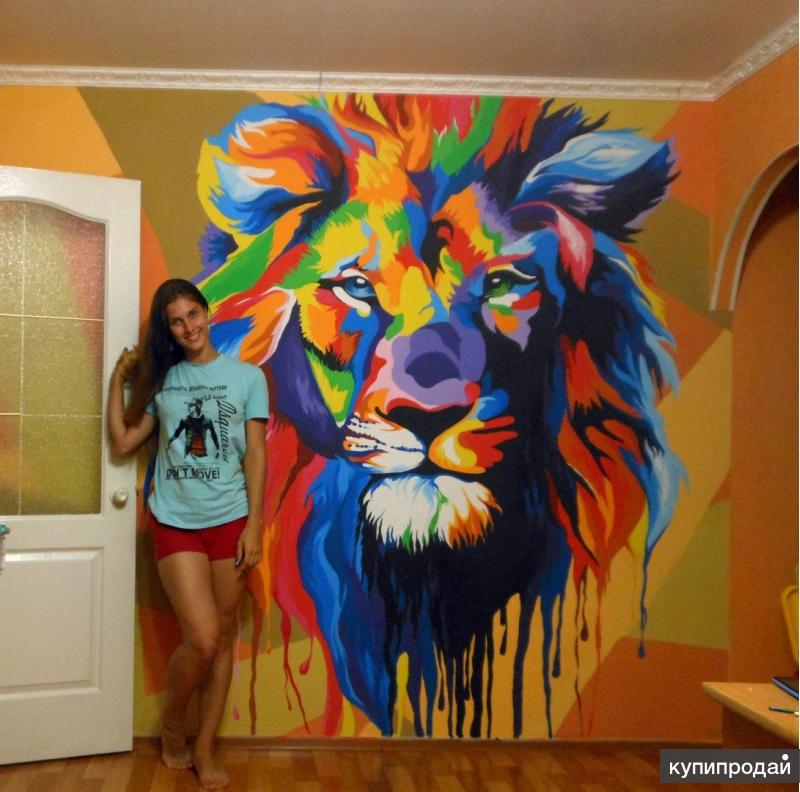
The world of modern design offers unlimited possibilities and a lot of options for creating a unique interior with unusual ideas. One of the most interesting ideas is wall painting in the interior. This is one of the most aesthetic, unique and unusual types of processing and decoration of walls in rooms.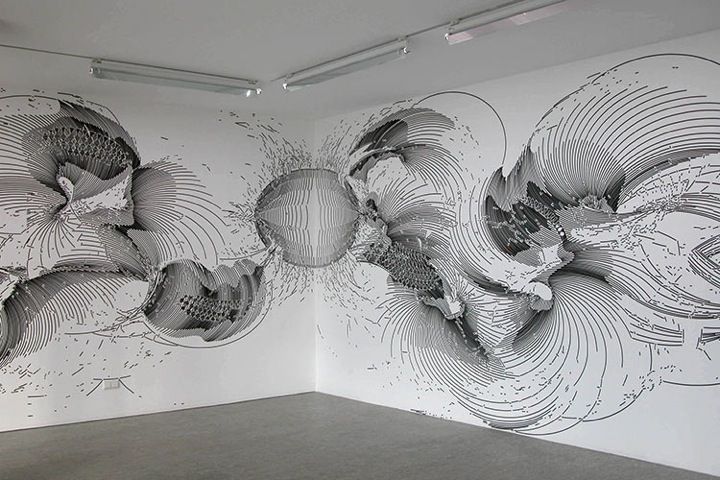
Basic styling
Wall painting is not suitable for all styles. Before planning the implementation of such a design solution, you need to decide on the basic concept of the room. Below are the main directions that allow the decoration of the walls in the room.
Classic
This style does not lose its relevance, regardless of the change in fashion trends, and is considered one of the most sought after. The main features of the classics: restraint, straightforwardness of forms, a harmonious combination of details and a calm atmosphere.
The room, decorated with a classic idea, is distinguished by smooth walls, clearly defined silhouettes of details and restrained tones of noble shades. Wall painting perfectly matches the general concept of the classics. As for the plot, it is best to choose a realistic landscape or still life.
Despite the fact that the classics belong to conservative trends, this style is distinguished by a variety of forms, techniques and color schemes.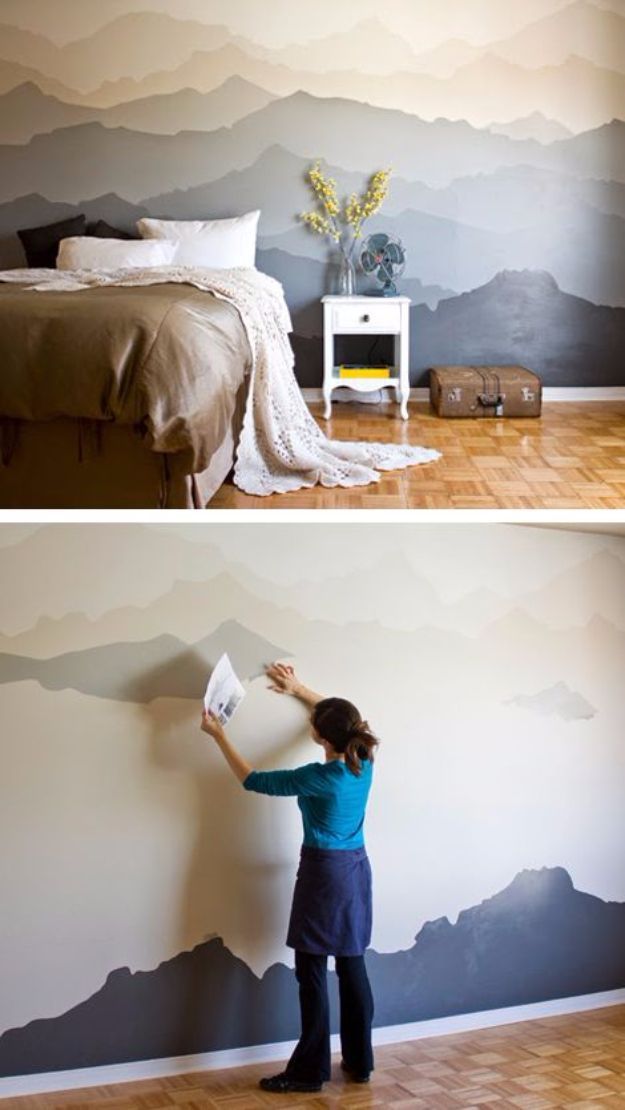
Baroque
The Baroque trend was the next stage in the development of classicism. Characteristic features of the Baroque style: pomposity, pretentiousness and, to some extent, excessive luxury. Unlike the classics, which are characterized by rigor and restraint, baroque demonstratively emphasizes wealth, and the immoderate magnificence of decoration can be traced in every detail. Ornate patterned compositions, ornaments replete with small details, and floral designs with lush flowers are suitable for painting walls for a baroque interior.
Empire
The Empire style is the final stage in the development of classicism. It is a harmonious combination of imperial luxury and classical restraint. Picturesque interior design can reflect an eclectic concept, that is, a combination of elements from different directions. For this direction, images of monumental structures of ancient architecture, as well as fairy-tale characters borrowed from other cultural movements, such as griffins, sphinxes or centaurs, are suitable.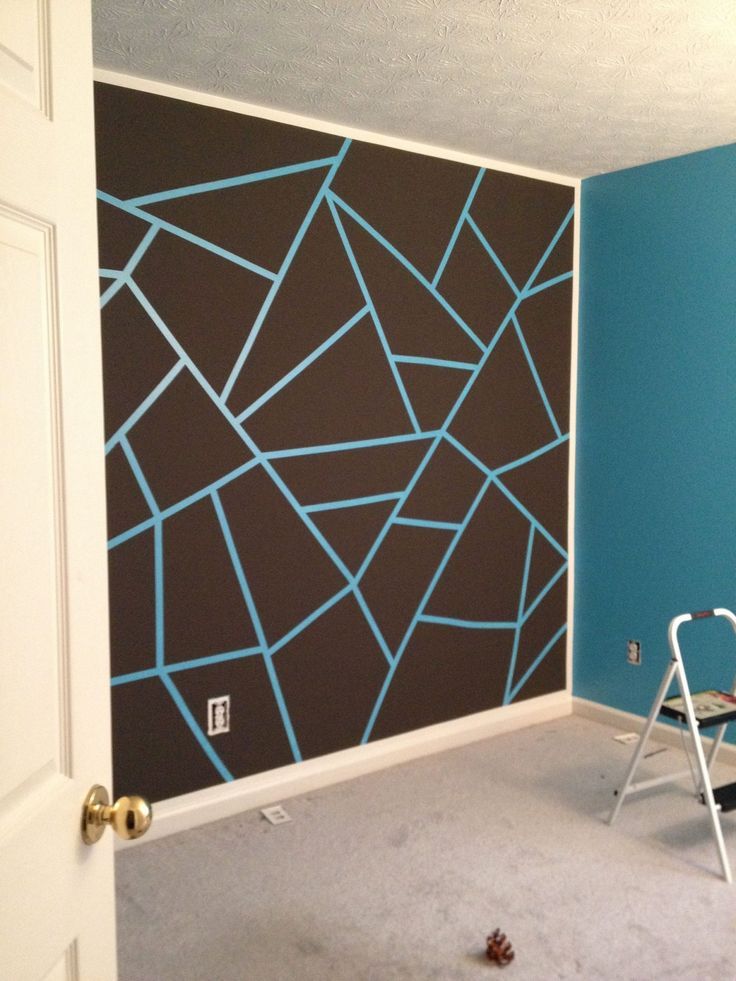 The combination of realism and fairy-tale motifs fits perfectly into the concept of this style. It is important not to overdo it, as an excessive abundance of bright details breaks the harmony and visually reduces the cost of the design.
Arabic Style
Interior design in this style is able to convey the charming atmosphere of the East and the originality of the Arab culture. The main features of this direction: the absence of images of animals and people. This stylistic trend is dominated by geometric and floral ornaments and ornate complex patterns that have a certain rhythm.
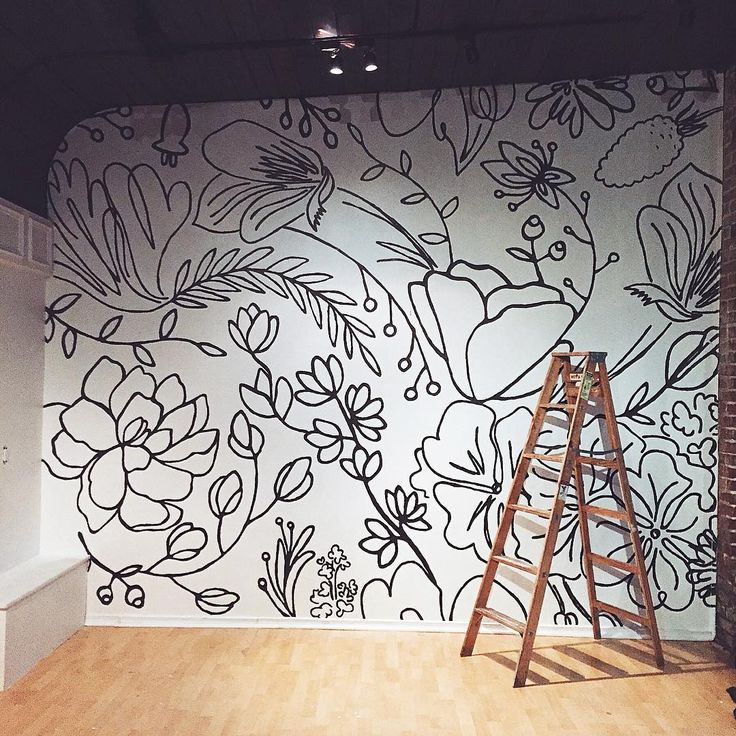
Modern
The design of the walls in the Art Nouveau style is not to be confused with other areas. This style is characterized by the presence of living elements. One of the main distinguishing features is the harmony of complex plant motifs with wavy lines and fantastic creatures. The color scheme should include only natural simple tones.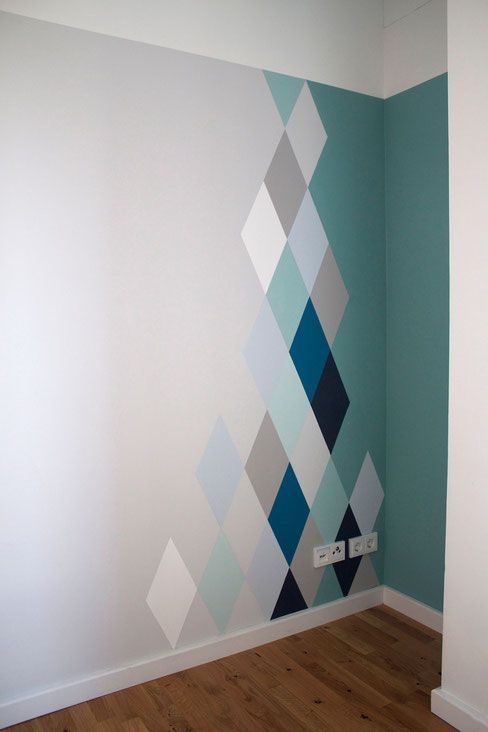 Art Nouveau perfectly combines the desire for simplicity and rationalization with elegance and graceful subtlety.
In addition to this direction, there are many modern styles. For each of them, a certain design solution is suitable. For example, if we are talking about painting walls in a futuristic style, you can depict a space plot with a 3D effect, and in a high-tech room, abstract art or a cityscape depicting skyscrapers and a freeway would be quite appropriate.
Basic wall painting technologies
Modern masters are practically unlimited in the choice of directions and painting techniques. The most popular technologies are:
-
airbrushing. In this case, the images are applied using an airbrush that sprays paint. This technology allows you to apply the thinnest layers of paint and make the most smooth color transitions;
-
Fluorescent painting involves the use of special paints that will glow with ultraviolet radiation.
 The artist has at his disposal not only a huge palette of shades, but also the ability to create amazing illusions and effects. This technology allows you to convey the realism of the reflections of the night city and the restrained moonlight, as well as to give a more pronounced relief to any landscape;
 -
fresco is one of the most famous technologies that came from antiquity. The main feature is the painting on the damp surface of the wall. Painting is distinguished by expressive texture and high strength;
-
volumetric wall painting allows you to visually expand the room and create the effect of "broken space". The rooms decorated in this style are unique. This technique allows you to imitate any architectural objects, giving them an unusual concept: a staircase hiding in the sky, a balcony overlooking the universe and much more. The main feature is the realism of an unusual fantasy story;
-
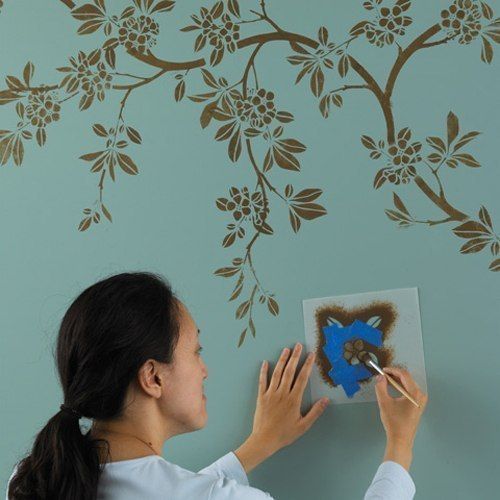
screen painting is available to absolutely everyone.
 To apply ornaments through a stencil, it is enough to have minimal skills in working with paints;
 -
Acrylic paints are one of the most popular methods for decorating a space. Paints have a lot of advantages: they dry quickly, have no smell, are easy to apply and retain a rich color even under the influence of sunlight. Painting the walls in the interior with acrylic paints will require a certain skill.
What you need to paint the walls with acrylic paints
Before proceeding to the creative stage, you should prepare the surface. First, the wall should be cleaned of materials used in the previous finishing process, and a layer of primer should be applied. After careful sanding with sandpaper, acrylic primer should be applied.
Then you should choose suitable brushes of different thicknesses. Squirrel, pony and cow ear brushes are preferred. You will also need a simple pencil to draw the initial sketch.
After that, you can start applying the paint layer.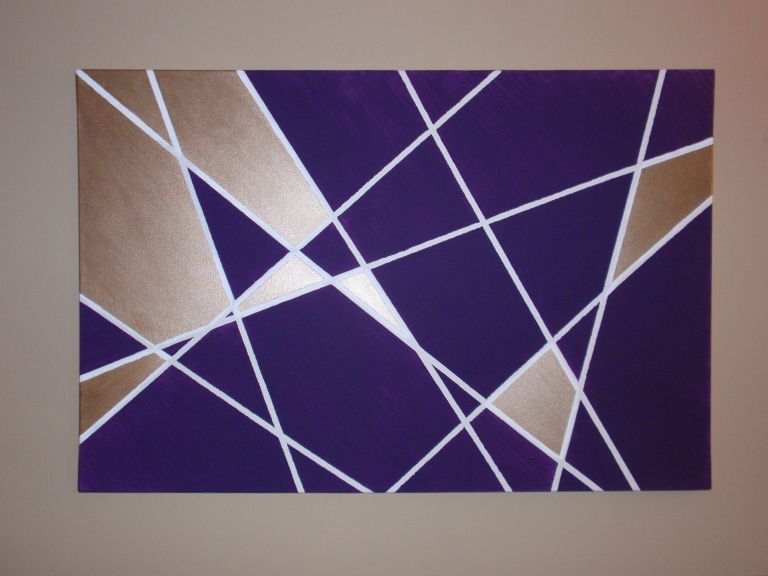 You should buy a can of white acrylic wall paint and dyes. A water emulsion is used as a diluent.
The final step is applying varnish. This will give the creation wear resistance and durability.
Wall painting in the interior is a great way to create something unusual and unique. The main wishes for the picturesque design are compliance with the general concept of the design of the room, a sense of proportion and the ability to place accents.
Wall painting technology in the interior
With the growth of consumer demands, the number of original methods of decorating rooms is increasing. One of these is wall painting. This is a relatively new direction that allows you to transform the space beyond recognition. The unusual format of applying the finishing material creates a unique atmosphere, fills the room with a certain mood. What technique of wall painting will be used, the master chooses, guided by an individual instinct, the tasks set and the preferences of the customer.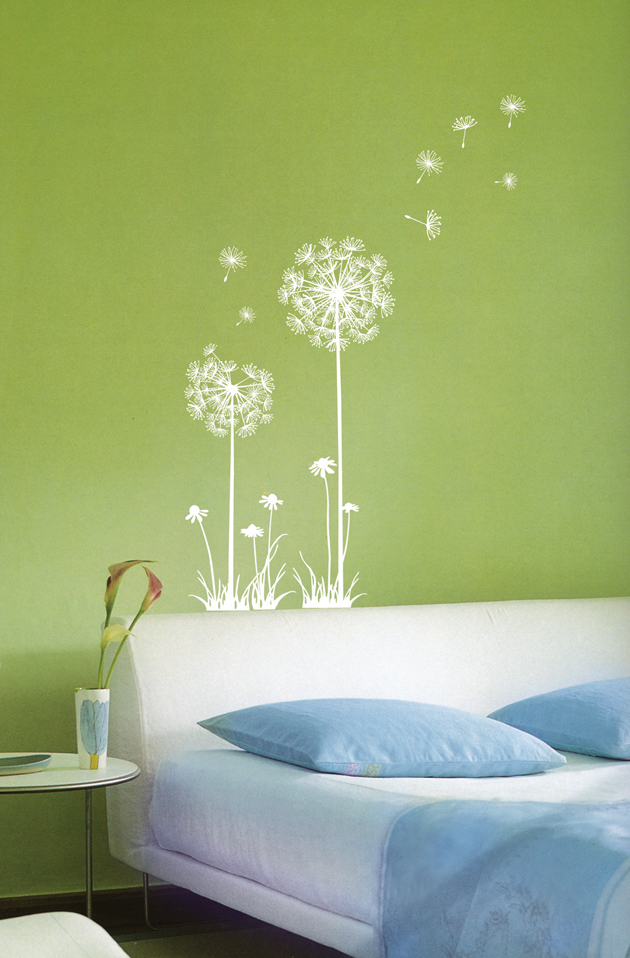 Let us dwell in more detail on the main classical and modern methods of surface design.
How to choose a technique
Before choosing a wall painting technology and starting work in the room, the master will study the final goals. Decorating surfaces with original paintings solves several problems at once:
- Helps to visually change the boundaries of space (reduces or enlarges the room).
- Divides the room into zones.
- Corrects furniture placement.
- Sets priorities, creating an accent on the walls or, on the contrary, on interior elements.
- Hides defects.
It is important to remember that each image carries a charge of energy. Therefore, the masters are very careful in choosing. They not only determine the style, but also analyze which wall painting technique is best suited in each case. It is not recommended to depict wars, bloody scenes or drawings with elements of violence on the walls.
Basic ways of decorating a space
Wall painting is a concept that combines different techniques and coloring materials. Let's take a closer look at the main directions and figure out which wall painting technique is the most popular.
Fresco
Fresco means "fresh" in Italian. This technique is based on the fact that wall painting is done on wet plaster. This direction is rightfully considered one of the most ancient. It is performed with water-soluble paints, using wide brushes. The main feature is that the master must work quickly, applying clear strokes.
Alsecco
An alternative technique for dry plaster. It differs from the one described above in that the artist applies paint more accurately. He scrupulously draws every detail, places accents, and if an error occurs, he can correct the defect and continue working further. As in the previous version, the painting is done with water-soluble paint. You should know that the coating, which is applied with the alsecco technique, does not hold up as well as the fresco. Some masters use acrylic finishing materials prepared in advance for a more lasting effect.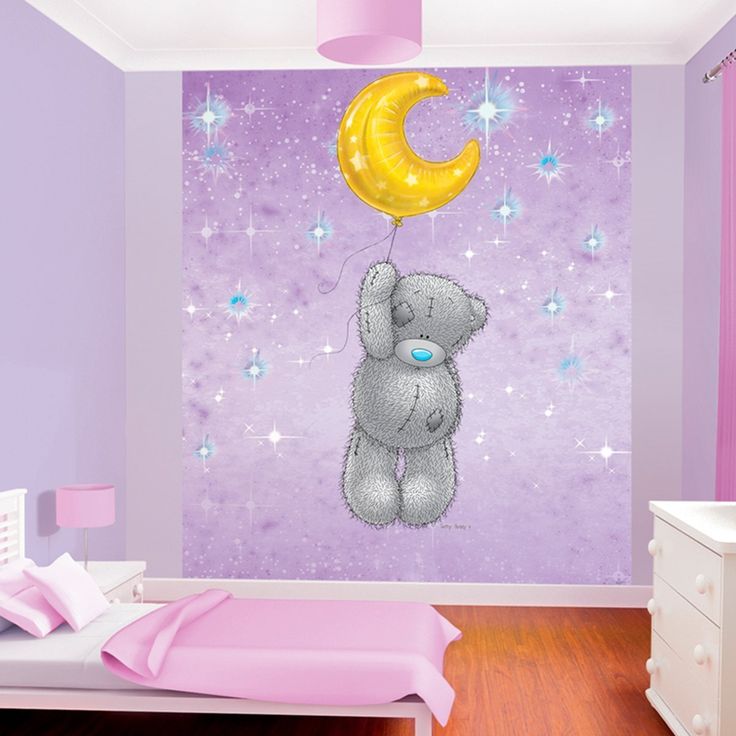 Lime, vegetable glue, egg are added to their composition.
Sgraffito
Scratching is the name of this extraordinary technique in Italian. It lies in the fact that plaster of different colors is applied to the surface in layers. Then a drawing is scratched on the wall. The master must remove the layer to a certain depth in order to obtain the desired color of the image. The last layer of plaster serves as the background for the future drawing. This is the base on which the sketch of the panel is applied. Often templates and stencils are used for this. You need to work very carefully and accurately, since the slightest oversight can reduce all efforts to zero.
The key feature of this technique is the high strength of the image. Therefore, the sgraffito method is still popular in our time, despite the painstaking process of creating masterpieces.
Encaustic
The most extraordinary and original wall painting technique in existence. Its essence lies in the fact that instead of paints, the drawing is applied with liquid wax, colored with colored pigments. The image is covered with dry plaster, using brushes with stiff, non-porous bristles. Some craftsmen pre-coat the fabric with wax paints, and then attach it to the wall.
Three-dimensional graphics
One of the classic interior wall painting techniques. Its main purpose is to create a visual illusion. The beginnings of this method appeared in the Renaissance. A trick technique, or, as it is also called, three-dimensional graphics, appears on the surface by creating perspective images, corrected by light and shadows. A three-dimensional drawing is applied to the wall. Its depth and realism are formed by wax or paints that fall on top.
All of the above methods of decorating walls can be conditionally called artistic painting. It can be made in different styles, using different materials. To perform complex images, it is better to seek help from professionals, and you can try to create primitive graphic drawings yourself.
A few more modern methods
The wall decorating methods described above are used by modern masters, but more and more progressive techniques and materials are being introduced:
- application of decorative plasters;
- modern technology of wall painting with acrylic paints;
- airbrush.
Learn more