Tile countertop ideas kitchen
10 ways to tile countertops |
(Image credit: Mosaic Factory, Bert & May)
While tile countertop ideas are sometimes thought of as passé, we have witnessed a revival in recent years, with those looking for a decorative alternative to classic fitted countertops in stone, composite and wood.
Whether used in a kitchen, bathroom, laundry room or even in an outdoor kitchen, tiled countertops are a great way to bring color, pattern and texture to practical spaces as there are endless designs and configurations. To see if tiles could be the choice for you, we’ve rounded up a selection of tile countertop ideas and some tips from the experts.
Tile countertop ideas
If you’re thinking of installing a tile countertop for a kitchen there are some practical considerations to take into account. While they do not need resealing and maintenance like stone countertops, some tiles can be prone to cracking and will need regular cleaning to keep the grout from staining.
When choosing kitchen countertop ideas in particular it's important to consider materials, explains Harriet Goodacre, tile consultant at Topps Tiles . 'If you’re looking to spruce up your kitchen countertops with tiles then there are a few important things to consider. Firstly, you’re better off choosing a porcelain tile as they’re less porous and generally more hardy than ceramic ones. This makes them the ideal tile to use in an area where you’ll be preparing food and there might be food spillages and splashes.'
1. Create a utilitarian look
(Image credit: Nimtim Architects / Megan Taylor photography )
Set against ply walls, this white tile countertop idea brings a retro, utilitarian look to this urban kitchen addition and creates a playful contrast of materials, with the kitchen tile ideas limited to the countertops only.
'We chose a simple white ceramic tile which would clearly define the kitchen island and countertop and is set against the rich hue of natural ply doors for the kitchen and joinery,' explains Nimi Attanayake founder of Nimtim Architects . 'We wanted a material and color that was simple and uncomplicated – easy to use for all ages.'
While the tile countertop was a design choice, there were practicalities to consider explains Nimi Attanayake. 'Curved D-tiles are used to create spaciousness and allow the surface to seamlessly fold without any corners, for example to form a recessed sink within the island unit. The curved edges also make the space easier to clean and more child-friendly as the kids enjoy running around the island unit.'
2. Bring texture to a rustic kitchen
(Image credit: Image courtesy of Peter Irvine | Instagram @thewhitehome)
If you have a white kitchen then a tiled countertop can be an effective way to introduce texture, as this space proves. Inspired by Spanish interiors and designed to showcase the beauty of individual pieces, this small yet beautiful kitchen is a celebration of texture and materials.
While they are aesthetically pleasing, if you are planning to use tiles on a kitchen countertop care must be taken whilst preparing food explains Harriet Goodacre.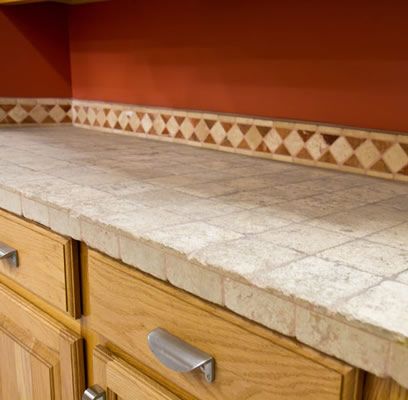
'You shouldn’t place anything hot straight onto the tiles and be careful to avoid dropping anything on them as this could cause chipping or cracking. Once a tile is cracked it will need replacing, so it’s worth keeping a few spare tiles in just to be safe,' she advises. 'It’s also important to make sure you don’t cut or prepare food directly on a tiled worktop. Always use a proper chopping board or plate to ensure good food hygiene.'
In these busier spaces, organizing kitchen countertops well is important to stop them feeling cluttered.
3. Add a color pop to a bathroom
(Image credit: Tile Mountain)
According to our design experts, there’s been a rise in homeowners wishing to bring color into their bathroom. 'There has been a shift away from utilitarian white bathrooms into those with a little more color and personality to them, and we anticipate that this trend will continue well into 2022,' says Emma Joyce, brand manager EMEAA at House of Rohl .
Available in a huge array of designs and colors, glazed bathroom tile ideas are a fabulous way to inject a touch of personality into a room without overpowering a space. However, glazed tiles can easily chip if heavy items are dropped on them, so they are best used on surfaces which do not see a ton of wear and tear such as on a bathroom vanity unit in a cloakroom or guest bathroom.
Just as in a kitchen, organizing a bathroom countertop will help keep this visually busier space looking streamlined.
4. Create a seamless look
(Image credit: Bert & May)
If you have a small bathroom then consider mounting a pedestal sink on a floating tiled bathroom countertop as a space-saving solution. Not only will a floating shelf instantly maximize floorspace, if covered in the same tiles as the rest of the wall, the shelf can blend seamlessly with the rest of the space giving the illusion that the room is larger than it is. If you are planning to use encaustic tiles such as these Luna pink tiles from Bert & May then they will need sealing to be suitable for use in wet areas.
5. Create a Moroccan feel with zellige tiles
(Image credit: Getty Images)
If you're planning to tile a countertop then zellige tiles make a beautiful choice due to their rich surface texture. Clay tiles handcrafted in Morocco, they come in an array of different colors from pearly grays to vibrant turquoise and boast beautiful variations in tone and texture. The handmade process means no one tile is the same, with each displaying differences in size, shine, depth of glazing, so when laid together they create a beautiful textural effect. Used over kitchen countertops, they're a great way to bring a Moroccan feel to a kitchen.
When it comes to installing zellige tiles, 'they are normally laid as closely as possible, but due to variations in flatness and thickness they will always have a little gap,' explains Jerome Miller, tile expert and advisor at Mosaic Factory . 'It's best to use cement-based grout suitable for thin gaps of around 0.5mm to 2mm and to water the grout down slightly. '
'
6. Blend your countertop with your backsplash
(Image credit: Mosaic Factory)
One of the key benefits of tile countertop is being able to match the work surface to your backsplash ideas to create a seamless look.
If using handmade tiles such as zellige tiles, as pictured here, then you need to be prepared for some wear, explains Jerome Miller of Mosaic Factory. 'The variation needs to be factored in; the surface will evolve and there may be chipping,' he says, but this is all part of their natural charm as a handcrafted product.
7. Try small-scale penny tiles
(Image credit: Getty Images)
If you're looking to create texture then why not consider penny tiles? While they can create a pleasing decorative effect, tiny tile does have the drawback of having lots of grout lines which can be at risk of staining and are prone to collecting dirt and crumbs. If you like mosaic countertops then consider using them on a vanity unit under a pedestal sink in a guest bathroom where they will not be in constant use.
8. Bring texture with handmade tiles
(Image credit: Mosaic Factory)
Experimenting with different combinations of surfaces and materials can create unique looks. If you have a kitchen with lots of stainless steel then adding a tile countertop made up of handmade zellige tiles can be a brilliant way to introduce rustic texture and balance the industrial feel.
The key appeal of zellige tiles lies in their organic appearance and natural process of manufacture explains Jerome Miller of Mosaic Factory. 'There's a lot of depth to these tiles and they reflect light well, once the tiles have been installed their appearance and color will vary depending on the light and where you are standing in the room.'
Zellige tiles can also make great laundry room countertop ideas, bring texture and character to these often under-decorated spaces.
9. Tile a countertop in a wet room
(Image credit: Bert & May)
Wet rooms are areas of high humidity and moisture, so it's important to use the right materials for countertops. Provided they are non-porous or sealed, ceramic and encaustic tiles are a good surface solution for a wet room as they are water resistant and easy to wipe clean. To give a wet room a sleek appearance and to help it feel more spacious, try tiling all surfaces, including the countertop, in the same tile.
(Image credit: Mosaic Factory)
Tile can be an eye-catching device to make a feature of a kitchen island countertop – to add drama to a black and white kitchen consider black zellige tiles which have beautiful reflective qualities due to their handcrafted manufacture. Not only will these bring wow factor, they will also inject movement and life into spaces that can sometimes run the risk of looking a little harsh and soulless.
Are tiles good for countertops?
Tiles can be a fabulous way to bring a decorative look to a countertop, offering the chance to create myriad unique looks, but there are some drawbacks. While they can be easily wiped clean, glazed ceramic tiles can crack or chip with heat or impact from heavy items causing them to need replacing; porcelain is a far tougher option.
Tile countertops also have grout lines which can become stained with spills, so it is worth bearing this in mind if you are considering them for a kitchen countertop.
To help prolong the life of your tiled worktop, 'it’s important to use a resin-based grout that is stain repellent and non-absorbent. This is key to ensuring your worktop is protected from marks and stain,' explains Harriet Goodacre. 'You’ll also need to make sure the grout is completely flush and level with the tiles, otherwise you run the risk of food collecting in the ridges where your grout sits, making cleaning them quite difficult.'
It's important to note that surfaces tiled in handcrafted tiles will 'never be completely flush – this is not so much of an issue for countertops but may cause problems for tabletops,' explains Jerome Miller of Mosaic Factory.
What tile is good for countertops?
When it comes to what tile to use for countertops, and in practical spaces such as kitchens and bathrooms, porcelain tiles are often hailed as the best choice as they are hugely durable, stain resistant and easy to clean. ‘A porcelain tile is a great option for bathroom spaces as they require no sealing and most bathroom cleaners can be used to keep them looking their best – a porcelain tile can also be used in conjunction with a epoxy resin grout which ensures the grout lines remain free from discoloration and any dreaded black mould,' says Isabel Fernandez, Director at specialist natural stone company Quorn Stone .
Zellige tiles are also becoming increasingly popular for countertops as a way to embrace the handcrafted look and texture within interiors, plus they are made using an eco-conscious process.
Pippa is Content Editor on Homes & Gardens online contributing to Period Living and Country Homes & Interiors print issues. A graduate of Art History and formerly Style Editor at Period Living, she is passionate about architecture, creating decorating content, interior styling and writing about craft and historic homes. She enjoys searching out beautiful images and the latest trends to share with the Homes & Gardens audience. A keen gardener, when she’s not writing you’ll find her growing flowers on her village allotment for styling projects.
12 Tile Kitchen Countertops That Are Surprisingly Fresh
By
Deirdre Sullivan
Deirdre Sullivan
Deirdre Sullivan is an interior design expert and features writer who specializes in home improvement as well as design. She began her career as an assistant editor at Elle magazine and has more than a decade of experience. Deirdre contributes content for brands including The Spruce and Realtor.com, and has been a featured speaker at various conferences.
Learn more about The Spruce's Editorial Process
Updated on 10/19/21
The Spruce / Christopher Lee Foto
Lately, tile kitchen countertops are starting to look surprisingly modern. Once a kitchen staple throughout the 70s, 80s, and 90s, these days thrifty homeowners see tile as an affordable alternative to more expensive counter materials such as quartz, marble, and granite. Even better, anyone with basic do-it-yourself skills can install some tile. So if you are looking for creative ways to refresh your cooking space without going broke, behold these inspirational tile kitchen countertops.
-
01 of 12
Hexagon Tile Kitchen Countertop Adds Pattern
Seattle Custom CabinetsA retro-flavored cooking space by Seattle Custom Cabinets situated in the Pacific Northwest pairs a hexagon tile countertop with a subway tile backsplash. The winning combination boosts visual interest by adding contrasting patterns to the mostly white kitchen. Over the sink area are two vintage-inspired milk glass pendants lights. The range is a vintage Wedgewood double oven from the 1940s.
-
02 of 12
Modern Square Tile Countertop in White
DTILEDitch those straight lines in your kitchen with curved construction tiles. Doing so will ensure that a floor-to-ceiling tile pattern is not disrupted by sharp angles as shown in this small kitchen by DTILE based in the Netherlands. Even the tiny sink is covered with square tiles. Dove gray grout enhances the modern layout.
-
03 of 12
Handmade Tiles on a Kitchen Island
DHD ArchitectureHandmade square yellow tiles are a lovely rustic touch in this spunky kitchen by New York City-based DHD Architecture. Tiles like these are best suited for countertops that are not subject to heavy-duty wear and tear.
-
04 of 12
Marble Hexagon Tile Countertop
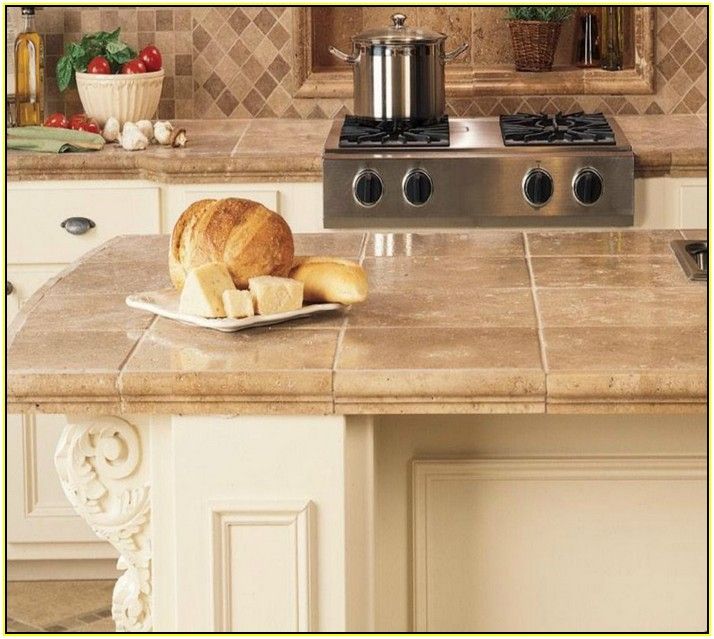
Fantastic FrankA marble hexagon tile countertop makes a stylish first impression in this Swedish kitchen featured on Fantastic Frank. The backsplash is an affordable builder grade ceramic tile.
-
05 of 12
Custom Kitchen Countertop Covered With Baby Blue Tiles
DTILEIt is your kitchen after all, so it is perfectly okay to get mighty creative when tiling your cooking space. This custom kitchen features countertops covered with baby blue tiles. The cubby storage adds even more functionality into this stylish yet practical open concept room. The kitchen is by DTILE situated in the Netherlands.
-
06 of 12
Tile Over a Laminate Countertop Using Marble Floor Tile
Tool Box DivasIt's possible to cover a laminate countertop with some new tile. Here Timisha, the blogger behind Tool Box Divas gets the job done using marble floor tile—ingenious. Her super-smart DIY shares everything you need to know from the best tools to use, and the must-have tiling products for creating a watertight seal.
-
07 of 12
Green Porcelain Tile Kitchen Countertop
Lind Nelson ConstructionPorcelain tile is ideal for hardworking kitchens.
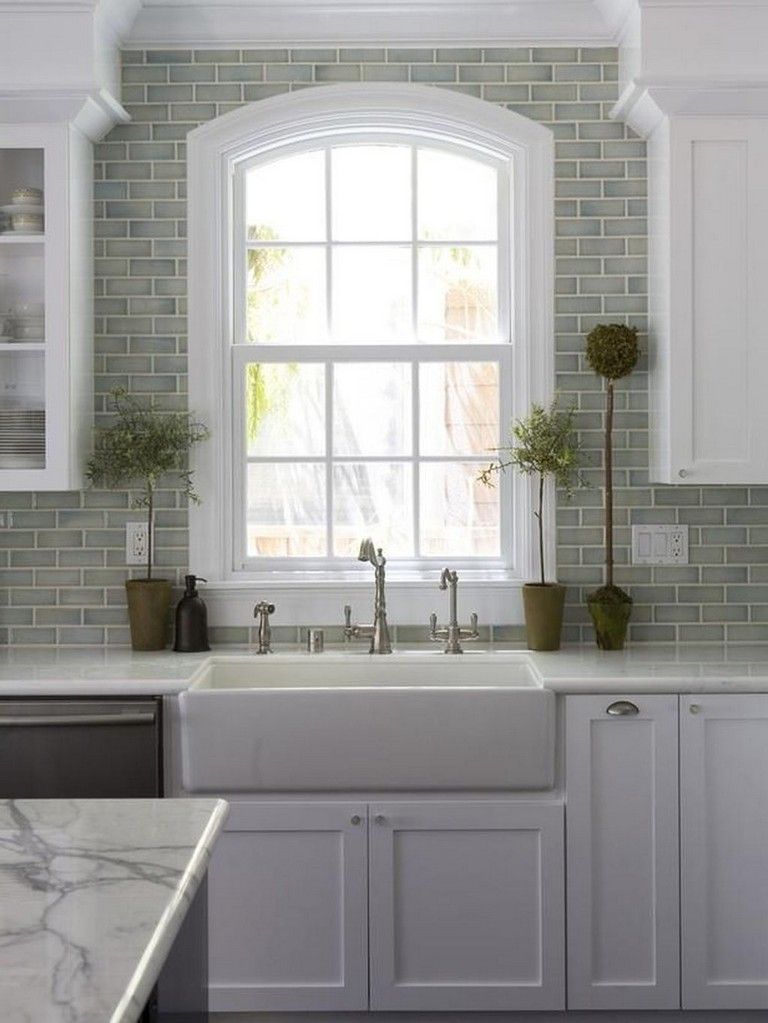 The material is made up of different clays and minerals that when fired forms a very durable surface that is much harder than ceramic. In this traditional cooking space by Lind Nelson Construction out of Wayzata, Minnesota, porcelain tile covers the counters and backsplash. The lovely green tiles coordinate beautifully with the copper over hood and butcher block kitchen island.
 -
08 of 12
Large-Format Tile on Kitchen Countertop
Schluter Systems L.P. / HGTVTiles come in different sizes and shapes. Schluter Systems L.P. located through the U.S., installed large-format tiles in this cooking space featured on HGTV to eliminate the number of grout lines that come with using much smaller options.
-
09 of 12
Gray Tile Kitchen Countertop
DTILEChocolate brown flat front cabinetry and cool gray tiles make this contemporary kitchen by the Dutch company DTILE feel incredibly modern. Both features pop against the crisp, white wall.

-
10 of 12
Handcrafted Tiles Give a Modern Kitchen a Rustic Vibe
clé tile / PinterestThese gorgeous tiles from clé tile on Pinterest are 100 percent handcrafted and hand-cut. They add a rustic European touch to this kitchen countertop.
-
11 of 12
Makeover a Laminate Countertop With Subway Tile
Jenny Steffens HobickHere is another instance of how you can use tile to makeover an old and ugly laminate countertop. The best part? This project from lifestyle blogger Jenny Steffens Hobick costs around $40. Even better, it took a single afternoon to finish the job. If you lack the confidence to get started, she suggests watching a few tiling videos on YouTube.
-
12 of 12
Yellow and White Retro Kitchen
Jackson Design and RemodelingYou may not have guessed that everything in this retro cooking space is brand spanking new. Jackson Design and Remodeling based in San Diego, California went with a tile countertop because it worked with the kitchen's retro theme.
 The yellow range is Big Chill. The checkered floor is Marmoleum.
Countertop in the kitchen, this is the main place of work of the hostess. Therefore, in the manufacture of countertops, it is necessary to take into account such needs as strength, reliability, safety and aesthetic appearance.
Worktop for kitchen in Art Nouveau style.
Contents
- 1 Features of tile worktop
- 2 Benefits of tiling
- 3 Types of tiles
- 3.1 Ceramic variety
- 3.2 Mosaic wealth
- 3.3 Eternal granite
- 3.4 GRAMICE
- 4 How to make it yourself
- 4.1 select material 9000 4.2 Preparation of the base
- 4.3
- 4.6 Required tools and materials
- 9.
 1 See also
Tile worktop features
Finishing the countertop with tiles is a newfangled design solution. Such a surface will last for many years if you approach responsibly the choice of material with which you will finish the countertop. To finish the work surface, stone or ceramic tiles are used. nine0003
Stone kitchen worktop.
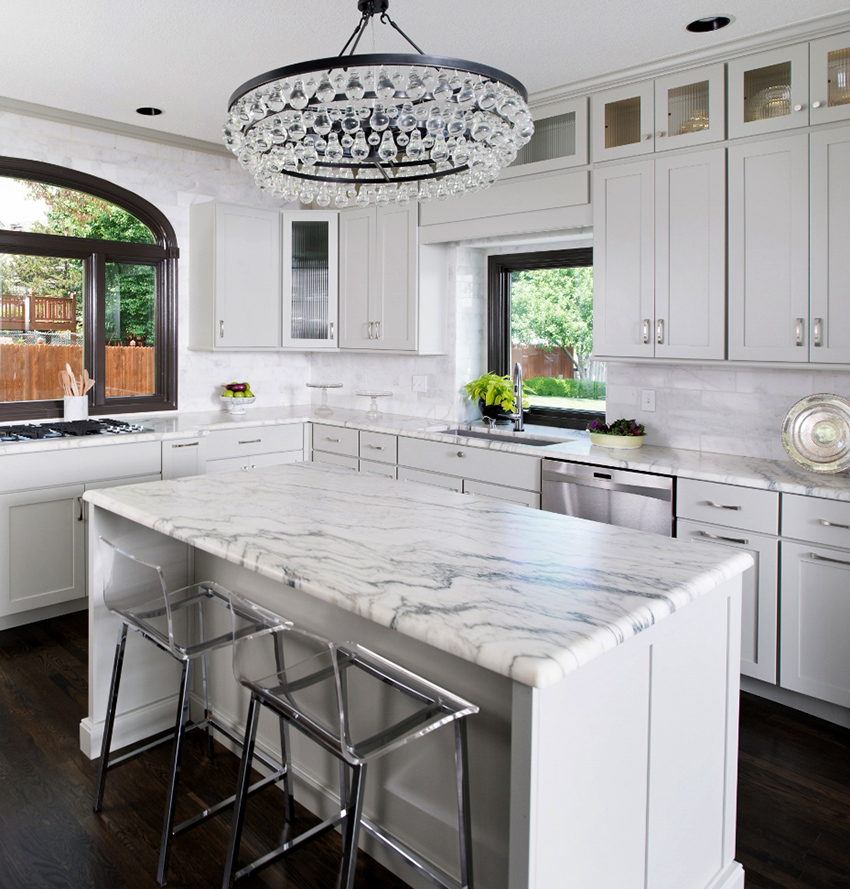
Stone top usually made of marble or granite. Such a surface looks presentable and practical. But most often the work surface in the kitchen is made of ceramic tiles or tiles, these materials are much cheaper. It is better to use tiles in the manufacture of countertops; it has a more convenient porous structure. For lining the kitchen surface, squares with a diameter of 30 × 30 or 46 × 46 are used.
IMPORTANT! The tiles must be laid as close to each other as possible so that the seams can be masked (high-quality grout). nine0003
The most practical material for kitchen worktops is tile.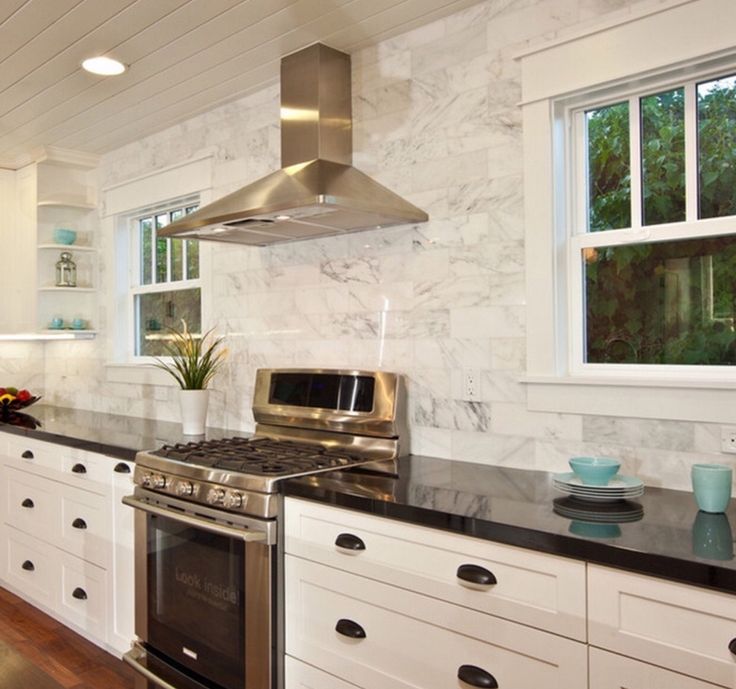
See alsoMaking a do-it-yourself developmental rug for children from 0 to 3 years old with photo
Benefits of tiling
There are several reasons why tile is the best choice for countertops. Firstly, it is its practicality, scratches do not remain on the tile. Secondly - an affordable price, facing the kitchen surface with ceramics will cost less than natural stone or solid wood. Don't skimp on tiles. The quality of the tiles determines how strong and durable the surface of your table will be. Kitchen worktop, tiled, easy to clean, moisture resistant. She calmly tolerates any exposure to acidic or alkaline agents. Also, the tile countertop does not fade. The only drawback is the cleaning of the seams between the tiles. When grouting, you can glue the tiles with masking tape to protect them from contamination. nine0003
Kitchen worktop tiling has a number of advantages.
IMPORTANT! For lining the kitchen apron, you can choose the same tile as for the countertop.
This will create the effect of harmony and a single whole, as well as visually increase the space in the kitchen.
See alsoCreating simple and amazing wood decor with your own hands
Types of tiles
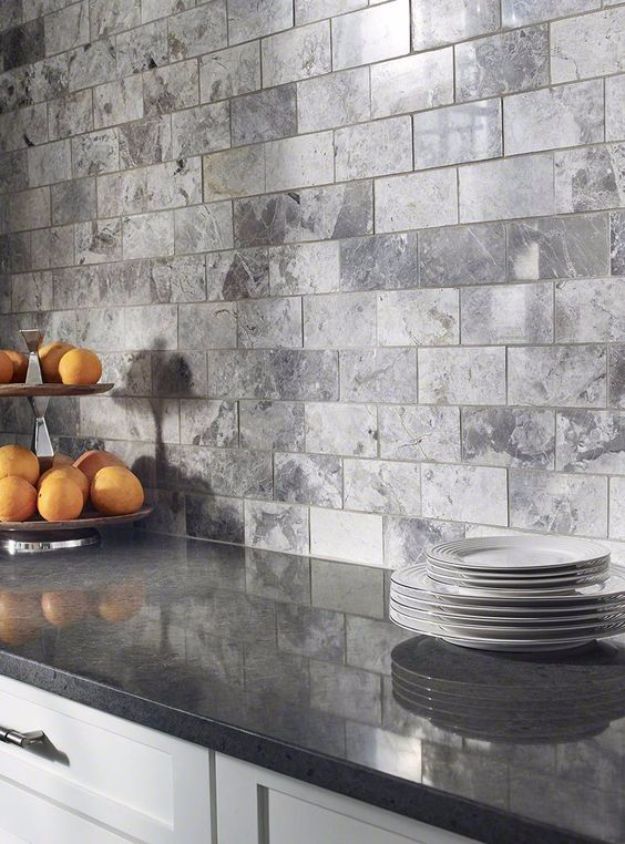
Glazed tiles with protection class 5 should be chosen for facing the kitchen surface. Tiles for the kitchen should not be afraid of grease, hot and cold objects, do not absorb moisture and are easy to clean. There is a great variety of kitchen tiles, consider the most interesting options:
- Brick effect tile. This tile in Italian and Provence style, it will fill the kitchen with warmth and comfort.
- Stone effect tiles. It will decorate the kitchen in the style of Country and Classics, give the kitchen individuality, novelty.
- I simulate leather on a tile. She will fill the kitchen with an atmosphere of chic and glamour. The imitation of snake and crocodile skin looks spectacular.
- Tiles with crystals, painted or hand-decorated.
 These luxurious products are designed for the rich decoration of the kitchen. They will give the interior a uniqueness. nine0010
 - Ornamented tiles. Embody the most colorful and unusual design ideas. Patterns, prints, ornament, drawings, abstraction will decorate the kitchen.
- Mosaic tiles. Gives notes of oriental and Arabic interior. It is very practical, but you need to take it with a margin in order to select a pattern.
- Photo printed tiles. As an image, you can take any picture, photo. Thanks to special technology, the picture from the tile is not erased, does not fade and does not flow down. nine0009 3D tiles. It will add dynamics to the calm interior of the kitchen and make the design as interesting as possible.
- Textured tiles. The trend of the season: a glossy pattern is applied to the matte surface, it looks great and tasteful.
- Figured tiles. The tile is produced in the form of polygons, trapezoid, round shape. Such tiles will turn the walls into a beautiful decoration.
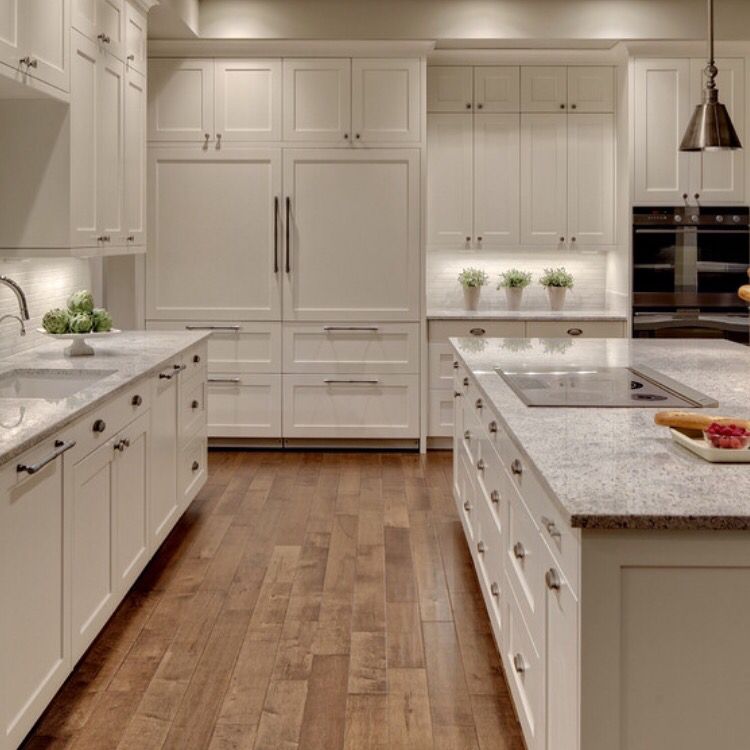
Decorating the kitchen worktop with figured tiles.
IMPORTANT! You can cover the window sill with tiles for the kitchen, thereby increasing the working area. And if you tile the dining table as well, you get an original design solution, original and bright. nine0003
See alsoShells as an interior element
Ceramic variety
For ceramic tiling of countertops, glazed tiles must be selected. Preference should be given to small sizes of 10 × 10 cm - such a surface will look neat and elegant. For the edge and end of the kitchen surface, plastic or metal skirting boards, corners and borders are bought. A variety of colors makes it possible to embody the most daring design solutions. nine0003
Kitchen worktop with ceramic tiles.
IMPORTANT! Buy ceramic tiles with a margin, it can come in handy if over time some of the tiles break or need to be replaced.
See also How to decorate a battery: recommendations from designers and heating engineers
Mosaic richness
Mosaic - tiles of very small sizes up to 2.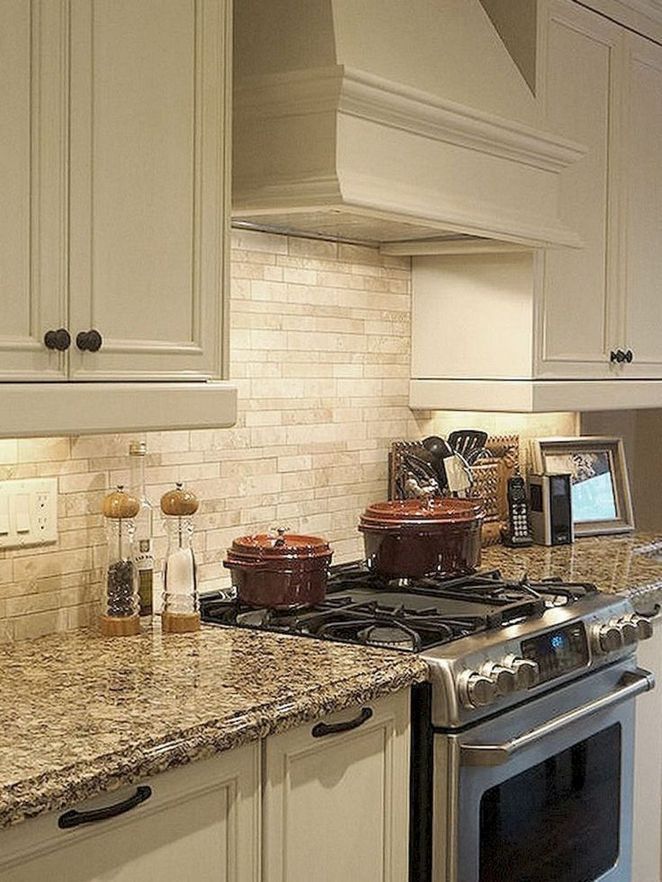 5 cm. Made of porcelain stoneware or marble, malachite or onyx, and other natural stones. Mosaic fragments can be of various shapes. Tabletops decorated with mosaics look perfect and spectacular at the same time. Mediterranean or Moorish styles will look very harmonious. nine0003
Surface tiling with mosaic tiles.
Mosaics for cladding are divided into the following types:
- Glass - the most common type of mosaic, it can be matte, transparent, glass, with different shades and additions;
- Metal mosaic;
- Smalt - the most expensive, but also the most reliable;
- Stone from travertine, marble, lapis lazuli.
There are 3 types of mosaics for countertops. nine0003
Reliability and extraordinary appearance are the qualities of a mosaic. From small tiles, you can add pictures and patterns.
IMPORTANT! A mosaic tabletop has a considerable weight, so when choosing a base, do not forget to take this fact into account.
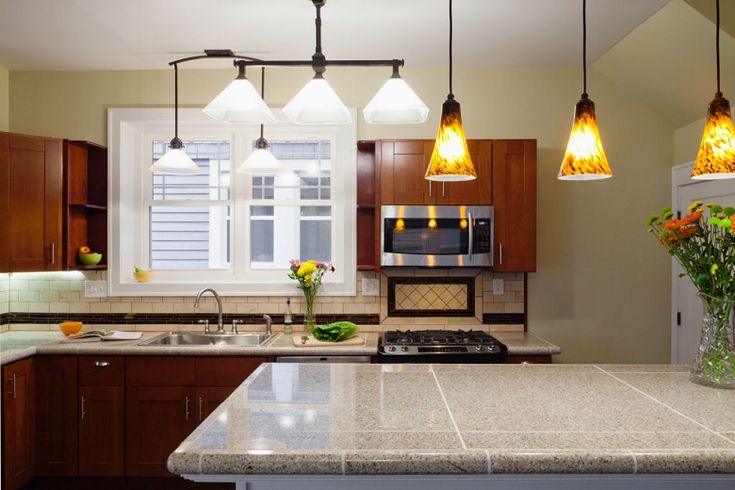
See also How to beautifully decorate a wall with photographs
Eternal granite
Granite countertops are very popular, but quite expensive. Granite has a great advantage over tiles and ceramic tiles. The kitchen surface made of polished granite has excellent water-repellent properties - this will not allow bacteria to accumulate on such a surface. Differs in the increased mechanical durability — only diamond is stronger than granite. This table top will serve you for a very long time. Granite is a beautiful stone with many unique patterns and colors. nine0003
Polished granite kitchen top.
IMPORTANT! If suddenly there are scratches on the granite countertop. They are easy to mask with a special wax pencil. The pencil is applied to the scratch and buffed with a woolen or flannel material.
See alsoHow to decorate an ordinary glass jar with your own hands
Porcelain stoneware
Porcelain stoneware is a mixture of quartz sand, clay, kaolin, feldspar.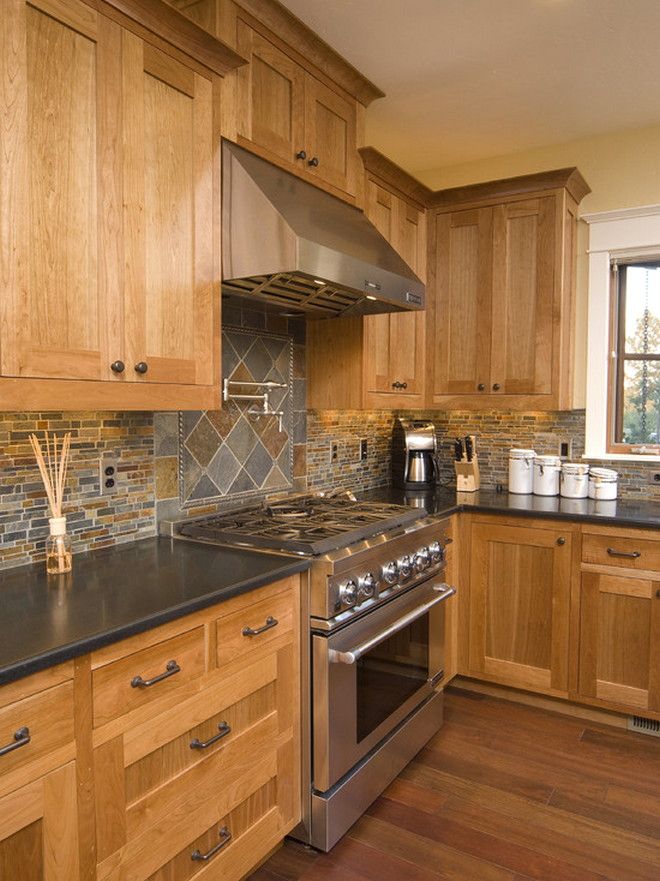 This mixture undergoes heat treatment and high pressure treatment. In appearance, it is difficult to distinguish it from granite. Porcelain stoneware tiles are extremely durable. And it has a number of advantages:
- Porcelain stoneware is much cheaper than stone;
- Increased strength, it is not afraid of sharp objects, it does not leave scratches and chips, it endures all detergents;
- Wear resistance, long surface use;
- Heat resistance, porcelain stoneware is not deformed by temperature changes;
- Increased hygiene, dirt is not absorbed into the countertop, it is enough to wipe it with a cloth to remove it;
- No pores, mold protection of porcelain stoneware worktop; nine0010
- Similar to natural granite;
- Unlimited product length, allows you to make a countertop without joints;
- Variety of color palettes.
Porcelain stoneware top with soundproofing properties.
IMPORTANT! Porcelain stoneware worktop reduces noise levels in the kitchen.
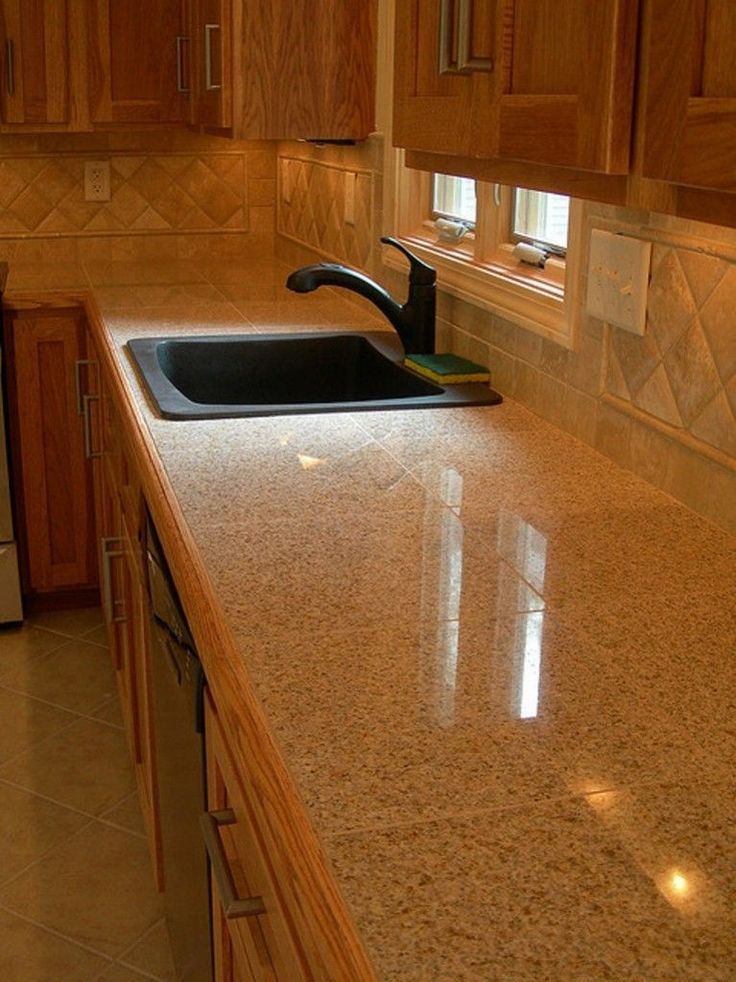
See also How to turn an ordinary mirror into a highlight of the interior
How to do it yourself
You can make a tabletop with your own hands step by step:
- We select materials;
- Foundation preparation;
- Tiling;
- We rub the seams.
Laying a tiled kitchen worktop.
And now we will analyze in detail each of the points.
See alsoIdeas for decorating a room for a 1 year old boy's birthday
Kitchen worktop can be made of tiles with a smooth or embossed surface, experts tend more towards the first type. The mosaic countertop will also look original. nine0003
IMPORTANT! When choosing tiles, you need to consider the size of the kitchen. The smaller the size of the kitchen, the smaller the diameter we take tiles.
When choosing a tile size, the size of the room plays an important role.
See also How to decorate a wall in a room with your own hands: the best decor ideas
Preparing the base
The most suitable material for the tabletop base is FSF or FB softwood plywood. We measure the required dimensions of plywood. So that during use the countertop does not exfoliate from moisture, the plywood is treated with impregnation and waterproofing. So it is necessary to impregnate all the wooden parts involved in the formation of the countertop. nine0003
Plywood is often used for the base of the kitchen worktop.
Then we mount the frame of the tabletop, fasten the frame with the help of side ties to the cabinets. Then fix with screws. We also attract the side walls to the plywood, connecting them with metal corners for self-tapping screws.
A waterproof PVA glue or carpentry glue for wood is applied to a thoroughly reinforced frame. And we lay the second layer of plywood on top and fix it with self-tapping screws. We have self-tapping screws at a distance of 10-15 cm around the entire perimeter. We attach plywood with a diameter of 4 cm to the edges.
Waterproof adhesive is used for tiling.
With the second layer we make notches 6 cm long. A paint mesh is applied on top of the notches, we stretch it well over the edges of the plywood and fix it with a stapler.
The final stage will be the application of liquid glass and the coating of the structure with waterproofing. You can start laying tiles.
See alsoHow to decorate a wardrobe with your own hands?
Tiling
To avoid distortions, it is necessary to make markings and apply a cement layer that will connect the tile to the base. We mark two points along the edges in the middle and connect them with a line. We get the center line of the countertop. In the same way, we mark the center in width. As a result, we get two perpendicular lines, and they will be our guideline for facing the countertop. nine0003
We breed glue. For reliability, a little primer can be added to the glue (approximate ratio 1/3).
Distribution of adhesive for laying tiles.
Start tiling on the side that will be visible. You can start from the outside of the countertop. With a notched trowel, apply a layer of glue to the cement base. We lay the first tile on the corner of the tabletop, lay out the first row, always observing an angle of 90 °, checking the outer and horizontal lines with a level. The tile should converge with the markings made earlier. nine0003
Adjusting the tiles under the sink, you can allow an error of half a centimeter. The main thing is that the sink is fully supported on the lined surface.
IMPORTANT! The tile is easily cut with a lever tile cutter, therefore, to facilitate work when sawing tiles under a sink or refrigerator, you can make blanks from cardboard and subsequently mark them.
To facilitate the work when laying the first row, we will also lay out the end cladding. nine0003
Start laying tiles from the middle of the worktop.
Next, lay the tiles in rows, do not forget to insert crosses into the seams and remove excess glue. Be sure to control the plane with a level.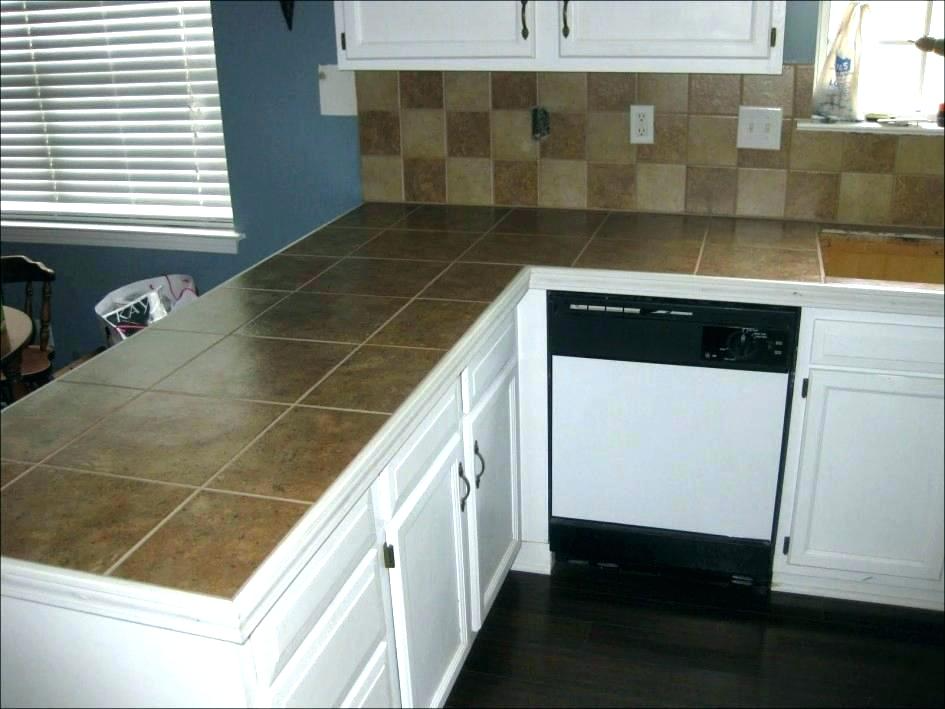
When the tiling of the countertop is finished, you can begin to close the end of the countertop.
IMPORTANT! Lay the tiles as close to each other as possible.
Laying starts from the center of the worktop.
See alsoMake a treadmill with your own hands
How to close the end of the worktop
We attach slats to the bottom of the tabletop, they will serve as a support for the facing of the tabletop. From the end side we fix the angular outer profile. Carefully primed with a layer of cement, waiting for drying.
When tiling, the first layer of tiles must be laid with a projection to the thickness of the tile. After that, the tiles are cut and glued to the end of the countertop. The trimmed tile or decorative border is glued at a right angle. And the underside of the trim is masked in profile. nine0003
The edge of the worktop can be covered with tiles or a decorative border.
When the end facing work is completed, the tile has dried out a little, you can start grouting the joints.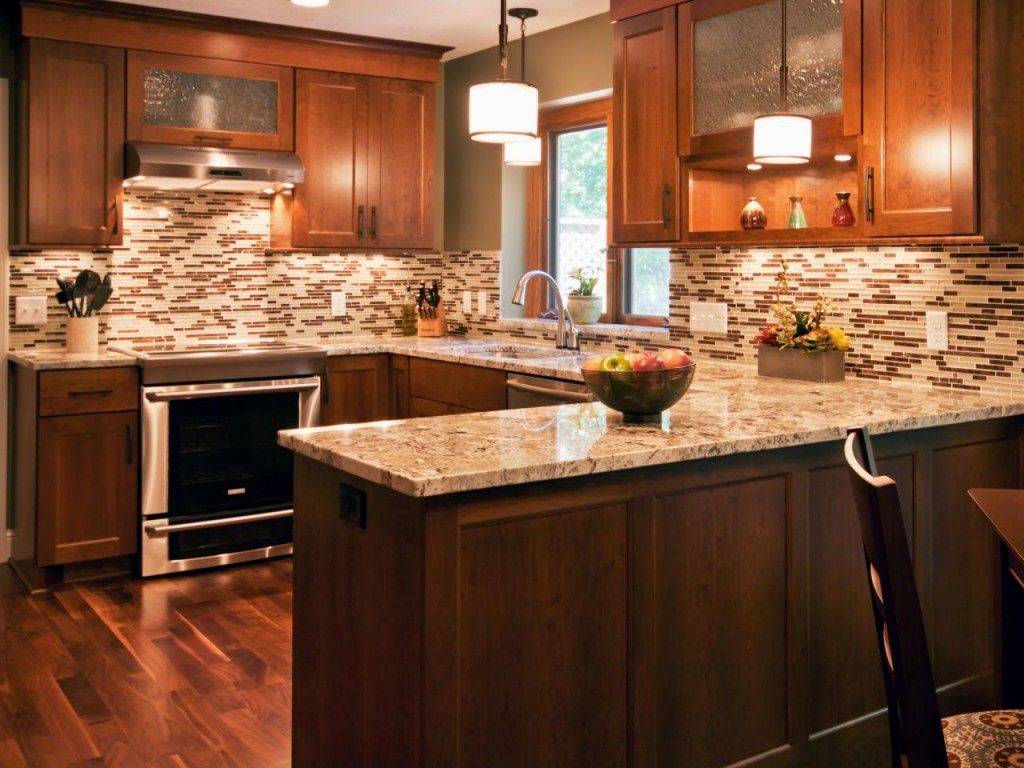
There are three types of table top end closure:
- so that the edge of the tile overhangs;
- so that the edge of the tile protrudes;
- The most difficult option (usually trusted to the master) is closing the end at an angle of 45 degrees.
There are several ways to cover the end of a worktop with tiles. nine0003
Grout
When the countertop is tiled, it is important to grout the joints correctly. For work we need: grout, foam sponge, wooden sticks, rubber spatula, mixer. When choosing a grout, you need to pay attention to the recommended joint width. This work takes place in several stages:
- We remove the remains of tile adhesive, you need to use a foam sponge or wooden sticks so as not to damage the countertop.
- We clean the slab from cement residues. nine0010
- We prepare the grout according to the instructions on the package. Remember to prepare the grout in small portions. She dries quickly.
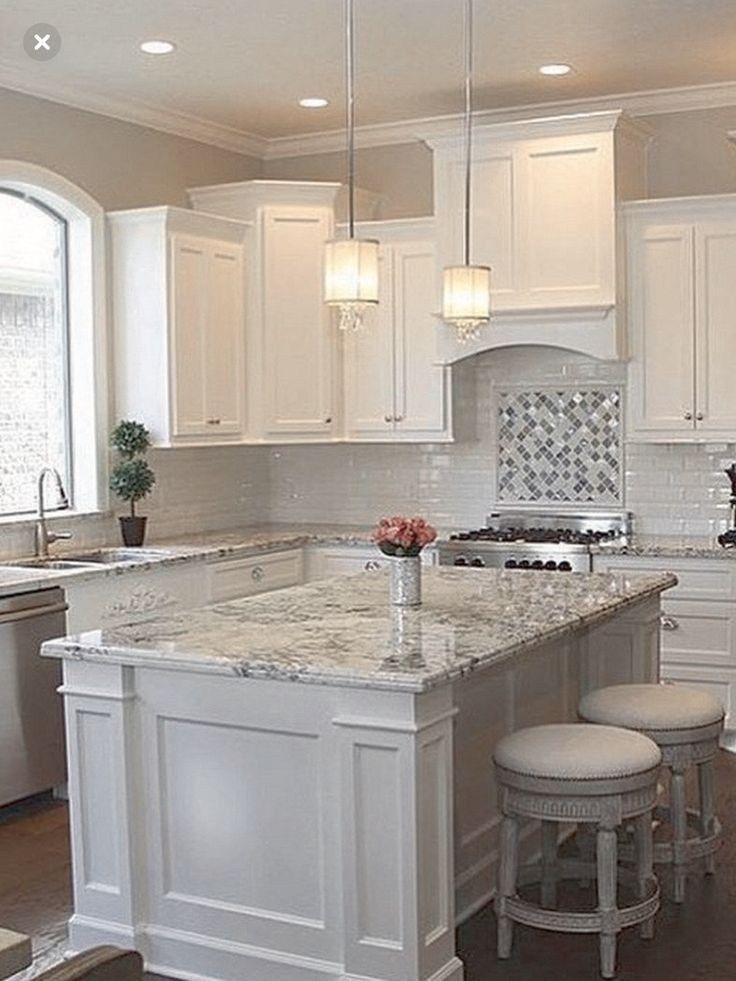
- With a ready-made solution (it should look like very thick sour cream) with a rubber spatula fill all the cracks without gaps
- After drying, wipe the tiles with a sponge, moistening it frequently with water.
Grouting with a special trowel.
Tile top ready to use.
IMPORTANT! For kitchen countertops, it is necessary to choose grouts based on epoxy resin. They are resistant to chemicals and acids, as well as temperature extremes. nine0003
Required tools and materials
We take three cabinets as the basis for the table top (sink cabinet, cabinet with drawers, two-door cabinet) with a size of 1600 × 560 cm.
For the base of the table top we take two sheets of FSF or FB softwood plywood.
FSF - plywood glued with phenolic resin. FB - bakelite plywood, it is impregnated with bakelite varnish (this plywood can be used in a hot and humid room).
We also need:
- coal-fired tile grinder for dry cutting;
- spatula - for turning cut tiles;
- spatula - 60 cm and 12 cm;
- high strength tile adhesive;
- level;
- crosses for tiles 3 cm;
- silicone sealant;
- wood preservative;
- latex or primer;
- wood glue;
- electric drill;
- oilcloth, old cleaning rags; nine0010
- felt-tip pen, pencil;
- liquid glass and waterproofing compound;
- stainless steel screws - 3.
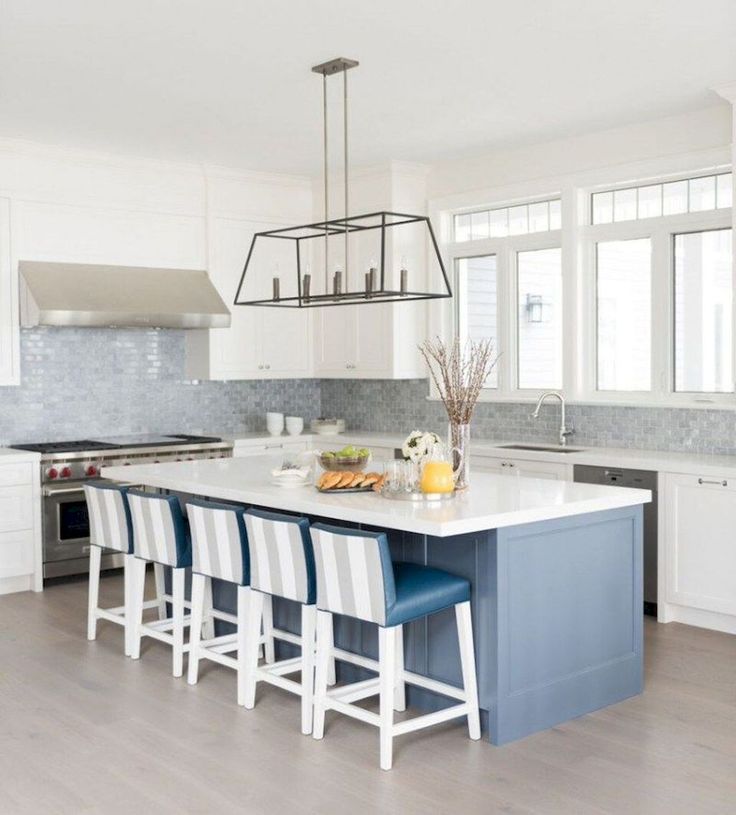 5 -3.8 cm - 400 pcs.;
 - jigsaw;
- mixer;
- wood drill;
- mortar bucket.
Tile laying tools.
Choice of tiles for countertops
There are three criteria to consider when choosing a tile for your countertop.
- The appearance of the top layer. For the kitchen, it is necessary to select tiles with the most even front side. Dirt will constantly get into porous varieties of tiles, and mirror surfaces require frequent cleaning. nine0010
- The material must be as durable as possible, because the worktop is a work surface with intensive use. The best option is porcelain stoneware tiles, they withstand temperature fluctuations, mechanical damage, and do not let moisture through.
- The parameters depend directly on the size of the work surface. For cladding, you can take tiles of various sizes, ranging from mosaic to your fantasies. It is important to remember that the tiles must be chosen so that there is less waste in the process.
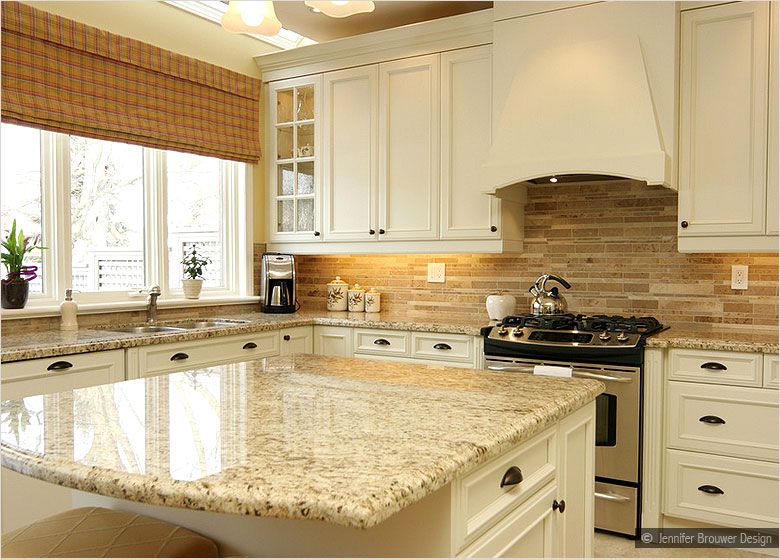 nine0010
For countertops, you need to choose a tile with the maximum even surface.
Examples of interesting solutions
An excellent option, finishing the kitchen with tiles. The tile is very easy to care for, it is easy to clean, resistant to external factors and looks presentable. Consider the most interesting design solutions.
Mosaics or small tiles are suitable for small kitchens.
A bright kitchen is a housewife's dream. Tiles can be matched with the walls, in the same tone with the furniture. Walls, countertops, kitchen facades can be in one tone. nine0003
For wall cladding above the working area, you can use more interesting shades, then the color of the tabletop will echo the tone of the backsplash and you will get a gentle play of color.
When choosing the size and tone of the tiles, do not forget to take into account the dimensions of the kitchen. Light colors will make the kitchen look larger, and catchy colors look stylish.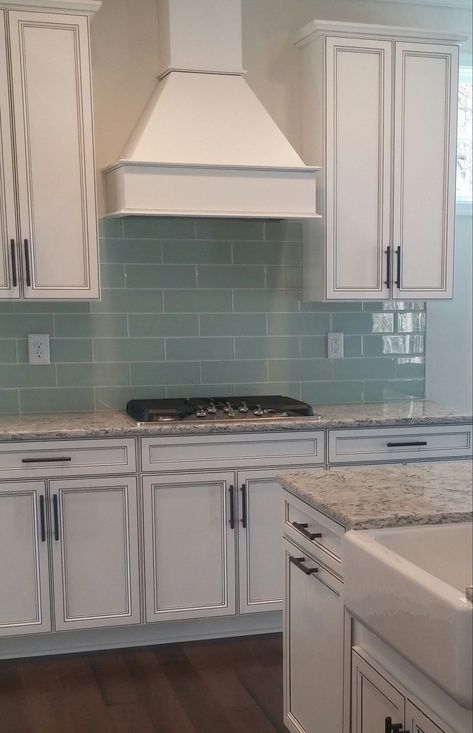
An excellent design solution is to add glass tiles to the interior.
The glass top will go well with any design. nine0003
There are a great variety of stone and stone imitation tiles on the market, you can also find wood and metal imitation tiles.
Tiles can be not only different sizes and colors, but also textured or smooth, glossy or mirror.
When choosing the color of the tiles, do not forget to take into account the degree of lighting in the kitchen.
The tile fits perfectly into the Loft style, the tile can be used in any design direction.
For a loft-style kitchen, a tile worktop is an excellent solution. nine0003
Some care tips
Artificial stone countertop does not need special care, but some recommendations are still worth following. It is enough to treat the surface of the countertop made of natural or artificial stone once a year with a special impregnation. This impregnation prevents the penetration of moisture, prolonging its service life. The joints of the tiles must be periodically covered with sealant.
The stone top must be sealed once a year. Use special coasters for cold and hot. You should not cut food on the countertop, for this you need to use cutting boards. Natural stone surfaces need occasional polishing. The tiled tabletop does not need special care, washing with warm water and soap is enough
DIY tile kitchen worktop
50 photo-ideas of tile countertops
How to make a tile worktop for the kitchen with your own hands
Changing the kitchen worktop to tile on your own
Choice of material: tile or porcelain stoneware?
DIY worktop: step-by-step instructions
- Tools for work
- Preparing the base
- Base finishing
- Tiling
- End cap
- Grouting
- Installing the hob and sink
Do-it-yourself tile worktop is an excellent solution for rooms with aggressive environments, that is, for kitchens and bathrooms.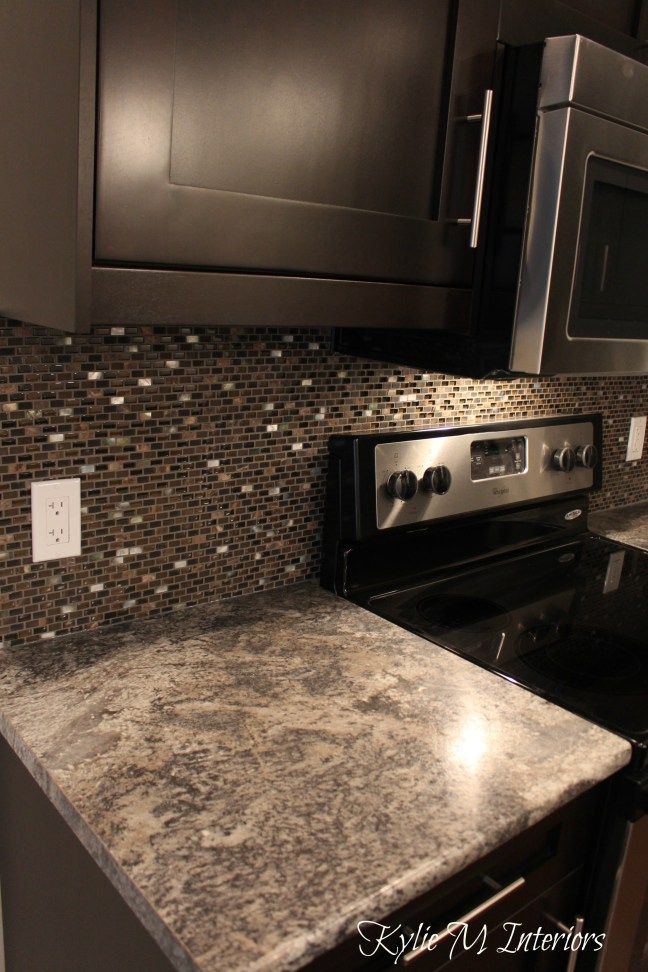 High humidity, constant exposure to water, temperature changes and hot steam - not all materials are able to withstand such conditions. Tiles can. The main thing is to make the right choice.
The first thing to decide is the material from which the table surface will be made. Today, manufacturers offer two options: ceramic or tile and porcelain tiles. nine0003
They have the same composition: granite, feldspar, kaolin and illite clay. The main difference is in the production process. Porcelain stoneware is pressed under high pressure and fired at a temperature of about 1300 degrees versus 900 - 1200 degrees of firing ceramics. This results in much fewer pores in the material. And this directly affects the water resistance, wear resistance and light sensitivity of the final product.
- Porcelain stoneware absorbs about 0.05% of water, while ceramics absorb about 10-20%. nine0010
- It is comparable in strength to natural stone. But it's still not worth the risk: do not beat the meat on the surface of the table, use a board for this.
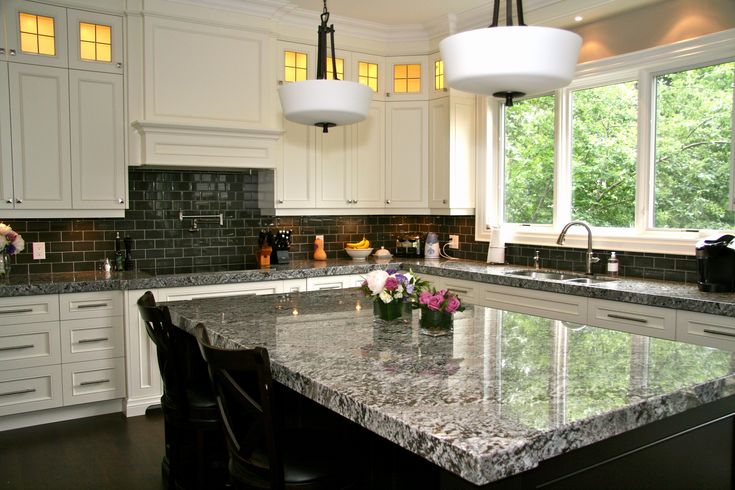
- Tile countertops may fade if exposed to constant sunlight. This is due to the fact that the glaze pattern is applied to the surface of the material. In the production of porcelain stoneware, coloring pigments are added to the main clay mass, as a result, it turns out to be of a uniform color throughout the entire thickness. nine0010
- Porcelain stoneware is resistant to alkaline and acidic agents, it can be cleaned with any detergent and rubbed even with a hard sponge.
- Texture plays a role in cleaning: textured surfaces are harder to care for.
- When choosing a material, do not forget about the border. It will add decorativeness and facilitate the design of the end part of the headset. It can be made from the main array or from a tile of a different design. Another option is a wooden or aluminum profile. nine0010
- If an apron is provided or already available, pay attention to color compatibility and harmony of styles.
Consider the size of the room when choosing tiles.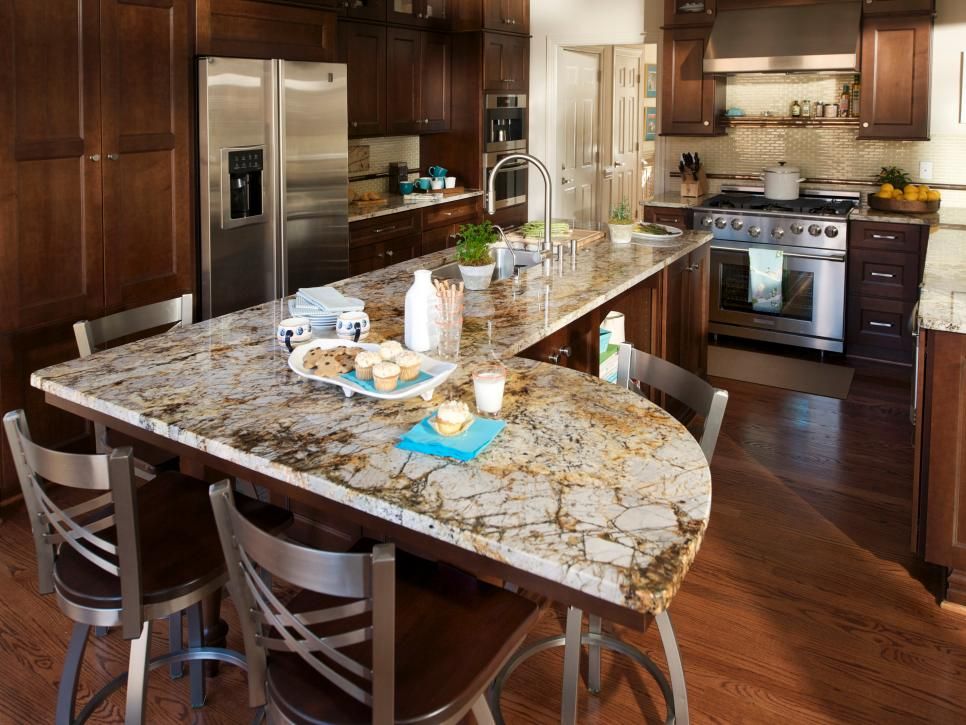 Large briquettes with a side of 30 cm will look organic in a spacious kitchen. If the area is small, 10x10 cm or 15x15 cm will do. An option for the most daring and kitchens in a modern style is a tile with a side of 60 cm.
You will need:
- Epoxy tile adhesive, notched trowel
- Grout, rubber spatula
- Water Repellent Clear Primer nine0010
- When calculating the dimensions of the table top, please note that it should extend beyond the edges of the cabinets: 1 cm from the front and 2 cm from the sides. Its standard width is 60 cm.
- It is very important to estimate the final height of the headset, especially if the stove is not a hob, but stands separately.
 Does it have height adjustable legs? Is it possible to align them?
 - Next, the spaces for the sink and the panel, if any, are calculated. Holes are carefully cut with a jigsaw. nine0010
- Before assembly, all wood materials are additionally impregnated with a waterproofing compound and dried. Cutouts are processed more carefully, several times.
- If you are dealing with plywood, the first layer is attached to the cabinets with stainless steel screws, the optimal length of which is 38 mm. Hats must be completely immersed and treated with putty. The second sheet is glued to the first with wood glue or moisture-resistant PVA. At the edges, the layers are fastened with self-tapping screws at a distance of 15 - 20 cm.
- In the event that the length of the plywood sheets was not enough for the entire set, try to overlap them so that the joints do not match. Between themselves, the halves are fastened with side ties.
- Frame made of chipboard board is mounted on self-tapping screws with a step of 10 - 15 cm.

- Draw vertical and horizontal lines through the center of the web. The layout can start from it, if there are cutouts - from them or from the most prominent corner.
- Partial rows with cut tiles are best placed in the top row against the wall.
- The best option for fixing porcelain stoneware to the base is epoxy tile adhesive. It is applied with a notched trowel on the base; it is not necessary to spread it on the briquettes. nine0010
- Breed it in small quantities, especially if you have little building experience. The glue sets easily, so that at a low pace of work it quickly loses its properties.
- After installation, each tile is lightly pressed against the surface. The space between adjacent ones is indicated by a dividing cross. The width of the seam is selected depending on the size of the product, as a rule, it varies in the range from 1.5 mm to 4 mm.
- You can control the uniformity and quality of laying using the building level.
 nine0010
 - With cut-offs. In this case, the products in the extreme row of the table top are installed at a distance of about 10 mm from the edge. So that the butt overlaps their height. So the corner will turn out neat, without protrusions. nine0010
- Purchase a porcelain stoneware border or furniture profile. The installation principle is the same - you need to block the height of the base.
- Apply the substance with a rubber spatula at an angle of 30 degrees, moving diagonally. The excess is immediately removed with a sponge.
- Which grout to choose: contrasting or matching the color of the tiles - it's up to you. Remember that light joints will darken quite quickly during operation. However, any seams require periodic updating. nine0010
Instagram @aksenov_country
Instagram @aksenov_country
Instagram @aksenov_country
Base treatment
In order for the do-it-yourself tile table top to be moisture resistant, it is treated with waterproofing agents. Silicone or acrylic sealant is applied to existing joints and cuts. nine0003
10 mm gypsum-fiber sheets or cement-bonded particle board are used as a substrate for cladding if the thickness is insufficient. They are fixed on tile adhesive, which is distributed over the surface of the base with a notched trowel. However, this is not necessary, proceed from the thickness of the cover. Do not make the structure heavier and make it higher than 4 cm.
The key point before facing is to treat the base with a moisture-proof primer.
The video below shows the process of one of the possible installation options:
Laying tiles
Before gluing porcelain stoneware, lay it out and figure out how the rows will be laid out.
Instagram @aksenov_country
Instagram @aksenov_country
Instagram @aksenov_country
End cladding
To make a porcelain tile worktop look truly professional, you need to carefully process the end parts. There are two options for their design.
Attach materials to the curb with the same epoxy adhesive or liquid nails.
Instagram @sergikdobryak
Instagram @shopceramic
Instagram @ingataranova
Grouting
Residues of glue should be removed immediately after finishing work with it. When it hardens, it will be more difficult to do this. nine0003
The adhesive dries completely, depending on the manufacturer, in 1 to 3 days. After that, you can start grouting the seams. Ordinary grout in this case is not suitable, it will quickly deteriorate. It is better to purchase based on epoxy resin.
After the grout has dried, the joints can be treated with a water-repellent primer. Do not be too lazy to do this twice with an interval of a day.
The seam between the wall and the table is sealed with a silicone based sealer.
a photo
Instagram @ceramomaestro
Instagram @grandkerama
Instagram @grandkerama
Instagram @grandkerama
Instagram @grandkerama
Instagram @acrystal_eng
Installing the hob and sink
As above, all cuts must be treated with a water repellent.