Sanding textured paint
How to Remove Texture from Walls
Swap orange peel or popcorn walls for something smooth and modern
Get quotes from up to 3 pros!
Enter a zip below and get matched to top-rated pros near you.
You’ve moved into your dream home, but you’re not ecstatic about the faux stucco paint that adorns the walls or popcorn ceilings. Let’s be honest, there are many types of wall textures—and you either love it or hate it. Luckily, you can achieve a smooth, modern surface if you’re not down with texture. This guide will show you how to remove texture from walls, whether it’s painted-on or combed right into the drywall compound.
Why Should I Smooth My Textured Walls?
Textured walls are a great way to hide imperfections left over by drywall installation, but many homeowners feel like it’s an outdated look. And while the textured walls of 2022 are a far cry from the popcorn ceilings and faux-stucco of our grandmother’s homes, if you want a more modern look or you want to install wallpaper, it’s time to smooth out your walls.
Cost to Remove Texture from Walls
The typical homeowner spends $1.10 to $1.30 per square foot on the cost of skim-coating drywall. This process is used to smooth textured walls. The cost of removing a popcorn ceiling is about the same at $1 to $2 per square foot, as long as there isn’t asbestos. If you’re going the DIY route, you can smooth textured walls for the cost of materials.
How to Prep for Wall Texture Removal
Before you start this project, you need to do some careful planning. There are two main ways to smooth out the look of your textured walls. You can either scrape off the texture (if your walls aren’t painted) or cover it up (if your walls are painted). These processes are slightly different, so you’ll need to make sure you have the right materials. Here’s how to prep for wall texture removal.
1. Watch Out for Asbestos and Lead Paint
If your home was built before the 1980s, the textured paint on your walls could contain asbestos or lead. Asbestos was particularly common in old popcorn ceilings. Both spray-on asbestos and lead-based paint were banned in 1978. If you’re not entirely sure what kind of paint you’re dealing with, it’s best to hire an asbestos testing company near you and/or have lead clearance testing.
2. Protect the Area (Including Your Furniture)
This project makes a mess, no matter the method. You’re either looking at drips of joint compound or a lot of drywall and paint dust. To protect your room:
Put canvas drop cloths on the floor
Remove baseboards (if using joint compound)
Apply painter’s tape around windows and trim
Cover furniture with tarps or move it out of the room entirely
Tape plastic over vents to prevent dust from moving through your house
3. Put On Safety Gear
Essential safety gear includes goggles, a dust mask, and gloves—emphasis on the dust mask because this project creates a lot of dust. If you’re dealing with lead paint, you should hire a local lead paint removal expert for safety reasons. But if you insist on doing the job yourself, you still need to take extra precautions. At the bare minimum, wear a HEPA respirator, a hair covering, and disposable coveralls.
How to Remove Texture From Walls
The process of wall texture removal depends on your specific wall. If it’s not painted, you can scrape off the texture by softening it with water. Unfortunately, this won’t work well on painted walls because paint acts as a sealant. The water can’t effectively penetrate. In this case, you can cover up the texture using a layer of joint compound known as a skim coat. Here’s what you need to do.
Method 1: Scrape the Texture Off Your Walls
You can try to sand off paint and saturate your wall with water, but the soak-and-scrape method is most effective when used on walls that have never been painted. Follow these steps to scrape the texture right off your walls.![]()
1. Gather Your Tools and Supplies
For this project, you’ll need a:
2. Saturate Your Walls With Water
Use a pump sprayer or spray bottle filled with water to evenly saturate the drywall. You may have to spray the wall a couple of times and wait a few minutes for it to soak in. Test the softness with your finger. If the texture feels pliable, move to the next step.
3. Scrape With a Drywall Taping Knife
Once water saturates each section of wall, begin scraping away the textured paint with your drywall taping knife. Make sure you hold the end of the knife at a 30-degree angle against the wall to avoid damaging the underlying drywall. Start with smaller sections of two to four square feet. As you move along, you’ll be able to work faster and with larger sections of wall.
4. Repeat the Process as Needed
If the knife meets resistance, stop; spray that area again and wait until the texture softens sufficiently. Continue soaking and scraping until the texture is removed. If there’s a tiny bit of texture left, don’t fret. You can remove it with sanding.
5. Once Dry, Sand the Wall
Allow the wall to dry, then gently sand the area to ensure your wall is completely smooth. This should get rid of any texture that you might have missed.
Method 2: Apply a Skim Coat on Textured Walls
If your textured wall is painted, the best course of action is to smooth it out by covering the texture in joint compound. This is known as a skim coat. Follow these steps to skim coat textured walls.
1. Gather Tools and Supplies
For this method, you’ll need:
Joint compound (also known as drywall compound)
A drill with paddle bit
Cleaning cloths or paper towels
A thick nap paint roller and pan
A 10-inch drywall taping knife
A drywall mud tray
A hand sander
2. Lightly Sand Glossy Paint
Joint compound won’t adhere as well to high gloss paint. If your wall is glossy, lightly sand the paint to create some texture for adequate grip. After sanding, clean the wall with some damp rags or paper towels.
3. Mix the Joint Compound
In order for this method to work, your joint compound needs to be the consistency of pancake batter. Mix the joint compound using a drill with a paddle bit until you achieve the desired texture.
4. Roll the Joint Compound on the Wall
Pour the joint compound into a paint pan, then roll it on the wall using your thick-nap roller. The thicker the nap, the better to cover deep textures. Be forewarned: you will make a mess, but that’s what the dropcloth is for.
5. Skim the Compound
Take your drywall taping knife and lightly skim the wall to remove the excess compound. The idea is to create a smooth surface over the texture. For less mess, scrape the compound into a drywall mud pan.
6. Keep Things Wet
It’s difficult to smooth out joint compound once dry and wet parts start mixing together. Make sure you don’t skim wet compound over dried areas or it will set prematurely. Do small sections (about two feet) at a time.
7. Dry and Repeat (Optional)
If your wall has a really deep texture, you might need to add a second skim coat. Let your joint compound completely dry, which takes 24 to 48 hours, before applying the second coat of joint compound.
8. Sand Textured Walls
Use a hand sander to lightly sand the joint compound and smooth out any remaining texture on the surface of the wall.
Tips to Removing Texture From Your Walls
Want this DIY to go smoothly—literally? It takes some trial and error, but these tips will help.
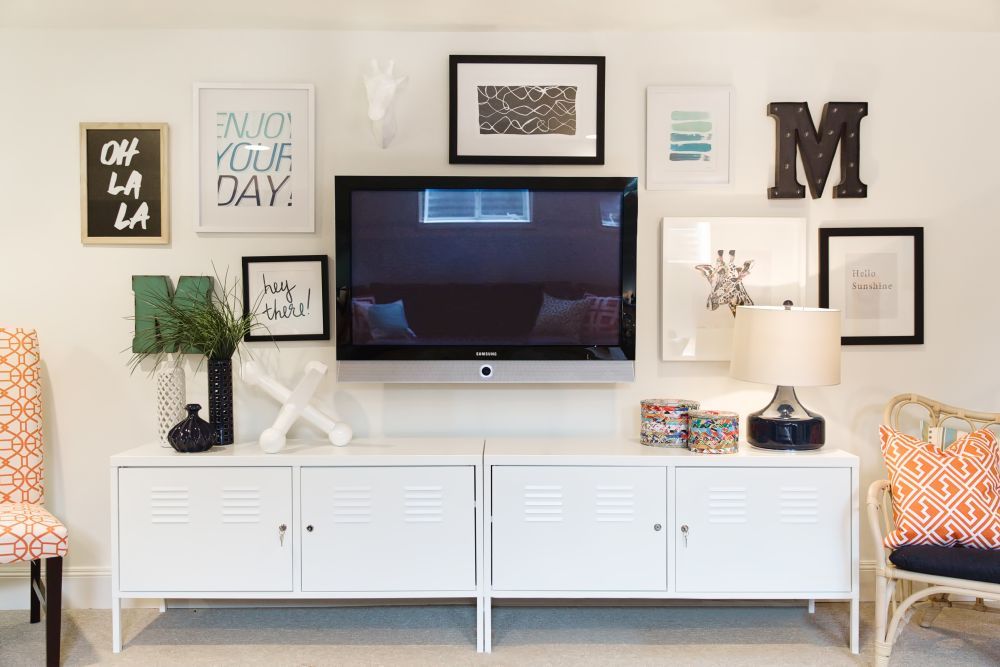
Photo: Piotr / Adobe Stock
Skip Chemical Paint Removers
It might seem like the best option to use a chemical paint remover, but these products may be worse for your walls than resurfacing them. Chemical paint removers can be health hazards if you don’t use them properly. Coming into contact with or inhaling paint strippers can cause headaches, dizziness, and nausea. Serious health risks include cancer, organ damage, and even death.
Catch Imperfections With a Bright Light
You may think your walls are smooth, only to find imperfections in different lighting. Shining a light on the walls at different angles will help create shadows on any bumps that you may have missed. Once the walls look good under a harsh, bright light, they’ll look even better in natural or dim lighting.
Use the Right Sandpaper
The trick to removing textured paint on walls is to use the proper grit of sandpaper. Too fine of grit, and you’ll have little luck sanding away the textured coat. Too rough of sandpaper, and you could damage the wall and leave uneven spots.
For drywall, use 120- to 150-grit sandpaper.
For rough textures, like stucco or Venetian plaster, use 60- to 80-grit sandpaper.
Even for rough textures, start with the 60- to 80-grit sandpaper, but finish the job with a finer sandpaper to avoid damage.

Use 120- to 150-grit sandpaper if you’ve first sprayed and scraped away the wall. The sandpaper will help smooth out the surface before you add a new coat of paint.
DIY vs Hiring a Pro to Smooth Your Walls
Wall texture removal is a messy job and skim coating takes a certain amount of trial and error, but handy homeowners can roll up their sleeves and do this project DIY as long as they have the patience. You’ll save significantly by eliminating labor costs, but there are still some cases where you might want to hire a local drywall contractor.
If you have an older home that’s potentially contaminated with asbestos or lead paint, you should hire someone to remove popcorn ceilings and textured walls. This project creates a lot of dust, and there’s a lot of potential for inhalation if you’re not properly protected. Asbestos exposure is linked to serious health complications like lung cancer and mesothelioma, while lead paint can cause kidney and brain damage if inhaled. It’s best to play it safe when it comes to your health.
Frequently Asked Questions
The easiest way to remove texture from walls is the soak-and-scrape method. You’ll need to spray a section of the wall with water, let the water soak in and soften the texture, then scrape the texture off using a drywall taping knife. This method works best with unpainted walls, since paint prevents water from saturating the textured joint compound.
If you want to remove texture from painted walls, you’ll need to apply a skim coat. A skim coat is a thin layer of drywall compound. In other words, you’re covering the texture rather than totally removing it. As an alternative, you can try to sand off the paint, but it’s not as effective and can damage your wall.
Most handy homeowners can tackle removing texture from unpainted walls. Removing texture from painted walls is a bit trickier. Paint acts as a sealant, so you can’t soften the texture with water. Instead, you’ll have to add a layer of drywall compound known as a skim coat. This process is messy and takes some practice.
How to Remove Texture from Walls: Scraping vs Coating
- Walls & Ceilings
Photo: istockphoto.com
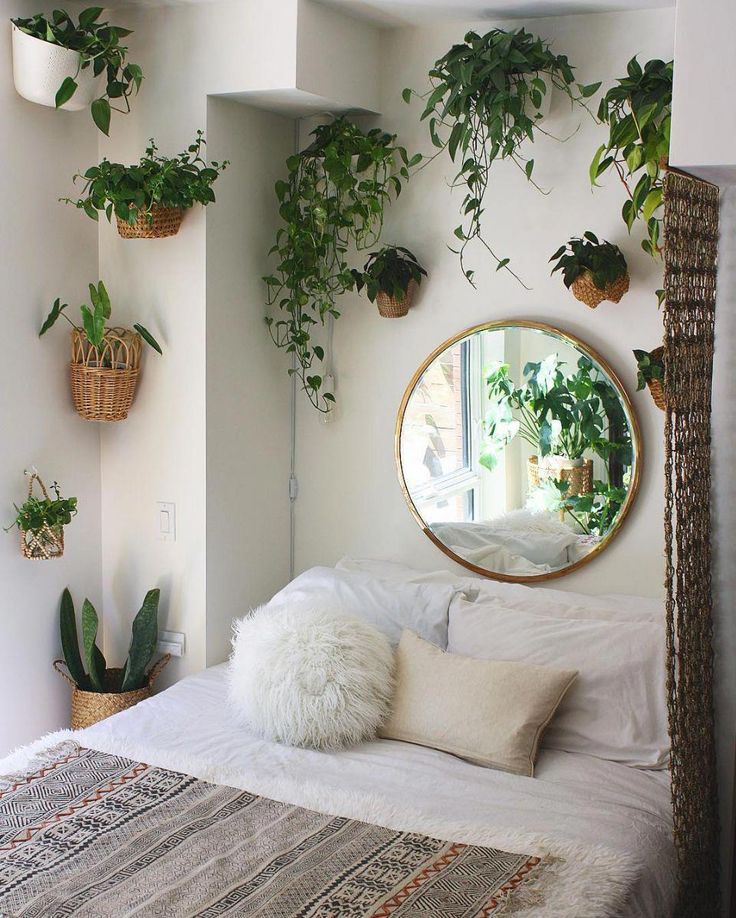
Texturing walls is a time-honored method of adding character to a wall or covering such imperfections as drywall taping inconsistencies—but not everyone loves the ridges and swirls of knock-down or the soft ripples of orange peel. Luckily, if you prefer flat surfaces, it is possible to get rid of an old textured finish, though this tends to be a messy, time-consuming project. Before you even put on your work clothes and pick up a scraper, you should get to know the two methods for how to remove texture from walls depending on whether or not your walls are painted.
- Wall texture that has never been painted can usually be removed with a soak-and-scrape process.
- Painted texture requires skimming the surface with drywall compound. Paint acts as a sealant against water, so soaking wouldn’t be effective very effective in softening the texture—you’re better off covering up.
 The skimming process requires a fine touch, too, so you’ll need to be patient and allow a few hours, or more, per wall.
If you’re ready to roll up your sleeves, we’ve got the guidance to take your walls from textured to totally smooth. Keep reading to find the method for removing wall texture that works for you.
Photo: istockphoto.com
METHOD 1: Soak and Scrape Unpainted TextureMATERIALS AND TOOLS Available on Amazon
– Canvas drop cloth
– 3inch painters tape
– Protective eyewear
– 2gallon pump sprayer
– 10inch drywall taping knife
– Stepladder
– Dust mask
– Drywall sanding pad
– Drywall sanding screen
– Bright work lights
Photo: istockphoto.com
- To prep and protect, cover the floor with a canvas drop cloth and tape up exposed trim.
Avoid plastic drop cloths, which can become very slippery under wet drywall compound. Tape off baseboards, window trim, and door trim with 3″-wide painter’s tape. Don protective goggles and old clothing—you’ll probably want to dispose of these duds when you’re done.
 - Fill a pump sprayer with water and spray the entire wall evenly to soften the texture.
You may have to spray the wall two or three times in order to saturate it sufficiently. Give the wall about 15 minutes of dwell time, then test the texture with a fingertip. When the texture is soft enough for you to rub it off all the way down to the drywall beneath, it’s time to scrape. - Starting at the top of the wall, scrape the softened texture.
Stand on a sturdy step ladder to reach the top and work your way down with a 10-inch drywall taping knife. To remove texture without gouging the drywall, hold the blade approximately 30-degrees to the wall, and scrape in whatever motion feels most comfortable to you, using long slow strokes. If the knife meets resistance, stop; spray that area again and wait until the texture softens sufficiently.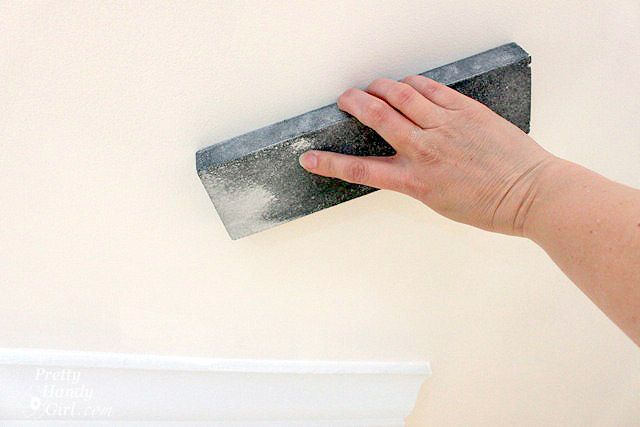
- Continue spraying and scraping until you’ve removed all the texture.
It’s okay if thin smears remain on the wall; you’ll sand them off in the next step. Let the wall dry completely, which could take up to 24 hours, before proceeding. - Sand the wall smooth using a drywall sanding pad, fitted with a drywall sanding screen.
Be sure to wear a dust mask because even small residual smears can create copious amounts of drywall dust. It’s also a good idea to use a bright work light to illuminate the wall as you’re sanding so you can see tiny spots of compound. When your wall looks good under bright work lights, it will look amazing when it’s painted under normal light.
Saying goodbye to unsightly wall texture?
Connect with vetted professionals in your area and get free estimates for your upcoming home improvement project.
Get Estimates
+Photo: istockphoto.com
METHOD 2: Skim-Coat to Cover Up Painted TextureMATERIALS AND TOOLS Available on Amazon
– 2-inch steel putty knife
– Hammer
– Canvas drop cloth
– 3inch painters tape
– Protective eyewear
– Sanding sponges
– Rags
– Premixed all-purpose drywall compound
– 5-gallon buckets (2)
– Drill with paddle bit
– Large-nap paint roller
– Roller cage
– Roller pan
– Extension pole (optional)
– 10inch drywall taping knife
– Taping pan
– Stepladder
– Dust mask
– Bright work lights
Advertisement
Photo: istockphoto.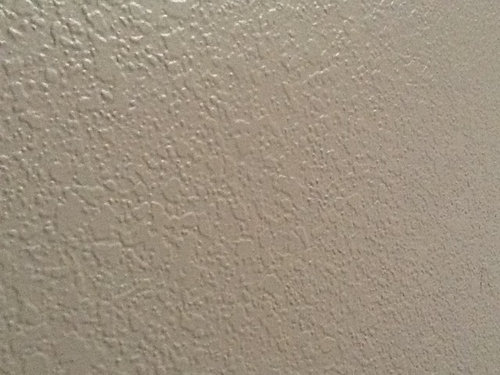 com
com
- Remove the baseboard from the wall.
Slipping a 2-inch steel putty knife behind the baseboard and gently prying it outward should do the trick. You may need to tap the head of the putty knife with a hammer to help wedge it between the baseboard and the wall in order to pry the baseboard off. - Protect yourself and the rest of the room from falling wall texture.
Cover the floor with a canvas drop cloth (don’t use plastic as it can become slippery). Use 3″-wide (or wider) painter’s tape to tape off window and door trim with painter’s tape. Wear protective eyewear and old clothing that you can discard when you’re done. - Lightly sand the surface of the painted texture if the paint is glossy.
While the drywall compound you will be applying typically sticks very well to painted surfaces, it’s a good idea to knock the sheen off high-gloss paint. In most cases, wall paint isn’t glossy and you’ll be able to skip this step.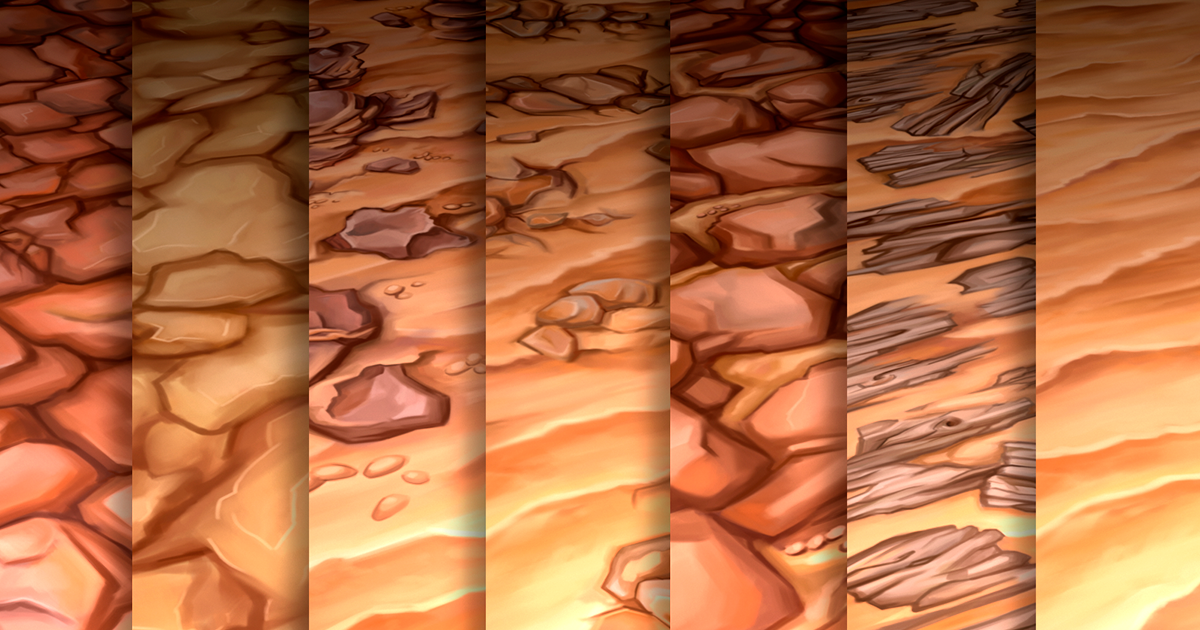
- Wipe down the surface of the wall with clean damp rags.
This will remove any dust or dirt that might be on the wall, allowing you to start with a clean palette. - Scoop approximately a half-gallon of premixed drywall compound into a five-gallon bucket and add water a little bit at a time.
Use a drill, fitted with a paddle bit, to blend the mixture until it reaches pancake batter consistency. Mix until it’s smooth and free of lumps. The actual amount you mix at one time isn’t as important as getting the right consistency. Once you get the hang of applying the compound, you may want to mix larger batches. - Pour the thinned compound mixture into a large paint roller pan and roll it on the wall.
Saturate a thick-nap roller in the thinned compound and, using an extension pole if necessary, roll it evenly on the wall, starting at one side and working in two-foot-wide vertical swaths. This is arduous and messy work—the roller will be heavy and compound will drip everywhere. Apply enough compound to generously cover the existing texture.
- Note: It’s a good idea to recruit a helper at this point—one of you can roll the compound on the wall and the other can skim the surface smooth, as described in the next step.
- Smooth the wet texture with a 10-inch drywall taping knife, starting at the bottom of the wall and lightly pulling upward.
Excess compound will build up on your knife as you go, so it’s a good idea to hold a taping pan in your other hand and scrape the excess into the pan. Skimming is a learned technique, and you’ll develop the hand movement that works best for you as you go. - Maintain a wet edge.
Just as in painting, you’ll get better results by not letting one swath of compound dry before you roll the next swath. Drywall compound has a tendency to harden and set if dry bits of compound come into contact with wet compound, so work quickly, in no more than two-foot swaths, to keep from skimming wet compound over already dry areas.
- Note: Do not dump the excess compound you scrape from the wall back into your bucket of fresh compound. Dispose of it in another bucket and use only fresh compound as you skim.
- Let the compound dry completely, from 24 to 48 hours and, if necessary, apply a second skim coat.
Dry time will vary depending on the humidity in the room. The second coat is rarely necessary on most textured walls, but if your wall has deep texture, such as valleys and peaks of slap-brush texture, it might take a second coat to cover completely. If applying a second coat, do not sand between coats. - Sand the completed wall smooth with drywall sanding sponges.
Use light pressure and sand in circles. Don’t use a drywall sanding pad because the surface is now 100 percent drywall compound, and the edges of a sanding pad are likely gouge and leave marks that will be visible under paint. Use bright work lights to illuminate the wall as you sand.
Need a hand?
Receive free, no-commitment project estimates from qualified pros near you.
Find Pros Now
+Excalibur Tattoo Needles - the choice of professionals
The needle stretches the skin in the minimum gap between the textured needle and the skin and leaves more pigment with micro grooves on the surface of the needle.
The fact is that the process of inserting needles under the skin with the frequency of the tattoo machine is already traumatic in itself, and the less manipulations occur on one area of the skin, the less you injure it.
The texture of the needle allows you to apply a larger amount of tattoo pigment without the need to "pass" through one place several times, because the more you make attempts to inject pigment into one area, the more you injure the epidermis, as a result of which most of the dermis remains open, and this leads to prolonged healing and the formation of scabs, the dull color of a healed tattoo, no matter how bright and persistent pigments you use. nine0003
With a textured needle, there is no question of pigment deficiency, the lines become longer, the shade areas increase, an important factor for clear continuous lines, smooth gradients and uniformity of dense colors.
For several months we have been testing various degrees of texture roughness provided by the manufacturers before selecting the right one suitable for the Eastern European skin type and putting into production exactly the perfect needles.
Yes, important and more than that!
Where do needles come from to the Russian market? China, America, Europe.
Chinese needles have received more recognition from the Russian consumer due to their cheapness, a smaller market segment, American brands of tattoo needles, as a rule, they are used by artists striving for quality tattoos, and a very small European resource, which, as a rule, receives needles from the same America or China.
So, let's see what is what: nine0003
1. The cheapest version of “garbage” needles, in an uncontrolled production in China, where no one is puzzled by grinding the needles and sometimes the entire “bearing” part of the needle remains completely unpolished, which leads to trauma and “broken” skin. And they are successfully passed off as textured needles, although by definition they cannot be.
2. American textured needles, whose production is often located on the territory of Asian factories, but work under the audit (control) of their own specialists, which guarantees the quality of the produced needles. nine0003
In this case, the “correct texture” technology is used, that is, the surface of the needle tip is polished, which contributes to the rapid penetration of the needle under the skin and eliminates trauma, then the textured part comes into play, which introduces pigment into the skin.
Asian manufacturers are 99% oriented to the American market.
Conclusion: Wherever needles are made, they are made for America.
Quality, reliability seems to be guaranteed, but there is one BUT! nine0003
These needles are for a different type of skin!
American brands that require a certain coarseness of texture due to the type of skin of the consumer, these are African Americans, Hispanics, Indians, Mestizos, Mulattos and only 35% of whites.
So we use tattoo needles designed for a different skin type?
Taking all these facts into account, we chose a less hard texture for the European skin type.
What is the difference between the skin of an African American, a European or an Asian? nine0003
Surprisingly or not, skin color is not the only thing that distinguishes us between these three groups.
Scientists have found structural differences between black, white and Asian skin in terms of:
- thickness
- The water content
- lipids (fats and fatty vitamins)
Differences between black skin and white skin
Black leather epidermis contains less than glutation (glutation - a sequences of its low the presence of sulfur-containing SH groups. nine0003
Sulfur is a very sticky substance and all the "garbage" contained in our body, including free radicals, toxins and heavy metals, adheres to its molecules, so glutathione is an indispensable filter in our body) than white skin.
In the epidermis of white skin, hyperpigmentation or tanning is always accompanied by a drop in glutathione and subsequent restoration of glutathione, so tanning is not recommended for Europeans.
Black skin has more melanosomes (light absorbers) than white skin. nine0003
Black leather has a higher electrical resistance than white leather, indicating greater density and thickness!!!
Black skin has more fibroblasts (cells of the body's connective tissue) than white skin, meaning it heals faster than a white person.
Black skin has more mast cell granules than white skin, which may also play a role in keloids.
The stratum corneum of black skin has several layers and is stronger than in white skin. nine0003
Black skin loses its outer layers more (increased flaking) than white skin.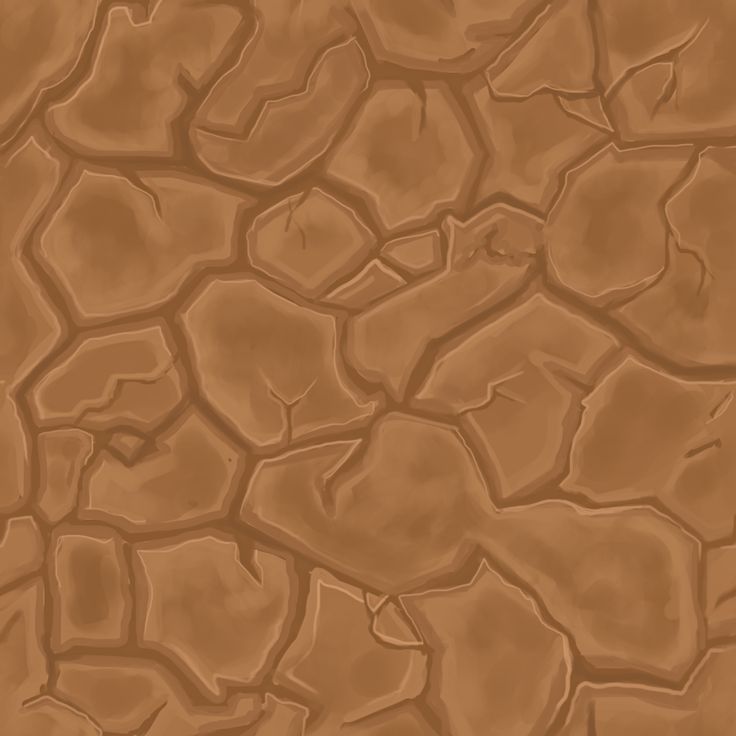
Black skin has a “drum” effect, which is why whites have more wrinkles than blacks.
The result is 100% confirmation that tight, rough, thick, UV-resistant and fast-healing African American skin needs a rougher texture than European skin.
White skin needs more delicate care and requires a special approach. nine0003
During the year, through numerous trials, we achieved the desired result.
We found the right needles in England and after a little tweaking we achieved the desired texture effect, for several months we tried them and looked at the results of healing, after the final approval, an exclusive brand and a new word in texture, Excalibur Tattoo Needles, was created and put into production .
Excalibur textured needles are a unique development of quality tattoo needles, created for artists who appreciate and take pride in their work! nine0003
Each needle undergoes the most stringent quality audit and is individually sterilized in a blister pack.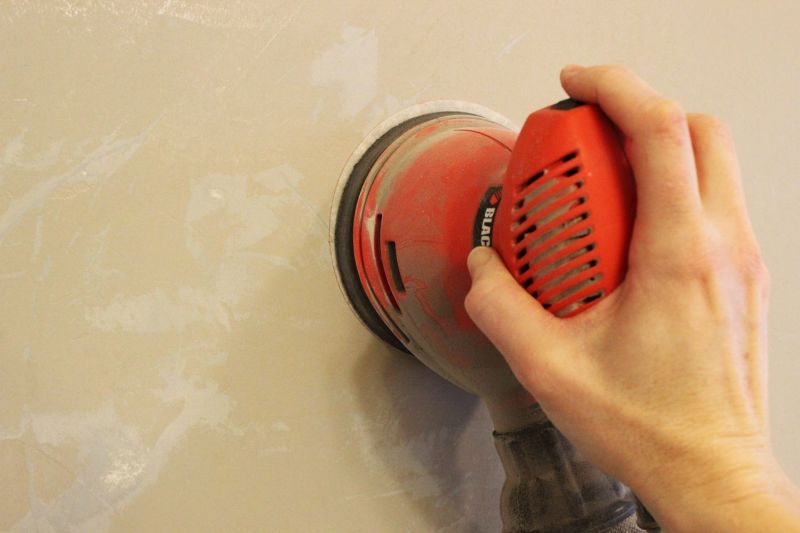
We suggest checking this information with your own hands and accepting it as a fact that Excalibur Tattoo Needles are the No. 1 needles not only in Russia, but also the quality standard all over the world.
Special thanks to our partner, colleague and friend Max - www.McSim.ru for hard work and excellent results.
Road marking removal equipment
Sections SectionsAbrasive RemovalHow to improve your speed at marking removalSelecting the most suitable equipmentOther methods of striping removal
THE MOST COMMON TECHNIQUES IN ROAD MARKING REMOVAL ARE ABRASIVE AND BLASTING.
Road markings are designed for long-term use, but sometimes they need to be removed. For example, when the traffic situation changes or the location of parking spaces changes. Special equipment and methods allow you to effectively remove markings and markings. nine0003
Removing existing pavement and road markings creates a significant problem. The markings must be removed efficiently and without damaging the roadway. Sometimes the markings are stronger than the asphalt itself. Moreover, the materials used to lay the roadway are very porous, which the paint penetrates deep into the coating. Sufficient attention must be paid to choosing the right equipment for removing road markings.
Abrasive removal
Road Striping Machine is a traditional equipment for fast and clean road marking removal. These special machines allow you to remove any type of lines painted on parking lots or highways. Coatings. This is the most suitable technique for removing road markings, especially for removing lines that will be replaced by new markings in the same location. Even if the road surface remains intact, abrasive removal is still the best method for removing paint, epoxy coatings and other materials. Using the right abrasive removal equipment operated by an experienced worker will reduce the risk of damage to the road surface. nine0052
How to improve the speed of striping
With a motor-driven sander, line removal speed can be doubled. A comfortable seating system, such as Graco's LineDriver, turns a traditional sander into an easy-to-move unit.
Selection of the most suitable equipment
When selecting the most appropriate equipment, consider what materials are to be removed and how quickly the job needs to be completed. The smallest stripe removal machines are capable of removing paint and thermoplastics, and can also be used to level uneven pavement areas. Removal speed is limited to approximately 30 m2 /hour when moving the machine manually. The most powerful line strippers can also be used to remove epoxy coatings and to create grooves and holes for embedded elements. And when using the LineDriver system, these machines can achieve a line stripping speed of 195 m2/hour.
Other marking removal methods
- Water Jet Method : This method uses high pressure water jet to remove markings from concrete or asphalt pavement.