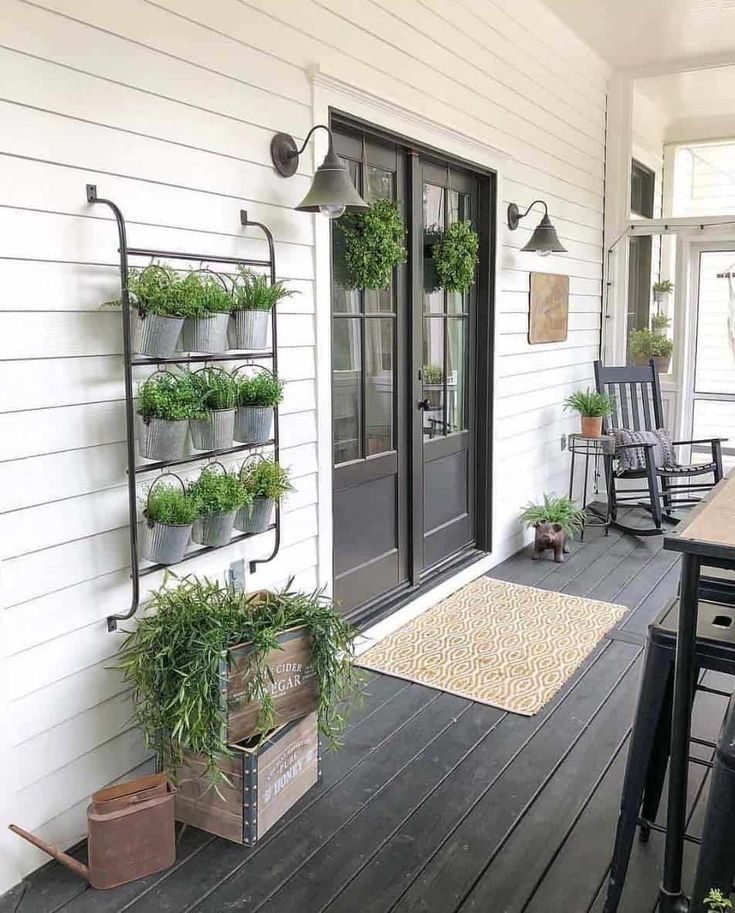
Painting kitchen ceiling
How to Paint a Ceiling
A professional home painter shares his tips for painting both smooth and textured ceilings, with equipment recommendations and tricks of the trade.
Every editorial product is independently selected, though we may be compensated or receive an affiliate commission if you buy something through our links. Ratings and prices are accurate and items are in stock as of time of publication.
1 / 13
Family Handyman
Use a Stain-Blocking Primer to Cover Flaws
Roof leaks, overflowing sinks, tobacco smoke and big spills can all leave ugly ceiling stains or dinginess that is impossible to conceal with plain old paint. But cover the stain with a coat of stain-blocking primer and your troubles are over.
The traditional favorite is white pigmented shellac. You can buy spray cans of pigmented shellac, but usually it's easier to brush it on. Just don't forget to pick up some ammonia or denatured alcohol to clean your brush. If you're painting over a ceiling that's yellow from smoke, roll a coat of shellac over the entire ceiling before painting with latex.
2 / 13
Family Handyman
Sand Before You Paint
Over time, and as the layers of paint build up, bumps and crud can get stuck to the ceiling. On untextured ceilings, it's a good idea to start with a quick once-over sanding with 100-grit drywall sanding paper. This helps ensure a perfectly smooth paint job and increases paint bonding. The easiest way to do this is with a sanding pole. When you're done sanding, wipe the ceiling with a damp sponge to remove the dust.
3 / 13
Family Handyman
Rules for Painting Ceilings: Cut in Before You Roll
Cutting in before you roll allows you to cover most of the brush marks with the roller. Carefully brush paint along the edge of the ceiling a section at a time. Cut in about 10 linear ft. and then roll that section. This method has a couple of advantages over cutting in the entire room at once. First, the cut-in section will remain wet until you roll, so it blends in better. Also, it's simply less boring to alternate between cutting in and rolling.
4 / 13
Family Handyman
Rules for Painting Ceilings: Roll Both Directions
There are a few tricks to getting a smooth, consistent coat of paint on the ceiling. First, work in sections about 5 or 6 ft. square. Move quickly from one section to the next to make sure the paint along the edge doesn't dry before you roll the adjoining section. This is called “keeping a wet edge” and is the key to avoiding lap marks. You'll get the best coverage by immediately rerolling each section at a right angle to your first roller direction as you go.
Shop Our Favorite Products
5 / 13
Family Handyman
Buy Special Ceiling Paint
While there are exceptions, in general you'll get the best results with paint that's formulated for a ceiling application. For a ceiling, you want paint that doesn't spatter, has a long open time (dries slowly), and is flat instead of glossy. Most ceiling paints are formulated with these qualities. And of course you can have ceiling paint tinted if you want a color other than “ceiling white.”
6 / 13
Family Handyman
Lap Your Cut-In Onto the Walls
If you're planning to paint the walls too, lap the paint onto the walls a little bit. Then when you paint the walls, you can err on the side of leaving a little ceiling color showing when you cut in and it won't be noticeable. Some painters like to skip this cutting-in step and save time by mashing the roller into the corner instead, but this method is sloppy, builds up excess paint in the corner and can leave runs or a thick paint line on the wall.
7 / 13
Family Handyman
Don't Be Afraid of Color
You may not want to paint your ceiling yellow, but don't be afraid to deviate from plain old white.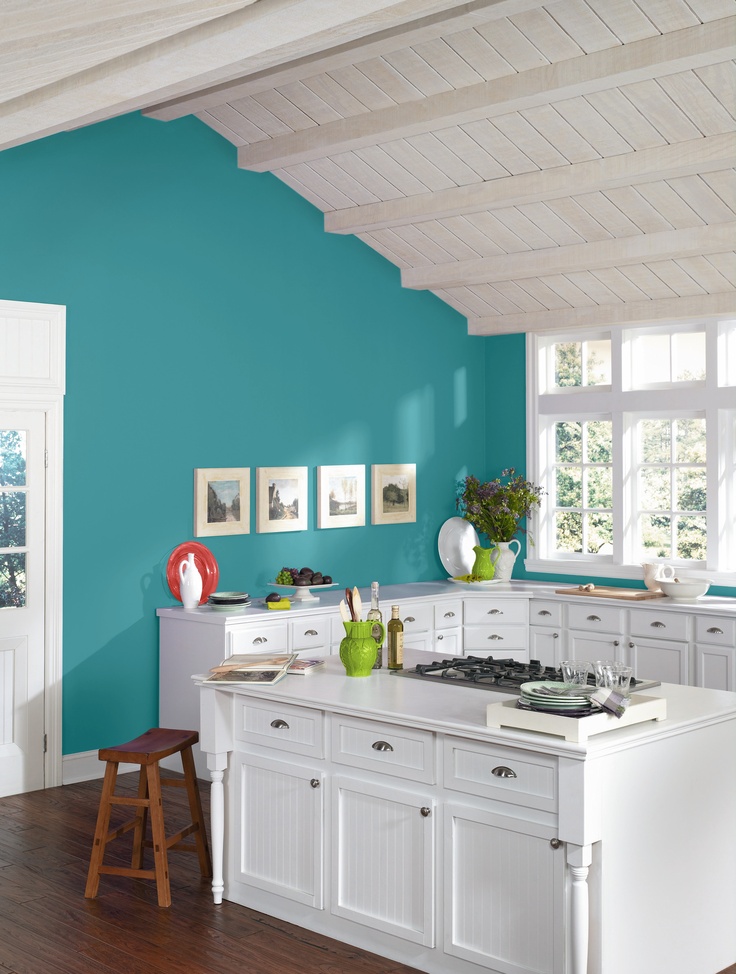 Painting the ceiling a color can make a small room seem bigger, or a room with a high ceiling seem more intimate. Plus, it's just more interesting. Ask at any full-service paint store for help in choosing complementary wall and ceiling colors, or search online for examples of rooms you like.
8 / 13
Family Handyman
You Don't Need an Expensive Pole
You can buy all kinds of fancy—and expensive—extendable paint poles, but a simple wooden broom handle usually works just as well. The reasons are simple. They're cheap and light and do the job.
9 / 13
Family Handyman
Use a Thick, Premium Cover
Here's a tip that applies to most paint jobs but is even more important for ceilings. You want to get as much paint on the ceiling as you can in the shortest amount of time possible while minimizing spatters. To do this, you need the best roller cover you can buy. The best choice is a 1/2-in.-nap lambswool cover. If you've never tried a lambswool roller cover, you owe it to yourself to experience the difference. And if you're worried about the cost, keep in mind that lambswool covers are easy to clean and can last a long time if you take good care of them.
10 / 13
Family Handyman
Roll Gently on Textured Ceilings
Painting textured ceilings is a bit of a crapshoot. If the texture has been painted over already, it's probably safe to paint again. If the texture has never been painted, there's a risk the water in the paint could loosen the texture, causing it to fall off in sheets. A lot depends on the quality of the texturing job. If you have a closet or other inconspicuous area, do a test by rolling on some paint to see what happens. If the texture loosens, painting over the larger ceiling is risky.
If possible, spray on the paint—it's less likely to loosen the texture than rolling.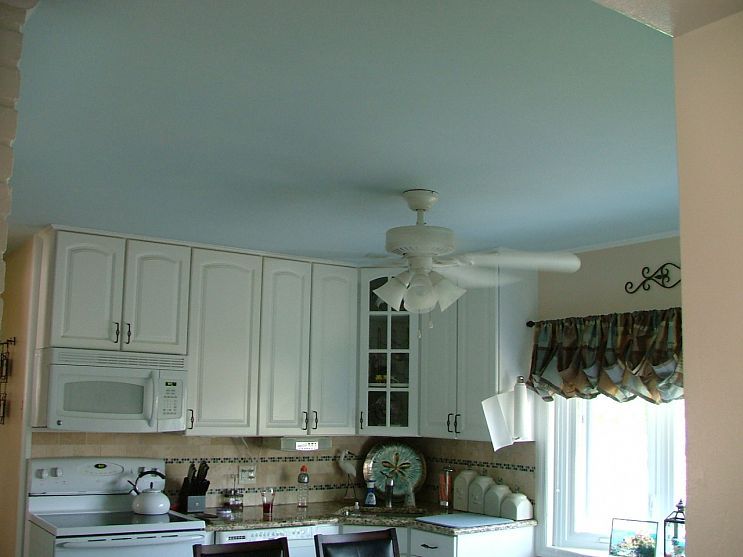 But spraying in an occupied house is usually impractical. The best tip for rolling on paint is to avoid overworking the paint. Just roll the paint on and leave it. Don't go back and forth with the roller, as this is likely to pull the texture from the ceiling. If the ceiling needs another coat of paint, wait for the first coat to dry completely. Then roll another coat perpendicular to the first one using the same careful technique.
11 / 13
Feather Out the Paint Where You Can't Keep a Wet Edge
When interior painting, you can't cover large areas like ceilings, extra-tall walls or stairwells in single, continuous strokes, so the best way to minimize lap marks on these areas is to feather out the paint along the edges that you can't keep wet. The thinner, feathered coat of paint will avoid the buildup that causes the lap mark. To paint a large section without leaving lap marks, roll the nearly dry roller in different directions along the dry edge, feathering out the paint as you go. After completing the entire length of the wall or ceiling, move to the next section and paint over the feathered edges. For the second coat, apply the paint in the opposite direction. This crisscrossing paint application sharply reduces (if not eliminates) lap marks.
Check out other awesome paint rolling tools in the video below.
12 / 13
Family Handyman
Groove Textured Ceilings
It's almost impossible to paint right next to rough-textured ceilings (a process called “cutting in”) without getting paint on the ceiling. Taping off the ceiling doesn't work either. The solution? Knock off the texture at the edge with a putty knife. Hold the knife at a 45-degree angle to the wall and run the blade along the edge of the ceiling. The blade scrapes away the texture and leaves a small groove in the ceiling. Clean out the groove with a duster or a dry paintbrush. Now when you cut in along the top of the wall, the paintbrush bristles will slide into the groove, giving you a crisp paint line without getting paint on the ceiling.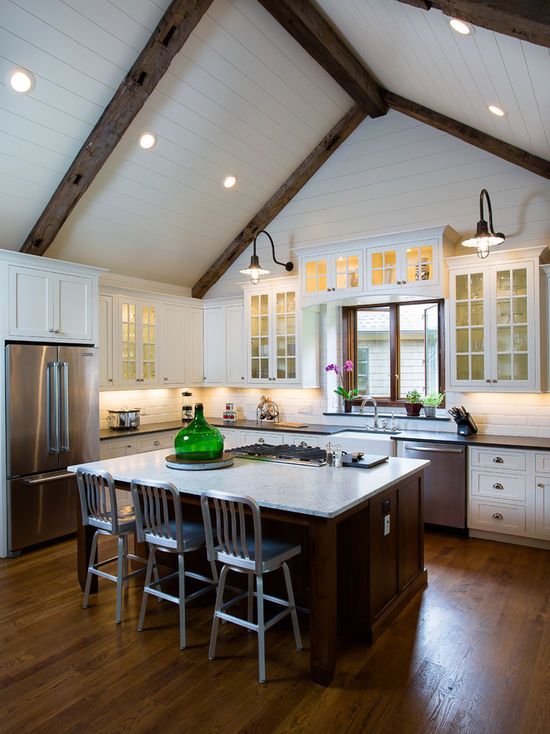 And you'll never notice the thin line of missing texture.
13 / 13
Family Handyman
Avoid Paint Freckles
Rolling paint on the ceiling showers you with a fine mist. A baseball cap is essential, and safety glasses let you watch your work without squinting. To make skin cleanup easier, rub lotion on your face, arms and hands. At the end of the day, your paint freckles will wash right off.
Originally Published: November 15, 2019
The Definitive Guide to Learning How to Paint Your Ceilings
Ceilings are the middle child of design canvases—they're often forgotten, but have tons of untapped potential to make your home stand out. A ceiling can tie together any room, whether it’s painted brilliant white, an unexpected pattern, or a bold and bright color of your choosing. Once you’ve decided on exactly what you want your ceiling to look like post-paint job, you need to take the first steps—and we're here to help with some expert advice from Jeff Winters, the VP of Marketing for Sherwin-Williams, and designer Rasheeda Gray of Gray Space Interiors. So read through all of Winters' advice and watch Gray's simple step-by-step instructions for painting a ceiling in the video above for a visual demonstration.
What should I do to prep the area?
Before you tackle the so-called fifth wall of your room, make sure you're painting it first if you're planning on also painting the walls in the room. “You want to paint your ceilings first and then your walls," said Winters. "You certainly don’t want to spatter a freshly painted wall with your ceiling paint." As for your furniture, you'll want to either entirely remove it from the area or push it into the center of the room and cover it with plastic tarps.
The best drop cloth to use, according to Winters, is a canvas drop cloth with a rubber backing. "The canvas allows the paint to absorb in so you’re not tracking it around the house," he said. "And the rubber backing makes it nonslip." If you use a plastic drop cloth—which you shouldn't—the drip from the ceiling could get tracked along the floors, creating a mess.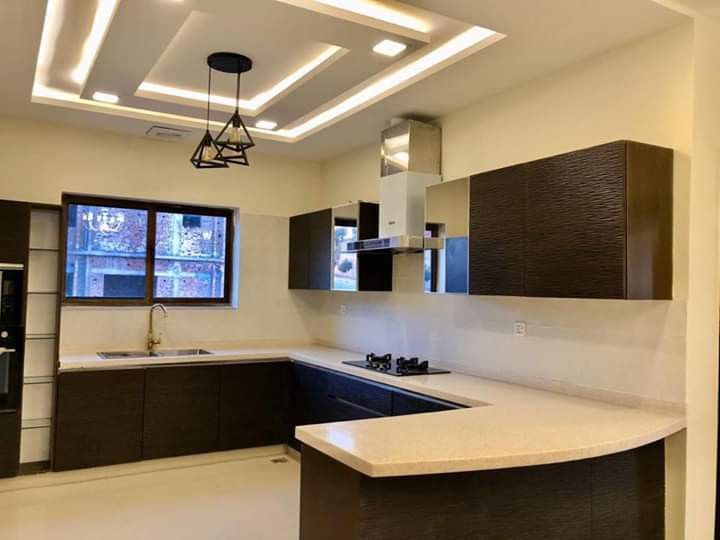
You'll also need a paint roller, a roller frame, and a handheld brush to paint places like tight ceiling corners where rollers can't fit.
What other materials should I be getting?
Although you may be thinking that you need a ladder for the entire project, Winters says that's not the case. While a 6-foot ladder is a good thing to have for those hard-to-reach places in this project, like the corners, you actually won't be using it much to paint your ceilings. The best thing you can purchase to reach up above is a paint roller extension pole—what's recommended are extension poles that are 6 to 8 feet high, depending on the height of your ceiling.
When it comes to primer, the kind you should use varies based on if you have water or nicotine stains and what color you've decided to paint your ceiling. You should be using oil or shellac-based primers if your ceiling has stains and a gray-shaded primer if you're planning on painting your ceiling in a bold color, like a navy or a sable. Believe it or not, the gray is actually better to paint over than a white primer for brighter colors.
"It’s almost like painting a car," Winters said. "Most car primers are some shade of gray, either a light-medium or dark gray and what we learned was that they worked really well, even with architectural wall paint."
If a white primer is used with a bright color, Winters says that you might have to do as many as four coats to get the color you want. With the gray, you'll only need about two coats for your desired look.
As for the perfect paint finish, go for flat. Smooth ceilings have a tendency to have some ripples and waves in them, so the flat finish helps minimize those imperfections. Winter says the flatter the finish, the better—and the less likely your eye will pick up those blemishes in the ceiling.
"When we think about painting a ceiling, technique is everything."
What about actually painting?
The technique that Winters and the rest of the Sherwin-Williams team stands behind is painting in 4 foot by 4 foot sections.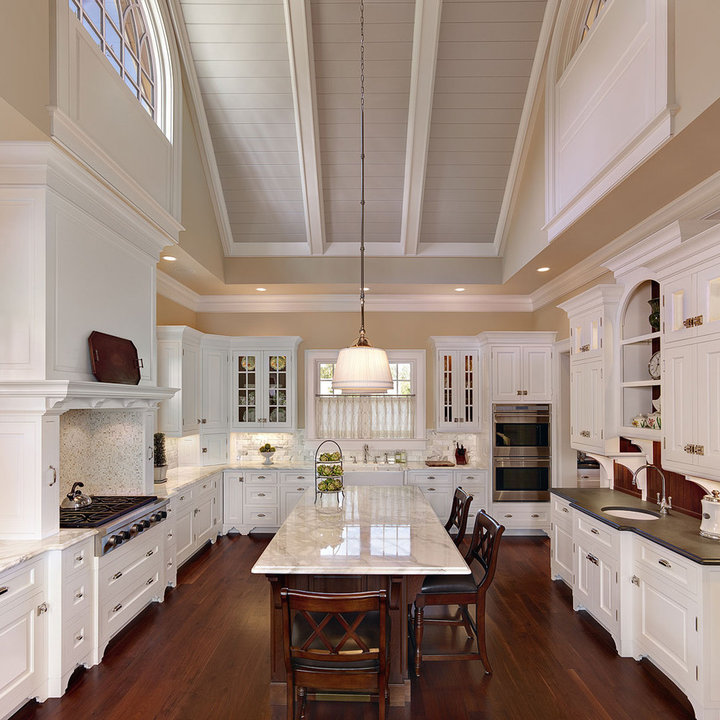
"We like to work in 4 foot squares. Always try to keep what we call a wet edge. Work back into that wet area that you just painted and try not to let areas dry and then roll back into them—keep the wet edge," Winters explains. "That really helps with the lap marks and imperfections that sometimes won’t show up until the end. Also if you're working in those 4 by 4 areas and you're overlapping, you’ll be sure you don’t miss a spot, which can be easy to do."
Follow these tips, and your ceiling will look professionally done—you might even fool some of your house guests.
Follow House Beautiful on Instagram.
How to paint the ceiling in the kitchen
The kitchen is a unique place in the house. The process of cooking is associated not only with excessive evaporation, elevated temperatures, but also with the release of soot and greasy deposits that settle on furniture, walls and even the ceiling.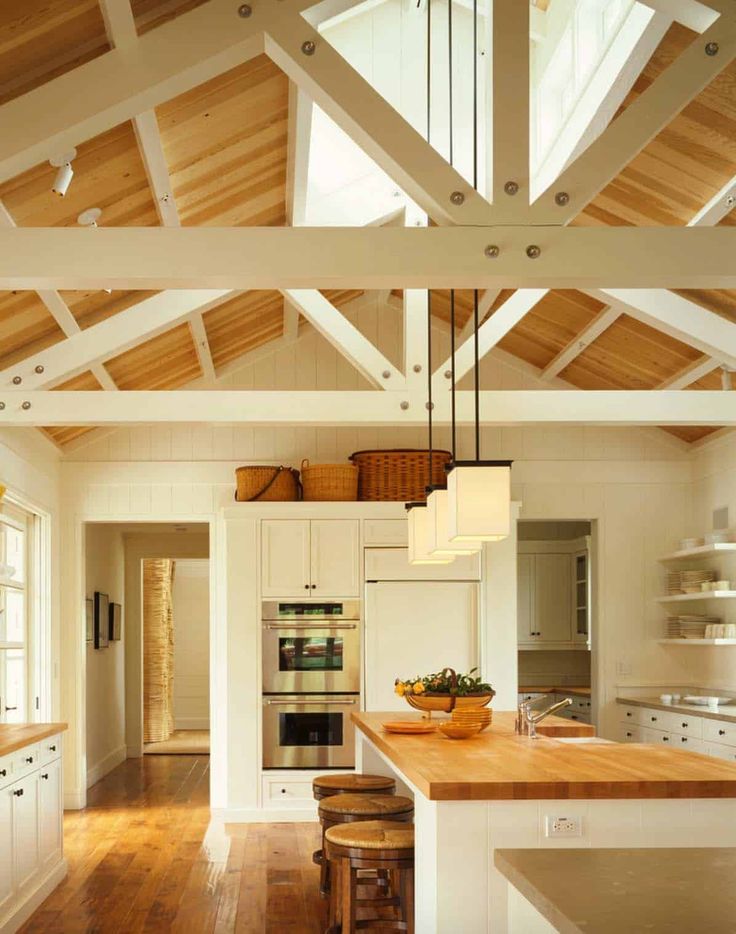
All these features should be taken into account at the stage of repair. If you do not know how to paint the ceiling in the kitchen so that it can then be easily kept clean, then this article is for you.
Before painting
When choosing paint, take into account a number of points inherent in any kitchen:
- Excessive moisture. Whatever utensils or appliances you use, you still cannot avoid fumes.
- Temperature fluctuations. Cold air entering the kitchen through an open window can cool the ceiling even to 00C, but warm flows from a hot stove, on the contrary, heat it up to 50-60 C.
- Grease and soot. It is released during the frying process and from the gas stove.
- Possibility of flooding. You can not discard the possibility that you can be flooded, because no one is immune from a sudden outburst of communications.
An over-stove hood can significantly minimize the negative effects of most of these parameters.
The utmost attention should be paid to the materials used for painting, getting acquainted with their varieties, determining the advantages and disadvantages.
Water based paint
This is one of the most popular materials used for ceiling painting, the advantages of which include:
- absence of toxic and hazardous substances;
- affordable cost and wide color range;
- coating is designed for several wet cleanings, but it cannot be classified as washing;
- paint is "breathable", promoting natural air circulation;
- the paint layer is very thin to obtain a uniform coating, that is, multiple coatings without sagging are allowed.
Water emulsion should not be applied to glossy and metal surfaces, because it contains a lot of water.
Acrylic paint
Acrylic paint is in no way inferior to water-based paint in terms of its performance, but it costs more. The ceiling painted with it can be washed without restrictions.
The main thing is not to use abrasive cleaners, as well as aggressive household chemicals. The best solution is warm soapy water. The only drawback of this paint is the rather high cost.
Lime
Lime has been used to paint ceilings for decades, usually in rural areas. Its advantages include:
- complete security;
- obvious cheapness;
- the ability to hide unevenness, small cracks under a thick layer of material.
Lime is already an outdated method, plus it is not without drawbacks. In particular, after applying several layers of lime, such a ceiling turns out to be uneven, which can be seen with the naked eye.
It can only be removed together with a layer of plaster. Such ceilings cannot be washed. The color can only be white, which limits the designer's imagination.
Preparing the ceiling for painting
By following these simple guidelines, everyone will be able to do the work ahead on their own.
Initially, the surface is cleaned of old paint and/or plaster. A lot of dust is planned, so take care of the protection of your respiratory organs and eyes in advance, and close the doors tightly.
To prevent the development of mold, the cleaned surface is treated with a primer that has an antimicrobial property.
Regular "Whiteness" can be used to save money, although this is not an ideal solution, because another purpose of the primer is to improve the adhesion between the surface of the ceiling and the materials that will be applied to it.
Defects and irregularities with a depth of more than 1 cm are plastered, and smaller ones are repaired with putty. It is applied in two layers.
The surface is cleaned with a trowel every time after complete drying (not earlier than 6 hours). The last step is grinding, which allows you to get a perfectly flat ceiling.
Painting
Now you can move on to how to paint the ceiling in the kitchen.
The paint will be applied in at least two coats. The second - after the complete drying of the previous one.
Recommendations of our experts will be useful:
- we start painting from the window, which will create the effect of uniform coloring;
- do not stop working until the entire ceiling has been covered with paint, otherwise there may be a noticeable streak where you left off;
- matte paint, unlike glossy paint, will hide minor defects that are unlikely to be avoided;
- in your work, use materials produced by one manufacturer, because they are perfectly compatible with each other;
- when diluting the paint, strictly follow the instructions on the package, measuring the water with a container of a specific volume, and not by eye.
Additional recommendations
When painting the ceiling, it is recommended to hang an energy-saving light bulb of maximum brightness in the room. The light emitted by it will help you to see all, even small, defects and correct them in a timely manner.
The results of labor should be considered from different angles, determining the quality and density of color.
The main thing in this business is to do everything systematically, without long breaks (apart from waiting for the materials to dry), but also without too much haste - and you will achieve the desired result.
CEILING PAINTS. How and with what to paint the ceiling in the kitchen? What paint to choose for the ceiling of the kitchen? Painting the kitchen ceiling with your own hands. Acrylic matte paints for painting kitchen ceilings. Ceiling paint opaque super white washable
The choice of high-quality paint for the ceiling in the kitchen is not an easy task, which is complicated by some features of the operation of this type of room.
The correct choice of materials for painting determines how long the ceiling will look fresh, attractive and neat.
Incorrect paint will quickly lose its original appearance, necessitating refinishing.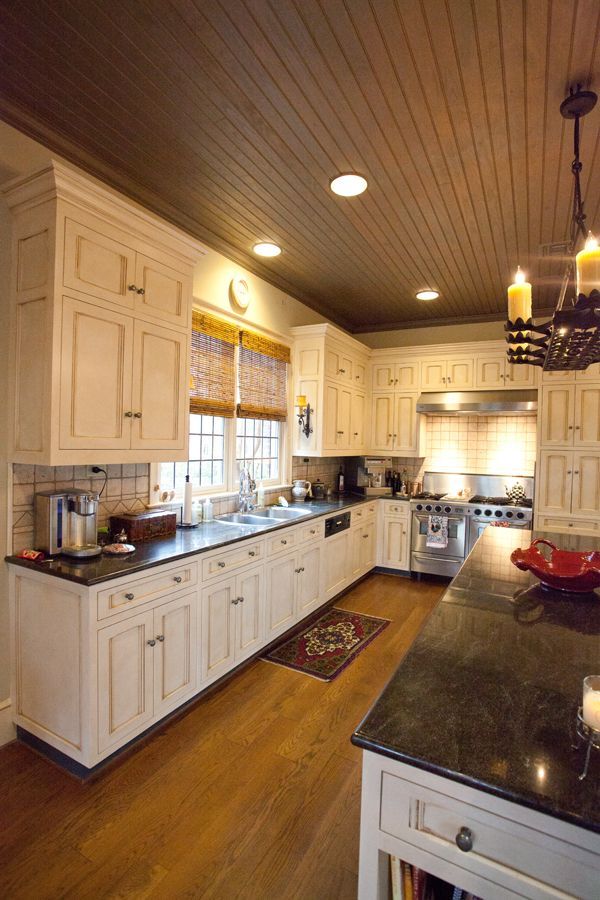
How to paint the ceiling in the kitchen?
It is in the kitchen that ceilings are exposed to the most difficult tests, being under the constant influence of many negative factors that only specialized material can withstand. When choosing paint for kitchen ceilings, consider:
• High humidity - the result of cooking using any of the appliances intended for cooking: stoves, steamers, ovens, microwaves.
• Changes in temperature are the result of the operation of the stove, oven, ventilation.
• Settling on surfaces of fat, soot - also occurs during cooking, especially on gas stoves.
• Increased probability of flooding by neighbors from above - due to the fact that a lot of communications are concentrated in the kitchen, leaks are possible that can spoil the appearance of the ceiling.
All of the above factors must be taken into account in order to buy the right quality ceiling paint .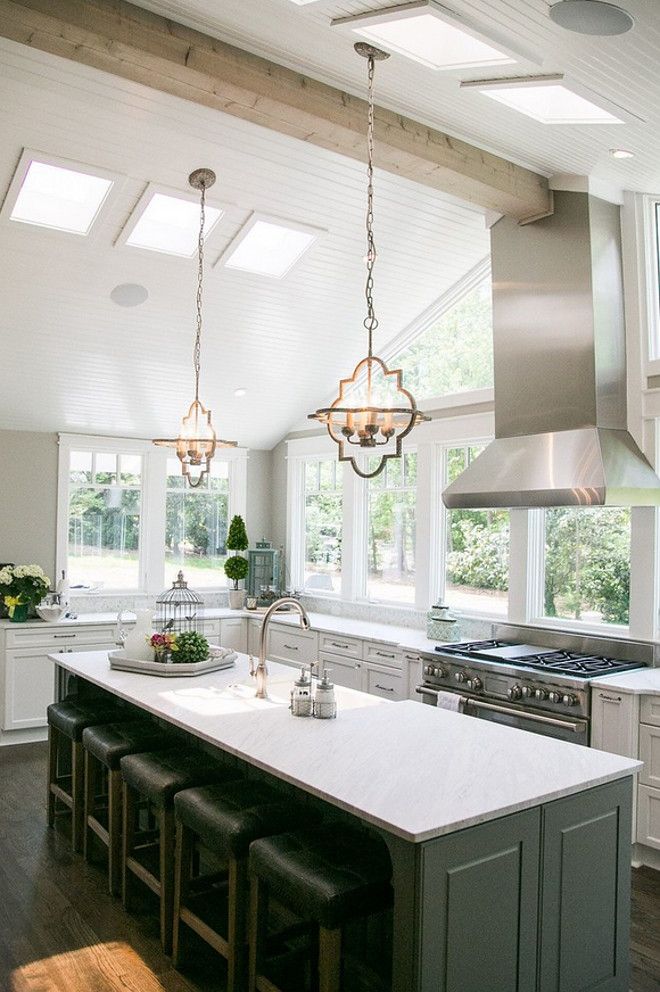 Otherwise, a few months after the finishing work, a new repair will be required.
The modern market offers a wide range of coatings, each with its own advantages and disadvantages.
Which paint should I choose for painting the kitchen ceiling?
Lime is one of the most common materials for painting kitchen ceilings. This coating has been used for more than a dozen years, differing in cheapness and availability.
However, whitewash is an insufficiently practical and functional material, since it cannot be washed off from soot and grease stains, and over time, irregularities form on the surface, which are very difficult to hide.
Another popular material is water-based paint. It also has a low cost, but is more practical than lime. The coating can be wiped several times with a damp cloth, however, over time it will also acquire an untidy, dirty appearance.
The most sensible, practical and durable finish is acrylic washable ceiling paint. A modern coating can be washed an unlimited number of times, high-quality paint will withstand the influence of steam, temperature changes and moisture.
Kitchen Ceiling Paint - Ceiling
Acrylic Ceiling Paint Ceiling is designed specifically for use in rooms with high humidity and high temperature stress.
This is an environmentally friendly, durable, moisture resistant kitchen ceiling paint.
The material has all the characteristics necessary for use in difficult conditions:
- Differs in moisture resistance, does not change its appearance under the influence of steam, moisture, dirt and does not require major repairs in case of flooding.
- Pure White Ceiling Paint will not yellow over time.
- The surface has dirt-repellent properties, does not accumulate dust, grease, soot, can be easily washed with any non-aggressive chemicals.
- The paint is resistant to cracking, the surface remains smooth for a long time.
- The material does not have an unpleasant odor, does not emit harmful substances, is completely safe for human health and is fire resistant.
Learn more