Painting cast iron furniture
Best Ways to Paint Wrought Iron
What can we help you find?
Search
Search
Wrought iron railings, fences and patio furniture have been a classically elegant staple of homes for decades. Over time, exposed to the elements, wrought iron can become pitted and rusty and in need of refinishing.
Even if your wrought iron pieces look good, you can paint them a different color to add a personal touch and contemporary style to what is usually a traditional element of your home.
Step 1: Get Ready to Paint
Pick a warm, dry day to paint your wrought iron pieces. Don’t start painting if surfaces are wet, when the humidity is more than 80 percent, if the temperature is less than 50 degrees or if the piece you're painting is directly in the sun.
If you’re painting movable wrought iron pieces, choose an open area outdoors, covered with drop cloths or tarps for your workspace — you don’t want overspray or splatters and drips to ruin surfaces that you don’t want painted. For fences or railings, make sure that the ground and surrounding surfaces are protected by drop cloths and painter’s tape so they aren't marred by the paint if the overspray is caught by the wind or if the paint drips.
Set up a large piece of cardboard, lightweight wood, or hang a drop cloth or sheet as a shield against overspray that might blow onto other objects. Place the "shield" on the side opposite of the one that you're painting.
Step 2: Remove Old Finish and Rust
Clean the metal with a vinegar and water solution (50/50) or use water with a mild detergent and a scrub brush or rag to remove dirt and grime. Use a bleach and water solution or a commercial mold remover to remove any mold or mildew.
You need to remove both the old paint and rust for new coats of paint to adhere properly. Keep in mind that you don’t have to remove every bit of the old paint. The surface just needs to be free of loose flakes of paint and other debris. Sanding and scraping the surface also “raises” the surface a bit for better paint adhesion..jpg?w=400)
You can remove both rust and paint using a stiff wire brush or an electric drill equipped with a sanding pad and abrasive discs. Emery cloths (cloth-backed abrasive sheets) can be used when there is minimal rust. Emery cloths work well because they are sturdier and easier to use than sandpaper on items such as railings or fences because of their flexibility. Paint scrapers come in handy as well. Remove sanding dust as you go.
Wear a tight-fitting dust mask, safety goggles, and appropriate clothing that covers your skin while you sand and scrape away paint.
Use a rust dissolver to ease removal of any remnants of rust on the metal. When applying, always follow the manufacturer's instructions on the label. After it has dried, wipe the surface down with a rag to remove any leftover dust or debris. You should see bare metal where the rust has been removed.
Step 3: Apply Primer
Spray wrought iron with a primer made specifically for metals, such as True Value X-O Rust rust-inhibiting primer.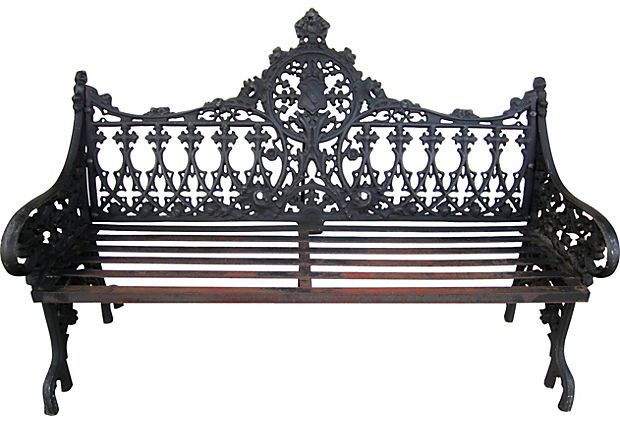 Aerosol primer and paint often provide the best, smoothest coverage results on metal, however; it may be necessary in some areas to apply metal primer with a paintbrush. For best results, apply two coats. When spraying, "back-brush" (painting over just-applied paint before it begins to dry) to work the paint into the surface so it will adhere better and smooth out any drips. Allow the primer to dry thoroughly for at least 24 hours. Primer does not always feel wet or tacky before it is completely dry.
After using aerosol primer (or paint), tip the can upside down and depress the nozzle for a few seconds until paint stops coming out. Next, wipe off the nozzle with a cloth. This prevents the nozzle from being clogged the next time you use the can.
Step 4: Apply Paint
Spray on a coat of True Value X-O Rust rust-inhibiting paint or apply it using a small to medium-sized paintbrush. Spray painting gets the job done fast and provides excellent coverage and a smooth finish. Hold the can about 8 to 12 inches from the object you're painting and keep the can moving to avoid excess paint that can drip. Apply several light coats. If you've painted furniture, let the paint dry for at least 24 hours before using.
For best results, apply a second coat of paint within 1 hour of applying the first coat.
In most cases, using True Value X-O Rust spray paint allows you to skip priming because it is formulated to be a paint and primer in one.
Great job! Your wrought iron pieces look good as new.
Project Shopping List
Here’s what you’ll need to complete this project successfully.
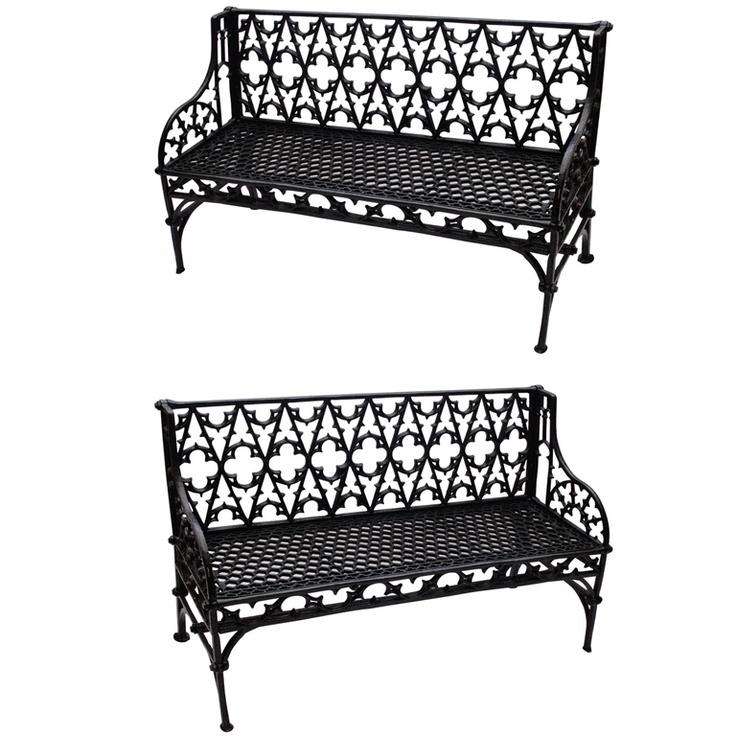
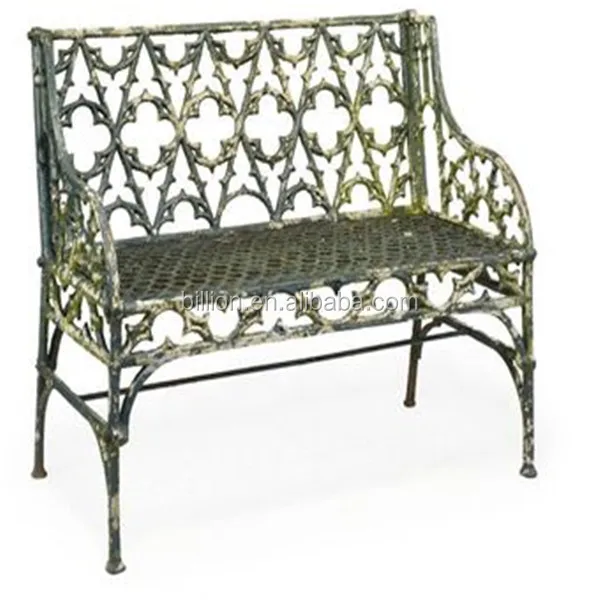
Painting Cast iron furniture to make it last for years
At the end of the summer and before the dark nights of winter close in, I started to clear away my patio furniture, but before I can store it away this year I need to refresh the paint, as it was starting to look tired and dull.report this ad
Being Cast iron my garden furniture needs to be painted properly otherwise it could quickly start to corrode or rust, which means it looks ugly and would need to be replaced very soon.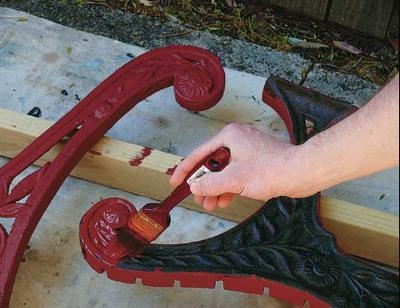
So here’s how I went about giving it a new lease of life and treated it to a fresh coat of paint
To paint cast iron furniture clean it with a pressure washer or hosepipe, remove flakey paint and rust with a wire brush, rub the surface down with emery cloth, remove dust with a damp cloth and paint with red oxide primer, apply undercoat, and at least 2 top coats of metal paint, rubbing down between each.
This is one of the jobs that need doing every now and then and doing it properly will mean you will be able to enjoy your furniture for longer, check out the details for all tips and tricks.
Tools Required
- Pressure washer
- Stiff brush
- Toothbrush
- Cotton cloth or a chamois.
- Wire Brush
- Multi-Use Scraper
- Cordless Drill
- Dremel Multitool
- Primer Paint
- Emery Paper
- Paint Brush
Clean off any dirt
Find a suitable area to work on the cast iron garden furniture, firstly to clean the furniture off, this might be at the end of the garden or in a workshop, somewhere that won’t be a concern if it gets dirty, or can easily be cleaned up afterward.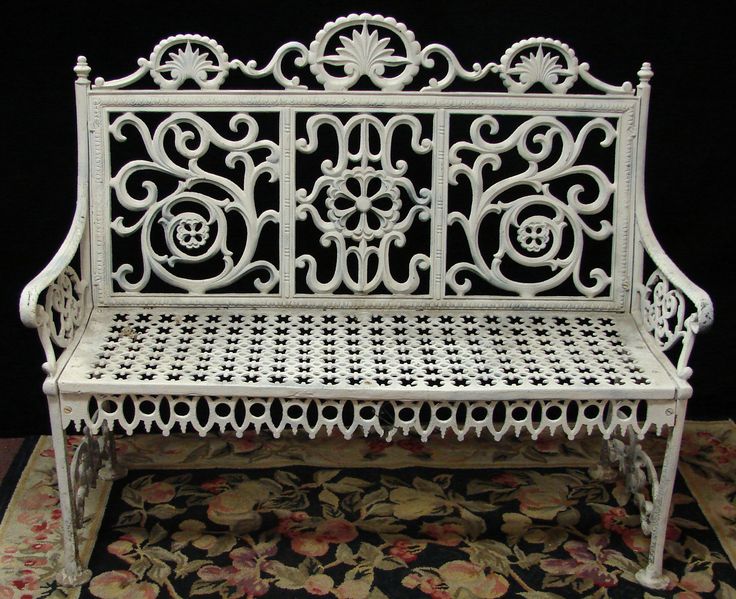
For really dirty furniture I favor using a pressure washer to remove the loose dirt, algae, and any moss that can collect over the winter. If you don’t have a pressure washer you can use a hosepipe and a brush.
I recommend that you consider investing in a good pressure washer as they are useful for cleaning all sorts of things and make large outdoor cleaning jobs much quicker than doing it by hand. Have a look at our ‘Recommended Tools’ Page for our top picks.
Washing the cast iron furniture with soapy water and a stiff brush will get rid of any stubborn dirt or hard to remove algae or lichen that may have grown in the corners, for intricate detail that you can often find on ornate pieces of cast iron garden furniture, use an old toothbrush to clean off the stubborn dirt and grime.
Allow the metalwork to dry off fully and use a cotton cloth or a chamois to remove any excess water, make sure to get into tight corners where water may collect. Leaving the furniture to stand out in the sunshine for a few hours to help to dry off excess water.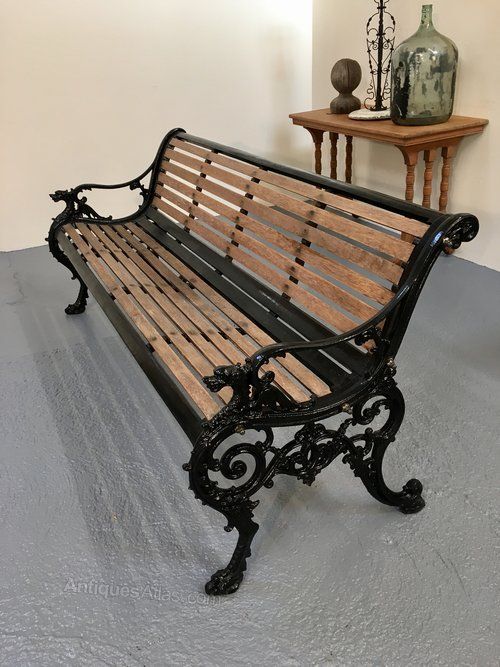
On cold days take the cast iron furniture inside to a workshop and use a hot air drier to remove moisture from tight corners.
Remove old loose or flakey paint and rust
As with most DIY jobs, preparation is critical to getting a good finish, and putting in some effort at this stage will be well worth it in the long run.
Before applying fresh new paint to cast iron metalwork it is best to remove any old flakey paint or loose rust and treat the surface to prevent it from coming back
I always put down an old blanket or dust sheet before I start scraping the loose paint as this makes clearing up much quicker and stops paint from marking or sticking to the floor.
Use a combination of a wire brush and scraper to remove any loose or flaking paint and lose rust,
Make sure you use protective safety gear when doing this, I always wear a pair of goggles or safety glasses, a dust mask, and gloves.
With the surface of the cast iron garden furniture free of loose paint and rust, the surface needs to be rubbed down with a medium grit emery cloth or sandpaper, to remove any remaining surface rust and get back to bare metal.
I often use a cordless drill with an emery mop or wire brush fitted to speed up the process, and to get into tight areas or for really fine detail using a small drill or Dremel power tool with a shaped grinding head can work well.
With all the rust removed from the surface of the cast iron, Clean off any dust and lose particles with a brush and vacuum cleaner, and then use a damp cloth to wipe over the surface and remove the last traces of dust.
Apply Rust preventive primer
Like any metalwork that is to be used outside, treating the bare metal surface with a rust preventative primer will help keep your garden furniture in good condition for years to come.
I often use red oxide primer as this will give a good solid base for the paint to bond to and will help prevent rust from coming back, or you can use a good quality rust preventative formula, just make sure that anything you use is suitable for cast iron and can be painted afterward.
If you have a very ornate piece of cast iron then you may consider using a spray gun to apply the paint as this will make covering the more intricate details easier.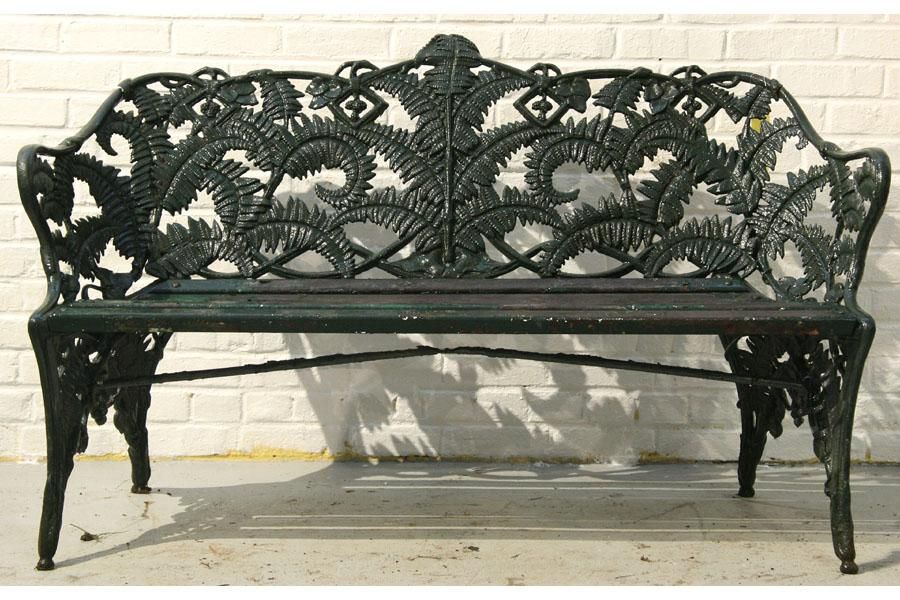
However, setting up a spray gun and an area to use it can often take longer than actually painting. If there are several pieces of furniture to paint for example if you have a complete cast iron patio set to repaint it could be quicker to use a spray system than painting with a brush.
Rub down the paint between coats
Once the cast iron is evenly covered with protective primer and the primer coat is dry, check the surface over for drips or runs or areas where the paint is too thick.
Paint can collect in tight corners or around ornate details,
You can remove the drips or paint runs by lightly rubbing them over with some emery paper, be careful not to rub the surface too much as this will remove all the paint and expose the bare metal underneath.
With drips and paint runs blended in gently rub-down the remaining surfaces to remove any specs of dirt or dust that may have become stuck whilst the paint dried on the cast iron.
Use a high grit emery paper or cloth to rub-down the surface, the aim is to create an even and smooth surface that has enough texture to allow the next coat of paint to bond to.
After rubbing down the surfaces, use a vacuum cleaner with a brush attachment to remove any loose dust or dirt, and then wipe over the surface of the cast iron with a damp cloth to get rid of any stubborn bits of dust.
Apply an undercoat of paint
Red oxide primer or rust preventive paints used to protect the bare metal surface of the cast iron furniture, have a dense color and will need an undercoat to help cover the surface ready for the topcoat.
The undercoat also acts as another layer of protection to help prevent the rain and weather from attacking the surface of the metal.
The undercoat is applied in the same way as the primer and can be put on with a brush or spray system.
If you use a brush make sure that details or tight corners are properly covered, sometimes using a small brush really helps. I tend to keep a set of artist brushes in my toolbox, as they are really useful for small details like the ones often found on cast iron furniture.
Rub down the undercoat layer
The next steps follow the same process as for the primer, the undercoat needs to be allowed to dry fully and then rubbed down gently with emery cloth.
Take care to treat sharper edges or corners gently as the paint tends to be thinner on these areas and rubbing too hard or too long could expose the bare metal surface, which will need to be repainted.
Then again use a vacuum cleaner to remove the loose dust and wipe the surface over with a damp cloth to get rid of the fine dust.
Apply the top coat of paint.
With the base coats of paint applied to the surface of the cast iron furniture, the metal should be well protected from corrosion and ready to have the topcoats applied
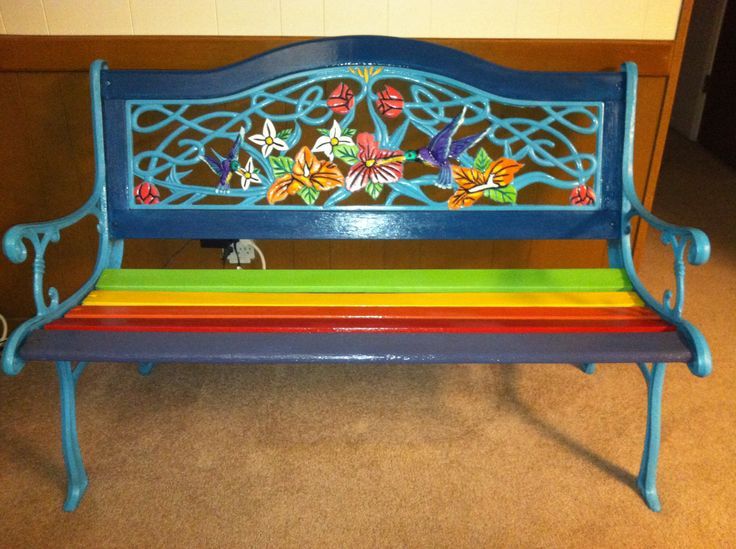
There are many different finishes and colors to choose from for metal furniture, and you can select a traditional black or white which gives the furniture a classic look.
A smooth gloss or hammer finish can give your ironwork a great look and feel.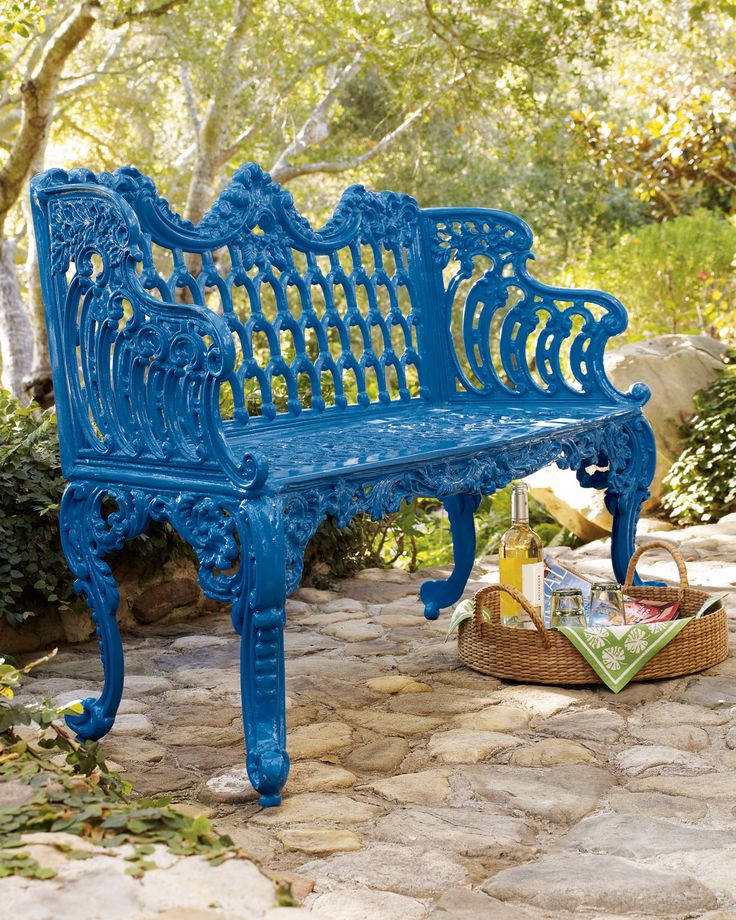
Alternatively choosing another color can give your cast iron furniture a more modern feel, there are several shades of grey and green for example that can offer a contemporary twist to your furniture.
The choices are endless and you can mix them up and use multiple colors to give a bright or extravagant look.
Whichever option you go for applying the topcoats of paint on the surface of the furniture needs to be done with care, ideally using at least 2 coats to cover the surface and give good even color.
If the undercoat can be seen after a topcoat is dry 3 or even 4 coats may be needed to get the finish you require this is more common on lighter shades where the darker undercoat will show through.
Apply the topcoats using the same method for the previous paints making sure all the surfaces are evenly coated and any drips or runs are ribbed down between coats.
The final coat of paint
The last and final coat of paint should be applied once you are happy that the surface is good and the color has covered any underlying coats of paint.
Once again gently rub down the surface with a high grit emery paper, if you are looking for a high gloss surface then using 400+ grit will work well, any more than this becomes a polishing job.
Once the surface has been rubbed down for the final time. Give the surface a good clean down with vacuum cleaner and then a damp cloth to remove the last traces of dust,
The final topcoat will be the one you see for quite a while so take your time and make sure the surface is evenly coated, and there are no thicker areas, this helps to avoid drips or runs in the paint, as this time you won’t be able to rub them down.
Leave this to dry off fully, paint will normally be touch dry within a few hours, however, metal paint can require a couple of days before they have fully hardened and are fully cured, so take care when you are handling the furniture and don’t leave it outside until the surface is completely dry.
Always check the paint manufacturer’s instructions to check when the paint will be tough enough to withstand any rain or colder weather before you leave your newly painted cast iron furniture outside.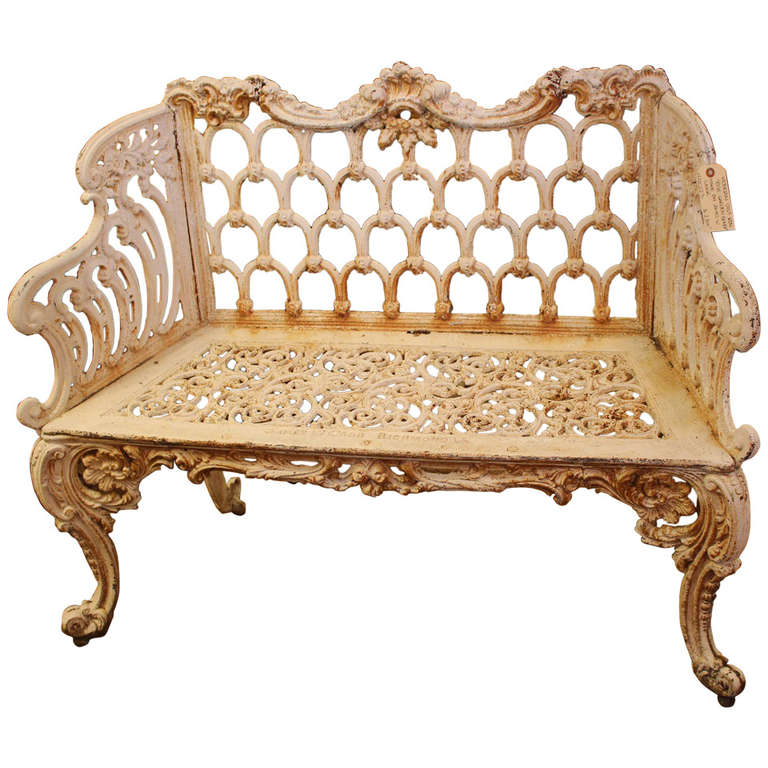
Painting cast-iron railings, fences, and other applications
This process for repainting cast iron garden furniture can be used on other cast iron or metal items that usually stay outside. Smaller items like doorknobs or knockers can be removed from the door to be painted in a workshop.
This makes working on them much easier as you are not at the mercy of the weather conditions and the task of repainting can be done at any time.
Lager items such as cast iron or metal railings can be painted in place, make sure that you check the weather forecast before starting a job like this, and plan ahead.
Depending on the size of the project you may need a couple of dry days to clean and paint the cast iron railings, and ensure that the temperature is above 41 Degrees Fahrenheit (5 degrees C) to allow the paint to dry off properly.
Any lower than this temperature and the paint will take much longer to dry and may not harden off fully, leaving the metalwork unprotected and likely to corrode or rust quickly.
I tend to favor carrying out these outdoor DIY painting projects in late summer or early fall whilst the days are still warm and dry.
At this time of year, the days are warm, but not too hot that the job becomes difficult. If the temperatures are too high then the paint will dry off so quickly you cannot cover the surface properly and leaves a poor finish which will need to be done again in no time at all.
Follow the process and tips in our painting guide above and your cast iron furniture and exterior metalwork will look great and be rust and corrosion free for many, many years.
If you liked this post, check out some more great information on preparing and painting exterior wood by following the link here.
How to restore an old cast iron bath with enamel
Low cost enamel for bath restoration - this is the main advantage of this restoration method. Restoring a cast-iron bathtub with enamel is a more complicated process than acrylic restoration, but this work can be done on your own.
Advantages and disadvantages of restoring a cast iron bath with enamel
If the cast iron bath has become rough, it has small cracks and chips,
you can take your time to change the bath to a new one. Bathtub
can be restoredenamel or liquid acrylic.
Which restoration option to choose?
Enamel is used to restore old cast iron bathtubs. Acrylic covers both
acrylic and cast iron bathtubs.
Bath Restoration Enamel is less expensive than Stacryl, a two part
acrylic/hardener formulation. Therefore, the method of restoring a bathtub with enamel
is much more economical. The low cost of enamel for bathtub restoration -
is the main advantage of this method of bathtub restoration.
Restoring a cast iron bathtub with enamel is a more complicated process than restoring
with acrylic, but this work can be done independently.
Disadvantages of the enamel bath restoration method:
- the surface of the bath after restoration with enamel wears out faster than after restoration with liquid acrylic; nine0036
- the impact resistance of enamel coating is lower than that of acrylic;
- enameled cast iron bathtub is not recommended to be cleaned with abrasive and
chlorine-containing products; - working with enamel for the restoration of a cast-iron bath is more difficult than with acrylic;
- bath enamel dries quickly, so you need to work with the bath quickly and carefully so that smudges do not form.
Preparing for the restoration of a cast-iron bathtub with enamel
To carry out the enamel restoration of a cast iron bath, some materials and tools will be required:
:
- two-component bath enamel;
- household respirator and protective work gloves;
- electric drill or hammer drill;
- bath degreaser;
- rust converter;
- sandpaper;
- natural bristle brushes; nine0036
- smooth cloth napkins.
The cast-iron bathtub must be carefully prepared for the application of the enamel.
preliminary work will largely determine the success of the restoration of the bath and the quality of its coating.
Preparing a cast iron bath for enamel restoration includes several steps:
- bath cleaning with abrasive; nine0035 grinding the bath with sandpaper or a disc nozzle on a perforator or drill;
- removing debris from the bath, washing with cool water using a stiff brush;
- rust stain removal with rust converter;
- bath cleaning with a degreaser cloth.
After all the above steps, pour hot water into the cast-iron bath for 15
- 20 minutes. Then drain the water, wipe and dry the bath.
Procedure for restoration of a cast-iron bathtub with enamel
How to properly enamel a cast iron bath:
- dilute bath enamel with hardener according to package instructions;
- apply the first layer of enamel with a brush and wait for the time indicated on the package;
- apply the second and subsequent layers of enamel, there may be several; nine0036
- leave the enamel to harden for 17 days, unless otherwise indicated on the package.
The bath must not be used until the enamel has hardened completely.
Experience shows that in order to successfully restore a cast-iron bathtub with enamel, it is necessary to carefully sand the surface and choose
bathtub enamel that takes longer to harden
. In this case, the coating will lie better and last longer. nine0017
What color to paint batteries? - World of Colors
In the era of the global distribution of bimetallic radiators with an impeccable glossy finish, the need for painting, it would seem, has completely disappeared. But even now we are often asked to advise the paint for these purposes. It is not surprising, because any coating is subjected to mechanical stress, which means that scratches and chips are possible. And aesthetic preferences are different. Someone wants to remove the “white spot” under the window, and someone wants to fit a heating element into a blue, green or yellow interior. It happened that the mounting foam, when installing PVC double-glazed windows, fell on an uncovered radiator for heating and remained there until complete polymerization. And you should not forget about the cast-iron "grandmother's" old radiators either. So the batteries are still being painted. nine0003
What is the color of batteries
We single out several determining factors when choosing enamel for painting heating radiators:
- high coolant temperature during the heating season (up to 95 C for two-pipe systems and up to 105 C for single-pipe systems in residential premises), which means that the batteries in the apartment can be very hot - surface t in extremely cold winters reaches 75 C;
- painting of a metal surface prone to corrosion processes.
 The presence of corrosion inhibitors in the composition of such enamel is a significant plus. After all, we are dealing with metal, and no one has canceled the processes of its interaction with water and oxygen; nine0036
 - bimetallic radiators have a factory powder coating, the main feature of which is high smoothness, which means low adhesion to enamels. Sanding the surface before painting or using special primers, such as Dulux Trade Super Grip Primer or Tikkurila Otex, will come to the rescue;
- and of course, you should not choose materials for painting, which, when the surface of the batteries is heated, emit harmful substances. nine0046
- VGT VD-AK-1179 tintable acrylic glossy enamel for radiators; nine0036
- Teks white acrylic enamel for radiators heat-resistant;
- heat-resistant acrylic Brite enamel for Teflon-based radiators;
- acrylic paint for furniture and radiators Dulux Master Lux Aqua 40 semi-gloss;
- acrylic paint for furniture and radiators Dulux Master Lux Aqua 70 glossy.
It is worth giving preference to specialized products that have high heat resistance, contain corrosion inhibitors, are characterized by high adhesion to metals and, in part, to complex substrates, such as smooth powder coatings.
The best paint for radiators
We do not choose top products among those offered in our World of Colors stores, because we are sure that you can choose your ideal material for a specific task, financial capabilities and aesthetic preferences. So which paint for batteries to choose? nine0003
There are specialized solvent-based alkyd enamels and water-based acrylic paints. The former have a high concentration of VOCs and smell strongly during work, moreover, there is a strong smell even after painting the radiator. Odorless acrylic paints - they are quite comfortable to make repairs. Over time, such a coating does not turn yellow and retains color for a long time.
A good composition of paints for radiators:
How to paint the battery
Let's analyze the technology of working with paints for radiators using the example of Tex acrylic enamel "Universal".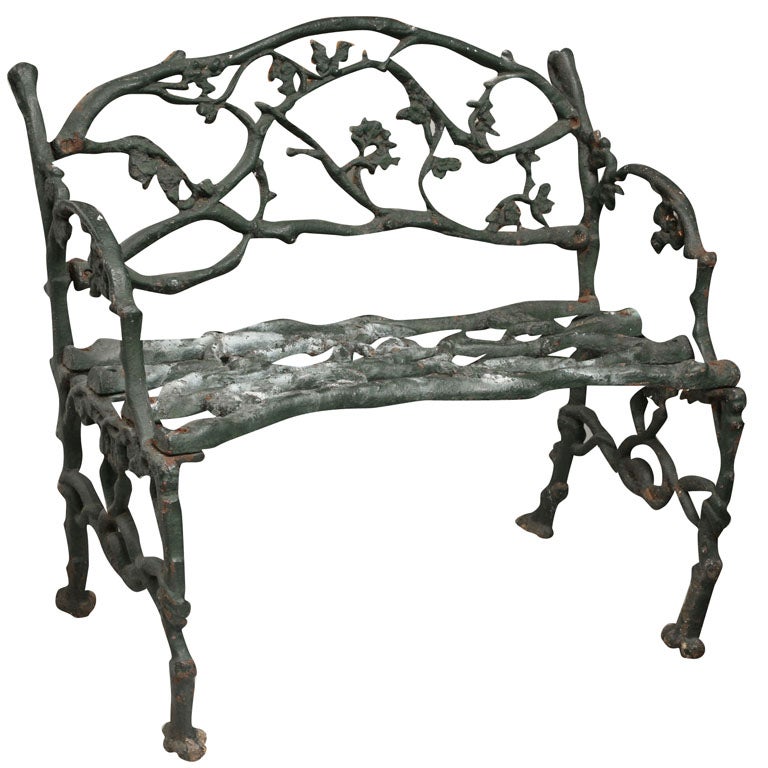 nine0003
This material is excellent for painting radiators, heating pipes, battery piping. It has a sufficiently high heat resistance and even withstands short-term heating up to 120 ° C. It is noteworthy that enamel can be applied to warm radiators. It is also used indoors for painting pre-primed metal, wood, concrete, brick substrates or previously painted surfaces with alkyd or acrylic enamels. It can be used in preschool, educational, as well as in medical institutions. During painting work, the smells of paint in the apartment will be insignificant. nine0003
Requirements for the surface to be painted
It must be dry. The temperature of the air and the surface to be painted is above +5ºС, and the relative humidity of the air is less than 80%. Attention! With a decrease in temperature and an increase in the relative humidity of the air, the drying time may increase. The surface must first be cleaned of corrosion products, dust, old peeling paint, oil and other contaminants and dried.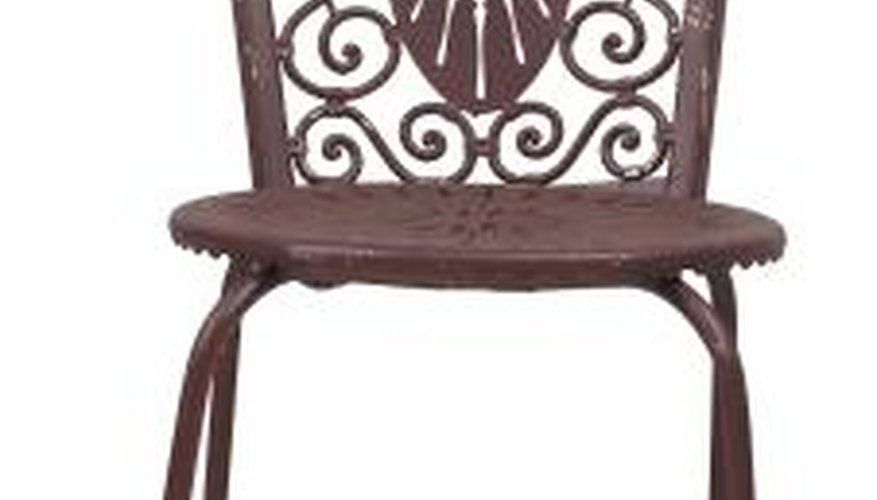 Degrease metal surfaces with acetone or solvent 646 and prime with anti-corrosion primer GF-021 "Universal" TEX, wooden surfaces - with antiseptic Biotex ECO primer "Profi" TEX. nine0003
Coloring
Before painting the battery, mix the enamel thoroughly. Apply to the prepared dry clean surface with a brush, roller or spray in 1-2 coats. If necessary, the enamel can be diluted by 5-10% with water. Drying time at +20ºС and relative humidity of 65% "from dust" - 1 hour, the next layer can be applied after 4-6 hours. The final resistance of the coating to washing is achieved after 2 weeks. If the temperature drops and the relative humidity of the air increases, the drying time may increase. nine0003
Recommendations
If you seriously thought about painting the batteries in the apartment, then the best time is summer, when the batteries are cold and the heating in the apartments is turned off. During the heating season, a warm surface leads to too rapid and uneven drying of the coating.