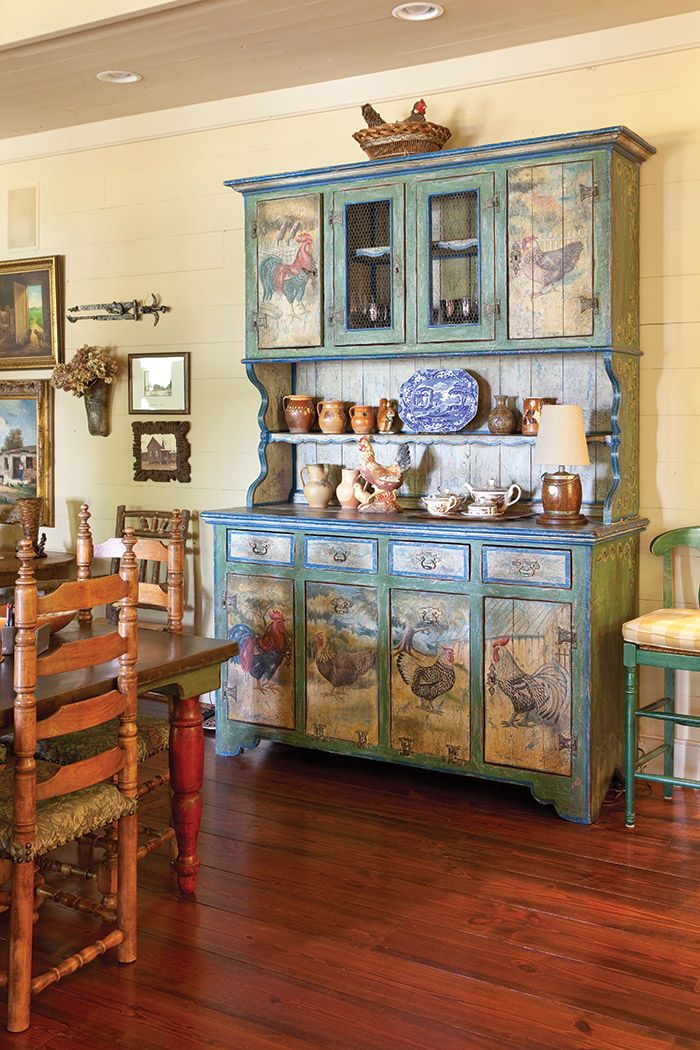
Painting a cupboard
How to Paint Kitchen Cabinets in 9 Steps
Project details
Skill
1 out of 5 Easy A smooth finish requires careful, patient sanding between coats.
Cost
Less than $100, depending on the number of cabinets
Estimated Time
A weekend, depending on the number of cabinets
If you’ve noticed the cost of new appliances, countertops, and cabinets, it’s no surprise that renovating a kitchen is one of the most expensive remodeling projects. While few homeowners find ways to boost the look of a dated refrigerator or tired granite, transforming a kitchen by freshening the cabinets that make up most of the room’s visual space is entirely within reach. But there’s more to the job than buying a gallon of your favorite color.
Read our step-by-step instructions and watch expert painter Mauro Henrique demonstrate how to get the job done right.
How Much Does it Cost to Paint Kitchen Cabinets?
Renovating a kitchen is one of the most expensive remodeling projects that you can take on, and replacing the cabinets can account for nearly 40 percent of that cost.
Cabinets for a 10-by 12-foot kitchen can easily top $5,000—and your new cabinets may actually be of lower quality than the ones you're replacing. On the other hand, a few fresh coats of paint can go a long way toward transforming your existing cabinets for a fraction of that price. In fact, the cost of painting should be no more than about $200, plus a weekend or two of your time.
Should I Paint My Cabinets?
Before you head out to the paint store, however, examine your cabinets to see if they can be resuscitated in the first place. Even the highest-quality paint job can't revive cheap cabinets that have grown frail with age. Thin veneers peel or delaminate, particleboard cabinet bottoms or shelves sag or break, and hanging rails come loose. If these are the issues you’re dealing with, you’d actually be better off replacing your kitchen cabinets.
Assuming that everything is still in fine shape and good working order, let’s examine some of the questions you’ll need to address before you start repainting your kitchen cabinets.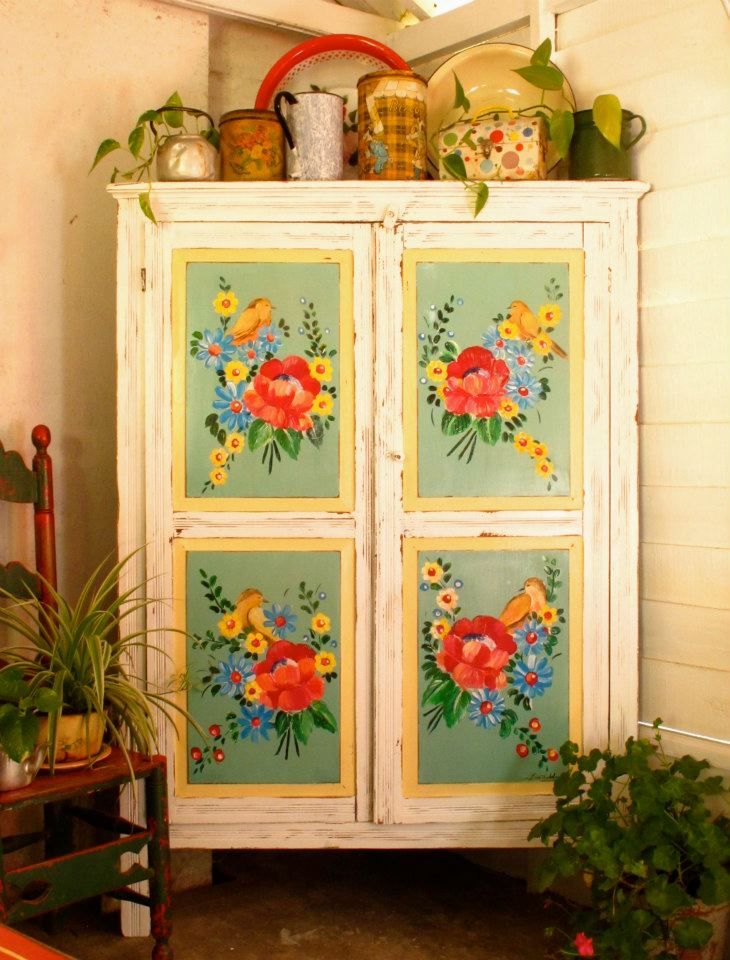
What Type of Paint Do I Need for Cabinets?
Oil or latex?
Latex paints have been improving steadily, leading some pros to give up oil-based paints entirely. Because they dry quickly and clean up with water, latex paints are more user-friendly than oil-based paints. But many pros still favor oil-based topcoats, arguing that they form a harder, more durable paint film and level out to a smoother finished surface. Latex paints also take longer (up to three weeks) than oil-based paints to fully cure. In the meantime, they’re susceptible to damage.
Bottom line: Either oil or latex will provide a good finish. If you do use a latex paint, make sure it’s a 100 percent acrylic formulation, which offers greater durability and adhesion than vinyl acrylic paints.
Brush or Spray Paint?
A sprayed-on finish is the smoothest option, but there’s a learning curve for doing it properly. You’ll also likely need to rent the spray equipment, which drives up your costs, and you’ll have to mask off all the areas in the kitchen that could accidentally get sprayed, including countertops, cabinet interiors, and appliances, which is a time-consuming process.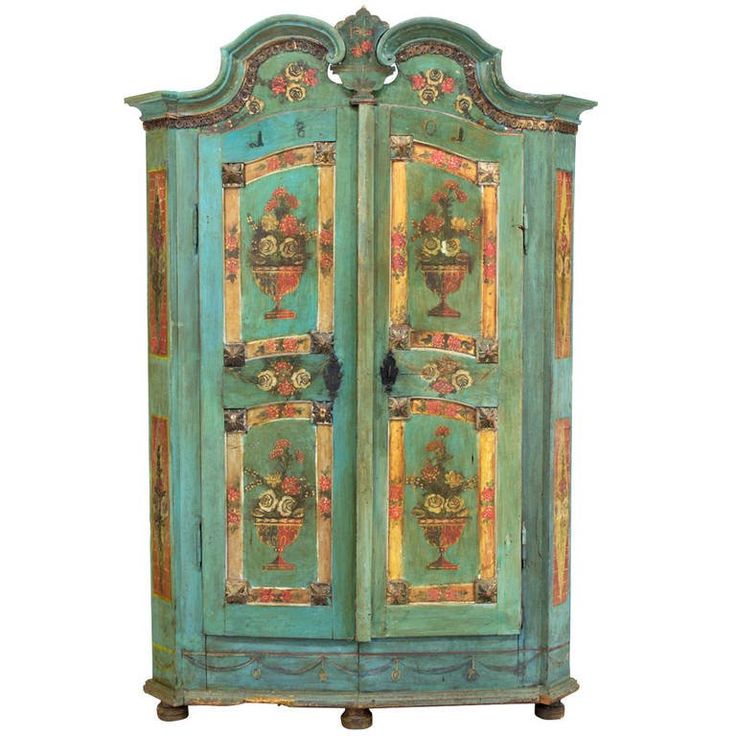
For these reasons, we recommend you opt for using high-quality brushes instead. Invest in a good, 3- to 4-inch-wide square brush, whose straight ends will make short work of large, flat panels, as well as an angled brush in the 2½- or 3-inch-wide range, which will help you get paint into the corners of doors with molding and can coat door frames in one pass. Latex paint should be applied with a synthetic bristle brush, which doesn’t absorb water; oil-based paint should be applied with a natural-bristle brush.
Can you just paint over cabinets or should you strip them?
When the existing finish is a clear coat, the best course of action is to strip the finish down to the bare wood before painting. This eliminates a potential adhesion problem between the old finish and the new paint.
But while stripping may be the ideal for purists, it’s not always practical or absolutely necessary. A thorough cleaning followed by light sanding should be enough to prepare the surface for new paint.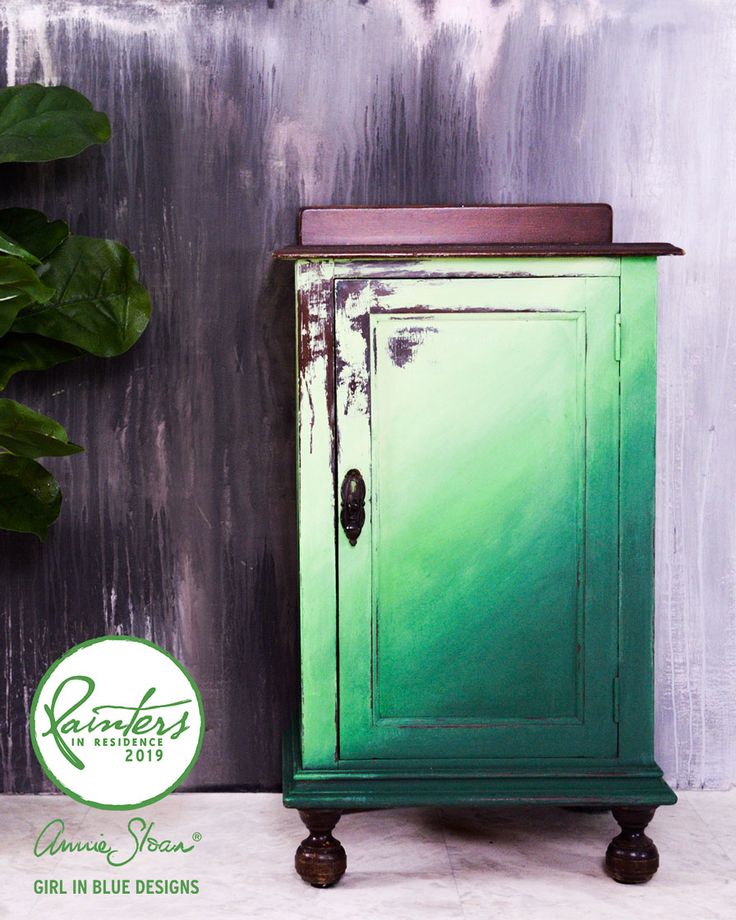
Related
How to Paint Kitchen Cabinets Without Stripping
Regular or faux finish?
If you’re open to spicing up your kitchen’s look, incorporating a faux finish can transform its style into shabby chic, rustic, provincial, or modern. Crackling glaze, which is available at paint stores, can, with very little effort, give your cabinets a weathered look. Just apply the glaze over a dry base coat, brushing in only one direction (thick for large cracks, thin for fine cracks), and let it dry. Finish with a flat topcoat of the base color brushed on perpendicular to the glaze. The paint will start to form cracks as it dries, a process that takes about an hour.
Another rustic style is the distressed look, which doesn’t require a special paint. This finish is made up of layered colors and spattered dark paint. When the paint is dry, to reveal the colors underneath, distress the finish by hitting it with a chain and lightly sanding in the spots where the cabinets get the most use.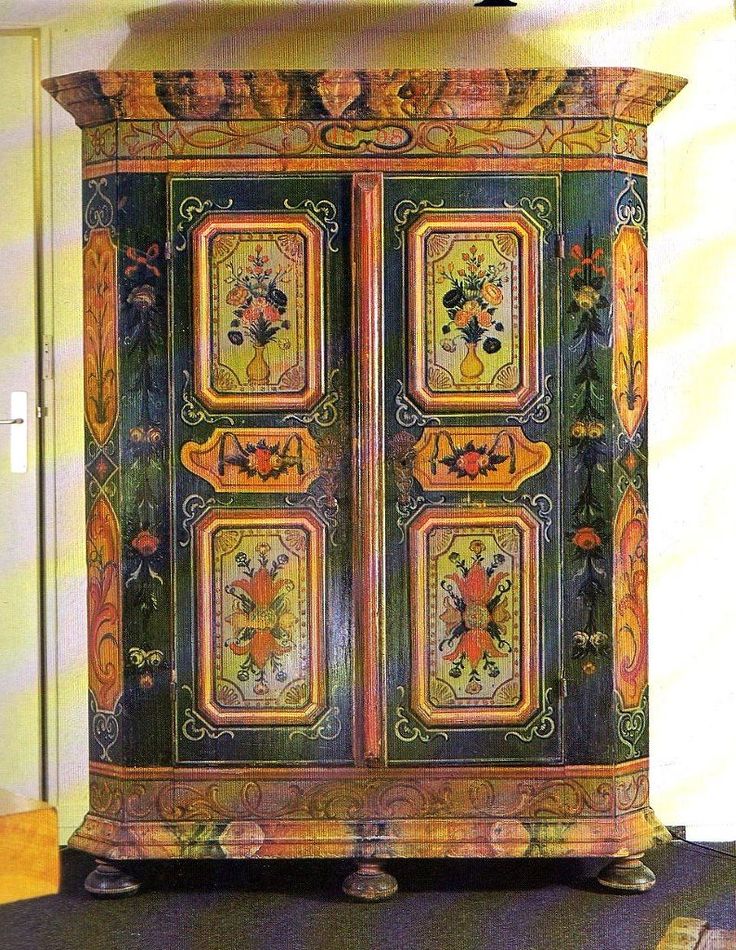
Similarly, the antiqued, slowly aged look can be achieved with some paint magic. Simply dip the tip of a paintbrush in a color lighter than the cabinets and dab the excess onto a cloth until the brush is almost dry, then lightly graze the surface of the detail trim, corners, and seams.
On the other end of the spectrum is a high-gloss finish, which will transform your kitchen into a polished, modern space. To shine up your cabinets, paint a high-gloss clear acrylic varnish over your final coat. This technique will add depth to the color and cover the surface of your kitchen with a glassy sheen.
Steps for Painting Cabinets
1. Prep the room
A successful paint job lies in diligent prep work, and the first few steps are focused on prepping the room and cabinets for painting.
- Start by emptying the cabinets, clearing off the counters, and removing any freestanding appliances.
- Relocate tables and other furniture to another room.
- Tape rosin paper over the countertops and flooring, and, to protect the rest of the house from dust and fumes, tape plastic sheeting over the backsplash, windows, fixed appliances, and interior doorways.

- Mask off the wall around the cabinets.
- Set up a worktable for painting doors, drawers, and shelves.
TIP: Set Up a DIY Paint Station
Brown Bird DesignThis makeshift jig provides access to all sides of a cabinet door to reduce downtime during drying. Here’s how to set it up:
- Span a pair of 2x4s at eye level between two ladders.
- Screw eye hooks into one end of a 2x4, where doors will be painted, and at the other end, screw hooks into both 2x4s to hang painted doors from.
- Add corresponding hooks to the top edges of upper cabinet doors and the bottoms of lower doors and drawers, where the holes left behind won’t be visible.
2. Remove the doors, drawers, and shelves
Gregory Nemec- Be sure to mark each drawer front and door with a marker to prevent mixing up the doors. The best place for this mark is behind the hinge location.
- Back out the hinge screws from the cabinet frame and remove the doors.
- Working from left to right, top to bottom, label each one with a numbered piece of tape. Also, number the edges of cabinet shelves and the bottoms of drawers.
- Set aside the shelf-hanging hardware.
- At your worktable, remove the pulls and hinges and save what's being reused.
- On the doors, transfer the number from the tape to the exposed wood under one hinge.
- Cover it with fresh tape.
3. Clean all the surfaces
- Clean the cabinet by spraying it with a degreaser solution and wiping it down with a rag. This removes all the oils and grease that could prevent a perfect finish. If ordinary cleaners aren’t effective, consider using a stronger cleaner like trisodium phosphate (TSP), which is sold at hardware and paint stores. Just make sure you follow the safety precautions on the container.
- Once all the cabinet pieces are clean, rinse them thoroughly with water and let them dry.
4. Prep the boxes
- Open the windows for ventilation and put on safety gear.
 Using an abrasive pad dipped in a liquid deglosser, scrub down all of the surfaces.
 - Hold a rag underneath to catch drips. Before the deglosser evaporates, quickly wipe away the residue with another clean, deglosser-dampened rag.
- If you're relocating the hardware, fill the old screw holes with a two-part polyester wood or autobody filler.
- It sets in about 5 minutes, so mix only small batches. The filler shrinks a bit, so overfill the holes slightly.
- As soon as it sets, remove the excess with a sharp paint scraper. If it hardens completely, sand it smooth.
- Use a foam sanding block to scuff the surfaces of the cabinet, drawers, and doors. This is a light sanding meant to give the primer something to adhere to, so don’t sand to the bare wood. Use a tack cloth to remove the sanding dust before moving on.
- Vacuum the cabinets inside and out to make sure no bits of dust mar the finish, then rub them down with a tack cloth for extra measure.
5. Prime the cabinet boxes
Kolin SmithNow it’s time for the primer. If the cabinets are heavily stained, use a stain-blocking primer, which dries quickly and seals knots and other surface defects that might bleed through the topcoats. In most situations, however, stain-blockers shouldn’t be necessary, and an oil-based or 100 percent acrylic latex primer will work just fine.
- Pour some primer into the paint tray and load the roller and brush. Using the brush along the edges and tight spots, and the roller on the large, flat surfaces, coat the cabinet, doors, and drawer fronts with a coat of primer.
- Starting at the top of the cabinet, brush on the primer across the grain, then "tip-off"—pass the brush lightly over the wet finish in the direction of the grain. Always tip-off in a single stroke from one end to the other.
- Make sure to follow the underlying structure of the cabinet or door with the brush. Where a rail butts into a stile, for instance, paint the rail first, overlapping slightly onto the stile, then paint the stile before the overlap dries.
- While you’re allowing the primer to dry, wash your brush and roller sleeve, and pour the excess primer back into the can before washing the paint tray.
6. Sand, caulk, and fill
Kolin Smith- After the primer is dry, sand the flat surfaces with 220-grit paper.
- Sand any profiled surfaces with a medium-grit sanding sponge. The wood should end up feeling glass-smooth.
- Squeeze a thin bead of latex caulk into any open seams. (The hole in a caulk tube's tip should be no bigger than the tip of a sharp pencil.)
- Pull the tip as you go, then smooth the caulk with a damp finger. Fill any small dents, scratches, or dings with vinyl spackle, smoothed flat with a putty knife.
- Once the spackle is dry (about 60 minutes), sand again with 220-grit paper, vacuum, and wipe with a tack cloth.
- With a spray can of fast-drying oil-based primer, spot-prime the spackle and any spots where the sandpaper has “burned through” the primer.
- Wait an hour, then sand the primer lightly with 280-grit paper.
- Vacuum all the surfaces, and wipe them with a tack cloth.
7. Paint the cabinet boxes
Kolin SmithYou’re finally ready to paint! If you’re using roughly the same shade as the existing color, two coats ought to do the job. You might even get away with one. Painting over a dark finish with a light color is tougher and could require three coats. Break out a new brush for each coat.
- Pour some trim and cabinet enamel paint into the paint tray and load the brush and roller with paint. Use the brush to cut in along the edges, push the paint into the corners, and leave out roller strokes. Use the roller to apply enamel paint to the large flat surface where possible.
- For the cabinet interior, apply the paint with a smooth-surface mini roller, which leaves a slightly bumpy, orange-peel texture.
- Cover the brush and roller with plastic bags to prevent them from hardening while you wait for the first coat to dry.
- Between coats, sand the surfaces lightly, making sure to clean up the debris afterward.
- Apply a second coat to the cabinet. This coat should provide a perfect, consistent finish without any thin or light areas where wood might show through.
8. Prep, prime, and paint the doors, drawers, and shelves
The strategy for prepping, priming, and painting doors, drawers, and shelves is the same as for the cabinets, except that all the work is done on a table to reduce the chance of drips, runs, and sags.
- When painting paneled doors, start with the area around the panel.
- Then, do the main field of the panel, and finish with the stiles and rails around the edges.
- As you go along, wipe up any paint that ends up on adjacent dry surfaces to eliminate the chance of lap marks.
Tip: To speed up the drying time for doors, you can twist two screw hooks into holes drilled in an inconspicuous door edge (the lower edge for bottom cabinets, the upper edge for top cabinets).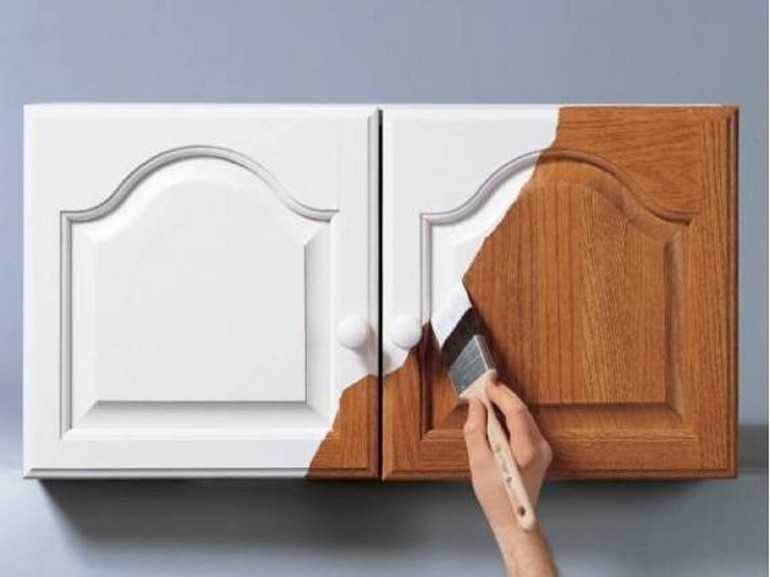 Paint the door's outside face and let it dry for an hour while resting flat, then tilt the door up onto its hooks and put a drywall screw into an existing hardware hole. Hold the tilted door up by the screw and paint the door's back side.
- When you're done painting, pick up the door by the screw and one hook and hang both hooks on a sturdy clothes hanger.
- Suspend the door from a shower curtain rod or clothes rod until it dries.
9. Put back all the pieces
Kolin Smith- Once the second coat dries, reattach the door and drawer fronts. Enjoy the fact that you’ve given your kitchen cabinets a fresh new look without investing a lot of time or money.
- Remove the tape over each door's number, install the hinges and knob, and hang them in their original opening.
- Replace the drawer pulls (or add new ones) and reinstall each drawer.
Shopping list
- Degreaser spray
- Latex primer
- Water-based trim and cabinet enamel paint
- Roller sleeves
Tools
Tools & Materials
-
Screwdriver/screw gun
-
Permanent marker
-
Rags
-
Foam sanding block
-
Tack cloth
-
Paint tray
-
Paintbrush
-
Mini paint roller
Painting Kitchen Cabinets
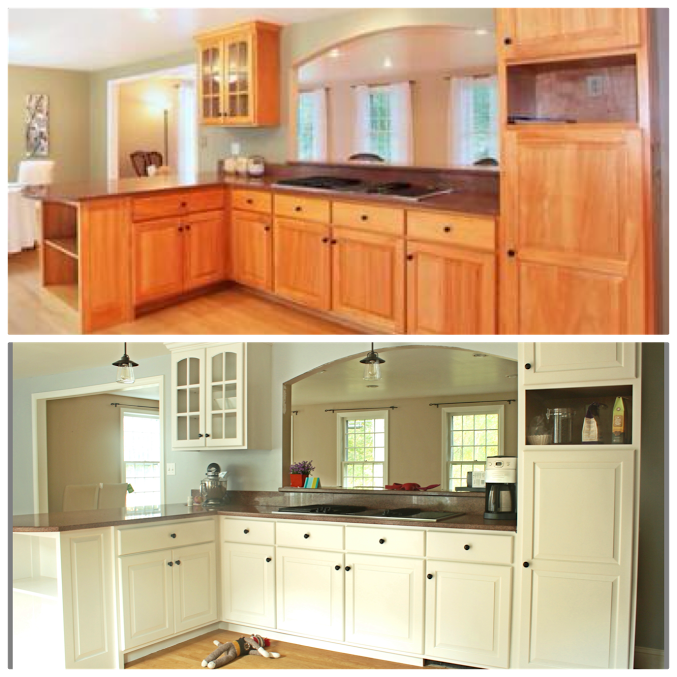
A fresh coat of cabinet paint can update the look of your entire kitchen, since cabinets are such a strong focal point. But contrary to what you might see on Instagram or Pinterest, the transformation won't happen overnight. "This isn't a lazy Sunday project," says Sherry Petersik, who, along with her husband, chronicles a variety of decorating projects on her popular blog Young House Love.
We're not trying to talk you out of this DIY home-improvement project — painting kitchen cabinets really is one of the best ways to breathe new life into a tired kitchen. But if you don't go about it properly, you could waste hours upon hours and end up with a kitchen that looks worse, not better.
The experts at the Good Housekeeping Institute have decades of experience testing all of the products used in this project, from the cabinet paint itself to paint sprayers, paintbrushes for home projects and other application tools.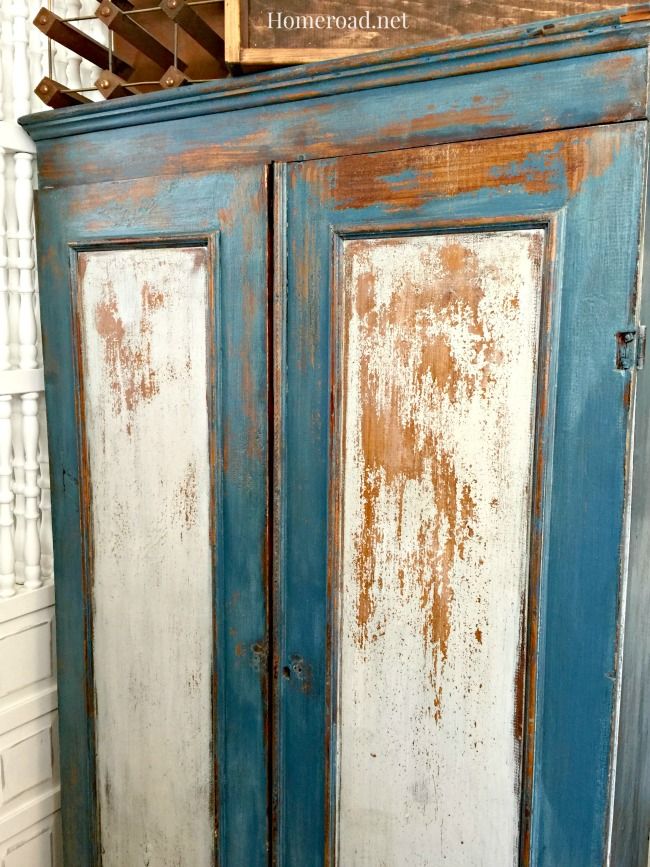 For this how-to article, we combined those findings with insights from pros who specialize in cabinet refinishing.
It will take some time and effort on your part, but armed with our step-by-step guide, your cabinets will look new again for a fraction of the cost of replacement units.
Step 1: Assess your cabinets
Not all kitchen cabinets can be painted. The best candidates are wood cabinets with plain, simple fronts, often referred to as Shaker style. Cabinets with intricate details and applied moldings will be harder to paint, and pros don't recommend refinishing cabinets covered in plastic laminate or rigid thermofoil, since paint doesn't adhere well to those glossy surfaces.
If in doubt, run a test on an inconspicuous area, like the inside of a base corner cabinet. “We'll apply a small area of primer, let it dry overnight and then attempt to scratch it off the next day,” says Nick Slavik, a professional painter based in New Prague, Minnesota, and the host of the Ask a Painter Live show on Facebook.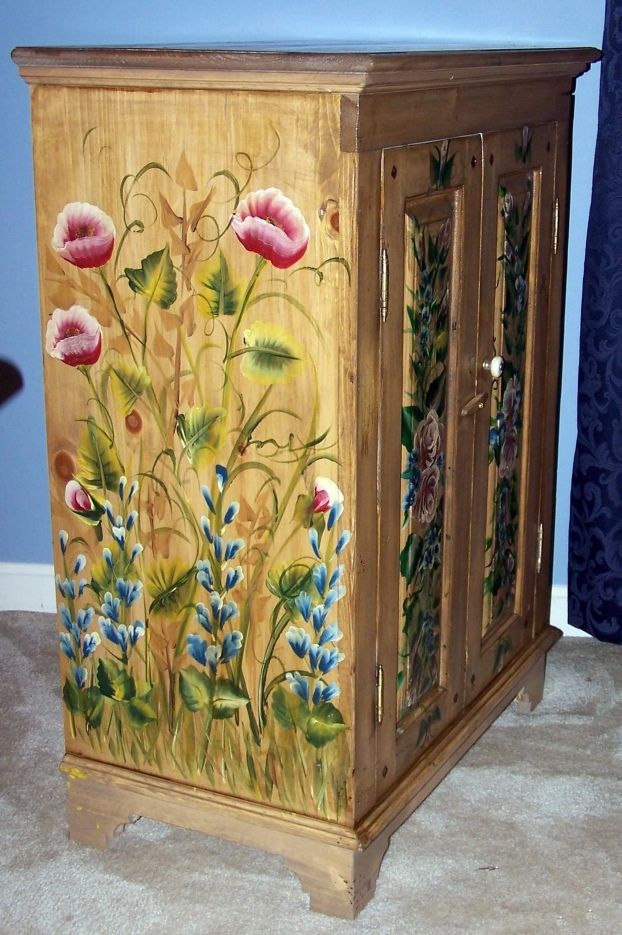 "If you can't scratch it off, you'll have proper adhesion."
Consider the condition of the cabinets too. "If there's a lot of water damage, or the doors are falling off their hinges, you're better off replacing the units," says Devyn Doyle, owner of VI Painting in Eagan, Minnesota, and a member of the Painting Contractors Association. It's also important to note any heavy grain pattern, typical of species like oak and walnut, since the texture will likely show through, even after a couple of fresh coats of paint. Fine-grained species, like cherry and maple, have a silky-smooth texture that's more conducive to refinishing.
Step 2: Come up with a realistic schedule
OK, brace yourself: To do the job right, you need to budget at least 40 hours for the project. But you'll save a bundle, compared with hiring the job out. "Most kitchens will cost $4,000 to $6,000 for a professional finish," Slavik says. You can do the work yourself for less than $250.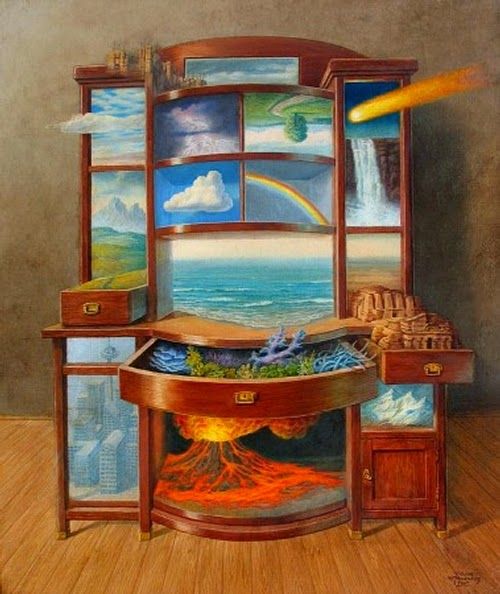 Enlisting a helper or two will make the work go faster, and the extra hands will be useful when handling large cabinet doors and other heavy or unwieldy objects.
Step 3: Gather
all the materials and suppliesHaving to run back to the home center after the work gets underway is a huge time waster. Here's a list of the basics:
- Drop cloths
- Painter's tape
- Ladder
- Drill or screwdriver
- Degreasing agent
- Sponges
- Wood filler
- Putty knife
- Sandpaper (assorted grits)
- Shop vac
- Primer
- Paint
- Paint trays and liners
- Applicators (sprayer or brush and roller)
Choosing the right paint is essential to a smooth, durable finish. Pros recommend enamel paints specially formulated for cabinets and other high-touch surfaces. "Standard wall paint will leave you with a soft, tacky finish," Slavik says.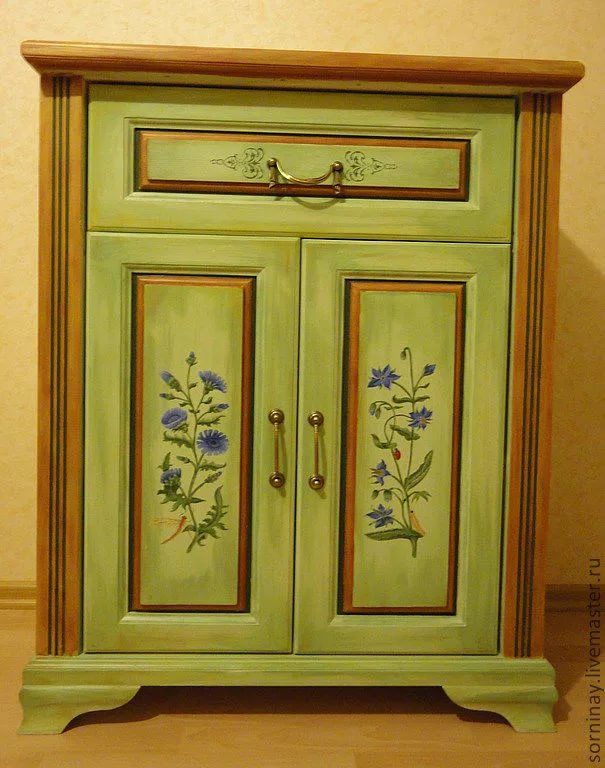 Doyle agrees and usually goes with a European brand called Ilva for its adhesion and durability, but it can run more than $100 per gallon.
Based on Good Housekeeping's latest paint tests, our experts recommend Benjamin Moore's Advance, specially formulated with kitchen cabinets in mind. It goes on smooth and easy and cures to an exceptionally hard, furniture-grade finish that can stand up to the busiest kitchens.
Experts at the Good Housekeeping Institute use an abrasion machine to determine how well cabinet paints can stand up to the wear and tear of a busy kitchen.
Now let's talk applicators. Every pro we talked to uses a paint sprayer on cabinets. Not only does using the power tool result in beautiful, even coverage, but it's also about 10 times faster than painting with a brush, and speed is crucial to a pro's bottom line. Of course, pros are painting every day, so sprayers are worth the investment. But our experts find many other uses for the equipment, from refinishing furniture to painting and staining decks, fences and other exterior surfaces.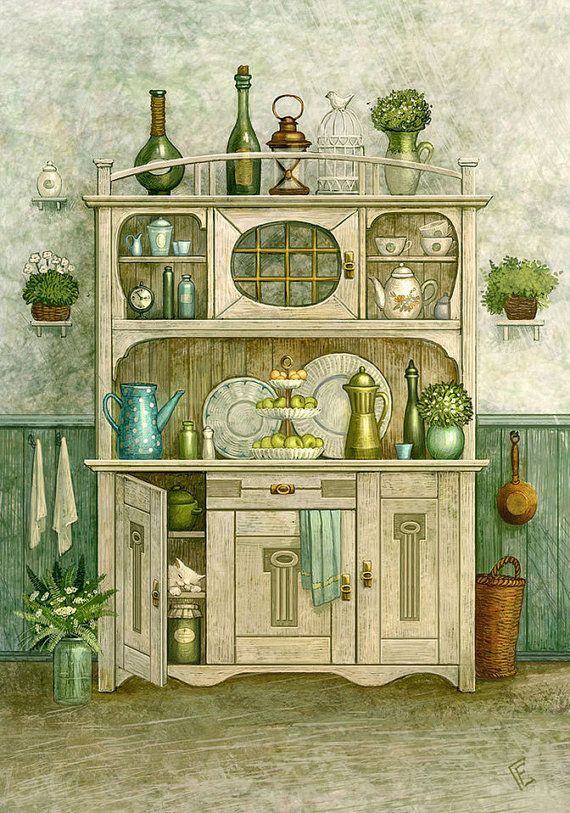 In our latest tests, the Wagner Control Spray Max was named best value paint sprayer on the strength of its competitive price and versatility, including its ability to spray paint, wood stains and polyurethane finishes.
If you go the manual route, experts recommend a two-inch angled brush for cutting into the inside corners and crevices of cabinets and a roller for flat surface areas. Be sure to pick the right paint roller nap:
"A traditional woven roller will create too much texturing in your finish, so opt for a finer material, such as a microfiber option, to ensure an ultrasmooth finish,” says Nicole Gibbons, founder of the paint brand Clare. A mini-size roller that's around 4.5 inches wide is best for smaller surface areas, like cabinets.
Step 4: Remove the doors and drawers
With a schedule set and your supplies in hand, you're ready to get started. First things first, empty the cabinets, clear the counters and move any furniture that's in the way. Then cover the backsplash, counters and floor with drop cloths, builder's paper or plastic tarps.
Many DIYers make the mistake of trying to save time by refinishing their cabinets in place. Don't do it! "Your cabinets and hardware will start to chip and show signs of wear within a month — or even immediately," Petersik warns.
Instead, use a drill or screwdriver to remove all the doors, drawers and hardware. Because they'll need to go back in the same place, use numbered labels to help you remember where everything goes. A piece of masking tape stuck to the back of each component will do just fine. Write its exact location (e.g., "above sink, left") so there will be no guessing where it goes later. Then stash screws and hinges in a jar for safekeeping.
Step 5: Prep the surfaces
Good prep work starts with a thorough cleaning. "No matter how clean you think your kitchen is, you need to wipe everything down with a grease remover," says Don Fahrbach, president of professional painting company PNP Craftsmen in New York City. Otherwise, when you add a water-based paint to an oil-covered door, the paint won't stick. He recommends a paint-prep degreaser called Klean Strip TSP Substitute and a nonabrasive scrub sponge for stuck-on spots.
Once the doors and drawers are clean and dry, use wood filler to repair any cracks or chips. Then hit every surface with sandpaper; the goal is to knock the shine off so that the new coatings have something to grab onto.
"We start with 180-grit sanding sponges, catch the dust with a shop vac, then use a damp microfiber rag to remove any last dust," Slavik says.
Next, apply the primer coat, either outdoors or in a well-ventilated part of the house. This will help conceal any stains or graining and help with the adhesion of the finish coat. Before reaching for the sprayer or brush, it's important to sand the surface again, this time with an ultrafine 220-grit sandpaper. These extra steps stretch out the project, but they're the only way to get proper adhesion and an A-plus finish.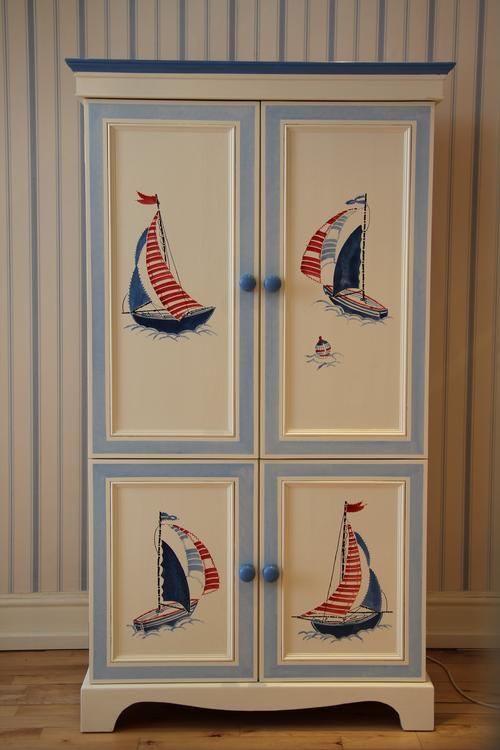
Step 6: Apply the paint
All right, time to add some color. Speaking of which, given how time-consuming cabinet refinishing is, you won't want to do it again anytime soon. Experts advise painting a poster board with a sample can of paint in the color you're considering. Then, hang it next to your backsplash and appliances to make sure it really works.
Whether you're using a paint sprayer or brush, start with the doors and drawers; they take the longest, since you need to paint both sides and let them fully dry in between the two top coats. Beginning with the back sides, apply one coat, wait 24 hours, then move on to the second coat. The following day, flip the doors and drawers over and paint the first coat on your front-facing sides. Wait 24 hours before painting the second coat. Use the drying time in between coats to paint the insides of the cabinets.
Step 7: Reassemble the cabinets
Wait 24 hours (or several days, if you can) after applying the final coat before reinstalling the doors and drawers.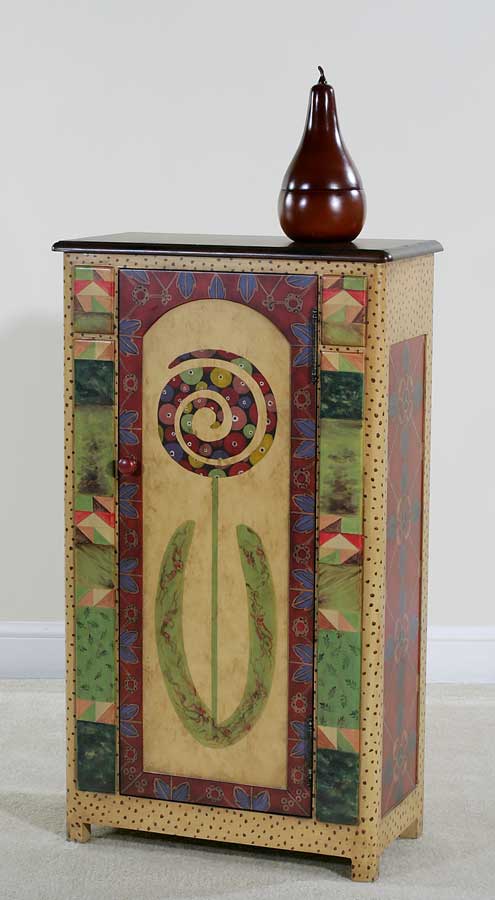 This will give the paint time to dry and cure to a hard, enamel-like finish. If you rush the process and accidentally smudge some of the paint, you'll have to sand the door and repaint the surface. Trust us, it's worth the wait.
"Painting cabinets can be tedious, but if you take your time to do it the right way, you'll be so happy with the results," Gibbons says.
Monique Valeris
Senior Home Editor
Monique Valeris is the senior home editor for Good Housekeeping, where she oversees the brand's home decorating coverage across print and digital. Prior to joining GH in 2020, she was the digital editor at Elle Decor. In her current role, she explores everything from design trends and home tours to lifestyle product recommendations, including writing her monthly column, "What's in My Cart."
Rachel Rothman
Chief Technologist & Executive Technical Director
Rachel Rothman (she/her) is the chief technologist and executive technical director at the Good Housekeeping Institute, where she oversees testing methodology, implementation and reporting for all GH Labs.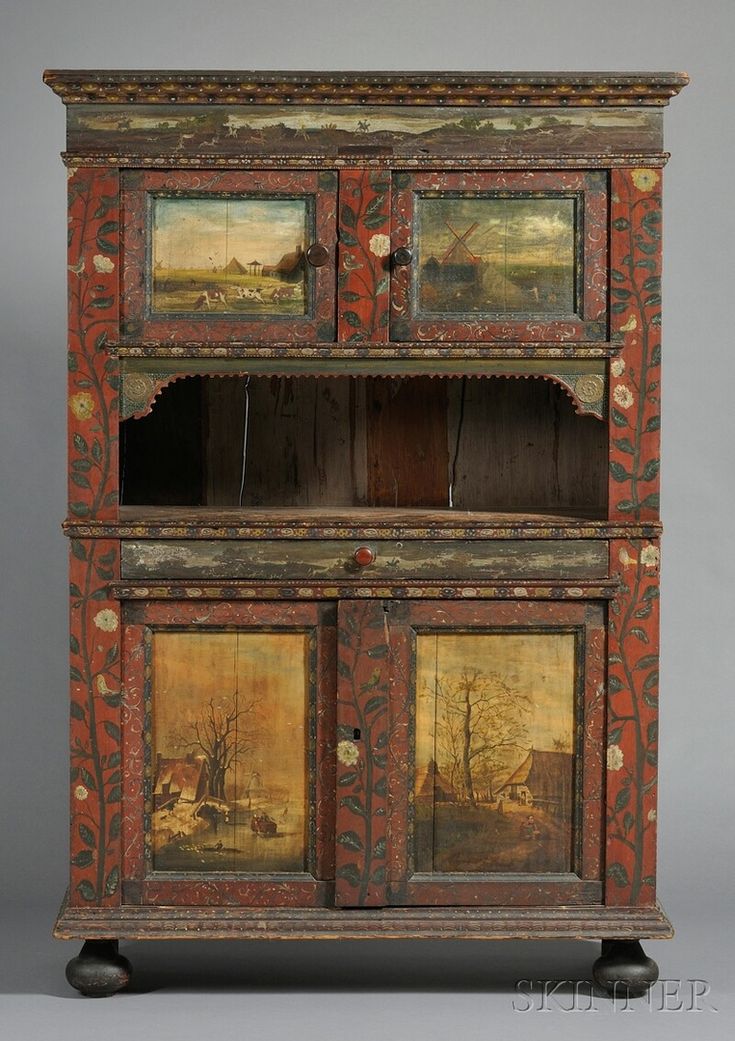 She also manages GH’s growing research division and the analysis of applicants for the GH Seal and all other testing emblems. During her 15 years at Good Housekeeping, Rachel has had the opportunity to evaluate thousands of products, including toys and cars for GH’s annual awards programs and countless innovative breakthroughs in consumer tech and home improvement.
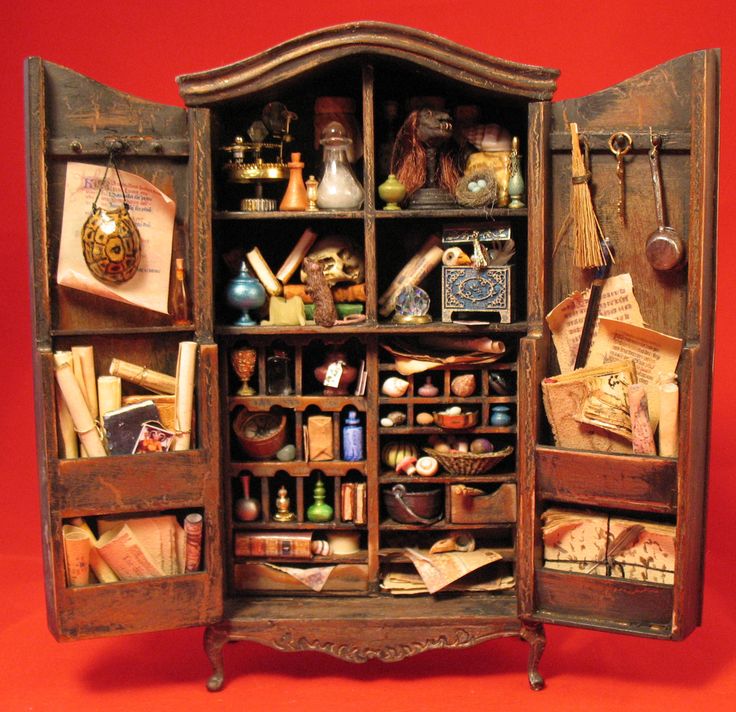
How can you paint a cabinet in an interesting way? 30 creative ideas from Rusavtolac
- home
- News
- How can you paint a closet? 30 creative ideas from Rusavtolac
When furniture loses its former gloss and attractive appearance, it is customary to get rid of it.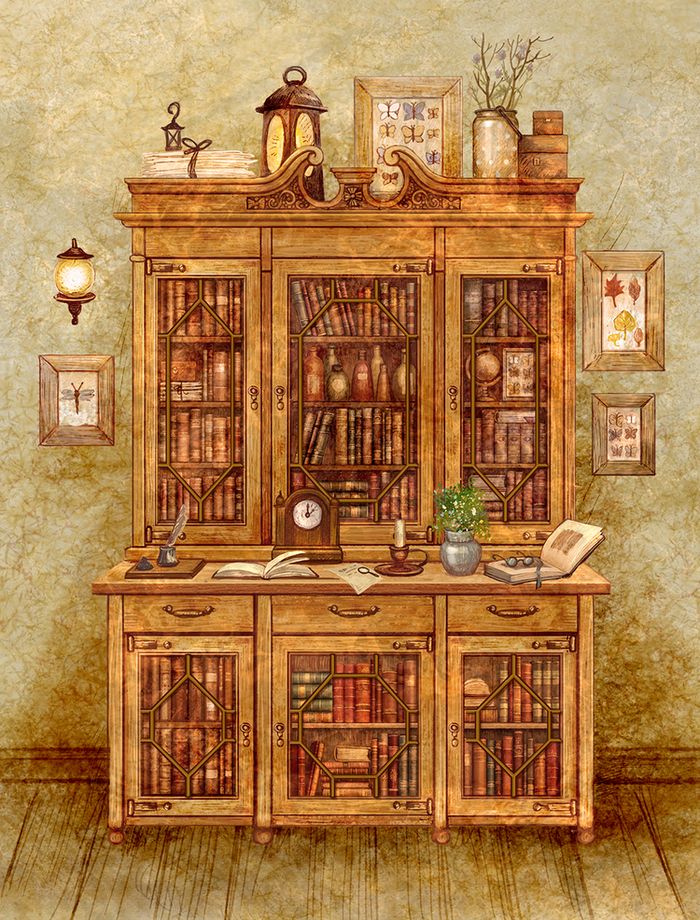 But if it is easy to replace a table or chair, then not everything is so simple with a wardrobe. After all, this furniture is often someone's gift, inheritance, or just a huge, scary, but extremely useful item in everyday life, which you really don't want to part with. What to do in such a situation when the old cabinet is tired, but you don’t want to buy or make a new one at all? There is only one answer - repaint the furniture yourself.
In fact, painting a closet is much easier than it might seem at first glance. Especially if you use aerosol cans. Indeed, in this case, neither rollers, nor solvents, nor brushes are needed. The repair kit will only include sandpaper, masking tape, polyethylene (or old newspapers) and spray paint. How to apply all this? Very simple: with the help of abrasives, the surface will be prepared for painting, masking tape and polyethylene will help to cover those places where the paint should not get, and aerosol cans will actually become the main tool for painting the cabinet.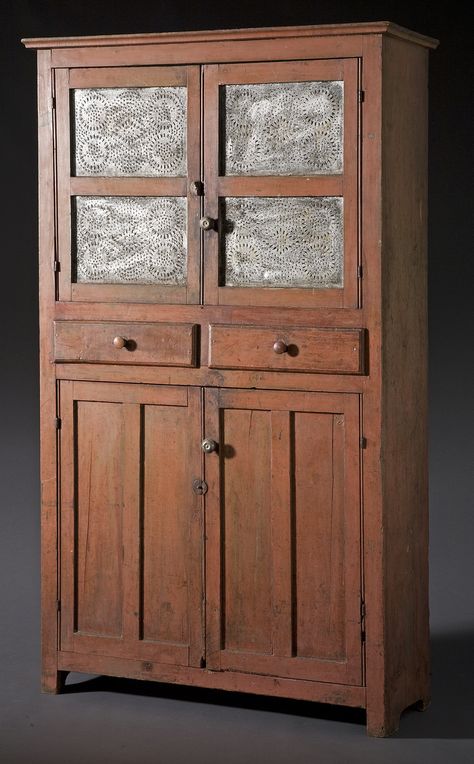
An important point: surfaces coated with varnish are subject to mandatory sanding. It is also highly desirable to apply primer to the surface before painting and wait for it to dry completely. Before using aerosol cans, they should be shaken well for several minutes. And the spraying itself should be carried out in several thin layers from a distance of 30 cm.
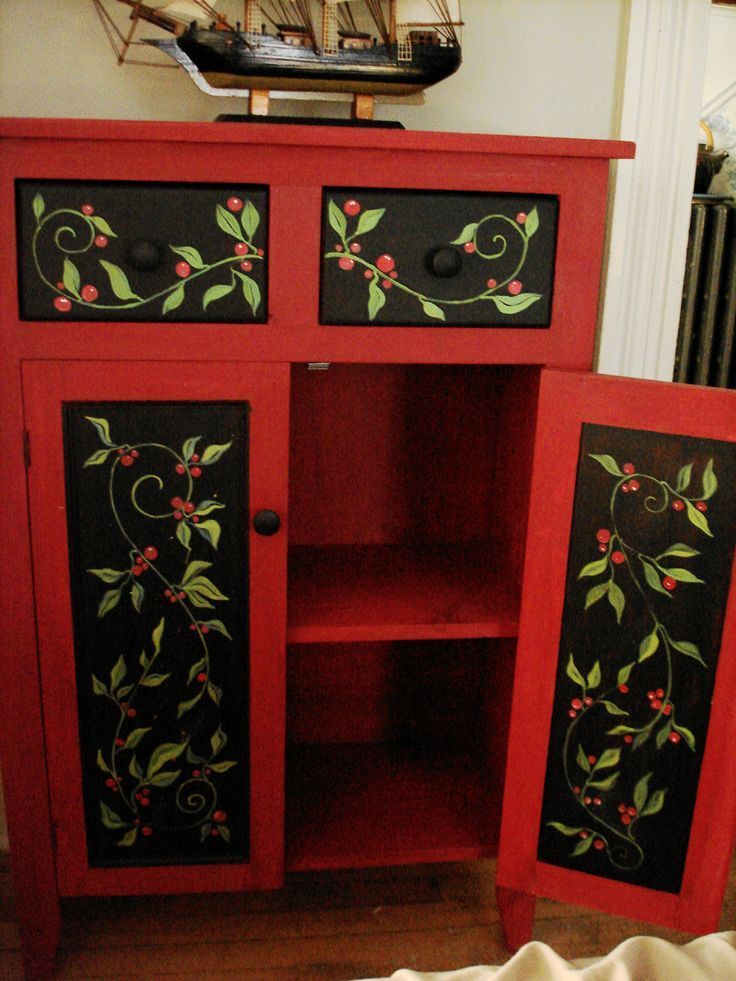
If you decide to paint the cabinet, then do not be afraid to use bright colors, use stencils, unusual color combinations, and make drawings. Give free rein to your imagination! And you can stock up on a huge portion of creativity with the help of a special, thematic selection of photos from Rusavtolak .
It is easy to paint a wardrobe in a children's room - just choose the brightest colors and diversify the doors with additional elements.
The classic Soviet hill can be easily turned into an extremely interesting element of the interior.
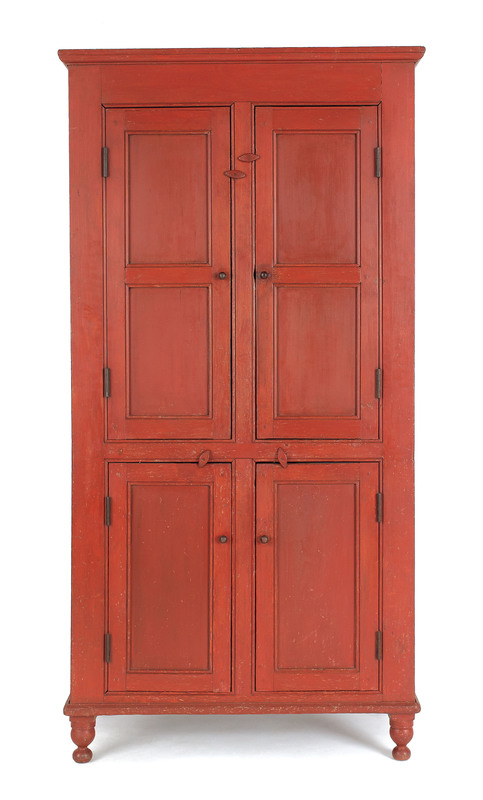
Completely painting such an extremely common cabinet is a matter of several hours.
How much an ordinary wardrobe changes, one has only to repaint it with high quality and remove the doors
Drawing such stripes is extremely simple - for this you need to evenly glue the masking tape and press it firmly. After spraying the paint, it can be easily removed and get this effect.
If you are going to paint your closet again, then you should not forget about new hinges for its doors.
If you have always received “excellent” marks in drawing lessons, then you can paint the cabinet with the help of original drawings.
The back wall of the cabinet can be varied using ordinary colored and patterned oilcloths
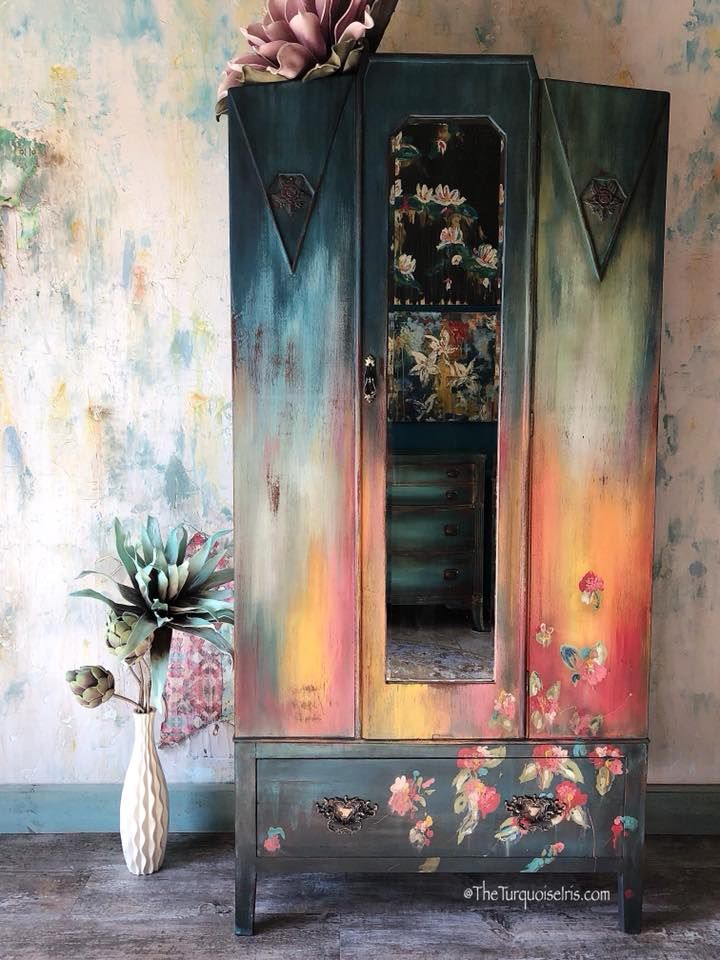
Painting a closet like this is an extremely difficult task. But the result is worth it!
Strokes can be made with a regular marker with a thick pen, and then sprayed over with a protective colorless varnish. Or use an aerosol can, after covering nearby surfaces.
Nothing complicated, but looks very cool and fresh!
A great example of a real "girly" work. Why not?
You will never find furniture in such bold colors on sale. But to make it like this is a couple of trifles.
Want to paint your closet too? Ordinary homemade gauze will help you with this!
An extremely simple job. But minimalism is in vogue right now!
We should not forget that spray paints come with various special effects. For example, this is how a coating with a craquelure effect will look like.
Not a bad job, but the fasteners for the doors could have been chosen differently.
In order to paint a cabinet like this, you only need a few aerosol cans of paint.
The locker left from the old slide can be easily turned into a nice and independent element of the interior.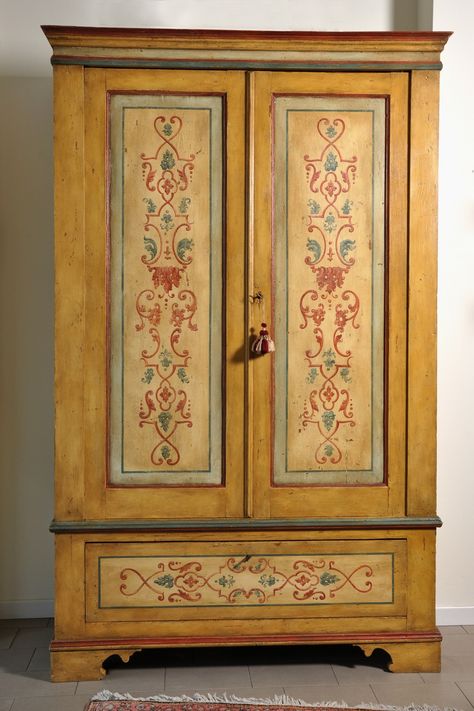
Very good coloring, which is ideal for decorating the room
Painting a closet in such a nice color and applying patterns in the form of lizards is much easier than it seems. Just try!
You can (and should!) paint even new furniture, if for some reason you no longer like it.
Sometimes, for the resuscitation of furniture, it is enough just to lightly “dust” it with paint ...
… or wash, clean and re-varnish.
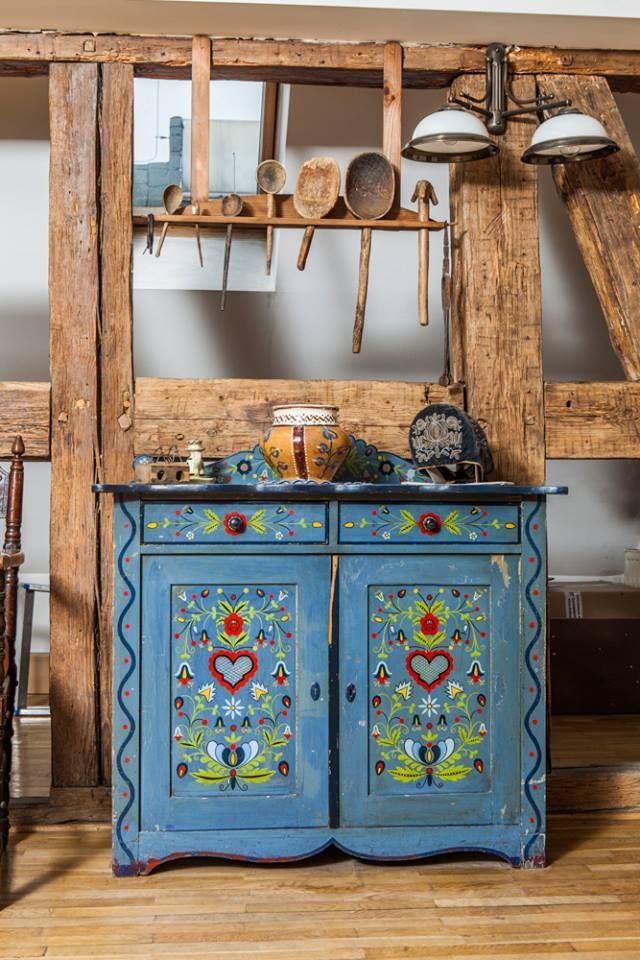
Do you want to paint your closet in vintage style? Not a problem - after the paint has dried, carefully remove the coating from the corners and protruding surfaces.
Repainting a cabinet a different color makes it look and feel completely different. Checked!
Thank you for subscribing!
Subscribe to the newsletter
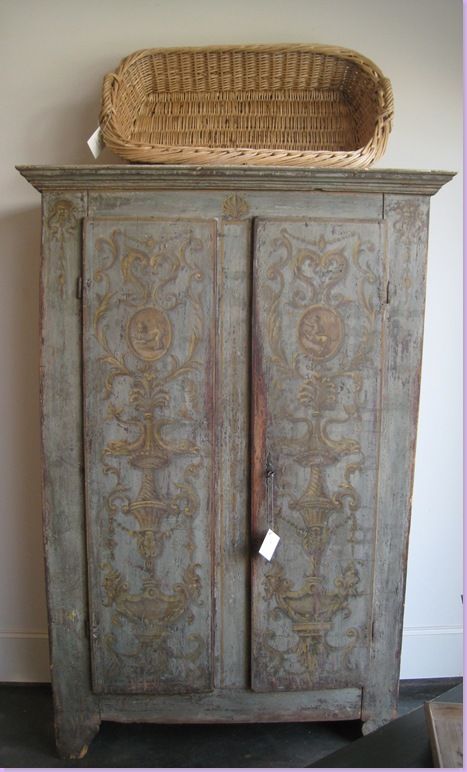
Step by step how to paint an old wardrobe with your own hands
Furniture belongs to those interior items that are purchased with the expectation of long service.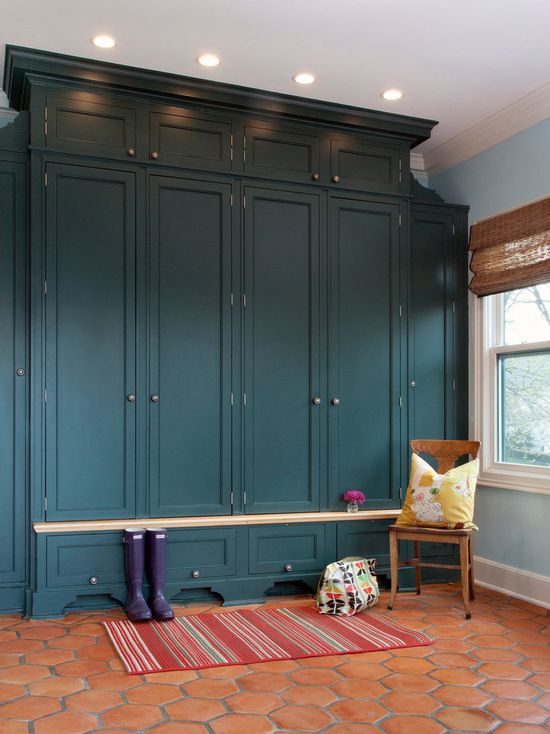 It is not at all necessary to throw out used furnishings if, after repairing the case, drawers and facades, they no longer fit the interior or simply require updating. If the design is strong and functionally satisfactory, it is enough to know how to paint the old cabinet with your own hands so that it serves again and pleases with its appearance.
Contents
- Can an old wardrobe be painted?
- What you need for painting
- Coloring details
Can an old cabinet be painted?
It all depends on the material it is made of and what condition it is in. Smooth lacquered surfaces require a special approach. For example, removing polish from the facades of Soviet furniture made in the 80s, if it has obvious traces of time in the form of chips and cracks, is laborious and pointless. It is unlikely that this will be done neatly and evenly.
If the cabinet itself is in good condition and does not require restoration, then it can be painted with chalk paint.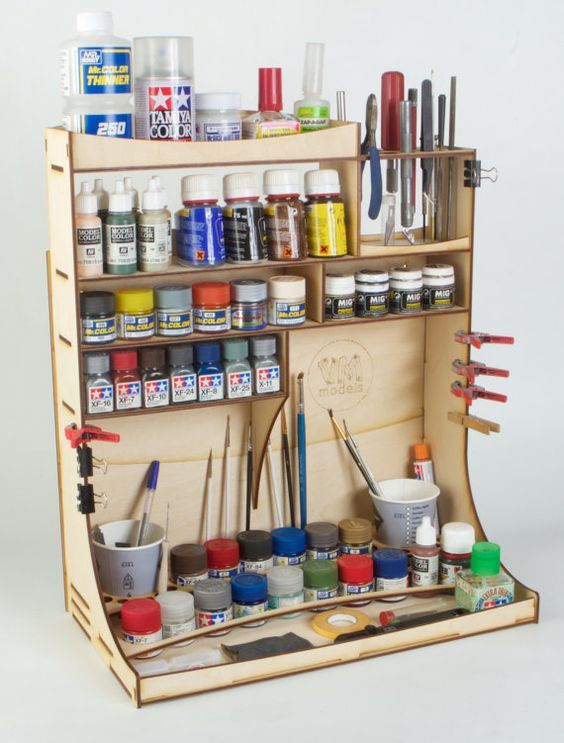 Chalk paint adheres well to veneer, wood, plywood, chipboard and MDF surfaces. Unlike acrylic, which requires:
- Complete removal of the varnish layer (for better adhesion of the coating to the surface). To do this, you will have to arm yourself with a whole arsenal of tools for sanding and sanding an old cabinet.
- Washing and dedusting the surface, followed by degreasing.
- Application of primer and special contact agents before painting.
Chalk paint makes painting easier:
- Glossy varnish and a smooth surface are no problem. It is not necessary to sand the top layer of the old polished cabinet.
- Before painting, the surface of the old cabinet must also be cleaned, dedusted and degreased.
- If the furniture has been painted with oil paints or varnished in the past, or the type of coating could not be determined, it is recommended to use blocking primers before painting. This will eliminate the possibility of incomprehensible stains.
- In all other cases, the first coat of chalk paint will act as a primer. It needs to be allowed to dry for a few hours.
What you need for painting
The most time and money consuming process of preparing an old cabinet for painting. You may need:
- Sandpaper of different grit to sand the top coat for better adhesion (adhesion) to the paint, sponge and brush to remove dust.
- Metal brushes for brushing if the cabinet is made of solid wood and the goal is to make the texture of the wood more expressive before painting.
- Sander for the automation of sanding and brushing. By the way, for this you can use a screwdriver or a drill with special nozzles.
- Building dryer and scraper/trowel if the old cabinet has been painted in the past.
- Wood filler for patching holes and irregularities, spatula.
- Thinner, primer, paint tray, masking tape, gloves and other protective items (apron, goggles, respirator, etc.
 ).
). - Paint brushes narrow and wide, foam or velor rollers. Ideally - a spray gun.
Prior to the advent of chalk paints, acrylic-based formulations were most in demand. Acrylic paints have a lot of advantages: they are diluted with water and mix easily, dry quickly, do not have a strong smell and are resistant to abrasion. Ideal for painting cabinets in children's rooms, bedrooms and kitchens.
For safety reasons, painting should be done outdoors or in a well-ventilated area, away from flammable objects and potential ignition sources.
Painting details
- If the goal is to paint the cabinet white or any other light shade, the surface must be carefully primed. It is also better to choose a primer for furniture on an acrylic basis, to match the paint.
- Priming is also necessary for chipboard, since this material absorbs moisture strongly (and, accordingly, paint consumption will be large). Laminated chipboard, on the contrary, absorbs very poorly and it is better to use a more viscous alkyd enamel for staining.
- The visual effect of staining also depends on how many layers of paint were applied.
- Translucency is appropriate to emphasize the texture of the wood - one or two coats, preferably with a roller, will be appropriate here. More dense staining with a brush involves applying in several layers.
- When combining several colors, lighter shades are applied first, then darker ones. Borders are marked with masking tape. For a smooth gradient, the “light to dark” principle is also used, gradually introducing color pigment.
The top coat after painting an old cabinet can be wax or varnish.
Wax gives depth to the selected shade and a pleasant velvety. However, over time, it wears out, is washed out and needs to be renewed. Therefore, it is not suitable as a finishing coat for cabinets in kitchens, bathrooms and hallways.
water based varnishes give a more durable finish. Such a noble dullness, like wax, should not be expected from them. Even formulations marked "matte" give a slight gloss to the painted surface.
Polyurethane Lacquers are ideal for finishing painted kitchen and bathroom cabinets as they form a more abrasion resistant protective layer on the surface. But apply them only in a well-ventilated area.
Also, for additional patination effects, artificial aging of furniture, you can use additional compositions - varnishes and topcoats of various brands.
Painting is not always a panacea for furniture renovation. It is quite possible that it will be appropriate for the cabinet body, and the facades will need to be replaced. We recommend that you familiarize yourself with the types of furniture facades in order to choose the best option.