New basement bathroom
Everything You Need to Know About Installing a Basement Bathroom
Unfinished basement space often goes unused for anything more than storage, and even finished basements often lack a bathroom, forcing guests and household members alike to climb up at least one flight of stairs when they need to use the facilities. Basement bathrooms are a great way to use the entire home efficiently. They appeal to homeowners that plan to continue living in the house and they are also attractive to prospective buyers, typically leading to an increase in the value of the home.
However, the process of installing a basement bathroom consists of several steps that must be handled by a professional in order for the bathroom to pass an inspection and satisfy building permits. The cost of materials and hiring professionals to complete the work often deters homeowners from pursuing this upgrade, but there are many steps that can be completed by an experienced DIYer to help reduce the overall cost. Take a look at this guide to everything you need to know about installing a basement bathroom before deciding whether this upgrade is right for your home.
Pros and Cons of Installing a Basement Bathroom
While installing a basement bathroom is a costly project that isn't DIY-friendly, homeowners will see an increase in the overall value of the home and increase in ROI. Additionally, the convenience of having a nearby bathroom typically outweighs the drawback of the space that the bathroom takes up. Also, a bathroom is one of the necessary additions for any rental space, so this project may be the first step towards being able to monetize your unused basement. Overall, adding a basement bathroom is a great idea for anyone with the time and budget.
Pros
Convenient location
Increase home value
Create rental space
Assess the Costs
One of the major drawbacks to installing a basement bathroom is the costs involved because, depending on whether you are installing a small half-bath or a lavish full-bath, you can expect to pay between $8,000 to $15,000 on average.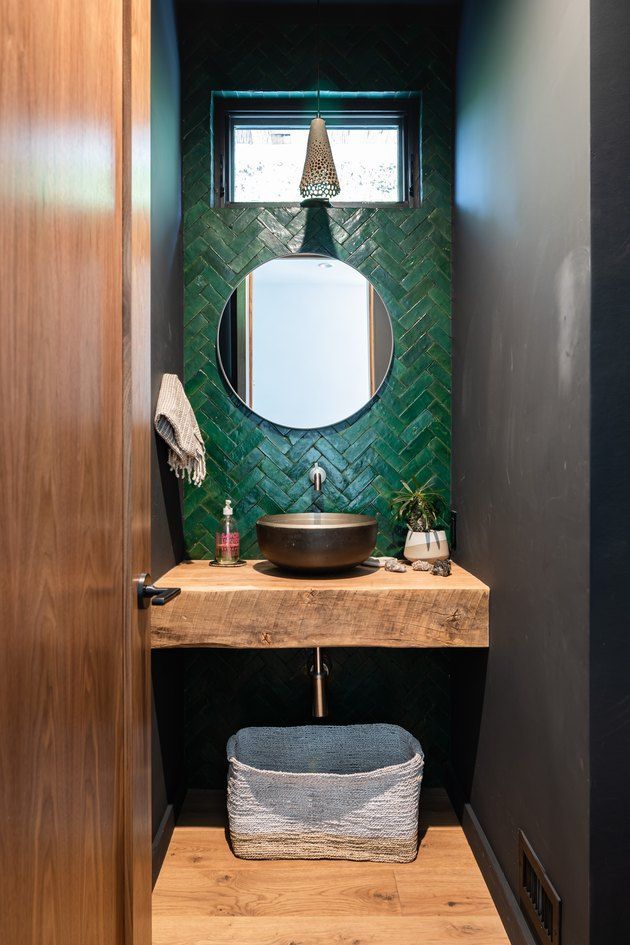 While you can save about $500 to $1,000 if the home already has a rough-in drain system installed, which is becoming more common in newer homes, there are still significant plumbing, electrical, carpentry, and material costs associated with this project. Consider the following breakdown when deciding on the design for your basement bathroom.
| Labor, Parts, and Permits | Average Cost |
|---|---|
| Rough Plumbing | $1,000 to $10,000 |
| Electrical | $500 to $2,500 |
| Drywall and Framing | $1,000 to $3,000 |
| Tile Floor | $900 to $3,000 |
| Permit | $50 to $2,000 |
| Lighting Fixtures | $150 to $900 |
| Vanity | $500 to $4,000 |
| Faucets | $150 to $350 |
| Toilet | $200 to $600 |
| Towel Rack (Optional) | $20 to $100 |
| Bathtub (Optional) | $1,400 to $7,000 |
| Glass Shower Door (Optional) | $500 to $1,400 |
| Shower/Bath Liner (Optional) | $2,000 to $6,000 |
| Shower (Optional) | $2,000 to $8,500 |
Also, keep in mind that the hourly rates for plumbers, electricians, and carpenters vary depending on the location, experience level of the technician, and licensing level. Choose professionals that are capable of meeting your expectations for the project, but that also have a rate that falls within your budget to avoid surprises when the basement bathroom is complete.
Cost to Finish a Basement: DIY vs Professional
Return on Investment
You may already have the budget to dedicate to installing a basement bathroom but are wary about your potential return on investment (ROI). However, this fear is usually unfounded. As long as the bathroom installation is completed according to local building codes with the authorization of a building permit, you can expect a great ROI. This means that when the home sells, you can expect the bathroom to increase the cost of the home by much more than the initial cost of the bathroom installation.
Adding a basement bathroom to a home that currently only has a single bathroom won't just increase the value of the home, but it will also make it much easier to sell the home because most prospective homebuyers are more interested in properties with two or more bathrooms.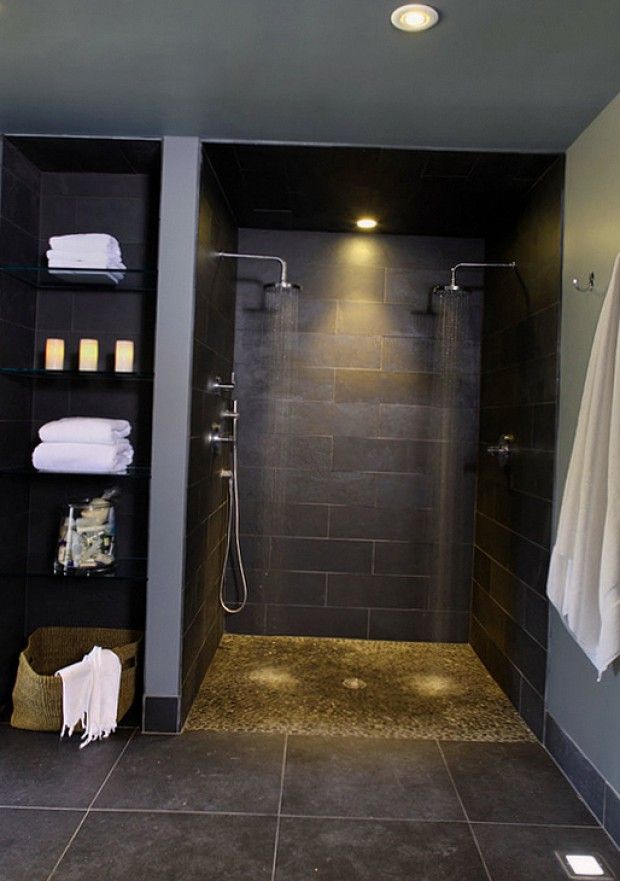
Building Permit Requirements
When it comes to adding a basement bathroom, it's likely that you will need to have new water lines, drainage lines, and electrical connections installed. This means that you will need a building permit to ensure that the work is being completed according to code. If you choose to take on this project without obtaining the proper work permits, there is the chance that the local inspectors may stop by with a 'stop-work' order and shut your project down. They may also find it appropriate to fine you and prevent any further work until the appropriate permits are obtained.
To avoid dealing with fines and unnecessary paperwork, make sure to apply for a permit ahead of time so that your bathroom installation is approved. Typically, building permits for most renovation work ranges from about $50 to $2,000, but the cost is worth it to ensure that the work is done up to code.
Project Difficulty
The idea of putting in a bathroom can seem simple enough to an experienced DIYer, but many people overlook the complications of having to dig up the concrete foundation in order to run drainage lines at the appropriate angle for efficient waste disposal and to avoid clogs.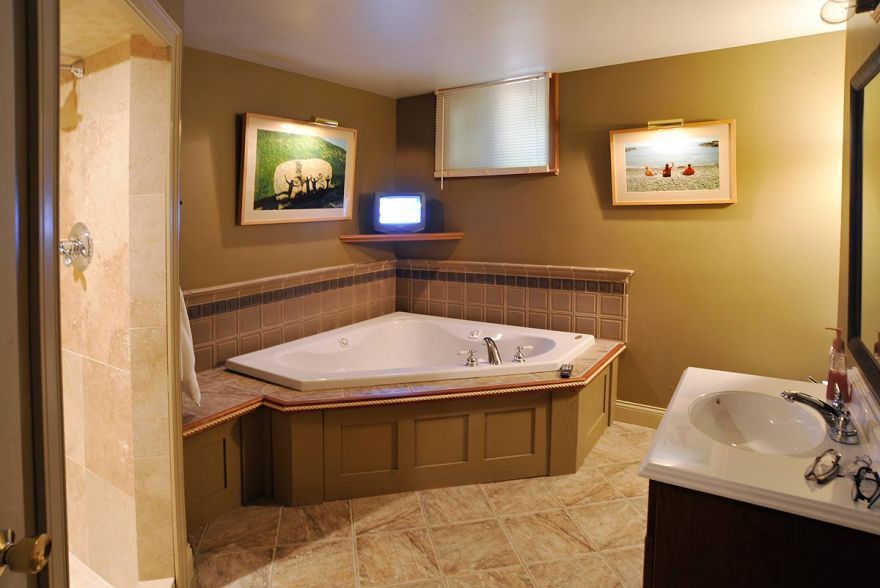 Running new wires to the bathroom may be within your skill set, but it's also necessary to ensure that the new circuits are connected properly to the main electrical panel, which is a task best left to a master electrician.
Overall, installing a basement bathroom is a project that is best handled by one or more licensed professionals. However, experienced DIYers may want to take on parts of the project to help reduce the overall costs. Some steps that are more DIY-friendly include installing the vanity, putting up drywall, installing the faucets, and even tiling the floors. Just make sure that every stage of the installation follows the appropriate building codes in order to avoid potential problems in the future, like a leaking foundation.
Basement Bathroom Installation Process
While many aspects of this job are not suited for DIYers, it's still important to understand each step of the installation process in order to ensure that you are on the same page with your contractors.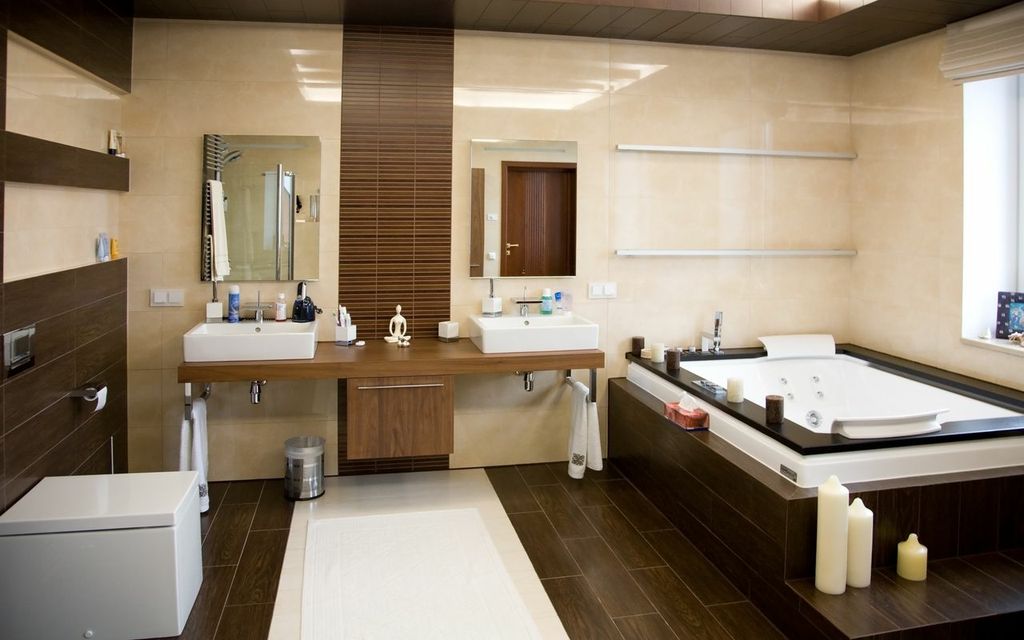 If you are unaware that the concrete floor needs to be broken to run drainage lines, then the sight of a handheld jackhammer might cause surprise and concern. So, instead of trying to navigate through several key design decisions without actually understanding the importance of each choice, take some time to familiarize yourself with this overview of the entire basement bathroom installation process, as well as the tasks that are DIY-friendly.
Design the Bathroom
Before you can start to do anything with your unused basement space, it's important to have a plan in mind for how you want the new basement bathroom to look. This means that you will need to consider whether you are installing a small half-bath with just a toilet and a sink, a three-quarter bath with a toilet, sink, and shower, or a full bath, including a toilet, sink, shower, and bathtub.
Beyond these initial concerns, you will also need to figure out how big you want the bathroom to be and the most appealing layout for the main fixtures in the room.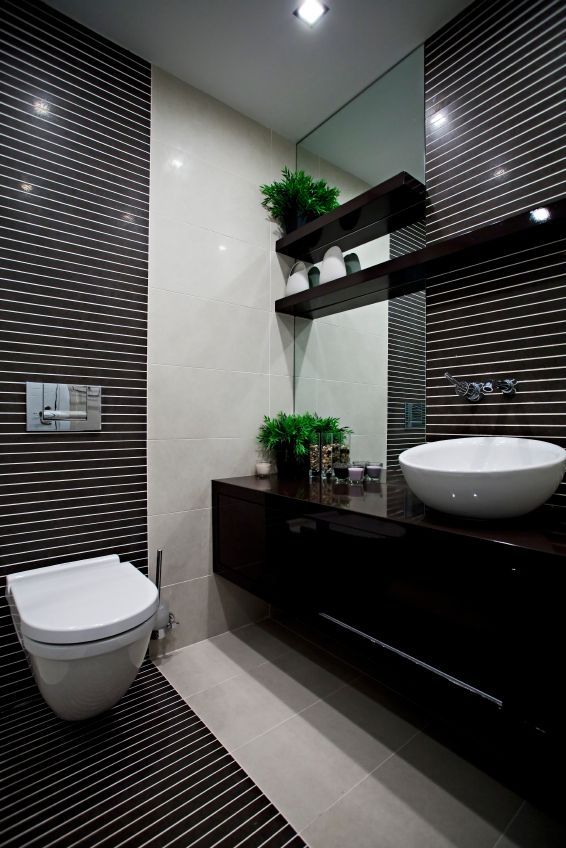 Additionally, you need to decide on the specific faucet, sink, toilet, vanity, shower, bath, and lighting fixtures that you want to be installed. Also, don't forget to choose the tile type, tile color, and paint color to finish off the bathroom.
While not every detail needs to be decided before construction begins, it is important to at least have an idea of what you want, so that you can be sure to keep the design true to your ideal outcome.
Measure and Mark Wall Locations
Installing a basement bathroom begins with figuring out where to run the outer walls of the room. During the planning process, you should have decided on an estimated size or area for the basement bathroom. Use this information to measure and mark the exact locations for the outer walls of the bathroom. Just keep in mind that the concrete floor will still need to be broken up to run drain lines, so the walls will not be installed until after the drainage pipes are in place.
Measuring and marking the walls for the new bathroom is a step that can be handled by an experienced DIYer.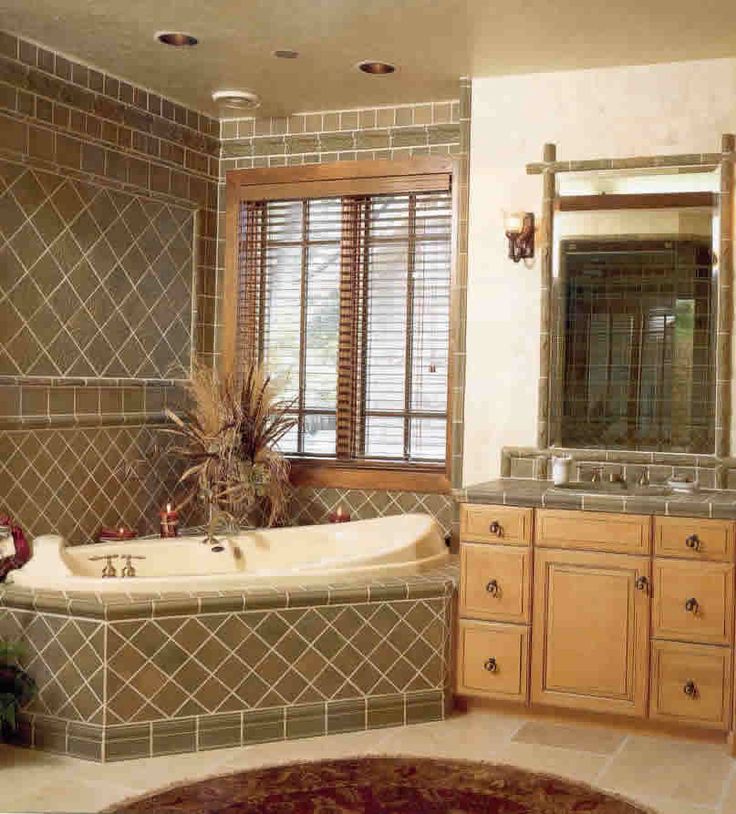 However, if you have already hired a professional to complete the carpentry work, then they should measure and mark the wall locations as part of the wall rough-in process.
Position the Drains
With the wall locations clearly defined, you can mark the position of the shower and toilet drains. Typically, this plan is best discussed with the plumber that will be running the drain lines, so that you can come up with the ideal location with minimal drainage difficulties. Use a general measurement of the shower stall or bathtub to determine where the shower drain should be placed.
Position the toilet drain about 1 1/2 feet away from the wall. This should give you enough space for an appropriate fit, but if you are unsure about the layout of the bathroom based only on measurement, consider bringing the actual toilet into the space in order to see exactly how it would fit. This will help you make an informed decision and keep the project moving forward.
Break Up the Concrete
One of the main problems with installing a basement bathroom is that it often requires running long, horizontal drainage pipes that are prone to clogging.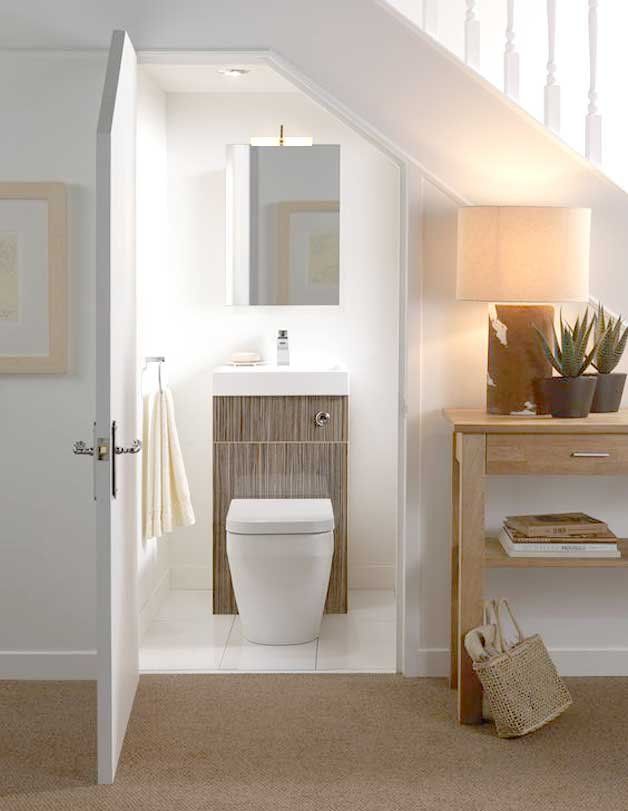 For this reason, it's important to have a professional plumber involved in planning the drain line layout, digging pipe trenches, and installing the drainage pipes.
During this step, the plumber will often use a jackhammer to break up parts of the concrete floor in the bathroom. The purpose is to create trenches where the drain pipes can be installed to connect the toilet and shower to the main drain line.
Install Floor Drain Lines
Once the trenches have been dug, the plumber can begin to install the drainage pipes from the main sewage line to the bathroom. The pipes will need to be measured, cut, and pieced together so that they fit comfortably in the trenches that the plumber has dug in the concrete. This step should always be handled by professionals to ensure that the plumbing is installed to code and will not have issues with drainage or leaks.
Rough-in Walls
The framework for the bathroom can be installed at this point so that it can be used to support the vertical drain pipes, ventilation pipes, and water supply pipes that will need to be run to complete the plumbing.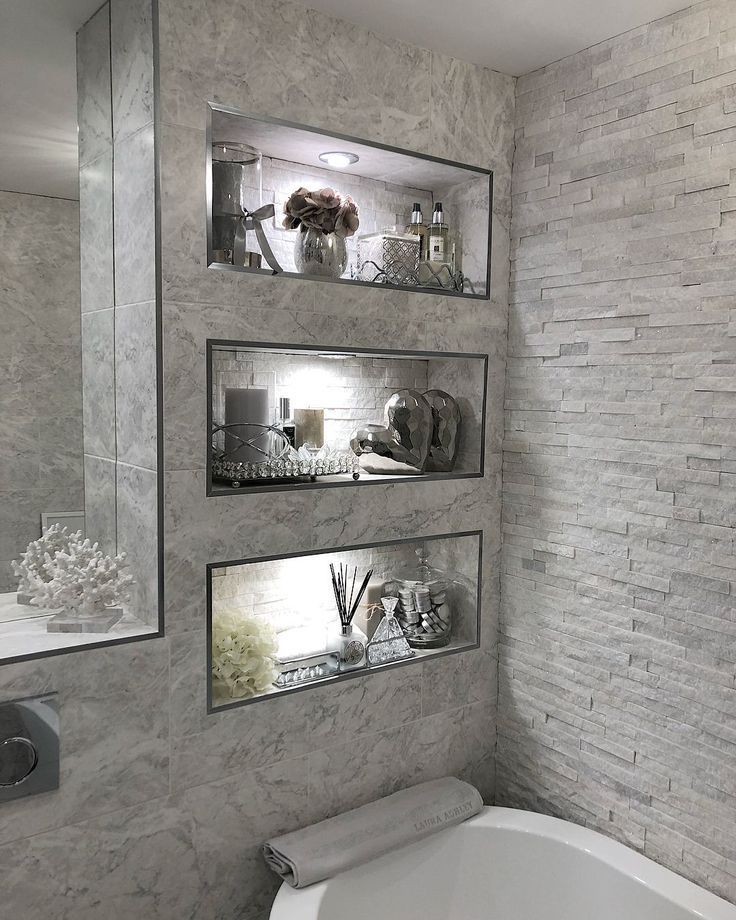 Experienced DIYers can typically handle this part of the project: Just make sure to accurately follow the previously measured and marked wall locations to avoid potential alignment problems during drywall installation.
Install Vertical Drain and Ventilation Pipes
The next step in the process is to have a plumber install the above-floor vent pipes, and branch drains for the sink, as well as connect these lines to the roof vent stack for proper ventilation. The reason these lines are installed after the framework for the room is so that the drain and ventilation pipes can be attached to the wooden studs for support. Without the proper support, too much stress on a single joint can crack the pipe, resulting in terrible odors, leaks, and extensive water damage hidden behind the walls.
Ventilation lines are often overlooked by inexperienced DIYers, but these pipes are necessary to prevent hazardous sewer gas from building up inside the home. Instead, the waste is directed down into the sewer lines via ejector pumps, while the gas is released from a vent on the roof of the home.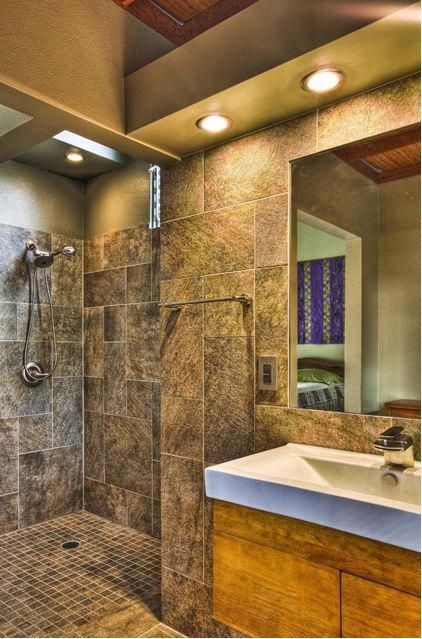
Run Water Supply Lines
Having a reliable professional plumber is necessary for a relatively low-stress basement bathroom installation because there are so many parts of the process that rely on experience, skill, and knowledge that isn't DIY-friendly. Running the hot and cold water lines to the toilet, sink, and shower/bath is another part of this installation that is best tackled by a professional plumber.
They will be able to assess the area and make a plan for efficiently running hot and cold water lines into the bathroom and to the various plumbing fixtures. Typically, the plumber will install copper water lines, though some plumbers will opt for the more affordable PEX pipe. If you have a certain material in mind, make sure you mention it to your plumber.
Install Electrical Wiring
After most of the plumbing work is done, you will want to find a licensed electrician to run new wires from the main electrical box to the bathroom. The purpose of these electrical wires is to provide power to lighting fixtures, power outlets, and baseboard heaters, if necessary. However, the actual fixtures will not be able to be installed until the drywall and ceiling are finished.
Basic wiring may be able to be handled by an experienced DIYer, but it's recommended to leave this part of the job to a licensed professional so that you can be certain that the bathroom will pass an inspection.
Lay Tile Floor and Put Up Drywall
It's a good idea to have an inspector come and take a look at the plumbing, electrical, and framework for the bathroom before covering it up with tiles and drywall. Once it has gotten the OK, you can pour new concrete to fill the trenches, then install the floor. If you aren't familiar with the process of installing a tile floor, then you may want to hire a carpenter to complete the work to get the desired result.
Most DIYers will be able to install a drywall ceiling and walls without too much difficulty. Just make sure to measure and cut holes for any water lines, drain pipes, or electrical fixtures that protrude from the wall. This also includes lighting fixtures that will be mounted on the wall.
Keep in mind that if you are installing a shower or bath, then you will need to install tiling on the walls inside the bath or shower stall to prevent water damage during regular use.
Install a Vanity, Toilet, and Other Fixtures
At this point, the vanity, toilet, and electrical fixtures can be installed. You may also want to install a shower or bathtub, depending on whether the plan is for a half-bath, three-quarter bath, or full bath. While modest finishing work, like putting in the toilet or installing a new faucet, can be handled by the average DIYer, it's recommended to hire a plumber to install a shower or a bathtub. Additionally, the installation of a basic sink and vanity are well within the skills of an experienced DIYer, but this task can also be handled by a hired carpenter if you would prefer to leave it to a professional.
The electrical fixtures should be relatively straightforward to wire and mount if the main wiring has been run correctly, but if you don't have experience working with electrical systems or don't feel comfortable wiring up these fixtures, it's best to have an electrician make the final connections.
Add Trim and Paint
The last step in completing this basement renovation project is installing the trim and painting the walls. Trim can be tricky for newer DIYers, but experienced individuals will have no problem making angled cuts to slot the pieces of trim in perfectly around the borders of the room. Choose a color of paint that will match or highlight the plumbing and lighting fixtures that you have selected for the bathroom. Make sure that the type of paint is made for use in bathrooms, kitchens, and high-humidity locations to help protect the drywall and prevent water damage.
Planning for a Below-Grade Lavatory
istockphoto.com
Adding a bathroom to a finished basement adds value to the home, but installing toilets and sinks in a below-grade environment takes more than a basic knowledge of drain pipes, water lines, and sewer lines. Transporting waste to the sewer run from a basement bathroom is challenging because the gravity assist that works for upstairs waste removal will work against waste flow below grade. Fortunately, there are a number of basement bathroom plumbing options that fall into the DIY category. That said, any new plumbing you install must meet code requirements, so be sure to research local ordinances carefully and consider hiring a master plumber for final connections.
Before breaking ground on a basement bathroom project, it’s important to think about such factors as local building codes, the placement of existing basement plumbing, and drainage for the new bathroom’s tub, sink, and toilet.
Building Codes and PermitsWhen taking on any remodeling project, adhering to building codes while procuring the proper permits is critical, and basement bathroom installations are no different. You must have a permit when creating any additional living space, be it a kitchen, bedroom, or bathroom. Don’t skip this part; failing to get a permit can result in fines or, even worse, an order to remove the additions. Since permits also ensure that the new addition is safe, it just makes sense to go through the process.
In addition to permits, there are a number of building codes regarding room spacing that homeowners will need to follow when constructing a below-grade bathroom. Basement bathrooms are usually pretty compact and every inch counts, so plan your space carefully. For example, a minimum ceiling height of 6 feet is required to meet International Residential Code (IRC).
The IRC also has minimum spacing requirements around toilets. There should be at least 21 inches between the toilet and sink and any opposite wall or fixture and at least 25 inches of clearance from the center of the toilet to any obstacles on either side of it. Shower stalls must be a minimum of 30 inches by 30 inches inside, and all showers and baths must have at least 24 inches of clearance in front of their entries.
The IRC also has bathroom venting requirements. Basement bathrooms must have either a window that measures at least 3 square feet (of which at least 50 percent must open) or a ceiling vent that can move at least 50 cubic feet of air per minute and is ducted to the outside.
istockphoto.com
Working with Existing Plumbing and Electrical LinesWhen adding a new basement bathroom to your home, the most important decision to make is where the bathroom should go. Your best course of action is to situate a below-grade bathroom below an existing first-floor bathroom. This will allow you to take advantage of that ground floor bathroom’s existing plumbing and electrical lines, which will help keep costs down.
LightingBasement bathrooms typically don’t have any windows. Without natural light to illuminate the space, consider how you plan to light the room.
Another consideration that may affect your lighting choices is that the ceiling in a basement bathroom is likely lower than that of a ground level or second-floor bathroom. A 7-foot basement ceiling limits the type of ceiling light fixtures you can use for bathroom lighting. If your space has a low ceiling, consider using recessed fixtures to provide overhead lighting along with wall-mounted sconces around the vanity.
Higher ceilings give you a broader range of lighting options, including standard dome lights or elegant chandeliers.
RELATED: The Best Recessed Lighting of 2022
Understanding Aboveground vs. Belowground DrainageFor most homeowners, one of the biggest obstacles when planning a basement bathroom is determining the drainage for the toilet, sink, and shower. There must be an adequate drop from the new drain lines to the main drain to prevent backups and clogs. Ahead, learn more about options for draining a below-grade bathroom.
Plumbing DepthDrainage is a significant factor when planning a basement bathroom. Toilet drainage lines must be installed at a steep enough angle so that gravity will carry solid waste to drain off (a minimum drop of ¼ inch for every linear foot of drain pipe). If you’re lucky, the house was built with a deep main home drain with the expectation that its owners may one day install a basement bathroom.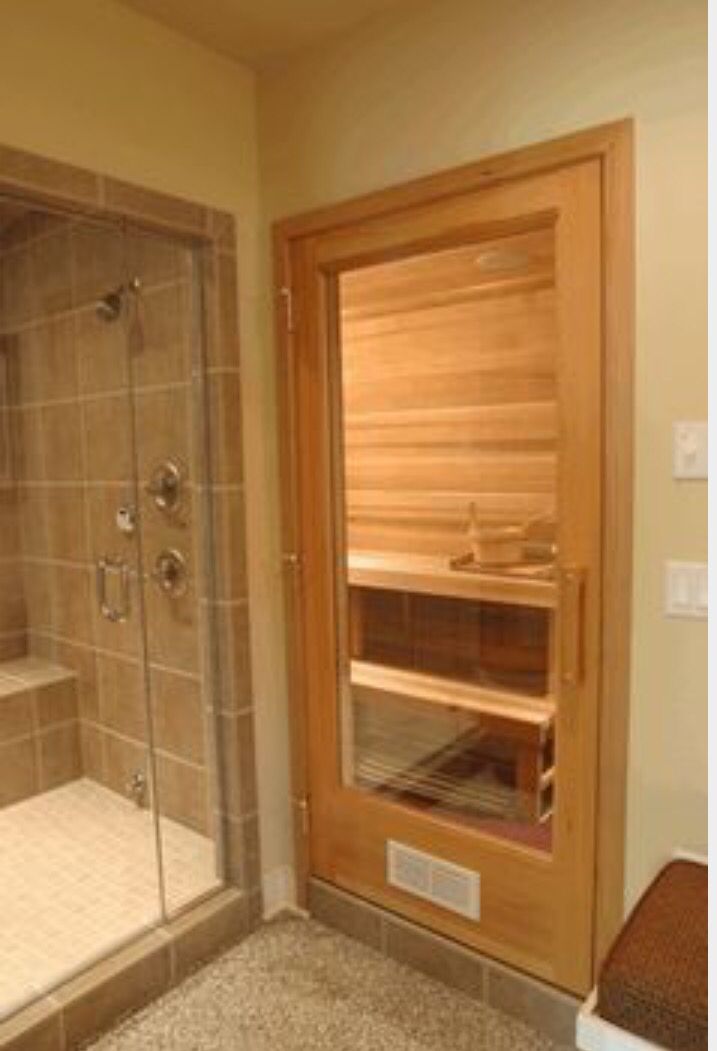
If the home’s existing basement plumbing lacks adequate depth, you may need to remodel the plumbing to allow for the required drainage depth to support a toilet. Another option is to install a specialized type of toilet that can operate below the level of the main drain.
RELATED: All You Need to Know About Basement Drains
Pipe SizeIn addition to drainage, you’ll need to consider pipe size. The minimum size for a toilet drainage pipe is 3 inches (or 4 inches if there are two toilets using the same drain line). If your pipes are too small, you’ll need to upgrade to larger ones that will allow solid waste to pass through.
Belowground Water and Waste PipesIn some homes, moving below-grade bathroom waste to the sewer, septic, or sanitation line is not a challenge because its lines are deep enough for add-on fixtures to benefit from gravity-assisted disposal.
A call to the public works department will give you a general idea of how deep sewer lines are in your area. Information specific to a home’s septic lines should also be readily available to the homeowner. A plumber or plumbing contractor can help you determine flow rates, and whether the system your home has can effectively remove waste from basement fixtures.
If your home’s wastewater drains by gravity into municipal sewer lines, consider installing a backwater valve to prevent sewage backup in the basement. A backwater valve may require a permit, so check with your local building department and consult a plumbing contractor before you begin.
upflushtoilet.com
Aboveground SolutionsThere are a few different ways to transport bathroom or basement wastewater to sewer or septic lines: Aboveground solutions include the “upflushing toilet,” freestanding sewage-ejector systems, and composting toilets. Aboveground solutions are those that do not require the homeowner or installer to cut through any existing basement slab, resulting in lower installation costs.
Basement Toilet OptionsAdding a toilet to existing plumbing may not always be an option, especially if the basement toilet is located below the main drain line. Luckily, there are numerous basement toilet options on the market that can operate below a home’s existing drainage lines.
Upflushing toilets vary in look and operation, but generally include a pumping mechanism hidden within or behind the toilet. Some upflushing toilets permit additional waste-producing fixtures, like sinks and shower drains, to drain into them. These toilet systems are expensive, but are cheaper to install than some of these other types of toilets.
“Upflushing toilets sit on top of the floor, you don’t have to break the concrete, and servicing them is easy,” says Larry Sturm, a master plumber in Pennsylvania and owner of Sturm Plumbing, the Faucet Doctor plumbing supply store, and UpFlushToilet.com. “Tie-ins take about a half hour, and recovering accidentally flushed items is pretty easy.”
upflushtoilet.com
Macerating ToiletsSome upflushing toilet systems include a macerating or grinding feature that reduces waste down to smaller pieces prior to pumping, eliminating clogging issues. The Saniplus macerating toilet from Saniflo is an upflushing toilet system with a toilet bowl, toilet tank, and macerating unit.
The macerating unit (which also houses an electrically powered motor and pump) can be placed in the bathroom or behind the wall, and can pump waste 12 feet vertically and/or 150 feet horizontally. The Saniplus allows for accompanying sink and bath or shower gray water discharge as well, costs about $900, and is easily installed and serviced.
Composting ToiletsComposting toilets are also viable solutions for below-grade situations, but they are meant strictly for toilet waste. Composting toilets require little or no water, and must have venting to the outside for the composting process to work. The Excel Composting Toilet from Sun-Mar requires no electricity, is self-contained, rests on the floor, and uses a biodrum for quick and odor-free waste decomposition.
These environmentally friendly toilets reduce water waste, and do not use chemicals for the composting process. There is a limit to how much material the toilets can compost in a day, so it is essential to monitor use and to empty the unit as needed. Composting toilets can cost more than $1,000.
RELATED: The Best Composting Toilets of 2022
istockphoto.com
Basement Toilets with Ejector PumpAnother below-grade option involves the installation of an ejector pump. An ejector pump such as the Superior Pump sits in a sump basin under the bathroom’s plumbing. When the wastewater level in the basin reaches a certain level, the basement toilet pump turns on and begins pumping waste to the level of the main drain.
Keep in mind that an ejector pump differs from a sump pump. An ejector pump has a built-in grinder that allows it to move solid waste, whereas a sump pump can move liquids only. While an ejector basement bathroom pump is a viable solution, the position of the pump in a basin makes it harder to access for maintenance and repair. An ejector pump also requires a separate vent line that runs from the basin to the exterior of the home to prevent pressure from building up inside of it.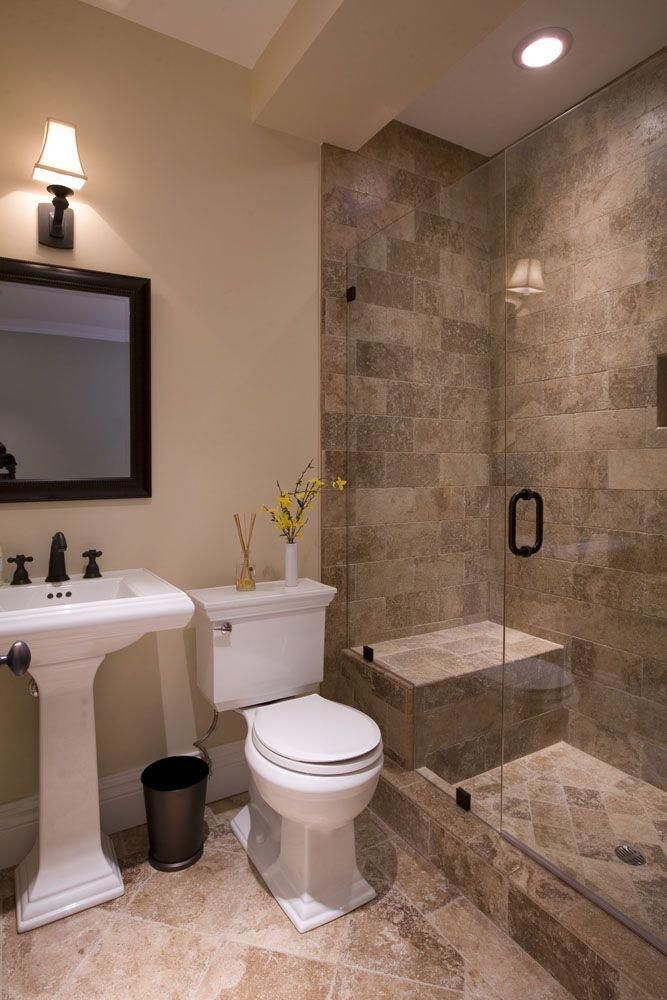
Installing a below-grade shower or bathtub involves the same complexities as installing any other type of below-grade plumbing, which means there’s a good chance you’ll have to tear into the concrete basement floor. You can tie a bathroom tub or shower into an upflush toilet system, which eliminates the need to break into the concrete floor. The system sends the wastewater from the shower drain and toilet to a holding tank before being pumped to the main sewer line.
Final ThoughtsWhile installing a basement bathroom is a worthwhile project that can augment a basement living area, it usually demands plumbing knowledge and expertise that the average homeowner typically doesn’t possess. While that doesn’t mean the DIYer should recruit a contractor to complete the entire job, it is a good idea to hire a professional to handle the plumbing upgrades such a renovation usually requires.
FAQs About Adding a Bathroom to a BasementIf you’re wondering whether it is OK for your bathroom’s sink and toilet to share a drain, or how long that expensive upflush toilet will last, then read on for answers.
According to regulation in the U.S., a toilet and sink can share the same drain. In fact, in most homes, waste water and solids from the toilet line, sink, and bath drains end up in the same sewer line.
Q: How much does it cost to rough in the plumbing for a basement?Roughing in plumbing for a basement bathroom is a full-day job that typically costs between $320 and $600.
Q: How long do upflush toilets last?Upflush toilets, which include a macerator system and pump, typically last between 10 and 15 years.
Basement bathroom - Is it possible to equip?
Bathroom in the basement. Cold, damp and full of spiders: for many of us, the basement is not a place where we want to stay for a long time. Here, usually, old furniture is stored, potatoes and maybe a case of our favorite beer. If you look soberly, your basement has great potential - for example, for a new bathroom. Basement bathroom - How to turn your basement into a wellness oasis? Read about this and much more in our article below.
What are the advantages of a basement bathroom?
In order to correctly assess the effectiveness of the bathroom in the basement, you just need to know and understand well the following advantages of a bathroom in the basement:
- Perhaps the most important advantage: peace and quiet. While the upstairs family prepares breakfast, packs their bags, or frantically searches for their car keys, you can start the day in your basement bathroom.
- Pleasant room temperature. During the hot summers, the basement was usually the only place in the house that didn't look like a sauna. So if you don't have air conditioning installed, a basement bathroom is perfect for cooling down, especially during the summer months.
- Space for your ideas. Think of your basement as a white piece of paper on which you can create your ideal bathroom.
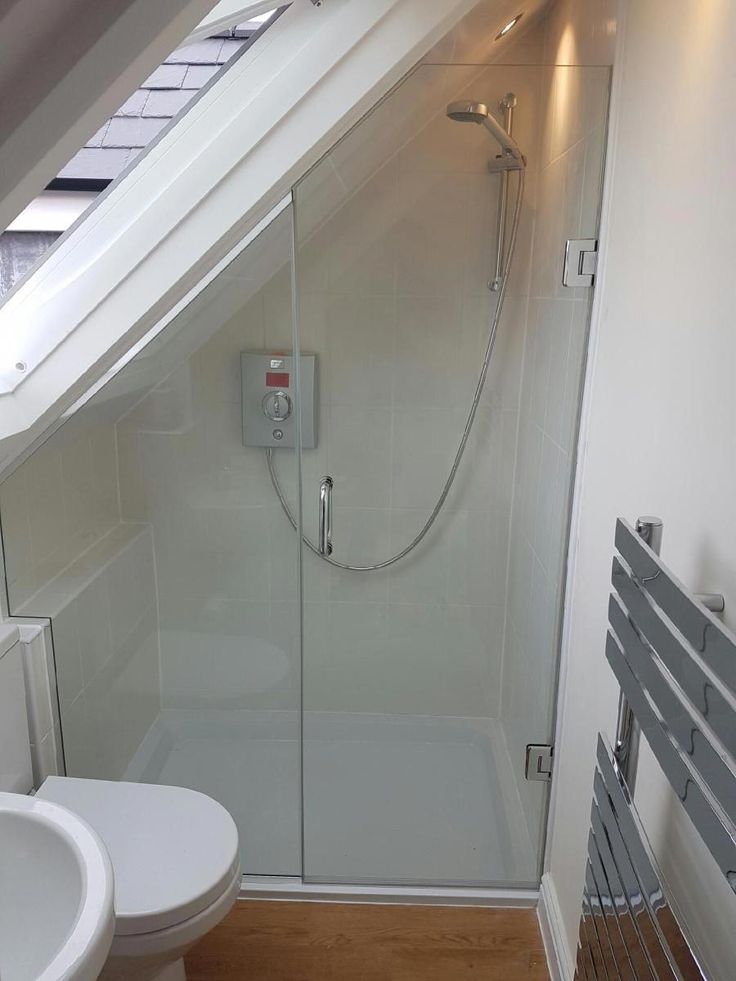 From choosing tiles to shower fittings and washbasins.
 - Hygiene in the home. After gardening or doing outdoor sports, all you need to do is take a shower. However, on the way to the bathroom, you are more or less unwittingly rubbing dust, sweat and dirt. Pets that come home from the street, especially when wet in the rain, also leave their dirty mark. Of course, a basement bathroom is even more practical if it can be accessed directly from the garden.
Basement bathroom - Which basements are suitable?
Basements are as varied as residential buildings. In particular, old houses often have basements with very low ceilings. So if all you can do is bend down and get potatoes out of the cellar, then you should give up on the idea of a bathroom. In addition, there are some aspects that must be taken into account before starting planning:
- The future basement bathroom should be connected as easily as possible to existing water and power lines;
- There must be at least one window through which daylight and fresh air can enter.
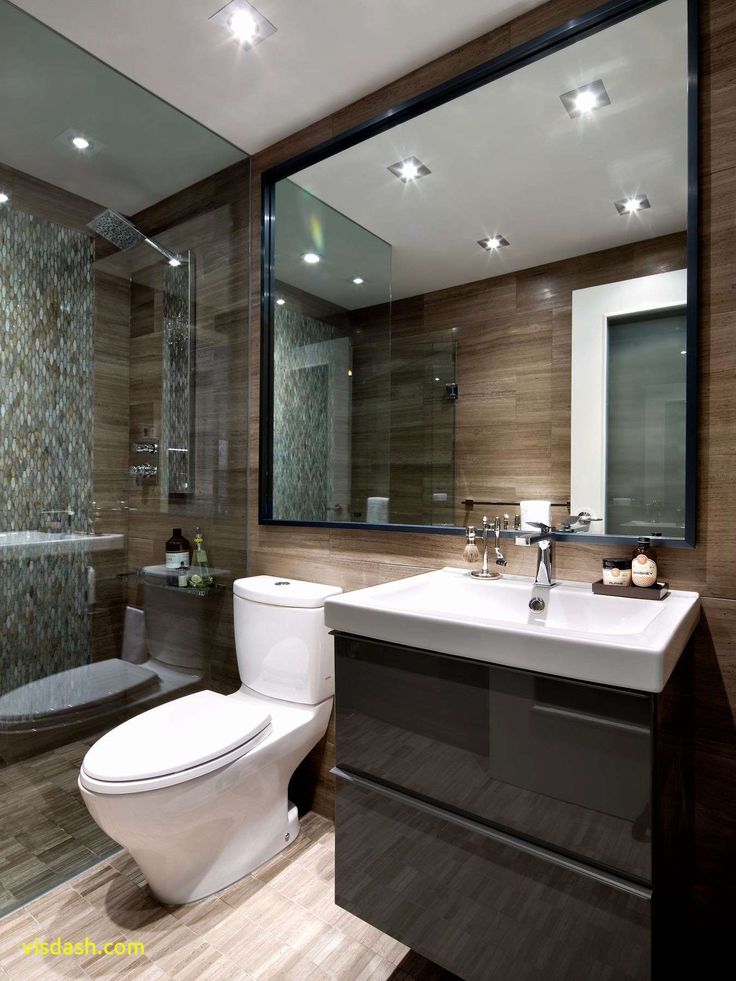 Regular ventilation prevents the formation of mold;
 - Make sure that there are no supply pipes or pipes under the ceiling that will restrict your freedom of movement.
Bathroom in the basement: this must be taken into account when insulating
Is your basement not insulated? This is the only way to always have an optimal indoor climate and not waste energy. In addition to insulating the floor of your basement bathroom, the walls must also be well insulated. Unfortunately, subsequent thermal insulation is quite often very complicated and expensive.
How much does a basement bathroom cost?
The basement bathroom is usually a smaller version of the large bathroom usually found in the main living area. Underfloor heating, of course, is not an extra luxury, especially in winter. As practice shows, a very good way to make the start of the day more enjoyable.
Electric floor heating can be very useful. Since it does not require a special height and can be connected to the home network through its own circuit.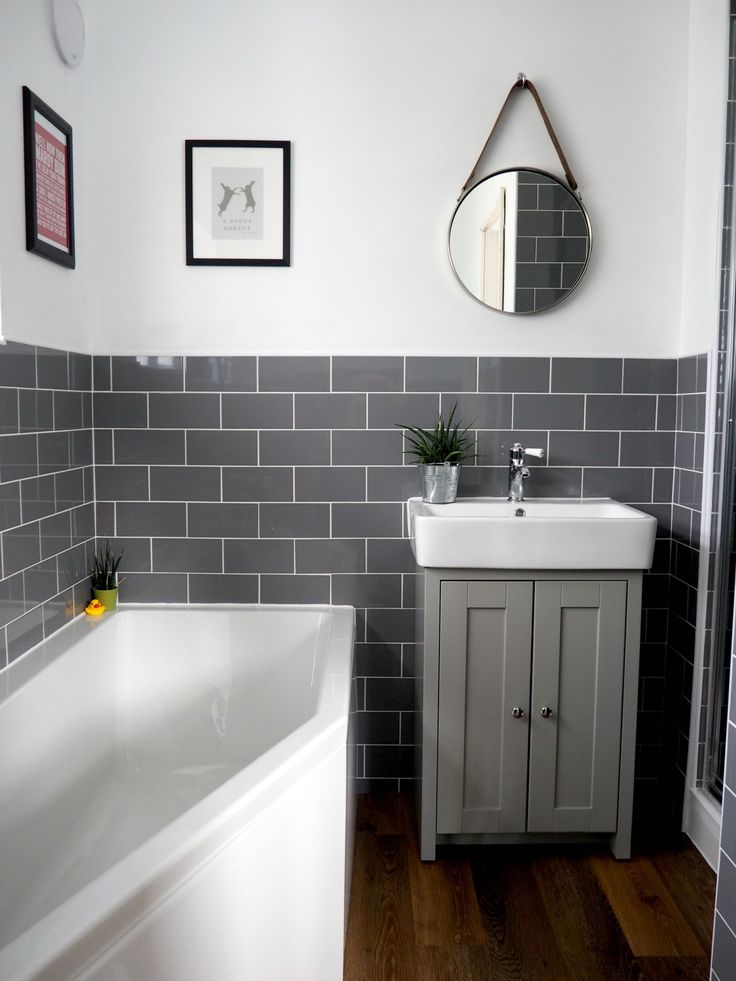
Money doesn't matter
The final cost of your bathroom also depends on how much money you are willing to spend on a sink, shower or bath. The price range here is huge. If you have plenty of space, you can treat yourself to a steam sauna or even a plunge pool. As you can see, a basement room can definitely look good and meet even the highest requirements.
It matters, of course, whether you can carry out the conversion work yourself and only bear the material costs. Or, are you planning to equip a basement for a bathroom using the labor of qualified specialists?
Think carefully about the budget you have and want to invest in a new basement bathroom. With a little imagination, good ideas, and a lot of attention to detail, great things can be done on a small budget.
Jacob Delafon. How to equip a bathroom in the basement? |
Do you have a basement, and the basement has unrealized potential? Why not have a bathroom there? A convenient solution for living together: when the main bathroom is occupied, you can at any time relax in the bathroom in the basement.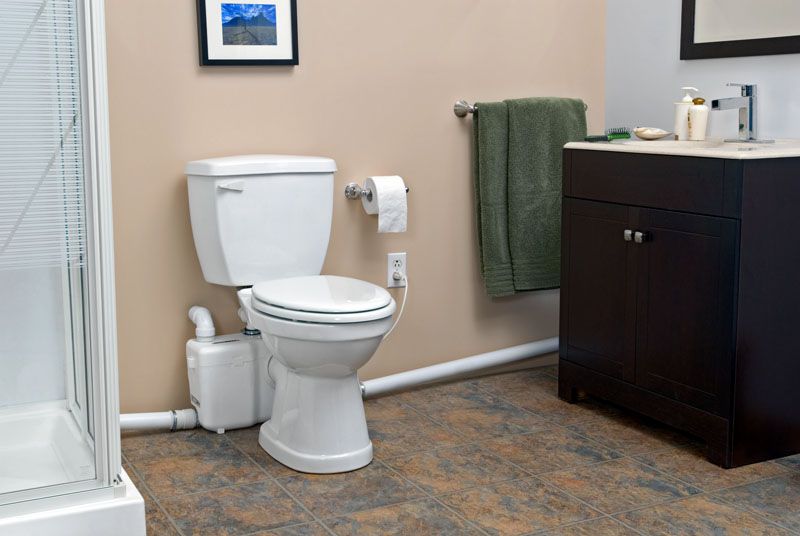
But for this it is necessary to prepare everything properly. Here are some tips for a successful basement bathroom.
WINDOW FOR MORE LIGHT
If your basement is not completely underground, you can add a window to the room. Along the entire wall or at the level of the window - in any case, the window will give you unique lighting and make the room more comfortable and pleasant in everyday use.
Maximize the lighted space with a sliding window, which is more economical and great for ground level rooms. Its locking system will not harm the plants in the garden. You will get sunlight even on the minus ground floor!
GOOD THERMAL INSULATION
In order for a basement to become a living space, thermal insulation is needed. For a damp room where the walls collect condensation and absorb moisture, you can apply an outer layer of protective varnish or arrange drainage. As soon as you solve the problem of humidity, you can proceed to the thermal insulation of the room.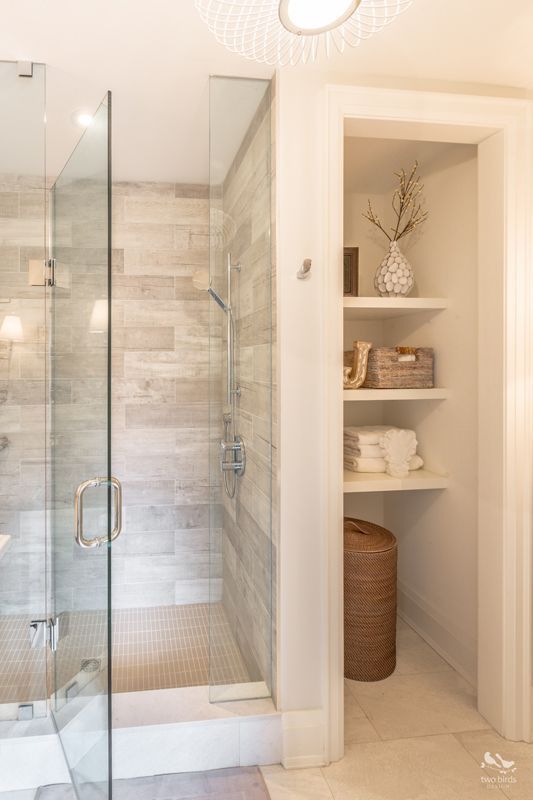
Insulate your space from floor to ceiling. You can install heat-insulating material made of glass wool or mineral wool on the walls. We recommend rigid insulating materials for the floor. If you also install a condensation screen, your bathroom will be protected from moisture and mold and will be comfortable in any situation. For the ceiling, you can choose slotted or tongue-and-groove polystyrene panels. They limit heat loss in the upper part of the room and are easier to install.
EFFICIENT VENTILATION
Proper ventilation of your living space allows you to renew the air for the healthiest possible environment. In the basement bathroom, it is all the more important because it allows you to control the level of humidity. If the bathroom will be used frequently, you can connect it to a central duct system. If this is not possible, you can install a self-contained mechanical controlled ventilation system for the bathroom, which can operate continuously or as needed.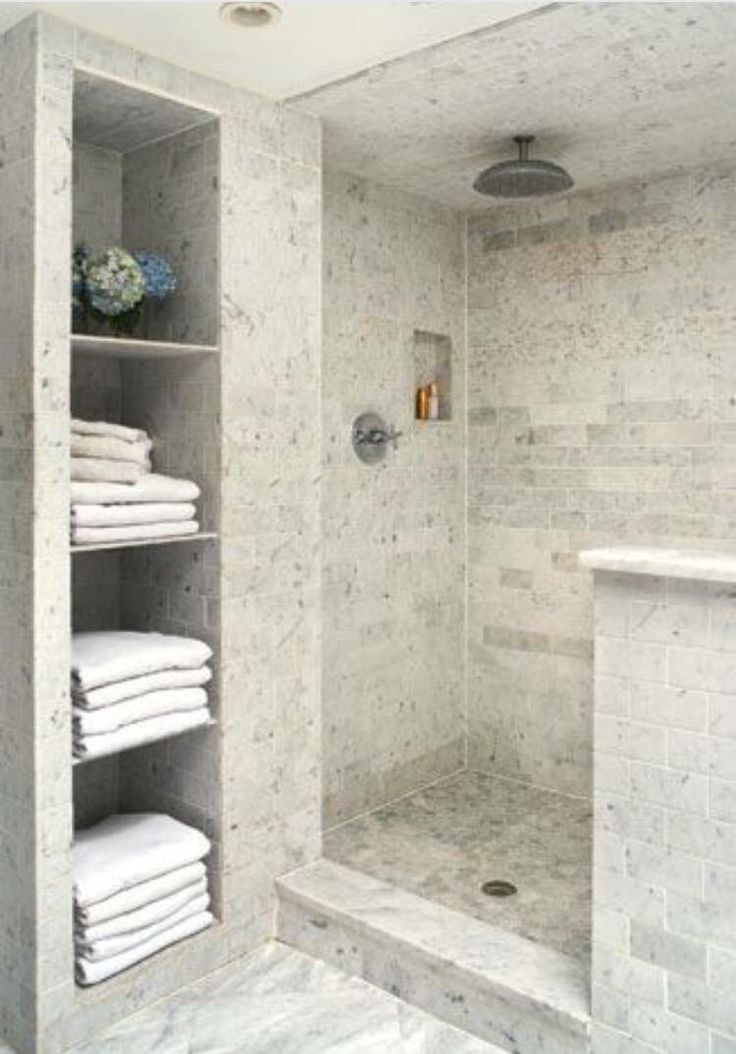 In the latter case, the ventilation is usually connected to the mains and runs for several minutes after the lights are turned on. However, we recommend installing a permanent, mechanically adjustable ventilation system, especially for bathrooms that are frequently used or do not have windows for proper ventilation.
SUSPENDED FLOOR FOR DRAIN
One of the prerequisites for bathroom equipment is the presence of a drain. The basement often stands on a concrete slab, which provides strength to the entire structure of the house. To create a slope and install a sewer under the shower or bath, you can install a suspended floor or a podium.
Suspended floor for easier piping installation – Cléo bathtub The gap under the suspended wooden floor provides enough space for plumbing, plumbing and electrical wiring in your bathroom. It is not necessary to install a suspended floor on the entire surface, you can use this solution only for draining water in a hygienic area.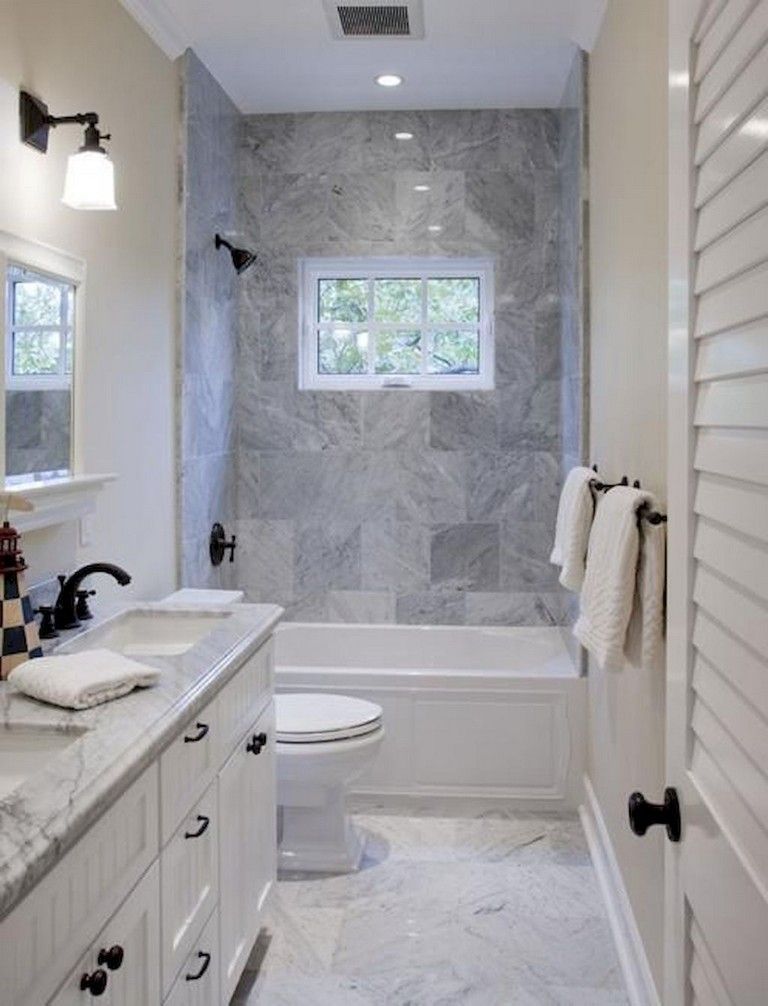
This also keeps the height of the ceiling in the rest of the room and gives the room a special charm.
HOW TO CONNECT THE PLUMBING?
You can connect a bath or shower to the installed sewer.
Asymmetric bathtub with shower - a practical solution for the basement bathroomThe water source for the sink also needs to be connected to the plumbing system. Depending on your sewer configuration, you may need a sewage pump that lifts the water up to a drain located at a higher level to drain it. This device is necessary for damp rooms located below the initial building, for example, in the basement.
FUNCTIONAL EQUIPMENT
Once the water and electricity are connected, the finishing touches and furnishings remain. On the floor you can put tiles or - for more comfort - even parquet.
White bedside table Ola in the bathroom with black mosaics
A large mirror can be hung on the wall above the sink, which will help you gather and is also very convenient because it reflects light throughout the room.