How to plant plum seeds
Growing Plums From Pits - How To Plant Plum Pits
Have you ever eaten the last of the most deliciously juicy plum and, with the pit as the only memento, wondered, “Can I plant a plum pit?” The answer to planting plums from a pit is a resounding yes! Keep in mind, however, that the resulting tree may or may not fruit and, if it does fruit, the plum from the new tree may be nothing like the original glorious, succulent fruit.
Most fruit trees are propagated from compatible rootstock or the mother plant onto which the desired variety is grafted to obtain a “true” copy of the fruit. Planting plums from a pit may result in a very different variety of the original; the fruit may be inedible, or you may produce an even better variety. Either way, it is fairly easy and super fun growing plums from pits.
First when considering planting plums from a pit, look at your geographic region. Most varieties of plum grow well in USDA zones 5-9. If this is you, you’re good to go.
When you are planting fresh plum seeds or pits, first remove the pit and wash in lukewarm water with a soft scrub brush to remove any pulp. The seed needs a chilling off period at temperatures of between 33-41 F (1-5 C) before it will germinate, about 10-12 weeks. This is called the stratification process and there are two methods to accomplish it.
The first method is to wrap the pit in a moist paper towel inside a plastic bag and then place it in the refrigerator. Leave it there for six to eight weeks, keeping an eye on it in case it sprouts earlier.
Conversely, natural germination is also a method of stratification wherein the plum pit goes directly in the ground during the fall or winter. It’s a good idea to add some organic matter, but no fertilizer, into the hole, about a month before planting the pit. When planting the fresh plum seeds, they should be 3 inches (8 cm.) deep in the soil. Mark where you have planted the pit so you can find it in the spring. Leave the plum pit outside through the winter months and watch for any sprouting; thereafter, keep the new plant moist and watch it grow.
If you have cold stratified the seed in the refrigerator, once it has sprouted, remove it and plant the plum pit in a container with well draining soil composed of one part vermiculite and one part potting soil, about 2 inches (5 cm.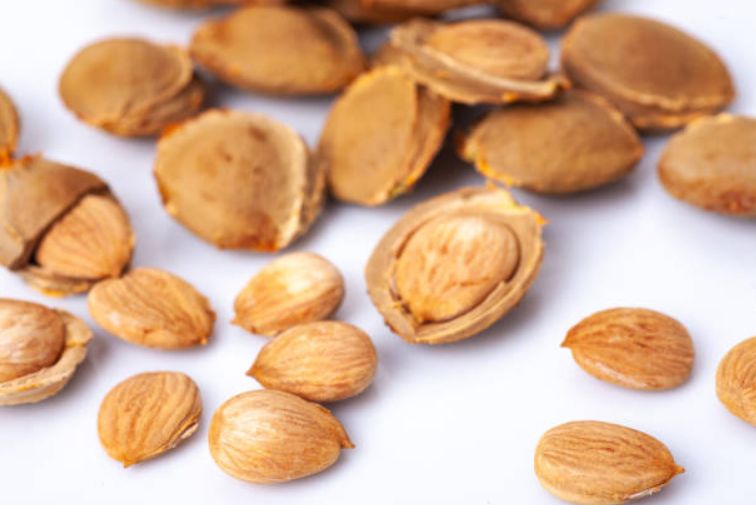 ) deep. Situate the pot in a cool, bright area and keep moist but not too wet.
After all danger of frost has passed, select a new location in the garden for your new plum tree with at least six hours of direct sunlight. Prepare the soil by digging a hole 12 inches (31 cm.) deep, removing any rock or debris. Mix compost into the soil. Plant the new plum from a pit to its original depth and tamp the soil around the plant. Water and keep evenly moist.
Otherwise, you should mulch or compost around the base of the seedling to retain moisture and fertilize with tree spikes or a 10-10-10 fertilizer in the early spring and then again in August.
When planting plums from a pit, have some patience. It will take a few years before the tree bears fruit, which may or may not be edible. Regardless, it is a fun project and will result in a lovely tree for future generations.
How to Germinate and Sprout a Plum Pit Seedling with Stratification | Home Guides
By Sasha Degnan Updated September 08, 2020
Inside each plum pit is the potential for growing a whole new tree. Plum trees (Prunus domestica, USDA plant hardiness zones 4-9) grow easily from seed, but the seeds need a period of chilling called stratification to successfully germinate and sprout. The process takes a long time, but your patience and effort will be rewarded with a plum tree seedling in spring. However, be aware that growing a plum tree from seed may not produce a tree with good-quality fruit since stone fruit trees rarely reproduce true from seed.
Plum Pit Stratification
There are two ways to cold stratify plum seeds. One way is to plant the seeds in pots and set them outside to chill naturally during the winter months. The second way is to cold stratify the seeds in the refrigerator, which works best because you can control the conditions, and the seeds won't be scavenged by hungry squirrels. Start by gathering a plum pit or seed from a ripe plum. Rinse it thoroughly to remove any fruit residue from the hull and let the seed dry on a paper towel while you prepare a container for it.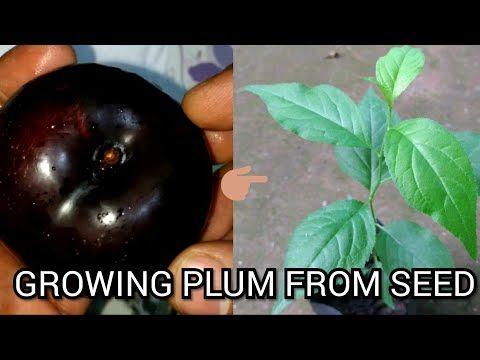
A plastic food storage container or a plastic bag will work for stratifying plum seeds. Poke a few holes in the lid of the storage container to let air in. Fill the container or bag with a moistened mixture of half coarse sand and half peat moss. Bury the seeds in the mixture and set the container in the refrigerator. Plum seeds need 90 days of cold stratification to germinate in spring, according to Iowa State University Extension and Outreach. Keep the sand mixture moist but not soggy while the seeds chill.
Growing Plums From Seeds
A plum pit or seed needs bright light and warm temperatures to germinate. Start the seeds in spring after all frost danger has passed. An 8-inch nursery container filled with seed-starting compost or a mix of half potting soil and half coarse sand works well for germinating stratified plum seeds; just make sure the container has holes at the bottom. Sow one plum seed in the container at a depth of 2 inches.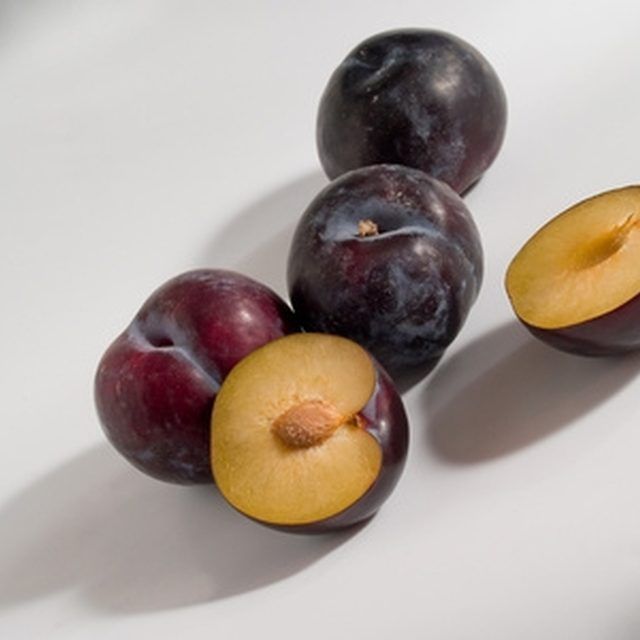 Set the container outdoors in a bright, sheltered location or indoors near an unshaded window with bright light.
University of Florida Environmental Horticulture recommends daytime temperatures of around 86 degrees Fahrenheit and nighttime temperatures around 68 degrees to germinate plum seeds. Warm the pot with a propagation heating coil or mat to encourage germination. Keep the soil moist but not soggy. A fresh, stratified plum pit can take several months to germinate but start watching for sprouts in one month.
Transplanting Plum Seedlings
Plum seedlings should be grown in pots for a year or two so they have time to develop a good root system before transplanting in the garden. Keep them in a sheltered location, such as against a south-facing wall with some midday shade. Water them regularly but let the soil dry out on the surface between waterings to prevent root problems. Transplant plum seedlings into the garden as soon as the soil warms in spring if you live in a cooler climate and in autumn if you are growing them in a warmer Mediterranean climate.
Plum trees grow best in U.S. Department of Agriculture plant hardiness zones 4 to 9. University of Illinois Extension recommends planting plum trees on a gentle slope so that cold air drains away. Choose a planting location with fertile, fast-draining soil and full sun exposure for most of the day. Mature plum trees can grow quite large, so space them 12 to 18 feet apart to accommodate their mature size, recommends the University of California Backyard Orchard.
Make the planting hole large enough to hold the root ball without bending or cramping the roots. Spread a 3-inch layer of mulch in a wide circle around the base of the plum tree to help control weeds and protect the young roots. For the first year or so, water plum trees weekly during the hot summer months.
References
- University of Illinois Extension: Plums
- Iowa State University Extension and Outreach: Germination of Tree Seed
- University of Florida Environmental Horticulture: Prunus domestica
- University of California Backyard Orchard: Plum and Prune
Tips
- If planting more than one plum pit, space them at least 12 to 18 feet apart or plan on transplanting them to this distance later on.

Warnings
- Plum stems contain cyanide.
Writer Bio
Sasha Degnan is a freelance writer and educator specializing in gardening and horticulture. She has nearly 25 years of experience in the propagation and care of plants.
Plum from the stone at home: how to grow
Plums are used for making jams, compotes, pastries, second courses, as well as fresh, so every amateur gardener must have this plant in his collection. Below we will tell you about how to grow a plum from a stone and what stages this laborious process is divided into.
Contents
- 1 Collecting seeds
- 2 How to grow plums yourself video
- 3 How to germinate the seed
- 4 From Seed to Tree
- 5 Plum in Cold Climate Video
Collecting Seeds
In order to successfully grow a plum tree at home, the first step is to select and properly prepare the seed material. When buying plums for sprouting, pay attention to the origin of the product.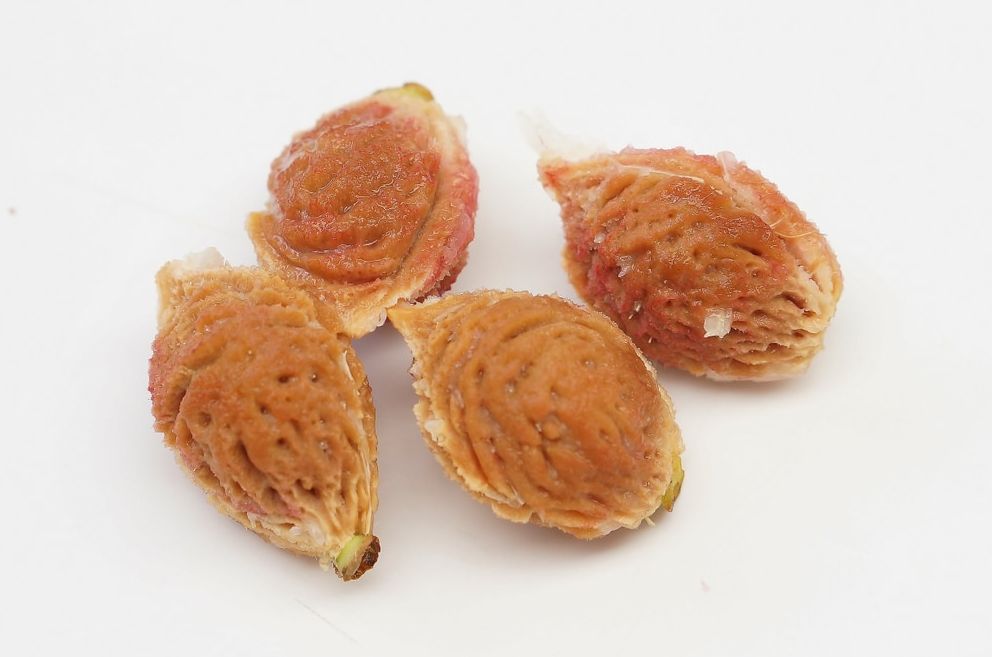 Imported fruits will most likely not work in an unfamiliar climate. It is best to buy ripe and soft plums in the markets from local residents in order to immediately increase the survival rate of the future tree.
Use the fruit pulp as directed, but leave the seeds. They will need to be thoroughly rinsed and completely cleaned of the remnants of the pulp. Then place the pit on a windowsill or anywhere else that is sunny, dry, and warm. The bones will dry out for a few days. Now it's time to get the core, the seed itself. To do this, use a nutcracker. Be careful not to crush the seed.
In order for a plum from a stone to germinate with a high degree of probability, the seeds will need to be tested for suitability. Take a glass of water at room temperature and place the seeds in it. Fertile seeds will fall to the bottom, while the empty ones will float on the surface.
Video “How to grow a plum tree yourself”
How to germinate a seed
The first stage of sprouting plum tree seeds at home is called stratification. This is a slow germination method at low temperatures. It is necessary to carry out the procedure before winter, no later than November, so that the seeds are ready by the time they are planted in open ground. Take a tight plastic bag, bowl or glass jar and fill the container with fertile compost.
The soil must be moist but not wet. Now put the seeds in a jar and shake it well. Such manipulation will help to make the soil loose and evenly distribute the seed material in the ground. The prepared container with seeds is sent to the refrigerator with a temperature of + 2- + 4 ° С.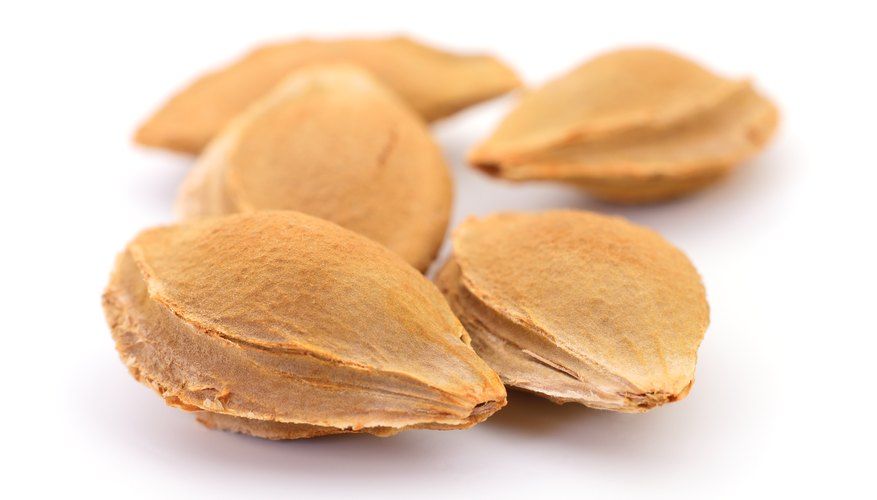 Thus, future plums should be stratified for 5-6 months. Planting of prepared seeds is carried out in mid-May.
Now you need to choose and prepare the site in the garden correctly. The place should be comfortable, sunny and fairly spacious so that it is convenient to mulch and cover the young shoots with burlap or film in case of frost. It should be noted that temperatures below 0 ° C have an extremely negative effect on tree sprouts.
The soil must first be fertilized to a depth of 30-40 centimeters. For 1 square meter of land, you will need 50 grams of superphosphate, 50 grams of potassium salt and 2-3 kilograms of humus. The sowing depth should be about 6-7 centimeters, and the distance between the seeds should be at least 5-6 meters. Carefully place the seeds that have been stored in the refrigerator all winter into the prepared holes. Before planting, they should already have elastic white roots. Fill the holes with soil and water well. In the future, make sure that the landing does not dry out and is protected from all kinds of negative external factors.
From the seed to the tree
First of all, it should be noted that at least 4-5 years will pass from the moment the seed is collected until the tree is obtained. The grown plant will begin to bear fruit only for 5-6 years. In this case, the first harvest, most likely, will not impress you with its quality. In the first year of fruiting, plums grow small. But if they did appear, then in subsequent years the tree will definitely delight you with juicy and sweet fruits.
When the first shoots appear on the surface of the earth, it is important to ensure that the plant develops an even trunk. The shoots, which still continue to grow by autumn, are pinched in early September so that the tree can endure the winter more easily. In cold weather, a young plum must be insulated. It is better to postpone the formation of the crown until the first abundant harvest appears.
Growing a plum from a stone, there is always a chance that it will not turn into a fruitful cultivated tree, but a wild game with small and sour plums.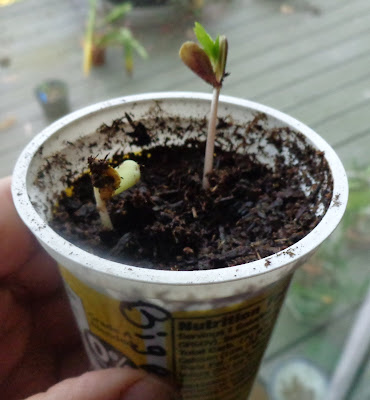 To prevent this from happening, experienced gardeners recommend germinating the seeds first in a pot and carrying out several transplants throughout the year. Only after that, a stronger tree is planted in open ground.
Cold Climate Plum Video
This video will show you how to grow plums and other fruit trees in cold climates.
How to grow a plum from a stone? | QUESTION-ANSWER
Vyacheslav Kargintsev
Approximate reading time: 2 minutes
34259
Weekly "Arguments and Facts" No. 40. "Arguments and Facts" on the Don 01/10/2014Category: Society Q&A from the newspaper: Weekly "Arguments and Facts" № 40 01/10/2014
If you plant a plum stone, will a tree grow?
Propagation of plums by stones is indeed possible, but of the trees obtained in this way, only Ussuri, Chinese, Canadian and Far Eastern plums will bear fruit. Other varieties may produce either very small fruit or no fruit at all.
How to plant a plum stone? A few important tips.
Before sprouting a plum stone, it is placed in a damp cloth for a couple of weeks. The plum stone is very dense, and if you bypass this procedure, then shoots will not appear. You can plant seeds in the fall in open ground. But in this case, they will need to be protected from rodents that dig up and destroy them.
It is best to place the bone in the nutrient mixture in a pot (or box). Until the stone sprouts (usually 40 - 50 days), the soil must be kept moist. Some pits have two seeds, so don't be surprised if more seedlings come up than the pits were planted.
If the stones were grown in pots, then they will need to be transplanted into open ground no earlier than a year after the emergence of seedlings, in early autumn or spring. It is necessary to prepare a hole: fill the ground with compost, add sand.
The plum is transplanted into the hole along with the soil in which it grew, so as not to damage the roots. If the seeds were planted in open ground, then after the first winter less than half of the seedlings may remain, since the weakest and most resistant to frost will simply die. After the second year of winter, only the strongest seedlings will remain.
Plum care involves maintaining the optimum moisture level (60 - 65%), cutting off weak shoots, weeding, loosening the soil and watering. It will take about 3-4 years to grow a plum from the stone, but the tree will begin to bear fruit only in 5-6 years. Every year the fruits will be larger, so do not be disappointed if the first plums are small.
Halloween, Halloween! In Rostov ended "Dacha season" | Photo gallery
© AIF / Irina Prilutskaya
© AIF / Irina Prilutskaya
© AIF / Irina Prilutskaya
© AIF / Irina Prilutskaya
© AiF / Irina Prilutskaya
© AiF / Irina Prilutskaya
© AiF / Irina Prilutskaya
© AiF / Irina Prilutskaya
© AIF / Irina Prilutskaya
© AIF / Irina Prilutskaya
© AIF / Irina Prilutskaya
© AIF / Irina Prilutskaya
© AIF / Irina Prilutskaya
© AIF / I.