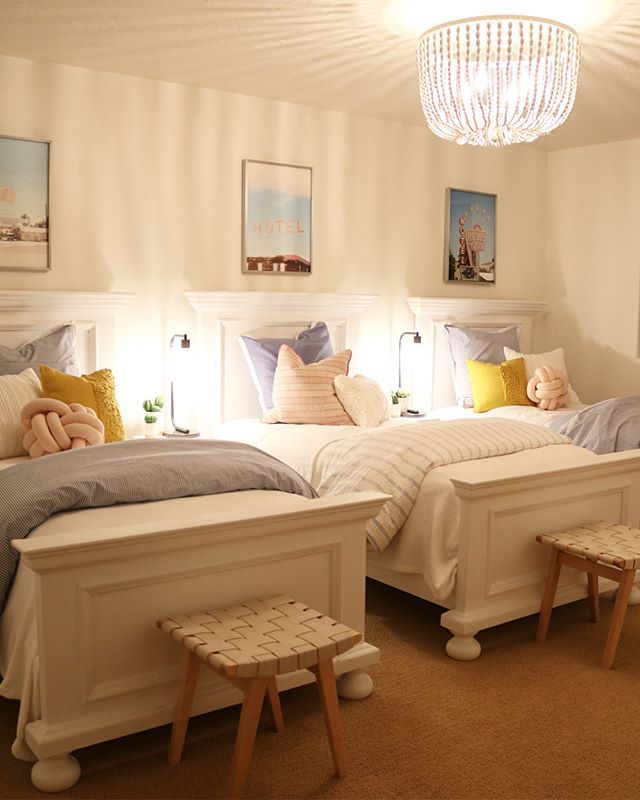
How to make a single bed look bigger
11 Tricks to Make a Small Bedroom Look Bigger
By
Michelle Ullman
Michelle Ullman
Michelle Ullman is a home decor expert and product reviewer for home and garden products. She’s currently the commerce editor for home improvement and tools on The Spruce. She has been writing about home decor for over 10 years for publications like BobVila.com and Better Homes & Gardens, among others.
Learn more about The Spruce's Editorial Process
and
Lacey Ramburger
Lacey Ramburger
Lacey Ramburger is a personality assessment expert based in Kansas City, Missouri, with more than five years of experience. Her areas of expertise include Zodiac, Myers-Briggs, and the Enneagram. She is the author of the book "Being Whole" and dozens of articles on personality assessments and relationships.
Learn more about The Spruce's Editorial Process
Updated on 01/31/22
The Spruce / Christopher Lee Foto
If you have a small bedroom, you’re not alone—it’s one of the most common bedroom decorating issues. You have to remodel to add actual square footage, but luckily, there are decorating tricks to fool the eye into seeing your bedroom as larger than it actually is. Here are 11 bedrooms that show you how to make your room look bigger.
-
01 of 11
Use Vertical Space
Modern House Vibes/Instagram
When you’re dealing with a small room, think vertical. You might not have much floor space, but by using the walls right up to the ceiling, you use the space you have more efficiently while drawing the eye upwards, making the room seem larger.
Built-in shelves that extend from floor to ceiling are a great way to add storage, interest, and visual space to a bedroom, but unfortunately, they aren’t an option for everyone.
 An easy alternative is investing in a tall headboard and hanging artwork or other decor above the bed, taking up the full extent of the space.
 -
02 of 11
Choose Furniture With Legs
Home Consultant
Give your furniture a lift with legs to create an airy, open feel in the bedroom. Not every piece needs to be legged, but try to have at least one piece with some height, whether it’s your nightstands, dresser, or bed. The midcentury modern decorating style is perfect for small rooms, as most of the furniture is elevated on thin legs. The more floor and wall that shows, the larger your room will appear. Notice the bed frame in this room—the legs aren’t especially tall but add just enough height to help enlarge the space.
-
03 of 11
Match Window Treatments to the Walls
Hannah Tyler Designs
While large bedrooms can make great use of drapes or blinds that contrast with the walls, it’s better to match your walls and window treatments in a small bedroom.
 This keeps the eye moving across the space, fooling it into seeing the bedroom as a little bit bigger than it really is. Notice how in the small, white bedroom shown here, paneling adds a bit of texture to the walls yet seamlessly blends into the windowpane. That’s how you add interest without making the space look smaller.
 -
04 of 11
Use Sconces by the Bed
The Spruce / Alyssa Vela
Instead of taking up space on your nightstand with bedside lamps, install sconces above and slightly to the side of your headboard. This works to draw the eye upward, helps to give the room an open, airy look, and reduces visual clutter around your bed. Adjustable sconces are perfect for nighttime reading—just move the light right where you need it, and push it back when you’re done.
-
05 of 11
Keep Furniture in Scale
Erin Williamson Design
A small room doesn’t have to mean tiny furniture, but it does mean that you’ll need to find pieces that match in scale and are sized appropriately for your space.
 A king-sized bed flanked with two tiny nightstands looks silly.
 Instead, choose a bed size that allows you to fit at least one or two nightstands large enough to hold their own beside the mattress, like the bedroom shown here. Your dresser should match the nightstand in scale—often, a dresser that is tall and narrow works better than a wide, short piece in a small room.
-
06 of 11
Try a Light Palette
Michelle Boundreau Design
You’ve probably heard that white opens up a room, and that is generally true. But that doesn’t mean that your bedroom needs to resemble an operating room. You don’t need to decorate in all white, but it helps to stick with a soft, light palette. Pastels work wonderfully in small rooms, as do whispery-light shades of gray.
Try white mixed with one bright or mid-tone color, such as the blue and white shown here. For the most impact, stick with cool colors—shades of soft blue, green, and purple help enlarge a space, while the warmer hues have the opposite effect.
-
07 of 11
Stick to Thin or No Drapes
Alvin Wayne
Natural light is one of the best resources at your disposal to help make a room feel larger, so take advantage of it. If you can keep your windows bare and unadorned, it can make your room feel like it's connected to the outside space, making it feel larger. If you still want some privacy, you can implement curtains—just try to stick to thinner ones and still allow light to shine through.
-
08 of 11
Try a Mostly White Color Scheme
The Spruce / Alyssa Vela
White color schemes can work effectively to make a small space feel open and spacious. You don't have to keep every wall a sterile shade, but you can play around with texture and shades to see what works best for you. Adding in lighter neutral accents like the wooden bed frame shown here can add a small amount of diversity without cramping the space—or the style.
-
09 of 11
Try Stylish Bunk Beds
The Spruce / Alyssa Vela
Smaller spaces aren't always forgiving enough to easily fit multiple beds, making the room feel cramped.
 Bunk beds can be a simple way to use some of the vertical space you have available without taking up unneeded square footage. Bunk beds don't have to be basic, though—there are plenty of stylish and modern options that will wow your kids or even guests who are staying over.
 -
10 of 11
Try Floating Nightstands
The Spruce / Alyssa Vela
While you may be familiar with floating shelves, but what about floating nightstands? Rather than tables that have bulky legs or boxy styles that take up floor space, installing the floating versions allows for plenty of extra space to be revealed. This gives the illusion of more space while still giving you a place to place a lamp or alarm clock.
-
11 of 11
Try a Different Rug Placement
Mindy Gayer / Photo by Lane Dittoe
We know rugs can play a vital part in a layout and design, and certain tricks can change up the entire feel of the whole room. Placing your rug at the foot of the bed and having only half the bed sitting on it can create an elongated effect, tricking your eye into believing there is more space and what is actually present.
 You can also use the trick in other parts of the room, placing only the front or the back legs of pieces of furniture on the rug for the same idea.
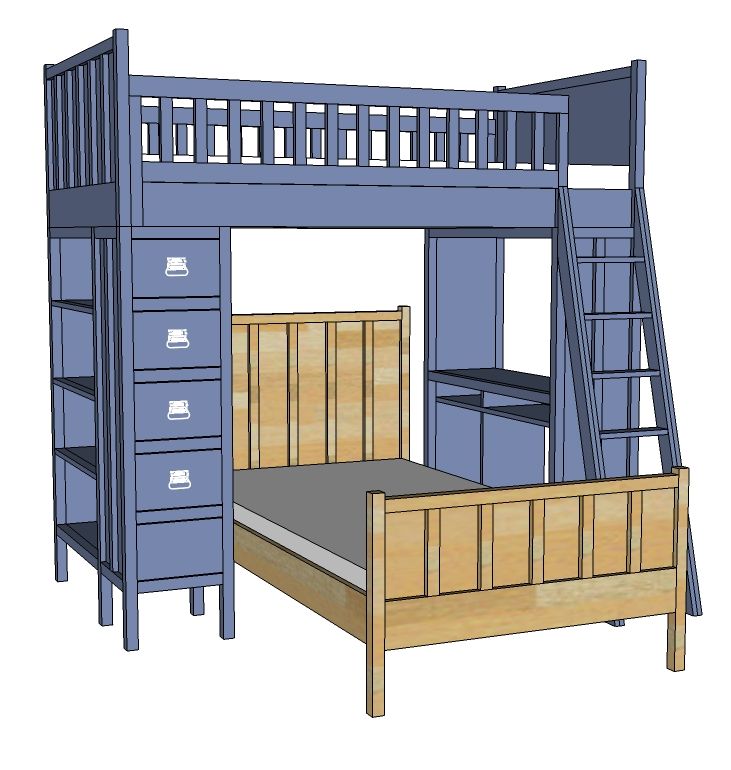
The 8 Best Loft Beds of 2022 to Maximize Your Space
Watch Now: 3 Ways to Make Your Small Space Appear Bigger
How To Make a Small Bedroom Look Bigger
I think we’ve all been there. Maybe you’ve just moved to the big city, or you grew up the youngest of many and drew the short straw when it came to sleeping assignments, but at some point in your life you’ve probably lived in a tiny bedroom. Which is not necessarily a bad thing. In fact, given the choice, I’d rather sleep in a cozy small room than spend my nights in a cavernous space.
The problem arises when small starts to feel claustrophobic. When we have too many things, or those things are too large, they can quickly overwhelm a space, displacing the feeling of the bedroom as a place of rejuvenation and retreat. Restoring a sense of order and calm in the bedroom involves using minimal elements to maximize the sense of space.
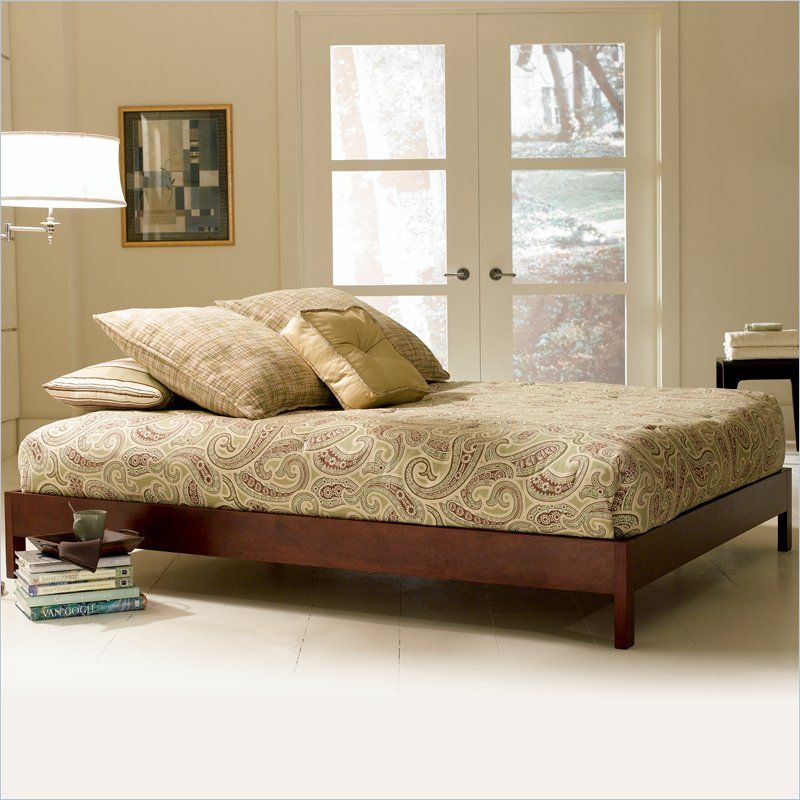
1. Choose a low-slung bed.
Above: Despite the narrow width of her bedroom, designer Michaela Scherrer created a more spacious feeling by lowering the bed and installing a hanging pendant, elements that emphasize the generous height of the room. Photograph by Matthew Williams for the Remodelista book.One of the quickest ways to achieve the illusion of a more spacious boudoir is to lower your bed by investing in a low-slung frame. A low-profile bed quite literally leaves more room to breath above it, making the room look and feel bigger than it is.
2. Paint the walls, floor, and ceiling all the same color (preferably white).
Above: Ceramicist Paula Greif’s small, all-white bedroom feels light and airy. (See more of Paula’s home in Living Above the Shop: Ceramic Artist Paula Greif in Hudson, NY.)The movement of light and air is another important factor in making a small bedroom look bigger. If you feel hemmed in by the four walls of your bedrooms, make them “disappear” by painting the entire room the same color, floor and ceiling included. Similar to the effect of being outside whereby the horizon and sky are indistinguishable, painting all sides the same color makes them pull away from each other, creating a more open feel.
3. Choose a lithe bed frame.
Above: In my own summer cottage bedroom on Cape Cod, I used a spidery, antique, iron bed (and a delicate bedside table) to enhance the breezy, light-filled feel of the room. Photograph by Matthew Williams for the Remodelista book.If you are trying to make a small room look bigger, put away the Restoration Hardware catalog, because big, chunky beds will overwhelm the space. Instead, opt for a bed with a more lithe silhouette. Think Shaker designs with sleek tapered legs or a delicate wrought iron bed. These styles will create a sense of air flow around the bed. So long as you removed the drapery, you could even go with a skeletal canopy bed, which emphasizes the height of the room.
4. Streamline your bedding.
Above: In their tiny Fire Island cottage, Ann Stephenson and Lori Scacco created an airy retreat with minimal, lightweight bedding and a total whiteout.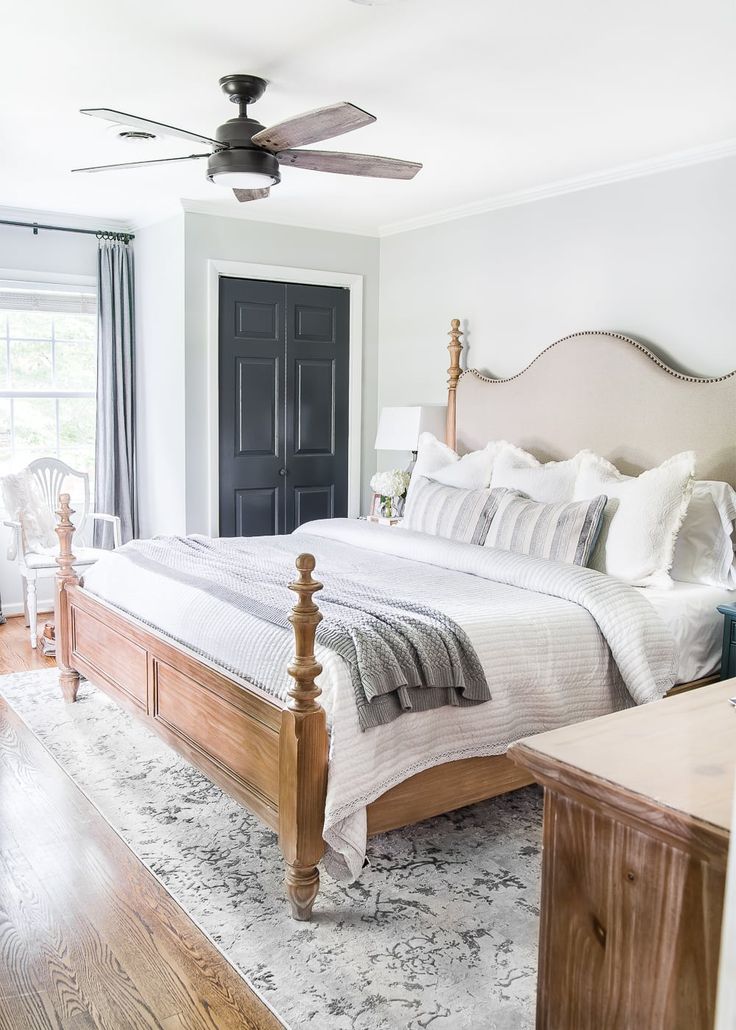 (See more A Chic Fixer-Upper on Fire Island, Budget Edition.) Photograph by Kate Sears.
A small bedroom is not the place for voluminous quilts and layers of blankets. Simple bedding with clean lines and breezy fabrics like linen and cotton will keep your bedroom feeling fresh and open. For textured warmth without the bulk, try a vintage wool army or camp blanket.
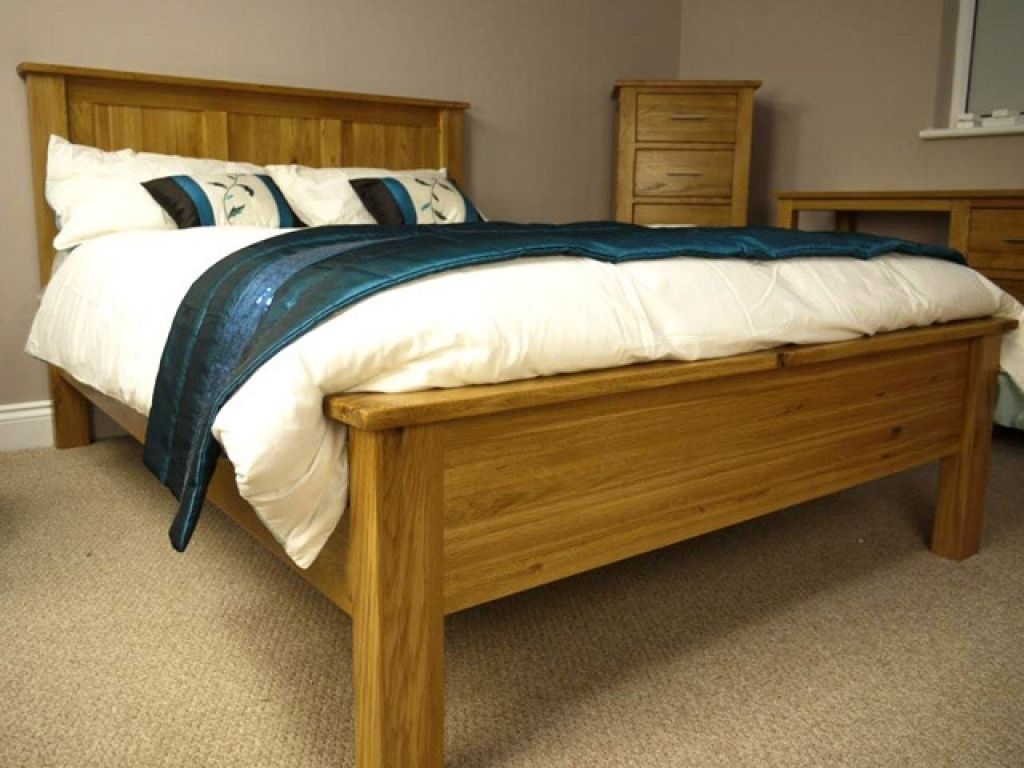
SINGLE bed - 300 drawings and photos + DIY progress
do-it-yourself single bed photo
The single beds are like the next step for a baby after a crib, and also a great option for a small room like a dorm or guest room. In general, if you need instructions, how to make a single bed with your own hands , we suggest considering 10 simple projects that we have collected in this article. Either option is great for a home project. Here you will find drawings single bed made of wood , step by step photos and links to instructions.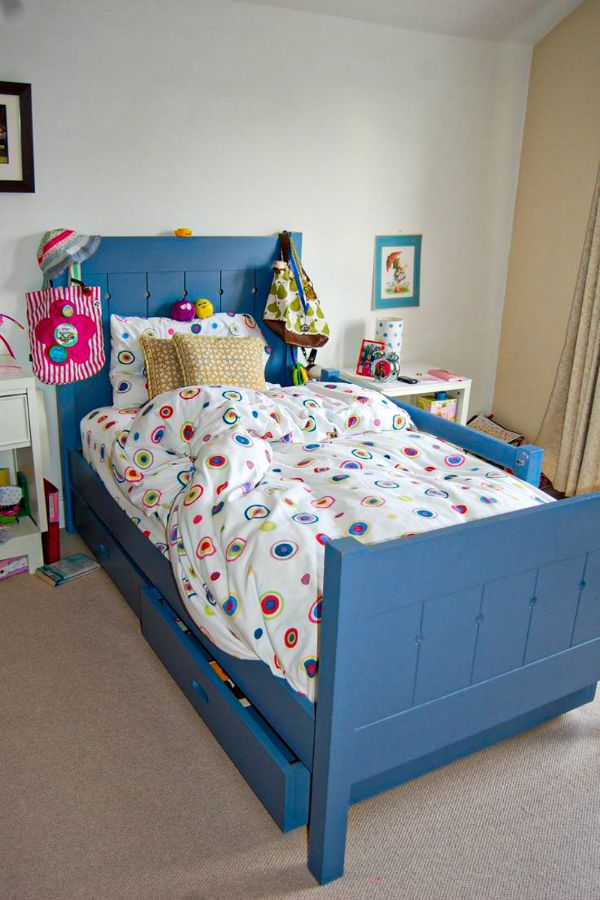 And there is no such thing as a typical DIY bed frame. You can change the style, design, type of wood, as well as the color of the finish, so whatever you choose from the options offered, in any case, your project will be unique.
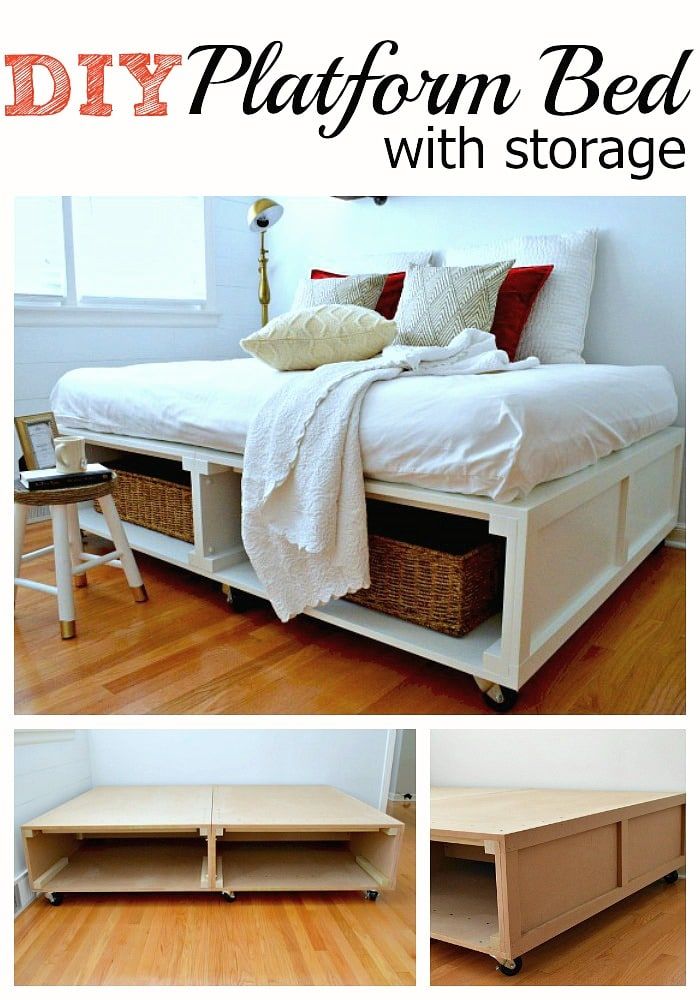
DIY Single Bed Frame
This project is quite simple, you can easily do it over the weekend. So, see how to do do-it-yourself frame for a single bed made of wood. Take a sheet of plywood 120 x 240 cm 2 cm thick and cut it to 105 x 200 cm - just enough to leave some space around the mattress. Then take 3 boards 1 × 8, 2.5 meters long. Cut to size. The two long sides should be approximately 200 cm and the 2 end pieces 105 cm. Lay the plywood and attach the legs. Screw the fixing plates for furniture legs to all four corners and one in the center. Screw in the wooden legs. Once you're done, turn the bed over.
Attach all four sides of the outer frame, then secure the boards with finishing nails. Add screws to the ends and middle parts of the boards for support.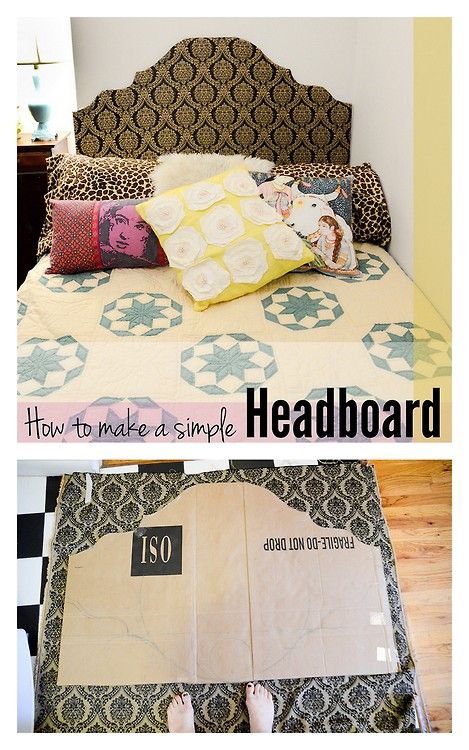 Don't skip this part. Nails by themselves do not provide sufficient support. Lightly sand the frame and edges until they are nice and smooth, then apply first the bleach and then the oil-based Whitewash. Of course, you can use any coating, this is just a recommendation. That's it, the bed frame is ready, isn't it easy?
Photo source: domesticblonde.com/2019/11/13/diy-twin-platform-bed-frame/
DIY simple single bed
With this step by step guide you can make a simple DIY single bed with a minimum of materials and tools. If you like classic style, simple construction and a durable frame that will last a very long time.
Everything you need can be viewed on the website, link under the gallery. So how to do it. Lay out the headboard as shown in the diagram. Fasten from the back to hide nail holes. The last little piece needs to be trimmed to fit perfectly. Note. If you plan to connect the headboard to the legs with pocket holes, drive nails into the outer edges of the board to leave room for the holes in the next step.
Attach the headboard to the legs. Then attach the 2x6 top to the headboard with self tapping screws. Assemble the footboard as you did the headboard, but finish the back of the top with a 1x6 board.
Next, screw the 2x4 side railings to the legs of the 4x4 battens. Attach the side rails to the planks. The slats must comply with the recommendations for the mattress. You can use plywood or other materials.
Fill all holes with filler and sand. Coverage at your discretion.
Photo source: ana-white. com/woodworking-projects/simple-bed-twin-size
Wooden single bed drawings
If you are looking for single bed for children's room , this project is for you. With simple styling, a large headboard, chunky legs, sturdy side rails, and the ability to use a box spring or without, this beautiful bed is definitely worth your sweat!
Simple instruction . Cut the 1x6 headboard boards with a miter saw. Lay out as shown in the diagram. Measure the overall width. Attach the 1x4 boards at the top and bottom, lining up all the outer edges. Verify that the panel is square (not parallelogram) by measuring the diagonals of the outside corner and adjusting to match the two opposite diagonals. Attach the 2x2 planks to the inside back edge of the 4x4 legs.
Attach the panels to the 2x2 planks with screws and glue. Measure and cut the top of the 2x4 boards. Attach with screws and glue. Install 2x6 boards on top of 2x4 boards. Make sure that all outer edge projections are even.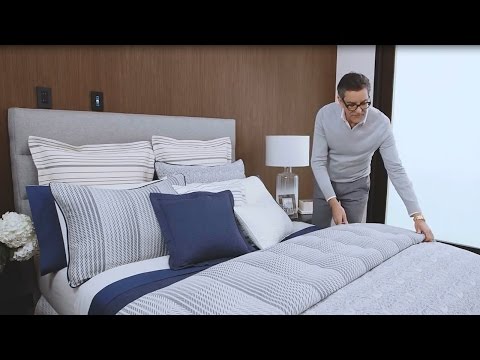 Screw it on. Repeat the same steps to assemble the footboard. Attach the footboard panel to the legs the same way you did the headboard panel.
Attach the 2x4 planks to the 4x4 legs with screws. Install the side rails on the planks and attach with glue and nails. Mounting with an L-bracket and a straight bracket from above is also recommended. Lay the slats into the bed frame, spacing them evenly. Screw in or nail in.
Photo source: ana-white. com/woodworking-projects/farmhouse-bed-twin-size0006 is perfect for any girl's or boy's bedroom. Additional molding on the headboard and footboard creates the look of a beautiful embossed panel. On the site you can read the instruction of 9 simple steps, and see the diagram with the dimensions of the parts and assembly drawings below in the gallery.
Photo source: learn.kregtool.com/plans/faux-raised-panel-twin-bed/?bmr=1
Simple cot with two single beds
If you think it's necessary, you can add a trolley so you have extra space when your cousins come to visit. This simple bed trolley is also very easy to DIY. Even if you don't need an extra bed, it can provide tons of extra storage space. If you are making a trolley for an existing bed, adjust the length to fit under the bed. You can find a link to the instructions below the gallery.
Photo source: www. hertoolbelt.com/simple-twin-bed-trundle/
DIY single bed made of wood blueprint
store, so even a novice master will be able to make such a handmade wooden single bed . If you don't need the whole bed, you can make just a headboard from these drawings, which will be a great addition to any room. If the dimensions shown in the drawing suit you, you will find instructions, how to make a bed , at the link under the gallery.
Single bed drawings
See some examples wooden single bed drawings that you can use for your project.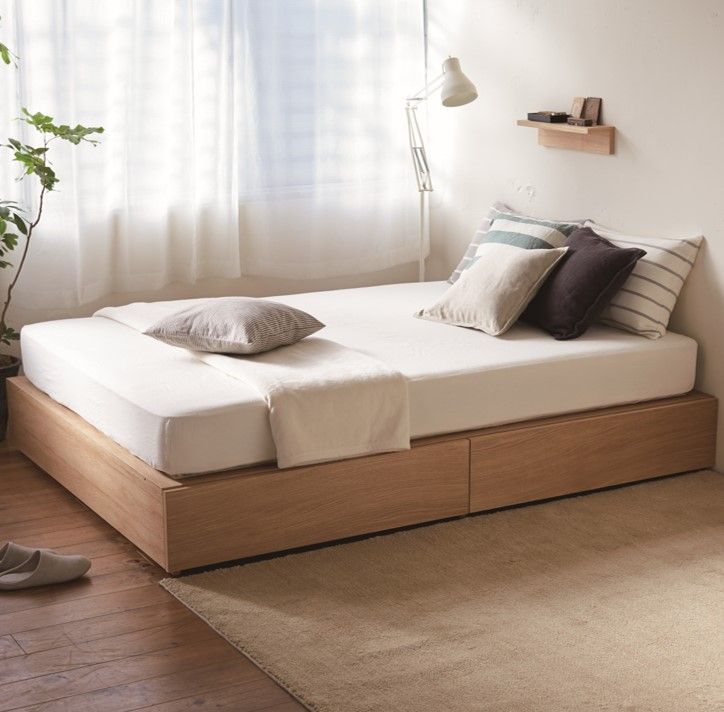 Just before using a blueprint or step-by-step instructions from the internet, check the list of tools and materials needed to assemble bed frame . To prevent this from happening, that already in the process of working, you will find that the manual requires a woodworking machine that you do not have, or exotic, hard-to-find wood species.
How to make a simple single bed frame
Here is a simple tutorial on how to make a frame and headboard for a single bed using only 2×4 planks. The author of the project made this bed in just 3 hours. Overall, this is a relatively quick and very easy build! You need to prepare such details.
Headrest
- Two boards 2 × 4, 245 cm long
- Two boards 2 × 4 22.5″ 57 cm long
- Two boards 2 × 4 36″ 91 cm long
- Two boards 2 × 4 38″96 cm long
- Two boards 2 × 6, 38″96 cm long
- One board 2×6 45.5″ 116 cm long
Front
- Two boards 2 x 4, 245 cm long
- Two boards 2 × 4, 9.5″24 cm long
Frame
- Two boards 2 x 6 198 cm long sides
- One board 2 × 6 104 cm long end panel
- Two 2 x 2 180 cm long supports
- Nine boards 2 × 4, 104 cm long
- Two inner parts made of 2 × 2 timber, 185 cm long
When everything is ready, look at the step-by-step photos and if you have any questions, go to the site where there is a detailed instruction, the link is under the gallery.
Photo source: joyfulderivatives. com/how-to-build-a-platform-bed-with-legs/
DIY single bed step by step
This manual shows how to make a single bed from standard wood structures. The bed is designed for a 900mm x 190mm mattress. The wood used for this project is 38mm x 63mm and 2.4m long. Structural wood has the advantage of being straight and free of imperfections, as well as having finished rounded corners.
For work you will need a saw (the author used a miter and table saw, but a hand saw is also suitable), a drill with drills and countersinks, clamps. Let's do the sides first. For the sidewalls, you will need five pieces of timber of 1900 mm. Then one needs to be cut in the middle. Drill, twist and glue the part on top of the other, and the thin one to the underside from the middle. Perhaps the step-by-step photos make it clearer.
Then make a footrest. Cut three pieces of 980 mm. Glue and screw the two together as done for the sides. The third is screwed to the bottom. The length of the inner support for the legs is 400mm and for the outer legs it is 560mm with a 45 degree bevel at the top. The legs are attached to the end board with screws through the outer leg and one through the end board into the inner leg.
The outer leg is shortened to accommodate the top of the headboard and bevelled at the top. Adjust as you like. The horizontal elements are 900 mm long, the package pieces x2 (250 mm) and the vertical rods x 5 (200 mm). First, the inner frame is made, after which the packaging parts and legs are installed. The sides sit on a shelf created on the head and foot boards and are screwed to secure. Then the strips are inserted and all the rest are fixed.
Photo source: www. instructables.com/Single-Bed/
Bed platform on wheels
Rolling Bed Platform is a fantastic and economical way to transform your bedroom. You can give your room a gorgeous industrial style and still save a lot of money by making your own single bed . Of course, you can make any size.
This is a very simple design, so even beginners can do it. A support beam is added to the wood frame and attached to the underside of the bed frame. The side supports are then nailed to the middle strut. The same on the other side. The final frame size should be 1860mm x 780mm.
Now attach the plywood blocks to the base. Measure the base to find the middle and place blocks on either side. Apply PVA wood glue and press to the base. Attach the swivel wheels using a drill and four hex screws. Then we attach the plywood base to the frame. You may need an assistant here, because it is difficult to install it yourself exactly in the center and flush with the ends.
Fix the base by driving the screws into the ends of the frame and the middle support beam. Before sanding the surface, close up all the holes in the places where the screws are fastened. Let the putty dry and sand the entire surface to a smooth finish, then paint or stain. When dry, your bed is ready.
Photo source: www.bunnings.com.au/diy-advice/home-improvement/furniture-upcycling/diy-wooden-bed-frame
Children's room single bed - with original headboard
For those looking for an interesting bed design for little money, check out this children's room single bed .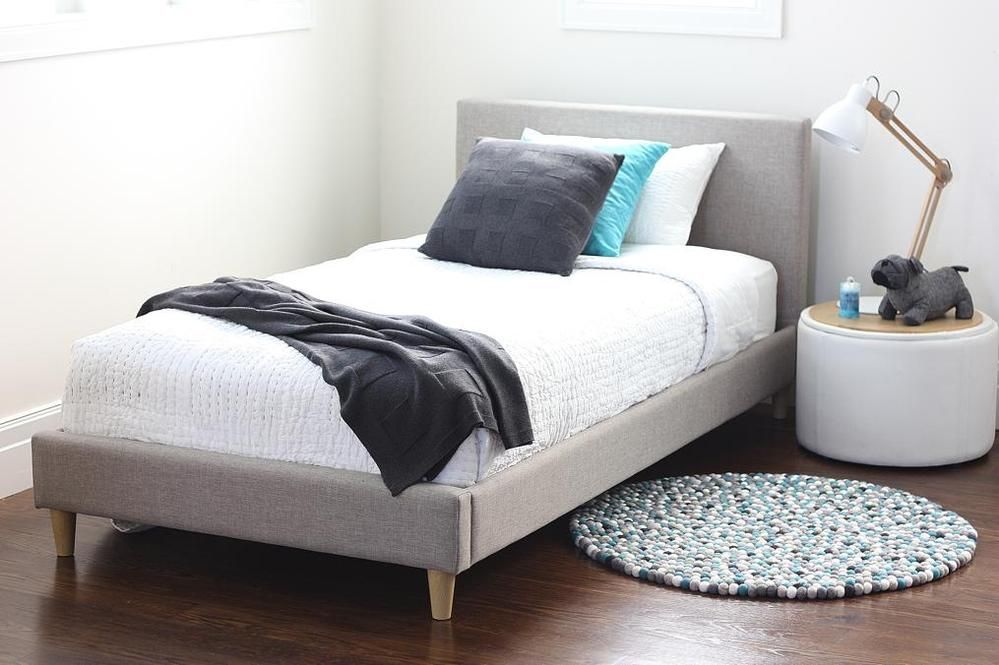 The frame here is standard, you can assemble according to any of the many instructions in this article. But the headboard is interesting, but it is very simple to make it. Using a table saw, cut two 5 cm wide strips from a 3 cm pine board. On a planer, clean the saw cut marks along the edges.
Cut to length 60 cm headboard height and bed width. Saw the crossbars to the width of the bed minus the thickness of the two vertical pieces. Mark and mark the distance for the dowels on the cross bars, drill holes 15mm deep. Mark two dowel pins on all connections to connect the crossbars to the uprights.
Cut wooden sticks into 58 cm lengths so that, when in place, they are 60 cm long from the top crossbar to the bottom of the bottom rail. Add glue to each hole and insert the dowels, making sure they go into the bottom of the hole. Also pour glue into all the dowel holes in the other cross member.
After laying on a flat surface, have a helper hold the crossbar while you insert the dowels.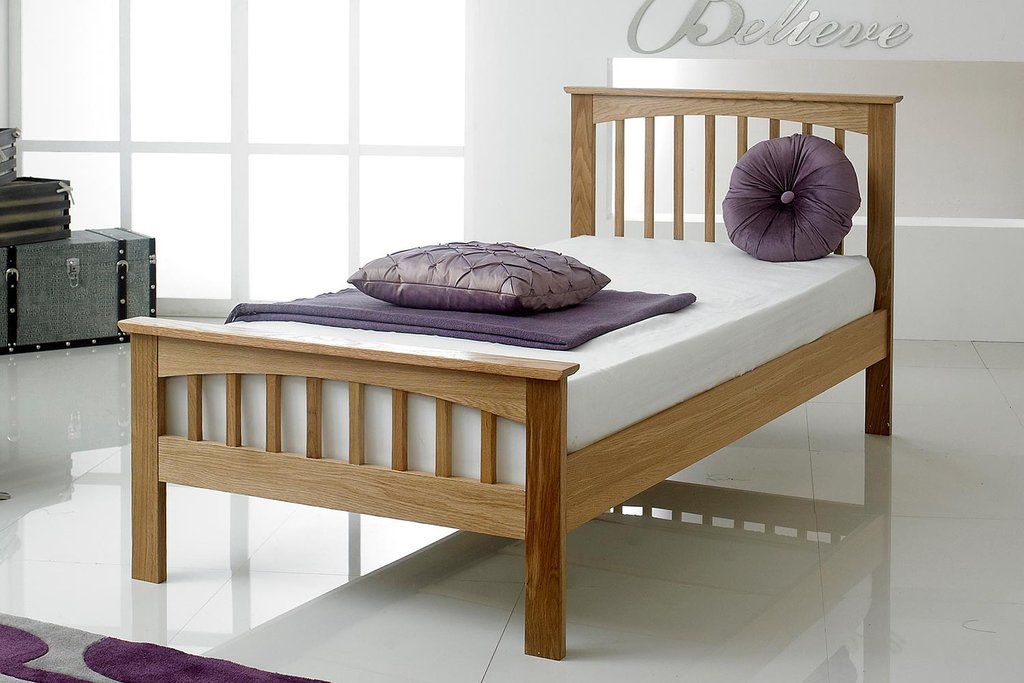 Use a hammer and a block of wood until you get 60 cm from top to bottom. Add glue to the dowel pin holes on both ends of one of the posts, insert the dowel pins.
Place the frame with the dowels up on the end and apply glue to the holes; press the stand into place. Repeat the same with the other rack.
Clamp the frame with zip ties, making sure it is square.
When dry, remove the clips and sand. Color and refine as desired.
Cut the steel rod in half, drill and countersink the holes so that there are two holes in the bed frame and two holes in the headboard.
Pre-drill holes in the bottom rail of the headboard and drill holes through which it can be attached to the bed frame.
Screw the headboard to the bed frame .
Attach the steel rods to the headboard posts and bed frame.
Photo source: themerrythought.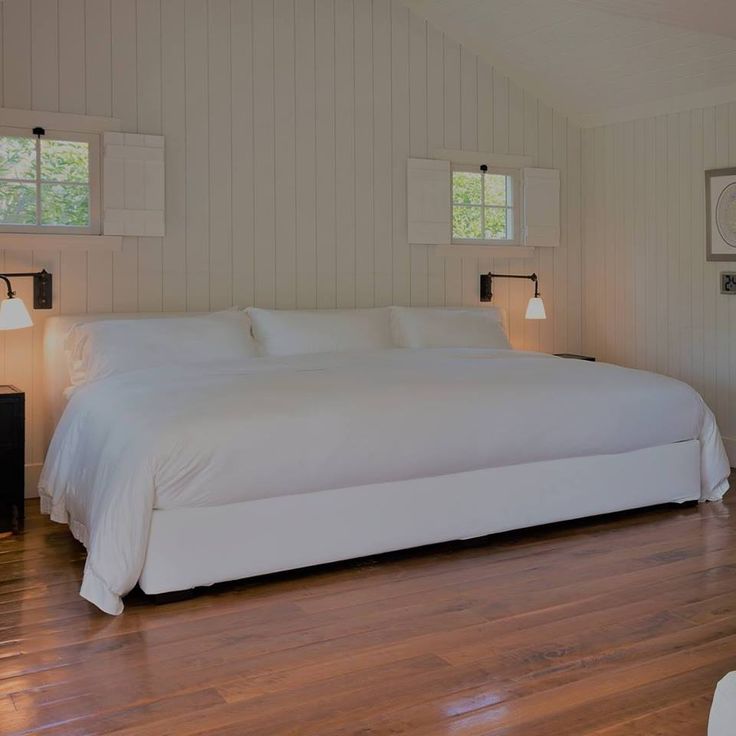 com/diy/diy-wood-dowel-twin-bed/
Single bed with a headboard with your own hands
This durable single bed made of wood is super easy to make, plus it will look great in a kid's bedroom and will last your kids for years to come. The first step is to lay out the beam for the support frame of the bed, it is best to do this on the floor. To make a rectangular outer frame, use two 2150mm planks and two 945mm battens.
Two end pieces must be on the sides. Then take the rest of the planks and lay them inside the frame. After laying out the strips, drill holes of 2 mm. Attach the planks to the frame with 65mm wood screws. Use two screws on each plank. Don't forget to use the spare bar as a spacer.
Both ends of the legs must be cut at an angle of 15 degrees. Then you need to mark the cone 0-45 mm on the legs. To do this, measure from 0 to 45 along the length of the beam. Measure the beam at the base at a distance of 45 mm from the edge.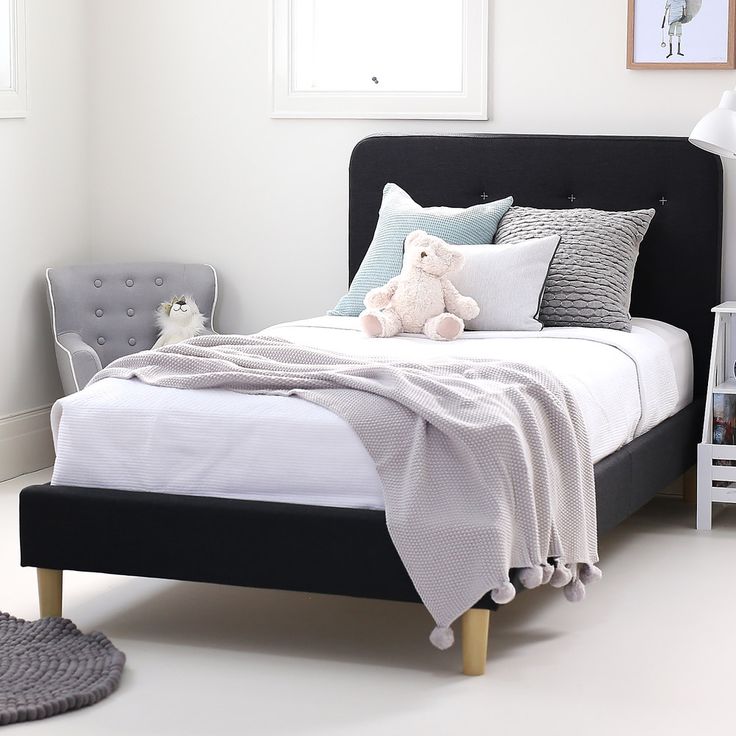 Draw a straight line to the top of the beam. Attach the wood to the workbench, then saw it.
Make another 15 degree cut at the end of the foot with a miter saw. One leg is done. Repeat the previous steps to make the rest of the legs. Place your foot on the bottom of the bed. The tapered edge should be facing outward and the other edge should be against the frame. Before fixing the leg with 50 mm screws, drill holes.
For maximum strength, drive the screws at an angle. Turn the bed over and screw the top of the plank into the leg. Repeat for the rest of the legs. Measure the frame length and subtract 110mm. This gap will be where the headboard is attached. Transfer these dimensions to the beam of the side frames. Make a 45 degree cut at the end of the long board with a miter saw.
Cut the other end to a length at a 90 degree angle that will be butted to the head of the bed. Repeat this for another long board. Attach the outer frame to the bed. Then cut the timber for the inner frame.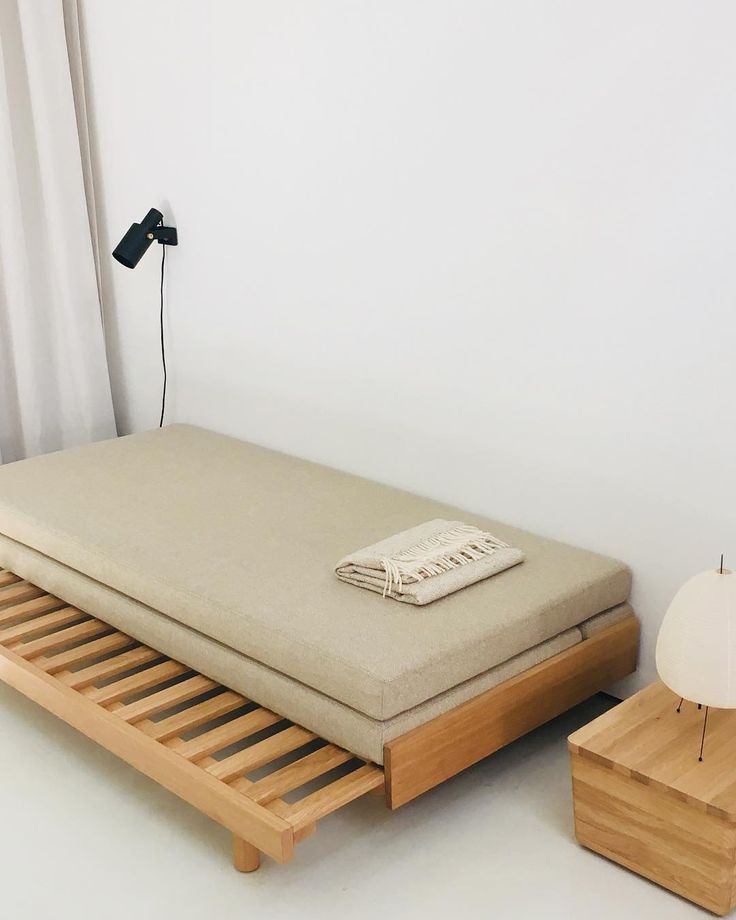 Now prepare the dowel. It is important to remember that for safety reasons, the distance between the dowels should not exceed 125 mm.
Drill a hole for the dowel. Measure, mark and cut seven headboard dowels. Install seven dowels to one side of the inner frame and complete the inner frame. Cut out the outer frame, then attach. Screw headboard onto bed . Now it remains to paint and the single bed is ready.
Read the full version of the manual in the manual on the website.
Photo source: www.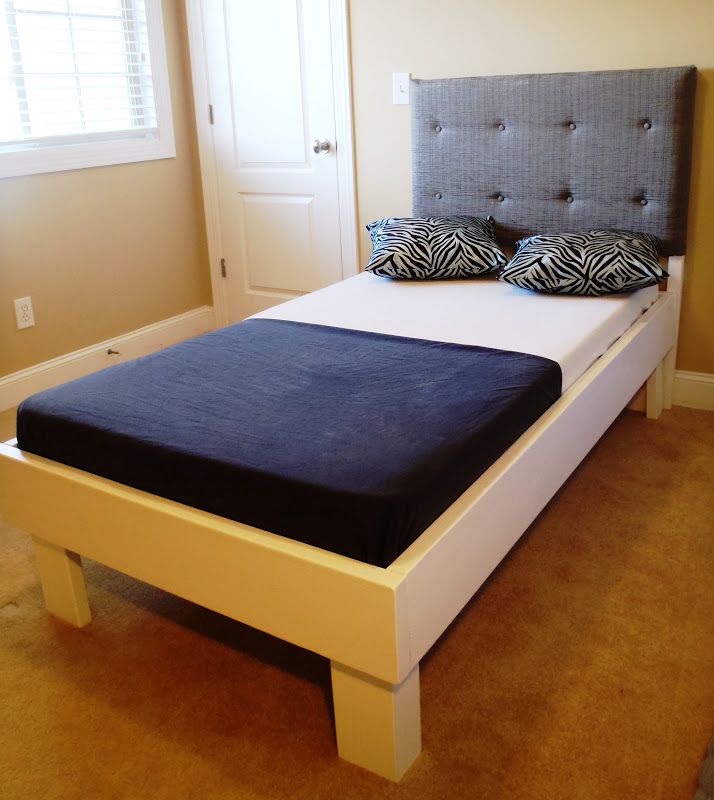 bunnings.com.au/diy-advice/home-improvement/furniture-upcycling/diy-kids-framed-bed-with-headboard
to provide one more bed, here are step by step photos. If you need instructions, link to the site under the gallery.
Photo source: www. bunnings.com.au/diy-advice/home-improvement/furniture-upcycling/how-to-make-a-trundle-bed-on-wheels
Single pallet bed frame
If you are looking for cheap options, check out how to make a simple bed frame from standard Euro pallets (120 cm x 80 cm) for a 100 cm x 200 cm bed.
The author took approximately 4 hours to develop. If you're using old pallets, make sure there are no nasty things on them before you sleep on them.
Well, let's get started! First we have to sand our pallets. Treat the entire surface with a grinder, small parts with your hands. The protruding boards are cut with a saw and sanded with an orbital sander. Fill all holes with wood filler
If you put 3 pallets together, their length will be 240 cm. For this project, you need to cut off the extra 40 cm. And sand again. All corners were rounded with a milling machine.
It's time to paint! White paint was used here. Apply 2 coats. When the paint is dry, put all the pallets together.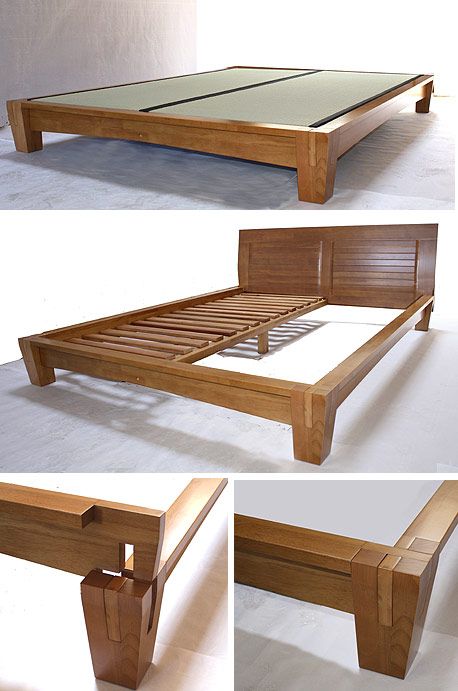 The headboard is attached to 3 metal corners in the first layer. The second layer is fastened with screws. That's all! Bed ready . It remains to put a new mattress and you can lie down after hard work. Enjoy your cozy bed!
Photo source: www. instructables.com/Verry-Simple-Bed-Frame-From-Pallets/
DIY single bed rooms
. As already mentioned, this type of bed in terms of size is the best option for children and toddlers. It is also a good solution for small bedrooms and guest rooms. In our gallery, you can choose a suitable design and adjust it using one of the step-by-step instructions in this article.
More in this category: « Do-it-yourself catwalk bed 500 step-by-step photos + drawings with dimensions How to make a bed from a bar (400 photos and drawings) »
manufacturing instructions, drawings and diagrams
You can not only buy any piece of furniture in a store, but also make it yourself. This method has its undeniable advantages, firstly, you can create a unique piece of furniture. Also, you can recreate the part in any color, material, style, etc.
The assembly of structures requires time, care and a responsible attitude to business. It is necessary to take into account even the smallest nuances in order for the furniture to please you for many years.
- Varieties of designs of single beds
- What tools do you need to make your own
- What material to choose
- How to make a bed yourself
- Drawing up drawings and diagrams
- frame
- headboard
- Installation of lamellas
- Manufacturing and installation of legs
- How to make a single bed at home - step by step guides
- How to make a bed out of plywood or pallets
- Ready-made examples made at home
- Video: how to make a single bed with your own hands
- Single bed in the interior in the photo
Single bed designs
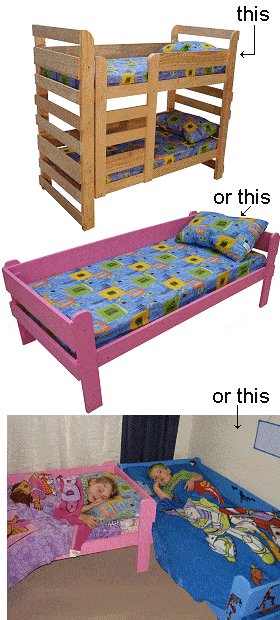
A single bed is a versatile and compact sleeping arrangement. They are usually used in small rooms or children's rooms. Its main advantage is that it does not take up much space. Plus, the bed may have a lifting mechanism or drawers that will allow you to use the space under it for things.
There are also transforming beds. Such structures can be folded, which also frees up space in the room. There are many types of single beds. For example, baby cribs. They are selected primarily based on the age of the child. If he is just learning to sleep alone, then it is better to pay attention to low beds, with sides on the sides.
A bed with a side will look interesting in the room.Such models are made of wood so that the baby is not injured on metal rails or corners. For older children, you can already consider options without boards. It is better to stick to the same wooden design, since even older children are very active and love to play in their room, and a metal product will be more traumatic.
Metal beds are dangerous enough.Single beds for adults are available in the following types:
- Standard version with headboard.
- Sofa-ottoman - a low bed, can be supplemented with armrests or a back.
- Transformer is a multifunctional model that combines a bed with a table or wardrobe).
- Retractable. It is placed on the podium, it is installed only in rooms with high ceilings.
- Folding. Fixed in the wall.
Each type is selected according to the size of the room and the style of the room. The standard version or Ottoman can be placed almost anywhere, but the folding version is ideal for narrow but long rooms. If we consider the style of the room, then the type of bed can be anything, but special attention should be paid to its design or decoration.
What tools do you need to make your own
Once you have decided on the bed you want to make, you need to prepare all the necessary tools. The standard set you will need consists of:
- circular saw;
- measuring tapes;
- screwdriver;
- adhesive solution;
- drill;
- grinding machine;
- adjustable elbow;
- hammer;
- screwdrivers.
These are the things that you cannot do without when assembling a bed yourself. Other tools may be required, for example, if you decide to work with metal products. You will need a welding machine, grinder, sandpaper, etc.
You must have the necessary tools for the job.Which material to choose
If this is your first experience in assembling furniture, we recommend starting with wood products. It is easier to work with them, and they do not require special skills and abilities.
Chipboard is one of the most popular furniture materials.Wood materials vary. You can make a bed of chipboard or natural wood. The latter will be more expensive in cost, but better. It is impossible to say that chipboard is a very fragile material. Most of the furniture we buy in stores is made from it.
The easiest way to build a bed is to use chipboard. Natural wood wins with its appearance, it does not have to be repainted, the natural color will fit well into almost any style. It is also worth giving preference to natural wood if you are making children's furniture. Such a product is environmentally friendly and definitely will not cause an allergic reaction.
Plus, this material is considered to be of higher quality and stronger, and for children who like to jump on beds and toss and turn, this option is ideal.
How to make a bed yourself
If you decide to make a single bed with your own hands, then do it consistently. You can’t just buy a few boards and connect them together.
You can draw a sketch of the bed in a special program.To produce quality furniture, you will need to make drawings and diagrams, calculate the dimensions of the bed, think about additional elements in the form of a headboard or armrests, even before the assembly itself.
Preparation of drawings and diagrams
Drawing is one of the key things in preparing for the assembly of the bed. The final result will depend on how accurately and correctly the scheme is executed.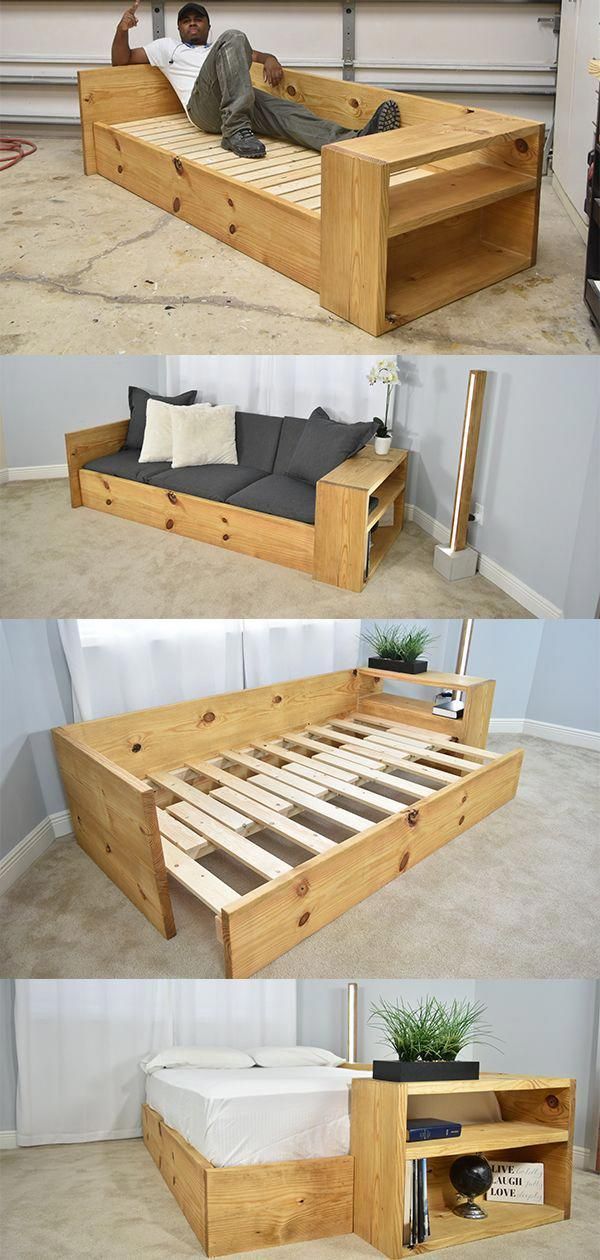 Not one, even a professional craftsman with extensive experience, does not work without a drawing.
In order to draw a diagram, you need to make several segments on a piece of paper that will be equal to the width, length and height of the product. At the same time, you need to take into account the size of your room, so that you understand how much final space remains on all sides. The dimensions of each part are calculated and drawn separately.
An example of a bed can be found on the Internet.Also, a ready-made drawing, which can be found in books or on the Internet, can become a solution. All the details are already indicated there, you just have to adjust the dimensions to those that fit into the room.
Frame
One of the most important details in a bed is the frame. It is a box that acts as the base of the bed.
Bed sides can also be made from pallets. In the simplest assembly, it consists of four sides, which are pulled together by a beam, for more reliable fastening. The sides of the frame can be narrow if the bed is on legs or wide if legs are not provided for in the project.
Headboard
It is not necessary to install the headboard on the bed, but it adds coziness and furniture looks more aesthetic with it.
Please refer to the instructions for assembling the bed.The headboard is made from the same material as the bed frame and can be upholstered with soft material, painted or decorated with decorative tools. You can also make shelves or drawers on it.
Installing the slats
The slats are a frame on which the mattress will be placed in the future. The structure consists of a base (usually metal) and wooden slats. Their installation in the finished product is very easy, it is enough to place the lamellas in the box.
It is not difficult to assemble the lamellas, but you need to do it carefully. You can also assemble this part yourself. The slats are necessary so that the load is distributed over the mattress correctly. In this case, it will serve you for a longer time.
Making and installing feet
The feet can be made from metal or wood. They are installed on the box, after its assembly. It is necessary to correctly calculate the weight of the bed, taking into account the mass of the person, and based on this, choose the legs in size.
Use quality tools to assemble the bed.They can be made from wood or metal. In the first and second case, the part will require grinding and processing.
How to make a single bed at home - step by step guides
Check out a quick guide on how to assemble a bed at home step by step:
- First assemble the main parts - box, headboard.
- Determine how the legs of the bed will be positioned. If, according to your project, they are attached to the headboard and to the board, which is located on the side of the legs, then make these walls, taking into account that they will become a support for the bed.
- The next step is to install the slats.
 Do it yourself, or buy a ready-made version of the rack base in the store.
 - After these steps, your bed is ready for use. You can start decorating the product.
Remember that if boards need to be painted or sheathed, this must be done before you join them together.
How to make a bed from plywood or pallets
You can even build a bed from plywood left over from an old wardrobe. The main thing is that you have enough materials for the entire structure. The manufacturing method will not differ in anything, at the same time, you will significantly save finances and give furniture a second life.
You can assemble a bed from improvised means.You can also find original versions of pallet furniture. Tables, benches, chairs, including single beds, are made from them. Pallets consist of several boards, if necessary, they can be easily disassembled.
Home made examples
The internet is full of pictures of ready made single beds.