How do i remove a popcorn ceiling
How to Easily Remove Popcorn Ceiling
Very few things date a space like a popcorn ceiling—and not in a charming way. They're difficult to repair, hard to clean, and catch dust easily; but despite all these cons, their popularity exploded beginning in the late 1950s because they made easy work of finishing ceilings and hiding imperfections.
If it's time to redo a popcorn ceiling, there are three popular ways to take on the challenge: scrape, cover with a new layer of drywall, or skim coat with plaster to create a new textured ceiling.
How Much Does it Cost to Remove Popcorn Ceiling?
The national average for popcorn ceiling removal is $1,707, according to Home Advisor.
Removing popcorn ceiling can be a labor-intensive process that is best left to a licensed professional to ensure safe removal. In some cases, there may be asbestos present in the ceiling, so it’s always a good idea to consult with a pro before starting the project.
What is the Best Method for Removing Popcorn Ceilings?
Which is best? Depends on a lot of things, including the age and condition of the substrate (ceiling). We spoke with drywall and stucco expert Mike Poellinger, owner of Poellinger, Inc., in La Crosse, WI, who filled us in on everything a homeowner should know before deciding how to remove their popcorn ceiling. With his help, we break down the three methods to redoing popcorn ceilings below.
How to Scrape a Popcorn Ceiling
When scraping popcorn ceilings, you'll want to use a 4-inch utility knife or a drywall knife to chip away at the texture and create a smooth surface. You'll probably need to skim it with a thin layer of joint compound to smooth out imperfections, then sand it smooth before repainting.
Why do it?
This is by far the most common method of popcorn ceiling removal. Scraping your ceiling is a messy and slow process, but it's the most cost-effective and can be completed by one person. However, popcorn finishes and paint applied before 1979 often contained asbestos and lead, respectively, which could be toxic if sent airborne. If you live in an older home, purchase a home test for lead paint, and consult with an expert about testing for asbestos. If it tests positive, do not scrape it.
If your ceilings are not at risk for asbestos or lead paint, but they have been painted, it may be near impossible to scrape them, since the porous popcorn material will have soaked it up. Drywalling over them may be a better option.
Pro tip: Don’t spray your ceiling with water before you scrape
A lot of people spray their ceilings with water before scraping to loosen them up, but Poellinger doesn't recommend it. "Not only will it be a sloppy mess, but it will absorb into the ceiling and make it heavy; then it could start to expand and crack. It's more time-consuming, but it's best to scrape it dry."
How to Cover up with Drywall
Affix ceiling-grade gypsum board, which weighs significantly less than standard wall board, right over the existing popcorn ceiling. You'll need to securely screw it into the framing and be proficient at mudding and taping for a seamless job.
Why do it?
This is a better option than scraping if you have lead paint or asbestos, because you can encapsulate the harmful substance instead of sending it airborne. Plus, you'll get the smoothest possible finish, if you mud and tape properly. Alternatively, a team of pros will be able to complete the job in no time. Finally, if the ceiling has damage or if you already need to cut into it to reroute electrical or HVAC, you can make large cuts into the existing substrate without worrying about patching, since they'll soon be covered up anyway.
This method will come at a price—a 4-by-8-foot sheet of ceiling-grade gypsum board costs $9 apiece. It may also be difficult to maneuver the boards single handedly if you're DIYing it. And if you have crown molding, you'll likely have to remove it and replace it.
Pro tip: For a DIY removal project rent a drywall lift
Rent a drywall lift if you're DIY’ing it. It might cost about $40 per day (The Home Depot; location pricing varies), but it's safer and allows you to get a better handle on the material.
Skim Coat on a New Design
Yes, it's still a texture, but according to Poellinger, it's making a comeback—and it's fairly easy for homeowners to do themselves.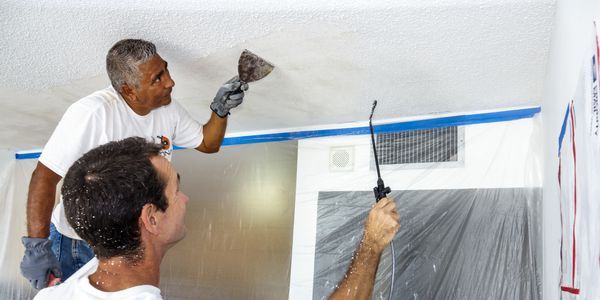 Often found in older homes—pre-popcorn-era—this type of textured ceiling involves cleaning and prepping the existing substrate with quick-set drywall mud, applying a bonding agent like joint compound, and then applying a finish compound with a trowel or knife to create a new texture.
Why do it?
Many old-house owners want to recapture the history of the home, and a smooth ceiling won't fit the bill.
The most important consideration is to make sure the substrate is structurally secure, since adding a wet product could create more weight than the ceiling can handle and cause it to come down. You might need to consult with a contractor before getting started.
Pro tip: Don’t use ready-mixed material as your base
If you opt to skim coat, use a quick-set drywall mud, then touch it up with a ready-mixed joint compound. Don't use a ready-mixed material as your base, as it has a higher moisture content and contains silica, which is prone to causing some shrinkage, affecting your final look.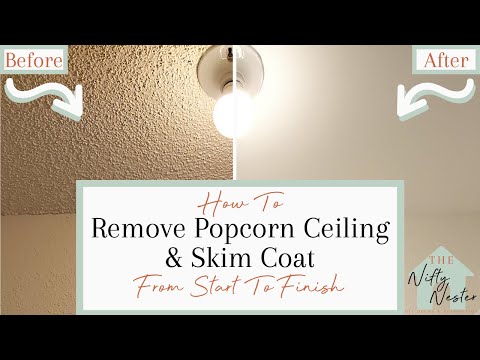
Do Popcorn Ceilings Have Asbestos?
If your home was built between the 1950s and 1980s, there is a chance that the popcorn ceilings contain asbestos, according to the Mesothelioma Center. The best way to determine if your popcorn ceilings contain asbestos is to hire an abatement professional, or you can purchase a test kit.
If you discover that your popcorn ceilings contain asbestos, don’t panic—and don’t try to remove it yourself. Removing it will cause the particles to escape into the air, making it easy for you and your family to breathe in the carcinogens. Leaving the ceiling intact poses no dangers.
If the ceilings must go, then it’s a good idea to call a professional abatement company to do the job.
11 Tips on How to Remove Popcorn Ceiling Faster and Easier
These popcorn ceiling removal tips will help you update your living space while staying safe and clean.
Every editorial product is independently selected, though we may be compensated or receive an affiliate commission if you buy something through our links.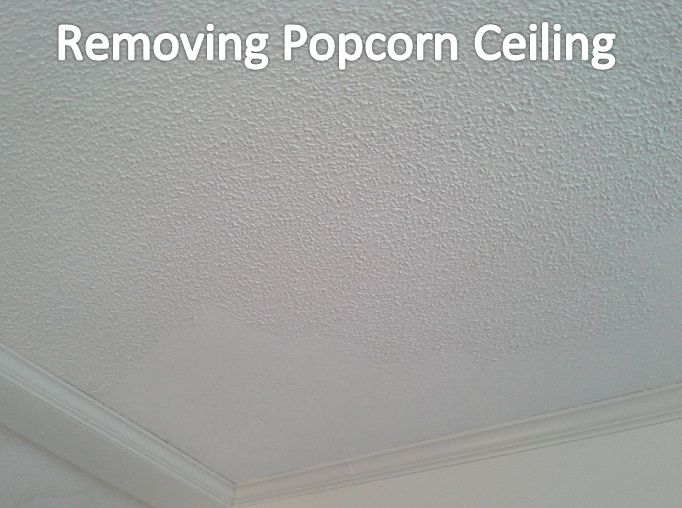 Ratings and prices are accurate and items are in stock as of time of publication.
Popcorn ceilings were all the rage back in the ’60s and ’70s. Applying texture to drywall and plaster ceilings was a quick and easy way to hide imperfections with no painting required afterwards. However, its rough texture attracts dust and cobwebs and makes patching cracks and holes a headache.
Removing popcorn texture from a ceiling is a messy chore but worth the effort if the substrate underneath is in sound shape. Here are some tips to take some of the pain out of scraping the popcorn texture off your ceiling.
1 / 12
Family Handyman
Do a Scrape Test
When learning how to remove popcorn ceilings, scrape a small test area first before committing to all the trouble of prepping the room. Try it dry first, then dampen it with water and try again. Some texture comes off easily without water, but in most cases wetting it is most effective. In the event that the water does not soak into the texture and soften it, the ceiling has probably been painted or paint has been added to the texture mix. In that case, wetting the ceiling may not help. You’ll have to decide whether you want to tackle a difficult scraping job or choose another way to hide your popcorn ceiling.
2 / 12
Family Handyman
Test for Asbestos
If you have a popcorn ceiling installed before 1980, it is likely to contain asbestos, which is a known cause of lung cancer. Before removing any popcorn ceiling texture, contact your local health department and ask about getting a sample tested. If the test comes back positive, cover the popcorn with new drywall or tongue-and-groove planks, or hire an asbestos abatement contractor to help with removing the popcorn ceiling.
3 / 12
Family Handyman
Prep for a Big Mess
Cover your floors and walls with plastic drop cloths as you begin the popcorn ceiling removal process.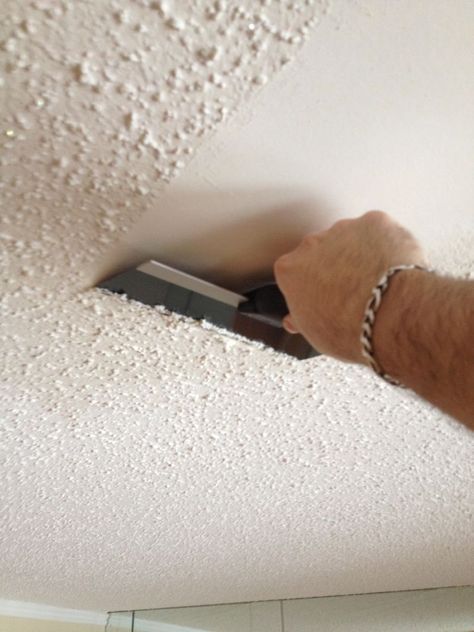 It is not recommended to use canvas drop cloths because water can soak through them. Using plastic drop cloths also makes cleanup easier, since they can be rolled up and thrown in the trash once your project is finished. After the popcorn ceiling texture has been removed, leave the plastic in place to catch any mess you’ll make repairing and sanding it later.
4 / 12
Family Handyman
Get the Furniture Out
If possible, remove all furniture from the room you’ll be working in. As you remove the popcorn ceiling, you will not want furniture to be in your way when moving the ladder. If moving everything out of the room is not possible, arrange it in a cluster and cover it with drop cloths.
5 / 12
Family Handyman
Remove Ceiling Fixtures and Fans
Shut off the breaker to any fixtures and remove them. Leaving lighting and ceiling fans in place may seem easier, but they will only get in your way and get covered with wet popcorn scrapings.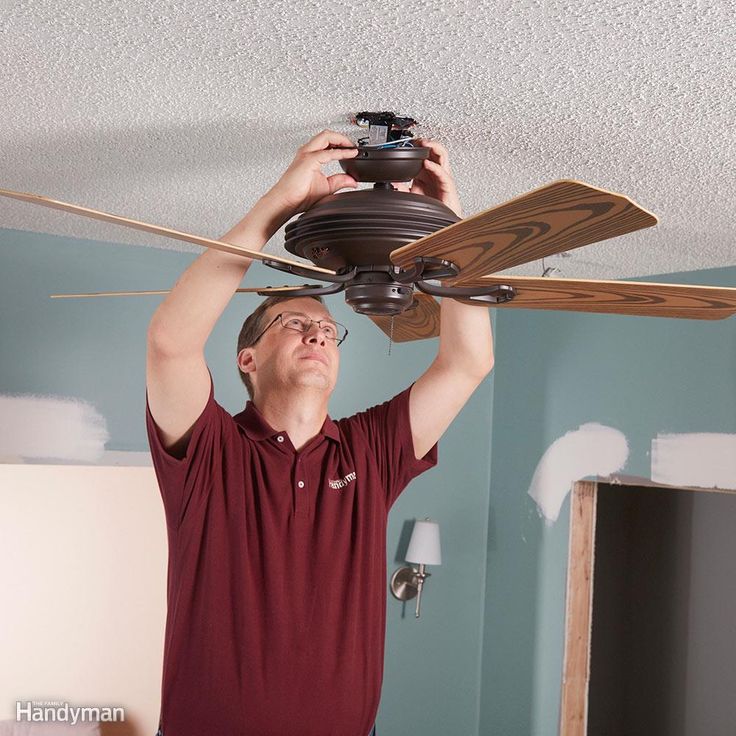 Plus, you do not want to accidentally spray water into electrical fixtures.
6 / 12
Family Handyman
Protect Can Lights From Water Spray
For recessed “can” lights, stuff newspaper or rosin paper inside them to ensure that they remain dry when water is sprayed around them.
7 / 12
Family Handyman
Cover Electrical Boxes
Shut off the power to any electrical boxes in the ceiling and cover them with painter’s tape. This will keep the wiring dry when spraying water on the textured ceiling. Overlap the sides of the junction box with tape, and then trim the perimeter with a utility knife, taking care not to nick the wires.
8 / 12
Family Handyman
Wet it With a Pump Sprayer
For easier scraping and practically no dust during popcorn ceiling removal, use a garden pump sprayer to mist the ceiling.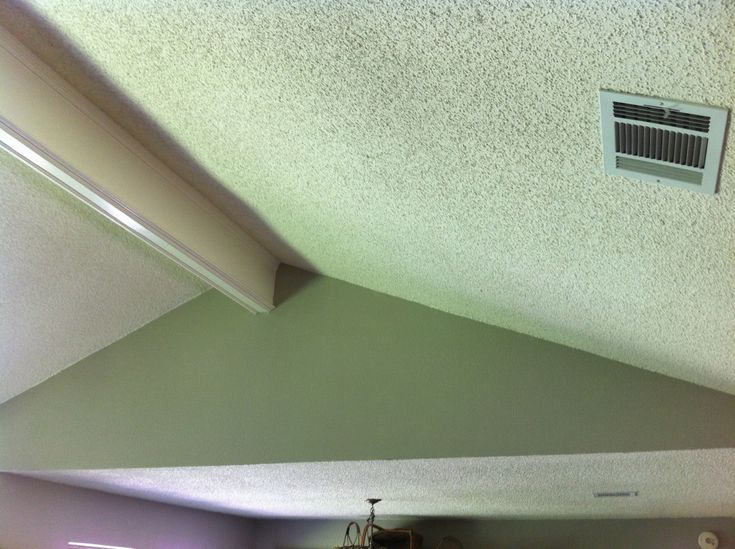 Let it soak for about 15 minutes before scraping. Give it only a light misting – too much water could damage the drywall or cause the joint tape to loosen. If the texture hasn’t softened after 15 minutes, spray it again and wait another 10 to 15 minutes.
If the texture still hasn’t softened, it might have been painted, or paint might have been mixed into the texture before application. In either case, water won’t easily penetrate it. If the texture is painted, you may be able to dry scrape it first to reveal some of the unpainted texture, and then wet scrape the surface. If the texture contains paint, you may have to dry-scrape the entire ceiling or abandon the project and cover it with drywall or T&G boards.
9 / 12
Family Handyman
Work in Small Sections
Spray and scrape only a small area at a time-about four square feet. If you work on too large an area at once, the popcorn might dry before you have time to scrape it off.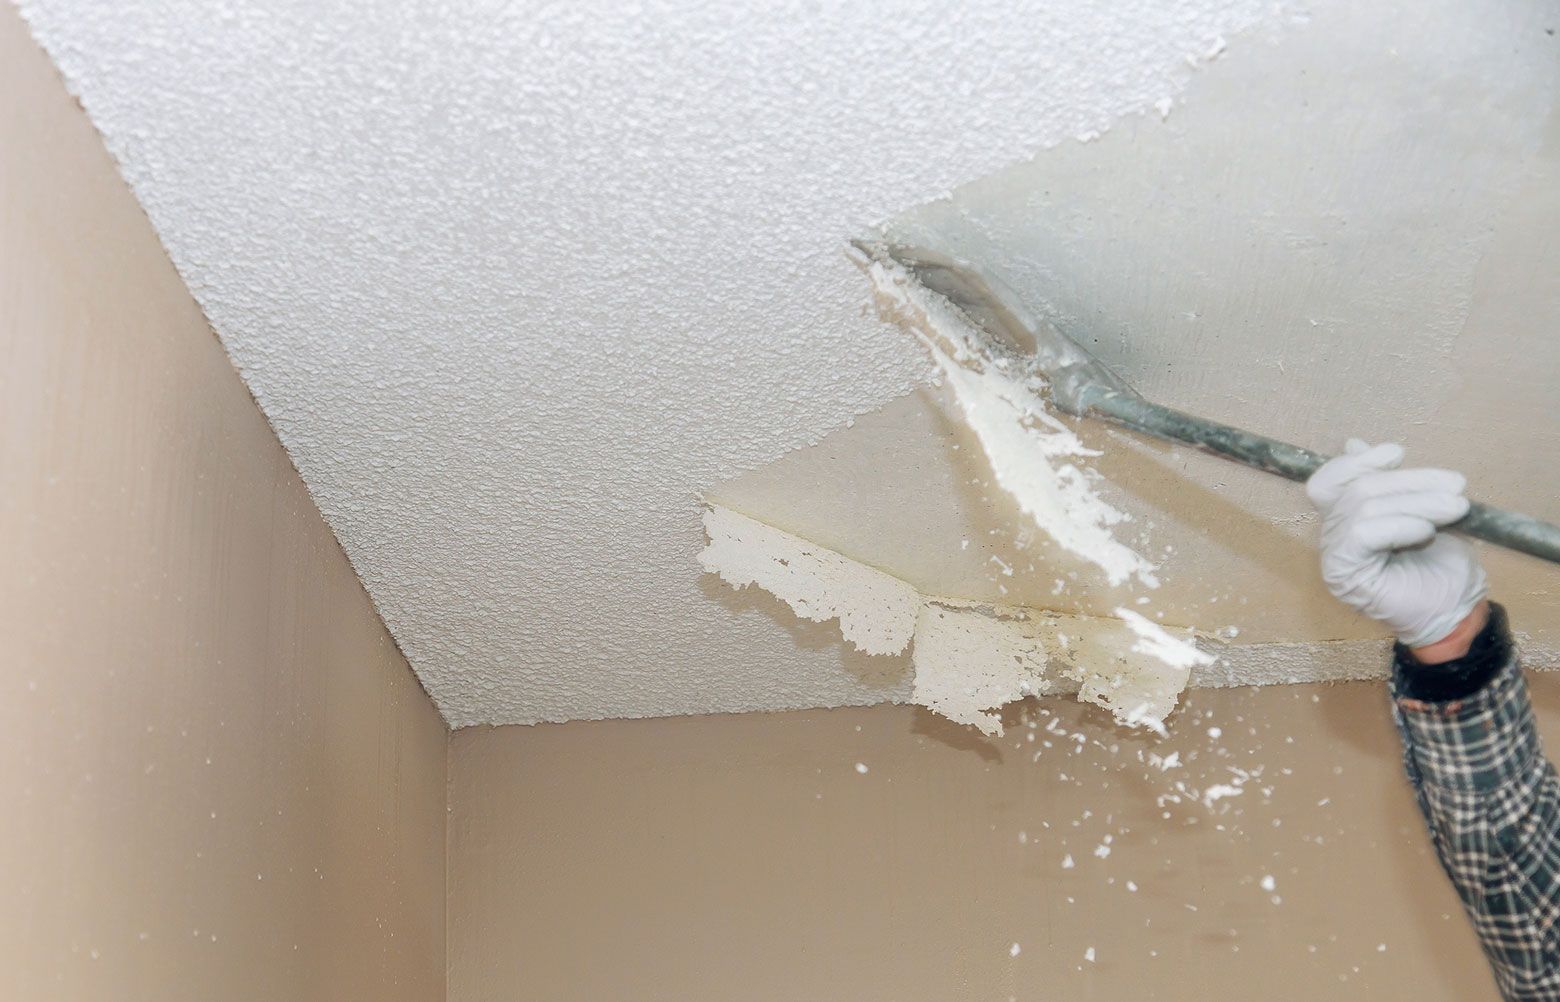 If that happens, repeat spraying the area and wait another 10 to 15 minutes before scraping.
10 / 12
Family Handyman
Tame the Mess With a Mud Pan
Use a mud pan—the kind used for joint compound—to catch the wet popcorn before it hits the floor. That way, you’re not tracking it all over the place when you walk and move the ladder around. You may also use the edge of the pan to clean your scraper when it becomes loaded up with wet popcorn.
11 / 12
Family Handyman
Prevent Gouging
Round off the corners of your popcorn scraper—whether it’s a wide putty knife or drywall taping knife—so it won’t gouge the ceiling and leave you with dozens of ceiling wounds to repair. Use a file, a sander or an electric grinder to do this.
12 / 12
Family Handyman
Smooth After Scraping
Scraping alone won’t leave you with a paint-ready ceiling. It’s likely you’ll have some small dings and gouges to fix. At a minimum, you’ll have to sand the ceiling to get it perfectly smooth before painting.
Originally Published: October 17, 2019
HOW TO REMOVE A POPCORN CEILING
So you have a textured or popcorn ceiling in your room that just screams 1960s doctor's office and you want it to disappear - stat. But is it possible to take on this project? The pros say yes! Removing popcorn ceilings is a very inexpensive DIY project, says Justin Kshiston, a contractor in Los Angeles. And in fact, he adds, you probably already have all the tools you need.
However, if you don't have a solid collection of tools, expect to spend about $500 on supplies, says Christopher Totaro, contractor and agent for Warburg Realty. In contrast, a professional would probably charge anywhere from $1,500 to $2,000 for a 20 foot by 20 foot ceiling. Keep in mind that you will also need tools to paint the ceiling when you are done.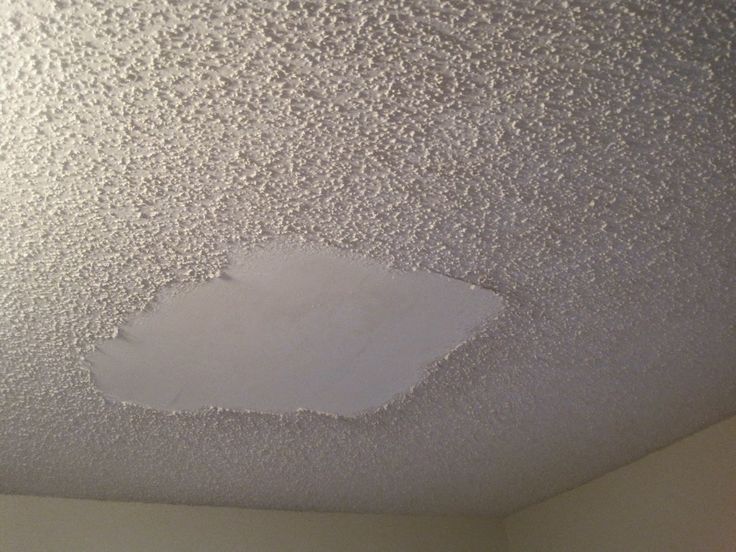 While the tools and materials are usually not all that expensive, it's important to be aware that you're making a commitment. Depending on the size of the room, removing the popcorn ceiling can take a lot of time and effort, says Kevin Bush, vice president of operations for Mr. Neighborhood company. nine0003
value 10 10
But before you get started, here's one very important caveat: Because asbestos was often used in popcorn ceilings before the early 1980s, according to Kshiston, you should have the surface checked by a professional before proceeding with any painting or removal.
Kshiston says that if the samples come back positive, it's for the health and safety of you and your family to call a licensed asbestos company. But they come back negative, you can safely continue your project. Here's how to do it. nine0003
What you need to remove the popcorn ceiling
- Wide trowel or drywall knife.
- Lots of cloths and plastic wrap.
- Masking tape
- Water spray bottle
- Goggles, gloves and respirator.
- Ladder
How to Remove Popcorn from the Ceiling
Save Pin It View More ImagesCredit: SDI Productions / Getty Images.
1. Prepare area
Cover the room first. Although it's not difficult, it's very sloppy says Kshiston. Have enough rags and tarps on hand and remove as much furniture from the room as possible; cover everything else. It's also a good idea to take off the lighting fixtures, turn off the HVAC system, cover and cover all vents and electrical outlets with plastic. And since this job involves water, be sure to turn off the electricity in the room you're working in. nine0012 Finally, open the windows to allow air to circulate and make breathing easier during scraping.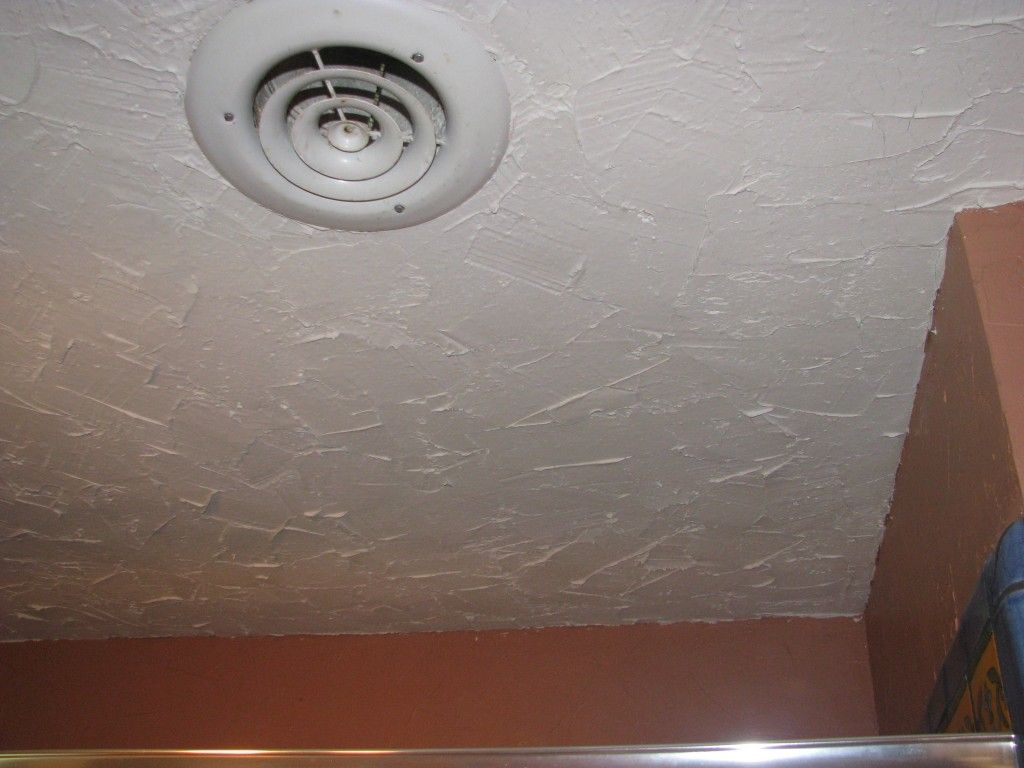
what does it mean to see 444
2. Wet the ceiling.
According to Kshiston, to make cleaning easier, spray the ceiling with water before gently scraping away the texture of the popcorn. Use a water spray bottle to wet a four-foot-by-four-foot ceiling, let sit for 15 minutes to absorb water, then scrape off. It is useful to work with such small areas, otherwise the areas will dry before you reach them. nine0012
3. Scrape off the coating.
To scrape, use a wide trowel or drywall knife and gently run it across the wet ceiling, being careful not to gouge the ceiling underneath. Move around the room until all texture is removed. When you're done, check your work - you may need a second pass in some areas. Remember that you can always refinish the ceiling to make it easier to work in a difficult spot, Kshiston says.
4. Add a fresh coat of paint.
“Since you already have the floor and walls, it's time to start finishing,” Kshiston says, which includes sanding, priming and painting the ceiling.
If the ceiling has any damage or visible imperfections, such as gouges or damaged drywall tape, repair it with sealant before sanding. After sanding, apply a primer and a fresh coat of paint.
Bridget Early
Author
11:11 angels
How to remove the texture of popcorn from the ceiling, which was painted in stages with your own hands
Removing popcorn from the ceiling is not a difficult task, but it requires a lot of work and preparation. Hiring a contractor is one option, but we'll show you below how to remove popcorn from the ceiling ourselves.
1. Protect the floor and large furniture with plastic rags.
Move small and medium items out of the way. nine0012
Cover large items such as a sofa or large furniture.
pieces of cloth to prevent material from falling on them.
2. Using a spray gun or pump sprayer, wet the ceiling texture to soften
aged material and minimize dust in the air when removing material.
Don't wet the ceiling, make it nice and wet.
Wetting the ceiling with water will damage the paper surface underneath. nine0012
3. Clean the ceiling in smooth, long strokes.
Apply even pressure to the ceiling when cleaning.
Continue all over the ceiling until the popcorn is gone.
If your ceiling texture is painted, scrape off the top of the
texture before wetting to expose the underlying surface.
Then wet the surface as soon as the colored material disappears. nine0012
4. When the ceiling is finished and all popcorn material removed,
Sand the ceiling smooth and apply a primer coat of paint to set and uniform the ceiling.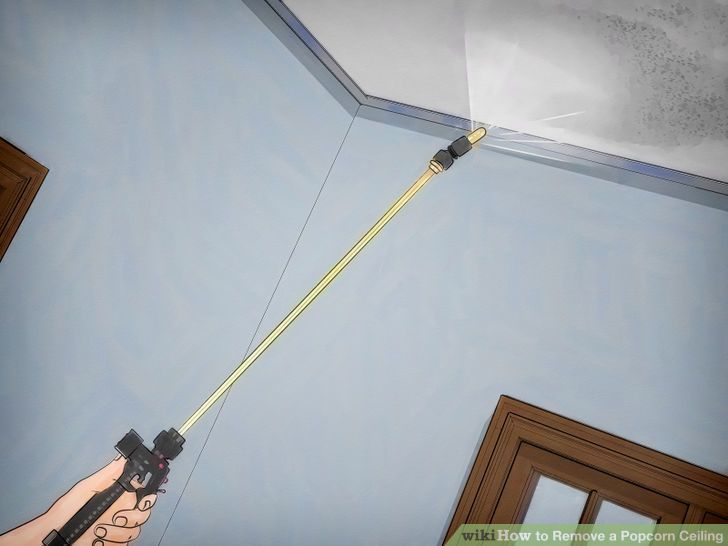
ADDITIONAL TIPS - Preparation is the key to making the job much easier. Covering the furniture is the biggest part, besides the actual scraping of the material. Cover floors and furniture with plastic sheeting. Also don't forget to remove the lights from the ceiling. nine0003
A new product has been released that can make this job much easier.
The tool is Homax 6100 Ceiling Texture Scraper .
This scraper is extra wide so you can work faster, but it does have a bag that you can attach.
to it, which actually catches most of the material that might fall on the floor.
This product can also make it easier to remove popcorn ceiling texture. nine0006 The Dustless Ceiling and Drywall Vacuum Sander fits on a regular vacuum cleaner and
captures all the particles of the ceiling and/or walls so as not to form a mess.
WARNING: Ceiling texture applied prior to 1979 must not be removed without being tested for asbestos.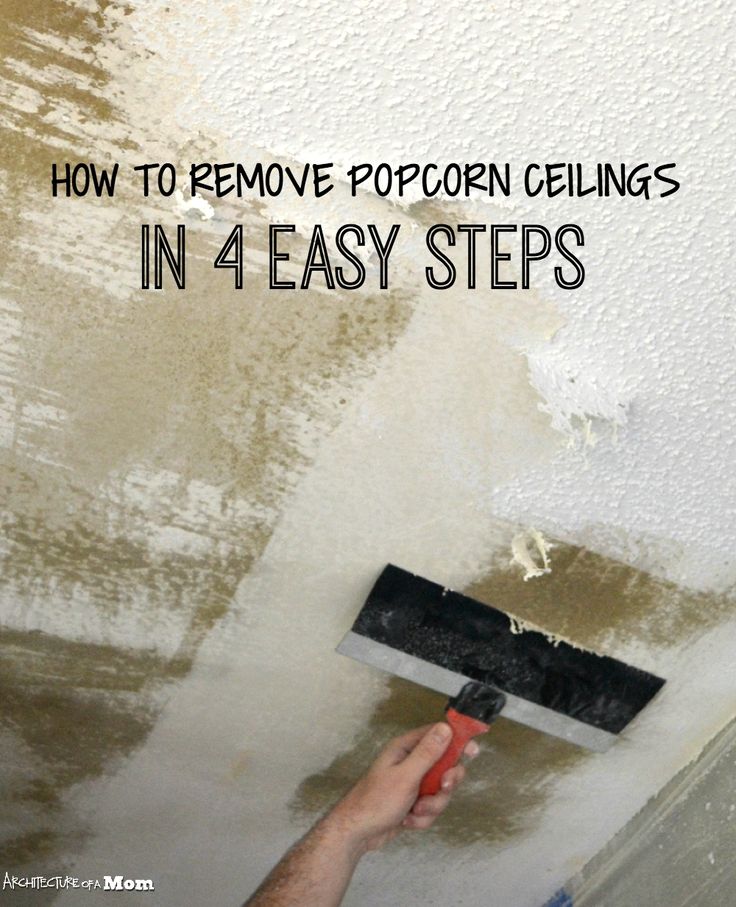
Learn more
- Sloping garden plans
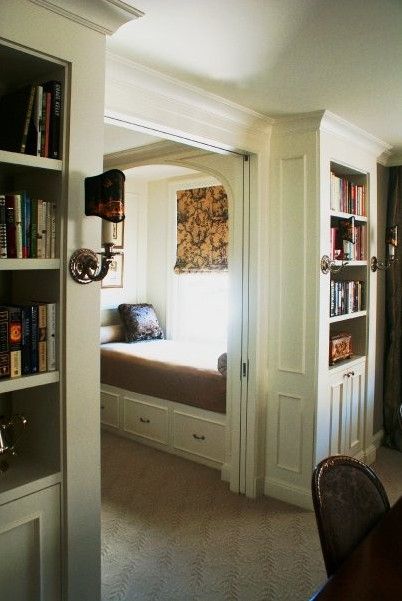
- Bed in nook
- Best kind of grill

- Most popular wallpaper designs

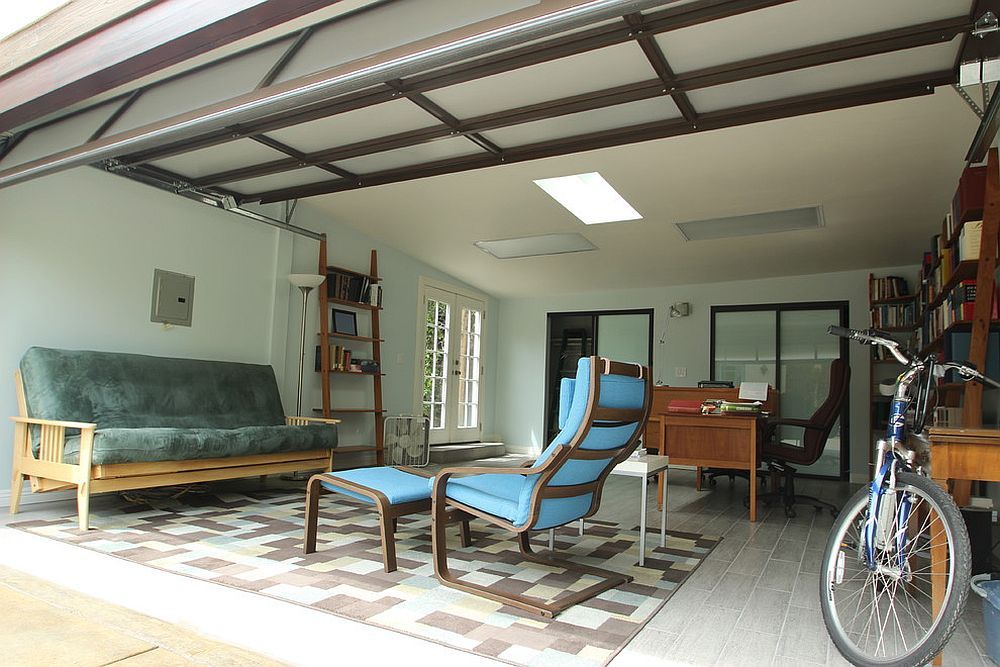
- Turn a shed into an office
- Room color ideas for boy and girl

- Ideas for lounge decor

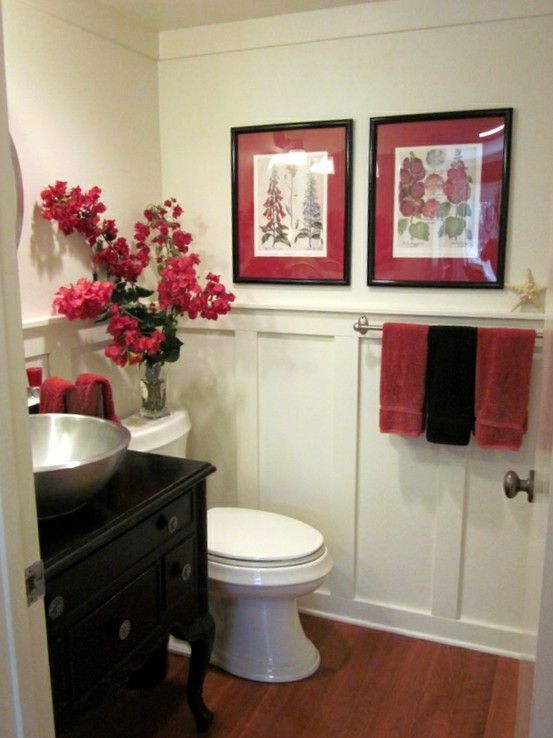
- White and red bathroom ideas
- Wall panel design for living room
- 3S the magic number

- Dressing room furniture ideas