Fix lawn patches
How to Fix Patchy Grass and Bare Spots in Your Lawn
By
Kelly Burke
Kelly Burke
Kelly Burke is a professional turf manager who is accredited in organic land care and a licensed pesticide applicator.
Learn more about The Spruce's Editorial Process
Updated on 10/11/22
Reviewed by
Kathleen Miller
Reviewed by Kathleen Miller
Kathleen Miller is a highly-regarded Master Gardener and Horticulturist who shares her knowledge of sustainable living, organic gardening, farming, and landscape design. She founded Gaia's Farm and Gardens, a working sustainable permaculture farm, and writes for Gaia Grows, a local newspaper column. She has over 30 years of experience in gardening and sustainable farming.
Learn more about The Spruce's Review Board
The Spruce / Almar Creative
Project Overview
Bare patches in an otherwise full, healthy lawn may be the result of pet urine, heavy foot or vehicle traffic, infestations by grubs or other pests, or a variety of other causes. There are several ways to effectively patch these areas, but you also need to consider the causes and correct them if you can.
For example, if a bare patch occurs because natural foot traffic continually pounds one area, no fix will be permanent unless you also solve the traffic flow issue. And if the bald spots are caused by a lawn grub problem, new bare patches will crop up as soon as you repair the old ones—unless you address the grubs.
There are two easy methods for restoring bald patches in your lawn: reseeding and patching with sod.
Before You Begin
Examine the bare patch or patches to determine the underlying cause and address the problem. Then, consider the patch method that's best for your situation and the right time of year to do it,
Patching with seed:
- In northern cold-winter zones, the cool-season grasses that are most popular grow actively in later summer and fall, making this an ideal time for patching with seed.
 But you can also seed in early spring, provided it's done early enough for the grass to be well established by the time the hot mid-summer months roll around.
 - In warm-winter zones where warm-season grasses predominate, late spring and early summer is regarded as the best time to sow grass seed.
Patching with sod:
- You have a larger window when it comes to patching with sod. Professional recommendations for sodding a full yard are similar to seeding—early fall for cool-season grasses, late spring for warm-season grasses. But if you are cutting patches for bare spots, you'll likely succeed during most of the growing season, provided you keep the sod patch moist while it is taking hold. Remember that sod supplies at garden centers are seasonal in many regions, so don't wait too long.
- Sod will develop a shallow root system in about two weeks, but a deep root system can take as much as six weeks. If you live in a zone where hard frost arrives in early December, for example, it would be best to plant sod patches no later than mid-October.

Lawn Repair: Quick Guide
1. Patch your lawn. Fix bare or thin spots. Note that if you have a St. Augustine lawn, a better option is to pull up dead turf or edge out bare spots.
2. Provide water. Frequent watering is important for new seed and sod. However, make sure not to drown your soil; rather, keep it moist.
3. Feed the lawn. After six to eight weeks, provide the necessary nutrients that your grass needs to thrive.
4. Exterminate pests and remove weeds. Make sure your weed or bug control products can be used on new grass.
Equipment / Tools
- Garden rake
- Hand cultivator
- Core aerator (optional)
- Reflective tape or pinwheels (optional)
- Spade or garden shovel
- Garden knife (optional)
Materials
- Compost or loamy soil
- Grass seed or sod
- Stakes (optional)
- Burlap or wheat straw (optional)
The Spruce / Almar Creative
How to Reseed Bare Patches
A very easy and inexpensive method of patching bare spots is with seed. It only takes about 20 minutes of your time, plus some upkeep until the first or second mowing. The drawback is that it will take several weeks for the patch to be mowable, and as much as six months for it to fully blend into the rest of your lawn.
-
Rake the Area
Rake and remove any debris or dead grass from the area, using a garden rake. Now is also the time to examine the area for grub damage. If the damaged patch of lawn pulls up easily, like a rug being lifted, you may have a grub problem that needs correcting.
The Spruce / Almar Creative
-
Loosen the Soil
Break up the soil with a hard-toothed lawn rake or a garden cultivator. If the soil seems heavily compacted, you might consider aerating it with a core aeration tool. This simple manual tool cuts aeration holes in the soil when you drive it into the ground with your foot.
The Spruce / Almar Creative
-
Amend the Soil
Sprinkle several inches of compost or loamy soil and mix it into the existing soil with the rake.
 Turn the rake upside down and use the top edge to even out the surface, spreading some of the topdressing into the adjacent areas.
 The Spruce / Almar Creative
-
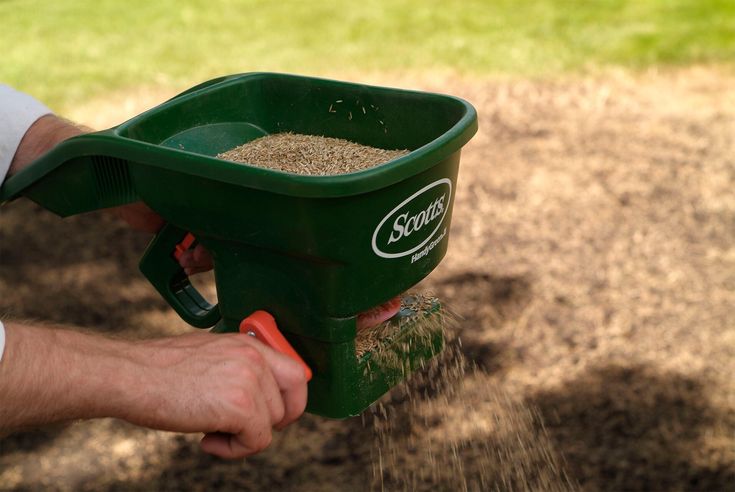
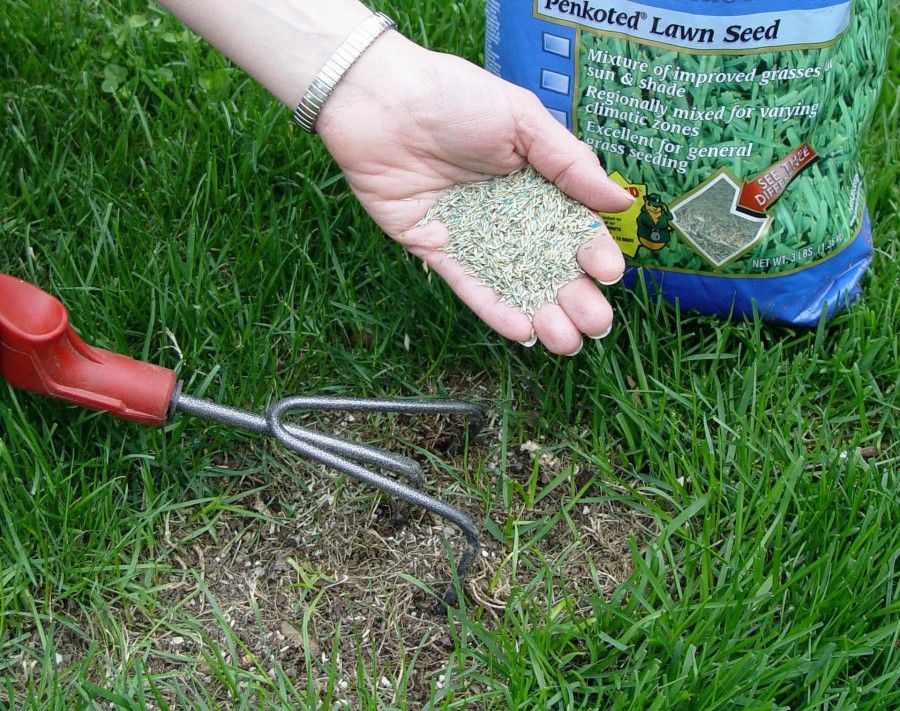
Spread the Seeds
Sprinkle grass seed evenly across the patch area, thick enough to cover the surface but not so thick that the seeds pile up on top of one another. Use an appropriate seed for your region and micro-climate (sun or shade). Perennial ryegrass should be a part of the blend because it will quickly germinate.
Tip
Do not fertilize yet. While this step was once recommended, most experts suggest that fertilizers are not useful until after the grasses are well established.
Some grass seed products marketed as "one step" have a very weak starter fertilizer and compost already mixed in. And some contain a mixture of recycled paper material designed to keep the seeds in place and absorb moisture as they germinate. There is nothing wrong with these products, but you can patch bare areas just as effectively—and more economically—with plain grass seed.

The Spruce / Almar Creative
-
Rake the Seeds
Lightly rake in the seed to distribute it evenly. This will also cover some of the seed with a thin layer of soil, which can help keep it in place. Until the seeds germinate, you may need to protect the area from birds who love to eat the seed and new shoots. Using reflective tape or pinwheels mounted on short stakes can help deter them.
The Spruce / Almar Creative
-
Begin Watering
Lightly water the area. Keep the seeds moist throughout the day. If hot weather is a problem, you can use a sheet of burlap to cover the patch. This will provide shade and keep the germinating seeds from drying out. Another method is to spread a thin layer of wheat straw over the seeded area to hold the seeds in place and keep them moist.
Your patch area will require light watering daily—or perhaps even twice daily—for the first 10 days or so, until the seeds germinate and sprout.
 Keep watering every two days for another month or so; then you can reduce watering to weekly as the new grass becomes mature.
 The Spruce / Almar Creative
-
Mow When Ready
Allow the grass to grow slightly longer than the rest of your lawn until the color of the patched area begins to blend in with the rest of your lawn. This may mean mowing around it for two or three mowing cycles. Some seed manufacturers suggest waiting a full seven weeks before mowing new grass.
The Spruce / Almar Creative
How to Patch Bare Patches With Sod
A quicker method than seeding is to fill the bare spot with a patch cut from a roll of grass sod. This is a good method if you have several bare patches to treat. A roll of sod is usually less than $10, and you can cut many patches from a single roll. Within a couple of weeks, you'll have an acceptable patch that has blended in with the surrounding grass.
-
Cut a Sod Patch
Use a sharp shovel or garden knife to cut a patch of sod grass that is slightly bigger than the bare area in your lawn.
 The patch should extend 2 inches or so beyond the edges of the bare spot into the healthy grass area.
 The Spruce / Almar Creative
-
Cut Out the Old Turf
Place the sod patch over the bare spot. Use a sharp shovel or garden knife to "trace" around the sod patch into the healthy lawn around the bare spot. Remove the sod patch, then remove the dead grass and the ring of healthy grass around the bare patch, using a hand cultivator. Remove a layer of soil below the grass: The goal is to dig down slightly so that the sod patch will sit down at the same level as the rest of your lawn.
The Spruce / Almar Creative
-
Prepare the Soil
Loosen up the soil in your patch area, using a shovel, garden rake, or cultivator. You want the soil nice and loose so that the roots of the sod patch can quickly grow down and anchor in the soil.
The Spruce / Almar Creative
-
Plant the Sod Patch
Place the sod patch into the excavated area, and compress it into the ground by walking on it repeatedly.
 Water immediately, and repeat watering two or three times a day for several days, until the sod patch is bonded and is beginning to grow actively.
 Within two weeks or so, your sod patch should be seamless and indistinguishable from the rest of your lawn, but it will take as much as six weeks to be fully rooted. Don't be surprised if it is a slightly different color at first; this will disappear soon.
The Spruce / Almar Creative
Best Sod Installation Services
Article Sources
The Spruce uses only high-quality sources, including peer-reviewed studies, to support the facts within our articles. Read our editorial process to learn more about how we fact-check and keep our content accurate, reliable, and trustworthy.
University of Maryland Extension, Lawn Renovation and Overseeding
University of Minnesota Exension, Seeding and sodding home lawns
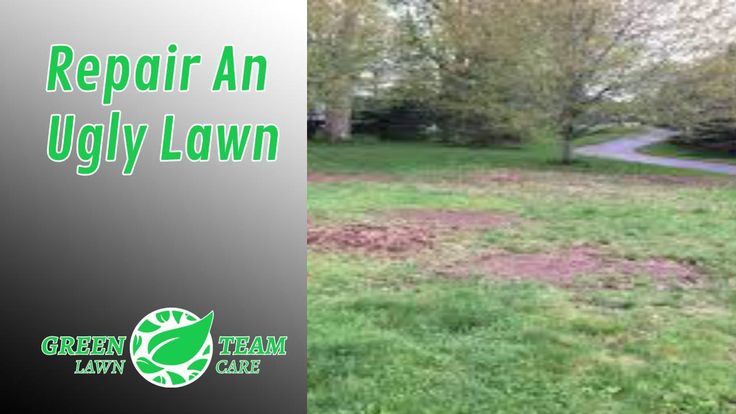
7 Simple Steps to Repair Your Lawn
When small areas of your lawn die, you can repair these bald spots by preparing the soil and planting new grass.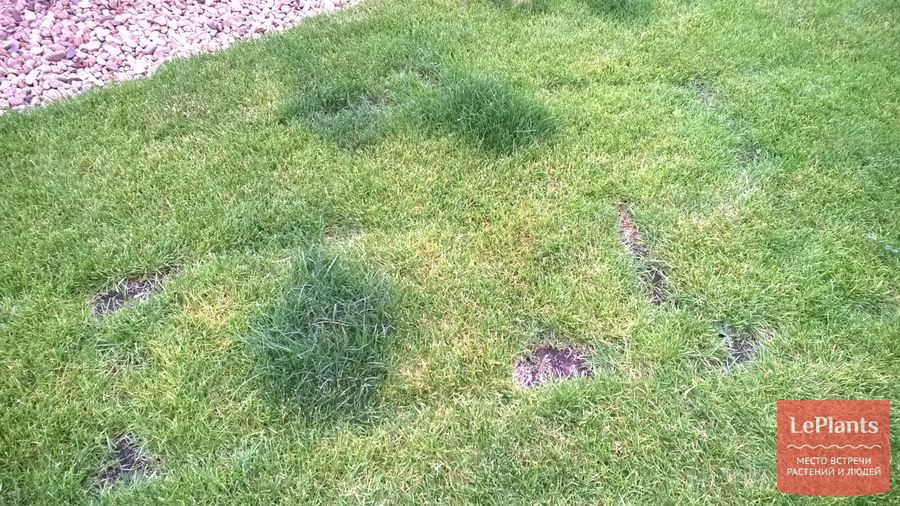
This process of patching grass is fairly simple – with the landscape maintenance project outlined below taking only 15 minutes. If dealing with a larger area in your lawn, it’s safe to assume that additional time will be needed.
First Things First in Patching Grass
Before you start to tackle the issue, the first step in patching grass is to figure out what went wrong in the first place. Grass can die for any number of reasons and, unless the issue is corrected sooner than later, the problem will recur and cause more disruption to your lawn.
Start by thoroughly inspecting the dead grass. Look for soil compaction, shade issues, disease and insect problems, or water drainage issues. The spots featured in the lawn below were caused by improper pesticide use. More specifically, Roundup® was used to spray the dandelions and clover in the turf, subsequently killing the grass as well.
Here are the steps that were taken to fix bare spots in this lawn.
Preparing the Soil to Repair Bare Patches in Your Lawn
Step 1.
 Remove All the Grass in the Problem Area
Dig up and remove the grass in the problem area. You can make the soil easier to work with by wetting it first. Then, outline the problem spot with a flat spade shovel. Enlarge the area slightly to simplify the work and to ensure the entire problem area is removed.
Using the same flat spade shovel referenced above — and potentially sharpening the edge first, as we recommend — remove the top layer of remaining turf and soil. Work from the middle outwards until the shovel hits the deep edge you created when making the border.
Step 2. Loosen the Soil
Turn over the soil using a spade shovel that has a rounded or pointed end. Be sure to get to about four inches deep. This breaks up soil compaction, making it easier for the roots of your new grass seeds to grow deeper.
Before you start to loosen the soil, remove any stones, roots or other plant materials that may hinder the growth of your new grass as you work.
Step 3: Amend the Soil for Healthy Growth
The health of your lawn and new grass depends on the soil where they are planted. By placing organic matter into your loosened topsoil, you can greatly improve the growing conditions for your lawn’s roots.
Enrich the soil with compost or a commercial bagged product from your local garden center. The darker the color of the soil, the more organic material and nutrients it has.
Work the organic material into the soil using the spade or garden rake.
Step 4. Level the Surface
Use your garden rake to level and create a smooth surface. In this example, seed is used, so the soil surface should be at the same level as the surrounding soil (or slightly higher to allow for settling). If using sod you purchased or transplanted from another location, the soil should be one inch lower to allow for the depth of the sod’s soil and roots.
Be sure to take care that the surface is even, with no low or high spots.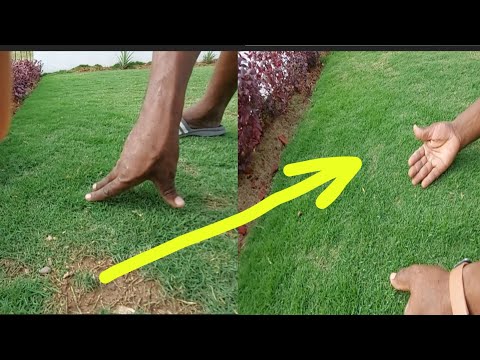 This will avoid a lumpy end result and depressions that can collect water and lead to disease.
Step 5. Spread the Grass Seed
If you are patching grass with grass seed, make sure you spread it at the rate described on the seed’s packaging. In this example, the spot is seeded by hand as the area is quite small. For a larger area, you will want to use either a small hand spreader or a wheeled fertilizer spreader — and then rake a thin layer of soil over the grass seeds.
Applying a fertilizer can assist with jumpstarting the seeds growth and establishing strong roots.
In terms of the type of grass seed you select, you’ll want to pick one that matches both the type of grass currently growing in your lawn and the requirements of the area where it will grow. As a general rule of thumb, cool-season grasses that can thrive both in full sunlight and the shade are most suitable for Ohio lawns.
Step 6. Apply Mulch Covering
Cover the freshly-seeded area with a protective layer of mulch. Typical materials used for this purpose are straw, peat moss or other commercially available products such as PennMulch (shown in the photo below). Made of recycled newspaper, this product conserves moisture well and contains starter fertilizer that improves root establishment.
It’s worth noting that the actual product used is not as important as what the products do for you. Focus on products that promote the conservation of moisture, increase turf density and minimize weed seeds from finding your freshly prepared, fertile soil.
Step 7. Keep Soil Moist Until Seeds Sprout
Grass seeds that dry out will die. Once this occurs — no matter how much you water the seeds — you will have to replant them.
Depending on your soil conditions and the weather, you should water the area with seeds several times a day. Recognizing that this is not always possible, strive for a minimum of twice per day.
The goal is to keep the soil moist, but not so wet that it is soggy or has water collected on its surface.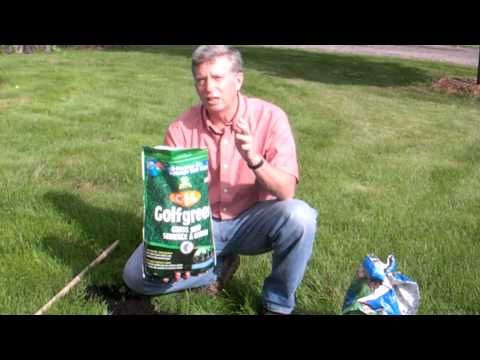 This will kill your seeds.
You can expect to see seedlings within four to seven days depending on the water conditions and the seed type. Your grass should be ready to be mowed once the seedlings have reached around four inches in height (or in about two weeks.)
Green Impressions has years of experience helping Northeast Ohio homeowners keep their lawn healthy and beautiful. Save time and hassle in your lawn care efforts with our services.
Why does the lawn dry in spots and what to do?
Have you recently planted a lawn and suddenly noticed yellow spots? Why the lawn dries and what are the most common causes of yellowing grass - read our article!
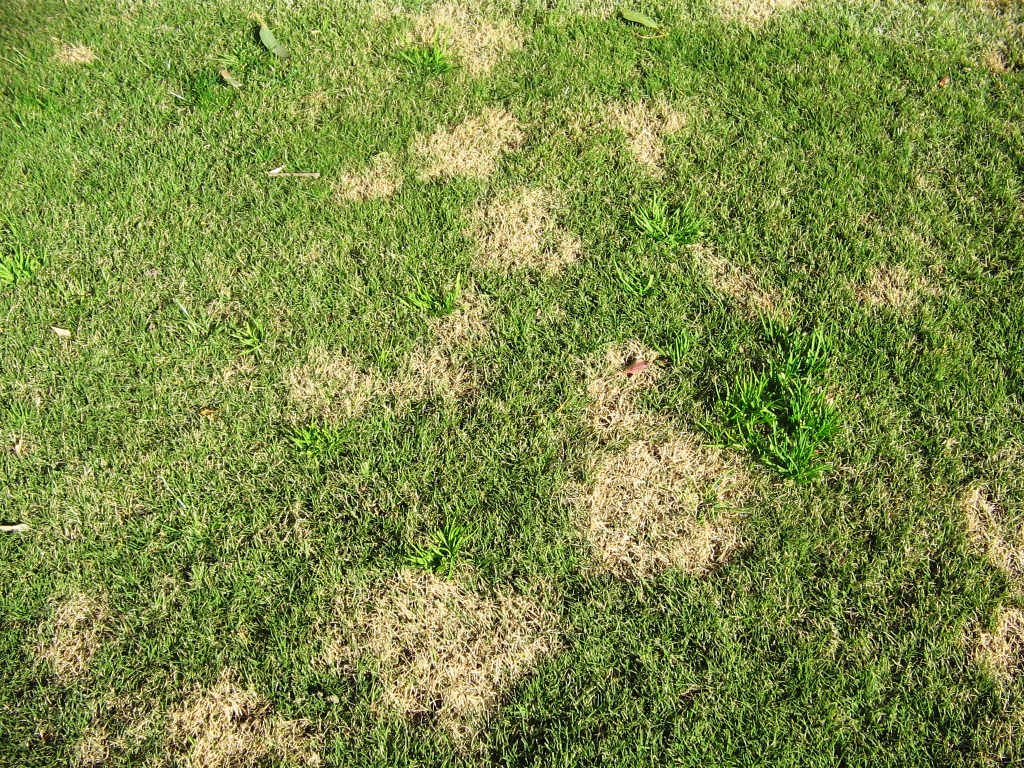
A common symptom of a dry lawn is the yellowing of the grass. If you see that yellow patches appear on the lawn or the grass turns completely yellow, then you are dealing with a problem with the lawn drying out. Why is your lawn dry?
- The main reason why the lawn dries out most often is insufficient moisture.
 A dry summer, an improperly selected mixture - in the aggregate, this leads to unpleasant consequences. If the summer does not please with rains, then provide the lawn with additional watering.
 - Deficiency of vitamins and minerals. Even experienced gardeners do not think about proper lawn care, which includes mandatory feeding. The soil does not always have a sufficient supply of minerals to ensure normal life. Timely top dressing with nitrogenous fertilizers and iron content will save the lawn if it dries in spots and dries completely.
- Damage to the root system. Most often this is due to the activities of animals - both domestic and wild. Cats trying to get a mouse, dogs hiding bones, or common shrews can spoil the look of your lawn and cause areas to dry out.
- The lawn can also dry out if the cutting height is too low. If you decide to mow the lawn once and for a lifetime, then do not be surprised that your lawn has dried up. A low mowing height opens up access to the sun, which contributes to the evaporation of moisture from the surface of the earth, and also dries the grass leaves.
- Grass can also dry out due to mechanical impact. So, decorative lawns do not tolerate noisy games and picnics, so if you decide to walk on such a lawn, be prepared for the fact that it will soon begin to dry.
Having dealt with the reasons why your lawn dries, you can move on to solving the problem.
Dry lawn - what to do?
Having figured out why the lawn dries, you need to take decisive action to save it. Only comprehensive measures will help prevent the complete drying of the lawn and correct the situation in advanced cases.
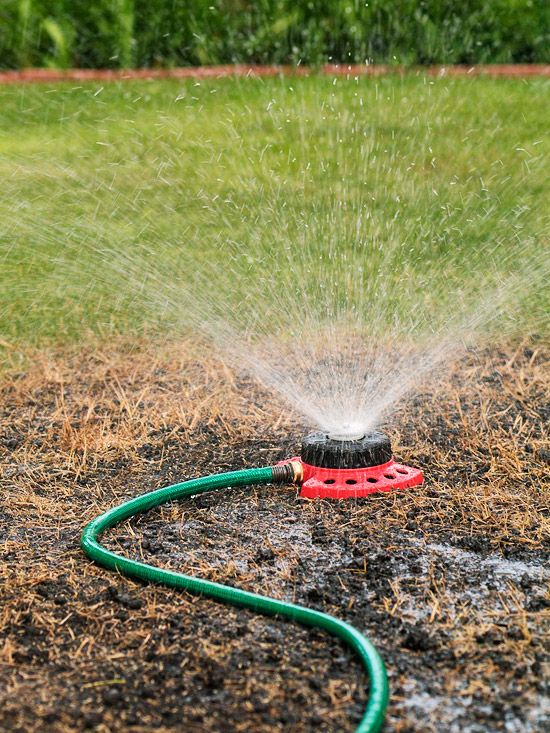
First, you need to water the lawn. If the drying area is large enough, then this should be done twice a day - in the morning and in the evening for two days. Drought or lack of care - feel free to pick up a hose and water. It is advisable to water before 9-10 am and after 7 pm in the evening. Otherwise, the procedure will only aggravate the situation, and lead to the inevitable death of the lawn.
Secondly, you need support. Especially when the lawn dries in patches. The introduction of nitrogenous and ferruginous fertilizers can correct the situation in a week.
Thirdly, the lawn may begin to dry out from the fact that water does not penetrate deep into the soil. This requires aeration. The procedure includes collecting dried grass with a rake and making punctures in the ground to a certain depth. This helps moisture and mineral fertilizers get into the ground.
If animals love your lawn, there are two ways to get rid of them. It is enough for pets to simply forbid playing on the lawn or to carefully monitor that they do not spoil the surface. With wild or pest animals, the fight can be much more difficult. Usually, along with the drying of the lawn, you can also see rodent burrows. They are carefully shed with water and covered with earth, tightly ramming it. It is important not to miss every hole and process all holes. If they reappear, then put mousetraps near them or invite the neighbor's cat to visit!
And finally, the last thing to do if the lawn is dry is to mow it correctly.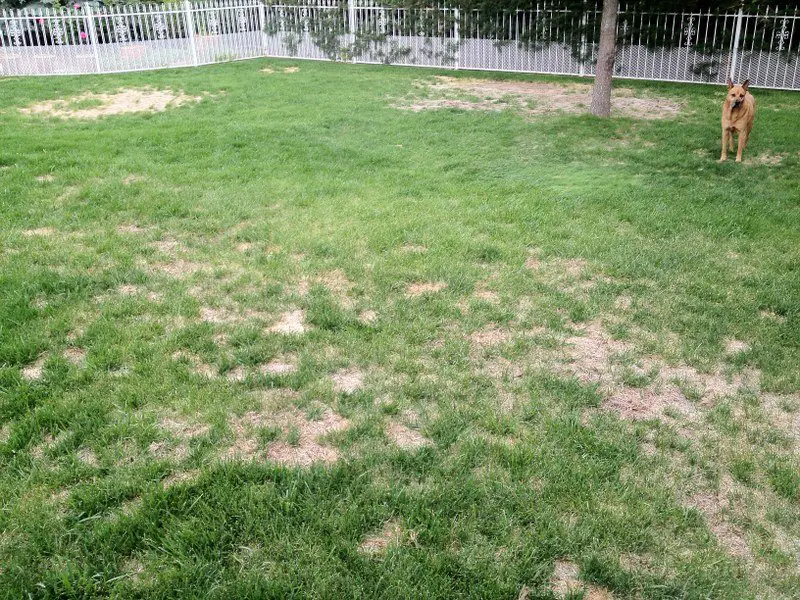 Mow the lawn to a height of at least 5-6 cm and then you will enjoy a bright green carpet for many years!
If the lawn is drying in patches
It also happens that drying occurs in spots. And to the question “The lawn has dried up, what should I do?” it is impossible to give a definite answer. First you need to identify the possible reason for this:
- Pest activity;
- Vitamin deficiency;
- Things forgotten for a long time;
- Spilled chemicals;
- The beginning of the complete dying off of the coating.
Most often, these processes (why your lawn dries) are already irreversible. In this case, only the lawn restoration procedure helps. To do this, the bald spots are carefully combed out with a rake, trying to take dry grass. At the same time, nearby areas can also be combed so that seeding is uniform. Then fertilizers are applied to the soil and the earth is loosened.
After that, the seeds are planted, burying them with a rake in the ground, and watered well.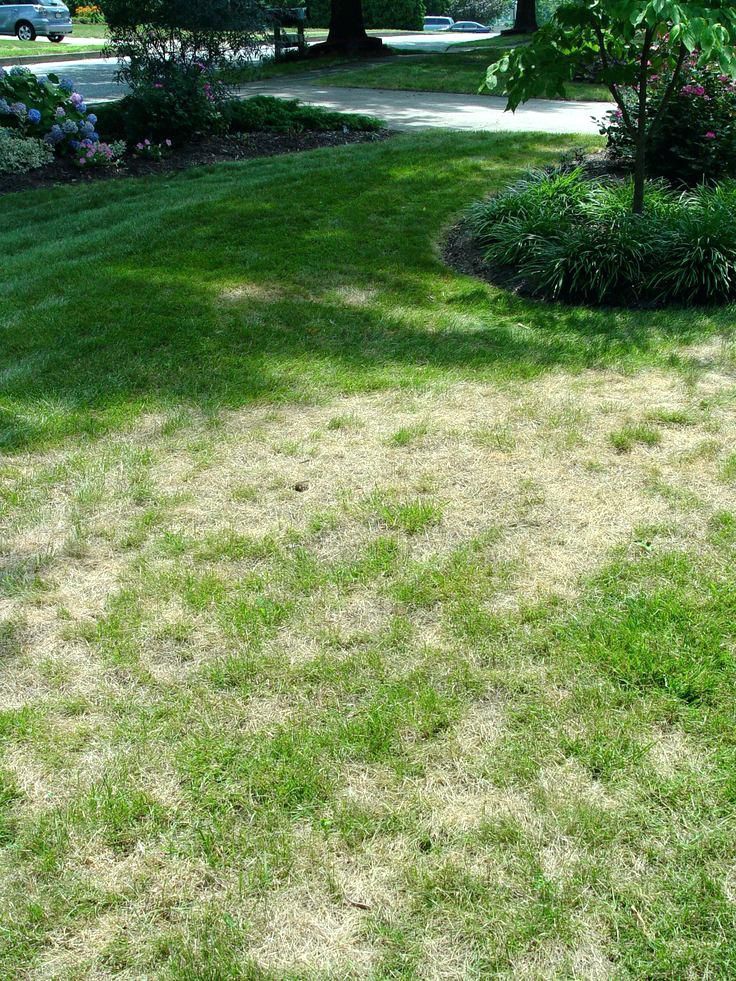 You can not cover the area with a film so that the rest of the grass also does not turn yellow and begin to dry out.
After a few weeks, when the grass reaches 10-12 cm in height, the first grass cutting can be carried out.
No need to worry if the grass on the lawn has begun to dry. It is important to establish the cause and act, and then your lawn will please the eye for many years!
Back to list
What causes yellow spots on the lawn. How to fix?
Why does the lawn turn yellow - in any season, due to various factors, in different areas?
There can be several reasons for this at once - from improper care to diseases. Therefore, first of all, it is necessary to find out why the lawn grass turns yellow - and only then begin to correct the situation. On the pages of the site sadsamslabo.ru you can find some useful tips that will help you take care of the site.
Everything about creating a lawn. The best recommendations. Reading...
Detailed up-to-date information will help to identify the causes of diseases, choose the best variety of plants, and also learn about other ways to decorate the site.
Why the lawn turns yellow - possible causes
So, let's consider the most likely causes of yellow spots on the lawn in most cases:
• Insufficient watering. In the summer heat, the grass cover must be regularly irrigated, and this must be done at strictly allotted hours so as not to harm the plants. You can install several sprinklers if the area of \u200b\u200bthe site is large, or regularly move one sprinkler to a new location, dividing the lawn into several squares. You need to water the plants in the morning or in the evening, otherwise the water drops will turn into small lenses, and the grass will begin to turn yellow even more.
• Irregular yellowish or reddish spots scattered around the area may well belong to unwanted guests - cats and dogs. If so, it is recommended to install ultrasonic repellers and wait until the plants recover.
| If you decide to build... Read... | The main solid foundation...Read... | Building a bathhouse... Read... | |||
| What to build walls from... Read | We build a fence according to the rules..Read... | To prevent the roof from going... Read... |
• Another reason why the lawn turns yellow may be a lack or excess of nutrients - nitrogen and iron. It will be necessary to fertilize plants with nitrogen fertilizers - urea, ammonium nitrate, ammonium sulfate, iron sulfate in the recommended doses. For prevention, top dressing should be carried out 3-4 times per season.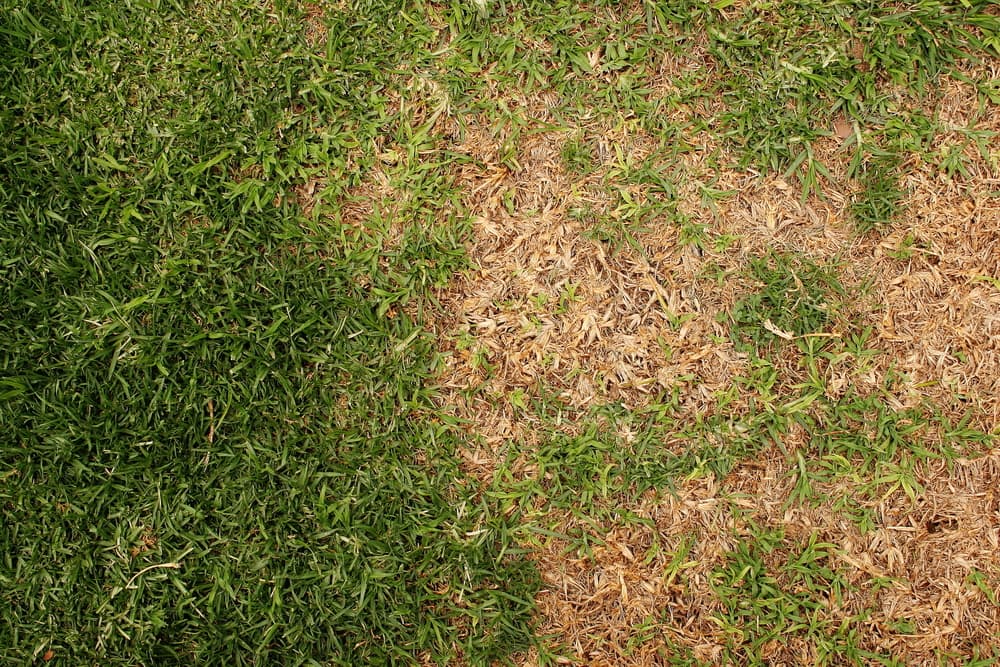
• Red threading. It usually manifests itself in autumn - irregularly shaped spots acquire a yellowish color, then straw - as if fading in the sun. At high humidity, patches of pinkish mycelium are also visible.
The reason is a lack of nitrogen, frequent fogs and prolonged dampness. Often the cause of yellowing can also be too low pruning of the grass and the appearance of various pests. When pruning, it is necessary to set the technique to an average level - this will allow you to achieve the required cutting height of the grass cover.
To avoid even the possibility of yellowing, regular mowing, fertilizing and watering are recommended, as well as care for the absence of shade and well-drained soil. The main task is to find out why the lawn grass turns yellow - then you can take measures to save it.
Conclusion: Having studied the article, you will be able to answer the question: What are the causes of yellow spots on the lawn. How to fix?
All about growing hostas.