Sow runner beans
How to grow Runner Beans
There's nothing better than freshly harvested runner beans
Image: Runner Bean 'Polestar' from Thompson & Morgan
For many gardeners, the summer just isn't complete without a delicious harvest of tender runner beans. They’re such a productive crop and, because they germinate and grow quickly, runner bean seeds are a wonderful vegetable to sow with children. Here’s all the information you need to grow runner beans at home, at the allotment or even in containers on a balcony!
Where to grow runner beans
Runner beans thrive in containers and grow bags
Image: Runner Bean 'Firestorm' from Thompson & Morgan
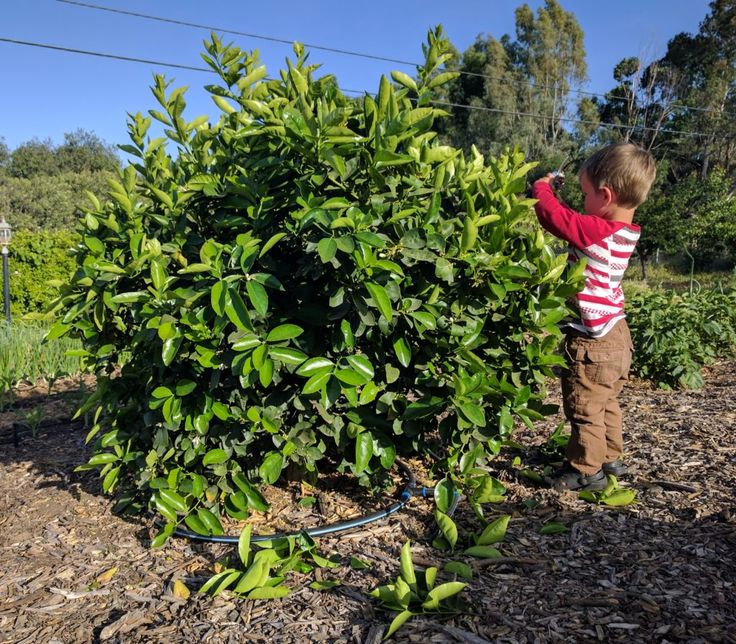
Don't be put off if your plot is tiny. Because they’re climbers, runner beans are the perfect space-saving crop and grow equally vigorously whether you plant them into the ground or into large patio pots. In fact, with their ornamental, heart-shaped leaves and pretty, nectar-rich blooms, they even look perfectly at home in a flower border.
Grow runner beans in a sunny or semi-shaded spot with shelter from strong winds. Though they’re happy in any fertile, well-drained soil, it's a good idea to prepare the site for your beans a little while in advance, digging some compost or well-rotted manure into the soil during the spring and leaving it to stand for a few weeks. If you fertilise the ground immediately before planting, you’ll encourage lots of foliage to grow at the expense of beans.
How to sow runner beans indoors
Start your runner beans off indoors in April, but don't plant outside until the end of May
Image: Dean Clarke/Shutterstock
If you prefer to start your runner beans off indoors, sow the seeds in April. Just fill a small pot with seed compost and make a hole of about 5cm (2") deep. Drop in a runner bean seed before backfilling the hole with compost and watering it in. The seeds germinate in about a week and grow surprisingly quickly.
You’ll need to harden your plants off for 7 to 10 days before transplanting them outdoors.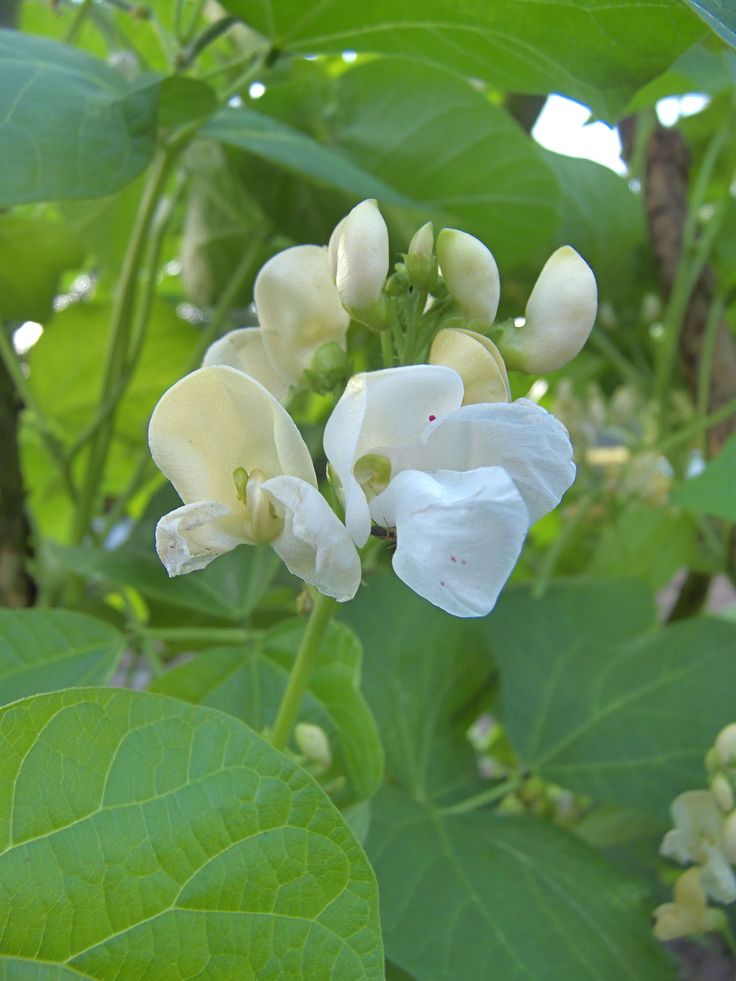 Before planting out, check your bean plants are fully rooted into their pots, and do keep a close eye on the weather to ensure that all risk of frost has passed. In most parts of the UK, this will be from around the end of May.
How to direct sow runner beans outdoors
For small gardens, there's even dwarf runner bean varieties that can be grown in containers
Image: Runner Bean 'Hestia' (Dwarf) from Thompson & Morgan
Sow runner beans directly into the ground from May to July. Sow them at a depth of 5cm (2") at 30cm (12") intervals in rows 45cm (18") apart. If space is limited, try growing your runner beans in containers or against a wigwam structure made from canes; this also makes an eye-catching feature for your flower borders.
It's a good idea to sow a few extra seeds at the end of each row, so you’ll have spare plants to fill any gaps where seeds fail to germinate. If these plants aren't needed you can always give them to your friends.
How to support runner beans
Runner beans' stems naturally twine around their supporting structure as they grow
Image: Runner Bean 'Lady Di' from Thompson & Morgan
The most commonly used runner bean support is a cane A-frame which spans two adjacent rows of beans. Insert a tall garden cane next to each seedling and, using garden twine, tie the top of each cane to the one opposite to create a tunnel. A supporting cane secured along the top of the framework helps to hold the structure rigid. The beans will naturally twine their stems around the canes as they grow.
When growing runner beans in containers, a wigwam framework is preferable. This is simply three or four garden canes, pushed into the soil around the edge of the pot and tied together at the top. If you’re growing runner beans against walls and fences, try using a piece of plastic horticultural mesh which creates a perfectly adequate support for the plants to scale.
How to feed and care for runner beans
To get a good crop of beans, make sure you water and feed your runners regularly
Image: Runner Bean 'Scarlet Emperor' from Thompson & Morgan
Throughout the growing season you’ll need to water your beans regularly, particularly as they start to develop flowers. A lack of moisture is one of the main reasons why runner bean flowers can fail to set pods. A liquid feed applied every 14 days will also help to maximise your crop.
Pinch out the growing tips of the plants once the stems reach the top of their canes. This diverts their energy into producing beans rather than growing tall.
When to harvest runner beans
Harvest your runner beans once the pods reach around 20cm long
Image: Runner Bean 'St George' from Thompson & Morgan
Runner beans are usually ready to harvest in July, when the pods reach about 20cm (8") long. Avoid leaving the beans on the plant for too long or they’ll turn stringy. Ideally, you should pick beans every day or two to ensure optimum tenderness and remember, the more you pick, the more pods your plants will produce. Don't worry if you end up with a glut of runner beans, simply freeze them down to enjoy later in the year.
Why do my runner beans fail to set pods?
Use CDs as a homemade bird scarer to protect your crops
Image: Christopher Kissling/Shutterstock
Runner beans grow particularly well in the UK and serious problems are rare. Nonetheless, gardeners do sometimes find that their plants fail to set pods, particularly early on in the season. Here are some of the most common reasons that this might happen:
- The temperature is very high and there’s insufficient moisture at the roots during the critical watering period (when flowers and pods appear). Regular watering and mulching with organic matter helps to alleviate this problem.
- When night temperatures are particularly high, this can negatively affect the production of pollen, causing a reduction in the number of pods that are set. As temperatures cool, this problem normally resolves itself.
- Acid soils and very poor soils may also reduce crop production so it’s well worth taking the time to prepare the soil properly before planting runner beans.
- In very cold and wet summers there’s sometimes a lack of pollinating insects. This usually improves with a change in weather conditions.
- Birds can sometimes peck at flowers and damage them.
 If this is an issue, try hanging bird scarers made from tin foil or old CDs among your canes.
 - Do keep picking your runner beans, even if you have too many and your freezer is full of them! Irregular picking slows the production of new pods.
Watch our 'How to grow runner beans video' for a full run-down
Best varieties of runner bean
There are plenty of different runner beans to choose from and there’s something to suit almost every need. Take a look at the table below to find some of our favourite runner bean varieties for sale online.
To learn how to grow other varieties of pea and bean seeds, head to our pea and bean hub page where you'll find our best guides and tips.
How to Grow Runner Beans
, written by Ann Marie Hendry
We all know that beans are a musical fruit, or good for your heart, depending on which version of the rhyme you learned when you were a nipper, but in the UK at least no vegetable garden or allotment plot is complete without a wigwam foaming with scarlet-flowered runner beans.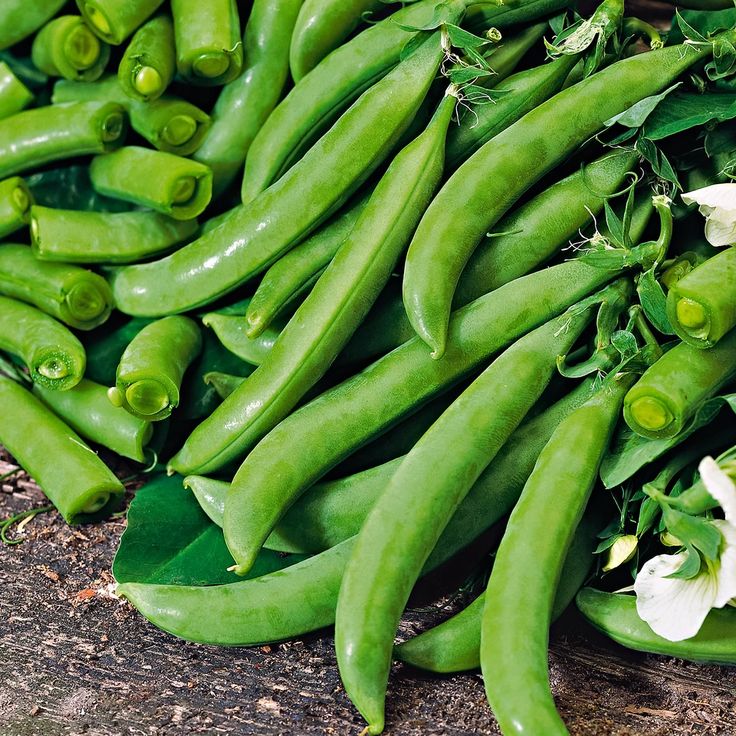
The reason? Well, not only do they make a delectable vegetable, they are drop-dead gorgeous too.
Sowing and Growing Runner Beans
Runner beans - a type of pole bean - were traditionally planted atop filled-in trenches dug the previous autumn and stocked with well-rotted manure or shredded newspaper. Kitchen waste will work too, because the main reason for doing this is to provide a deep, moist root run that will help runner beans to resist drought. Drought is a major enemy of beans, so avoid this at all costs.
Start sowing runner beans in spring and keep sowing every couple of weeks until early summer to spread out the harvest. Exactly when to sow will depend on your climate, so check out our Garden Planner for customized advice. The earliest seeds can be sown in modules or seed trays in a greenhouse, tunnel or on a sunny windowsill for transplanting later on.
Runner beans dislike cold soil, so wait until the soil has warmed to at least 10ºC (50ºF) before planting them out.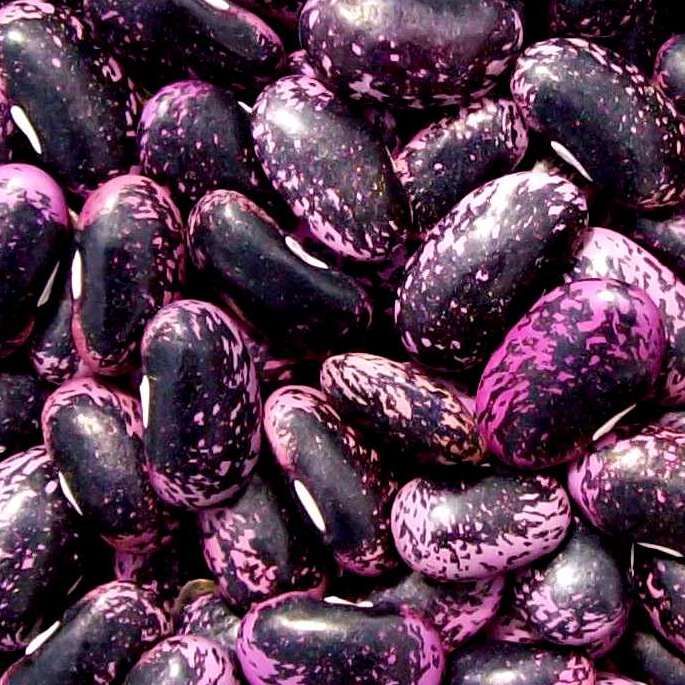 You can warm soil a week or so in advance of sowing or planting using cold frames, cloches, row cover tunnels or even just sheets of plastic.
Later sowings can be made directly where they are to grow, but beware of hungry slugs and make sure to protect seedlings from wind damage. Covering them with a cloche (even a recycled plastic bottle will do) will provide all the shelter they need until they establish.
In cool or windy locations you can protect plants and boost pod production by growing them to maturity in a greenhouse or tunnel – just make sure to ‘stop’ the plants, or pinch out the growing tips, when they near the roof.
While closely-related French beans are self-pollinating, runners need help from pollinators such as bees and hummingbirds, so yields will be hampered by a wet, cold summer when insects are unlikely to be flying. A dry summer is bad news too, so make sure to water during rainless spells and mulch to preserve that moisture.
Beans are usually pretty trouble-free, but keep an eye out for black bean aphids infesting the growing tips. If this happens, clip off the tips and dispose of them.
Supporting Runner Beans
Get supports in place before planting your runners. Any frames or trellis need to be sturdy enough to support these lanky beans, which grow to well in excess of 2m (6.5 feet) tall and which will become extremely heavy when laden with pods. Netting is often used along with canes or poles to allow the vines to clamber about freely.
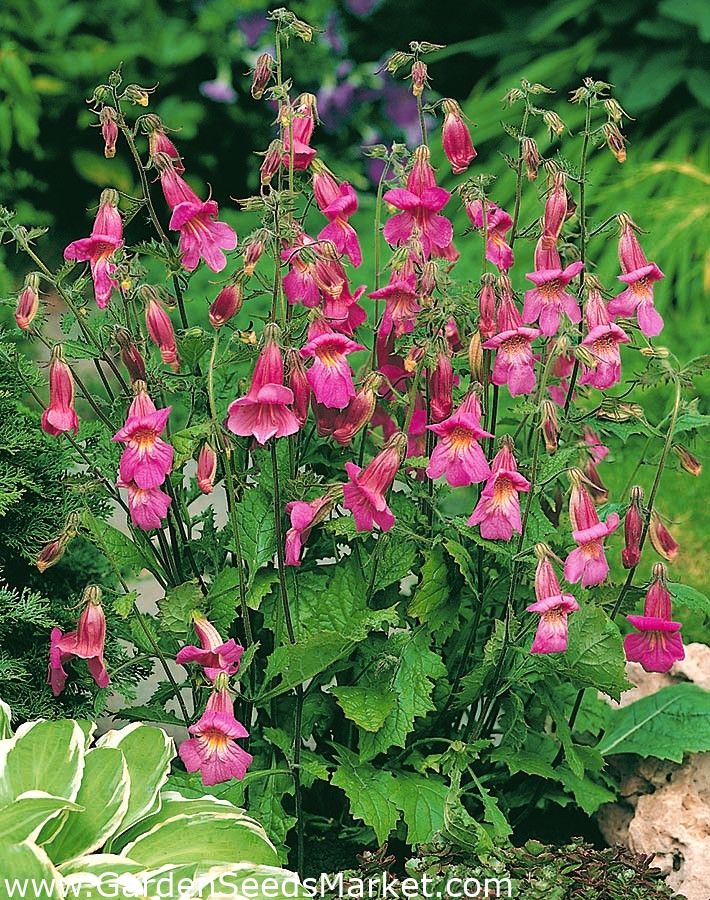
Bean wigwams look just as attractive in the flower garden as they do in the vegetable garden. Runner beans were originally grown purely as ornamental plants, so you can find exciting flower color choices such as ‘Scarlet Runner’ or the ravishing red-lipped white flowers of ‘Painted Lady’.
You may need to tie young plants in to their supports initially, but once they’ve got a grip they should manage on their own. If they’re catching the wind they may need to be tied in at intervals.
When the plants reach the top of their supports, pinch out their growing tips to help divert energy into flower and pod production – and to avoid the plants turning into a jungle of tangled stems and foliage.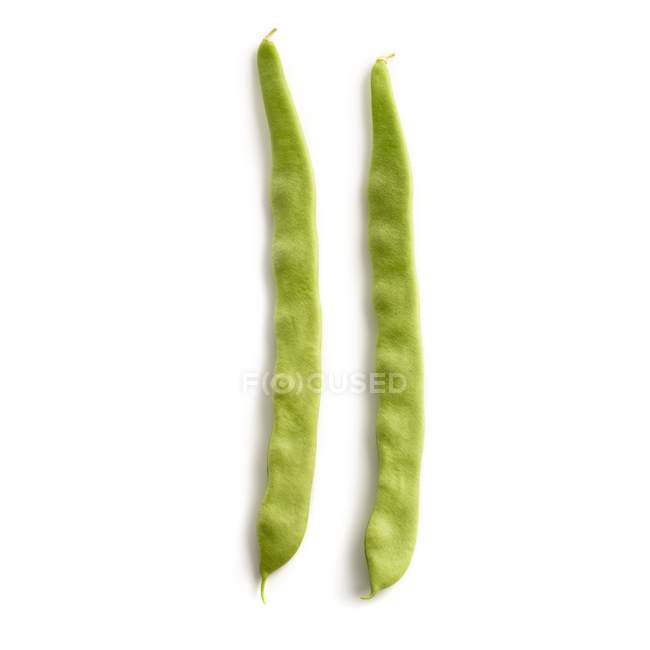
Such tall, leafy plants will cast shade, so plan your garden to include shade-loving crops behind your towering beanstalks.
Harvesting Runner Beans
Keeping up with weeding, watering and mulching is important while the beans are growing. Apply an occasional liquid feed too. Harvesting will commence around midsummer and continue until the first frosts. Runner beans will crop slightly later than French beans, so for variety and to extend the season it can be worth growing both.
Pick your beans while they’re still quite small to avoid any stringiness, though having said that modern cultivars are usually bred to be stringless. Pick at least every other day, because you’ll be astounded at how rapidly a bean pod can grow – they seem to go from flat to fat in the blink of an eye!
If you’re going to be away during the summer, invite friends and neighbors to help themselves to your beans to encourage continued cropping for when you return. Alternatively you could use the break as an opportunity to switch from producing fresh pods to maturing beans for drying.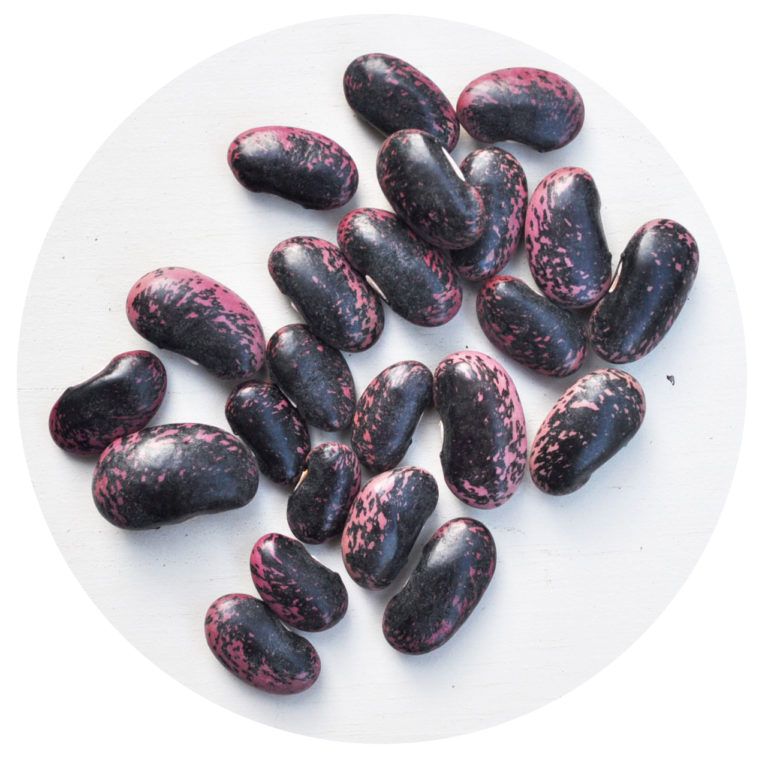 Gluts of the whole fresh pods can be chopped, blanched if you wish (I never do, I can’t tell the difference!) then frozen.
Beautiful, productive, and delicious – what more could a vegetable gardener ask for? Share your runner bean growing tips or favorite varieties with us in the comments section below.
Plants Related to this Article
Beans (Pole) Grow Guide
Bugs, Beneficial Insects and Plant Diseases
Aphid, Black Bean Guide
Slug Guide
Spider Mite Guide
< All Guides
Garden Planning Apps
If you need help designing your vegetable garden, try our Vegetable Garden Planner.
Want to Receive Alerts When Pests are Heading Your Way?
If you've seen any pests or beneficial insects in your garden in the past few days please report them to The Big Bug Hunt and help create a warning system to alert you when bugs are heading your way.
How to plant and care for green beans to get a rich harvest
June 19 Likbez Advice
Lifehacker's simple tips will help you grow an edible hedge.
When to plant green beans
This plant loves heat, so the soil should warm up to 12–15 °C, and the air should warm up to 15–17 °C. Sowing beans in the ground before the second half of May does not make sense: the seeds will simply sit in the ground and wait for suitable conditions for growth. However, you can harvest a good harvest, and if you plant a vegetable even in July. nine0003
How to choose green bean seeds
Bush beans grow compactly and do not require support, unlike climbing beans. The lashes of the latter are capable of becoming a dense hedge. Due to the size of the plant, the climbing crop will be much larger than the bush.
1 / 0
String beans. Frame: In the countryside and in the city Tatyana Malyuga / YouTube
2 / 0
Curly green beans. Frame: Garden soul / YouTube
Beans ripen from 50 to 100 days from the moment of germination. Early varieties are ready for harvesting in 1.5–2 months, late varieties in 3–4. nine0003
Pods may vary in length and color. They are white, yellow, green and dark purple.
How to prepare a bed for growing green beans
Find a sunny and wind-sheltered spot. A place along a fence or fence is perfect - in the future they will become support for climbing beans, and you do not have to make special supports.
2 weeks before sowing, apply 1 tablespoon of superphosphate and azofoska, 3 kg of compost and 1 cup of wood ash to each square meter of bed. Dig up the soil onto the bayonet of a shovel and level the surface with a rake. nine0003
How to plant green beans
Sowing this vegetable is not difficult.
Soak the seeds
To speed up germination and disinfect the seeds, place them in a solution of potassium permanganate - you need to take 0. 5 g of the product per 100 ml of warm water. After a day, discard the floating beans: they are dry or empty inside. Those that remain at the bottom are ready for sowing.
Make holes
A depth of 4-5 cm is enough. For climbing beans, make holes at a distance of 60 cm, for bush beans - 40 cm. If you are sowing in several rows, the distance between them should be 20-30 cm.
Plant beans
Image: GardenGuide / YouTubePour plenty of water over the holes and wait until it is absorbed. Put two beans in each and cover them with soil.
Place a support
If you have planted the beans along a fence or other structure that they will climb over, skip this step. The bush form does not need support at all.
In other cases, it is enough to drive in two pegs at least 2 m high along the edges of the row and stretch the net between them. You can buy a special one for climbing plants, or use building grates made of metal and plastic. nine0003 Photo: Berna Namoglu / Shutterstock
Another way is to drive sticks at least 2 m high near each hole and wrap beans around them in the future.
Wait for germination
Seeds may take 1-2 weeks to germinate. The warmer the soil and air, the faster shoots will appear. If two beans hatch at once from the hole, carefully pull out the weaker sprout.
How to care for green beans
Just a few steps to a great harvest.
Mulch beds
Frame: Alenin's garden / YouTubeThis will protect the soil from drying out and hold back the growth of weeds. Pour peat, sawdust or straw around the bushes with a layer of 5–10 cm. Freshly cut grass is also suitable, which during the composting process will generate heat and additionally warm the soil. But you need to be more careful with it: when mulching, step back 3-5 cm from the stem of the plant, otherwise the rotting mass can burn it.
Water the beans
The soil in the garden should always be moderately moist, so water the plants under the root as needed. One bush needs 1-2 liters of water, and as soon as the fruits begin to set, the rate can be increased to 3 liters.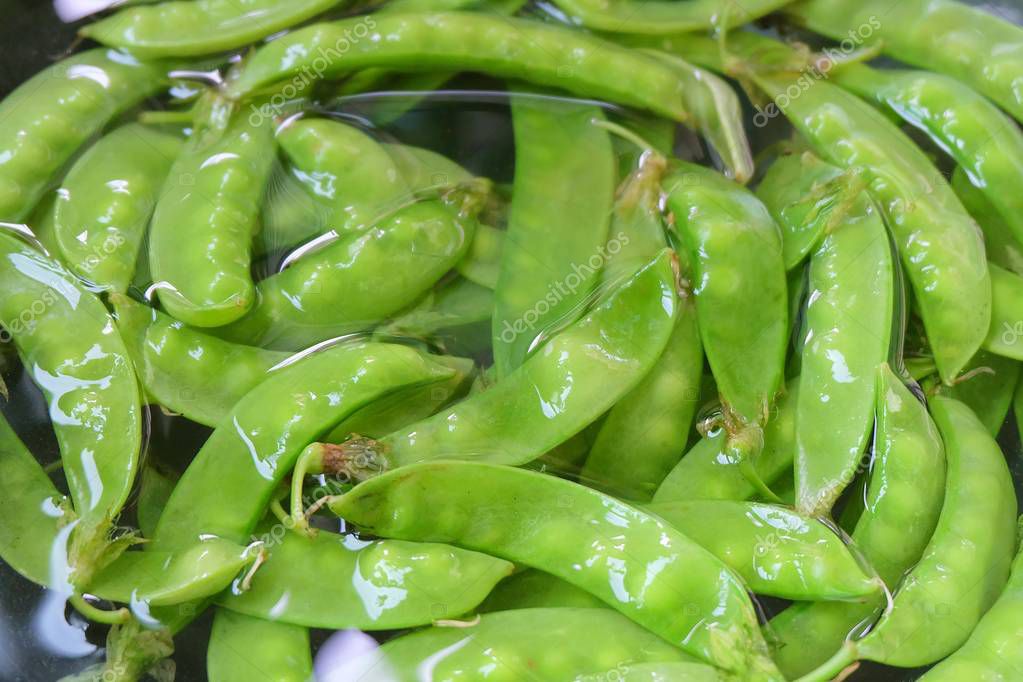 nine0003
Feed the beans
Only do this once when the buds start to form. For each square meter of beds, take 15 g of superphosphate and 50 g of wood ash. Sprinkle fertilizer around the plants, gently loosen the soil, and water the beans.
Weed the beds
Do this regularly. Weeds develop very quickly and in the process of growth they take nutrients from the soil.
When and how to harvest green beans
Photo: DGSHUT / ShutterstockOn average, pods mature in 10 days from the moment they are set. Depending on the variety, the fruits reach 10–20 cm, and remain flexible and elastic to the touch. Harvest every 2 days, otherwise overripe beans will start to burst right on the bushes and lose grains.
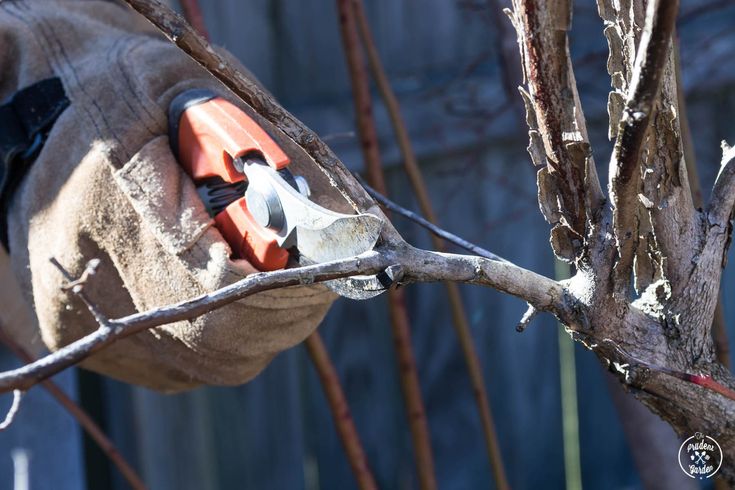
Collecting the pods is easy: pinch them off while holding the stem, or better yet, cut them off with scissors or secateurs.
Read also 🧅🥕🌹
- How to tie up tomatoes in a greenhouse and open field
- How to Grow Onions: A Complete Guide
- How to Properly Plant and Care for Carrots
- How to Grow a Rose: A Detailed Guide to Success
- How to plant and care for beets to get a good harvest
How to grow green beans - Summer advice
Green, French, asparagus, green beans . .. as soon as our gardeners call these tender beans. Many of us adore this mega-healthy vegetable, grow it easily, naturally and with pleasure, managing to collect unprecedented harvests from several bushes. And someone does not give beans at all. It seems that they are planting and watering, but as a result, disappointment: again something has grown that does not look a bit like green beans. nine0003
How to grow green beans without complaining about the harvest? We reveal all the secrets of growing truly wonderful pods!
String beans
String beans come in several varieties: green, yellow, purple, white with purple streaks, sometimes even with pink pods. But for us, gardeners, it is much more important that green beans are divided into curly and bush.
Both bush and climbing beans have their advantages and disadvantages. So, for example, bush beans are less thermophilic than curly beans, do not require support and, as a rule, give the crop together (it is harvested in 2-3 doses). But curly beans give more pods, due to constant growth, it grows up, so it can take free space between other plants, it can be planted along the fence (or instead of it) as a hedge. nine0003
We advise you to plant several plants of each type as a test in order to decide which one is easier for you to take care of, which one will be more productive, etc. The only thing is that for the northern regions it is better to choose early-ripening varieties that begin to bear fruit two months after planting. Summer residents of the southern regions can afford late varieties.
Planting green beans
Green beans are a heat-loving crop, so they are planted quite late when the ground warms up well and frosts are no longer expected. Usually planting is done in late May - early June. nine0003
String bean is a thermophilic crop, so it is best grown in sandy soils. This is especially true of the northern regions, where in cold summers, green beans may not produce pods at all. So we add sand to the beds, place them in a well-heated place or build a warm bed for the beans.
String beans are a heat-loving crop, so a couple of weeks before planting, it is recommended to cover the bed with foil to warm the ground. If you want to plant your beans in a warm bed (which is exactly what you need), soak them with an EM solution and then cover with foil. In well-warmed soil, beans will sprout earlier. nine0003
String bean seeds must be soaked before planting. At least - for two hours, as a maximum - before the appearance of seedlings. Beans planted with germinated seeds will sprout quickly and amicably.
The bed is laid out according to the scheme: 8-10 centimeters between bushes, 30-40 centimeters between rows. For curly beans, you can increase these distances and immediately put the supports. Green beans are planted two seeds in one hole, then to choose the strongest plant. The optimum sowing depth is 3 cm. nine0003
After planting, the bed is watered and mulched with humus, straw or grass. Do not be afraid to mulch the beans (many worry that the soil warms up more slowly under the mulch), we warmed up the bed well beforehand, and the mulch perfectly retains the moisture vital for seed germination. If you are not a fan of mulching, you need to ensure that the bed is always damp (but not overflowing).
In two weeks (maybe earlier) the first shoots of green beans will appear. nine0003
String bean care
String beans or green beans do not require special care. It is not even necessary to feed it, especially when grown in warm beds under organic mulch. The only thing that this plant desperately needs is heat. We repeat and remember once again: green beans are a thermophilic culture. It grows best at a temperature of + 20-25 ° C.
So, as the seedlings grow, we choose the strongest ones, and pinch their neighbors under the root (no need to pull out, why disturb the root system once again?). For those who do not want to mulch, it would be nice to spud the beans when the bushes grow up to ten centimeters in order to create all the conditions for the development of the roots. nine0003
In the future, we are required to provide the plants with moisture either through regular heavy watering, or through mulching and watering during especially hot periods. A couple of times during the season, you can water the beans with infusion of ash.
When the curly beans reach two meters in height, boldly pinch the top to stop the growth of the stem and direct all the juices to fruit set.
Harvest of green beans
Harvesting of green beans must never be delayed. As soon as the beans are finally formed and ripened in the pods, the bush will stop developing. When the plants are "sure" that they have produced seeds for procreation, they stop growing. Our task is to track the appearance of pods. Yeah, we started ... in a week we are harvesting the first crop. The more often you cut the pods, the more ovaries the bush will give out. Therefore, after 4-6 days, we again examine the plants - most likely, we again have something to collect.