Remove acoustic ceiling
How to Remove a Popcorn Textured or Acoustic Ceiling • Ron Hazelton
RON HAZELTON:
Now my friend Teen Osborn, no relation to Ozzie, is looking to get rid of the popcorn ceiling that clashes with his casa's Spanish style. Now, truth is I do prefer my popcorn at the movies and not on the ceiling, so I'm going to show him how to remove it. It's really a lot easier than you may think.
TEEN OSBORN:
As you can see, the ceiling needs some work.
RON HAZELTON:
Oh, yeah? Yeah, this is not part of the 1930s design, is it?
TEEN OSBORN:
No, I think the original owners did some work in the '80s.
RON HAZELTON:
All right. Well you know what, it's not that difficult to take this down. A little bit messy.
TEEN OSBORN:
Okay.
RON HAZELTON:
So we'll do a lot of preparation work here just to protect the walls and the floors. First thing though, let's get the furniture out of here.
TEEN OSBORN:
Okay. I'll get the chairs.
RON HAZELTON:
With the power off, Teen takes down the light fixture from the ceiling.
TEEN OSBORN:
Oh, that was pretty easy, Ron.
RON HAZELTON:
The beginning - well, the first electrical job in the new place.
Next, we're going to cover the walls and floor with layers of heavy duty plastic.
RON HAZELTON:
This is just a little added insurance here for the receptacles, even though we've turned the power off. So let's go ahead and --
We taped small pieces of plastic over each outlet. Next, we extend the plastic floor sheeting up the walls a foot or so and paint the edge. This will keep any water from getting under the baseboards.
TEEN OSBORN:
So all that water's going to be dripping?
RON HAZELTON:
It will come right down here, yeah.
TEEN OSBORN:
Oh, okay. It kind of makes me nervous, Ron.
RON HAZELTON:
Well, it should. [LAUGHS]
Next, we run a strip of painters tape along the upper edge of the walls, about a quarter of an inch below the ceiling. This will give us a good seal at the top. Then we cover the entire wall with plastic, taping the top edge to the strip of tape we've just put up.
Finally, we roll out a layer of resin paper. Now this will absorb a lot of the water that falls from the ceiling to help prevent the floor from getting slippery, reduce the possibility of tracking debris into other parts of the house and make cleanup a lot easier.
Some blown-on acoustical ceilings applied before the early '70s contain asbestos and they should be removed only by a certified asbestos removal contractor. Now you can find out if your ceiling contains asbestos by taking a small sample, then send it off to an EPA-certified testing lab before you begin your removal project.
Okay, Teen, now for the fun part. This is just a garden sprayer, plain water in here.
TEEN OSBORN:
Okay.
RON HAZELTON:
We're going to start applying this to the ceiling. Probably want to work in an area about four to five feet square at a time. It's probably better to make several passes and kind of let it soak it up as you go.
The acoustic material on a ceiling like this can absorb a lot of water. The trick is to wet it thoroughly but not overwet it. Too much water can damage the paper surface of the wallboard underneath.
Now this is what we're going to use to scrape this material off the ceiling. It's a joint knife. You can think of it as kind of a wide putty knife. So what I was doing a moment ago, was rounding off the corners right here. That will prevent us from gouging the ceiling, something we'd have to repair later on.
Now the water has done most of the work. This popcorn ceiling is just about falling off by itself. If we run into any hard scraping, we'll stop, apply a little more water, wait and then try again.
[MUSIC]
Before Teen gets too far, we take a little break and unroll a second layer of resin paper right on top of the ceiling debris. Presto, we've got a nearly clean floor surface again. In less than an hour, Teen is removing the final remnants of his old popcorn ceiling.
With the dirty work done, we take down the plastic sheeting from the walls and roll up the wet paper and plastic on the floor. The mess from the old ceiling gets wrapped up inside and the whole thing goes into a large garbage bag.
Now the same water that so easily removed the acoustic coating has also loosened the paper joint tape.
So now we've got a bare joint right here and we're going to have to recover that. So step one, this is joint compound right here. I mixed it up in a tray and I'm going to put this on and I'm using about a six-inch knife.
First, we lay down a thin layer of joint compound along the joint line. Next, I dip the joint tape in a bucket of water and squeeze off the excess between my fingers. Wetting the tape makes it stick to the joint compound better and reduces the likelihood of air bubbles.
Teen uses a putty knife to press the tape into the joint compound and smooth off the excess.
Same water that caused our tape to come loose has kind of eroded these nail holes. This is joint compound that was put on to cover up the depressions from the nail holes or screw holes, whatever they used here.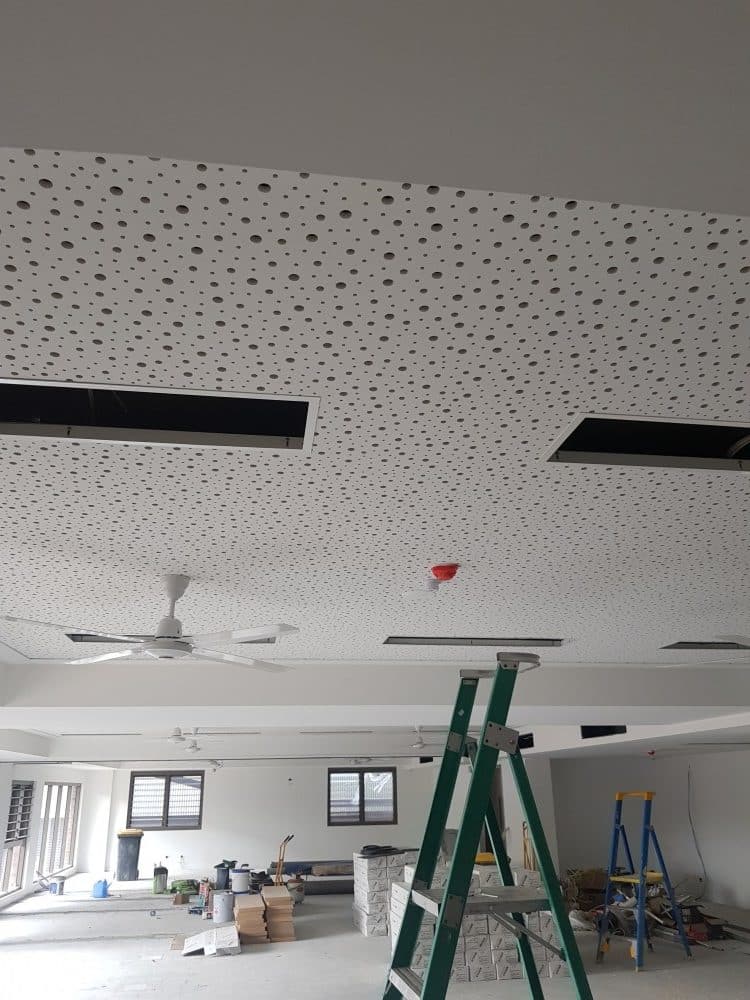 So we're going to have to bring those back up flush with the wallboard.
We use the joint compound sparingly, just enough to fill the holes. It's faster to make two thin applications than overfilling and having to do a lot of extra sanding later.
A little steeper, that's pretty good. Well, our joint compound is dry. Now we're going to do a little sanding but we're not going to use sandpaper, we're going to use instead, a sanding mesh like this right here.
Now this is designed to go on a sanding pad, and this particular sanding pad is on the end of a long pole so that we don't have to go back up on the ladder. Teen, all set. You're all ready to go here. Just hold this up on the ceiling.
The secret here is to sand off high ridges. Low spots will be filled with another coat of joint compound. Well, the popcorn's gone.
TEEN OSBORN:
Yeah.
RON HAZELTON:
Got a little bit of stuff on us in the process, but we're not too bad here.
TEEN OSBORN:
Yeah, it's not too bad.
RON HAZELTON:
You got a couple things left to do. You're probably going to want to put on, eh, maybe one, maybe two skin coats just to fill up any low spots with a light sanding in between and then prime this. And be sure to choose a primer that says, for wallboard.
TEEN OSBORN:
Okay.
RON HAZELTON:
And then you have -- you can leave it. You can put a final coat of paint on or you can texture it to match your walls right here, whatever. It will be your choice at this point. Anyway, the first probably of many home improvement projects here in this house, huh?
TEEN OSBORN:
I'm energized. I have confidence now.
RON HAZELTON:
Well, I say leave the popcorn for the movies. A smooth ceiling is the first step in making Teen's vision for his dream house, a reality.
How to Remove Popcorn Ceilings in 5 Easy Steps
Is there anything more universally loathed than a popcorn ceiling? If you find yourself staring upward, wondering how to remove popcorn ceilings, you are not alone. Let’s face it: They’re eyesores. They’re also known as acoustic ceilings, stucco ceilings, or, worst of all, cottage cheese ceilings. They were big in the mid- to late 20th century. Builders installed the textured treatment to help absorb sound from above or cover up imperfections in the ceiling. (It also helped skip some steps and save money, since it eliminates the need to paint the finished surface.) But like many trends from the 1970s, the popcorn ceiling has fallen out of favor and many homeowners are removing or covering up the unsightly surface.
If you’re tired of looking up at lumps and bumps and are ready for a makeover, there’s good news. Removing a popcorn ceiling is a fairly easy and affordable DIY project that just requires some time and muscle. Should your ceiling need more TLC than just scraping and painting, there are also options for covering up popcorn ceilings, such as wood paneling, pressed tin tiles, or new drywall. Ready to tackle the home improvement job yourself and learn how to get rid of a popcorn ceiling? We asked contractor Justin Krzyston, president of Stonehurst, how to remove popcorn ceilings safely and easily.
Before you start, it’s important to make sure that your textured ceilings don’t have asbestos. “Prior to the early 1980s, asbestos was an ingredient that many used in textured popcorn ceilings,” Krzyston says. “The popcorn texture was used to help home builders deal with sound travel, and it was a great fire retardant.” He recommends having the surface tested by a professional, or at the very least purchasing a do-it-yourself test kit from the hardware store and sending the samples to a lab. If you go the DIY test route, make sure to use the appropriate safety gear, such as gloves, a ventilator or dusk mask, and eye protection. “Do some research before diving into a weekend project,” he cautions.
If your ceiling tests positive, you should have a professional licensed in asbestos abatement remove the texture or cover the entire ceiling with paneling or drywall. “If you have asbestos, it is best to leave the ceiling intact, as there is no real danger if it is in good condition,” he says.
If your ceiling is asbestos-free, it’s time to get to work. Fortunately, the project doesn’t require any special tools, and you may already have everything you need on hand. The essential popcorn ceiling removal tools include:
- a garden sprayer
- a wide putty knife or drywall taping knife
- drop cloths or plastic sheeting
- painter’s tape
- ladder
- safety goggles
- dust mask
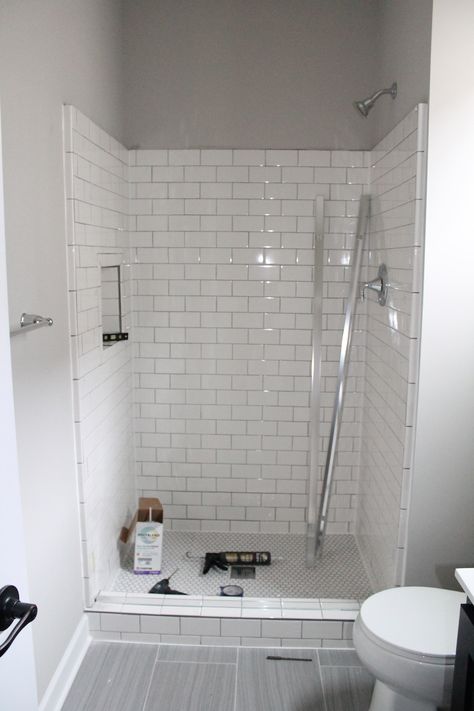
Cover floors and walls with plastic sheeting.
Photo: Spencer Weiner/Los Angeles Times via Getty Images
“Scraping the ceilings is very messy—so have plenty of drop cloths and tarps on hand,” Krzyston says. Remove furniture from the room, and cover floors and walls with plastic sheeting. Attach sheeting to walls with painter’s tape. Taking down ceiling fans or hanging light fixtures will also make the job easier—just be sure to cover electrical boxes with painter’s tape to protect the wires from damage and water. “Turn off your HVAC system and close and cover all vents and electrical outlets with plastic,“ he says. Since this is a job involving water, make sure to turn off the electricity to the room you’re working in.
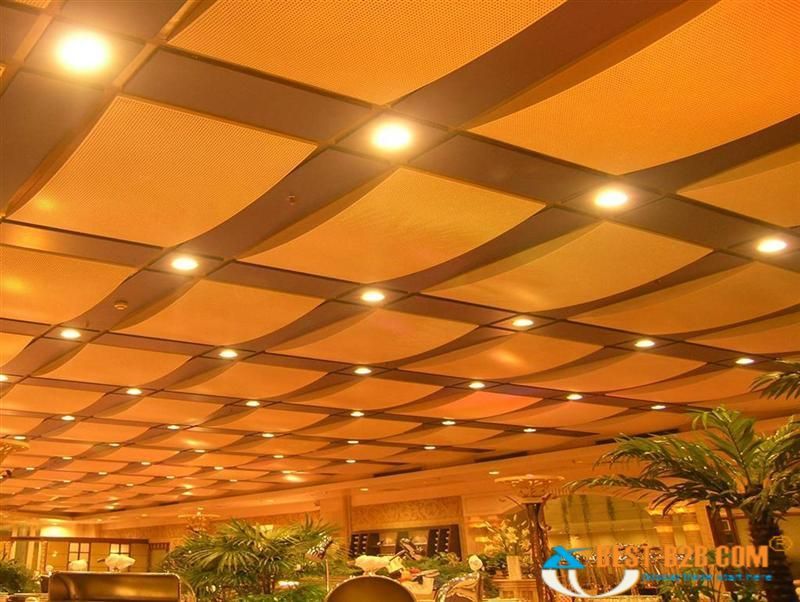
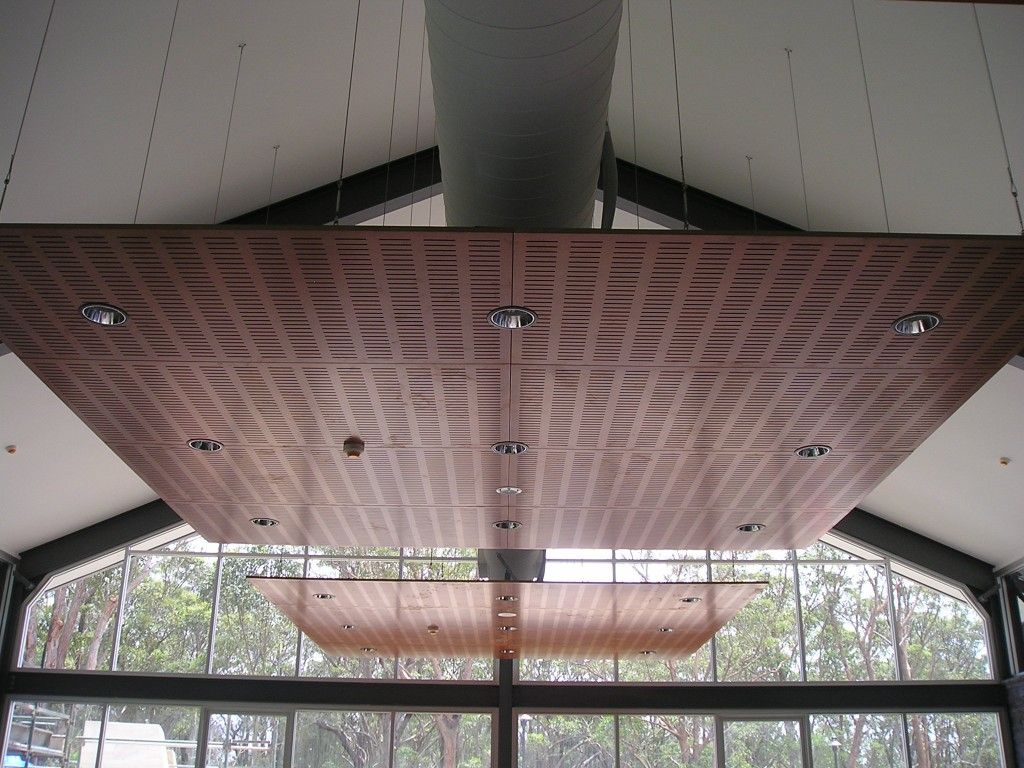
Removing the stretch ceiling with subsequent installation
If you want to create a memorable and colorful interior, then you can't do without a stretch ceiling. This design will look beautiful in any room, while you have access to many variations of colors and textures of the material. The only thing you need is imagination.
However, there are times when, for whatever reason, you need to remove the tensile structure. You can call professionals, or you can handle it yourself - it all depends on your desire and knowledge. To help you properly dismantle the ceiling, we have prepared a special article.
Contents
- What is a stretch ceiling?
- Types of fastening stretch ceilings
- Installation and dismantling of stretch ceilings.

What is a stretch ceiling?
There are several ways to install a stretch ceiling. They differ from each other in technology, since depending on the material used, it is fixed in different ways.
There are mainly two materials that serve as a web for the tensile structure:
- PVC film;
- fabric.
The main feature of PVC stretch ceiling installation is high room temperature. Thus, you can stretch the canvas so that it fits completely into the profile installed around the entire perimeter of the room. Therefore, the only tool that is unlikely to be in your home will be a gas heat gun. It should warm the room up to + 60 degrees.
Woven fabric. To install a DESCOR® PREMIUM fabric stretch ceiling, you do not need to heat the room. However, it also has its own nuances and difficulties. The canvas is installed according to the dimensions of the room using a special spatula into the installed plastic profile in the form of a "Clothespin", specially designed for fabric ceilings at the Pongs manufacturing plant in Germany. Our company is the official representative of this company in Russia.
Types of fastening of stretch ceilings
There are three types of them:
- Using a harpoon (Harpoon system for installing a stretch ceiling). If you install a stretch ceiling in this way, you will be able to dismantle it in the future. However, this method can only be used with PVC film.
- Wedge (Wedge Stretch Ceiling Installation System). On the one hand, the cost of this method of fastening is cheap, so many people prefer it. On the other hand, dismantling can be done, but only by professionals. It will be very difficult to remove the wedge on your own, so as not to damage the material. Then you will need to put it back - newcomers will definitely not be able to cope here.
- Plastic clip (Clothespin). This attachment method is only suitable for DESCOR® PREMIUM fabric. Subsequently, you can easily dismantle such a structure.
Installation and dismantling of stretch ceilings.
Stretch ceiling is an expensive business. Therefore, in order to carry out any work with minimal damage, it is better to hire professionals. However, if due to some circumstances, you cannot do this, it remains only to do all the work yourself. First of all, you need to prepare the necessary tools that you can purchase from NikoMax.
Clear out the room by removing any items that may interfere with the process. The next steps depend on the chosen method of attaching the canvas. If our stretch ceilings are installed using a harpoon mount, we begin to remove the canvas from one corner of the ceiling. Before that, do not forget to remove the insert that closes the gap between the canvas and the walls. Then, using pliers, pull out some of the material. Please note that you need to pull not on the canvas itself, but on the harpoon, otherwise you risk damaging the film. Next, we dismantle the profile installed around the perimeter of the room, using a screwdriver.
Now, if we have a fabric sheet, a few words about how to remove the fabric stretch ceiling. It should not start from the corners of the room, but from the middle. Gently squeeze the canvas out of the profile with your fingers, as soon as the edge of the canvas appears, pull it and thereby pull the canvas out of the profile along the entire perimeter. You need to be very careful with the clip fastening system so as not to tear the expensive fabric. We also dismantle the profile with a screwdriver.
Video how to remove a stretch ceiling with subsequent installation:
Of course, it is advisable to seek the help of professionals in order to remove the stretch ceiling for subsequent installation.
Have a good repair!
Contact Nikomaks — https://potolki-nikomaks.ru! We have installed thousands of ceilings!
Acoustic foam installation methods
Acoustic foam rubber is a popular material for soundproofing rooms for various purposes. It not only solves the problem of absorbing excessive noise, reducing echo and reducing reverberation, but also beautifies the interior with its aesthetic appearance and color matched to the shade of the room. Foam rubber can be installed in different ways, the choice of one or another installation method depends on the possibilities of the room, the preferences of the customer and the thickness of the material.
Temporary installation of foam rubber
If the canvas needs to be installed for a short period of time to improve the acoustic situation in the room, there are several ways by which you can install the panels temporarily, and after a certain period of time remove them without losing their consumer properties.
Pushpin attachment
Conventional pushpins, all metal with a clear head, are the most cost-effective and quick way to mount soundproofing material. Foam rubber installation progress:
- Make marks on the wall according to the size of the foam panels.

- Attach the panel to the wall exactly according to the marks.
- The corners of the material must be fastened with buttons with plastic or metal tips.
If necessary, the panels can be removed from the wall without leaving any marks or damage on the wall.
Textile fasteners
Self-adhesive Velcro fasteners can be used to quickly install acoustic foam for temporary installation. Installation steps:
- It is necessary to make marks on the wall exactly according to the size of the canvas to be installed.
- Attach the fasteners to the wall using self-adhesive elements according to the indicated markings.
- Install the foam on the glued fasteners.
When dismantling, it is sufficient to carefully remove the Velcro fasteners from the wall. It is not necessary to detach the panel, just unfasten the fasteners from the wall, and leave a part, since when dismantling the adhesive layer can damage the soundproofing material itself.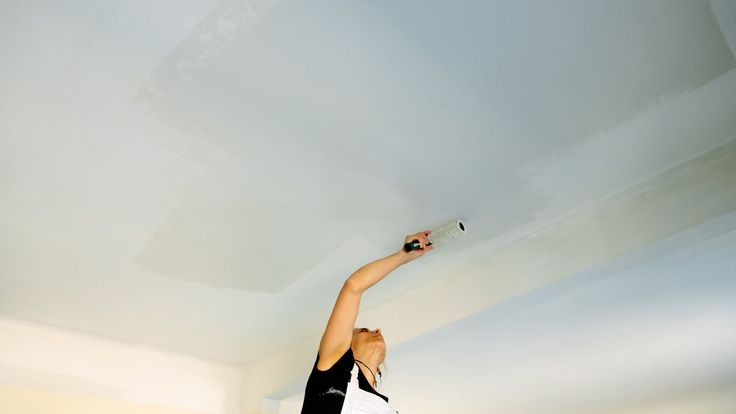 In some cases, Velcro can damage the wallpaper.
Long term installation
Acoustic foam is most commonly used for permanent sound deadening, so the question of how to attach it permanently must be considered in order for the material to hold strong and perform its function on a permanent basis. There are several ways how this can be done.
Double sided fabric tape
Standard double sided fabric tape can be used to install acoustic foam of any size in the room. To keep the material for a long time, it is necessary:
- Mark the walls according to the dimensions of the foam.
- Stick one side of the tape to the wall.
- Release the second adhesive layer of the adhesive tape and attach the foam rubber to it.
- Press the canvas firmly against the wall for a few seconds so that the material sticks firmly to the adhesive tape.
Construction tape securely fixes acoustic foam of any size and thickness on the walls for a long time.
Acrylic adhesive
Acrylic-based mounting adhesive with good adhesive properties securely fixes acoustic foam to walls and ceilings. For installation work, you will also need a notched trowel. Stages of work:
- Make markings on the wall according to the size of the soundproofing panels.
- Using a notched trowel, apply a thin coat of acrylic adhesive to the wall or foam sheet.
- Press the material against the wall or ceiling and hold for one minute to allow the adhesive to set and fix the fabric.
Liquid Nail Acrylic Adhesive
If acoustic foam needs to be permanently bonded, an acrylic based Liquid Nail Mounting Adhesive with Dispenser is the best choice. Such material more reliably than others fixes the canvas on the walls. Work steps:
- It is necessary to clean the surface of the wall or ceiling from dust and dirt.
- Mark the wall according to the dimensions of the panel.
- Gently squeeze the adhesive into strips onto the wall.
- Press the sheet against the wall and hold for one minute to allow the adhesive to fix the material.
Hot melt adhesive
The fastest and most popular way to securely fix acoustic foam is to use hot melt adhesive. This will require a heat gun and glue sticks. Hot glue is universal due to its ability to firmly fix the canvas on the surface of any material: metal, drywall, wood, brick, plaster, concrete. Hot melt glue is great when it comes to fixing small-sized panels. Stages of work:
- First you need to load the hot glue gun.
- Connect the heat gun to the mains and wait 15 minutes for it to heat up.
- At this time, prepare the surface of the wall: clean it of dust with cleaning cloths.
- Mark the wall according to the dimensions of the panels.
- When the glue has warmed up and become liquid, it must be applied to the wall according to the marks.

- Press the acoustic panel against the wall and fix it for a minute to form a bond with the wall surface.
To ensure that the effectiveness of the adhesive does not decrease, it is necessary to work with it while it is hot. To do this, fix the panel as soon as the glue warms up. It must not be allowed to cool down.
Acrylic Spray Adhesive
Acrylic Spray Adhesive is one of the most cost-effective and quick installation methods. The aerosol form of applying glue allows you to adjust the width of its spray. Stages of work:
- Clean the surface from dust and dirt with a special cloth.
- Mark the wall according to the size of the foam board.
- Spray spot glue from a spray can onto the wall along the markings made.
- Attach the panel to the wall, press firmly and fix for 30 seconds in this position.
All fixing methods are suitable for installation of acoustic insulation sheet.