Plaster painted walls
A Complete Guide to Painting Plaster Walls
For well over a century, plaster interior walls were the preferred construction in American homes. From antique mansions to old country cottages, these beautiful walls can still be
found in many homes today. Modern homeowners are probably familiar with drywall or sheetrock, but not plaster. This guide will answer all your questions about painting your plaster walls.
Can you paint plaster walls?
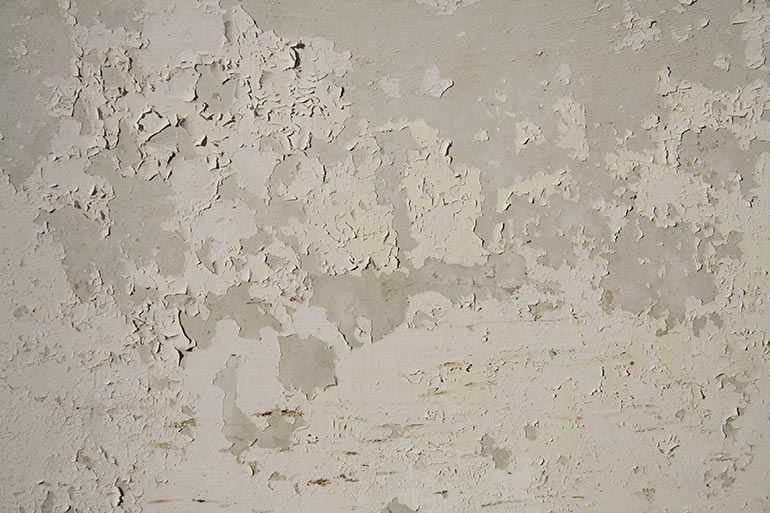
Many classic homes may come with perfectly intact plaster walls hidden behind dated wallpaper or layers of peeling paint. The good news is you can paint these walls with the same equipment you would use on sheetrock! From a classic restoration to a modern restyle, you can make plaster walls look great with a fresh coat of paint.
James Toney Tests Positive For Steroids, What This Means For Boxing bulking steroids uk trump vs. big pharma on drug prices. any bets?
Paint on plaster will only look as good as the prep work underneath it though, so make sure not to skip any steps.
Preparing Plastered Walls for Painting
Safety Tip: Most older house paints contain lead. Always wear eye protection and a respirator when sanding or stripping old paints.
Remove Old Paint
The first step to painting old plaster walls is to remove whatever is covering them. Old paint can be removed in two ways:
- Paint scrapers and sandpaper – For chipped and peeling old paint.
- Chemical Strippers – For paint that’s relatively intact.
Patch and Repair Plaster
Once you have the walls stripped down to bare plaster, you’ll need to repair and patch any cracks or old damage. This process can be tedious, but it’s one of the most important steps. Plaster walls are unforgiving, and any cracks that are left alone will likely spread.
Paintable caulk can be used to fill minor cracks. It remains flexible, so the crack will be less likely to reappear. Larger holes from old bolts or longer cracks should be patched just like drywall and sanded.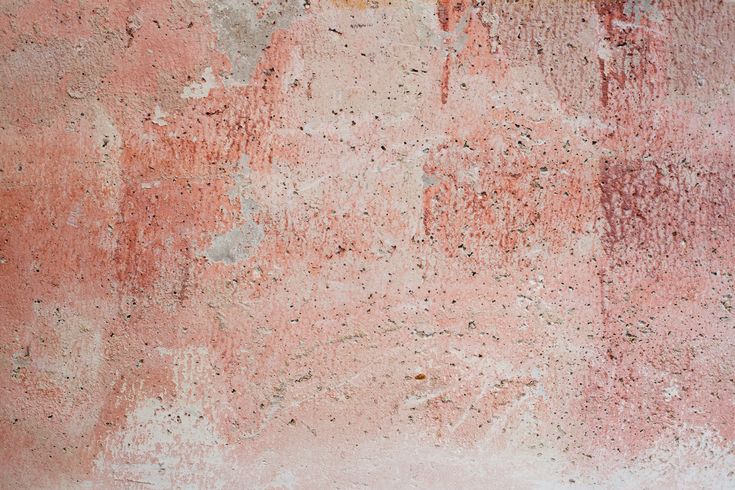 The goal is to create a smooth, even surface with no visible cracks or holes.
To do that, start by blending any patches or new plaster into the old plaster with rough grit sandpapers. Once the surface is roughly level, smooth the surface with high grit sandpapers to create a smooth surface for the primer coat.
What’s the best primer for plaster walls?
Plaster walls are more vulnerable to moisture than drywall, and require high-quality primers. Oil-based primers are the best option for old walls. They have superior stain blocking abilities, and will keep any old stains from bleeding through to new paint. Oil-based primers are also great at sealing out moisture, which can be a major problem for old plaster walls. Perhaps most useful are oil primer’s ability to fill and seal the surface of the plaster.
Kilz brand primers are known for their stain-blocking capabilities and are available at many home improvement centers. For a premium option, Sherwin Williams offers durable primers specifically for plaster.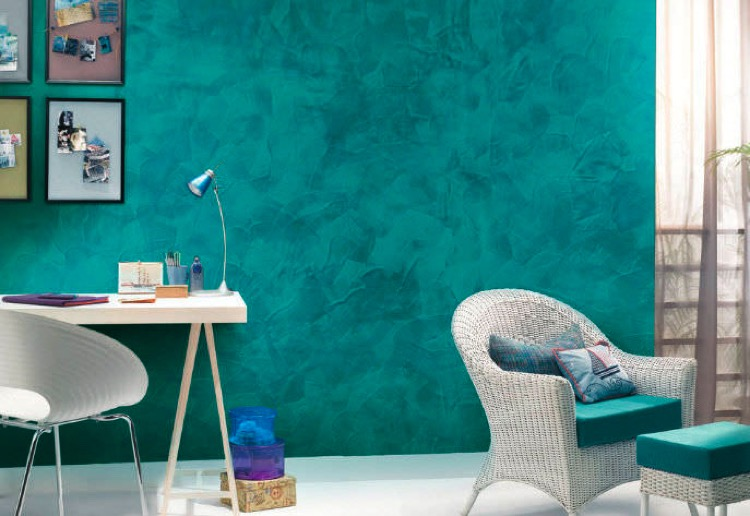
Some bright colors, especially reds and yellows, will usually look better with a tinted primer. The paint shop or home improvement store should know if your paint requires this, and can mix the appropriate primer.
What is the best paint finish for plaster walls?
Plaster walls can be finished in any luster, from high-gloss to ultra-matte. The most versatile finish for most home applications is a satin finish that combines the soft warmth of a matte or flat finish with the ease of cleaning that comes with semi-gloss or gloss finishes. If your home has traditional Victorian styling, a softer finish will finely complement lacquered or glossy enameled trim around doors and around ceilings.
Flat or matte finish paint will not be as easy to clean and will show scuffs much easier than satin paint, but the lightly textured finish can be very useful for hiding minor imperfections in the underlying plaster.
What kind of paint should I use on plaster walls?
The best kind of paint for plaster walls is whatever color appeals to you!
Once plaster walls are properly patched and primed, they can easily take any color or finish. Satin and eggshell finishes are very popular, and lighter, neutral shades of cream and white are ideal if resale value is a concern.
There is one kind of paint you shouldn’t use: all-in-one paint and primer. The label is misleading, as these paints do not actually have a primer in them. Instead, they are blended to create a thicker, more durable coat.
While durable paint is not a bad thing, these products won’t help with the two largest problems that primer solves on old plaster: making paint stick to the wall better and blocking decades of potential stains from bleeding through to the fresh paint.
Painting Plaster Walls
So your plaster has been patched and the surface is smooth and primed. Now it is time to paint!
Plaster can be easily painted with the same techniques as drywall. Even with a good coat of primer, plaster walls are notoriously thirsty for paint. Using a roller for open spaces and brushes around trim and borders, spread an even coat of your choice of paint. Don’t try to completely cover the wall in one go. Two or three thinner coats will create a much prettier finish than one thick coat, which is likely to end up running and looking uneven.
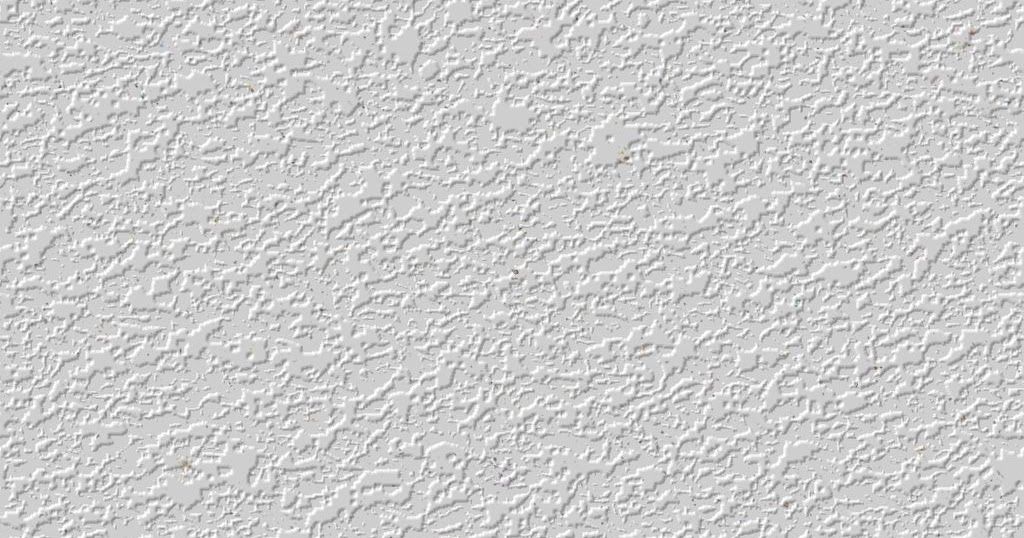
Plaster walls also lend themselves to creative painting schemes, like sponged paint and rustic, antiqued finishes.
Five Steps for a Flawless Paint Job on Plaster Walls
Old plaster walls most likely experienced years of homeowners hanging pictures, painting, and placing wallpaper. Because of this, they usually entail a more extensive preparation process for a new paint job than drywall. Here are the five steps to follow for an optimal painting experience and results:
Test the Walls for Lead
It is crucial to make sure that your plaster walls are free of paint containing lead, as it was a commonly used paint ingredient of the past. This is because continued exposure to lead poses a number of serious health risks. Always double-check with an at-home lead test kit before proceeding with any other steps.
Remove Old Paint
If the lead test doesn’t detect any contaminants in your plaster walls, it’s safe to start removing old paint. If there are any visible paint chippings, peelings, or loose plaster, it’s best to scrape them away to ensure that you have an even surface free of bumps. A putty knife is a great tool to help you with this process.
Fill Cracks and Holes
Plaster walls are prone to developing holes, dents, and cracks over the years. For smaller cracks and holes, a paintable caulk is your best friend for fixing them! For larger areas of damages and dents, repair the area by adding mesh tape and filling the area with a compound.
Sand Down The Walls
Sanding down your plaster walls is essential for smoothing out anything that wasn’t taken care of with the previous steps. It gives you one last chance to level out the walls before priming it up! Use both rougher and finer sandpapers to achieve the best results.
Apply High Quality Primer
When you’re happy with the smoothness of your wall’s texture, you’re ready to apply a high-quality primer.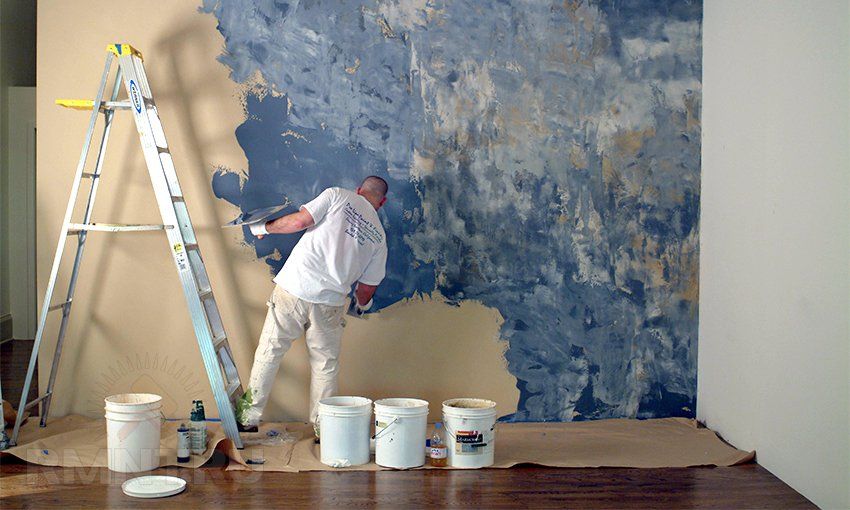 Old plaster walls are better off with an oil-based primer. This is because oil primers are far more superior at preventing any stains from water and other materials from showing through, which is a more commonly found problem with plaster walls.
After the primer is completely dry, you’re well-equipped to begin the fun part: painting!
Need Help Painting Plaster Walls?
Find a professional painter near you. If you need a home painter in South Jersey, including Marlton, Cherry Hill, and Moorestown, give Pizzazz Painting a call today! Call 609-702-8200 today.
Painting Plaster Walls in 5 Easy Steps
by Brad the Painter
Painting plaster walls is not at all difficult. If your house is old, it will have plaster, sometimes called ‘horsehair plaster’ on the walls. The old workers used the tail hair from horses to mix in with the plaster to give it strength.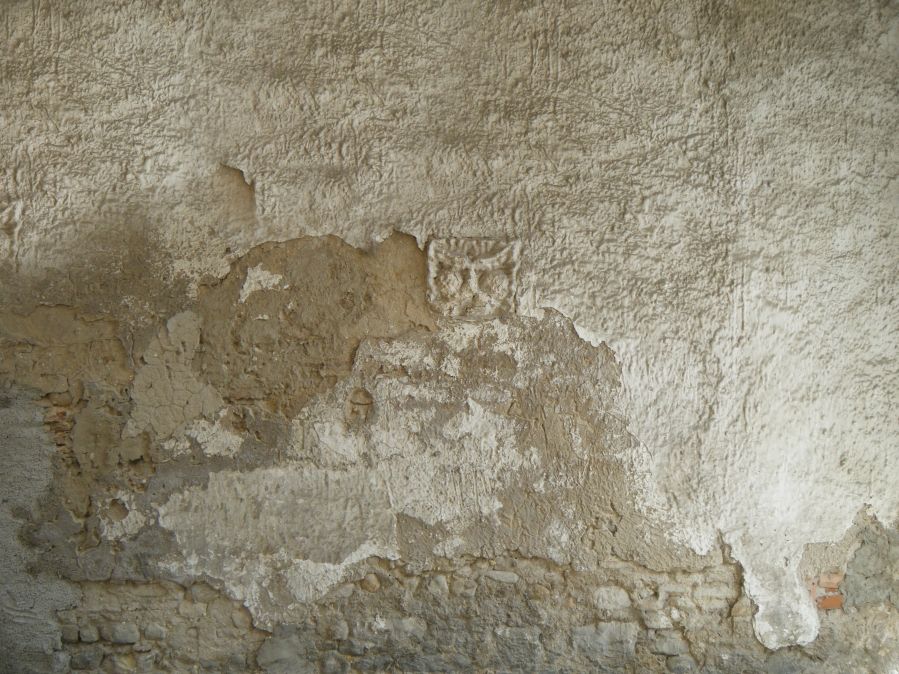
Plaster Walls are worth saving and painting
Painting Plaster Walls is not at all difficult.Plaster walls are harder than modern drywall walls, but it is great to save them, and that will probably cost you less in the end. Often plaster walls have a lot of lime so mold cannot grow in them.
Right here at the top, you will be happy to see my top primers and paint. (For old plaster, I don’t recommend any paint-and-primer-in-one).
For stained walls (water stains, etc) you need a stain-blocking primer. Here you see Zinsser’s Cover Stain. Tops.
For plaster in good shape, prime any bare plaster (or drywall), with basic drywall primer. Comes in a one-gallon also, but buy 5 gallons (shown) for the price of 4.
For paint, there are so many, but here is my best advice: don’t skimp. The best paints don’t fade, go on easier and last longer than a well-advertised big box store brand. I normally use Ben Moore Regal (well worth the money).
I’m always asked about a low-budget wall paint option: Rust-Oleum’s Zinsser is very good for the money, but nothing like the Ben above.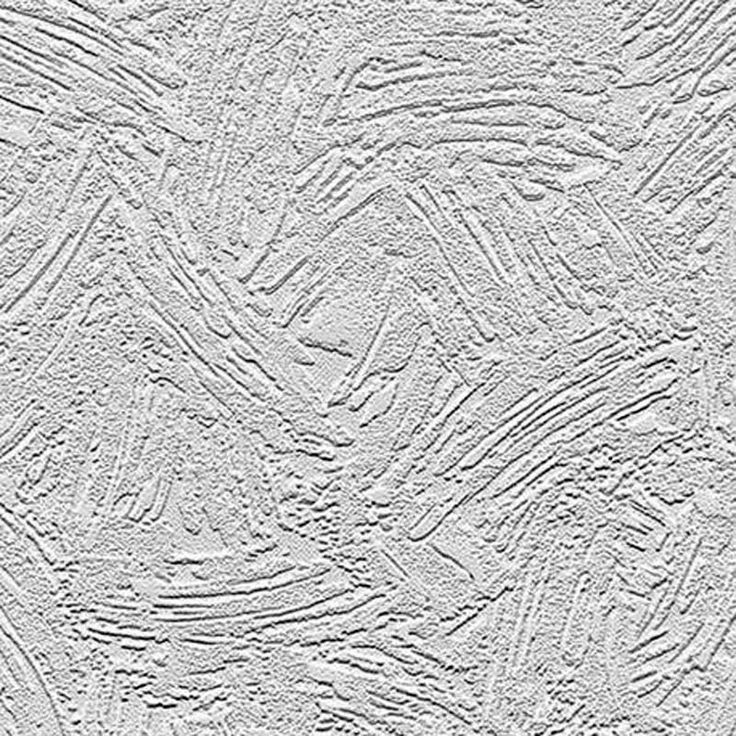
There’s more below.
Plaster walls are usually cracked but are worth saving. If the plaster wall is still firm and has just separated from the backing “lath” which was usually cedar strips, you just need to re-attach with drywall screws. This will cause some cracking which you just patch up with spackle (sand all when dry). The products you need are all below.
- Use a putty knife to remove any loose plaster. If you see a brown discoloration, that is probably water stain from years of moisture and maybe leaks in the roof, etc. You’ll have to prime that with a stain-blocking primer such as Kilz Premium or a good product called 1-2-3. For mold, it’s the primer you see here, (comes in quart or gallon), but please read our post about mold-resistant paint.
- One trick is to fill tiny cracks with a paint-able caulk. It’s faster, and it gives a little whereas other spackle and mud compounds will not. You have to assume those cracks will keep moving.
- Patch the hole with a pre-mixed drywall compound and give it a day or so to dry, and add a second or even 3rd coat if the dried patch keeps shrinking. Deep patches will shrink no way around that.
- Large repairs will need tape and you can find how to do that in this post on preparing walls for paint.
- Sand with rough, then transition to, finer sandpaper and prime with drywall primer linked above (apply only one coat).
You should be ready to paint at that point.
Paint your walls with 2 coats of paint (in most cases):
Sometimes, if your primer is white and your wall/ceiling/trim/whatever is going to have white paint over that, you may be ok with one top-coat, but you have to cover every square inch with no skipping. This fine mold resistant paint is from Rust-Oleum (shown here).
Make sure you have all the painting tools that you need.
If you are working with a lot of sanding, read our respirator mask guidelines.
How to paint plaster wall – summary
Painting plaster walls is just like painting any other drywall. The primer that you use is the key. You need to us the best primer for plaster walls to seal the wall because paints won’t take to it evenly without a good primer.
On that point, watch the toxins you are putting into the air that you and yours are breathing.
Key point: most water stains from plaster walls will bleed through every coat of latex painting work. After your primer, you paint plaster walls just like any other interior paint job, which you will read about all over my site. Write a comment below with any question about how to paint plaster walls!
Categories Drywall, Painting Tips Interiorhow to plaster painted walls over old oil and water-based emulsion, will the gypsum mixture stick on top of the paint if placed on a concrete contact, as well as ways to remove the paint
Contents
- Can plaster be applied over old paint?
- Preparing Painted Walls for Plastering
- How to Remove Paint from Plaster
- How to Lay Tiles Without Removing Paint
Quite often when we start renovations in the bathroom, kitchen or hallway, we want to replace painted walls with plastered ones. On top of the plaster, you can already lay tiles or glue wallpaper. But the question arises, is it possible to apply a plaster solution on a painted surface?
Removing old paint is a long and very laborious process. If it holds tight and does not fall off, it can not be removed when plastering walls. However, the surface must be carefully prepared before plastering. In this article, we will consider whether it is possible to plaster over paint or whether it is worth removing a water-based or oil finish first.
Can plaster be applied over old paint?
According to the classical technology, it is recommended to apply plaster only on a wall that is completely free of paint. However, in some cases, you can deviate from the generally accepted rules:
- if the future plaster mortar is applied in a small layer;
- when working with light weight gypsum mortar.
Please also note that in rooms with high humidity it is not worth the risk and leave the paint - the plaster may peel off over time. It is also better not to put a thick layer of heavy cement-sand mortar on the paint - it will simply fall off under the weight of its own weight.
But if the walls are absolutely dry, the paint is very strong, and the layer is not applied too much, it can not be peeled off. Excellent adherence to painted wall and not too heavy gypsum plaster. However, the surface before this must be prepared in a special way.
Preparing painted walls for plastering
Regardless of the type of old paint that the wall was once covered with, it is necessary:
- to check the strength of the surface: to determine voids and poorly adhering parts, the wall is tapped, loose pieces are scraped off with a spatula;
- final cleaning is carried out after wetting: soaked fine particles will be removed more easily.
Expert opinion
Alexander Guryanov
Plasterer and decorator
Plaster will adhere very poorly to a smooth surface painted with oil paint or enamel. To increase adhesion on a painted wall with a distance of 10-12 cm from each other, notches are applied slightly deeper than the thickness of the paint layer. Do this with an ax, puncher or chisel. For 1 sq. m should account for about 100 notches.
The painted wall is then carefully sanded with #60 or 80 coarse sandpaper . It is desirable to almost completely remove the top, thinnest and smoothest (glossy) layer.
After treatment, the wall is carefully dedusted, wiped with a cloth and dried. If work is carried out in the kitchen, then the surface is additionally degreased with solvents. After all, even the thinnest layer of fat can significantly reduce the adhesion of plaster to the base.
Adhesive quartz primer
The last step is to treat at least 2 times with primer. The first time with a deep penetration primer so that it penetrates into the notches, and the second time with an adhesive composition of the “concrete contact” type.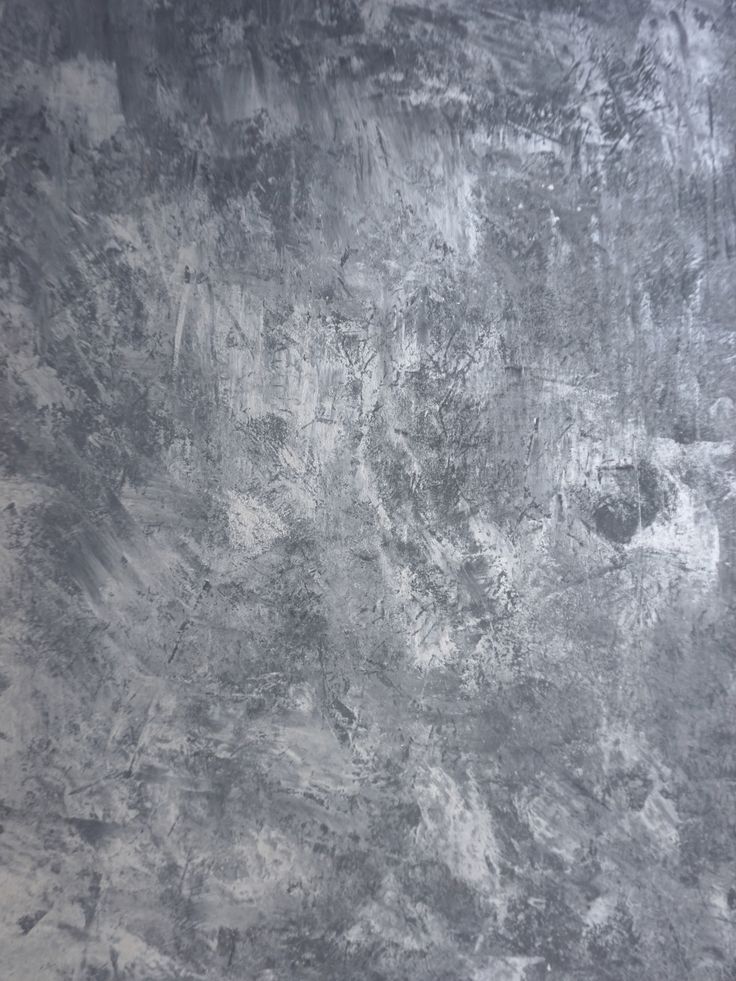 In fact, it is an adhesive mixture with the addition of quartz grains, which, after drying, forms a rough surface and significantly increases the adhesion (adhesion) of the plaster to the painted wall. When processing, it is necessary to ensure that the solution penetrates into the notches. Be sure to check that the concrete contact is intended specifically for the treatment of oil and alkyd walls that cannot be removed, and not for the treatment of concrete. A good alternative to an expensive primer is tile adhesive for "particularly difficult surfaces."
If the thickness of the plaster layer is more than 10 mm, the walls are additionally reinforced - covered with plaster mesh, which is screwed to the wall. Since it takes on part of the load, the likelihood that the plaster will begin to flake off is significantly reduced. In addition, such a mesh protects the surface from cracking during the drying process.
For interior work, a metal mesh can be omitted, suitable for PVC or propylene. It is simply pressed into the still uncured solution, which is then leveled with a wide spatula. Additional fasteners are not needed - the thrown plaster will create a sufficiently strong layer. Only a metal mesh is attached to the screws in case of using a heavy concrete solution.
The wall prepared in this way can already be plastered and you can be sure that the finish will adhere over the old paint.
notches
quartz primer
How to remove paint from plaster
Removing old paint is a tricky process even for experienced builders. Although, of course, much depends on the number of layers, as well as on the strength of the old coating. It is most difficult to remove it from unplastered concrete.
Water emulsion or lime is much easier to remove - the surface is thoroughly moistened with water using a spray gun or a sponge, leave to soak for 20 minutes, and then remove it with a spatula. Small crumbs remaining after removal are removed with a damp cloth. If the walls are covered with adhesive putty or lime, they are also cleaned with a spatula, having previously been soaked.
But with a surface coated with an oil composition or enamel, you will have to work hard. They can be removed with:
- special paint softeners ; after application, it is necessary to wait for some time (it is indicated on the package), and then scrape off the softened layer with a spatula; however, this option is only suitable for fresh paint, if it was applied more than 2-3 years ago, then such compositions may not be able to cope with it;
- hot air gun ; the paint, as well as with the chemical method, softens, and it will be easy to remove it; however, due to the strong toxic odor emitted when it is heated, this should only be done with the windows open;
- grinder or grinder with a grinding wheel or brush attachment. In this case, you need to use protective equipment: a respirator and goggles.

Another option for cleaning walls is to use a rotary hammer with a wide nozzle. The video below shows this method0003
You can replace caustic chemicals with liquid glass. After its application, the surface is dried, and the exfoliated film is cleaned off. The procedure is repeated several times if necessary.
Small areas of oil or enamel can be removed with an ax and spatula. But this option is the most time-consuming, it can only be used if the paint is not holding firmly, and it is not difficult to remove it. To do this, notches are randomly applied to the wall at first, the more, the better. Then the surface is well wetted with water, and after 15-20 minutes it is cleaned with a spatula or a hammer with a chisel.
Tip! Since a lot of dust is generated when removing old paint with a grinder or grinder, it is better to take furniture and household items out of the room or at least cover it well with a film and fix it with tape.
How to lay tiles without removing the paint
Finally, we invite you to watch a video showing how to prepare painted walls for tiling.
We hope you found this article helpful. Submit your comments and questions in the comments below.
Previous
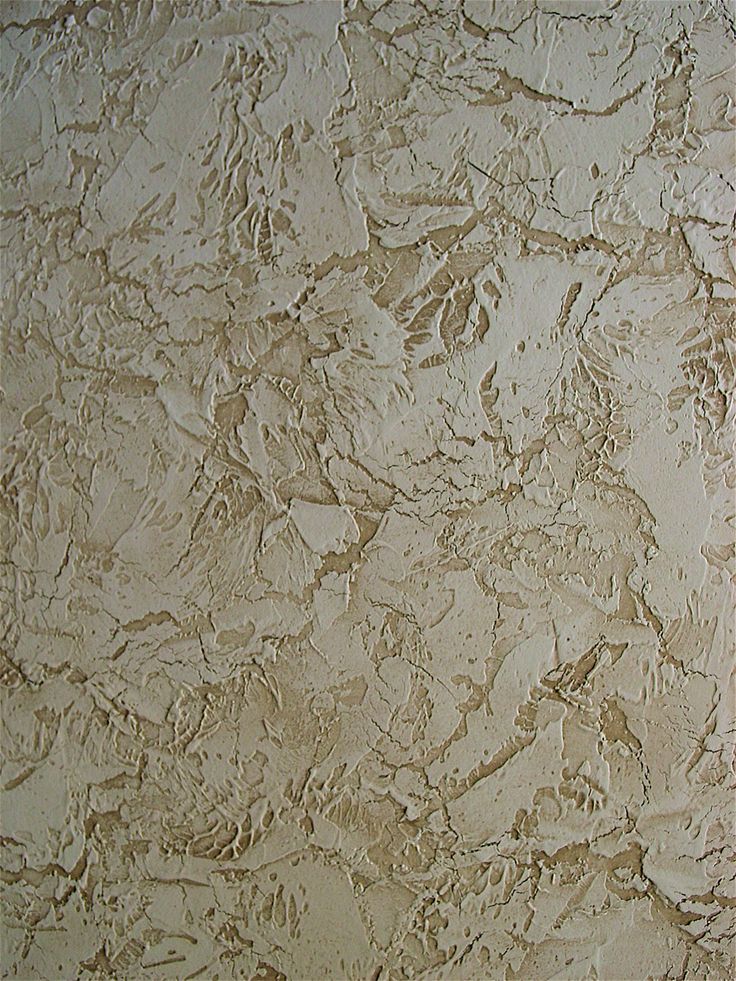
Rough finishClay mortar for stoves: preparing a mixture for masonry and plaster
Next
Rough finishWall plastering for painting: quality requirements, material selection and technology
Wall plastering on paint 👉 technology can be applied
Preparing the walls for final coating is one of the most important steps in a renovation. The quality of the work done and the durability of the final result depend on how accurately the technologies were followed. As a rule, before gluing wallpaper or tiles, the walls of the room are leveled with plaster. Any instructions will say that the old coating must be completely removed. But what if the wall is painted with paint that cannot be erased or even peeled off without harm to the surface? Can plaster be applied directly over paint?
In such cases, experts recommend not to panic and carefully study the existing surface - most likely, even on a smooth painted wall, you can apply plaster. The main aspect here will be a clear procedure and the right choice of materials.
The process of plastering a wallThe content of the article
- Examination of the painted surface
- Preparatory work
- Methods for cleaning the surface from paint
- Applying plaster to paint
- Plastering process
- Required tools
- Setting up beacons
- Plastering a painted wall
Examination of painted surface
Before you start preparing the walls for plastering, you need to study the paint on their surface. This will determine what materials and tools will be needed for further work.
There are two types of paint:
- Water-based, porous structure with high adhesion;
- Oily, creates an even smooth layer.
If your walls are painted with water-based paint, plastering work can be started immediately after a little preparation. But such a surface is not compatible with gypsum compositions.
Oily gloss paint makes the job more difficult - the plaster mix will simply fall off the wall surface after some time after drying. Before leveling, you will have to carry out a few more manipulations with special tools.
Please note: oil painting is more popular in non-residential areas, such as government offices, house entrances, etc. If you want to update the interior of the apartment and paint its walls, it is better to choose a different type of coating.
Oil paint in the entrancePreparatory work
Plastering over old paint is a labor-intensive process, and therefore, after analyzing the surface, it is necessary to proceed to the preparatory stage. This procedure must be performed regardless of the type of paint, plaster mix and end goals.
The wall preparation process consists of the following steps:
- Check the strength of the coating, the presence of voids. To do this, the wall can be tapped, loose areas of paint can be removed with a spatula;
- Next, the edges of peeling paint, cracks and irregularities are carefully sanded with coarse sandpaper;
- To get rid of dust, the wall is wiped with a damp cloth, then dried;
- In addition, the surface is degreased if the repair is in the kitchen;
- The cleaned and dry surface is treated with a penetrating primer in such a way that all hard-to-reach places are impregnated. This must be done carefully, without leaving smudges and bumps.
These steps will help make the painted wall suitable for further plastering work.
Under no circumstances should the plaster layer be applied to an unprepared surface. Firstly, it can cause the dried mixture to simply fall off the paint. Secondly, in this way you will not be able to get rid of irregularities and errors, which can be very noticeable during the finishing. Another danger is that fungus, insects, etc. can spread on raw concrete under a layer of plaster.
Important! You can apply plaster directly to the painted wall. But it is worth remembering that the leveling layer must be quite thin, otherwise the mixture will begin to fall off the painted surface under its own weight.
Even if you don't want to bother removing paint from a large area, you'll have to fiddle around with finding and removing loose areas of paint. Their presence, again, will lead to the formation of irregularities and "peeling" of the plaster.
See also: How to clean walls from old paint - stages of work and recommendations from specialists
Surface paint removal methods
Easier to remove water-based paint from the wall. To do this, it is enough to moisten the surface with a damp roller, foam rubber or a sprinkler and leave it to “soak” for about half an hour. The softened layer of paint is easily removed with a spatula, and the remnants of the material - with sandpaper.
Don't forget! After each stage of work, where the walls are moistened (with water or primer), they must be thoroughly dried.
Removing oil-based paint is a little more difficult. Here you can choose one of the ways:
- soften the paint with a special chemical solution - after application, the paint can be easily removed with a spatula. Since such products are very toxic, they cannot be used in enclosed and residential areas;
- Thermally soften the paint. A hair dryer is perfect for this. As soon as the layer becomes pliable, it is also cleaned off with a spatula;
- scrape off the coating with a stiff iron brush and grinder, as well as a spatula. The process will be time-consuming and unpleasant, and most likely not all of the coating will come off.
It is because of these difficulties that it is recommended to use a special primer and concrete contact for painted walls. This way you can save time and effort, and also be sure that you do not damage the foundation with brute force.
Betonokontakt brand Phoenix 0003 When the main part of the paint is removed, the wall is sanded and covered with special compounds, you can start applying the plaster. Here it is important to observe a few more important rules that help improve the final result. Before plastering a painted wall, it is necessary to increase the adhesion of its surface to the plaster. In the case of water-based paint, it is enough to sand and clean the layer - its structure will allow the plaster mixture to adhere firmly to the wall. But oil paint requires more serious processing: Please note: you need to choose a special concrete contact for alkyd and oil surfaces, but in no case for concrete treatment. If plaster is applied on painted walls with a layer of more than 10 mm, the surface must be additionally reinforced with a special mesh: 👷♂️ No less important information on the topic: Is it possible to apply putty on paint Since the mesh takes some of the load on itself, the plaster will not begin to flake off under its own weight. It also reduces the risk of cracks appearing on its surface during drying. If you are wondering if you can plaster over paint, it is logical to assume that you will have to work with concrete walls. This is an important clarification, since the choice of mixture, its quantity and application features are different for concrete, brick, wooden and plasterboard partitions. See also: Brick plastering - the choice of materials and stages of work with photo and video instructions First you need to prepare the tools for work. All the necessary items can be easily found in any hardware store: Other tools may be needed at different stages of the job, here is a basic list of items for surface plastering. Please note: the laser plane builder will save you a lot of time when setting up a system of beacons, and it will be useful for other tasks as well. Such an acquisition will definitely pay for itself in the case of a large-scale repair. Lighthouses are vertical guides used to level the applied plaster layer. Without a well-placed system of beacons, it will not work to get a perfectly flat surface. But they should be used only in cases where errors and imperfections are visible to the naked eye or they prevent the creation of an ideal finish. If the evenness of the wall suits you, it is enough to apply a layer of plaster up to 10 mm without using guides. The classic beacon material is a metal profile. Wooden slats are less commonly used, and for a thin layer of plaster, you can take a fishing line or wire fixed on self-tapping screws. Important: the evenness of the wall in the end will depend on the quality of the markup. That is why it is recommended to use more accurate modern instruments. Video with the installation of beacons using a laser level: Beacons should be placed from floor to ceiling. The step depends on the length of the existing rule - it should be slightly less than the markup of the tool, since when leveling the surface it is necessary to lead it not only from top to bottom, but also to make oscillatory movements to the sides. We must not forget that the edge profiles must be placed with an indent of 10-20 cm from the corners, as well as to frame door and window openings. In this case, the step is chosen so as to evenly distribute the beacons along the entire length of the wall. The surface is prepared, the beacons are exposed - you can proceed directly to the application of plaster on oil paint. As a rule, plaster is applied to walls in three stages. This is done like this: Plastering paint
 With it, the base will become rough, and the plaster will adhere to the wall surface more firmly;
 In this case, additional fasteners are not needed.
 Plastering process
Required tools
Tools Required 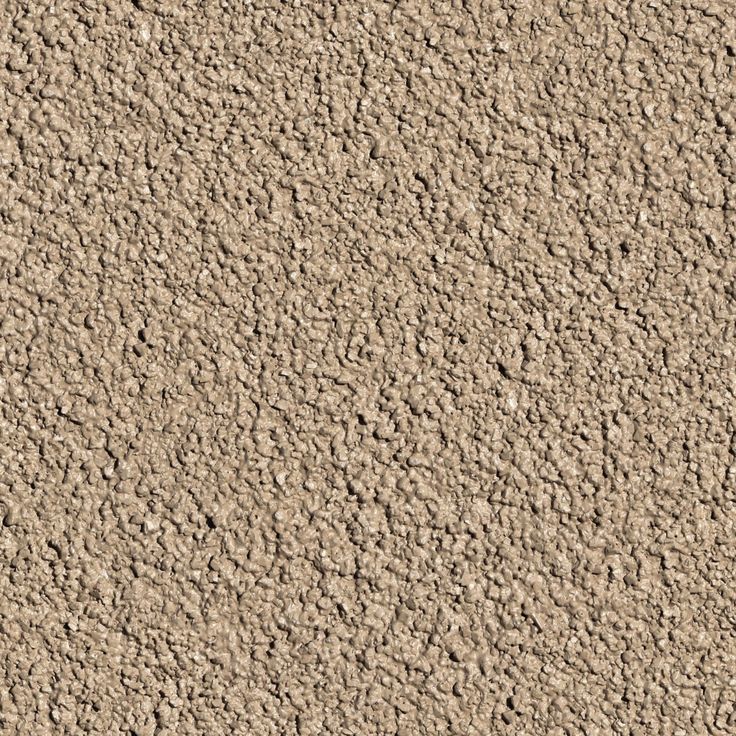 For home repairs, the most convenient model with a bubble level 1.5 m long;
Beacon Alignment
Scheme of installation of beacons 
Plastering a painted wall
Application of the first layer of plaster
The principle of leveling a plastered wall