Kitchen cleaning tips and tricks
15 Easy Kitchen Cleaning Tips That Save Time
With all the daily meal prep, dirty dishes and spills and splatters, maintaining a sparkling kitchen often feels impossible. We asked Sarah McAllister, the viral Instagram sensation behind Calgary-based cleaning business Go Clean Co., and Shaneka Shaw Taylor, Patience Omokhodion and Alecia Burgess, the founders of professional housekeeping and concierge company reFRESH in Toronto, to share their top kitchen cleaning tips to keep this high-traffic area in tip-top shape.
Click here for our bedroom cleaning hacks, here for our bathroom cleaning hacks, here for our entryway cleaning hacks and here for our living room cleaning hacks.
(Illustration: Andrea Manica)
1. Cabinets
Dissolve one dishwasher tab in a bucket of hot water and use a microfibre cloth to clean. (No need to rinse.) “It cuts through grease without leaving a film—even on dark cabinets,” notes McAllister.
2. Kitchen sink
Wet your sink, sprinkle with baking soda and work into a paste. Line the sink with paper towels soaked in white vinegar and let them sit for 20 minutes. “Rinse with warm water and a soft cloth, using an old toothbrush to get into hard-to-reach areas, like the drain,” advises the reFRESH team.
3. Clogged drain
Pour one kettleful of boiling water down the drain, says McAllister. Add one cup baking soda and one cup vinegar. Let the solution bubble, and follow with more boiling water.
4. Countertops
They’re a big investment, so learning how to care for them is crucial. Both McAllister and the reFRESH co-founders say that using dish soap, water and a damp cloth is a safe bet on all surfaces. Bleach should never be used on marble and quartz, as it can dull their shine, but tough stains can be cleaned with diluted isopropyl alcohol and a wet cloth.
5. Dishwasher filter
Look under the bottom rack to locate it. (Check your owner’s manual for specifics.) The reFRESH team recommends using a toothbrush dipped in hot water and dish soap to scrub.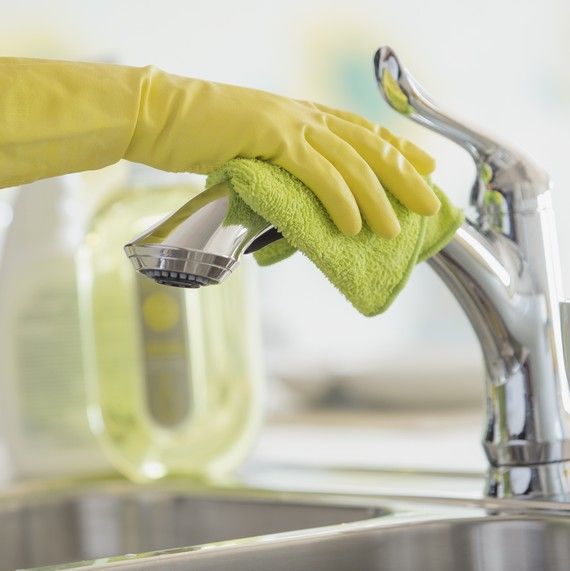
6. Range hood
“On the exterior, hot water and dish soap work well to cut through grease,” says McAllister. “We clean the filters with an undiluted heavy-duty degreaser (like Mr. Clean Multi-Surface Cleaner) and let it sit for 20 minutes. Then we scrub with a soft brush and rinse.”
7. Cooktop
“The cleaning method depends on what type of cooktop you have,” explains McAllister. To clean a gas stove, she suggests removing the grates and soaking them in hot water with a dissolved dishwasher tab. To clean an electric stove, remove the burner elements, spray with an oven cleaner according to instructions and scrub with a non-abrasive sponge. Repeat until clean.
8. Oven
Create a paste of baking soda, white vinegar and water, and apply to the inside of the oven. Leave it overnight. In the morning, use a cloth dampened with hot water to wipe the surfaces. (You may need to break out the scouring pads, warns the reFRESH team.) Once the oven is clean, save yourself time in the future by using aluminum oven liners.
9. Oven racks
“Soak them overnight in a large plastic storage bin in very hot water with four to six dissolved dishwasher tabs, and then scrub clean,” says McAllister. As tempting as it may be, don’t do this in your bathtub, as it can scratch the enamel.
10. Garbage can
“Add one-half cup bleach, fill with hot water and let the solution sit for a few hours—or overnight to get rid of strong odours,” says McAllister. Scrub with a brush to loosen stuck-on food, rinse and let dry. To fight bad smells between cleaning days, keep cotton balls soaked with a few drops of essential oil under the liner, or sprinkle baking soda in the bag.
(Illustration: Andrea Manica)
11. Microwave
Zap a bowl filled with water and a few tablespoons white vinegar until the solution boils and the window steams up. The steam will soften hardened food and make it a breeze to wipe clean, while vinegar acts as a deodorizer.
12. Drawers
Empty out and vacuum the insides—you’ll be surprised how much can accumulate in there!
13.
 Inside of the fridge
Remove all shelves and drawers, vacuum crumbs and wipe everything—including the inside of the fridge—with a sanitizing solution of hot water and bleach (McAllister likes to add her signature powdered Tide). Make sure glass components are at room temperature before washing with hot water to keep them from cracking.
14. Outside of the fridge
Don’t forget to clean the top of the fridge, and vacuum behind it and around the cord. Wipe handles and doors, too.
15. Greasy windows
Cut through buildup with dish soap on a damp cloth, then wipe with a squeegee. Wipe off drips with a paper towel. “Your windows will never have been cleaner,” says McAllister.
Get Chatelaine in your inbox!
Our very best stories, recipes, style and shopping tips, horoscopes and special offers. Delivered a couple of times a week.- Email*
- CAPTCHA
- Consent*
Yes, I would like to receive Chatelaine's newsletter.
 I understand I can unsubscribe at any time.**
FILED UNDER: Editor's Picks home decor
Cleaning a kitchen: 10 expert-led steps to a spotless space
Kitchen cleaning can seem never-ending, especially with us all spending more time at home than we ever have before.
So, we have created a kitchen cleaning checklist, with tips, tricks and advice that the world's top cleaning experts swear by, so that you can work out how to clean a kitchen with ease – and cut down on the time you spend doing it. Plus these kitchen cleaning tips will make life a little greener in the process.
From the shiniest of sinks to fresh-as-a-daisy garbage disposals, we've got cleaning tips to tackle every surface and every corner.
Cleaning a kitchen
(Image credit: Alamy)
Before you start cleaning a kitchen, know that the first step is to use the KonMari method to organize a kitchen.
You can make keeping your kitchen spick and span a breeze by following the advice of organizing guru Marie Kondo .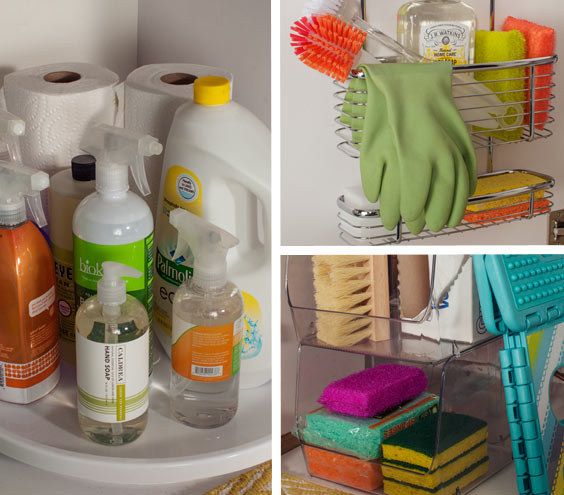
'It is impossible to enjoy cooking in a dirty kitchen,' says Kondo. 'When planning storage, aim for ease of cleaning. Keep work surfaces clear and try to store all ingredients and utensils in cupboards or on shelves. Wipe down all surfaces every time you cook to remove traces of oil and water.'
Ms Kondo also advises spending some time going through your kitchen to declutter it of things you no longer use – such as old cook books or unused appliances – and to simplify it, putting all plastic baggies into one container, for example, or putting hand soap into just one, good-looking container.
Finally? She suggests using her famous KonMari folding method to keep kitchen towels neat.
1. Start by cleaning kitchen cabinets
(Image credit: Martin Moore)
Cleaning kitchen cabinets is the biggest, though not the messiest job, you will need to take on. 'Our advice is to empty cabinets one at a time, use a hand vac to clean them of debris then wipe them out with a cloth dipped in warm soapy water,' says Lucy Searle, Editor in Chief of Homes & Gardens.
'Only once all the interiors of all the cabinets have been cleaned should you tackle cleaning the fascias at one time. Again, warmy soapy water, buffed clean and dry with a microfiber cloth, will get a shiny finish.'
2. Clean an oven – without scrubbing
(Image credit: Greg Powers)
Tackling tough stains and residue when you are cleaning an oven is one of the most time-consuming tasks when it comes to cleaning a kitchen.
Instead of getting on your hand and knees and scrubbing like there's no tomorrow, use this kitchen cleaning hack from Homes & Gardens' Digital Editor Jennifer Ebert instead.
'Fill a small bowl with approximately 1/2 a cup (about 115g) of baking soda and a few tablespoons of water, adjusting until you have a spreadable paste.
'Coat the inside of the oven with this paste and then leave overnight. The next morning simply wipe clean with a damp cloth.
'If you still have stubborn marks, or the paste remains, spray white vinegar which will make the baking soda into a cleansing foam, then use a damp cloth to wipe again. '
'
We have separate guides on cleaning stove burners and stove grates, both of which can generally be tackled with a soak in warm soapy water and, for tougher grime, with the application of baking soda, following the guidance above.
3. Use a lemon to clean your microwave
(Image credit: Future)
There's no doubt that microwaves are one of the most useful appliances for cutting down on time, but they get dirty quickly and removing any mess can be tricky.
Say no to scrubbing when cleaning a microwave with this simple, all-natural method. Slice a lemon in half and squeeze out the juice into a microwave-safe bowl. Put the lemon halves into this juice, along with half a cup (or about 100ml) of water. Put the bowl into the microwave and set on high for two to three minutes.
The steam will have eased any stubborn bits of grime, so all you need to do is give it a quick wipe. As well as providing a lovely, fresh smell, the antibacterial properties of the lemons will help get the interior sparkling clean.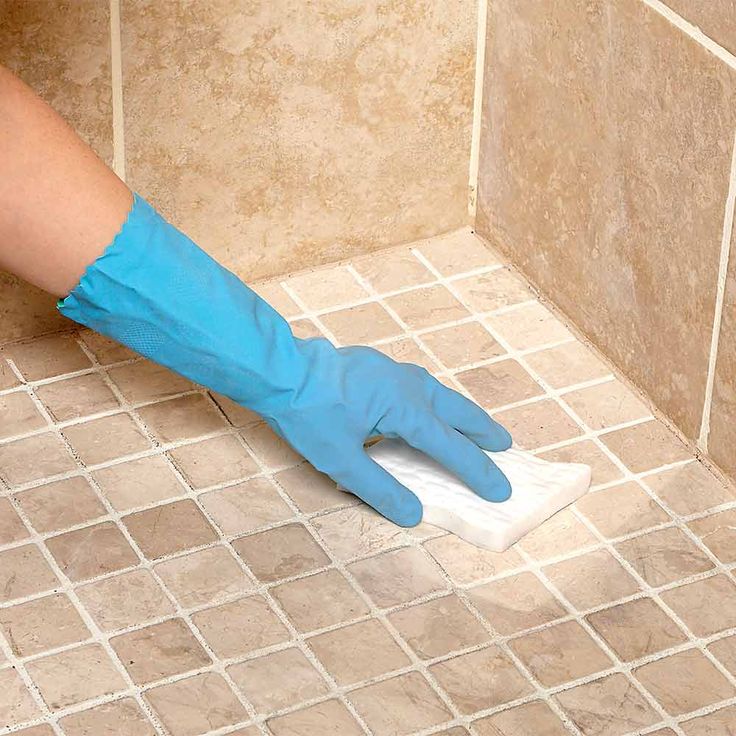
4. Green clean your dishwasher
(Image credit: Future / David Parmiter)
Cleaning with vinegar is a natural way to get glassware sparkling when cleaning a kitchen, and white vinegar is a miracle worker when it comes to cleaning a dishwasher.
Place a dishwasher-safe bowl full of white vinegar on the top rack and run through a cycle to clean hard-water deposits.
For an extra hit of clean, once this cycle ends, remove the bowl and pour a cup (or about 230g) of baking soda along the bottom of the machine then set on a short cycle. Stains will be gone and the interior will be shining bright. We wouldn't recommend using vinegar more than once a month or so as it can damage rubber seals over time. Once in a while will keep it sparkling, though.
5. Use baking soda to clean your refrigerator
(Image credit: Future)
How to clean a refrigerator? Of course, it's Martha Stewart who has come up with the simplest solution: cleaning with baking soda.
Martha's method is to wash the interior with a mixture of two tablespoons of baking soda per quart (or 950ml) of warm water.
She finishes up by placing a cup (around 230g) of baking soda mixed with a few drops of lemon essential oil on one of the shelves and leaving it there to prevent odor.
It is worth defrosting the freezer while cleaning a kitchen, too. The best option is to empty contents into a cool bag or into the refrigerator to keep them cool, and switch of power right at the start of the day; allow the ice to defrost into trays and bowls, ensuring you empty them regularly and protect the floor beneath them. Surplus ice can be carefully removed with plastic spatulas.
6. Clean a kitchen sink – but mind your material
(Image credit: Future)
Cleaning a kitchen sink, done as part of a daily kitchen cleaning routine, can keep stains and grime at bay, but if you need to tackle buildup, you first need to know how to clean the particular material your sink is made of.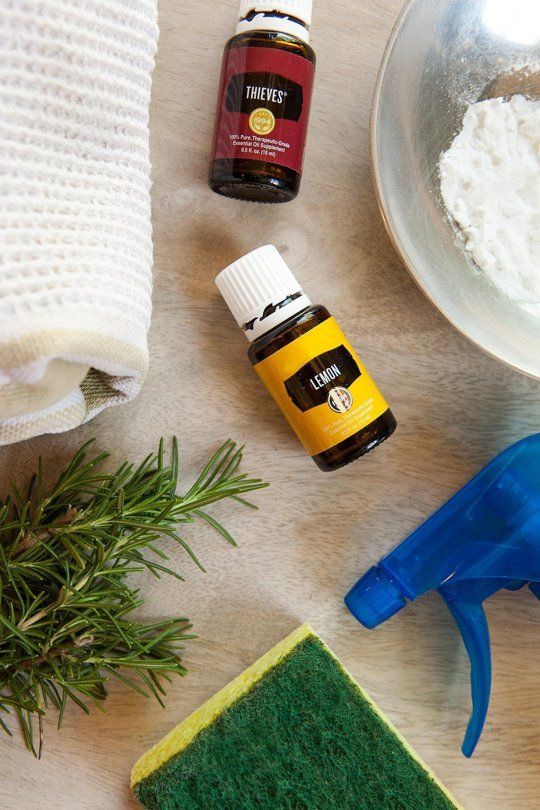
Soapy, warm water will work on most surfaces, as will baking soda, and you can clean many sink materials with lemon juice or vinegar, but we would warn against allowing either of the latter being used too regularly or for prolonged periods on stainless steel or other metals, such as copper.
Clean My Space' s Melissa Maker swears by baking soda to shine her sink. Sprinkle some baking soda into a wet sink, then use a wet sponge or cloth, along with a little bit of soap, and gently scrub. Finally, rinse with warm water and then buff with a dry cloth.
7. Freshen up the garbage disposal
Photography/Davide Lovatti
(Image credit: Future)
Garbage disposals are great at their job, but odors can certainly linger.
Stephanie Gerber has a clean and easy solution for this, and you only need white vinegar, citrus peels and an ice cube tray.
Put a few citrus peels into an ice cube tray and fill with vinegar. Freeze until solid and transfer to lidded container.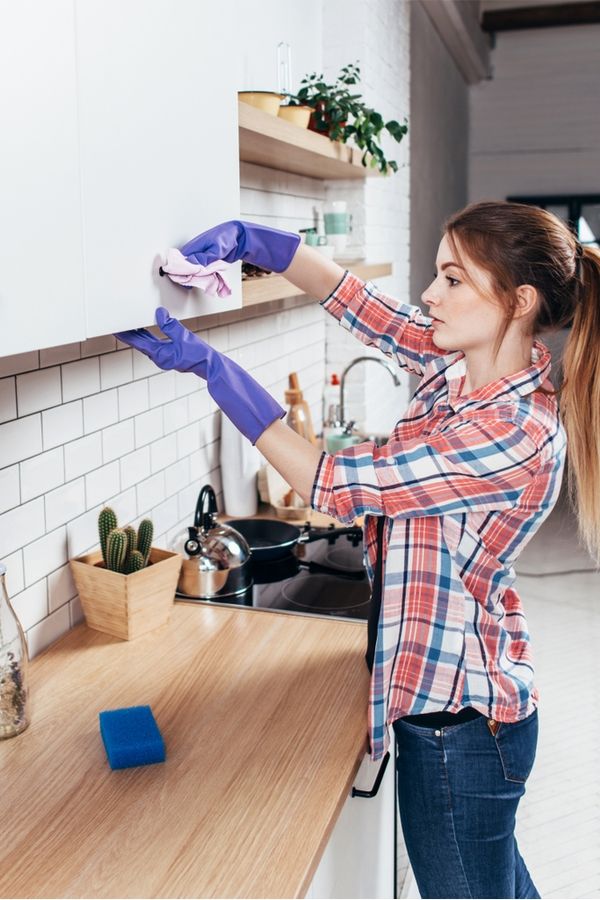 To use, put a cube down the disposal and run it.
Not only with it leave a citrus-scent, but the ice will help sharpen the blades.
8. Shine your steel – naturally
(Image credit: Future)
Whether it's cleaning stainless steel appliances or pots and pans, there can be a fair amount of this material in a kitchen – and it shows marks and fingerprints badly.
An easy way to keep these products looking fresh is to dab a cloth into olive oil – using a small amount at a time – and rub to prevent tarnishing, streaks and water spots. Finish by buffing with a soft, dry cloth for ultimate shine.
9. Clean a small appliances
Photography/Simon Whitmore
(Image credit: Future)
When was the last time you cleaned your coffee maker? Probably longer ago than you'd like to admit.
Make this chore hassle-free by pouring white vinegar directly into the machine and letting it run once. Follow up with a few runs with only water in the tank until the smell is gone and the water runs clean.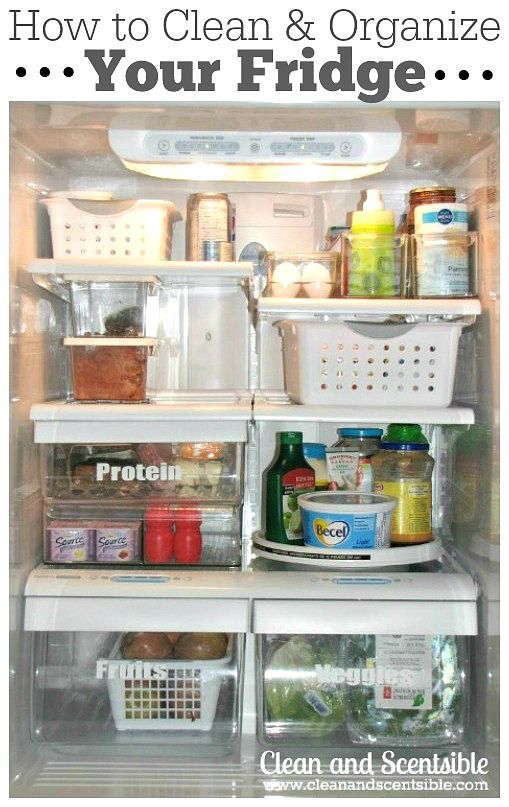 Build-up be gone.
We would caution: whether you are cleaning a kettle, cleaning a blender or cleaning an air fryer, or any other type of small appliance (including a coffee maker), always read the care manual before you clean it. Some manufacturers warn against using certain chemicals, including vinegar, and doing so can invalidate your warranty.
10. Freshen your trash can in seconds
(Image credit: Future)
The UK's Queen of Clean, Mrs Hinch , knows how to clean a kitchen, and the quickest of all her tricks might well be how she keeps her trash can smelling fresh.
After cleaning the container and putting in a new trash bag, she douses some kitchen roll with a scented disinfectant and pops it into the bottom of the bag to stop odors from setting in. Simple, but effective.
What are the five steps to cleaning a kitchen
If you are looking to give a kitchen a light, daily clean, rather than the deep clean we have mentioned above, this is the order in which to tackle it:
- Clear any dirty dishes into the dishwasher and sink, allowing anything on the drainer to dry naturally.
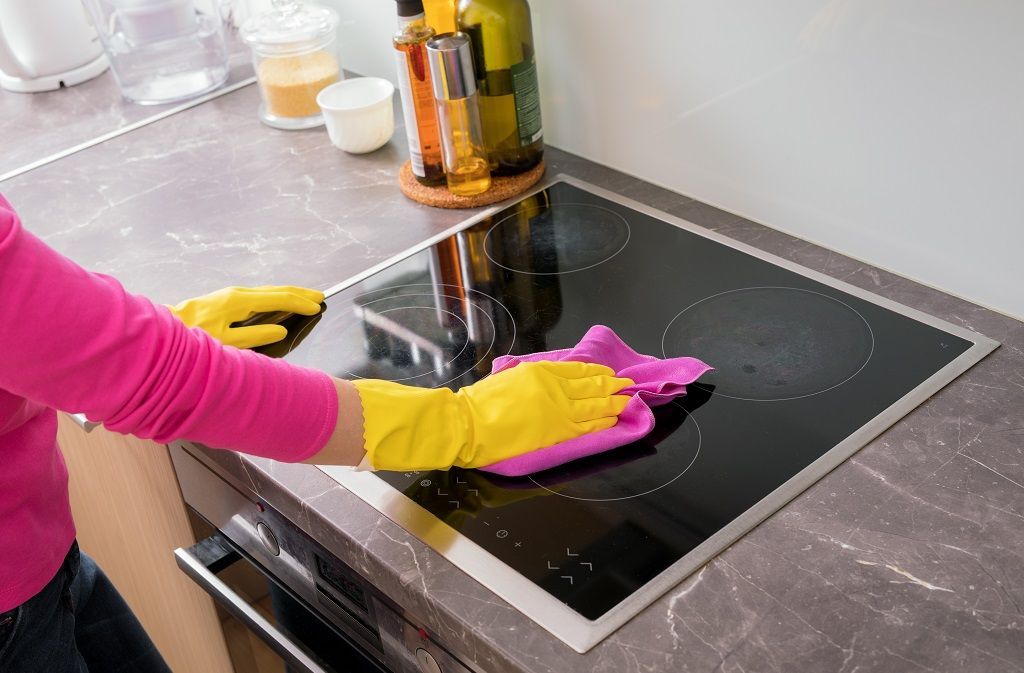
- Clean the kitchen countertops, the kitchen table and the stove top.
- Empty the garbage (if needed), cleaning the container afterwards and allowing it to drain into the sink while you clear the plates and cooking equipment on the drainer that you washed earlier.
- Clean the sink thoroughly.
- Shine cabinet fronts and backsplashes, anywhere that has obvious drips and splashes.
- Hang cloths so they can dry naturally or put them in the laundry for a wash.
How can I clean glass bottles in a kitchen?
Pretty small necked bottles are often used in the kitchen, either for storage or decoration, but they can be a nightmare to clean.
Keep things simple by instead filling them with water and dropping in a tablet of denture cleaner. Leave overnight then a gentle scrub with a bottle brush and a few rinses will do the trick.
How can I make DIY kitchen cleaning wipes?
A must-have for cleaning a kitchen – the humble cleaning wipe. If the stores are out of them, you can't make it out or you wish to go more eco-friendly, then consider making your own.
Stephanie Gerber of Hello Glow has a fail safe method. Mix 2.5 cups (625ml) of water, eight to 12 drops of tea tree essential oil and 1/2 cup all-purpose cleaner. Use a serrated bread knife to cut a paper towel roll in half widthwise. Place your cut roll of paper towels into a lidded storage jar (around 6in x 6in or larger).
Slowly pour the cleaning solution that you just mixed into the jar. Cover as much paper towel surface area as possible while you pour. After your paper towels have had a chance to absorb most of the liquid, try to pull out the center cardboard roll. If it doesn’t come out easily, give it a few more moments to soak in the liquid then try again.
(Image credit: Future)
5 Practical Quick Cleaning Tips - Roomble.com
Design hacks
2021-02-24T01:20:00+00:00 2021-02-24T01:23:58+00:00 Clean kitchen in 10 minutes: 5 practical tips for express cleaning 2021-02-24T01:20:00+00:00 How fast can you clean up your own kitchen? We'll show you how you can do it in just 10 minutes. And our readers will share with you their secrets of putting things in order in the kitchen. Clean kitchen in 10 minutes: 5 practical tips for express cleaning
How quickly can you clean your own kitchen? We'll show you how you can do it in just 10 minutes. And our readers will share with you their secrets of putting things in order in the kitchen.
If you like to ride downhill, love to carry sleds with you - this saying is perfect for the topic of our today's review. Many people love to cook, but not everyone burns with the desire to clean up after their virtuoso creative actions. What to do if you urgently need to bring the kitchen into a divine form?
Here are five effective ways to keep your culinary temple visually clean. This will also come in handy in order to clean up after cooking, and in the event that suddenly unexpected guests should visit you. Be careful, we do not give advice on general cleaning, but only show you how to quickly and with minimal effort make the kitchen cleaner.
Take a look around the kitchen and notice any areas where dirt, crumbs, crockery, junk, and food that are out of place are particularly likely to accumulate. First of all, hide food in the refrigerator and lockers. Do not forget to remove vegetable oil and spices in place.
After that, put all the dirty dishes in the sink or dishwasher, which, by the way, you can immediately start, so that by the end of your cleaning, the dishes are already clean. Wipe tables from dust and crumbs. So much better already!
Approximate time is two minutes.
Our opinion:
— When cooking, try to wash dirty boards, pots, pans, plates and spoons right away. Make sure that dishes do not accumulate in the sink. So you save time, and you do not have to stand at the sink, sorting through mountains of dishes. If it is not possible to wash immediately, then at least fill it with water so that it does not dry out. Otherwise, then you will have to spend more time scrubbing dried spots.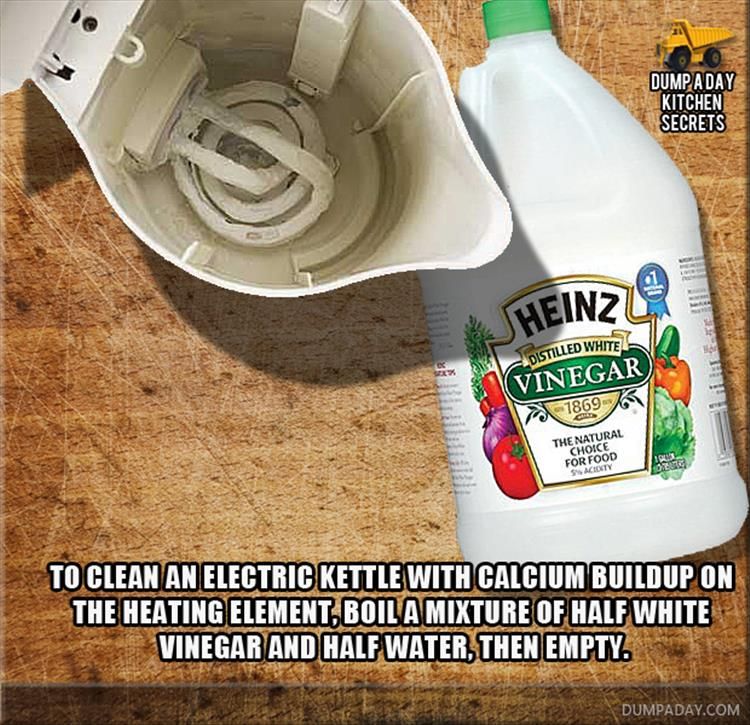
Surely, while you were cooking, there were stains on the stove, and sometimes very greasy or burnt ones. Pour them with a solution of water and vinegar for five minutes, and at this time wipe the refrigerator, microwave, and cabinet fronts. You can use a rag soaked in the same vinegar solution, this will help get rid of stains of a different nature.
Approximate time is two minutes.
The first thing that always catches your eye when entering the kitchen (if it is not removed) is dirty dishes, a sink with a dark coating and a stove with greasy stains and drips. So, so that the impression of the kitchen and its hostess is only positive, start with dishes.
You still have three minutes to do this while the stains on the stove dissolve in the vinegar water. The sink, if it is not very dirty, can simply be wiped with a sponge, but if a greasy film and a dark coating have formed on the sink, and sometimes rust from the water, then it is better to wash it with a cleaning agent or soda (which does an excellent job with a dark coating).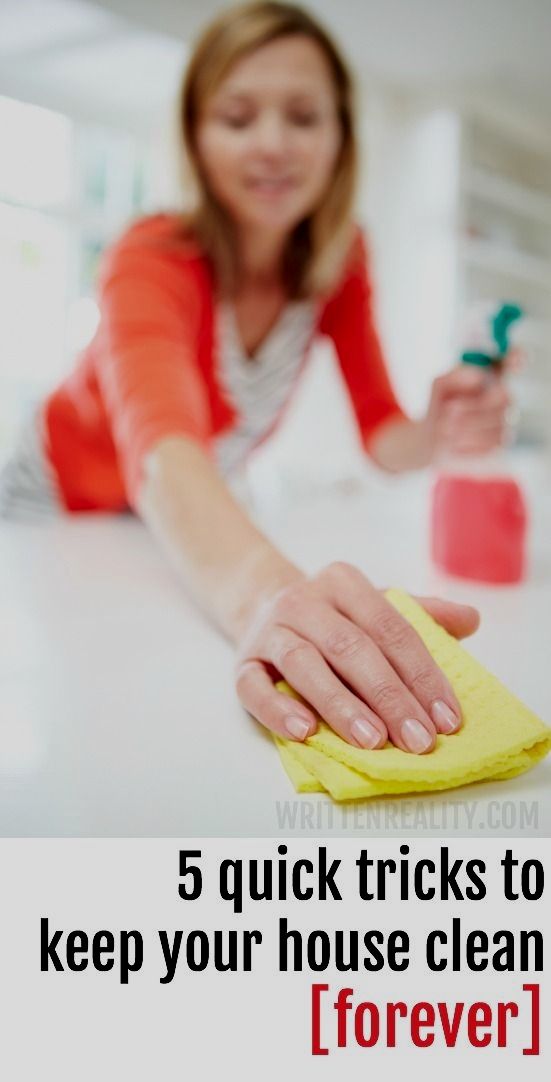
Approximate time is three minutes .
Our opinion:
— Be as creative about washing dishes as you are about cooking. In these three minutes, you have the opportunity not only to clean your cups and plates, you can reflect on life or think about a strategy for further cleaning. This is a kind of pause that you can just enjoy. Keep in mind that lime scale from faucets can be removed with a heated vinegar solution.
There is very little time left - only three minutes, but look at your kitchen. Tables and cupboards are clean, dishes and sinks are washed. Visually it already looks good. Now it's time to return to the stove, in five minutes all the nastiest greasy and dry spots have already been dissolved in vinegar water. All you have to do is wipe the stove with a soft cloth, rinse it and wipe it again.
Approximate time is one minute.
Well, if you have a robot vacuum cleaner that will do everything for you. You can start it as soon as you start cleaning yourself. If there is no such device, a broom and a damp cloth will help you. Here, of course, the cleaning time may still depend on the area of \u200b\u200bthe kitchen, but if we talk about a standard kitchen in Khrushchev, then you can sweep it in a minute. The main thing is to do it right - moving towards the exit, starting from the far corner of the room.
Now wet cleaning. A mop with a special microfiber nozzle will help to do it quickly. With such a device, you can do wet cleaning in just a minute and you do not have to constantly bend over or squat to clean the floors. And remember, this is an express cleaning, just wipe the floor with a damp cloth and that's it, without additional rinsing. If you have more time to spare, then why not.
Approximate time is two minutes.
We asked our readers to tell us how they do a quick cleaning and what they could advise - and received a number of interesting answers. For example, our regular reader Valentina prefers to use folk cleaning products in cleaning.
Valentina Likhtanskaya, housewife:
— In my opinion, three folk remedies are the most effective for cleaning the kitchen, especially quick cleaning: soda, vinegar and flour. Yes, yes, flour! It may surprise some, but it can help remove sticky and greasy stains. One has only to sprinkle them with a little flour and rub, then they will begin to roll, and you can easily remove the remaining dirt with the hard side of an ordinary sponge.
But Svetlana believes that the fastest way to make the kitchen clean is not to dirty it (of course, this is a joke).
Svetlana Lileeva, advertising and marketing specialist:
— In fact, the fewer things, utensils and appliances placed on work surfaces, the easier and faster cleaning is. A good helper is also a robot vacuum cleaner that cleans the floor while the hostess cleans the rest of the kitchen.
Among women's opinions and advice, we also managed to get a comment from a man who is passionate about cooking and treats it as another kind of creativity.
Andrey Permyakov, actor, director:
— To be honest, like any man who loves to cook, I think about cleaning the kitchen last. This, of course, does not mean that my kitchen is in flour, and pasta is hanging from the chandelier - of course, things are much more optimistic!
The most important secret is to clean up after yourself right away. You don’t need a spoon - wash it, used a cutting board - remove it, and so on. The same goes for leftover food.
My kitchen is equipped so that I can open and close some doors with my elbows, legs, chin, which allows me to do several things at the same time.
I use a lot of old-fashioned but practical tools for my inventory. Their range is wide - from microfiber to washing vacuum cleaner. Everything, like any housewife ... or a housewife!
Whatever method of putting things in order you choose, after cleaning it is worth rewarding yourself and the patient who has patiently demolished the entire kitchen with something pleasant. For example, a bouquet of flowers!
cleanipedia.me, homepal.biz,beyondres.mypmw.com,ballhomes.com, huffingtonpost.com,markatosservices.com,femside.com
Share:
Rate the article:
Thank you for your rating! Want to leave a comment?
no send
Thank you for your vote.
Follow us:
Follow us on Facebook
Follow us on Vkontakte
Kitchen cleaning hacks
The kitchen requires special attention, because food for the whole family is prepared here. To achieve the ideal order, the hostess does not need much time. How to achieve this, read on.
9 tips to keep your kitchen in order:
1. It is best to cover the top of cabinets with newspapers (grandmother's recipes) or foil (modern recommendations). Dust, which combines with fat, has a special corrosiveness. And in order not to constantly wipe it off the lockers, you can change the film or newspaper.
2. In order not to scrub the stove during a period of severe lack of time (illness, emergency at work), cover it with foil. It looks ugly, but as a temporary measure, it will come in handy.
3. Cover the shelves and drawers of the refrigerator with beautiful non-woven cloths. This will make cleaning easier for you, and reduce humidity, which will allow vegetables and fruits to last longer.
4. Start cleaning the refrigerator from the top. For this, soda or vinegar is best, but separately. You can get rid of unpleasant odors in the refrigerator using activated charcoal or coffee grounds. Pour them into a saucer and place them on one of the shelves.
5. The hostess should have several rags for wiping tables and other surfaces. After 1 day of use, it must be processed in a washing machine at a high temperature. After all, a greasy rag will be unpleasant to pick up.
6. Washing sponge, disinfect regularly. You can do this by putting it, along with the plates, in the dishwasher. And to degrease the sponge in the microwave, it must first be wetted. Processing is carried out from 30 sec. up to 1 minute, depending on the power of the microwave. It will kill up to 99% germs.
7. If the dishwasher does not clean the dishes well, place a glass of fat-breaking agent (Shumanite) on the bottom. Next, run a long program with the highest idle temperature.