How to restore wrought iron furniture
How to Restore Metal Garden Furniture
From priming to painting tips, here's what a professional restorer says to do.
Caroline Biggs, Freelance Writer portrait
By Caroline Biggs June 17, 2020
Each product we feature has been independently selected and reviewed by our editorial team. If you make a purchase using the links included, we may earn commission.
green metal bench in garden
Credit: Jacky Parker Photography / Getty Images
Your old metal garden furniture is teeming with restoration potential, it just takes a little work. That's why when you find that your favorite piece of outdoor furniture is beginning to rust, chip, or show signs of aging, it pays to know what to do to help bring it back to its original integrity. "At a certain point, if left unattended to, rust can eventually compromise the structural stability of the furniture," explains Jane Henry of Jane Henry Studios, a full-service antique conservation and restoration shop based in New York City. "This is most often caught on the underside of furniture, where the moisture can collect in the nuts or rivets that hold the furniture together."
Looking for advice on how to restore (and maintain) your aluminum and wrought iron garden furniture, so you won't have to ever bid it adieu? We asked Henry to take us through the step-by-step process, and here's what she had to say.
Plan for prep work.
Henry says the first step to successfully restoring metal garden furniture is to handle all of the prep work ahead of time. "Scraping off any loose paint, going over the whole surface, as you can't always see what is loose," she says. "Follow scraping with a wire brush and applying a lot of elbow grease will ensure that you get into all of the crevices, and lift any rust out of the pits and divots. Next, use sandpaper to level out the chips and remove any extra loose paint. Once done, wipe with a tack cloth, and either clean with a solvent, such as acetone or wash with a degreaser or detergent, rinse, and let dry overnight.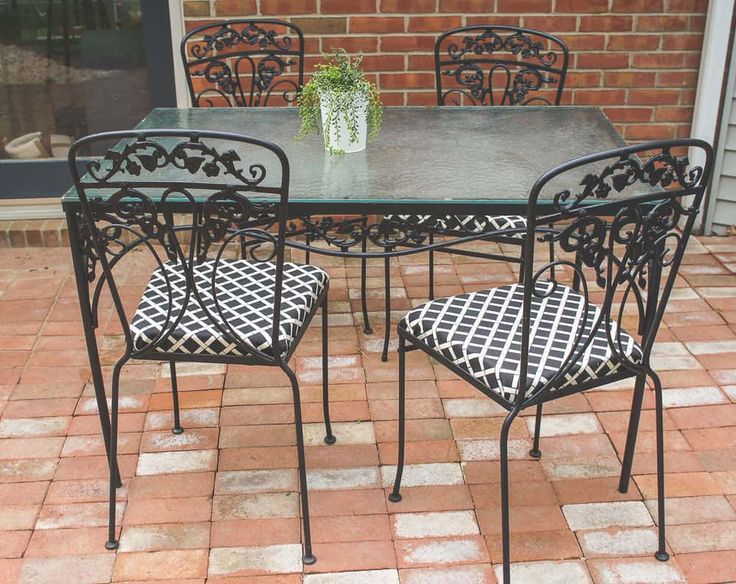 "
"
Don't skip the priming step.
Once you've prepped your metal outdoor furniture, Henry says to prime the piece with a high-quality rust preventive spray primer, such as Rust-Oleum Stops Rust Spray Paint Primer ($4.27, amazon.com). "Choose a white primer for lighter colors and a dark primer for darker ones," she says. "Spray slowly at an 8-to-12-inch distance, in a consistent spray pattern, lengthwise along each section, to avoid drips and overspray. Remember to treat the back and underside since outdoor furniture can collect moisture and condensation in the crannies." After applying two to three light coats of primer, allowing the primer to dry between each coat, she suggests lightly sanding the piece with very fine sandpaper and wiping it off with a non-wax tack cloth to remove the dust.
Apply the right kind of paint.
When it comes time to paint your metal furniture, Henry recommends choosing an exterior-grade latex or oil-based paint for brushing, or an exterior grade spray paint specific to metal, such as Krylon Fusion All-In-One Spray Paint ($9. 14, amazon.com) and Rust-Oleum Stops Rust Metallic Spray Paint ($6, amazon.com). "My advice is to stay clear of high gloss paints unless you are prepared to do sanding in between each coat," she says. "Don't forget to follow recommended re-coat times on each product, as times vary widely between products."
Add a protective coat.
If you aren't applying a protective enamel finish to your painted metal furniture, Henry says you're doing it wrong. "A final clear coat of oil-based urethane will provide added durability and help prevent future damage to the furniture," she says. She recommends sticking with an oil-based enamel, versus a water-based one, since they last longer and often create a brighter finish.
Maintenance matters.
No matter how well you restore it, Henry says proper maintenance is key to extending the life of your metal outdoor furniture. "Use plastic covers on your wrought iron furniture when you're not using it to protect it from the elements or bring your furniture inside to prevent rust buildup," she says.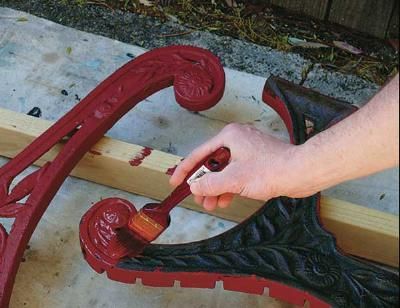 She also suggests keeping paint on hand for quick and easy touch-ups. "When you see something, take care of it immediately before it becomes a bigger problem," she advises.
How to Refinish and Repair Wrought Iron Patio Furniture
Do you own a set or even a piece or two of beloved wrought iron furniture in your backyard or on your patio or deck? If it has seen better days, take heart. There are easy and economical ways to make it look brand new again. Here is your guide on how to refinish and repair wrought iron patio furniture.
Problems with Wrought Iron FurnitureOutdoor furnishings made from wrought iron are some of the most beautiful and durable pieces you can buy. However, 1960’s wrought iron patio furniture is prone to issues. For instance, if left out in the elements, antique wrought iron patio furniture tends to rust. The finish can also get chipped, flaked, or cracked. Dust and dirt can accumulate in the intricate grooves and curls of the design for which vintage wrought iron patio furniture is best known. The best practice is to keep your antique wrought iron patio furniture safe from rain, sleet, and salt spray and ensure it stays clean with a regular spray from a hose, then let it dry in the sun.
Your vintage wrought iron patio furniture may no longer be as sturdy as it once was. If the joints have become loose and the welds cracked or soft, you may wish to repair them. Welding the broken parts is the only real solution to this problem. If you have training in arc welding, you can certainly perform this repair yourself. It requires nickel melted into the join from both front and back. If this is not a process with which you are comfortable, it makes sense to take your 1960’s wrought iron patio furniture to a shop where the joints can be strengthened.
If you live in the southern California area and don’t have the time for a DIY refinishing, give us a call! Select from lots of different powder coating colors.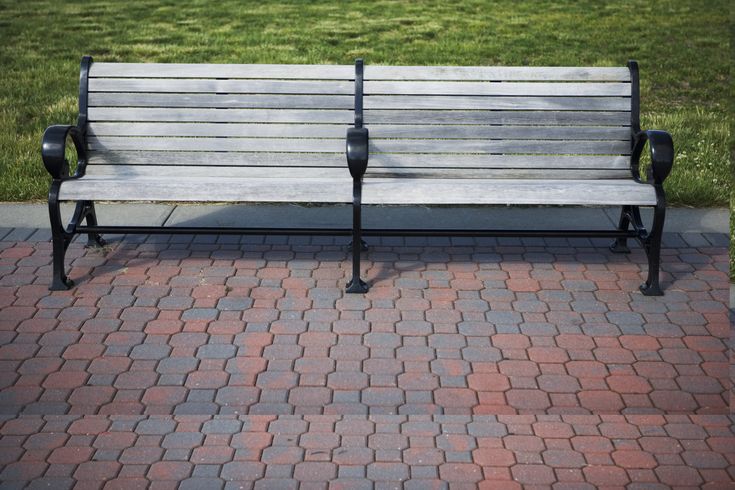 No job too big or too small.
First things first, determine if your furnishings are made out of wrought iron; this video about how to identify wrought iron will tell you how. If your antique wrought iron patio furniture has been painted, as much of those pieces have been, another step in restoration is refinishing it. This process starts by removing the existing finish, down to the bare metal via sanding or the use of a chemical rust remover or rotary brush tool. Ensure that the metal is impeccably clean, then apply a metal surface primer. Next, apply a couple of coats of paint made specifically for vintage wrought iron patio furniture. Finally, finish it off with a clear topcoat so all your work lasts for a long time.
How to Refurbish Wrought Iron Patio FurnitureGoing beyond repair and refinish is a complete refurbishment of your outdoor patio furniture. This would include going over each piece looking for corrosion, breaks, and nicks in the surface.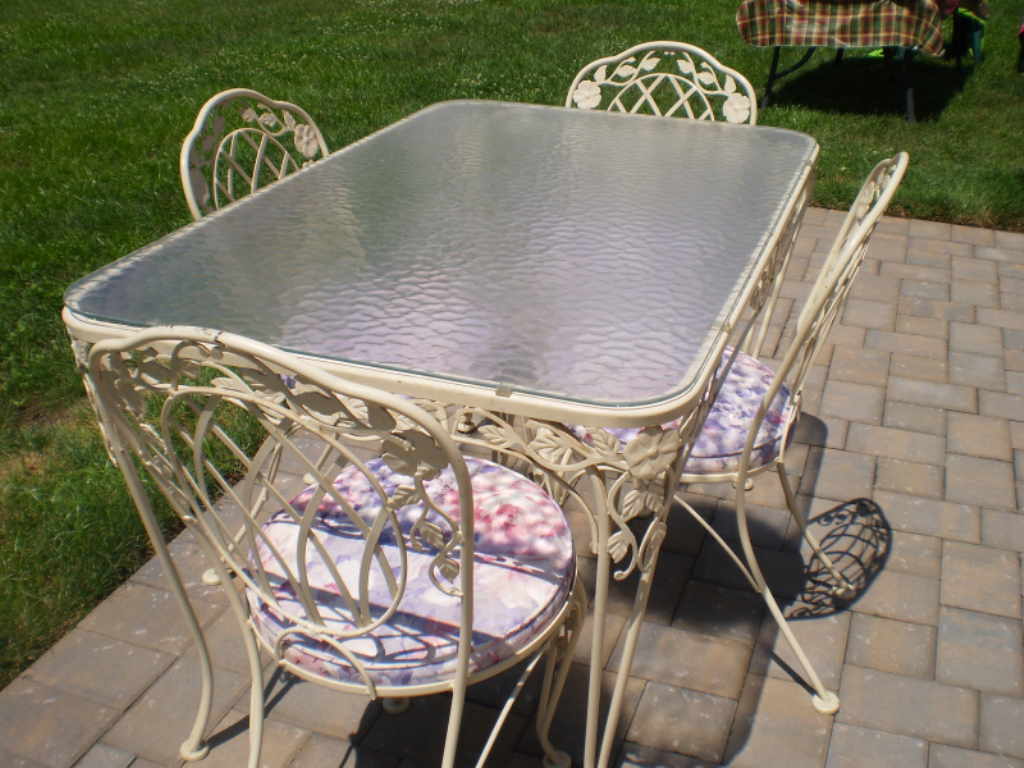 A stiff brush, mild cleaning solution, and a strong spray of water will help immensely. Finish with steel wool to remove rust particles and application of a thin coat of car wax to fill in nicks and scratches. You may also wish to replace the upholstered patio furniture cushions at this time.
If all these steps in how to refinish wrought iron patio furniture seem too arduous a task or beyond your capabilities, please contact us. Chances are we can completely refurbish wrought iron patio furniture from your backyard oasis and restore its natural beauty – no matter how old or how damaged. We can also make new patio cushions in the exact shape and size as the old ones. When it comes to making your old furniture look new again, the experts at Hauser’s Patio can get it done for you.
Paint and patina of metal parts of wrought iron furniture - Service - Catalog of articles
Paint and patina of metal parts of forged furniture
Blacksmith's paint for metal parts of forged furniture in our store can be black, brown, white. Needless to say, the color of the metal is of great importance when choosing furniture: strict black, romantic brown, airy white - forged furniture, like any other, will look different in different colors.
When choosing any piece of wrought iron furniture, there is a box on the product page where you can choose a color. The window is called "painting and patina". Click the black triangle next to the word "choose". A list of colors with or without patina will fall out, which you can choose to paint your chosen piece of wrought iron furniture. Now click on the line of painting that you need. If you need paint without patina, choose "black", "brown", "white", depending on what color you need. Besides, available there is a color "bronze", "silver", "light ivory". The last three patinas are usually not applied, but such options are also possible.
The paint seems to be sorted out. A few words about patina. Patina - artificial aging of furniture. Patina is applied in small fragments, creating a worn effect. The classic version "black with patina silver" - creates the effect that metal peeps through the black paint, as if a forged product - whether it be a banquette or a hanger - has been "living" in the world for a long time and has been in some scrapes.
Black with patina golden bronze "creates exactly the opposite effect: as if the gold has worn off in some places))
The most romantic - "white with patina golden bronze"..17th century, France, kings, favorites...Looks very good on furniture in the Provence style.
White with patina "Silver" most fully corresponds to the style of "Shabby Chic", "formerly chic, but slightly damaged by time:
Brown with patina golden bronze - very warm, homely. Looks great with fabrics of beige, brown, red tones
We also have Red Copper patina in our store. With this patina, black color looks most impressive - it turns out a kind of blackened copper.
Very similar to brown with a golden bronze patina brown but with a red copper patina. I repeat - the colors are very similar, but brown with red copper is naturally a little redder than brown with gold bronze
And an important point. For white, with or without patina, as well as light ivory, price increases by 400 rubles (when choosing a paint on the site, the price is calculated automatically.
Furniture renovation. How to restore a dining set with your own hands | House/renovation | Real estate
Estimated reading time: 4 minutes
8567
AIF at Dacha No. 21. Berry Bushes: Pruning in 4 Steps 09/11/2016 At first, the owners have to solve many acute problems - with plumbing, electricity, appliances and others, and use second-hand furniture.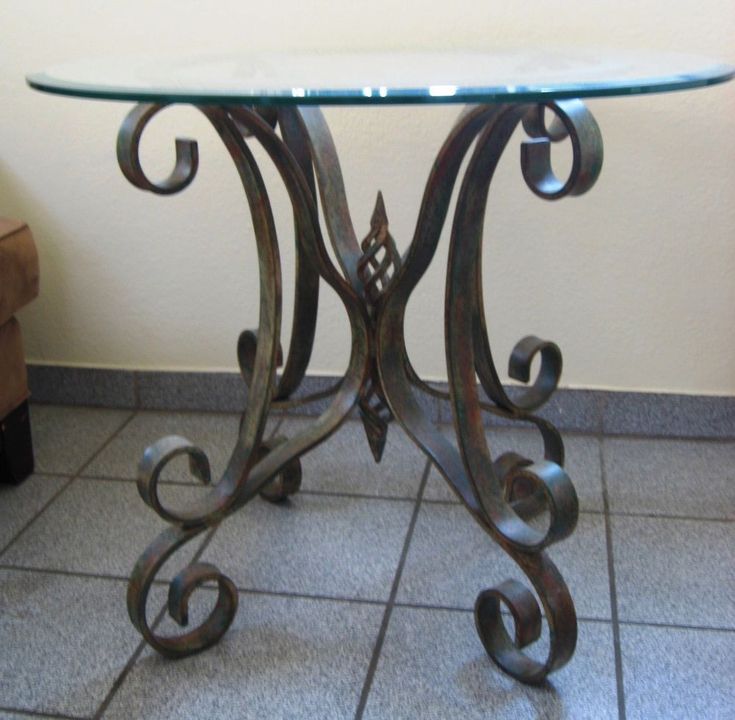
It's not a problem - considers dacha owner near Moscow Maria Smirnova .
Items to remake
The veranda was furnished as follows: a round dining table, a small coffee table, three wooden chairs and a large bench. All this was brought from different places and, judging by the shabby, shabby appearance, served the former owners for a long time and faithfully. Gloomy dark colors and peeling varnish did not evoke joyful emotions. And then I decided to try to restore the furniture and create a single set from motley elements.
Preparation
The first step was to remove the layer of old coating. But it turned out that in some places the “native” paint was so ingrained into the tree that even a grinder could not cope with it. So I just stripped off the polish where I could, by hand, with a rough brush and sandpaper. It was decided that the new colors of the furniture would be sustained in a life-affirming orange-yellow range.
Photo: Maria SmirnovaWhat it took
We bought brushes, white alkyd paint, two colors - orange and yellow, a varnish roller, yacht varnish, decoupage sheets, PVA glue and gold acrylic paint for the outline.
Painting and decorating
For the main color of the surfaces of the tabletops, I chose white, with floral ornaments around the perimeter, made using decoupage technique. On vertical surfaces, I decided to alternate orange and yellow colors (to obtain them, I added color to the main white paint and mixed it to the desired shade). She painted in two layers, and each of them needed at least two days to dry well and grab, because new paint lays worse on old paint than on clean wood.
For decoration, I cut out ornamental elements from special decoupage sheets and fixed them on the tabletops with PVA glue. I made decorative contours around the perimeters with acrylic gold paint. A day later, when it was all dry, it was the turn of the varnish. With it, I covered only surfaces with decoupage and acrylic to fix the drawings.
Photo: Maria SmirnovaResult
For several years now, the updated furniture has not only served us faithfully, but also pleases the eye. Our veranda has become lighter and more comfortable, children constantly play board games on it, draw and make crafts, we receive guests here and enjoy tea ourselves. Several antiques that came to us from the village - a spinning wheel, a comb, bast shoes and others - I also restored with the help of sandpaper, stain and varnish and placed on the veranda: it seems to me that they made the interior more interesting.
See also:
- Minimum investment, maximum effect. How to visually enlarge an apartment →
- Country Kitchen: Good Old Country →
- Renovating the kitchen: solar design →
interior design country house garden furniture
Next article
You may also be interested in
- Do-it-yourself mosaic: decorate the country table
- Boris Shcherbakov: "I made the furniture in the dacha myself"
- "The Ghost of Louis".
Learn more