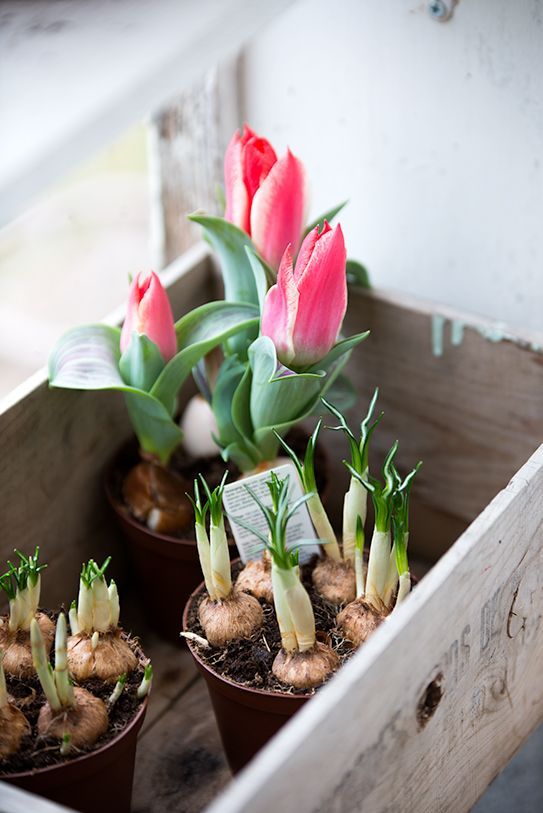
How to clean your walls
How to Clean Walls With Paint or Wallpaper Like a Pro
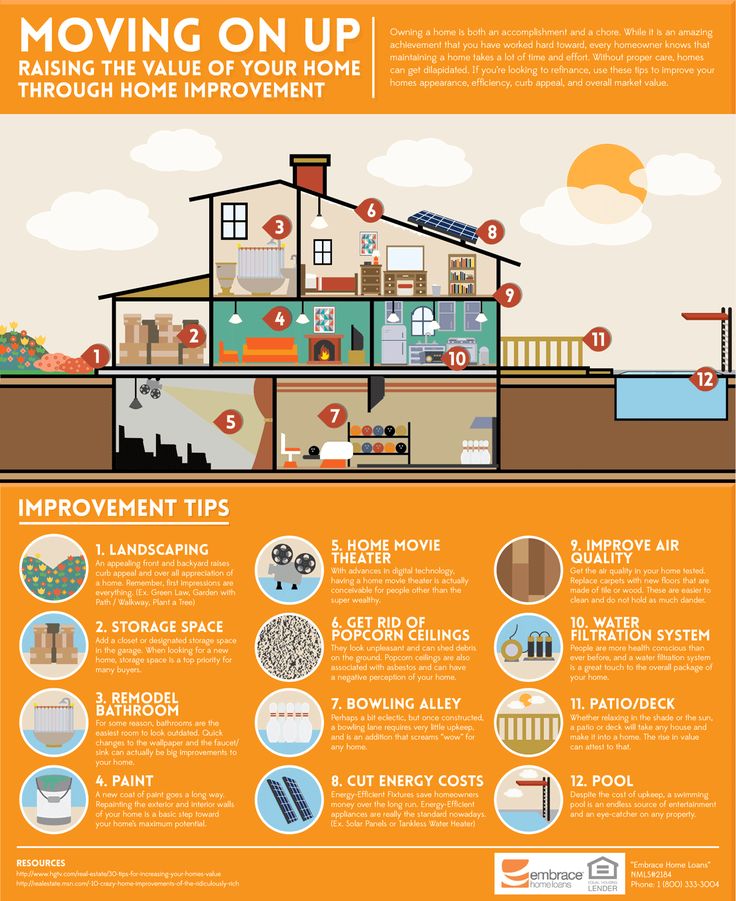
Even the most diligent deep cleaners can be clueless when it comes to how to clean walls. Established New York City interior designers and architects who need help sprucing up renovated homes look to high-end cleaning service New York’s Little Elves to meet their lofty expectations and get the space clean from top to bottom.
After 35 years in the business, vice president Sabrina Fierman is an expert on making luxury properties sparkle, and her staff knows that walls should never be an afterthought. We enlisted Fierman to help identify the best ways to get rid of pesky marks and buildup—without damaging wallpaper or a decorative paint job.
“Cleaning the walls can be a delicate process, and what you use is dependent on what the wall treatment can hold up to and resist,” Fierman says. Luckily, you don’t need special supplies or expensive equipment to get the job done—just a few household items you already have and a little bit of time. Read on to learn how to clean walls with the best of 'em! This method is gentle enough for walls with paint or wallpaper.
1. Gather your supplies
Some good news: Wall cleaning does not require any special wall cleaner. Chances are you already have everything you need. Here's what you should have on hand:
- Liquid hand or dish soap
- Water
- Soft cloths or rags
- Tack cloth
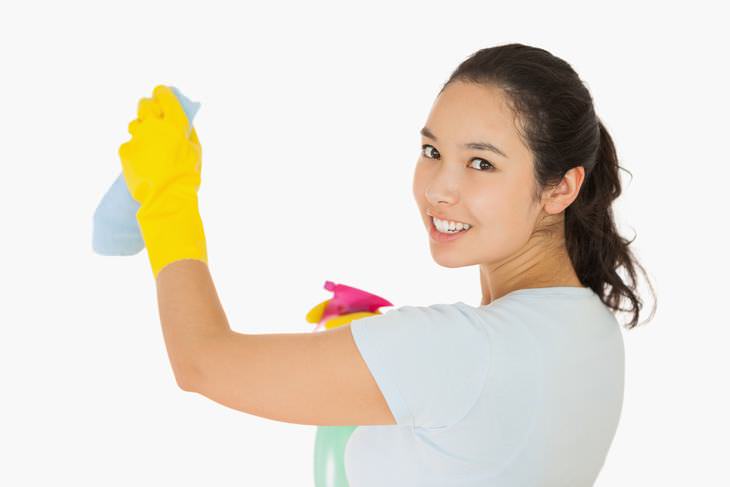
- Two buckets
- Stain remover
- Vacuum with dust brush attachment
- Baking soda
- Foam craft brush
- Hydrogen peroxide
Steer clear of anything abrasive or ammonia-based and start with simple products. These basic supplies are mild enough to use on most wall treatments while still getting the job done.
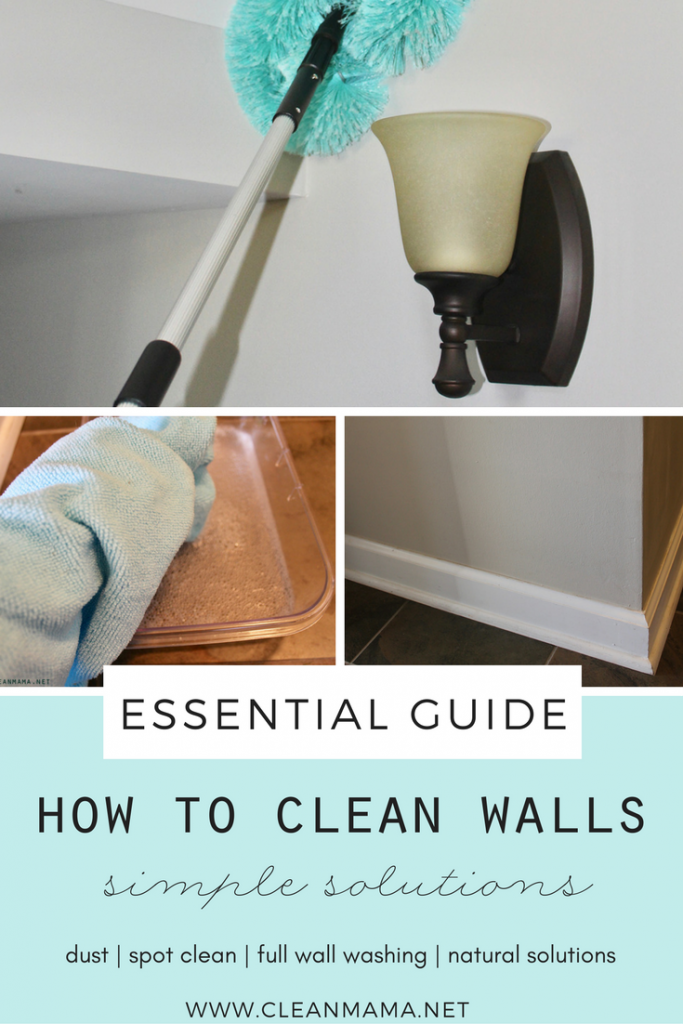
2. Protect your floor from drips
Prepare by laying towels along the base of the walls to protect floors and collect any dust or drips.
3. Dust the walls
Give the walls a dusting—using the dust brush attachment, vacuum your walls and follow by wiping them with a tack cloth.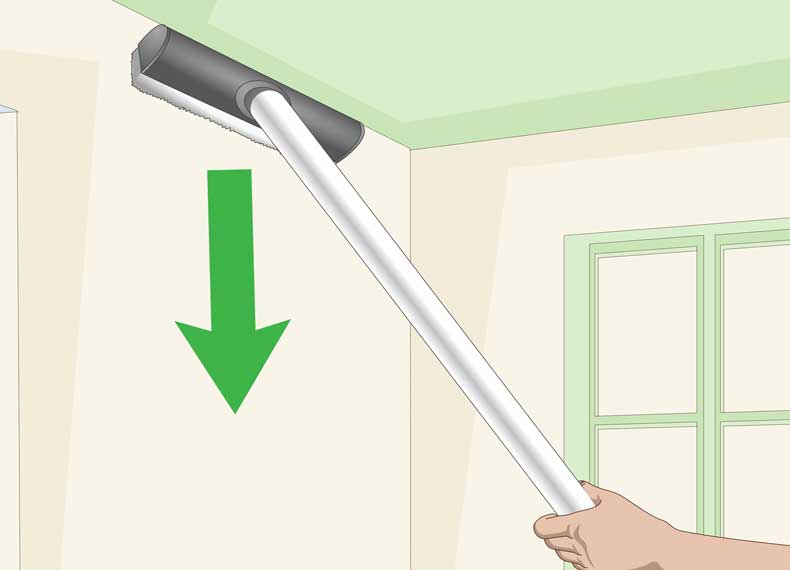 You can also use a foam craft brush to easily swipe away dust from baseboards and molding.
Alternatively, you can wrap a dry mop head with a clean rag and dust from top to bottom without fear of scratches or dents.
4. Mix water and dish soap
Now that the dust is wiped away, it's time to wash walls. Fill one bucket with a gallon of warm water and mix clear liquid hand or dish soap and water in the other. Soak a cloth in the solution, and wring it out well.
5. Test a patch on the wall
While the dish soap and water make for a gentle cleaning solution, you should always test an inconspicuous area, like a section of the wall that's behind a painting or piece of furniture, to make sure it won't damage the material. Wallpaper and matte paint are more delicate than high-gloss paint, so it's good to err on the side of caution and do a little test.
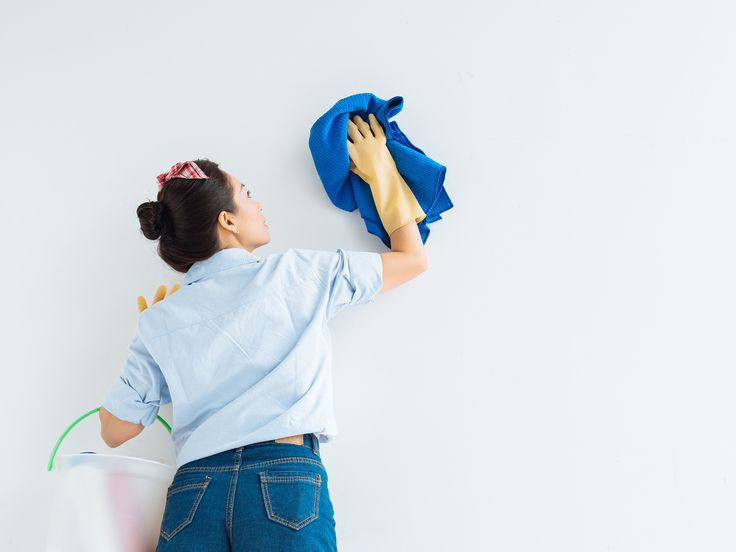
6. Gently wash in circular motions
Once you know your surface is safe to work on, it's time to tackle the whole wall. Starting at the top of the wall and working your way down, go over the surface in light, circular motions. Apply as little moisture as possible to avoid bubbling or watermarks. Also, make sure not to apply too much pressure as you make your circle.
7. Tackle any stubborn stains
If you come across any stubborn stains on painted walls, turn to baking soda and water. Baking soda is a natural stain fighter—mix a half cup of baking soda with a quarter cup of water until it forms a paste. Gently rub that paste into the stained part of the wall and the stain should lift.
How to Clean Walls Without Damaging Your Paint
By
Mary Marlowe Leverette
Mary Marlowe Leverette
Mary Marlowe Leverette is one of the industry's most highly-regarded housekeeping and fabric care experts, sharing her knowledge on efficient housekeeping, laundry, and textile conservation. She is also a Master Gardener with over 40 years' experience; writing for over 20 years.
Learn more about The Spruce's Editorial Process
Updated on 10/22/22
Reviewed by
Katie Berry
Reviewed by Katie Berry
Katie Berry is a cleaning expert with 30 years of household management experience and 12 years of writing about cleaning methods and routines for Housewife How-Tos. She is the author of several books about homemaking.
Learn more about The Spruce's Review Board
The Spruce / Leticia Almeida
Project Overview
In most homes, the walls make up the largest area of hard surfaces. Even though walls are vertical, they can still become coated with dust, grease splatters, smoke, insect droppings, and spider webs. Areas near doors, light switches, and furniture take the most abuse and gather soil and scuffs from hands, feet, and sharp corners.
Just as you regularly clean floors, walls—whether painted, stone, brick, or wallpapered—also need attention.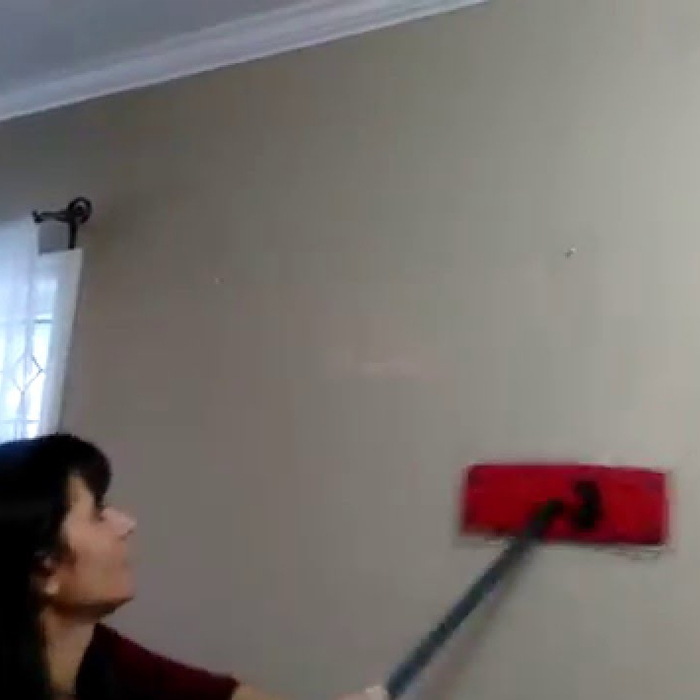 Dust mites are tiny organisms found in dust particles and can cause asthma attacks, a runny nose, watery eyes, and sneezing. A dusty home and dust mites can trigger allergies or respiratory issues, and so can the accumulation of dust on walls.
With just a few basic products and tools, you can easily maintain walls painted with different paint and finishes.
The Best All-Purpose Cleaners To Have in Your Home
Get Those Scuff Marks off Your Walls Once and for All
How Often to Clean Walls
As part of your regularly scheduled chores, painted walls should be dusted and cobwebs removed at least monthly—twice a month is even better. You should clean smudges and dirt around doorknobs and light switches weekly. Large splatters and scribblings with crayons should be cleaned immediately for the best results.
Before You Begin
You can dust every type of paint finish. However, the paint type and the finish determine how best to clean it. Determine your kind of paint and check the lists below for pre-cleaning tips.
Types of Interior Wall Paint
- Oil-based paint: Often used in high-moisture areas; more durable than latex paint and withstands frequent cleaning well
- Water-based or latex paint: Most common interior wall paint; more resistant to cracking and chipping than oil-based but not as receptive to water-based cleaning
Types of Interior Paint Finishes
- Flat or Matte: Almost chalky in appearance, with no shine to the surface; do not hold up well to cleaning; do not use harsh chemicals or excessive pressure when cleaning
- Satin or Eggshell: Reflects light with a light sheen; more durable for cleaning and suitable for high traffic areas; do not use abrasive cleaners; limit the amount of moisture when cleaning
- Semi-gloss: Reflects light with a noticeable shine; an excellent choice for kitchens, bathrooms, doors, and trim; holds up well to moisture and all but the harshest chemicals
- High gloss: Leaves a robust and shiny surface; most durable finish; a good choice for furniture, cabinets, and trim; cleans easily with detergent or a degreaser
Equipment / Tools
- Bucket
- Sponges or microfiber cloths
- Vacuum or duster
- Melamine sponge
- Step stool or ladder
Materials
- All-purpose cleaner
- Dishwashing liquid
- Distilled white vinegar
- Baking soda
- Isopropyl rubbing alcohol
- Laundry borax
The Spruce / Leticia Almeida
How to Clean Latex-Painted Walls
-
Remove Dust
Starting at the top of the wall, use a vacuum with an extendable wand, dusting brush, or microfiber duster to remove dust and cobwebs.
 Always use a sturdy step stool or ladder when reaching high spots.
 The Spruce / Leticia Almeida
-
Mix a Cleaning Solution
Add one teaspoon of all-purpose cleaner per quart of warm water in a bucket. Fill a second bucket with clean water.
The Spruce / Leticia Almeida
-
Wash the Walls Using a Circular Motion
Dip a sponge or microfiber cloth in the cleaning solution and wring until no water is dripping. Start at the top of the wall and, working in a small section, move down the wall. Starting at the top prevents drips from falling on areas already cleaned. Rinse out the sponge frequently.
The Spruce / Leticia Almeida
-
Rinse the Walls
Dip a second sponge or cloth in the clean water and wring until nearly dry. Rinse away any soapy residue as you move down the wall.
The Spruce / Leticia Almeida
-
Tackle Heavily Soiled Areas
Ensure that the electricity is turned off and clean carefully around light switches and outlet plates.
 Do not allow these areas to become excessively wet.
 If scuffs and smudges do not come off easily, dip your dampened sponge in some baking soda and lightly rub the area. The gentle abrasive action of the baking soda should remove the problem.
A bit of rubbing alcohol on a sponge works well to remove soil from painted areas around doorknobs and trim work.
The Spruce / Leticia Almeida
How to Remove Scuff Marks From Walls and Floors
How to Clean Oil-Based Painted Walls
-
Dust the Walls
Begin by dusting the walls. Dusting will prevent loose dirt from being moved around while you clean.
The Spruce / Danielle Moore
-
Mix a Cleaning Solution
Add one teaspoon dishwashing liquid and 1/2 teaspoon distilled white vinegar per quart of warm water in a bucket. Fill a second bucket with plain water for rinsing.
The Spruce / Danielle Moore
-
Wipe and Rinse
Dip a sponge or microfiber cloth in the cleaning solution, wring out well, and wipe down the walls starting at the top.
 Follow up with a sponge dipped in plain water and wrung well for a final rinse.
 The Spruce / Danielle Moore
-
Tackle Tough Stains
If the walls are filthy, add two tablespoons of laundry borax to the cleaning solution.
A melamine sponge (Mr. Clean Eraser) works well to remove soil on semi-gloss or glossy oil paint finishes. Using a light touch, the abrasive action will remove almost all scuffs.
The Spruce / Danielle Moore
Tips to Keep Walls Clean Longer
To stretch the time between wall cleanings, you can do a few things to lessen your workload. Avoid smoke in the house, from tobacco and cooking to burning candles or incense; the soot from combustion coats walls, getting them dirty quicker.
Also, immediately spot clean walls when you notice smudges or hand prints between the big jobs. It will extend the appearance of clean walls longer.
Tips
Teach young children to keep their hands off the walls; they are usually the biggest culprits for dirty handprints on the walls.
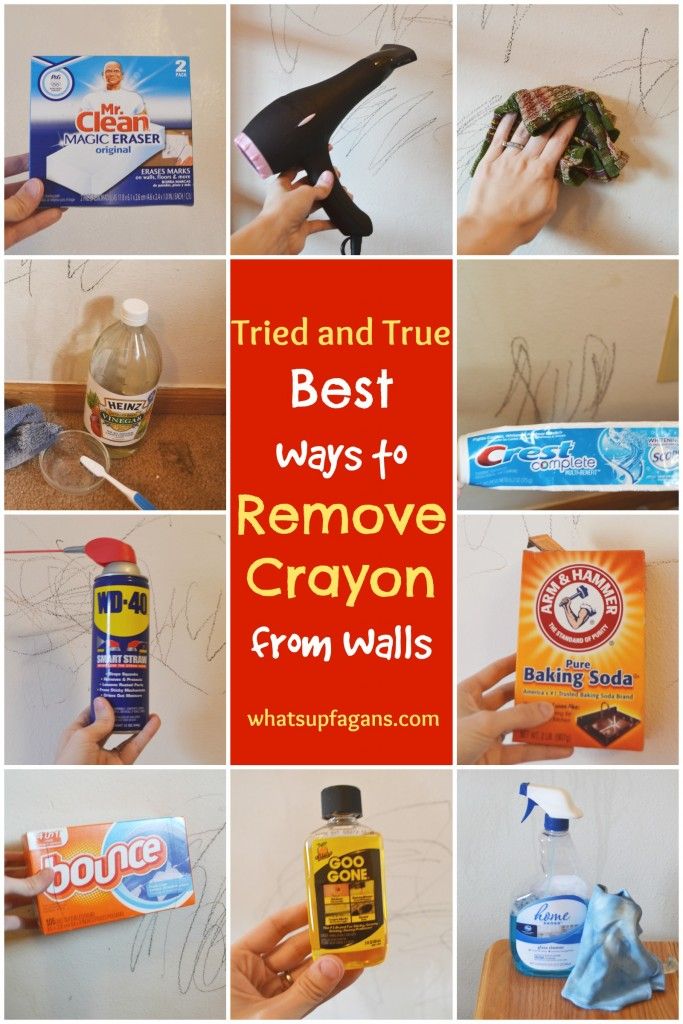
Removing Writing From Walls
If you have little kids, your young Picassos might have gotten inspired and marked up your walls. Or—and this can happen to anyone—you are walking out of a room with items in your hand, and your pen drops, ricochets, or happens to glide along a wall. How do you remove crayon, permanent marker, or ink markings from a wall?
- Crayons: To remove crayon markings, first try baby wipes. Sometimes, a little mark only needs a little solution. But, if your child went full Rembrandt, try rubbing it out with some non-gel toothpaste, an art eraser, or baking soda on a damp sponge.
- Permanent marker: Dab at the stain with a cotton ball doused in rubbing alcohol, but be mindful that rubbing alcohol could damage the paint. If rubbing doesn't work, try spraying hairspray on the spot and wiping it clean with a water-dampened cloth.
- Ballpoint ink: If you have some foaming shaving cream, try dabbing this popular home remedy on the stain.
 You can also use nail polish remover instead.
Removing Mildew and Water Stains From Walls
Mold and mildew are pesky stains that will return if you do not remediate the problem. Unfortunately, you will likely need to repaint water-stained walls. First, make sure that if there is a leak behind the wall, you handle the cause of the water stain. If the situation has been remedied, you want to clean the stain with a solution of 50% bleach and 50% water to prevent mildew growth. Apply it to the entire area. Use a hair dryer or fan to dry the area. Once dry, repaint the area using mold and mildew-resistant paint.
If you have a little mildew growth but no water stain, you can try cleaning it off with a vinegar solution (1 tablespoon of vinegar and 1 quart of water) or blot on an enzyme-based laundry cleaner and clean it off with a moistened towel.
When to Call a Professional
If you have vast sections of walls that have been blackened by mold, then it's time to call a mold remediation service to handle the mold situation. They will likely remove the entire portion of the wall, clean out the mold in the wall's interior, and replace the wall panel. The costs vary drastically on the size of the job and how difficult the mold situation is. It can cost between $15 and $30 per square foot, plus all the charges for evaluation, new materials, and more.
If routine wall cleaning is not something you like to do or plan on ever doing, then it's time to call in a house cleaning service to do it periodically for you. You want to keep the air quality in your home as clean as you can to prevent triggering allergies or any respiratory conditions from occurring. You can expect to pay at least $40 to $65 per person per hour to clean your house; if you only want your walls cleaned, they should be able to tackle it in an hour, depending on the size of your home.
What Cleaning Pros Buy Every Year for Spring Cleaning
Article Sources
The Spruce uses only high-quality sources, including peer-reviewed studies, to support the facts within our articles.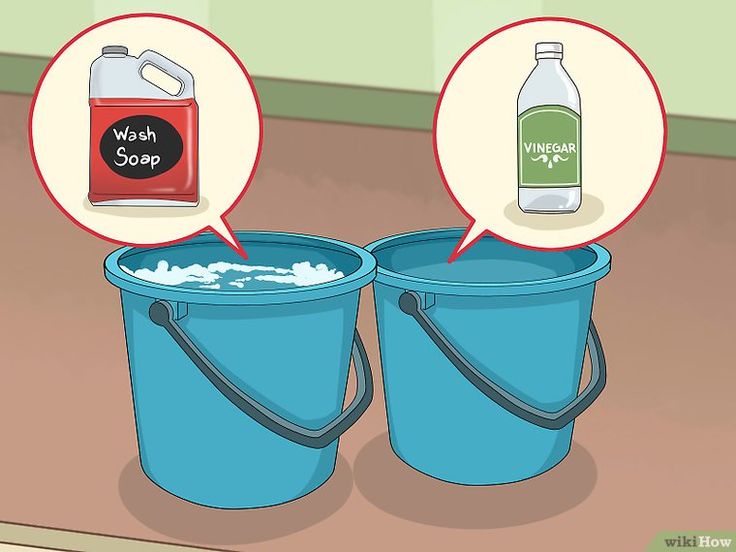 Read our editorial process to learn more about how we fact-check and keep our content accurate, reliable, and trustworthy.
Dust and dust mites. American Lung Association.
Dust Allergies. American College of Allergy, Asthma, and Immunology.
nuances of caring for different coatings - INMYROOM
Guide
What not to do when washing walls decorated with wallpaper, what painted surfaces do not tolerate and how to care for tiles and plaster - tell us in detail
Let's be honest: far from each of us recognizes the need for thorough wall cleaning. However, their washing - a mandatory item in a long list of general cleaning. Yes, of course it's not the easiest process, but it is necessary. Let's try to make the task easier: step by step instructions for washing walls with different coatings - in this post.
Note: general recommendations
space: remove all paintings and photographs from the walls, move the furniture to the center of the room - so as not to trip over it during the cleaning process. Not to hurt your hands on the "orphaned" nails and picture hooks, hang on them pieces of colored fabric - so you do not lose sight of them.
2. Protect the floor from moisture. Don't forget to put cloth rags or sheets of paper on the floor to protect the surface from moisture running off the walls while cleaning. The fabric must absorb moisture.
3. Dust the baseboards and walls - this is the most important step. The easiest and fastest way to do this is to wrap a towel or rag around the mop brush and wipe the walls with this design from the bottom up. You can also walk along the walls with a vacuum cleaner with an aquafilter. Remember that walls with wallpaper must be vacuumed on the weakest setting so as not to damage them.
Walls with wallpaper: tips
1. Far from all wallpapers can be washed. If you are not sure what type of wallpaper you have, do a test: try washing a very small area (preferably a secluded place - say, behind furniture), let it dry thoroughly, and then inspect for any damage - whether the color, pattern, will there be any leaks.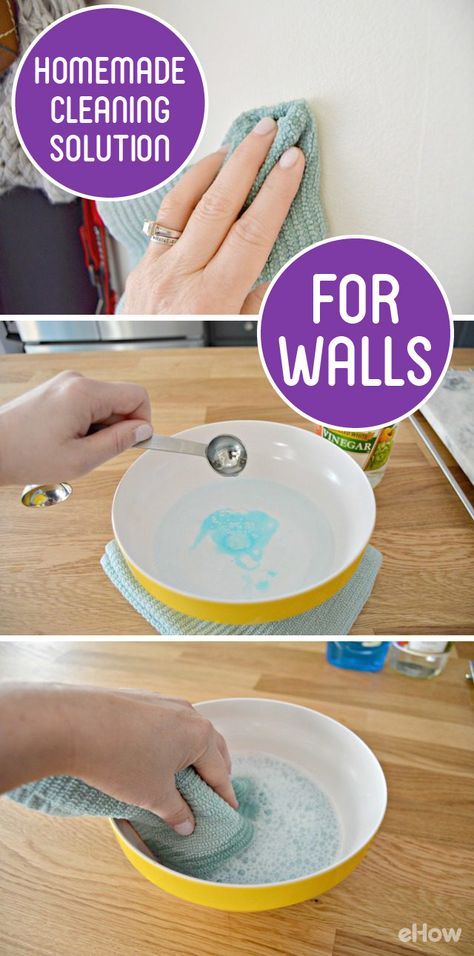
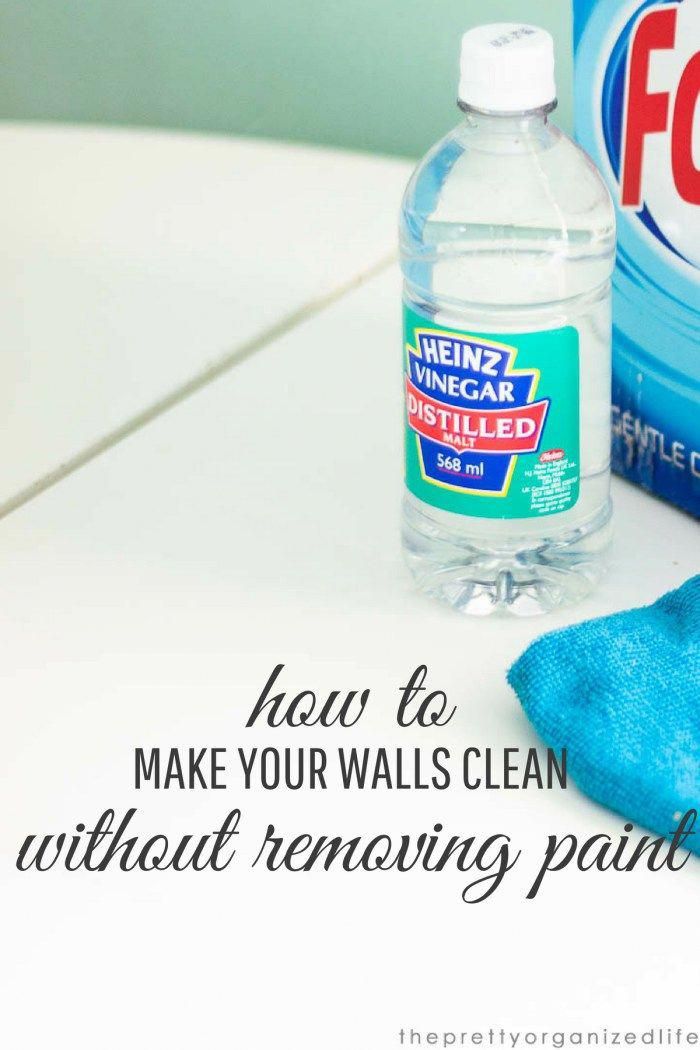
2. With a lint-free cloth or soft sponge dampened with warm water and liquid detergent, wipe the walls from top to bottom with quick, light strokes. Avoid using colored soaps or sponges - they can accidentally stain the wallpaper. It is also important not to overdo it with detergent - the solution should not have thick foam. In general, it is precisely such a mixture of simple components - water plus detergent - that is the most versatile for washing walls with almost any coating (more on exceptions below).
3. Clean water and drying. Walk along the walls with the same rag or sponge, but dipped in clean water. The main thing at this point is to regularly change the water so as not to carry dirt along the walls. It may be more convenient to pour two buckets at once - with soapy water and clean water. Then, to remove excess moisture, wipe the wallpaper with a cotton towel.
4. You can remove different types of stains from wallpaper in various ways.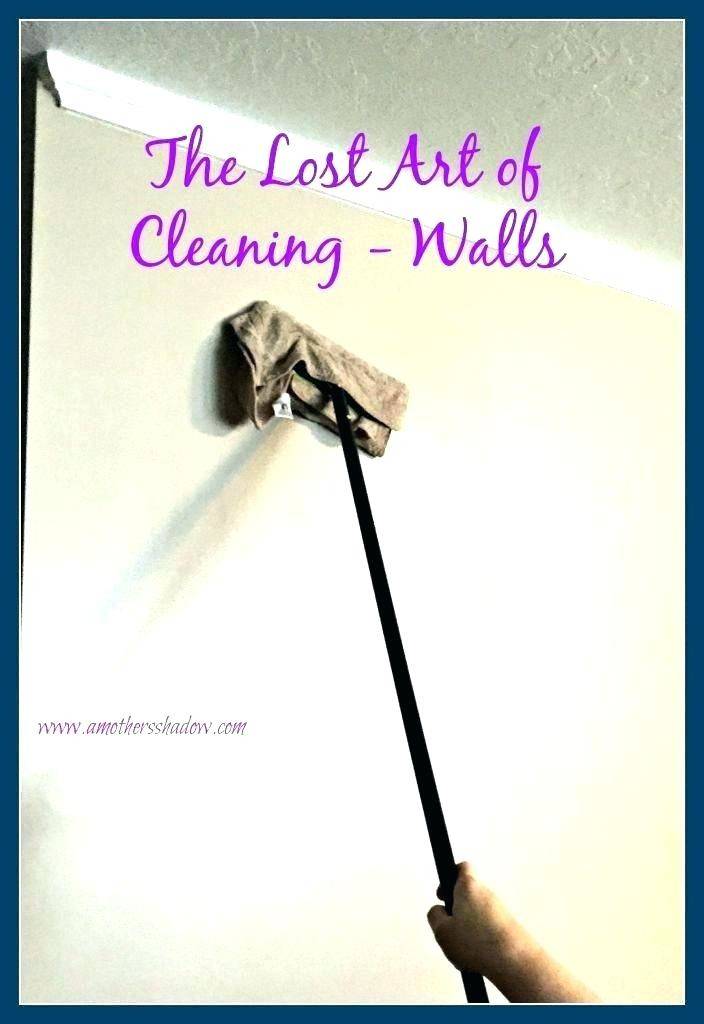 For example, to combat oily stains, apply talcum powder to them, leave for a few minutes, and then clean with a brush. Fingerprints can be removed with an ordinary eraser, and traces of alcohol markers can be removed with vinegar or citric acid.
Painted walls: nuances
1. Type of paint. The rules here are exactly the same as and in the case of wallpaper: dust collection, soap solution, clean water. However, there a few nuances. For example, special attention should be paid to walls covered with latex paint: instead of a soapy solution, it is better to wipe them with an alkaline solution detergent and a small amount of ammonia. And here is the enamel paint does not tolerate soap at all. Get rid of greasy stains on painted walls White spirit will help you.
2. Heavy soiling. For particularly stubborn dirt, use the following detergent composition: half a glass of vinegar, a glass of ammonia and a quarter cup of baking soda - all combined with about 4 liters of water. Don't forget to wear rubber gloves to protect your hands!
Plaster: Caution
Dust from plaster surfaces should be removed regularly, but washed only with strong pollution. It is impossible to rub such walls in any case. Sprinkle them weak soapy water and blot gently with a terry cloth.
Tiles: care instructions
When cleaning tiled walls avoid using powder products - they can leave scratches on a surface. If you are against household chemicals and prefer natural remedies, bet on the good old soap solution. Another option is a spray bottle filled with regular vinegar.
Cleaning walls from whitewash, paint, plaster and wallpaper
Preliminary preparation of walls for subsequent finishing is one of the most important and crucial stages of a room renovation . Only with a thorough cleaning of the base of the walls from plaster, whitewash, paint, old wallpaper and tiles, it is possible to implement subsequent finishing measures at a high quality level. Despite the fact that we are talking about a rather messy and time-consuming process, you simply cannot do without it.
It is important to clean the walls to the ground, regardless of the chosen finish. The only exception to the rule is plasterboard wall cladding.
We clean the walls of old wallpaper
To remove a layer of old wallpaper from the surface of the walls, care must be taken to prepare the following tools:
- scraper;
- wide and narrow spatula;
- goggles and respirator;
- sponge, roller and spray gun;
- tank with clean warm water;
- Specialized wallpaper remover.
Traditionally, there may be several types of old wallpaper on the surface of the walls. To remove them, just pull on the lagging edge. However, if the base of the wallpaper is held securely enough, it is important to soak it in advance with warm water, or you can use a specialized tool that dissolves wallpaper glue.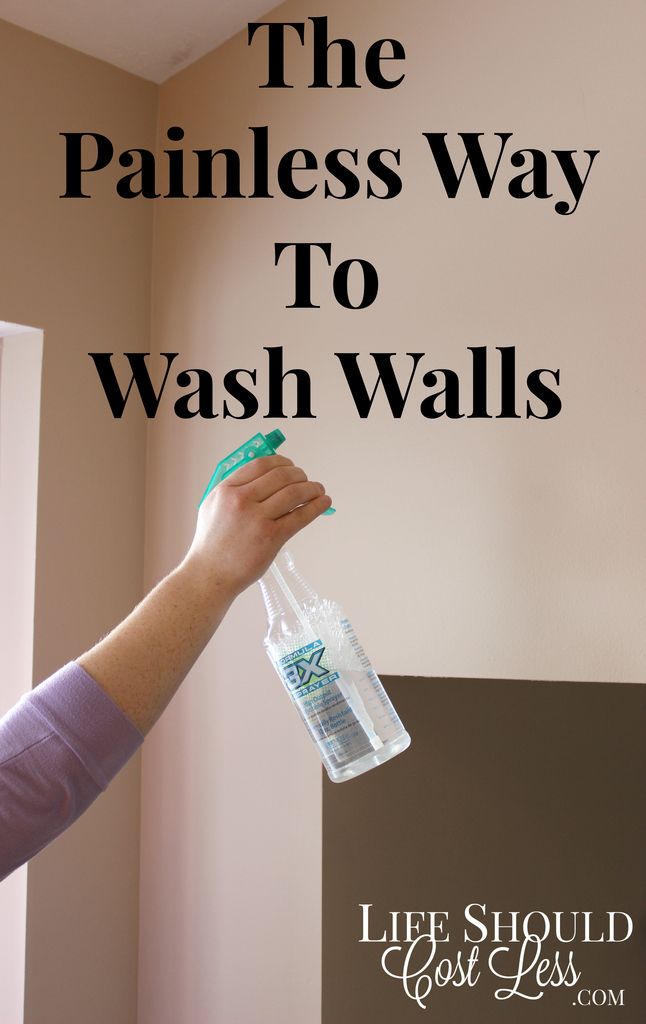
It is important to soak paper wallpapers thoroughly with warm water for 20 minutes, and only then remove the old finishing layer.
As for vinyl wallpaper, it is impossible to remove them in pieces, they lag behind the base of the wall in stripes. If there is a small part of the paper coating on the wall surface, it is easy to get rid of it, it is enough to moisten the finishing material with water and then pry it off with a spatula.
To remove liquid wallpaper, a spatula is used, but subject to pre-treatment of the material with water and a small amount of primer. If getting rid of wallpaper manually is problematic, experienced craftsmen recommend using a grinder, supplemented with an abrasive nozzle.
How to clean walls from paint
To effectively clean the walls, it is important to observe a number of important points:
- It is necessary to determine the type of substrate at the surface to be treated: plaster, cement, concrete or brick.
- Establish exactly what kind of paint was used to paint the walls: acrylic, water-based or oil.
Most of the problems arise when removing oil paint from a concrete base. But you can also get rid of this decorative finish using improvised means and tools. Experienced craftsmen recommend using:
- building dryer;
- small axe;
- paint thinner;
- electric drill with a special nozzle or rotary hammer;
- scrapers, chisels, spatulas;
- grinder with a special nozzle.
There are 3 effective ways to clean the walls from the old layer of paint. Each of them has both advantages and pronounced disadvantages.
Mechanical
The mechanical method is considered the most dusty, but at the same time the safest and least toxic, in comparison with the other two. You can also get rid of the paint manually: beat off several segments from the wall surface using a hammer, chisel or ax.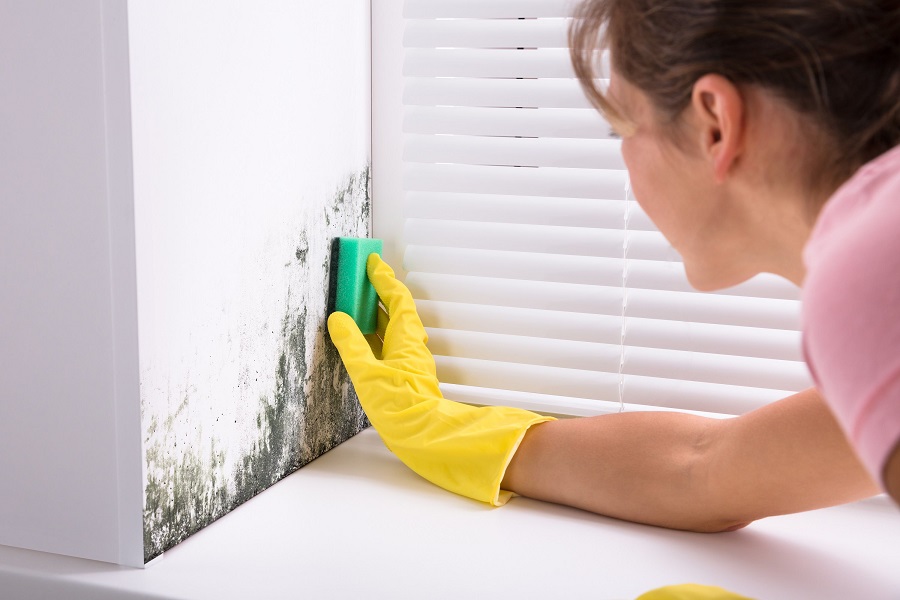 With proper selection of the angle of inclination of the ax, getting rid of the paint will not be difficult.
Working with a grinder, a huge amount of dust arises, and therefore it is more profitable to use a drill with a special nozzle in the form of a metal chain, or a puncher. With the help of such chain links, it will not be difficult to bring down the paint.
Chemical method
The chemical method is considered less labor intensive. A special chemical reagent is applied to the base of the wall, due to which the paint softens, which can then be removed with a scraper.
Thermal
A distinctive feature of the thermal method is simplicity, but at the same time it remains toxic, like the chemical method. The essence of heat treatment is to heat the decorative layer with a building hair dryer until bubbles form. Then the material is simply removed with a scraper.
Important aspects:
- For easy and simple removal of water-based paint from a concrete base, the surface is pre-wetted with a solution with the addition of iodine.
 On average, it is enough to add 10-12 ml of iodine per 1 liter of water.
 - To get rid of acrylic paint it is necessary to spray the wall with clean and warm water with the inclusion of acetone or alcohol.
- Acrylic, water-based or oil-based paint can be removed using any of the methods described above.
How to get rid of old whitewash
To remove old whitewash, you can use dry or wet methods. I would like to dwell on them in more detail.
Dry whitewash
You should first prepare:
- grinder;
- respirator for respiratory protection.
The main disadvantage of this method is a large amount of dust when removing a layer of paint. It is important to remove all furniture from the room or cover it with a layer of protective film. The grinder quickly removes a layer of old whitewash, while the base remains absolutely intact.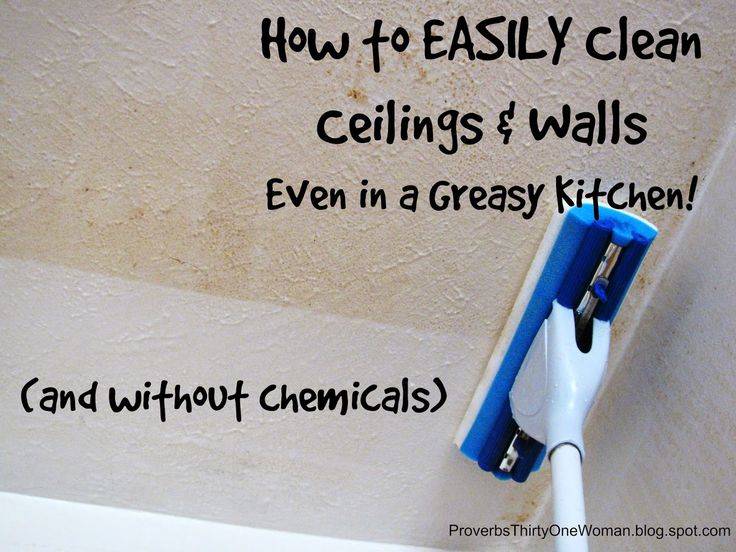
Wet wall cleaning
To remove whitewash, it is important to prepare the following tools:
- brush;
- sponge;
- bucket filled with water;
- spatula.
Previously, the old whitewash is thoroughly washed out with water and removed with a sponge. If the whitewash is pliable enough, it is easy to clean it off with a spatula. The remains are treated with a brush, washed off with water.
Remove old plaster
To decide on such an important question - whether it is necessary to remove the plaster or not, it is recommended to tap on the decorative layer with a spatula, or rather, with its handle. If a dull sound is heard, this indicates that there is a void under the coating.
The easiest way to remove old plaster is with the following tools:
- special plaster remover;
- Bulgarian;
- perforator;
- scraper;
- spatula.
The sequence of actions is as follows:
- Using a hammer or spatula, beat off the old plaster. It is allowed to use a puncher or grinder if certain difficulties arise. Abrasive discs also have not been canceled. It is important to pre-moisten the surface of the walls with water so that dust does not spread throughout the room.
- For cleaning, you can use a metal brush. Irregularities from the wall surface are removed with sandpaper, and then wiped with a damp cloth.
Master's tip ! Old plaster will move away from the wall in a matter of minutes if its surface is pre-moistened with water with the addition of 2 tbsp. l. starch per 1 liter of water.
Wall mold removal
To get rid of mold, you can resort to a radical method. If mold has formed on the surface of the wallpaper, they must be removed and the wall dried.