How much does it cost to replace kitchen flooring
Everything You Need to Know
Cost of Kitchen Flooring: Everything You Need to Know
Kitchens are an essential part of the house, and you must look after them carefully and thoroughly. The flooring is a crucial element of the kitchen, and it must look and feel good. The cost of kitchen flooring varies, depending on several factors such as the material, the kitchen’s size, etc.
Many people opt for ceramic, vinyl, natural stone, and tile for their kitchen flooring. These materials offer many colors and styles, and their prices vary from single digits to hundreds of dollars. The cheapest material is peel and stick flooring but it is not really durable.
The quantity of the material used plays a vital role in deciding the total expenditure. And therefore, you need to choose the right material correctly. When picking out the material for your kitchen, keep in mind the budget you have set and whether the material’s look suits your kitchen décor.
Here is a detailed breakdown of the cost of kitchen flooring to help you find the right kitchen flooring options for your kitchen remodel.
Cost per Square Foot of Kitchen Flooring
The highest your flooring material can cost is $18, and the lowest it can go is $3. On average, the cost of new kitchen flooring is $8 per square foot. The primary things you must consider carefully before finalizing any material are the local climate, dirt attraction, which part of the house you want to change the flooring in, and the foot traffic.
The budget you have set for new flooring is an essential factor that you need to keep in mind while deciding the flooring material. There are many options to choose from, and you must pick the one that suits your interest best.
People generally choose kitchen flooring that cost between $6 and $10 per square foot. As mentioned above, the final cost of kitchen flooring mostly relies on the material. The total cost depends on the installation method, the production cost, and whether you do it yourself or hire a professional to install it for you.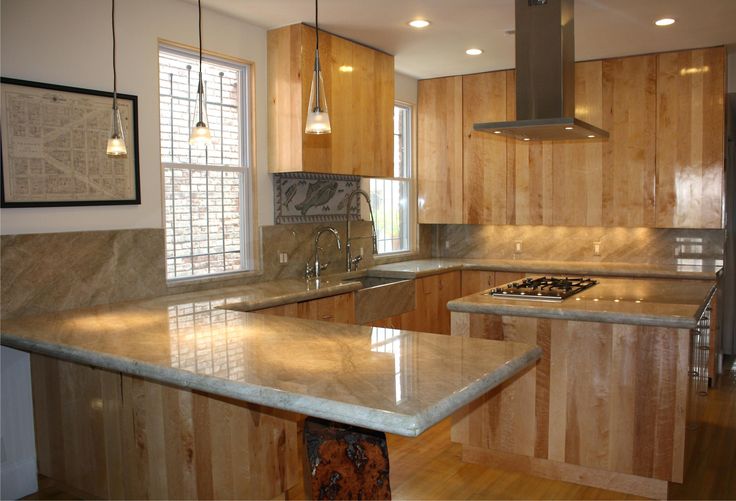
Different Types of Flooring Materials
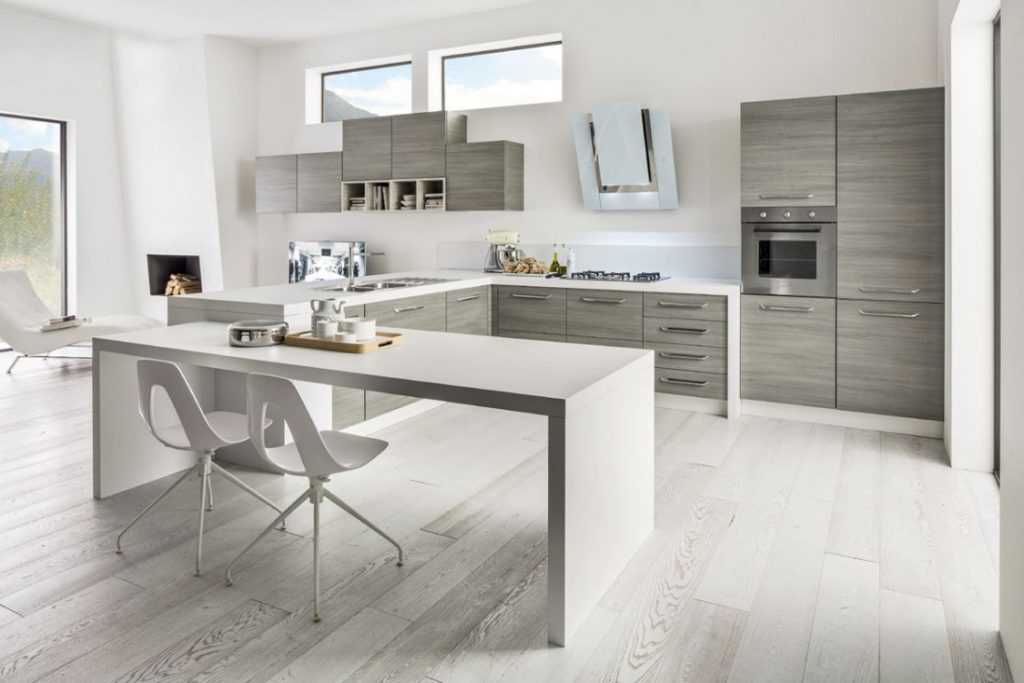
Photo by Watermark Designs on Unsplash
Different common flooring materials cost differently, from less than $1 up to $15. Here are a few materials for your new flooring with their average selling and installation costs for your next kitchen remodeling project.
Laminate FlooringBecause of its similarity with other high-end materials such as natural stone, tile, or wood, and its comparatively cheaper cost, laminate is preferred by many people. This makes it an excellent option for your kitchen flooring. Laminate does not even require a lot of maintenance, is very durable, and you can easily install it without removing your existing flooring.
The installation cost of laminate flooring is around $5500 for a 1000 square feet kitchen. Per square foot, the cost is between $6 and $9 on average. The cost to install laminate flooring with the help of a contractor and subcontractors is $36 per hour.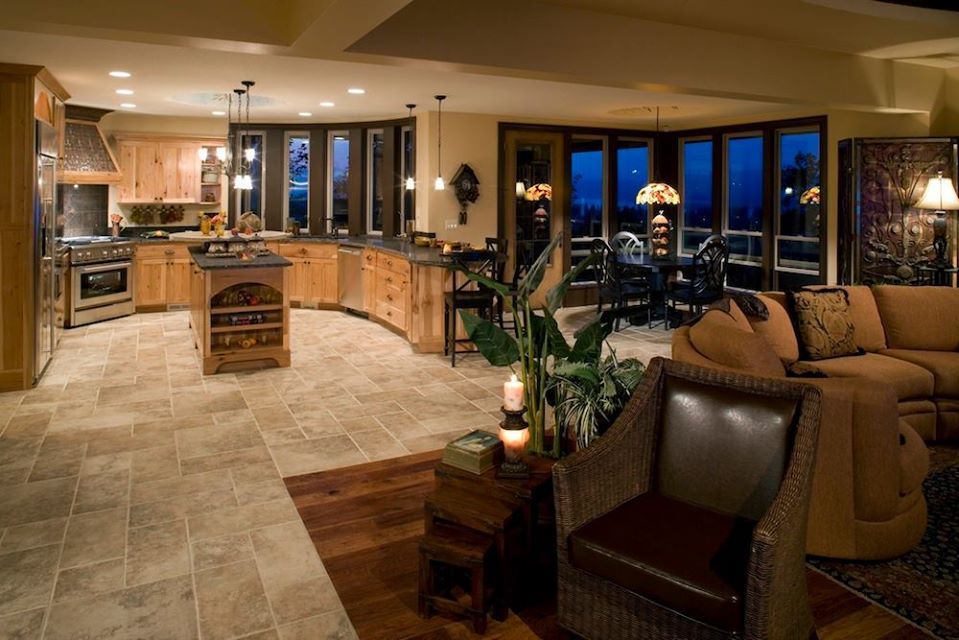 The contractor takes a separate fee of 15% to 20% of the installation’s overall cost.
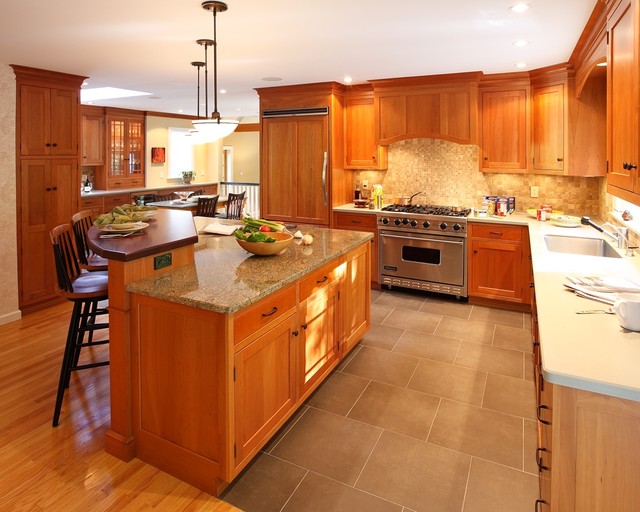
Because tile comes in many different materials, the cost can range from $6 to $20, depending on the type of tile choose for your kitchen remodel. It may cost you between $6000 and $20000 to cover a 1000 square feet room. The average cost of tile flooring ranges between $2 and $15 per square foot for your kitchen.
Tile flooring is easily maintainable and highly durable, and that is why people opt for it widely. It is also greatly water-resistant. The downside of installing this flooring in your kitchen is that tile can get challenging to install and needs professional help, costing you extra.
Another downside of these tiles is that they break very quickly, so you must avoid dropping things on the floor. They can also become quite slippery when it is wet, which is hazardous to the homeowners.
Vinyl and LinoleumThis material costs between $500 and $5000, and the cost to install vinyl and linoleum flooring runs between $3000 and $7000 for a 1000 square feet room. If you break down this cost, the average falls between $3 and $10 per square foot. In many places, vinyl or sheet flooring can cost you as low as $0.84 per square foot for your kitchen remodel.
Planks and tiled vinyl can cost you between $1.85 and $3, and luxury vinyl can cost up to $10 per square foot. The thing you need to keep in mind is that you must install vinyl on a flat surface.
Some other considerations are that you must seal linoleum after installing it and repeat it once every year. The good thing is that vinyl is very budget-friendly and has many options. It is also water and heat-resistant.
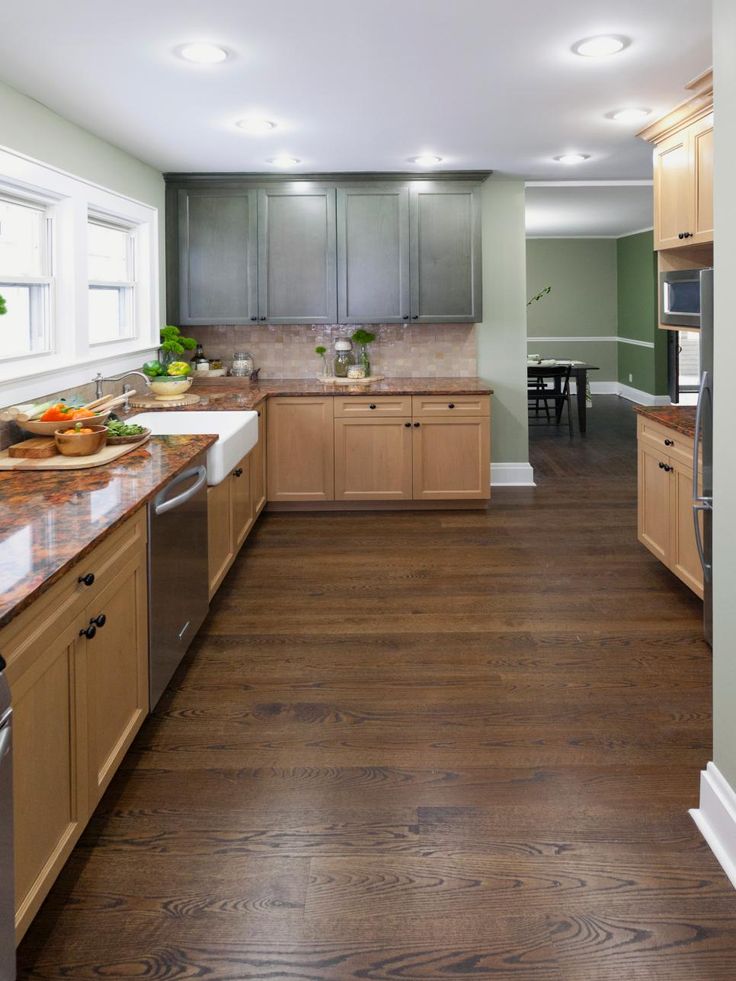
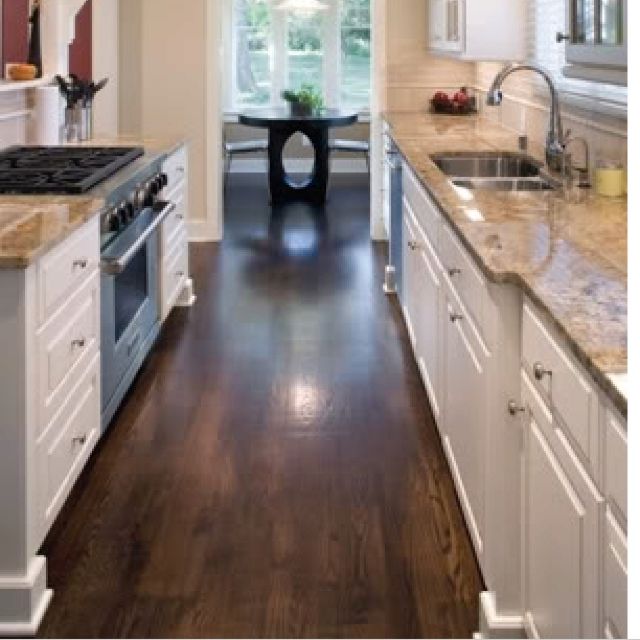
Hardwood FlooringHardwood flooring for your kitchen remodel can cost you between $6000 and $22000 for a 1000 square feet room. The average cost of installing hardwood flooring is $8000. Hardwood flooring has many options, such as parquet, engineered wood, and other lumber species that will cost you between $3000 and $14000.
People prefer to install hardwood flooring in their kitchens since it is very durable, it is suitable for any room of the house and décor, and the grain is palpable too.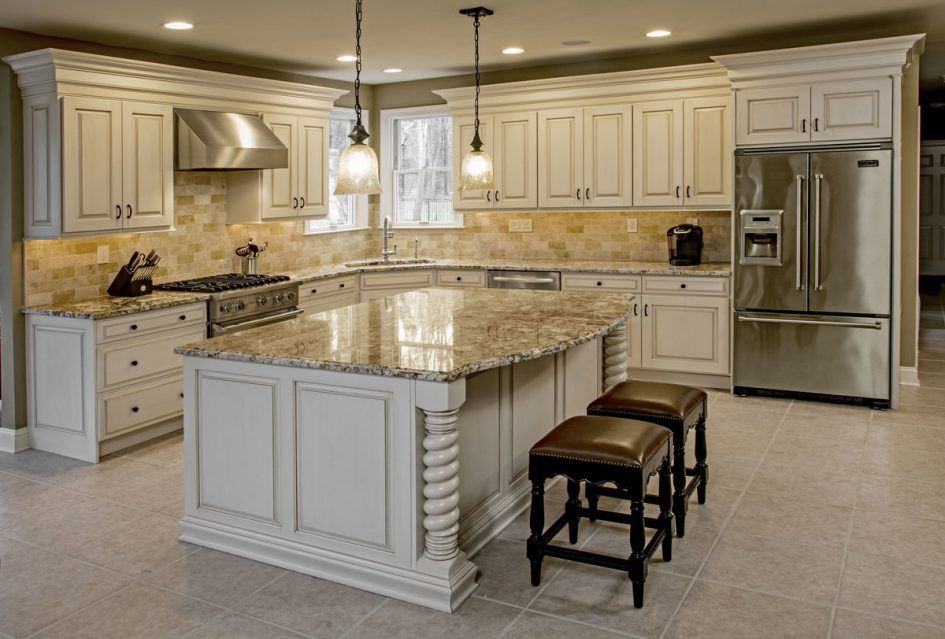 The colors range from a light and airy maple to dark mahogany or walnut. Hardwood flooring has different finishes also, such as satin, matte, gloss, and semi-gloss.
Flooring Installation Cost
Apart from the material cost, you also need to consider the installation cost for your kitchen remodel. It ranges between $3 and $22 per square foot on their flooring, depending on the material. The average cost of kitchen flooring ranges from $3 to $10.
The round-off figure would be between $1500 and $4500, depending on the size of your kitchen layout. People generally pay around $3000 for a 500 square feet kitchen.
What's the Cost to Replace a Kitchen Floor? – Vevano
By Rashea Drake The Most Popular Types of Kitchen Flooring and Their CostsBy Rashea DrakeJuly 23, 2019
The kitchen is one of the most important rooms in the house when it comes to finding the right flooring.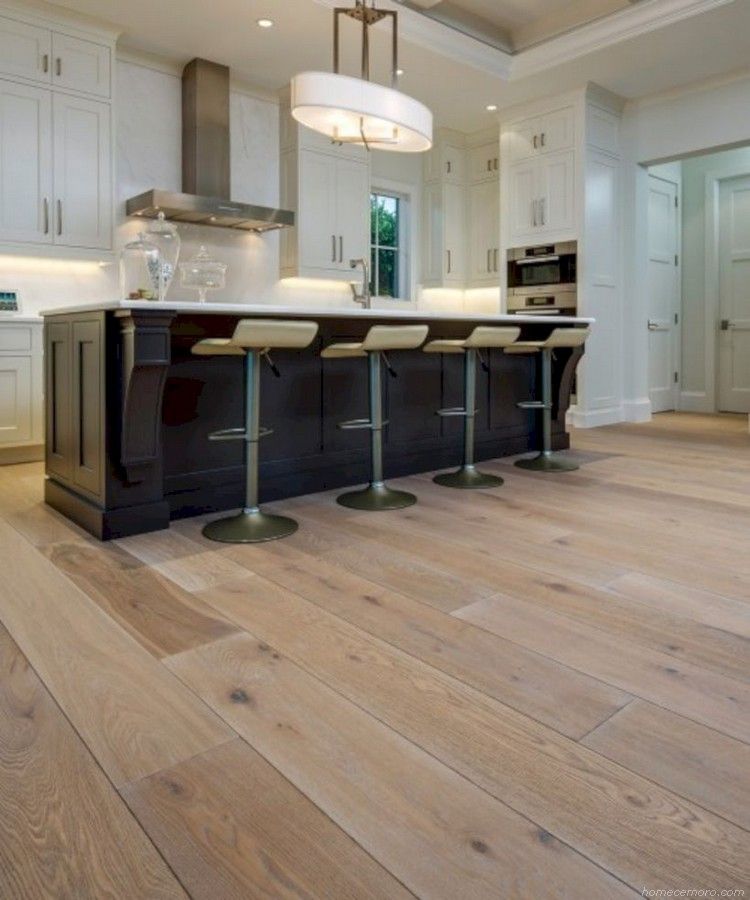 Cost varies widely across materials, so we’ll take a look at the most common flooring types that people use.
Breaking Down the Costs of Kitchen Flooring
All kitchens are different in both size and layout. According to the NKBA, the average kitchen ranges between 103 square feet and 238 square feet. Due to this variance, we’re going to estimate costs for a 200 square foot kitchen.
Thanks to its easy-to-maintain nature and variety, tile is a very popular flooring type. The average installation cost for tile is around $5 and up, depending on the specifics of your layout and the tile you’re using.
- Ceramic Tile - Ceramic tile is available for less than a dollar per square foot, though it’s usually around $3. With materials and installation, the cost is about $1,600 for a kitchen.
- Porcelain Tile - While porcelain and ceramic are similar, porcelain is more durable as its materials go through more refining.
 Porcelain tiles average a cost between $3 and $10 per square foot. For our calculation we’ll go with $6 as a midrange, meaning a cost of $2,200 for materials and installation.
 - Natural Stone Tile - Stone tiles such as quartz, travertine, marble, or slate are going to have a wide cost variance. Stone tiles can be as little as a few dollars per square foot to over $25 a square foot for designer tiles. The average price is $7 per square foot, and the average cost for installation is also $7 per square foot, bringing the total to around $2,800.
Vinyl is water resistant and low maintenance; it’s also one of the most cost-effective options with a typical cost of around $800-$1000 for a kitchen.
Laminate
Laminates can be found from under $1 to over $5 per square foot, depending on their quality. Installation costs between $2 and $8 per square foot. According to HomeAdvisor, most people tend to spend between $1,300 and $4,200 on their laminate floors.
Bamboo
Bamboo flooring is gaining popularity in recent years. Planks range from $1 to over $8, and Home Advisor estimates that the kitchen would cost $1500.
Other Cost Factors
There are other factors beyond materials and installation when it comes to estimating your new kitchen floor costs.
- Removing the old floor – Many installers will remove your old materials but may also charge a fee. Tearing it out yourself could help save some money.
- Moving furniture – If your installers need to move any furniture they may charge a fee.
- Asbestos removal – If your floors are from the 80s or earlier, there is a possibility that there could be asbestos under the floor. This will need to be removed before a new floor can be installed, so be prepared for that removal fee.
- Any abnormalities in your floor – If your floors are uneven or need additional work, prepare to pay extra.

- Unique floor plans – If you have difficult angles or corners as part of your install it could take more time, which means a bit more money.
Conclusion
Keep in mind that this is to give you a general idea of kitchen flooring costs instead of a definitive number. Every kitchen varies, but these estimations are still helpful to plan your budget. Now that you know about floors, you can see how much it costs to remodel a kitchen.
Back to blogWhat is a 10x10 Kitchen Layout? Compare 10x10 Cabinet Remodel Costs
8 Types of Countertops: How to Choose the Best Countertop for Your Kitchen
7 Best Touchless Kitchen Faucets for the Ultimate Smart Faucet Upgrade
21 Open Concept Kitchen Ideas to Maximize Space & Style
Delta Glass Rinser: Are Kitchen Sink Cup Washers Worth It?
14 Best Kitchen Sink Materials for Ultimate Durability & Style
9 Small Kitchen Remodel Ideas on a Budget
2022 Kitchen Design Trends That Will Modernize Your Space
10 Modern Kitchen Ideas for a Sleek, Cutting-Edge Design
12 Bar Sink Faucets to Upgrade Your Wet Bar
Top 5 Stylish Undermount Kitchen Sinks
8 Best Kitchen Gifts for People Who Love Cooking (That They Don’t Already Own)
9 Innovative Delta Faucets to Transform Your Kitchen
How to Design a Coastal Kitchen: 7+ Soothing Beach-Themed Kitchen Ideas
How to Design a Modern Farmhouse Kitchen
10 Pfister Faucets to Bring Your Sinks to the Next Level
Gourmet Kitchen Design Tips & Upgrades (That Won’t Break the Bank)
How to Clean a Sink: The Ultimate Guide to Sink Maintenance
10 Cabinet Organization Ideas + How to Organize Your Kitchen Cabinets in 3 Steps
The Ultimate Guide to Faucets: Spouting off!
Pendant Lighting for Kitchen Islands: Ideas Guaranteed to Brighten and Update Your Kitchen
What Are the Most Common Sink Sizes?
The Ultimate Guide to Choosing a Dining Room Table
How to Clean & Maintain Your Faucet
How to Care for Your Stone Countertops
Our Favorite Lighting Styles for 2020
When to Replace Your Kitchen Faucet
Lighting Principles to Transform Any Room
The Ultimate Guide to Sinks for Your Home
Best Kitchen Faucets to Pair with Your Farmhouse Sink
The Ultimate Lighting Guide: Everything You Ever Wanted to Know (and Then Some)
How Much Do Kitchen Cabinets Cost?
Does a Kitchen Remodel Add Value to Your Home?
How Much Does a Kitchen Remodel Cost? Tips to Calculate (and Stick to) Your Budget
How much does it cost to replace floors
Replacement of floors in a house or apartment is carried out for various reasons.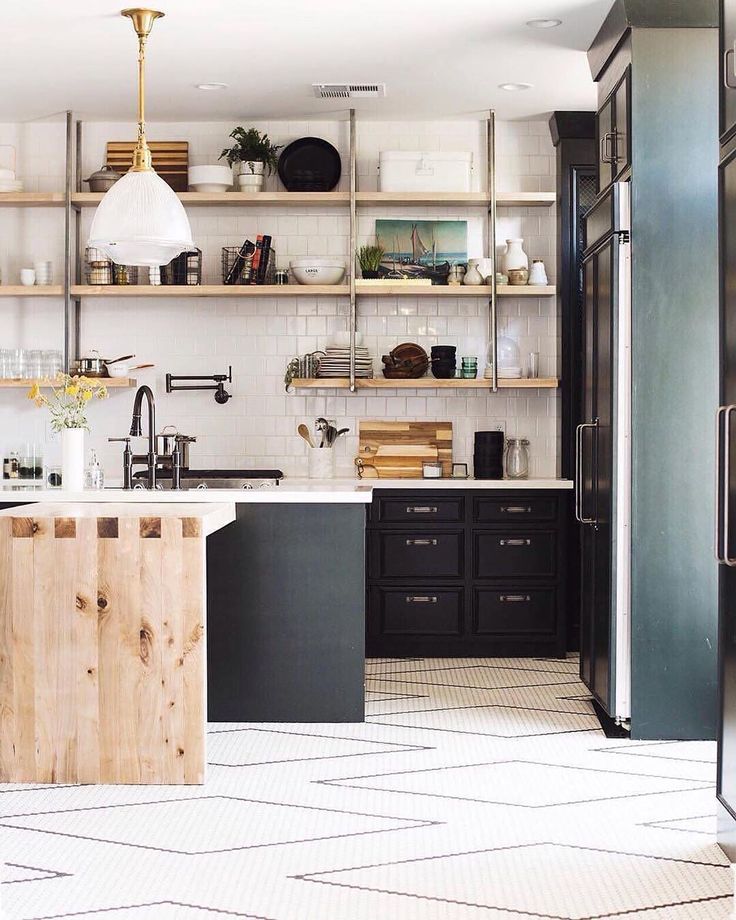 The most common examples are the need to install sound and heat insulation, a decision was made to install a “warm” floor, there was a deformation of the coating, the boards began to creak or the humidity coming from the basement increased, just wanted something modern and new.
Be that as it may, you will have to do a huge job, consisting of several stages. A lot during material replacement depends on what material the old floors are made of and how you plan to see the new flooring. Moreover, you need to consider an additional function that would increase noise and heat insulation, as well as provide more reliable protection for the apartment.
In order not to surprise you with the complexity of the upcoming work, you need to find out not only how much the replacement of floors costs, but also get acquainted with the main stages of the upcoming events.
Dismantling the floor
This process is one of the most unpleasant.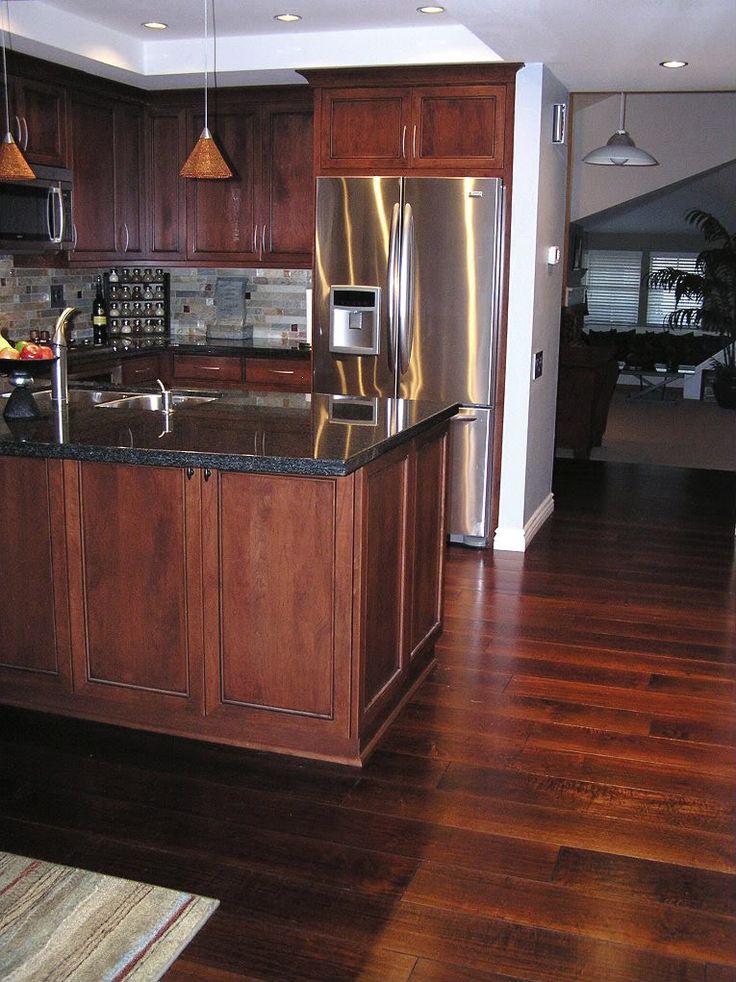 But no matter how scary it may be, you simply can’t do without such an activity, and therefore you should boldly take up work.
If the old floor in the apartment is wooden, then there will be no big difficulties and problems with its dismantling. For work, you need to prepare all the necessary tools, such as a hammer with a nail puller, an ax, a pry bar, a screwdriver, an electric saw or an electric jigsaw for cutting old boards (if you do not plan to reuse them), a shovel and garbage bags.
Dismantling the old wooden floor
- First of all, you need to get rid of the skirting boards by removing them around the entire perimeter of the room, and only then can you start dismantling the wooden flooring.
- If you plan to re-lay the boards or use them as joists, then remove them carefully, being careful not to cause serious damage to them. Therefore, using a nail puller, carefully pull out all the nails. If the boards were fixed with self-tapping screws, then this process will not cause any difficulty - most often they can be unscrewed with a screwdriver.
- If you do not plan to use boards in the future, it is better to take them out of the apartment immediately. Do not collect a bunch of garbage, as it will interfere with subsequent actions. It is also worth doing with other elements that you definitely will not need for installation work.
- Having freed up space, you can start dismantling the log. It is important to remember that they can be securely fastened to the floor, and they must be dismantled carefully, trying not to damage the base. Otherwise, you will add to yourself additional work and expenses that will be spent on sealing the holes that have formed.
- When you free the room from the old coating, it is necessary to carry out its thorough cleaning, as far as the foundation allows, of course. After completing this procedure, you can begin preparing the floor for installation work.
Removing a wooden floor: video
Removing a concrete floor
Removing an old concrete floor can be repaired only in extreme cases. Drastic measures are taken only if the old cement coating cannot be preserved. For example, it was constantly exposed to moisture without regular drying. In such a situation, mold and fungus could form in the concrete layers, which can cause health effects for residents - asthma, allergies, lung diseases, rhinitis, and others. Naturally, it is simply necessary to dismantle such a coating.
Another reason for dismantling is the low ceilings in the apartment. If you are going to install the floor with insulation, then be prepared for the fact that it will become higher, and the coating must be removed to make room for the sound and heat insulation structure.
If you plan to dispose of the screed, make sure it is laid on a concrete floor and proceed with extreme care.
To remove the screed layer, it is better to use a perforator. With its help, its individual pieces are removed. Typically, such a layer leveling the slab is from 50 to 120 mm.
When the old screed has been removed, cleaning activities must also be carried out. However, in this embodiment, it is unlikely that it will be possible to make an ideal cleaning, but you will have to make every effort.
Preparatory work
In order for the new flooring to be installed properly, the cleaned base from the old floor must be brought into proper condition.
- Carefully remove all dust from the surface. This is done in order to detect serious flaws in the base (holes, cracks, crevices, areas of coloring or peeling, places where the concrete has been impregnated with certain compounds, or where traces of mold and dampness were visible).
- If you find such, they must be well sealed, otherwise they may reduce the effect of sound and thermal insulation.
 This can be done with mounting foam, cement mortar or sealant. It is necessary to make a choice of repair materials, starting from the size of the damaged base. In case of mold or fungus formation, the base must be impregnated with special aseptic compounds.
- Once the base is dry, the next preparation steps are carried out, which will depend on what type of flooring is being replaced. For this reason, these processes should be considered in conjunction with the installation of each type of floor.
But keep in mind that even if you are going to install a wooden floor instead of a dismantled screed, the surface will have to be leveled with a new concrete coating (small layer).
Making a new tie
There are many ways to make a new tie. If the base is more or less even, and a wooden coating is laid on top of it, then put it in perfect order by making a self-leveling floor. One of the best options would be to pour a self-leveling coating.
The self-leveling coating can hide small flaws or differences in the substrate. To do this, you need a ready-made dry mortar intended for self-leveling floors.
You will be able to get acquainted with the technology of preparing the solution on the package, and it must be strictly followed. Next, the finished solution must be poured over the surface, then distributed with a wide spatula or doctor blade, and then pierced with a spiked roller to release the remaining air bubbles.
The leveled floor must be left to dry to gain strength. All compositions are characterized by their maturation period, depending on the components from which the building mixture is prepared.
Then on the leveled floor, you can:
- lay a thin insulation and lay a decorative coating;
- to equip the plywood flooring with laying a special film of infrared floor heating;
- lay the wooden floor on the installed joists.
Expanded clay screed with insulation
The second type of screed is laid directly on expanded clay, which is a high-quality sound insulator and insulation. Moreover, the material is quite light, which means it will not make the interfloor floor heavier, which should be taken into account when performing a screed in an apartment. Moreover, the process of laying this screed is as follows.
- If screeding is carried out on the first floor above a cold basement, the first step is waterproofing. Its installation is carried out in various ways: cast, plaster, painting, pasting and others. It is applied not only on the floors, but also on the lower part of the walls, on a pre-primed surface.
- A dense polyethylene film is laid on the previously prepared waterproofed surface, extending over the walls by 20 cm. The sheets of the film must be glued together using a special adhesive tape.
- Further on, a damper tape is attached to the top of the film along the perimeter of the room, which helps to keep the screed intact during strong temperature changes.
- Further, beacons are installed on top of the film, aligned with the level. Usually they are fixed on a concrete solution. At the same time, the height of the beacons must correspond to the height of the expanded claydite layer to be filled in + the planned thickness of the screed.
- Further expanded clay is poured in a layer slightly below the installed beacons and well leveled.
- Then, a concrete solution is poured over the expanded clay, which is leveled over the top of the beacons.
- When the screed dries, it is likely to settle a little, it can be covered with a thin layer of self-leveling floor.
- Further, any decorative flooring is laid on top of this structure.
Uninsulated screed
An ordinary concrete mortar screed is produced to strengthen the floor for further wooden flooring or on floors of an apartment building where insulation is not required.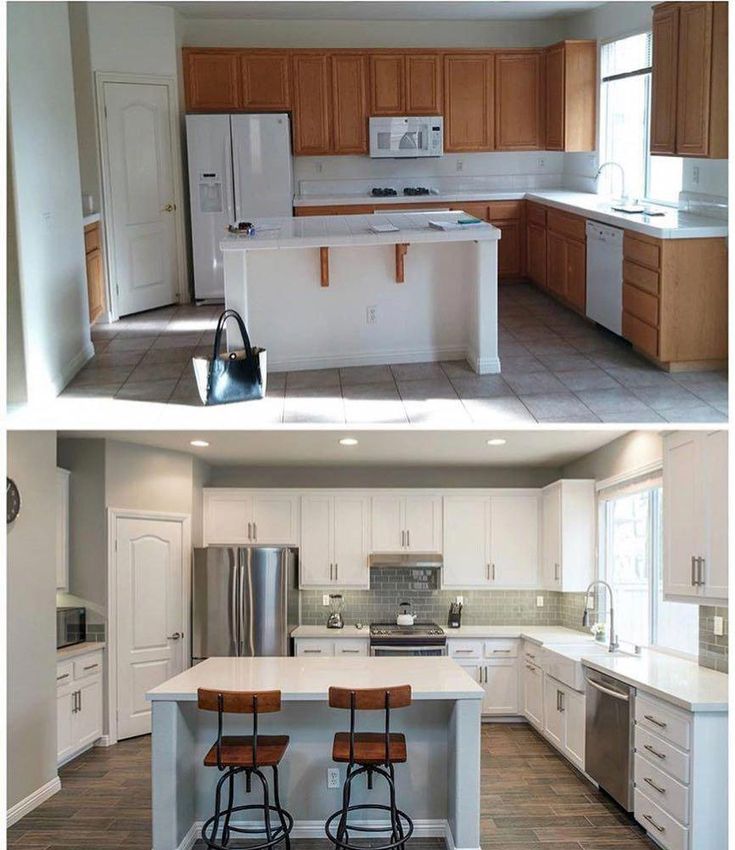
Next, a polyethylene waterproofing film should be spread on the prepared base.
A special damper tape is glued along the entire perimeter of the walls.
On top of the laid waterproofing film, it is necessary to lay a reinforcing mesh (fiberglass or metal), then install beacons that are leveled in a horizontal plane.
Next, the concrete mortar is poured 1.5-2 cm above the beacons, starting from the far wall of the room, after which it is leveled with the rule (it must be carried out strictly along the beacon guides).
Thus, the whole room is poured and leveled, after which the screed is left for 3-4 weeks, during which time it will harden and mature.
After it is ready, proceed with the installation of logs, insulation, and boarding.
Dry screed
Another option for arranging a new floor is a dry screed, which is perfect for installation in an apartment.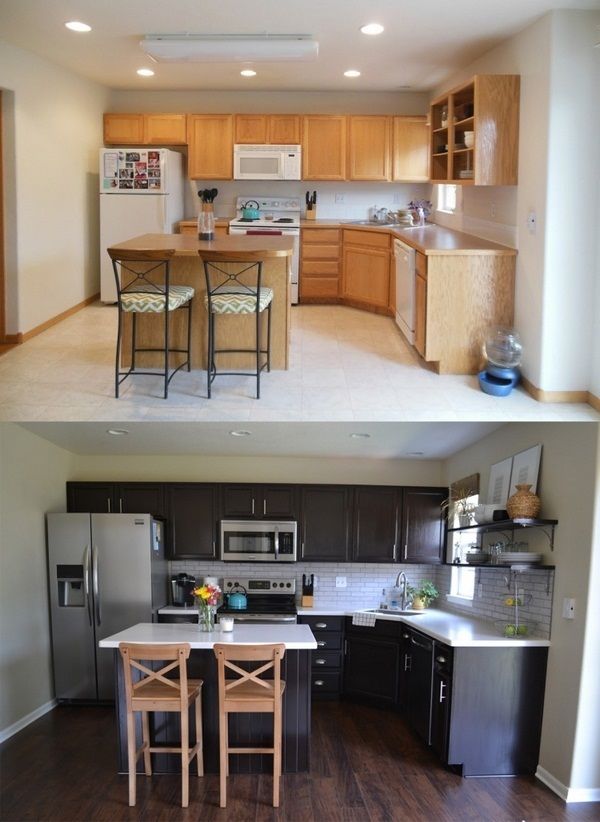 She has proven herself well in that she does not have to knead the solution and breed a swamp in the dwelling. Floors made of dry screed are made as follows:
- A dense polyethylene film is laid on the floors, which should be 5-10 cm on the wall (height margin). A board is installed in the doorway to limit spillage of the mixture. The flooring should fit as tightly as possible to the surface of the base.
- Next, beacons made of even wooden beams or a metal profile are laid on the film. But in this version, the screeds cannot be fixed to the base, otherwise, after leveling the surface, the guides from the backfilled layer must be removed.
- The beacons themselves must be aligned to the building level to a flat horizontal plane.
- The next step is pouring the filler onto the film. Its layer should have a greater height (by several millimeters) compared to the installed beacons.
- Using the rule, the dry aggregate is leveled, focusing on the beacons.

- The last stage is the laying of gypsum-fiber boards with butt joints. Glue is applied to them, after which the next panel is laid. This is done in such a way that the lock parts fit perfectly. The plates are additionally fastened in these places with the help of self-tapping screws.
The finished floor is finished with a decorative finish, the choice of which depends on your personal preferences.
Wooden floor
A floor made of plywood or tongue and groove boards is installed on the prepared screed. Moreover, it can be laid directly on a concrete base or laid on logs.
The most popular of these options is the first one, because it has many advantages. For example, between the lags it is possible to lay sound insulation and insulation. Moreover, the surface is raised above the concrete, which in turn adds an insulating effect. Another advantage is that the lags add more rigidity to the coating, and it becomes more reliable. Floors on logs or bars are installed in several stages:
- Before attaching the logs, the room is marked out. The lines are beaten off with a colored stretched twine. The distance between the lags should correspond to the width of the insulation material (in the case of mineral wool, it can be reduced by 30-50 mm, it will be much better).
- Next cut the logs to the desired length. But it is important to remember that they should be at a distance from the wall, no less than the thickness of the insulation. As a rule, mineral wool is used for insulation - when using low-quality polystyrene foam in closed residential areas, the atmosphere will not be so environmentally friendly.
- Further actions are connected with the installation of the log to the base. You can fix them to the concrete base itself or raise them to a certain height using metal holders or studs.
- The distance between the log posts fixed to the floor should be within 40-50 cm.
 The level of the future floor can be brought to a horizontal plane by adjusting the height of the posts.
- At the end of this work, it is necessary to lay the insulation. First, this must be done between the wall and the logs, around the entire perimeter of the room, then lay it between the log bars.
- The next step is to cover the entire structure with a special vapor barrier film - it should be fixed to the logs with a stapler.
- Boarding is the most important process. Starting floorboards should be 5-7 mm from the wall, which will provide ventilation and compensation for linear expansion from increased humidity or thermal changes in the room.
- A plinth must be fixed on top of the floor made of planks along the perimeter of the room. And it should be fixed to the wall, and not to the floorboards.
- If you plan to lay plywood on logs, then provide a joint between two sheets so that it falls in the middle of the log bar.
 You need to calculate the size of the plywood. For surface rigidity, the sheets must be fastened according to the brickwork system, namely with a shift of the next one by half the sheet.
- As soon as you have completely laid the material, all gaps between the sheets must be filled with putty. After waiting for it to dry, cycle the surface.
- On top of the plywood, you can lay different decorative coatings, after which the skirting boards are installed, giving completeness to the floor.
In addition to the simple floors discussed in the article, heated floors - electric or water - have recently gained particular popularity. The device of these systems is considered by us in other materials of the site "Remontik".
With the right calculation, you can do the dismantling and installation of the cover yourself, which will save you money, since such work will be quite expensive. Now consider how much it costs to replace floors. We have provided a table with average prices in the market.
| Service name | Price in dollars per m 2 |
| Leveling and repairing screed | 2.5-4 |
| Floor removal | 1.5-2.5 |
| Waterproofing device | 1.3-1.5 |
| Floor insulation | from 1 |
| Laying a log, laying plywood on concrete, making a wooden subfloor | from 1.5 |
| Wooden floor replacement | 2.25 |
| Screed reinforcement | 0.5 |
| Finish | from 2 |
Change floors in the apartment. How much does it cost to repair a 30m2 floor on a turnkey basis? We put new logs and lay the floor
Contents
- Change floors in the apartment. How much does it cost to repair a 30m2 floor on a turnkey basis? Putting new logs and laying the floor
- Replacing the wooden floor in a panel house.
 Is it justified to replace the old wooden floor with a concrete screed in the apartment?
 - To restore a wooden floor I need:
- To make a screed I need:
- I came to the conclusion that it is faster, easier and more profitable to restore floors.
- Replacing the wooden floor in Khrushchev. Wooden floor in Khrushchev: pain or gift of fate?
- Video floor replacement, wooden floor replacement, floor replacement video
Change floors in the apartment. How much does it cost to repair a 30m2 floor on a turnkey basis? We put new logs and lay the floor
Under the laminate flooring, we are used to screeding the floor and leveling it with a self-leveling floor, but what to do when this option is not suitable or the customer is categorically against it? There is only one option - new logs and a flat subfloor. The main request of the customers was the complete replacement of the floors, their leveling and partial thermal insulation. In view of the high cost and the risk of flooding the neighbors from below, it was decided to abandon the screed, waterproofing and self-leveling floor. Floor repair steps without screed:
1. Dismantling . First of all, it is necessary to dismantle the old floors and logs to the concrete floor (in all houses except for the stalinok), remove and dispose of all garbage. The overlap looks something like this:
2. Find the level and set the lags. According to the level, the unevenness of the floors was 6.5 cm, which is a lot for such a small space. We dismantled and threw away the old parquet and all the logs that had long rotted away. New logs were fixed to reinforced corners and treated with mounting foam for additional fixation. A bar 50 * 50 was used, laid at intervals of 40 cm:
3. Subfloor, bonded with 20 mm plywood. It turned out very strong, reliable, and most importantly - a flat surface. After that, a substrate was laid on the plywood and a laminate was laid on top of it:
Conclusion: The total floor area is 30 square meters, the cost of work is 21,000, the cost of the material is 24,000.
Put "Like" and subscribe to the channel , there is still a lot of useful and interesting ahead.
Replacement of a wooden floor in a panel house. Is it justified to replace the old wooden floor with a concrete screed in the apartment?
Hello!
When renovating my apartment, I was faced with the need to replace/repair old wooden floors.
I bet the new floors didn't look much better than they do now. Even the width of the boards, and even then, was not selected.
The old floors creaked a lot in places of the greatest traffic, were uneven, the surface was in a terrible state.
First of all, I found out what condition the logs are in (semi-logs laid every 80-100 cm) and the flooring itself (boards, 4-5 cm thick, are laid on the logs without gaps).
Having removed the "cultural layers", or rather linoleum, ancient plastic tiles, hardboard, I finally got to the flooring.
I came across strong, durable boards with a thickness of 50 mm. Having opened the flooring in 2 places in each room, I was convinced of the strength of the log. The wood is dry, hard, without traces of rot and wormholes.
If the flooring or the logs were rotten, then the wooden floor would be replaced exactly with a screed. Now you have to choose:
To restore the wooden floor you need:
Get rid of squeaks
Level the base (with plywood)
Lay the flooring (laminate, carpet, linoleum)
Hell of a job!
To make a screed, I will need:
Dismantle the flooring and logs
Pull hundreds and hundreds of kilograms of good wood out of the house
Hire a car for removal
30002 Screed, praying that the hardwood floors of the house will hold up.
I would not hire people, do everything for me. I imagined how much effort it would take just to lift bags of mixture to the 3rd floor without an elevator.
Approx. 50 kg of mixture per 2 sq. floor meters.
I came to the conclusion that it is faster, easier and more profitable to restore floors.
And the main thing for me is that you can do everything alone.
True, wooden floors lose out compared to modern screed.
They will need a coating, just like a screed. You can't restore your appearance.
The wooden floor layer is larger than the screed layer - the ceilings are lower.
There is a "drum" feeling. Every heavy step on the floor gives off a rumble. The vibration is felt throughout the room.
They are not eternal.
They are afraid of moisture.
The tiles on them are a perversion. The kitchen will have to lay linoleum.
However, after removing the squeaks, I was satisfied with the floors.
At least not comparable to floors in monolithic new buildings. If here I pay attention to the rumble of my steps, then in the new building I hear how a neighbor living 2 floors below rejoices at a goal.
Reader's note:
If you give an article a thumbs up, Zen will suggest more articles on that topic. If you subscribe to the channel, the author understands that the number of his censors has increased. Hence the increase in the quality and quantity of publications... You understand what I mean =)
Productive work and good rest!
Replacing the wooden floor in Khrushchev. Wooden floor in Khrushchev: pain or gift of fate?
Have you ever come across floors in Khrushchev? If you haven't, then read on.
And if you had to, then you know that the floors in Khrushchev houses are arranged, as a rule, along the logs.
There are probably girls among my esteemed readers, so I explain.
Right on the concrete floor, which is also the ceiling of your neighbors below, there is a thick wooden beam (not always thick and not always beam, but let there be a beam). When laying it, it was leveled, and another beam was placed perpendicularly on top. So Makar turned out to be a wooden mesh, which rests itself right on a concrete slab. The beam is fastened together. At a time when Khrushchev houses were just being built, they did it with nails.
Plywood was sometimes laid over the entire structure described above. In such a not too tricky way, a flat draft floor was obtained, on which it was quite possible to lay linoleum.
It looks like this. Here they even added assembly foam.
Let's imagine that you bought this oldest killed Khrushchev.
And just like that, the floor is on logs!
Let's figure out what to do with this miracle?
Are there any advantages?
- You have a finished subfloor.
- The lags have been lying for half a century and have dried up long ago - this is a very big plus.
What are the disadvantages?
- This is a tree, and a tree is often equal to the word "creak". Yes, lags not only can, but often creak with pleasure with different tonality.
 If desired, and with regular training on lags, you can certainly perform some kind of piece of music.
 - Wood may rot. And this, as they say, will show only an autopsy.
But someone made a new one
So what to do with the old creaky floors?
1. Open the floor and inspect the joists. Do not be afraid of a uniform dark color - this is not rot. Rotten wood crumbles with fingers. If the tree does not crumble, then the logs will lie for another hundred years, and you can safely leave them. Also treat them with a special protective composition for wood - it has not hurt anyone yet.
2. How to get rid of the squeak? With a screwdriver and good screws. When the builders laid the logs, the tree could still dry already in its, so to speak, laid state (hence the creak). Yes, and nails by themselves are not the best option for fastening. Therefore, we simply take and twist the screws into all connections. Not too hard, right?
3. Well, then… Master-master.