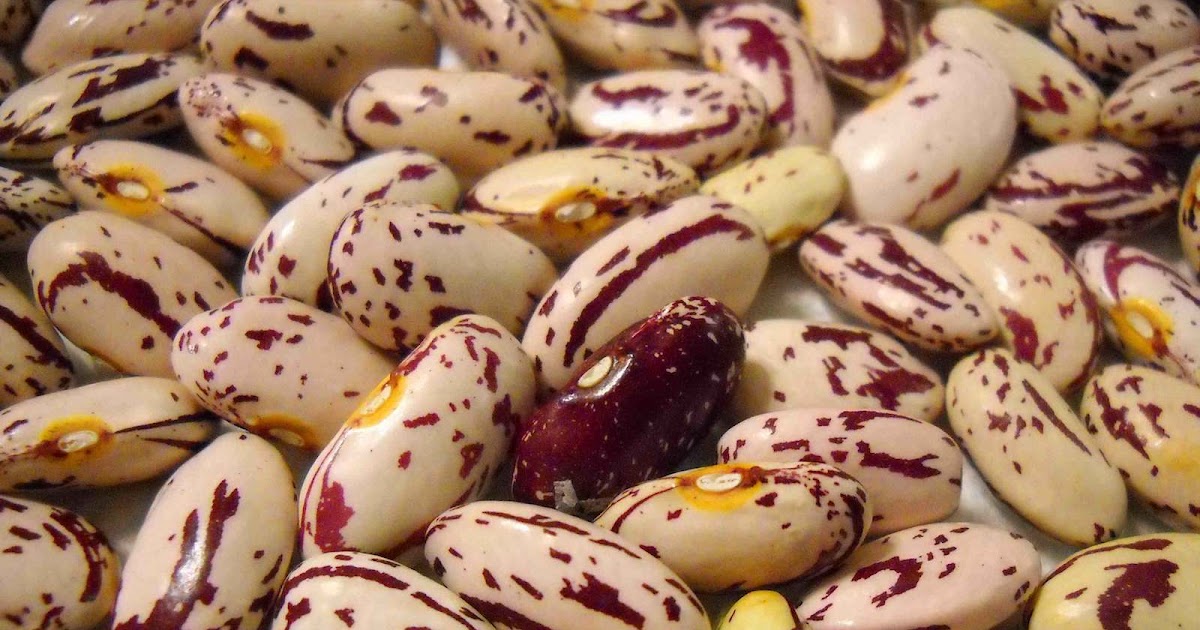
Growing red kidney beans
How to grow kidney beans – a healthy inclusion to the home garden
(Image credit: Getty Images)
Learn how to grow kidney beans for a versatile ingredient that’s packed with flavor and goodness.
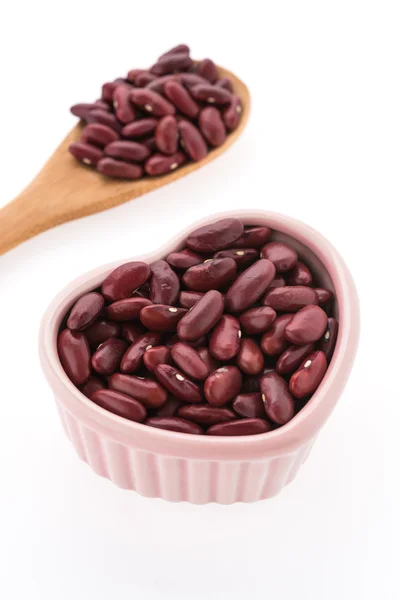
Kidney beans are a fantastic source of protein and dietary fiber, and are rich in nutrients including iron, vitamin B6 and folic acid. Eating them regularly can help to control blood sugar levels as they are low on the glycemic index, and they can even reduce cholesterol when eaten in place of meat.
So much more than a staple of hearty chilis, kidney beans can be enjoyed in salads, stews and soups. They can also be dried and stored for year-round use, making them a fantastic addition to your kitchen garden ideas.
Kidney beans are easy to grow, but you do need to consider whether your local climate is suitable. 'They grow well in temperate climates, and love a temperature range of around 59-77°F (15-25°C),’ says Aditya Abhishek, a horticultural expert for Agriculture Review .
Bear in mind that kidney beans must be properly cooked before eating, as they contain lectin, which can cause sickness if not diminished through boiling.
(Image credit: Digihelion / Alamy Stock Photo)
How to grow kidney beans – step-by-step guide
Ideally you should sow your kidney beans in the spring. ‘Generally you can sow seeds from February to March for a good germination rate,’ says Abhishek. ‘However, this can vary according to local climate. In hot tropical areas, you can start sowing seeds from mid October to November.’
The key issue when deciding when to plant kidney beans, is whether the soil feels warm enough. ‘Kidney beans love warm soil, so they should be planted only after the last frosts – otherwise, they will rot,’ says Emilly Barbosa Fernandes, small space gardener at HouseGrail .
- First, choose a good site to sow your kidney beans. ‘Select a spot that receives at least 6 to 8 hours of direct sunlight each day. This will help in good vegetative growth and reduce the risk of pests and diseases,’ says Abhishek.
 ‘You need well-drained, loose soil that is rich in organic matter – soil pH in the range of 6.0 to 7.0 is ideal.’
 - It’s important to space the plants to give them enough room to grow, as kidney beans do not like to be transported. ‘Grow pole beans at least 4 inches apart and increase that to 8 inches apart for bush kidney beans,’ explains Jason White, CEO of All About Gardening .
- To maximize chances of success, plant two seeds close to each other, and remove the weaker seedlings as they grow. ‘Sow the seeds 1-2 inches deep to guarantee that the plant will stay firmly in the ground,’ says Barbosa Fernandes. ‘Otherwise, wind or rain will easily break shallowly planted plants.’
- Cover the kidney beans with soil, firm the ground and water them lightly.
- The seeds should germinate within two weeks, but it will take a little time before your beans are ready to harvest. ‘It will take around 100-140 days for the plant to mature, and to produce kidney beans,’ says Abhishek.

- Keep the plants moist, but do not over water them. ‘Kidney beans only need minimal care, so avoid watering them constantly,' says White. ‘Add a layer of mulch to help in retarding weeds and to maintain moisture in the soil.’
It is better to grow kidney beans in the ground, but if you choose a pot of at least 12-inch diameter, they can make a good vegetable garden container idea. Plant one seed per pot.
(Image credit: Digihelion / Alamy Stock Photo)
Do kidney bean plants need support?
Pole varieties of kidney beans will require support as they grow, so investigate one of the many vegetable garden trellis ideas.
The most simple solution is to add a cane close to the planting hole, when sowing the seeds. You can then tie in the vines as they grow.
If you are growing a bush variety of kidney bean, then the plants won’t require much support, but do keep an eye on them in bad weather.
Which variety of kidney bean?
When investigating how to grow kidney beans, there are a number of varieties to choose from, but bear in mind that some are more susceptible to viruses than others.
‘By picking the right varieties you will have better chances to have a good, healthy harvest,’ says Barbosa Fernandes. ‘I advise beginners to pick the kidney bean varieties that are less prone to mosaic viruses such as NY-15 and BY-1.
‘If you want to plant dark red kidney beans, Montcalm is a good variety that is resistant to viruses. Redkloud, Ruddy, and Redkote are good varieties of light red kidney beans that are resistant to major kidney beans viruses.’
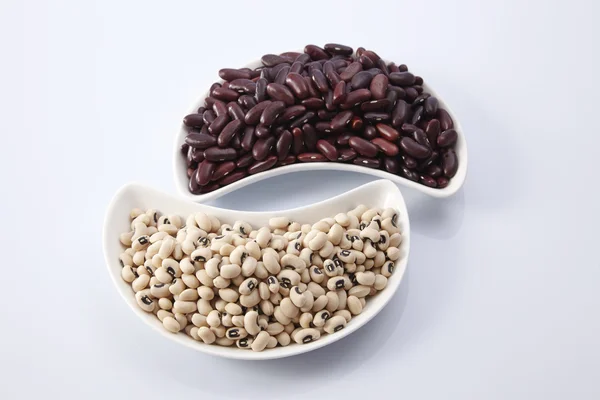
(Image credit: Mongkol Nitirojsakul / EyeEm / Getty Images)
How to harvest kidney beans
You can harvest kidney beans when the pods are plump with well-formed beans – at this stage the pods will have yellowed and the beans will feel quite hard.
One of the benefits of growing kidney beans is that they can be dried and stored away for future use. To do this, remove the plants from the ground and hang them upside down in a dark, dry area.
It will take anything from a few days to a couple of weeks to cure the beans, at which stage you can remove them from the pods and store in an airtight container.
To rehydrate dried kidney beans, soak them in water for at least 8 hours, followed by a good rinse. Then, before eating them you must cook them to destroy the lectin – this requires a minimum boiling time of 10 minutes.
How long does it take to grow a kidney bean?
It takes anywhere from 3-5 months to grow kidney beans from seed to harvest, but germination will happen in as little as a few days.
‘Sprouting typically takes at least five days, but the length of time varies with temperature. Generally speaking, warmer temperatures make beans grow faster,’ says Pascal Harting from Gardening Lord .
Are kidney beans easy to grow?
Kidney beans are easy to grow if you live in a mild climate and have fairly neutral soil. They are low-maintenance plants, and do not like being over-watered.
Kidney bean issues
Keep an eye out for pests when growing kidney bean plants. ‘Leafhoppers, slugs, aphids, and beetles are all attracted to kidney bean leaves,’ says Barbosa Fernandes. ‘Handpicking and organic pesticides are the ideal methods to get rid of these pests.’
If aphids are present, you can easily make your own treatment spray using a very weak concentration of dish soap.
'While watering kidney bean plants, avoid wetting of leaves as it can promote fungal infection in the plant,' adds Abhishek.
As editor of Period Living, Britain's best-selling period homes magazine, Melanie loves the charm of older properties. I live in a rural village just outside the Cotswolds in England, so am lucky to be surrounded by beautiful homes and countryside, where I enjoy exploring. Having worked in the industry for almost two decades, Melanie is interested in all aspects of homes and gardens. Her previous roles include working on Real Homes and Homebuilding & Renovating, and she has also contributed to Gardening Etc. She has an English degree and has also studied interior design. Melanie frequently writes for Homes & Gardens about property restoration and gardening.
|
||||||||||||||||||||||||||||||||||||||||||||||||||||||||||||||||||||||||||||||||||||||||||||||||||||||||||||||||||||||||||||||||||||||||
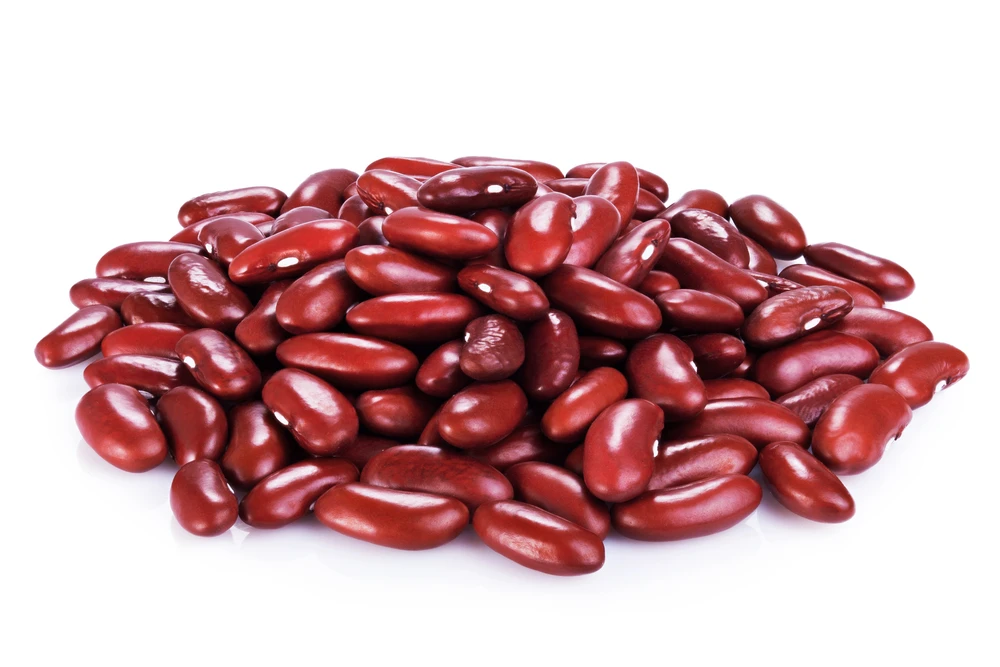
 Native to Mexico, they require around 95 days from germination to harvest. Red Kidney beans are typically harvested at complete maturity as dry beans.
 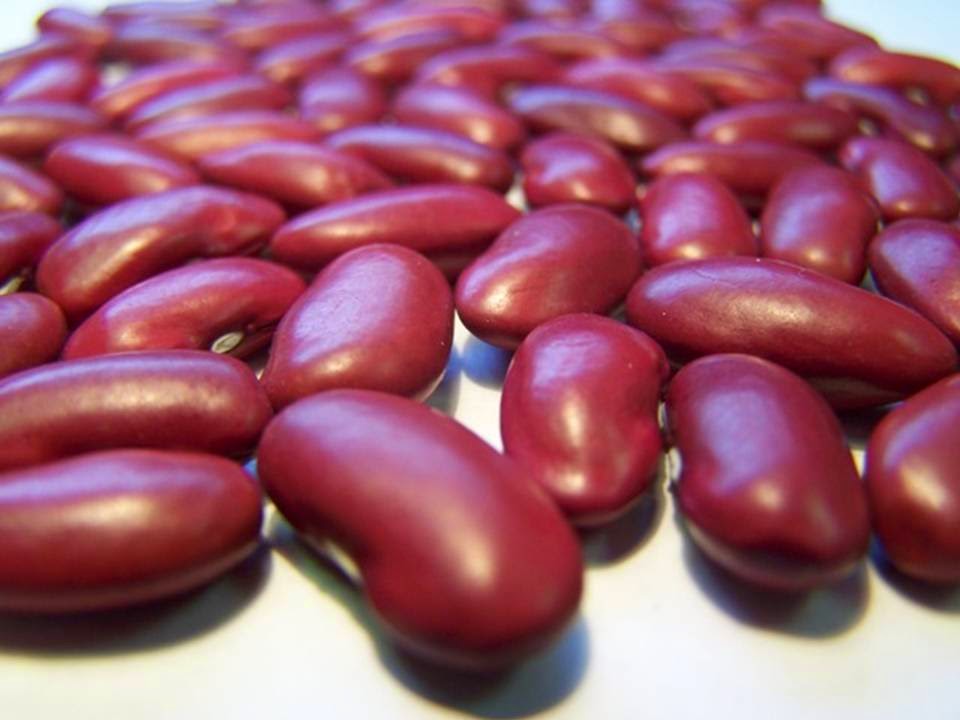 The most important point about growing beans is not to plant them too early. They will rot in cool, damp soil. Even so, many beans require a long growing season of 80 days or more. To get an earlier start, you can put down black plastic, to warm the soil.
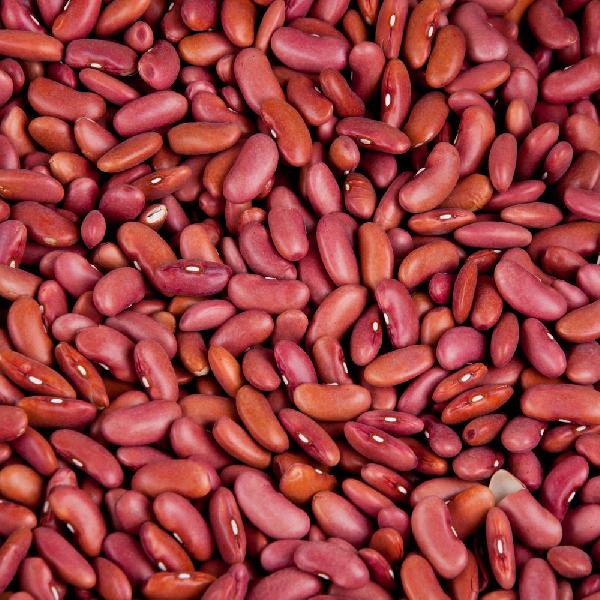 Pole beans will need some type of support to grow on. Be sure the trellis, teepee, fence or whatever is in place before you seed. Plant seeds at a rate of about 3-6 seeds per teepee or every 6 inches apart.
 Staggered planting, every 2 weeks, will keep your bush beans going longer. Pole beans need time to grow their vines, before they start setting beans. The pole bean crop will continue to produce for a month or two.
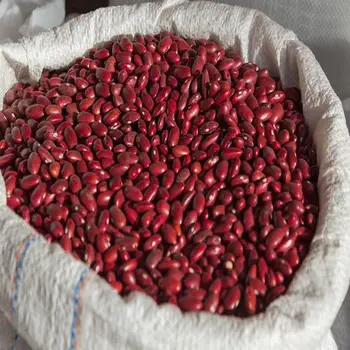 You can start to harvest anytime, but gardeners usually wait until the beans begin to firm up and can be snapped. They are generally about as think as a pencil then. Don't wait too long, because beans can become overgrown and tough almost overnight. Harvest by gently pulling each bean from the vine or by snapping off the vine end, if you are going to be using the beans right away.
 Perhaps the best simple indicator for snap beans is the diameter of the pods. Generally, most varieties will yield the best snap beans with a diameter between ⅛-1/4". Maybe the best way to determine suitability for harvest is to sample a pod or two before making a complete harvest. It is worth noting that many varieties of snap beans that are allowed to develop completely also make good dry beans.
 If experiencing a spell of rain late in the season once pods have matured, plants can be removed from ground and hung upside down indoors to allow dessication to continue.
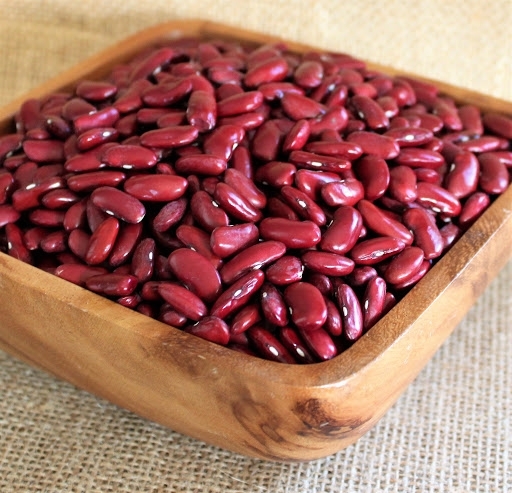 If you grow a lot of beans, this may not be a practical option, but you could try it with one or two plants perhaps. Store the roots in a frost-free place, buried in slightly moist sand or leafmould, or something similar.
planting, care, cultivation, harvesting and storage of crops
Red kidney bean is a heat-loving crop valued for its high content of vegetable protein, taste and dietary properties. Learn how to plant, grow and store beans for the next harvest.
The history of red beans
The peoples who inhabited the South American continent were the first to grow beans. The wild plant was cultivated more than 7 thousand years ago. Somewhat later, beans began to be grown in Egypt, the Roman Empire, and China.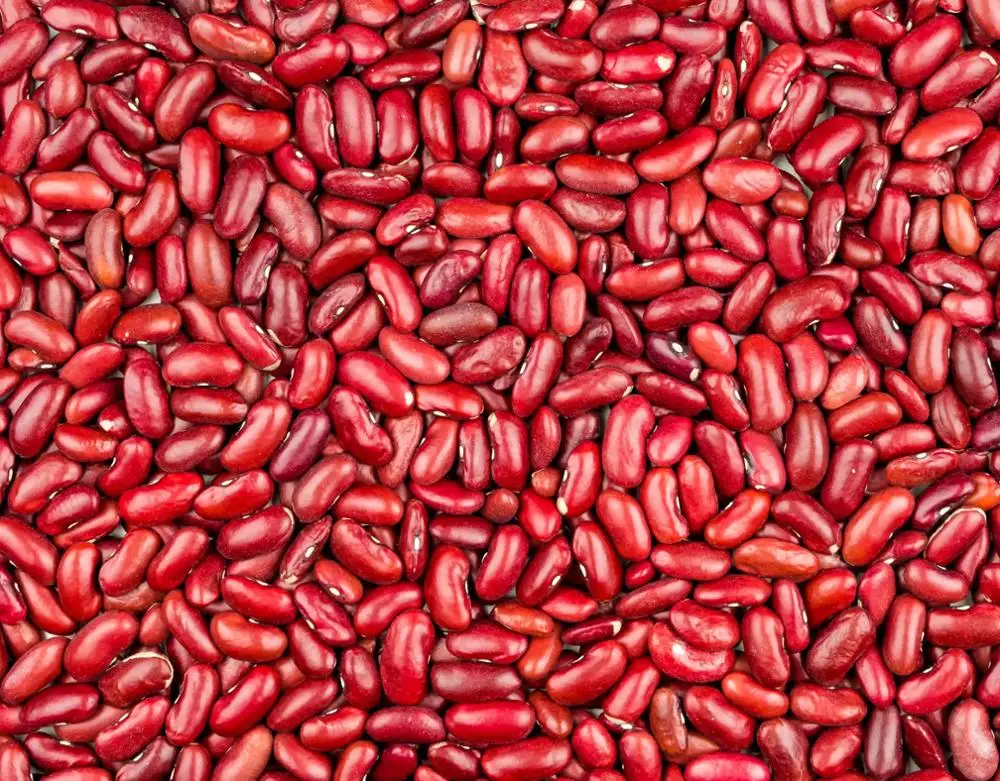
By the Middle Ages, beans, for unknown reasons, were forgotten in Europe. Another meeting with her took place thanks to the Spanish sailors. It was they who, after the voyage of Columbus, brought bean seeds to Spain, which soon became one of the most nutritious and sought-after crops here.
Red beans were brought to Russia in the 16th century. At first, it was perceived here as an ornamental plant, and as a food crop they began to grow only in the 18th century.
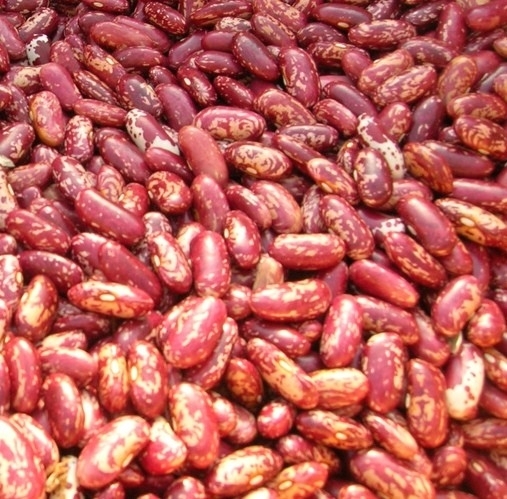
There are about 150 types of beans in the world, and red beans are just one of them.
The best varieties of red beans
This variety is distinguished by the shape of pods and beans, taste, ripening time, type of bushes (upright and climbing) and other features.
Popular varieties of red beans:
- Red common. Bushes grow up to 50 cm in height. The length of the pods is 10-12 cm. Each contains 8-10 red seeds. The weight of one bean is 3 g.
 From 1 square. m collect 2.5 kg of beans. Ripening time is average.
- Little Red Riding Hood. Red pigmentation predominates in beans. There is some white. This is a late-ripening variety with bushes up to 45 cm high. Pods of medium length contain 8-10 beans. Productivity - 3 kg per 1 square. m or more.
- Chocolate girl. Late large-fruited variety with bushes 40-55 cm high. Pods up to 15 cm long, each containing 6-7 red-brown beans. Each bob has a white stripe. Productivity - over 3.5 kg / sq. m.
- Early ripening. An early variety with pink-red beans. There are white patches. The length of one bean is up to 2 cm.
The benefits and harms of red beans
Any bean contains vegetable, easily digestible protein, which successfully replaces meat. Red beans contain approximately 25% protein, and in terms of their energy value, they are equal to their animal counterparts.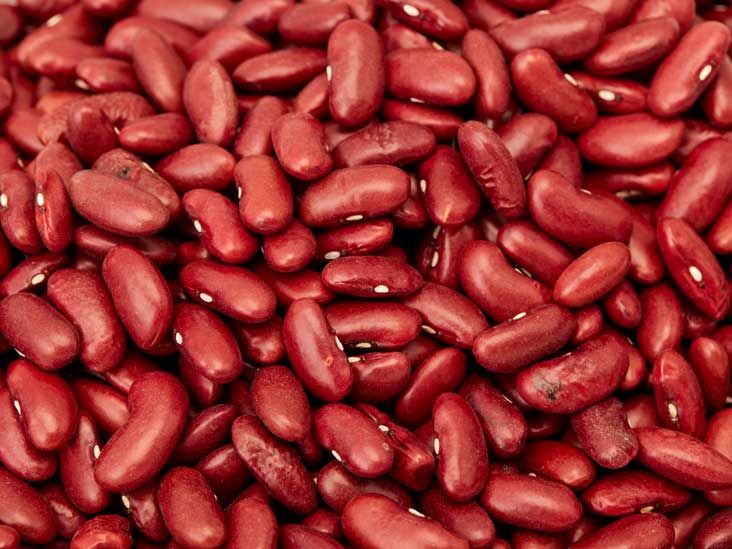
Benefits of red beans:
- promotes weight loss;
- appetite suppressant;
- prevents diabetes and cardiovascular disease;
- improves circulation;
- normalizes the functioning of the digestive system;
- promotes the elimination of toxins;
- strengthens the immune system.
Red beans contain a record amount of boron, calcium, copper, magnesium, potassium, aluminum. It also contains a lot of vitamins C, E, K and group B.
Beans are strictly forbidden to eat raw, as this can cause poisoning. Fresh beans contain toxins that are easily neutralized by heat treatment or soaking.
Beans are eaten with caution in:
- Gout. It is not recommended to eat a lot of beans and predisposition to this disease. Beans are high in purines, substances that release uric acid when broken down, which the kidneys may not be able to remove.
- Diseases of the stomach and intestines.
 Beans cause gas and bloating.
Rules for planting red beans
The main condition for successful growth and high yield of beans is the right timing and well-prepared soil. This heat-loving plant should not be planted before stable heat comes.
Terms of planting for seedlings and in open ground
Beans are a heat-loving crop, so seeds thrown into cold ground will not germinate, they may even rot. Planting begins when the top layer of soil is 10-15 cm, warms up to + 12 ... + 15 ° С.
It is impossible to rush to plant beans, they are planted after the temperature has established and night frosts have been excluded. Seedlings die at +1 °C. For active growth and development, the culture requires a temperature of + 20 ... + 25 ° C.
Terms of sowing beans in the ground:
- in the Urals - at the beginning of June;
- in Siberia - in the second decade of June;
- in the central region - at the end of May-beginning of June;
- in the North-Western region - in the first decade of June;
- in the south - in the second half of April.
You can plant beans for seedlings in early April. Also a favorable period is May.
Site selection and soil preparation
Beans are planted in well-lit areas that are free from drafts and strong winds. Any soil is suitable, except for excessively heavy clay soils - water stagnates in them, so plant roots can rot.
In autumn, dig the soil as deep as possible, after spreading organic and mineral fertilizers over the area. For 1 sq. m area add:
- humus or compost - 4 kg;
- dolomite flour - 1 tbsp. l.;
- ammonium nitrate - 1 tbsp. l.;
- superphosphate - 2 tbsp. l.
Beans are recommended to be planted after:
- cabbage;
- tomatoes;
- cucumbers;
- potatoes;
- eggplant;
- pepper.
Undesirable precursors - all legumes. Beans do not grow well after peas, soybeans, lentils, peanuts. It is planted on the site after these crops no earlier than 3-4 years later.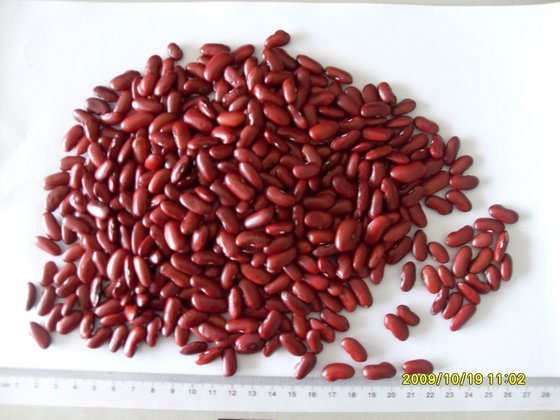 Beans grow well next to carrots, beets, onions, tomatoes, cucumbers, cabbage.
Planting red beans outdoors
It is recommended to soak the seeds overnight in water before planting. If you use ash infusion instead of water, soaking is reduced to 2-3 hours. Immediately before sowing the seeds in the ground, they are kept for 3-4 minutes in a weak solution of boric acid.
Order of planting red bean seeds in the ground:
- In the area dug up and fertilized since autumn, make furrows at intervals of 40 and 50 cm for bush and climbing beans, respectively. The depth of the furrows is 5-6 cm.
- Place the seeds in dry grooves at intervals of 20-25 cm and 30-35 cm for bush and climbing varieties respectively. To increase germination, plant seeds more often, but then the extra seedlings will have to be removed.
- You can make holes instead of furrows. Then put 3-4 beans in each of them. When shoots appear, leave the healthiest sprout, remove the rest or transplant to another bed.

- Cover crops with loose soil and level with a rake.
- Water the area using the sprinkler method.
- If in doubt about nighttime temperatures, temporarily cover crops with foil.
Planting in seedlings
In regions with cold, long springs, it is recommended to grow beans in seedlings in order to bring the ripening of the pods closer by 2-3 weeks.
Beans for seedlings are grown in large containers or in individual containers, including peat pots. The recommended container for growing seedlings is individual glasses of 250 ml and 8 cm in diameter.
Sowing order for seedlings:
- Soak the seeds before planting in the ground. It is desirable that they have sprouts.
- Make drainage holes in the glasses. Put them on a pallet and pour the soil mixture. Soil options:
- Mix peat, humus and garden soil in a ratio of 1:1:2.
- Take compost, soddy soil and sand in a ratio of 1:1:0.1.
- Mix garden and turf soil with sand in a ratio of 3:2:0.
 1.
1.
- Sprinkle the soil and make small depressions in the center of the cups. Hole depth - 4-5 cm. When sowing in containers, leave intervals of 7-8 cm between seeds.
- Place 1 or 2 beans in each hole. Preferably sprouts down or to the side. Fill the holes with soil and compact a little.
- Cover the crops with foil and place them in a warm room. Remove the covering material from time to time (2-3 times a day) for 10-15 minutes so that condensation does not collect on it.
- When sprouts appear, remove the film and lower the temperature by 2-3 °C. Place containers with seedlings closer to the light.
- Water seedlings when the soil dries out. You can also apply a mineral complex fertilizer to the soil, for example, Diammofoska (dissolve 3 g in 1 liter of water). The frequency of top dressing is 1 time in 10 days.
Fertilize only after the first true leaves appear on the seedlings. Before fertilizing, water the soil a little so as not to burn the roots.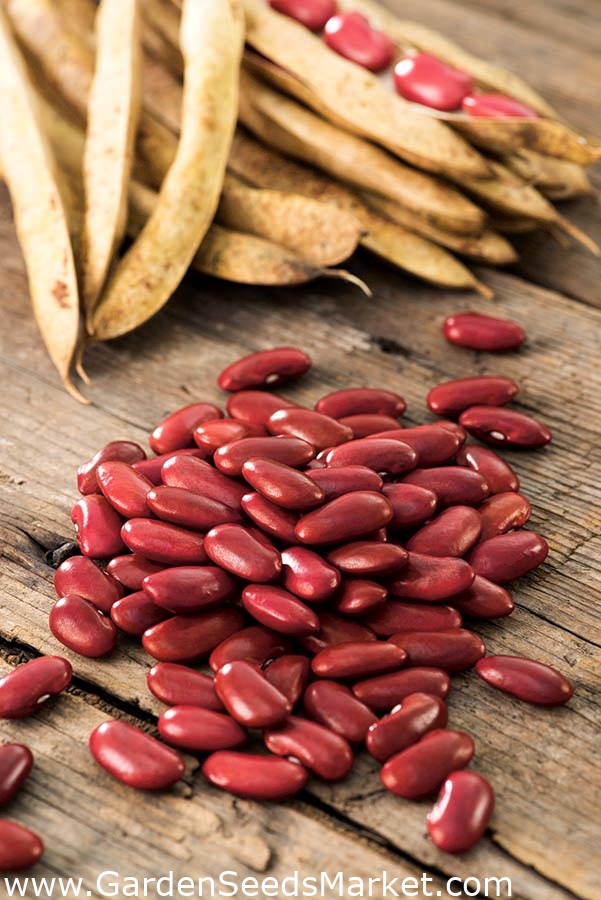
Transplanting seedlings in open ground
Bean seedlings are planted one month after sowing the seeds. It is impossible to delay planting, so it is better to sow the beans a little later so that you do not have to plant seedlings in cold weather.
When to plant seedlings of beans:
- in the Urals - late May-early June;
- in Siberia - beginning or second decade of June;
- in the central region - the second half of May-beginning of June;
- in the North-Western region - the end of May - the first ten days of June;
- in the south - in the second half of April-early May.
The procedure for planting bean seedlings in open ground:
- 2 weeks before transplanting seedlings into open ground, start hardening them. Expose every day, preferably in the morning, containers / glasses with seedlings to fresh air. First for 30-60 minutes. Gradually increase the time.
A couple of days before transplanting, leave it outside overnight.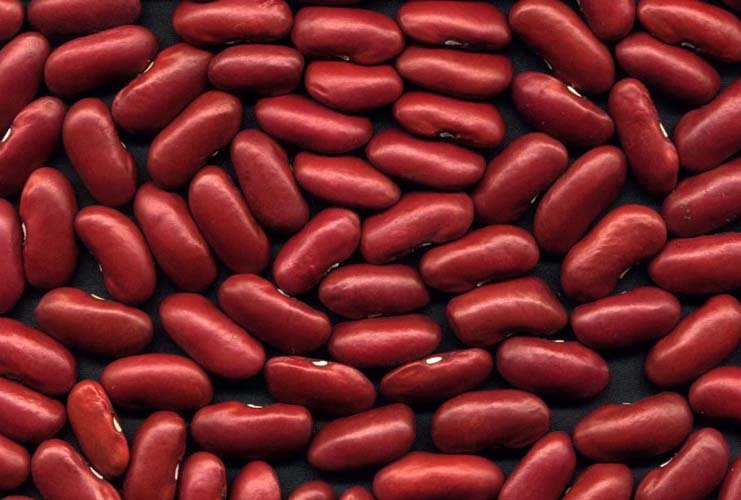
- In prepared beds, dug up and leveled with a rake, make indentations every 15-20 cm. Leave a distance of 40-50 cm between rows (depending on the bean variety).
- If the beds have not been fertilized, add compost and wood ash to each hole - 50 and 20 g respectively.
- Pour warm, settled water over each well.
- Remove the seedling from the container together with the clod of earth and move it to the hole. If the seedlings grew in peat pots, put them together with the seedling in a recess.
- Cover the seedlings with soil and compact it gently.
- Place supports when planting climbing beans.
Water the seedlings before planting to make them easy to remove from the planting containers.
Care and cultivation of red beans
Beans are one of the most unpretentious plants that do not require special attention from gardeners. He has basic needs - moisture, warmth, nutrition, soil clean from weeds.
Watering rules
Beans love moisture, so they should not be left without watering. It is especially important to water the culture at the first stage of development. Recommended watering frequency is once a week.
Irrigation rates, l per 1 sq. m:
- after germination - 5-6;
- during flowering - 10-12;
- in the phase of formation and maturation of beans - 16-18.
Water the beans in the morning or evening. For irrigation use settled and rain water. It should not fall on the aerial parts of plants. It is best to pour water into the aisles.
Loosening the soil
Loosening the soil begins after emergence. As the beans grow, loosening is combined with weeding. Thanks to the loosening of the row spacing, oxygen enters the roots of the plant, contributing to its growth and development.
Tips for loosening red beans:
- Skin must not be allowed to form, even before emergence. Sprouts, breaking through, can break on a hard layer.
- Bush varieties are hilled three times. Raking the ground to the stems, increase the stability of the bushes. The first time the beds are spudded at a plant height of 10 cm, the second - 20 cm, the third - at the stage of closing neighboring beds.
Top dressing
Beans do not require additional top dressing if fertilizer was applied before digging or in holes during planting. But if this has not been done, or the soils are infertile, and the variety requires additional nutrition, they resort to top dressing during the growing season.
Feeding features:
- Potassium and phosphorus are mainly introduced. The culture extracts nitrogen from the soil on its own, thanks to nodule bacteria.
- At the initial stage, it is recommended to apply superphosphate, during flowering and the formation of ovaries - potassium salt. Application rate - 30 g per 1 sq. m. The solutions are poured through the narrow spout of the watering can, trying not to get on the leaves and stems of plants.
Garter
Only climbing red beans need a garter. Without supports, the plants will be on the ground, they will hurt and rot. Yields will drop, or the pods will not ripen at all.
Tips for tying climbing red beans:
- Wooden stakes 1.5-2 m long are used as supports. Plastic and metal supports are not suitable - plant stems will not be able to trail along them.
- The second option is tapestries. Two supports are placed along the edges of the beds, between which they stretch a wire, a thick twine or a mesh with large cells - bean stalks will cling to them.
- Another garter option is slanted wooden slats installed along the entire bed at an angle.
Diseases and pests
Red kidney bean, not prone to disease, but under adverse conditions is affected by fungal and viral infections, bacterial rot. Usually they are caused by a malicious violation of agricultural technology, non-compliance with crop rotation and ignoring prevention.
Common diseases:
- Mosaic. Plants become mottled, leaves shrivel, blistering may appear. This viral disease has no specific treatment. Affected plants are pulled out and destroyed.
- Anthracnose. A fungal disease in which the leaves become covered with light brown spots. On the leaves they are rounded, and on the stems they are elongated. The pods rot and the beans inside become sources of infection. Fungicides help fight the disease.
- Root rot. Attacks seedlings. The people call the disease "black leg". Has no treatment. Prevention is needed - prevention of waterlogging, soil disinfection, crop rotation.
- White and gray rot. A fungal infection affecting all plant tissues. White or gray coating covers the stems, leaves, pods, they soften and rot, the plants die.
- Powdery mildew. The causative agent is a fungus. Appears at high humidity.
 It spreads quickly and is highly contagious. The leaves of the plants are covered with a white powdery coating. The plant turns yellow and dries up.
Anti fungal agents:
- Spraying with 1% Bordeaux liquid 1 or 2 times with a break of 10 days.
- Treatment with biofungicides - Fitosporin, Mikosan, Trichodermin and others.
- Spraying with colloidal sulfur solution - especially effective against anthracnose and powdery mildew.
Various types of pests are interested in beans, some eat the leaves and gnaw the stems, others suck the juice out of them, others eat the beans. Preventive measures, insecticides and folk methods help to cope with them.
Most common pests:
- Slugs. They are nocturnal, eating all parts of plants. They are scared away from the beds with lime and ash - they are scattered in the aisles.
- Aphid. Sucks juices from leaves, gathering in colonies on their reverse side.
 Folk methods help to drive away insects - spraying with infusions of tomato or tobacco tops, onion peel, celandine.
 - Pea weevil (bruchus). Beetle larvae damage beans by eating their flesh. Crops are treated with Gaupsin, Bicol, Verticillin. These drugs are effective in the fight against pea weevils and pea codling moth, thrips and spider mites.
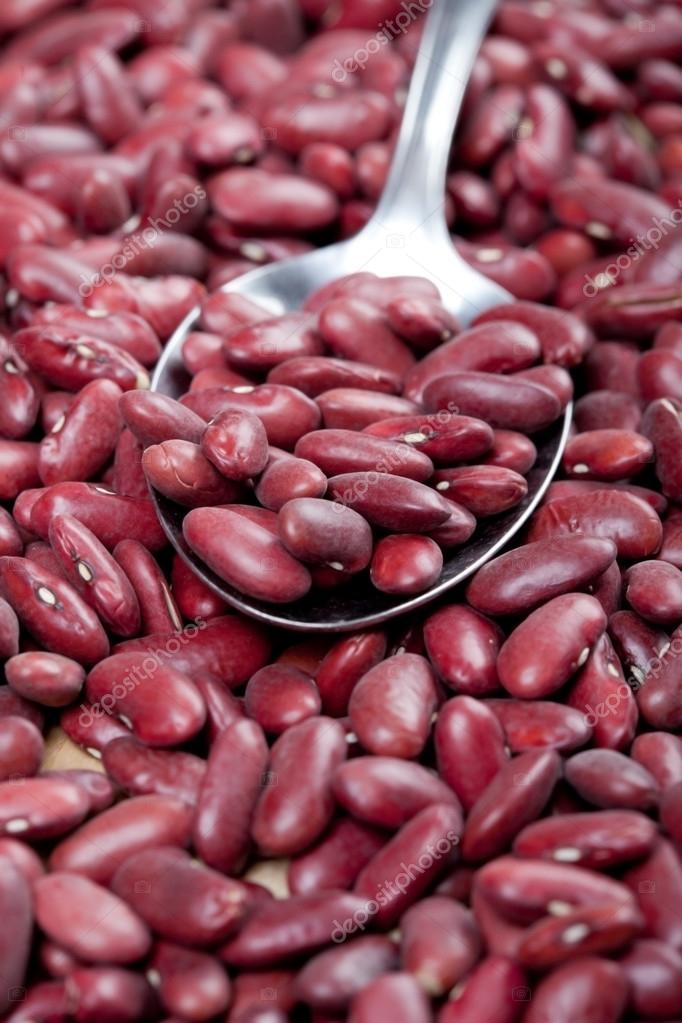
Harvesting and storage of red beans
Harvesting of shell beans - for grain, begins when the beans are fully ripe. We must wait until they become hard and acquire a color corresponding to mature seeds.
Harvest time depends on variety and growing region. It can be harvested from the end of July - in early ripening and early varieties, until the end of September - in late beans. If the leaves have dried up and the pods have turned yellow, it's time to harvest.
How to collect and store beans:
- Pull out the bushes. And it is better to cut it off so that nodule bacteria remain in the soil, saturating it with nitrogen.
- Lay out the bushes on a film or burlap - this will allow you not to lose the seeds that have fallen out of the pods. If the weather is unstable, it is better to fold the crop under a canopy so that the rain does not wet it.
- When the pods are completely dry, start peeling. Put the collected beans in canvas bags or plastic bottles and store in a cool, dry place.
Some gardeners do not peel the beans, but hang the bushes from the ceiling - in the barn or shed, and then take the pods from them as needed.
Pods and green beans can be frozen. Fresh beans are not stored for a long time, they quickly wither and deteriorate. Within 8-10 days it must be eaten, frozen or canned. Beans are blanched for 2 minutes before freezing, and then placed in containers.
Cultivation of red beans does not cause any special problems, its agricultural technique is simple and accessible even to novice gardeners. The key to a good harvest is the right choice of planting dates, abundant watering and preventive measures.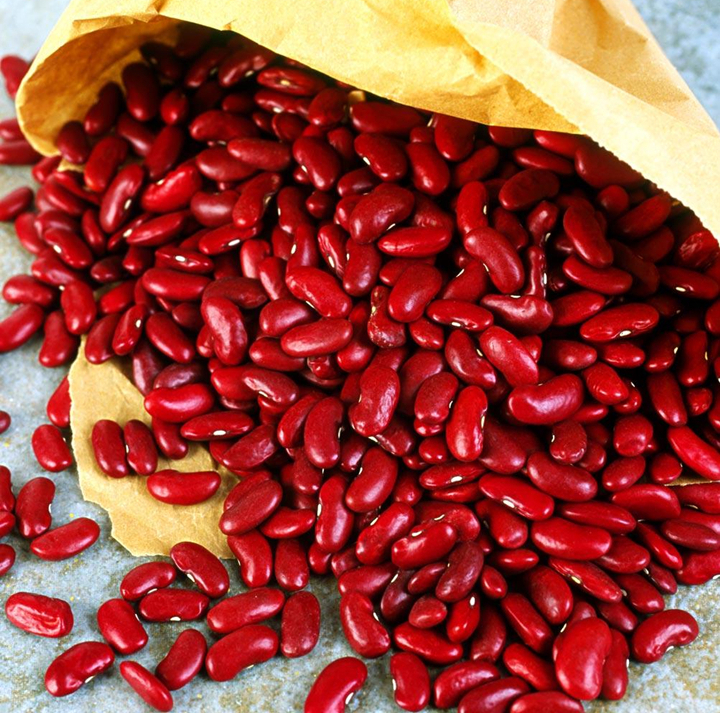
Author of the publication
Cultivation of red beans - summer residents' advice
TIPS, REVIEWS AND RECIPES
If we continue the theme of diversity and exclusivity, then why not turn to this culture. After all, there are different beans, although one thing can be said about it: if you grow it, you will not regret it.
Potato Girlfriend
I have known about beans since childhood. After all, I am from Ukraine, and everyone planted this plant there. And everyone loves it, because it is indispensable in home cooking: in borscht, vinaigrette, and just with a roast, it is good or even with sugar. And in general, beans are almost like meat. My mother told me that in the difficult post-war years, when food was very bad (one could only dream of the same meat), they survived solely due to it. It is clear that having started a dacha, I began to grow beans. At first, she sowed only white, but she did not always ripen, and bugs used to start in her.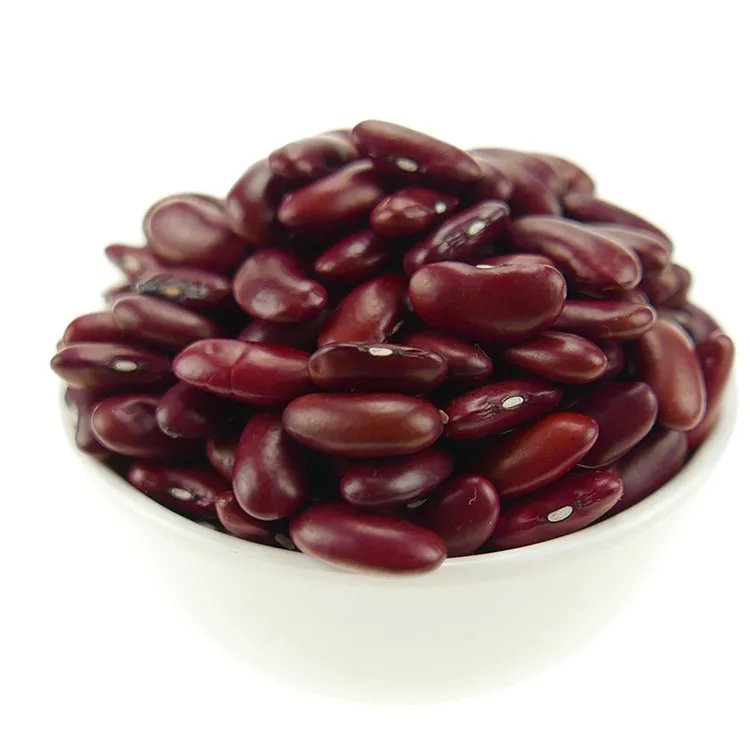 One day, my friends brought me a bag of red beans, and since then it has been my favorite. At the same time, I constantly (but little by little) experiment with its cultivation. And I want to tell you how I did it last year.
Before planting, the beans were soaked overnight in plain water. And the next day, when I planted potatoes (it was May 9), then in each hole (where I had previously thrown a handful of humus and ash and 1 tsp of complex fertilizer), along with tubers, I lowered one bean.
EVERYTHING YOU NEED FOR THIS ARTICLE IS HERE >>>
See also: Growing asparagus beans on the plot
I did not close it very deep, 5-7 cm, no more.
The summer turned out to be rainy, the potato plot was not watered even once during the whole season. I spudded the potatoes along with the beans as expected - twice. Didn't feed anything. And the harvest of both crops was excellent. Apparently, they liked the neighborhood, and the plants helped each other.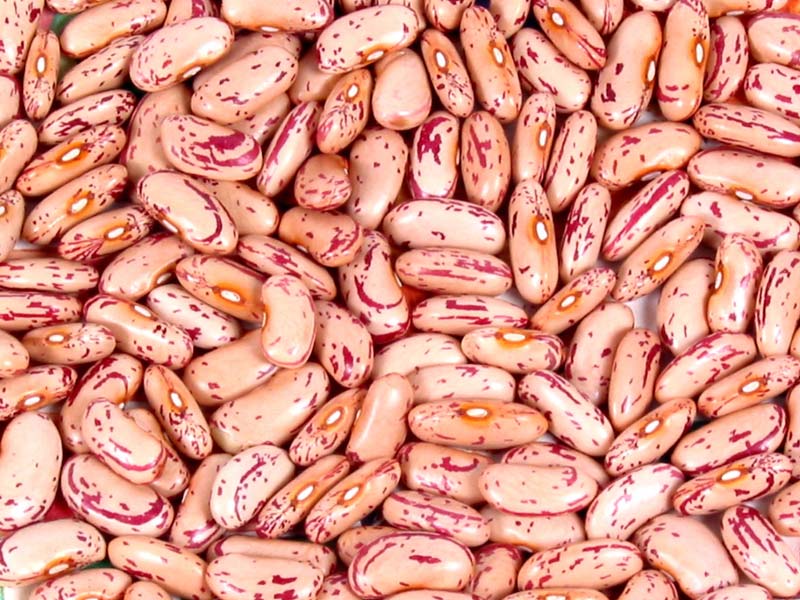 I collected almost three buckets of beans. Then she gave it to her children, grandchildren, treated her neighbors, and also gave them seeds for planting. In general, I am very satisfied. The product is wonderful. It has few calories, but a lot of benefits.
And I also want to write one simple recipe that I really liked. The beans must be boiled, cooled (and there is one trick: the first water during cooking should always be drained, then pour cold water over and cook until tender). After that, pass the beans through a meat grinder along with a few cloves of garlic, add a little mayonnaise, mix. That's it, the delicious pate is ready. If you like it spicy, you can sprinkle with ground black pepper to taste. And with soup, and with borscht, and with sausage - tasty and healthy. And most importantly, almost free.
You can profitably use bean pods: 2 tbsp. l. finely chop this stuff, add 10 pieces of rose hips and 1 tbsp. l. oats. Then pour everything into 1.5 liters of water, boil over low heat for 10 minutes. and insist 2-3 hours (if you are too lazy to mess around, then you can pour boiling water in a thermos). And then drink the resulting infusion half a cup before meals. This is an excellent remedy for lowering blood sugar levels and cleaning blood vessels. Checked on myself.
Dear summer residents! Dear workers of the earth! Plant beans and be healthy! It's tasty, healthy and inexpensive. And without any hassle.
Personal Pharmacy
Since I have already mentioned health in the country, then I will also tell you about fragrant herbal tea. This year I visited the Crimea, treated my joints a little, and rested. So, there are phyto-shops everywhere, where they sell various herbal teas and you can order a cup of tea with a spoonful of honey, sit at a table, please yourself. I also like tea from different herbs, I try to combine from three to five different herbs.
This is how my mother used to teach. In childhood, we dried raspberry, wild apple and currant leaves, cherry twigs, peppermint, rose leaves, calendula, hawthorn flowers and leaves, cornflower petals, sunflower petals.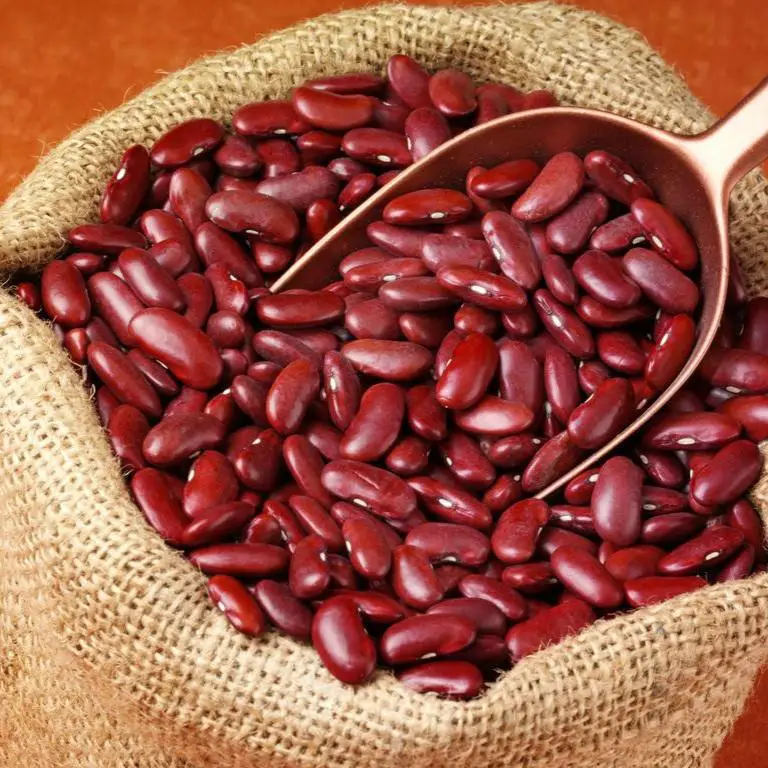 0026 Petrov batog ), which helps very well with disorders. A mixture of St. John's wort, mint and raspberry leaves improves digestion, relieves pain, nausea. From the leaves of the currant, a drink is obtained that lowers the level of sugar in the blood (for diabetes, there is no better remedy). An infusion of raspberry leaves (as well as berries) is an excellent remedy for colds and fever. And tea from the leaves and twigs of blueberries will help with inflammation of the kidneys, remove protein from the kidneys, stimulate the pancreas, and reduce blood sugar. Tea from oregano and chamomile is good to drink in the morning - it invigorates.
But my favorite drink is linden blossom tea. Well, here is one pleasure. Now at night I always drink a cup of this tea with a spoonful of honey - and sleep is strong, calm. And I go to pick linden to my neighbors, they have a huge tree growing on the street near their house. And you know, it’s just a miracle, this year, in the spring, I saw a small sticky tree on my boundary, I was very happy.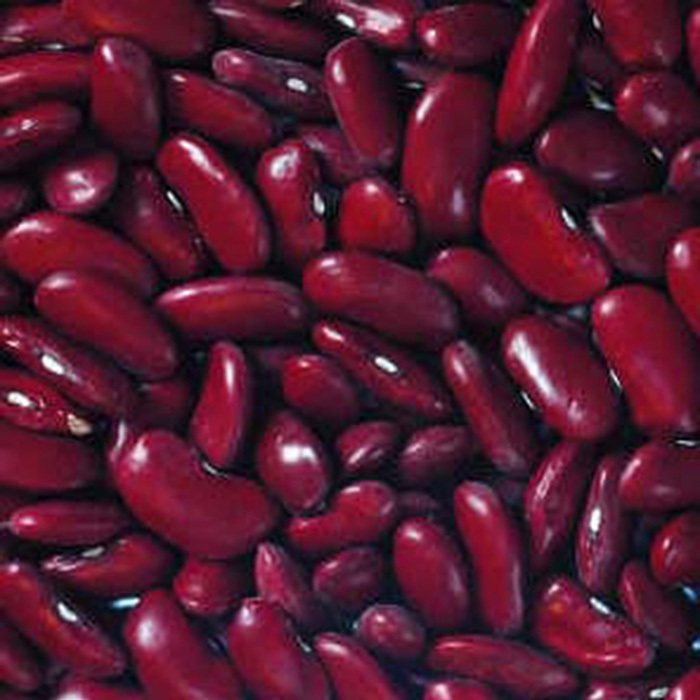 Over the summer, the tree has grown, and next spring I will transplant it to a convenient place.
See also: Planting and varieties of beans: which one to choose?
And all these wonderful drinks are very easy to prepare. 1 st. l. finely chopped raw materials pour a glass of boiling water and leave for at least 30 minutes. During this time, the tea will cool down a little, but this is for the best, because it is harmful to drink boiling water. If you brew sprigs of raspberries, cherries, lingonberries, then they need to be boiled over low heat for 10 minutes. and insist 30 min. If you have your own apples and do not treat trees with poison, add thinly sliced \u200b\u200bpeel of apple fruits to drinks. And instead of lemon - pieces of quince fruit.
So, my dears, hide away all these newfangled purchased teas (albeit well-known brands) and switch to homemade vitamin drinks from your own garden. Just do not overdo it, because everything is good in moderation.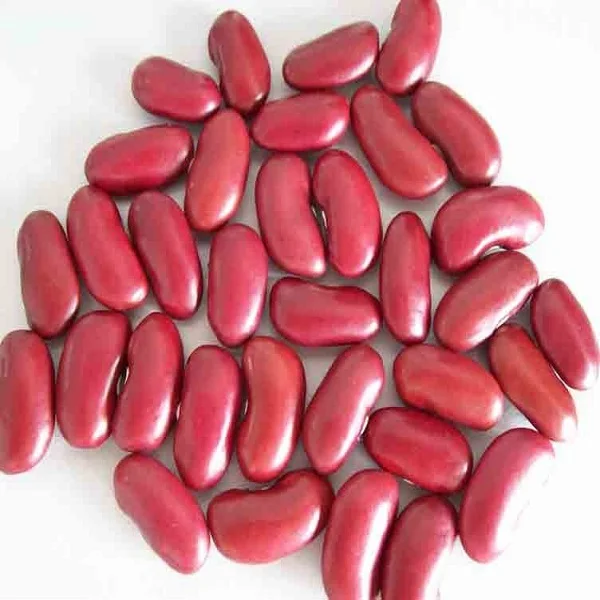
How to plant beans. Planting beans in the garden. Beans in the country
Watch this video on YouTube
GROWING BEANS - PLANTING AND CARE. TIPS, FEEDBACK AND RECIPES
BEANS RECIPES
BEANS RECIPESBORSCH DRESSING
This recipe was given to me by my mother-in-law. It is very convenient when you come home from work, there is no time, and you have to feed your family. There is broth - good. No - even on the water, by adding potatoes, you can very quickly make a delicious borscht.
FOR PREPARATION YOU WILL NEED 1.5 kg of beets, 2.5 kg of white cabbage, 2 kg of tomatoes, 1 kg of onions, 1 kg of carrots, 0.5 kg of sweet pepper, 0.3-0.4 kg of beans, 1 cup odorless vegetable oil, 3 tbsp. spoons without a hill of salt, 1 tbsp. a spoonful of vinegar essence. And of course, 0.5-liter jars for the finished product (it will turn out 9-10 l). Such a jar is just enough to prepare 3 liters of borscht.
After washing the vegetables, I pass them through the food processor. I pre-soak the beans and boil until tender. I cut cabbage and pepper into short strips - it’s more convenient to put them in jars, and then eat them.
Pour the oil into a heavy-bottomed saucepan, heat it up and fry the onion over high heat, stirring constantly, until golden brown. Then, reducing the heat to medium, add tomatoes and carrots, add some salt.
Stirring regularly, let the vegetable mixture come to a boil and give juice. Then I add beets, it will boil a little - cabbage and pepper. Sometimes the vegetables are not very juicy and you have to add water (max 1 cup).
I pour in the essence and immediately after it I put the beans. Boiled - it means it's ready. I lay it out in sterilized jars, close it with boiled lids, and put it under a fur coat. It turns out delicious, the vegetables are a little sweetish, not sour, and vinegar is not felt. It is better to store such jars in the cellar, but last year I successfully stored them under the bed in the coldest room.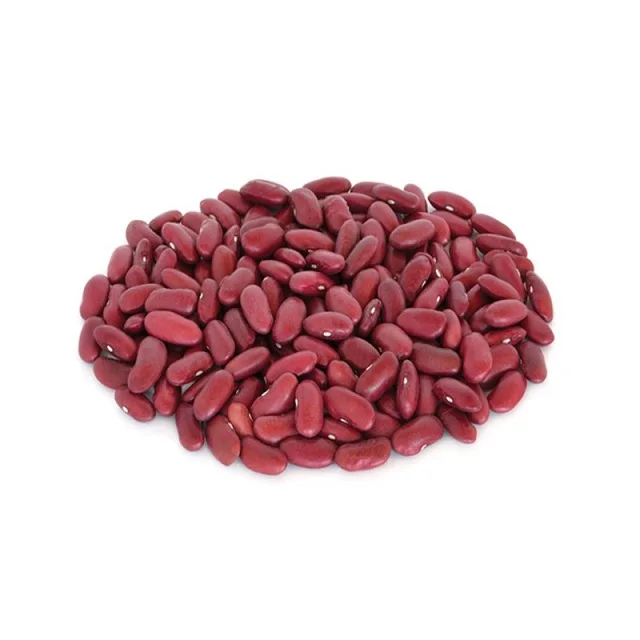
E. LEBEDEVA
SALAD WITH EGGPLANT AND WHITE BEANS
If you love eggplant, as I do, then this dish will suit your taste.
FOR 2 KG EGGLANTS I take 0.5 kg of dry white beans, carrots and bell peppers, 1.5 kg of tomatoes, 200 g of garlic, 70 g of salt, 1.5 cups of sugar, 0.5 l of aromatic sunflower oil (note roasted seeds gives the salad a special charm) and 100 ml of 9% vinegar. All this splendor fits in about 12 half-liter jars.
I soak beans overnight in water and boil until half cooked. I pass the tomatoes and garlic through a meat grinder. I cut eggplant and pepper into large, 2-3 cm cubes. Carrot rub on a coarse grater.
Pour the tomato-garlic mass into a large saucepan, put on fire and add salt, sugar, oil, vinegar. When it boils, put the rest of the vegetables and beans, mix and cook over medium heat for about 40-50 minutes. You have to stir constantly so that the dish does not burn. Pouring into sterilized jars, roll up and wrap for 12 hours. I store the salad at room temperature, nothing ferments and does not explode. I.ULYANOVA Gironm oblost*
OVERripe bean salad
What I like about this salad is that you can use overripe asparagus beans in it, which can no longer be prepared according to traditional recipes. And to it I add ordinary grain beans - red or white. At one time, I cook 4 cups of beans until tender.
MARKING: for 1.5 l of tomato juice I add 120 g of sugar, 3 tbsp. tablespoons of salt, 350 g of vegetable oil, bay leaf, allspice and bitter pepper.
First, I boil the carrots (1 kg) previously cut into circles in the marinade for 20 minutes, then add chopped bell pepper (1 kg) and cook for another 10 minutes. I throw onion sliced \u200b\u200bin half rings (2-3 large onions) to the vegetables, after 5-10 minutes I add the beans. Everything is stewed together for literally 5 minutes, after which I pour 100 g 9% vinegar (less possible) and cook for another 20 minutes. I lay out the vegetable preparation in pre-sterilized half-liter jars, roll it up and wrap it up. In winter, this salad goes with a bang.
O. AVDOTYINA
VEGETABLE CAVIAR WITH BEANS
Tomatoes, peppers, onions, carrots, and of course, beans - each ingredient requires 1 kg.
Pre-soak the beans and boil until tender. In a saucepan with a thick bottom, stew the tomatoes and peppers. I fry onions and carrots in a saucepan, then mix everything, add 100 g of vegetable oil and keep it on low heat for another 20 minutes. Then I pour in 7 tbsp. spoons of apple cider vinegar, mix, immediately lay out in jars, trying to make the juice in each approximately equal, and roll it up. They cool down under the covers.
T. ZHEREBYATIEVA Nizhny Novgorod
GROWING BEANS!!!EXCELLENT WAY!!!
Watch this video on YouTube
© Author: Irina Moiseevna Nizhny Novgorod region.
ORDER QUALITY AND CHEAP SEEDS AND OTHER PRODUCTS FOR HOME AND COTTAGE. PRICES CHEAP. CHECKED! JUST LOOK FOR YOURSELF AND BE SURPRISED.