Christmas tree branch fillers
Tree Filler - Etsy.de
Etsy is no longer supporting older versions of your web browser in order to ensure that user data remains secure. Please update to the latest version.
Take full advantage of our site features by enabling JavaScript.
Find something memorable, join a community doing good.
( 1,000+ relevant results, with Ads Sellers looking to grow their business and reach more interested buyers can use Etsy’s advertising platform to promote their items. You’ll see ad results based on factors like relevancy, and the amount sellers pay per click. Learn more. )
-
More like this
-
More like this
-
More like this
-
More like this
-
More like this
-
More like this
-
More like this
-
More like this
-
More like this
-
More like this
-
More like this
-
More like this
-
More like this
-
More like this
-
More like this
-
More like this
-
More like this
-
More like this
-
More like this
-
More like this
-
More like this
-
More like this
-
More like this
-
More like this
-
More like this
-
More like this
-
More like this
-
More like this
-
More like this
-
More like this
-
More like this
-
More like this
-
More like this
-
More like this
-
More like this
-
More like this
-
More like this
-
More like this
-
More like this
-
More like this
-
More like this
-
More like this
-
More like this
-
More like this
-
More like this
-
More like this
-
More like this
-
More like this
-
More like this
-
More like this
-
More like this
-
More like this
-
More like this
-
More like this
-
More like this
-
More like this
-
More like this
-
More like this
-
More like this
-
More like this
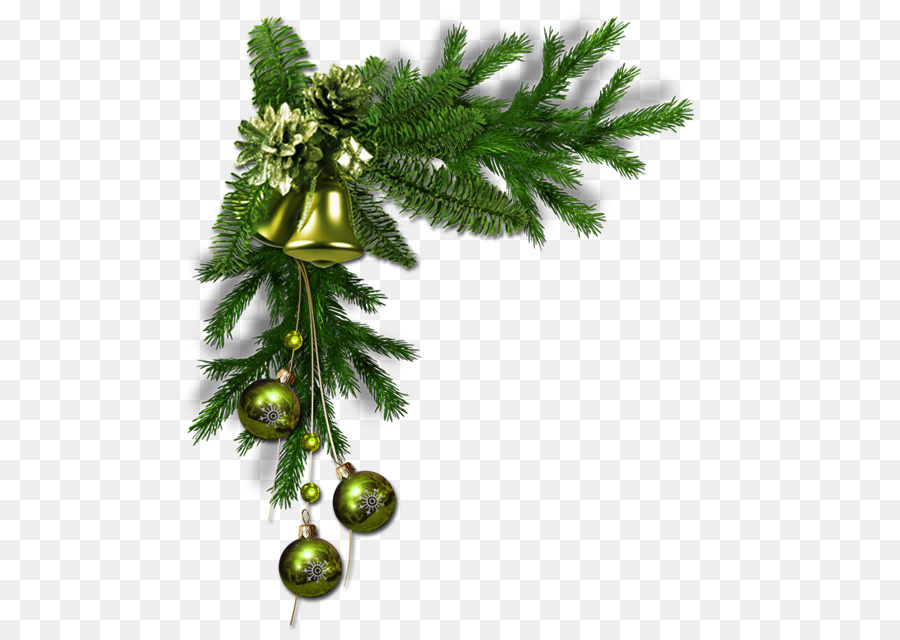
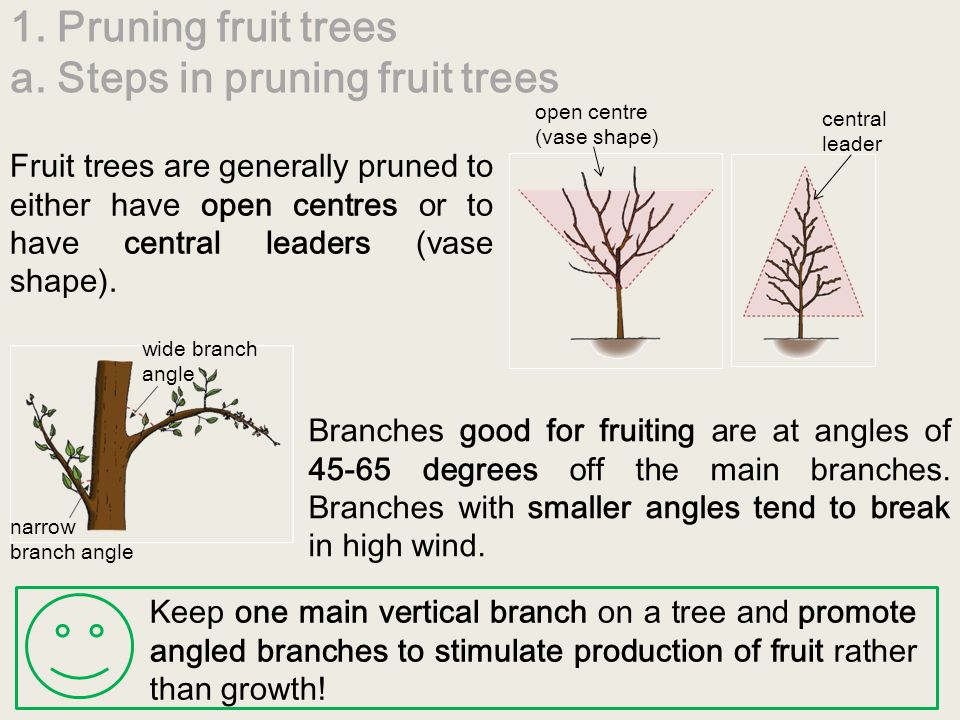
What Are Christmas Tree Fillers? 7 Secrets to Decorate a Stunning Christmas Tree
We would all like to have a perfect Christmas tree without having to hire a professional to decorate it for us. Everyone wants beautifully coordinated lights and ornaments to up the beauty of their tree. The tips for doing this aren’t as difficult as one may think.
- Select a High-Quality Tree. When doing an artificial Christmas tree, select one made from premium materials. It will provide reliable and sturdy support for your decorations. Good quality trees last longer and can withstand repeated uses every year. Artificial trees that use high-quality materials tend to look more real, whereas cheap trees tend to look very obviously fake.
Choose a traditional-looking tree rather than a trendy one so it won’t be outdated in a few years. You will get more use out of it this way, and it provides a great base layer for decoration.
A pre lit tree is always a time-saver. They prevent you from having to detangle lights each year or test the whole strand because of one burned-out bulb. The only drawback to a pre lit Christmas tree is that you can’t choose or change your lights unless you add additional strands.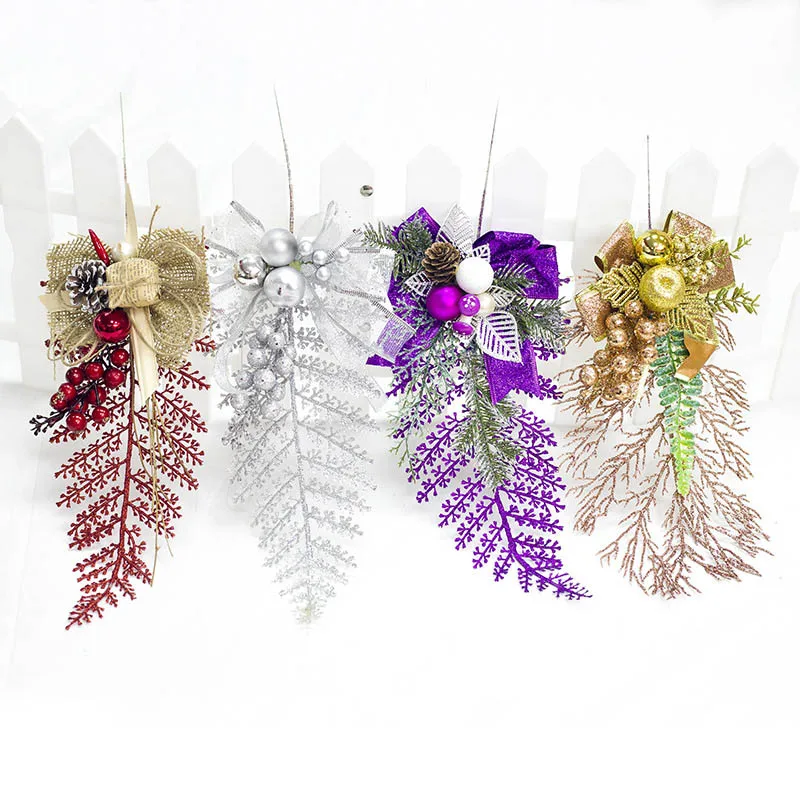
In terms of size, seven-foot trees are popular, but one that fits your space should be your first consideration. For locations that are tight in terms of space, choose a slim Christmas tree. It will have a pencil design and might be a better fit for your area.
To prevent annual wear and tear, select a tree with an easy setup and storage capabilities.
If you love the smell of a real Christmas tree, there are various types of trees available. You can get them at markets, tree farms, or DIY stores.
2. Shape and Fluff Branches. By fluffing the branches, you create a fuller appearance for your tree. It also helps an artificial tree appear to be more natural. While it can be time-consuming to get this just right, it is worth it in the end.
To do this, separate each branch, fanning them out to cover as much area in the tree as possible and not leave any gaps. Stop every so often and step back, taking a good look at the tree from across the room so you can identify any areas that still need some work.
If you still don’t like the look of your tree, you can buy individual branches to make the tree look fuller and hide obvious gaps in your tree. A tree with a proper shape is more appealing.
3. Create a Theme. Professionally done Christmas trees always have a predetermined look or something that ties everything all together. Having a theme in mind before you start decorating sets the tone. There are endless possibilities for themes. Try stringing popcorn garland and making cinnamon dough ornaments for a food-themed tree, hanging colorful large ornaments from top to bottom in the order of a rainbow, or use only ornaments shaped like snowflakes.
If you are stuck, you can find places on the internet that provide many great ideas. Bluish hued trees are in this year, as are more vintage, traditional looks, but there’s nothing wrong with traditional either.
4. Begin With the Lights. If you don’t want a pre-lit tree or just want to experience the joy of customizing it yourself, then you will require Christmas tree lights. Experts advise five meters of Christmas lights or 100 bulbs for every 2 ft of tree. For example, a tree that is 6 feet will need 300 bulbs/15 meters of lights.
Adding Christmas lights first is easier than trying to fit them around ornaments and garlands. It provides a basis for decorating the tree, and the soft, warm glow of the lights always puts everyone in a festive mood.
Professionals say to use the plug as your starting point. Then, wrap the lights around the trunk, working up from the center of the base. Continue wrapping the lights at even intervals around branches closest to the trunk. Weave it up from the middle of the tree’s crown.
Once you reach the crown, weave the lights down while arranging them outwards on the branch. Keep doing this until you get to the tip. Weaving involves positioning the bulb under a branch, then going over the next and continuing until you cover the tree.
5. Find the Best Holiday Decorations (For Your Tree and Space).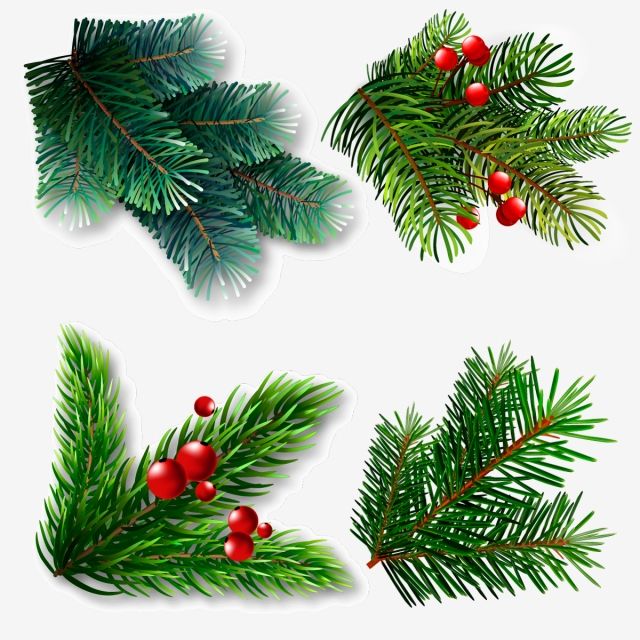 Accents that suit your home or space will help you find the right theme for your Christmas tree. It will look cohesive with its surroundings. Choose decorations that will compliment your type of tree, as well.
Many ornaments come in a variety of different shapes, finishes, sizes, and designs. By matching them with traditional balls, you may have a bit more flexibility in generating a theme.
6. Balance the Look with Christmas Fillers. Once you decorate the tree with ornaments and lights, make sure your tree looks balanced. There should be no obvious gaps or spaces within the tree. Arrange the décor beginning from the top working to the bottom.
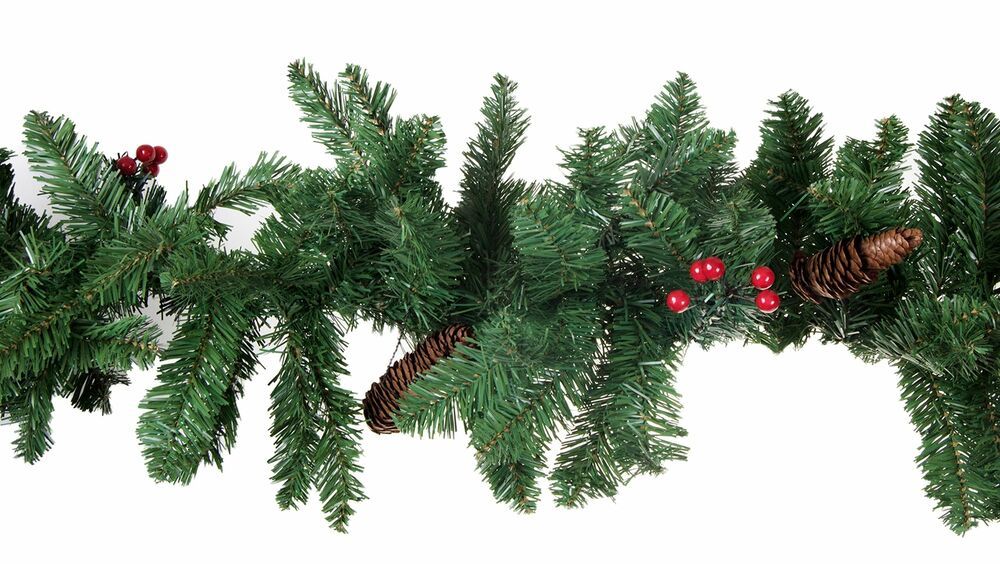
If there are gaps or spaces, use Christmas tree fillers to add volume to your tree. Christmas tree fillers may involve adding more branches to the tree, adding larger ornaments, pinecones, or anything else imaginable.
The goal is to produce a fuller-looking, lusher Christmas tree. You want it to look as natural as possible, and this is the best way to achieve that look.
7. Cluster Ornaments. Professional Christmas tree designers recommend clustering no more than three different-sized ornaments together on a tree to generate a creative flair and make the tree look appealing. You can put the same ornament together, or you can select ones that are contrasting.
To create a balanced appearance, buy them in sets of threes, sixes, or twelves. First, add these in a Z-shape on the tree. Hang the larger balls close to the center to provide more depth and smaller ones to the end of the branches.
Delicate balls made of glass need to be at the top of the tree to eliminate breakage. Put meaningful balls on last to make sure they are perfectly placed. The amount of balls required is 80 for a tree that is 7 ½ feet tall.
Added Tips
To generate a snowy appearance, you can purchase a product called Sno-Flock Be sure when you use it, you place a tarp down on your floor as it can get a bit messy.
Put the Sno-Flock in a strainer, then mist the tree with a spray bottle filled with water.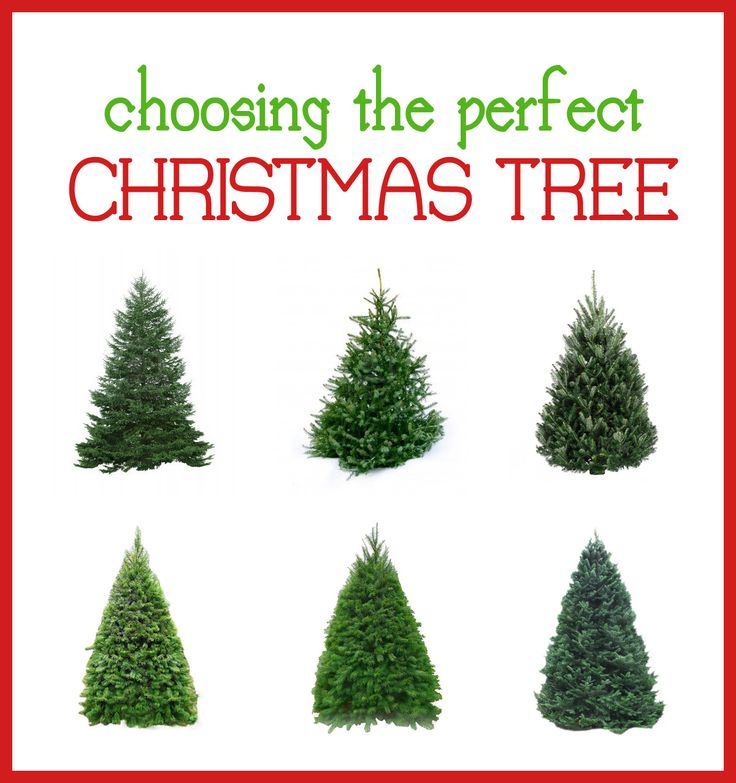 Sift and spray while the product falls as if it were snowing. It is a very easy look and will make your tree look like it has real snow on it.
Stop when it looks like there is a light coating on the tree. To create a more natural look, make thicker places with the snow. Once completed, pray the tree over again with water to seal in the SnoFlock.
You can fill other empty spaces with bright red bows strategically placed for a fuller look. Use the same method for placing balls, beginning with larger bows to the center and smaller at the tips. Be sure to alternate the sizes as well.
Decorating your Christmas tree isn’t a difficult thing to achieve. You often don’t need the help of a professional with these seven easy decorating tips.
There is a method to decorating your tree, and it begins with finding the perfect tree for your space. High ceilings have the luxury of having a seven-foot tree. Meanwhile, if you are short on space or don’t have much of it, a slender tree will look very elegant.
The Christmas tree is the canvas on which you will decorate.
The second step is finding a theme and the decorations that will complement it. Decorations that don’t match will make your tree look like a disaster. Make sure the ornaments play off each other and have a central color theme in mind as well.
Next come the lights (assuming yours is not a pre-lit tree). They are the most time-consuming part of decorating your Christmas tree, and yet most people are unsure about their proper placement. Weaving the lights will add depth and interest to the tree and make decorating it appear more natural.
Strategically place the ornaments with the larger ones in the center and the smaller ones at the tips. This approach not only creates depth but also helps with gaps found in the tree itself.
If there are noticeable gaps, you can purchase Christmas tree fillers to fill out the tree to make it look fuller. You can use many products to do this, ranging from extra tree branches to glittery fillers. Make sure that they match your tree closely in color, or they will begin to look unnatural. You always want them to blend extremely well.
We hope you’ve been inspired by these 7 secrets to decorating a stunning Christmas tree! For more Christmas cheer, check out our mini Christmas tree decorations guide!
How to snow your artificial Christmas tree
Want to add artificial snow to your Christmas tree but don't know where to get it? We have prepared several recipes for you to snow your Christmas tree with your own hands at home . Choose the one that seems easier and more interesting to you. In such ways, you can add snow not only to the Christmas tree , but also to interior compositions, to the windowsill or window.
To begin with, we recommend that you study all the recipes presented and choose the right one from them, and not the first one that comes across. It is quite possible that the components for some of them are already in your home and you do not have to go to the store or order them on the Internet.
Shaving Foam Soda
One of the ways to make artificial Christmas tree snow is to combine shaving foam with regular baking soda. You may have come across this method on the Internet before. It is really very simple and popular on the Internet. The result is guaranteed to be exactly what you want. Here's what needs to do :
- Take a plastic basin, saucepan or bowl, and squeeze the shaving foam from the can into it. Take the cheapest, quality and brand do not matter here.
- Stir the foam with baking soda. For one can you will need about 1-1.5 packs of soda. While pouring it, do not stop stirring. Do this until you get the desired consistency.
- If desired, add white or silver glitter to the mixture. So the resulting snow will be even more natural and brighter. It will look really festive. Mica is suitable for the same purposes.
This will give you artificial snow bright white and with a pleasant loose texture.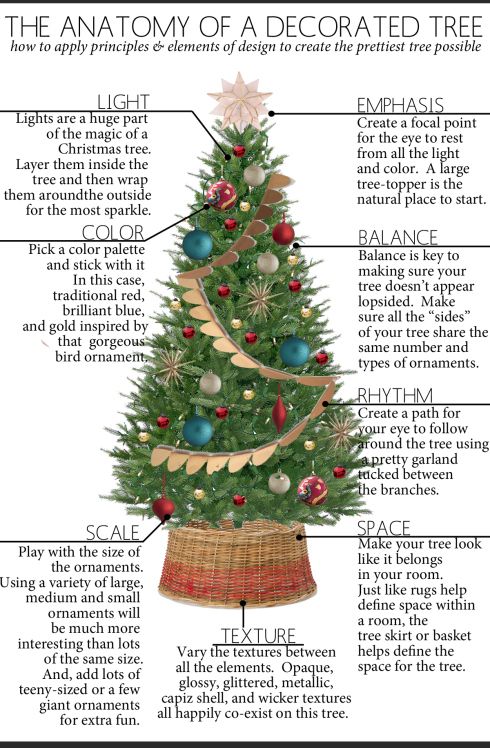 You can decorate an artificial Christmas tree with it: sprinkle on top of it.
Styrofoam, polyethylene
Often on the balcony, mezzanine, in the closet are the necessary materials for such artificial snow. In boxes of household appliances, especially large ones, you can find polystyrene foam or polyethylene foam without any problems. If you find any of these, make sure they are no longer needed and start making snow.
Grate Styrofoam. Use a blender if possible. You will get a very light and pleasant artificial snowball with which you can decorate the Christmas tree. It is not necessary to glue it to the branches. Due to its structure, it will hold between thin needles, but even under a tree on the floor there may be some part of the snow. If you do not want this, take a transparent glue and dot it on the branches, and glue pieces of polystyrene or foamed polyethylene there. But this snow will stay for a long time.
Salt
This option is suitable if you have separately bare branches.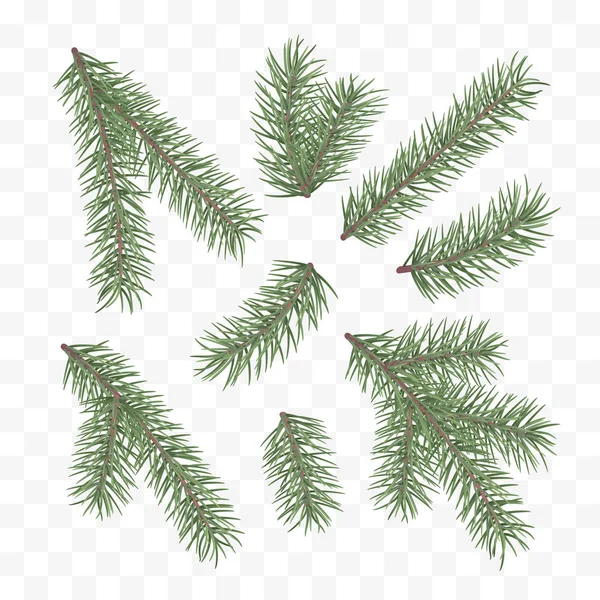 You can grow "ice patterns" on them. It will feel as if frost has worked on this decoration and stuck around the branches. How to create this?
- Make a solution of table salt and water. To do this, heat some water in a large saucepan and dilute salt in it. How to understand proportions? Add salt until it no longer melts in the chosen amount of water.
- Take spruce or other branches and dip in saline solution for a few minutes.
- Take a vase that will hold the branches safely and let it dry for 4-5 hours.
You can decorate not only an artificial Christmas tree in this way, but also individual branches, which are then used in compositions, New Year's decor and bouquets. The option is more suitable just for "naked" objects that can be "iced" by making frost in this way. But for some Christmas trees, this effect is also suitable.
Diaper filler
If you have a small child, then most likely you do not need to run to the store.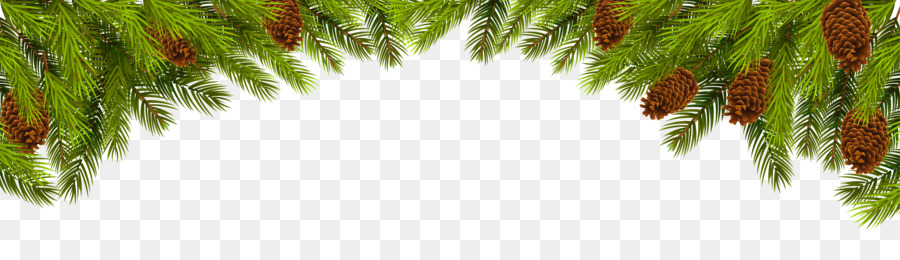 You have new diapers in stock. There is sodium polyacrylate inside the diapers. To get it, cut the new diaper lengthwise and remove the filling into a deep basin. Decide for yourself how much of this snow you need. Also keep in mind that snow will increase several times.
Pour clean water gradually into the basin with filler. Along the way, mix the future artificial snow so that the mass is crumbly and elastic. As a result, you will get a cool and pleasant snow. You can decorate an artificial Christmas tree or any compositions with it.
Starch
There are several recipes for making artificial snow based on starch. Consider all possible, and you choose the one that suits you the most. All of them are simple and unpretentious. Food starch is usually in the kitchen of any housewife. And if not, then in the store it is inexpensive, so significant costs will not be required.
Shaving foam and starch
Yes, that's right, this method is similar to the baking soda recipe.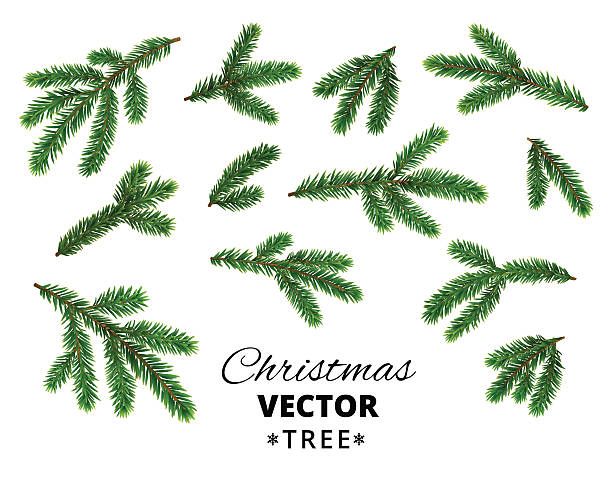 All actions are the same as in the case of it, but instead of soda, starch is added to the desired consistency. The mass is mixed gently until you get the snow you need. They can decorate an artificial Christmas tree or other items.
Starch and glue
Take ordinary PVA glue and starch in a ratio of 1:1. Mix in a deep bowl. You can also add glitter or silver paint at the end. So the resulting mass will be more like snow.
Oil with starch
Take any vegetable oil. It can be sunflower or any other cosmetic liquid oil. If you chose refined, then stop at the lightest of them.
For a pound of corn or potato starch you will need about 150 ml of oil. Mix both ingredients in a bowl or saucepan until you get sticky and crumbly snow. Now you can use it to snow artificial Christmas tree .
Recommendations
- If there are small children or animals in your house , try to choose a safe way to snow so that materials do not enter the esophagus.
- Before decorating the Christmas tree with artificial snow, lay a large sheet of paper or a tablecloth under it so that excess snow falls on it. So around the Christmas tree you will have order.
- To save yourself the trouble of making snow DIY , stop at white rain, artificial snowflakes instead of Christmas balls or a white garland with small lights. All this will create the illusion of snow-covered spruce.
- Light up the finished snow with a white garland. So your Christmas tree will sparkle, and the lights will reflect on your artificial snow.
If you are not in the mood for creativity and analogues, then pay attention to the artificial Christmas trees in our range with ready-made snow coating. You do not have to create snow with your own hands at home. No cleaning required after the act of creativity and during the cleaning of the artificial Christmas trees . Also, stains and traces will not remain on the tree, which can happen after working with oil, starch or foam.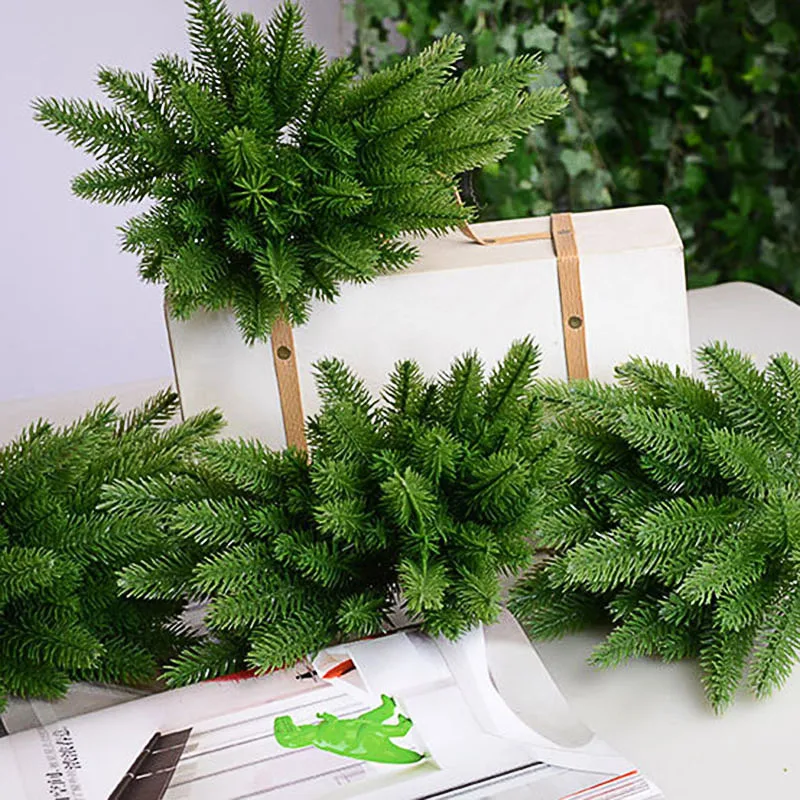
The artificial Christmas tree is perfectly stored in a dry warm place, the snow is applied in a safe way, it is not dangerous for the health of children and adults. You can choose a tree according to the size of your apartment - from a mini-tree to a full-sized one. Depending on the color, we suggest choosing decorations for your New Year's beauty.
What to do with Christmas needles
Soon many of us will have to throw out the Christmas tree, let's do it wisely and use coniferous needles for their intended purpose. True, these should be needles of a tree that has not yet completely dried up.
A decoction of Christmas tree needles is used in the treatment of bronchitis, cardiovascular diseases, in the treatment of the liver and as a diuretic. Only we categorically do not advise self-medication, but we advise you to collect needles, and, if necessary, consult a doctor.
A decoction of Christmas tree needles has an antibacterial property and is useful for rinsing the mouth.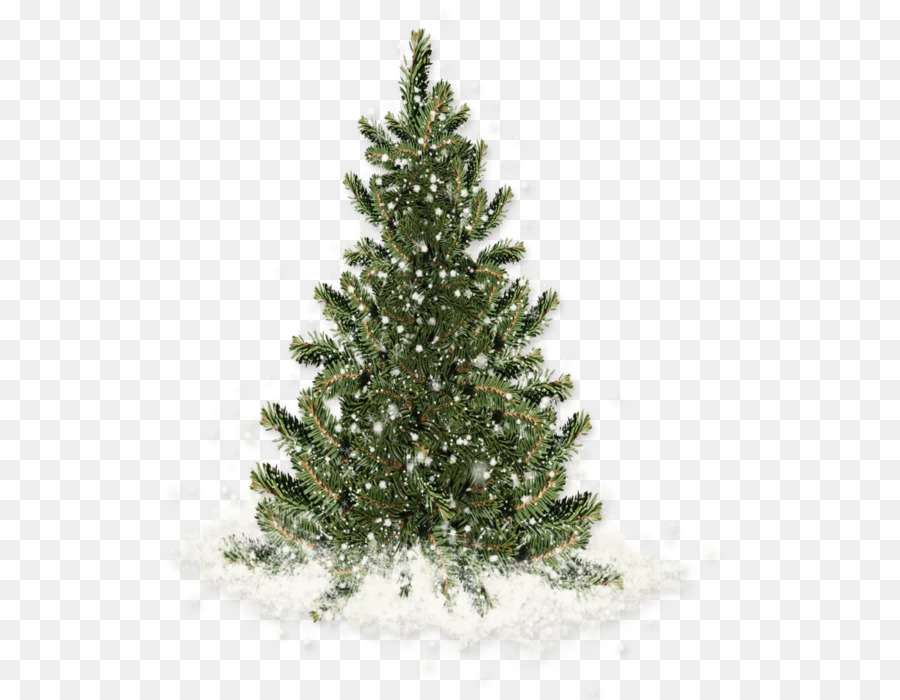
A decoction of Christmas tree needles is good to add to the bath - the skin will become softer, and sleep will be stronger.
A decoction of Christmas tree needles is good to add to foot baths - traditional medicine believes that this helps fight arthritis and relieves fatigue after a hard day.
Christmas tree needles - smell! They are good to flavor the space, even when the tree has long been in the trash. Just collect the needles from the tree (those that have fallen almost do not smell) and store in some open container in a humid room.
Pine needles ground in a mortar combined with sea salt make an excellent body scrub.
The needles collected in winter will help in the spring when planting potatoes. The phytoncides contained in the needles help to fight potato pests - for this, just throw a handful of needles into each hole before planting.
Before use, the needles must be washed in running water - it is not known where the tree has been before being at your home.