Best solution to clean kitchen cabinets
Cleaning Kitchen Cabinets: 9 Dos and Don'ts
Photo: istockphoto.com
You probably spend the majority of your kitchen cleaning time focusing on the big three—sink, counters, and floors—but your cabinets require regular attention too, especially the doors. That’s where tiny droplets of cooking grease, food splatters, and steam tend to settle, and then attract and hold dust, leading to dingy, dull, or streaked surfaces.
Luckily, while a bit tedious, cleaning kitchen cabinets isn’t difficult, nor does it call for smelly or potentially toxic chemicals. Whether your cabinets are painted or finished wood, they’ll perk right up with a few common household items and a bit of elbow grease. Just take care not to damage their finish with an overzealous approach. Here’s how to do the job right.
Some jobs are better left to the pros
Get free, no-commitment estimates from licensed cleaning professionals near you.
Find Pros Now
+ DO use a gentle cleaning solution.Leave the abrasive cleaners and scrub brushes to your sink; harsh scrubbing can damage kitchen cabinets’ finish or paint. Instead, prepare your own gentle cleaner by mixing one part mild dishwashing soap with two parts hot water, or the same ratio of distilled white vinegar to hot water. (The heated water helps soften grunge and grease so you’ll be able to wipe it away more easily.) Pour your cleaning mixture into a spray bottle, and you’re ready to go.
Photo: istockphoto.com
DON’T soak your cabinets.Spray the cleaning mixture onto a microfiber cloth or soft rag until it’s damp but not drenched. Too much moisture can damage your cabinets’ paint or finish. Now, wipe each cabinet door from top to bottom, paying extra attention to any trim or molding where dust and grime tend to accumulate. Don’t forget to wipe handles and knobs, and the insides of the cabinet doors, as well. Spritz more cleaning solution onto your cloth as needed, but never let the cloth get wet enough to drip.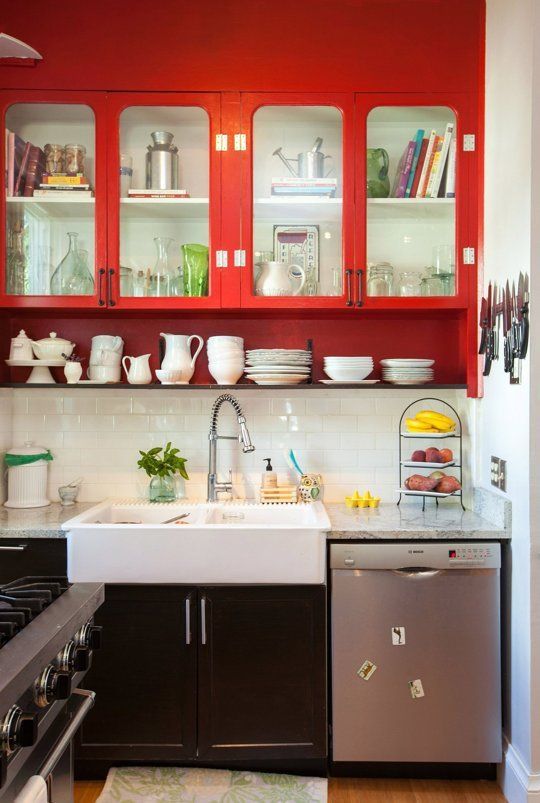 Squeeze excess into the sink if necessary.
Some cabinets have ornate trim or deep grooves that a rag just can’t access. In these cases, dip an old toothbrush into your cleaning solution, and use the toothbrush to gently scrub those hard-to-reach spots. Don’t forget the areas around the cabinet handles or knobs, and the edges of the cabinet doors, which can be tricky to reach with a rag.
RELATED: How To: Remove Grease From Kitchen Cabinets
DON’T let water run into the hinges.Although your cleaning solution is safe for finished or painted wood, as well as laminate, it’s not intended for your cabinets’ hinges. You don’t want your time spent cleaning kitchen cabinets to leave you with rusted hardware. Instead, use a dry microfiber cloth to wipe away dust and grime from the metal. If there’s a particularly greasy or grungy spot, spray just a drop or two of cleaning solution onto your cloth, scrub the dirty spot, and then wipe the metal dry.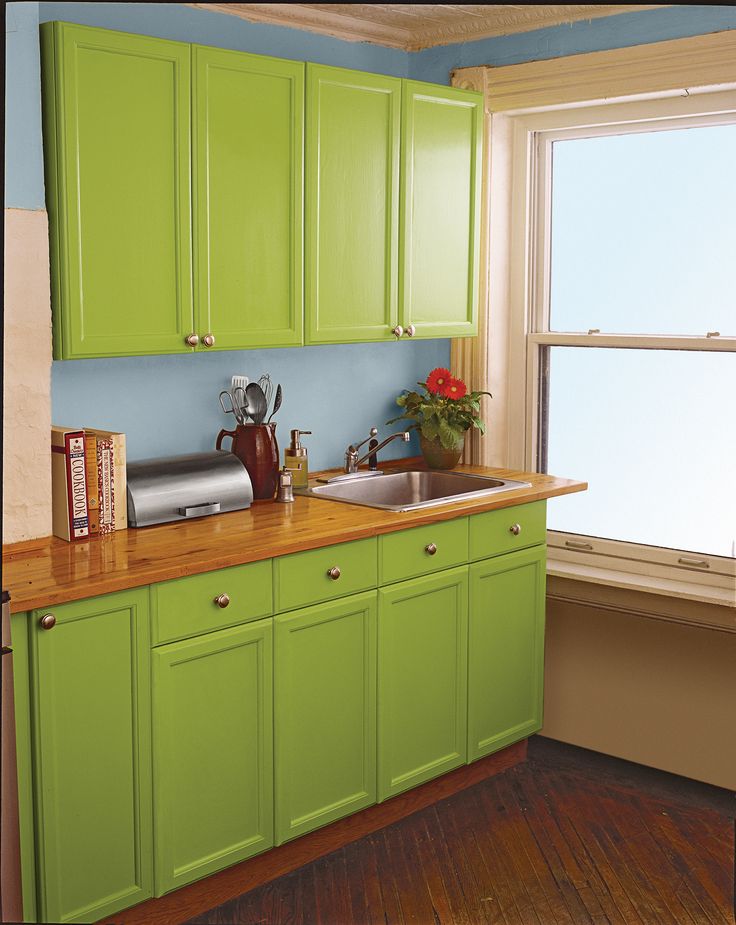
Advertisement
DO remove the cleaner with a final rinse.Once you’ve cleaned your cabinets, go over them once more with a clean cloth lightly dampened with warm water. This removes any lingering cleaning solution or grime. As with your cleaner, it’s best to work from top to bottom to avoid leaving any drips behind.
DO dry the cabinets after cleaning.Letting cabinets air dry after cleaning can damage or bubble the finish or paint. Instead, use a soft cloth to dry all damp surfaces and encourage a shine.
Photo: istockphoto.com
DON’T forget the glass.If your cabinets have glass insets, spray a clean cloth with your vinegar mixture or a commercial glass cleaner and wipe the glass thoroughly on both sides. It’s generally fairly easy to remove dried food splatters, grease, and other kitchen grunge from glass, but you might need to tackle the spot twice to completely eliminate it. Don’t use anything abrasive on the glass, and wipe the panels dry once you’ve finished cleaning them.
If stains, dried grunge, or grease remain on your cabinets even after you’ve finished cleaning kitchen cabinets, you’ll need to add an extra step. In a small bowl, mix one part baking soda with two parts water. Use a clean, dry cloth to dab the paste onto the dirty spots. Let the paste sit for a few minutes, and then wipe it away with a damp cloth, gently rubbing until the grunge is gone. Re-wipe the spot with a water-dampened cloth, and then dry with your microfiber cloth or soft rag.
Photo: istockphoto.com
DON’T skip periodic deep cleaning.At least twice per year, go further than cleaning kitchen cabinets’ surfaces. Empty your cabinets entirely, and then wipe down the shelves, inside of drawers, and cabinet interiors along with the outer surfaces of the cabinets, using the same cleaning supplies and procedures as outlined above. Before returning items to the cabinets, consider whether they are worth keeping. Toss or donate anything you no longer need or use, and get rid of heavily chipped dishes, cracked mugs, plastic storage containers with missing lids, and the other useless odds and ends that tend to accumulate in the deepest recesses of kitchen cabinets.
Some jobs are better left to the pros
Get free, no-commitment estimates from licensed cleaning professionals near you.
Find Pros Now
+How to Clean Kitchen Cabinets the Easy Way
Kitchen cabinets take a lot of abuse, suffering accidental spills, cooking splatters, and a continuous barrage of fingerprints. Yet those hardworking uppers and lowers tend to get short shrift during regular weekly cleaning, so by the time you realize they’ve been neglected, grease, grime, dirt, and smears may have built up considerably.
Related
How to Clean Marble
This is not merely unsightly: Oft-handled cabinet hardware can harbor germs, and food crumbs hiding in back corners can invite bugs and vermin.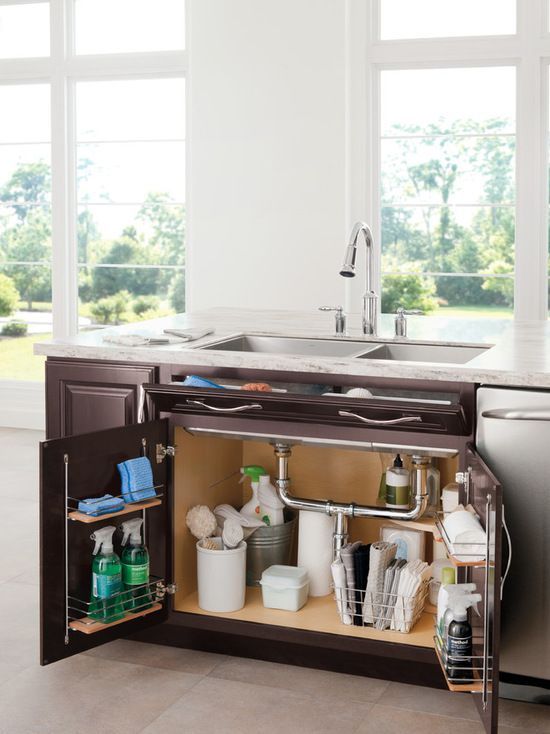 Plus, most kitchen cabinets are made of wood, a porous material that can become stubbornly sticky yet calls for a gentler approach than you might use on metal or laminate.
To get those crucial cupboards into pristine condition, follow this step-by-step guide—and make cleaning kitchen cabinets an open and shut case!
Step 1: Empty them out
- You may opt to stagger cabinet cleaning rather than attempt it all in one day since you’ll need to remove and temporarily store the contents on countertops or elsewhere.
- Once cabinets are empty, peel off and discard past-its-prime shelf paper if necessary.
- Vacuum or wipe crumbs and dust from the shelves and drawers.
Step 2: Tackle the tops
When cabinets aren’t ceiling height, those few inches atop the uppers can be a major mess magnet. Go at it on a sturdy step stool or ladder. If it’s just dust, deal with it using a long-handled duster or the small round brush attachment of a vacuum.
If grease has combined with dust, removing it may be the nastiest part of your cabinet cleaning mission.
- Squirt the surface with straight white vinegar, sprinkle on some baking soda, and give it several minutes of dwell time.
- Scrub with a sponge, then scrape with a firm straight edge, like an old credit card, wiping off the gunk with a rag or paper towels.
- Spray again lightly and wipe dry with a clean cloth.
Step 3: Mix up a gentle cleaner
The goal is to clean, not damage, your cabinets.
- A few squirts of mild dish soap in hot water is a safe and effective formula to use on painted and finished wood (as well as metal, laminate, and vinyl). It will purge dirt, smudges, and moderate grease buildup; to give the solution sanitizing oomph, add some white vinegar, which has antibacterial properties.
- To use: Mix in a spray bottle, but apply onto a microfiber cloth or sponge rather than directly on the cabinet surface, as it’s best to avoid saturating wood.
Step 4: Clean high to low
- Start with the uppers and work your way down.
 Do interiors first: the back wall, then the sides, then the shelves and drawers. Give extra attention to corners, spritzing cleaning solution on a toothbrush and scrubbing gently if necessary.
 - Follow with a cloth/sponge lightly moistened with plain water to remove any soap residue. Wipe dry completely after rinsing, then close the cabinets.
- Clean the sides of the boxes and do the doors/drawer fronts last.
Step 5: Go at the grease
A mild abrasive paste of one-part baking soda to two-parts water is a natural, cost-effective weapon against sticky, yellowish grease buildup that could do the trick.
- Apply to stuck-on grease, let it penetrate for several minutes, then scrub gently (no scraping!) with a soft-bristled brush.
- Rinse with a moist rag, sponge, or microfiber cloth, then dry.
If opting to tackle grease with a commercial product, spot test first on an inconspicuous area. Be especially cautious with magic erasers; these blocks of non-toxic melamine foam have the texture of super-fine sandpaper that can damage varnished wood and glossy paint finishes.
Step 6: Treat the trim
Grease and dirt love crevices, so both are bound to settle in cabinet trim—the more ornate, the cruddier it can become.
- Patiently purge with your basic cleaning solution and a soft toothbrush or cloth wrapped around your index finger.
- Rinse with a clean cloth moistened with plain water and dry.
Step 7: Handle hinges and hardware right
Go at metal aspects of cabinets properly.
- Wrap a dry cloth on your index finger to clean the hinges. If you encounter stubborn grease, spray a 50/50 water-white vinegar mixture on an old soft toothbrush to scrub it off, then dry.
- Employ the toothbrush approach to metal or ceramic hardware, and the areas around these handles, knobs, and pulls, all of which can accumulate grime and grease.
Step 8: Get the glass gleaming
- If you’ve got glass-fronted cabinet doors, use commercial glass cleaner or a homemade spray solution of one cup of rubbing alcohol, one cup of water, and one tablespoon of white vinegar on inner and outer panes.
Step 9: Clean the contents
- Before refilling shelves and drawers, inspect the cookware, dishes, food packages, etc. to ensure that those items aren’t dusty or dirty. Even if everything looks pristine, giving the contents a swipe with a microfiber cloth will warrant it worthy of returning to your sparkling clean cabinets.
16 proven ways to care for
Glossy fronts are very popular when decorating a kitchen set. They are loved for their special shine and bright surfaces. The material has a mirror effect and reflects light well, so small rooms seem larger with it. Especially if you choose white or another light color. However, to preserve the beauty of such a headset, it is important to regularly clean it from dirt, stains and fingerprints. We tell you how to care for a glossy kitchen and what not to do.
All about caring for a glossy set
How not to clean it
How to do it
How to do it better
How to prolong the life of kitchen furniture
Cleaning kitchen surfaces from dirt and grease is a simple task. However, you need to be careful not to scratch or damage the furniture once again. We tell you how to care for a white glossy kitchen or a set of a different color and what you can not do so as not to spoil it.
1. Use normal wet cleaning
Cleaning fronts with plain water can be detrimental to gloss. Especially if the MDF or chipboard set is covered with a thin layer of plastic or PVC film. These materials begin to flake off if they get wet. Therefore, when cleaning, do not use a large amount of water. Be sure to wipe them with dry material after the end of the procedure. And keep them as dry as possible.
The lower drawers are usually affected by grease and moisture. Therefore, designers are advised to make them from less vulnerable and practical materials. If you want to use gloss, then it is better to do this only for the upper cabinets.
Pexels
2. Clean with hard brushes
We usually always clean surfaces with hard brushes or sponges with an abrasive surface. They effectively remove dirt, even old grease. However, the gloss cannot be cleaned with their help. Otherwise you will just scratch it. Damage will be clearly visible on shiny facades, and it will be difficult to polish them. Therefore, soft materials should be used for cleaning. And it’s better not to let the dirt dry out and clean up more often so that you don’t have to scrub the grease and scratch the surfaces once again.
If you really need a brush, then get a model with very soft bristles. For example, you can buy a toothbrush. However, be sure to take the right degree of hardness.
Pexels
3. Use abrasives
Cleaning a glossy plastic kitchen is generally not recommended with chemicals that contain abrasive ingredients. For example, any powders will scratch the surface. Recesses will remain on it, dirt will be more clogged in them. Cleaning furniture will become even more difficult. Plus, it will look less pretty.
4. Apply products with certain ingredients
It is very important to choose the right chemical composition. For example, it should not contain chlorine, alcohol, acetone, ammonia and other harsh ingredients. Also, do not use various solvents, turpentine for cleaning. They will ruin kitchen furniture.
Pexels
5. Use a melamine sponge
The melamine sponge is effective for cleaning, but cannot clean gloss. She will remove the shine, and the headsets will become faded. If you do not want to spoil the facades, then you should not use it.
Among the listed detergent compositions there are those that can only be found in the store, and those that are easy to prepare from improvised materials yourself.
Listed the best products in a short video
1. Professional facade cleaner
Compounds that are specially produced for cleaning glossy facades are ideal for cleaning. They not only remove dirt and grease, but also cover the headset with a special film that protects the furniture from damage and allows you to stay clean longer. At the same time, the protective film will remain for a long time after processing, so after that it will only be possible to wipe the surface to remove minor impurities.
2. Glass cleaner
Glass or mirror cleaner is excellent for gloss cleaning. However, before using, be sure to look at the ingredients that are listed on the package. The tool must not contain components that harm the headset. They were listed in the article above.
Cleaning with glass cleaner is very simple: you must first apply the product to a soft cloth, then wipe the surface with it.
Pexels
3. Sprays for glossy surfaces
Cleaning sprays for various glossy materials can be found in hardware stores. For example, they are used to clean tiles. This spray is suitable for removing smudges and fingerprints from the headset.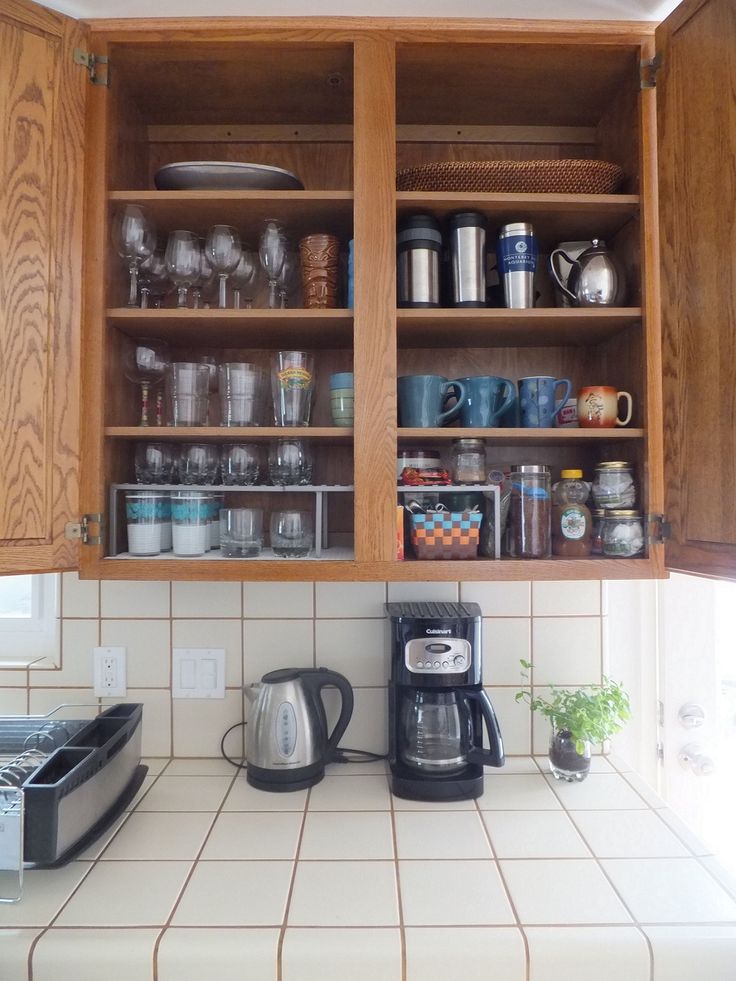
4. Dishwashing liquid
Any dishwashing liquid is also suitable for cleaning. It cleans well both simple stains, greasy dirt, and various dried splash marks.
Pexels
5. Laundry soap
A solution to which laundry or any liquid soap is added is a simple and inexpensive remedy, it is easy to prepare at home. Soap is usually always at hand. If you use laundry bar soap, then grate it first. Add shavings to warm water. Then stir until a light foam forms.
6. Wet wipes
If you don't have time for a thorough cleaning, then wet wipes will help out. It is better to use special cleaning products that are sold in hardware stores. These will not leave ugly stains behind. Be sure to make sure that there is no alcohol among the ingredients. It can damage the gloss.
7. Microfiber
Cloths made of microfiber are very soft, so they are useful for cleaning surfaces. They can also collect the remaining moisture - the material absorbs it well.
Pixabay
8. Polish
Anti-static polishes are a good finish. After cleaning and drying the facades, wipe the surfaces with it. Processing will help to avoid dust build-up, so the furniture will stay clean longer.
However, you should avoid polishes with wax in the composition, as it, on the contrary, will create a sticky layer on the headset, to which dirt will quickly attract.
9. Faucet cleaner
Chemical for removing dirt from plumbing fixtures: faucets and shower heads - can also be used for cleaning. However, the package must be written that it is intended for delicate cleaning. Plus, it is important to check the composition for the presence of prohibited ingredients.
Pexels
In order for the kitchen set to shine with cleanliness, it is worth following the correct cleaning technology.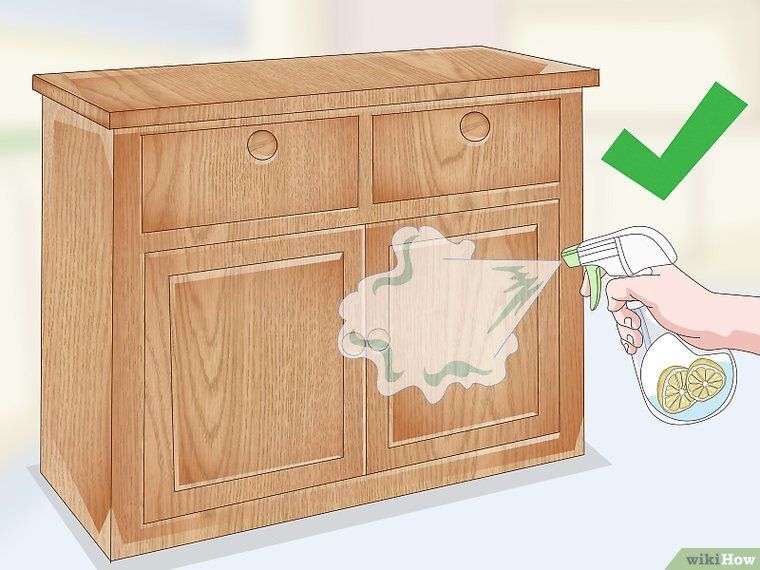
Remove dirt first with cleaning compound. At the same time, do not let it soak in, otherwise you can ruin the facades. It is better to apply the liquid first on a cloth and only then on the furniture. When cleaning, concentrate on one item, do not apply the composition immediately to the entire headset. Once you're done with cleaning one, you can move on to the next.
Wipe off the detergent with a damp, clean cloth. Then wipe the facades dry. At the final stage, you can apply polish to prolong the freshness of cleaning.
Pexels
There are a few tips that will help keep the gloss on the surface for a fairly long time.
- Buy a good powerful hood. When cooking, such a device will protect you from getting grease and dirt on the furniture, as it will suck particles into itself. Therefore, they will settle less on the facades, respectively, they will not need to be washed so often.
- Protect from direct sun.
 Bright rays that fall from the window directly onto the furniture will make the gloss less shiny over time. Therefore, if possible, it is worth arranging the headset items so that the sun hits them as little as possible. If there is no way out and the sun's rays constantly look into the kitchen, you can hang roller or ordinary blackout curtains. There is no need to close windows all day. They should be curtained only during the hours of the most active sun and in a very hot season.
Pexels
Prepared by
Ekaterina Savenko
How to wash grease in the kitchen
In the kitchen, something is constantly being cooked, fried and boiled. This is a good sign, it means that the family will be full, but after a delicious dinner, someone will have to clean everything up, wash the dishes, clean the microwave from burning and grease. Even if you are very skillful in the kitchen, hot oil still scatters in different directions, dirtying everything in its path. At the same time, the beauty and brilliance of the dishes deteriorate, yellowish spots appear on it, which are difficult to get rid of, they eat into the surface tightly. The proven advice of experienced housewives who have tried different methods, found a solution and are ready to share them with beginners will help to cope with this problem.
You need to know how to properly clean grease in the kitchen
Contents
- Modern means and methods for cleaning grease in the kitchen
- Household chemicals for cleaning old grease on cabinets, hoods, stoves, glossy MDF facades, plastic and wooden furniture, countertops, ceilings, linoleum, backsplashes, blinds, laminate, wallpaper, walls, pipes, TV, chandelier
- Technical means
- Folk remedies for quick and easy cleaning of hardened fatty deposits
Modern means and methods for cleaning grease in the kitchen
You can easily clean the kitchen of grease in three ways: using chemical detergents, mechanically, and tried folk methods. Which one to use is up to you.
Each of these options has advantages and disadvantages:
-
Mechanical cleaning is the right way to fight greasy deposits. Gets rid of stains quickly, but be careful - scratches can form on the smooth surface of kitchen furniture or utensils.
-
Cleaning chemicals are very aggressive and must be handled with care, but they give excellent results. Before use, be sure to read the instructions. Avoid contact with eyes, respiratory tract and hands. Before use, put on protective rubber gloves, in some cases you will need a respirator.
-
Try to clean your kitchen in a folk way.
This is an economical and harmless option, it does not require large financial costs. But not all folk methods give the expected result.
Now we will tell you about these methods in more detail, so that you can make the right choice.
Household chemicals for cleaning old grease on cabinets, hoods, stoves, glossy MDF facades, plastic and wooden furniture, countertops, ceilings, linoleum, backsplashes, blinds, laminate, wallpaper, walls, pipes, TV, chandelier
B chemical laboratories are developing substances for cleaning various types of surfaces from dirt and grease. They are sold in markets, specialized stores, department stores. You will need drugs for home use, not professional ones.
You need to select household chemicals depending on the material of the items you are going to clean.
Pay attention to the composition and consistency of the preparation. If you need to clean a shiny metal or plastic product, the product should not be powdery, contain abrasive substances, otherwise it will leave scratches.
Furniture and countertops are best washed with chlorine-free liquid products, otherwise white stains will form on the surface, they are more difficult to remove than grease. Dishwashing liquid will do.
To care for glass products, purchase a soft gel or spray, special preparations for cleaning ceramics.
Lacquered surfaces can be easily cleaned with products containing ammonia.
You can clean the inside of the oven from grease by preparing a mixture of dishwashing gel, Comet and citric acid.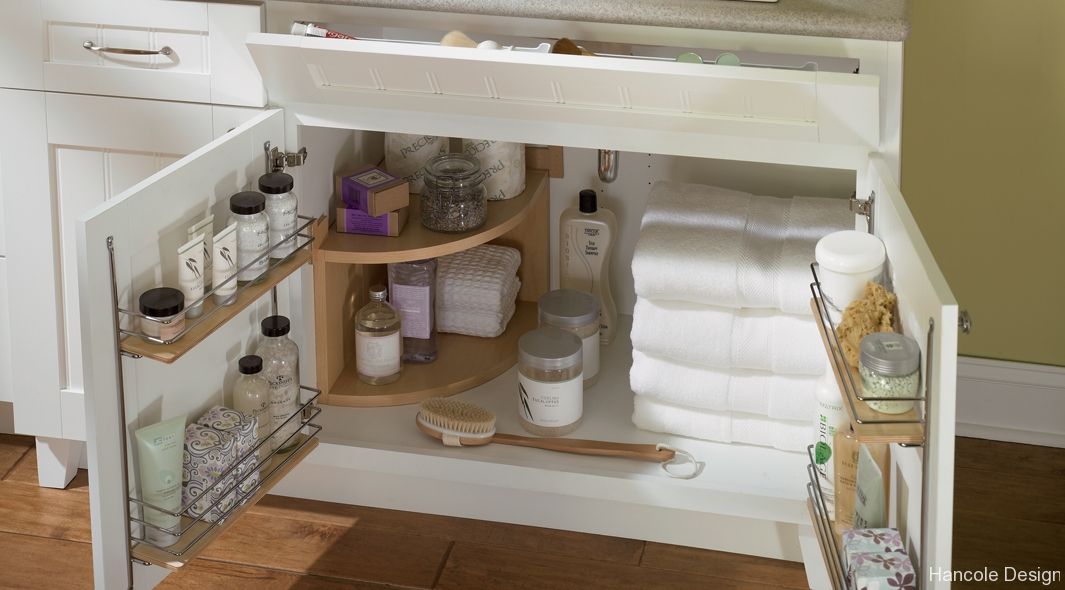 Treat the walls with a solution, leave for half an hour. Wash off with warm water. Preheat the oven before cleaning so that it is warm, but does not burn your hands, this will facilitate the work.
Technical tools
Some types of household appliances make life easier for housewives, they are provided with functions that facilitate quick cleaning.
Dishwasher. It washes not only dishes, but also hood filters, grates, stove handles .... In order for the fat to be easily removed, the water temperature must be high.
Appliances with special functions such as catalytic oven cleaning. Fats inside the device automatically dissolve into water and soot under the influence of temperature and oxidizing agents that are present on the walls of the device. Further, the decomposition products are absorbed by the sorbent.
Steam cleaner. Washes furniture from fat, cleans the seams of tiles, removes old stains, disinfects. The steam generated by the device penetrates into hard-to-reach places, easily dissolves grease and dirt. With it, you can clean literally everything at home.
Oven with pyrolytic cleaning option - self-cleaning, burns deposits on the walls. Having such a technique in the house, you will forget about what washing the oven is. Technical means are highly effective, but their cost is considerable. But, having bought these devices, you will enjoy comfort for many years.
Folk remedies for quick and easy cleaning of hardened fatty deposits
All housewives have their own tricks, it's time for you to learn about them.
To clean the oven from grease with folk remedies, use one of these products, they can be found in everyone's house:
-
Citric or carbonic acid,
-
Laundry soap,
-
Ammonia,
-
Baking Powder,
-
Soda, vinegar, salt.
We'll show you how to degrease your kitchen with citric acid. To do this, mix citric acid with vinegar, add soda. Apply the mixture to a washcloth, rag or brush. With pressure, rub the composition into those places where the fat has eaten. Stains dissolve, rinse off the remnants of the product with hot water, wipe with a clean cloth. Citric acid and soda easily cope with plaque.
Fruits will help to clean the microwave from the inside: lemons, oranges, lime, grapefruit. Take a couple of citrus fruits, cut into pieces, put in a special plate, fill with water. Put the device inside, turn it on, set the maximum heating temperature. After 15 min. unplug the microwave. Wipe off softened fat with a sponge. Cleaning the microwave with vinegar is also considered effective. It is carried out according to the same principle as citrus cleaning, replace fruits with a solution: 400 ml of water, 2 tbsp. vinegar.
"Grease stains should be removed as soon as possible, the longer they remain on the surface of kitchen utensils, the more difficult they are to remove."
To clean carbon from a ceramic frying pan, rub laundry soap on a grater. Add slightly warm water. Pay off 2 tsp. soda, 3 tbsp. vinegar and combine with soapy water. Keep the product in the pan for 15 minutes. Remove the mixture with a sponge, rinse with water.
This way you can clean not only the frying pan, but
other kitchen utensils.
Cleaning a glass-ceramic hob from carbon deposits is not as easy as cleaning a metal hob. Its surface will suffer if you act ineptly. Experienced housewives advise washing the surface with food, moistened soda. Apply gruel to the places of contamination, drip vinegar on top, hold for 10 minutes. After that, the agent is washed off with water. Stubborn stains are removed with a special scraper.
To clean the carpet from grease without removing it from the floor, soda solution will allow. Dilute half a glass of soda in five liters of water. Fill the spray bottle with the resulting liquid and spray it on the carpet. After 30 min. vacuum thoroughly. Use salt for dry cleaning. Scatter the grains on the carpet, rub them into the surface with a damp brush, sweep away the remnants.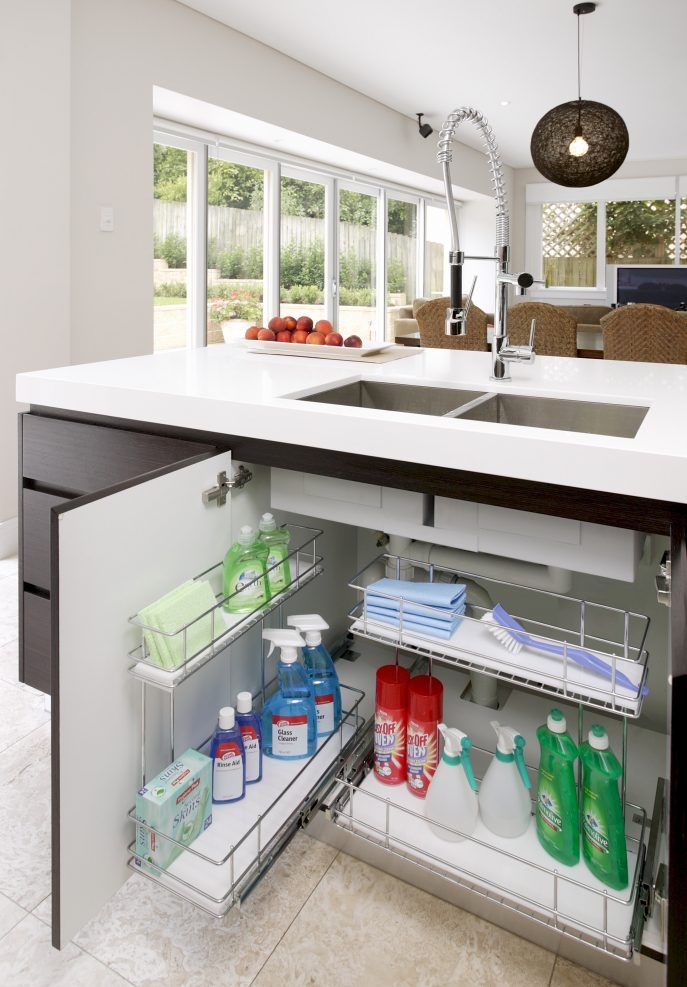
Grease removal in the kitchen is easy if you have good products on hand
You can use mustard to remove grease from kitchen cupboards. Pre-moisten furniture facades with hot water. After 10 min. rub the contaminated places with a sponge with mustard applied to it. Another method is using vegetable oil. It easily dissolves old, dried fat. The oil is diluted with soda in a ratio of 1: 2 and rubbed over the surface with a brush. Not bad fat dissolves vodka or alcohol. Wipe the walls of kitchen furniture with them, if the stains still remain, soak them for 5 minutes, then remove them with a sponge soaked in alcohol.
WATCH VIDEO
Try cleaning an electric oven with baking powder, it's a tried and true method.